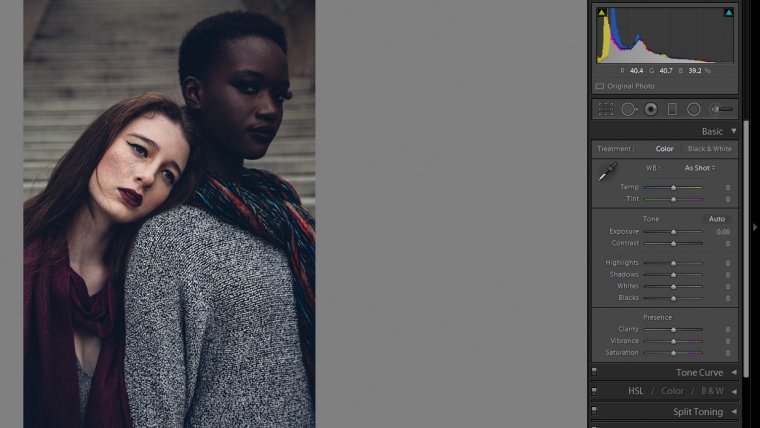
Using Lightroom to fix up blemishes or other small mistakes can turn your good photo into a great one. No one likes to look at their photo and see a giant pimple they couldn’t cover with make-up. Or the spot of their beard they missed while shaving. But when it comes down to it, which is better to use, the heal tool or the clone tool in Lightroom?
Both of them have their own pros and cons. In the end, it’s really about what you’re trying to do, and where you’re trying to do it. Here are the things to keep in mind when trying to decide which works best for you.
Table of Contents
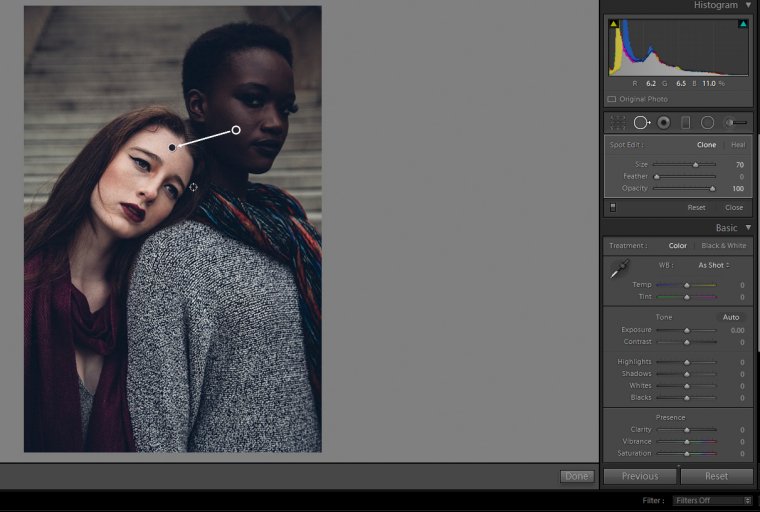
When using the clone and heal tools in Lightroom presets, you’re borrowing from one part of the picture to put into another. It’s important to keep in mind where you’re borrowing from, and where you’re sending it. Maybe you’re just using a nice, clear portion of the model’s skin. Maybe you’re using the smooth texture of a baby’s skin to soften the skin of the grandparent who’s holding them. No matter what you’re doing with it when you’re borrowing from one area and sending it to another, you’re bound to run into a problem or two. Be patient, and work with different size brushes and sources until you get what you want. These tools can be used if you install Lightroom presets.
Both the heal and the clone tool will transfer the texture from your borrowed source to your original source. However, the color does not always go with it.
The clone tool does exactly what you’d expect of it, it will clone the exactly borrowed source and place it on the original source. This includes the shape, color, and texture. If you want to perfectly re-create something, the clone tool is right for you. This tool is good to use on people that have the same skin tone, or if you’re borrowing from one person’s side of the face to the other. You don’t have to add deep richness into the color.
The healing tool takes into account the colors and textures that are surrounding it and blends everything together. This tool will pull in the soft or hard texture of the borrowed source, but match it to the color and tone of the original source. This is useful to use on people who have different skin tones or if you’re pulling the texture from another object onto someone’s clothes or skin.
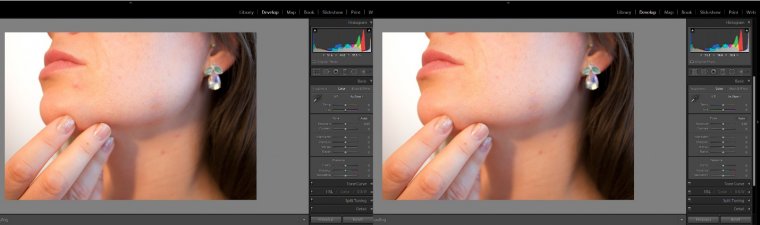
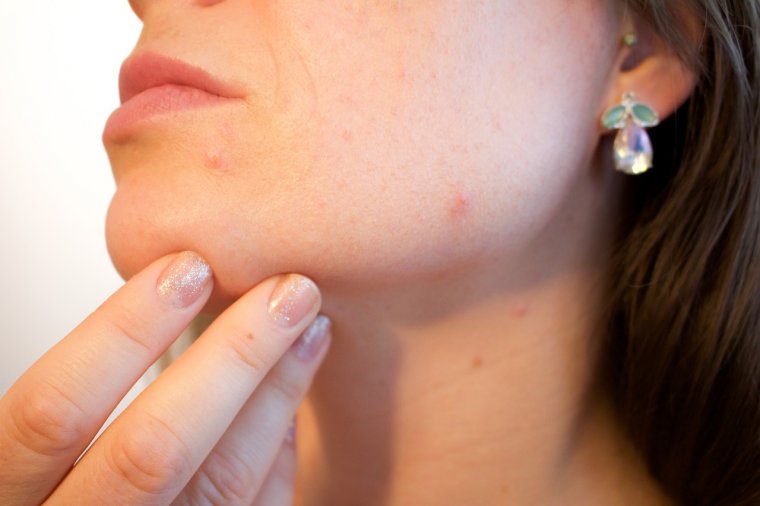
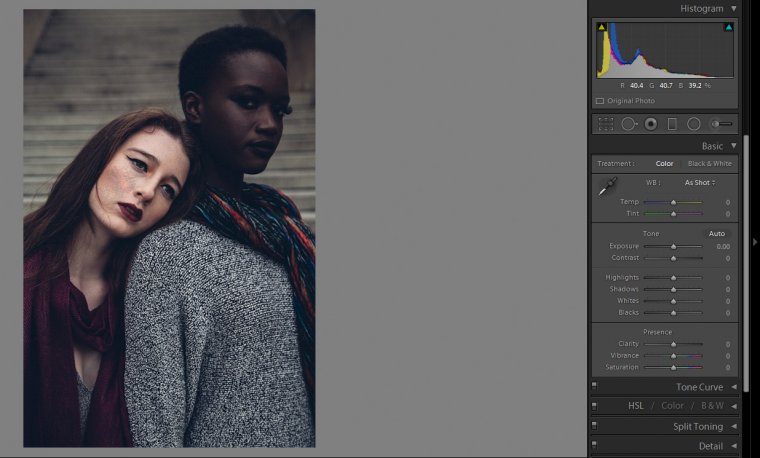
In the example above, I used the heal tool on the pimple on the right side of the face, and the clone tool on the left side, under the lip. The clone tool blends in more and the heal tool creates a noticeable bleed in the circle. When the borrowed source is the same model/object as the original source, it’s better to use the clone tool.
Both the clone tool and the heal tool can, at one point or another, be completely noticeable. If you’re borrowing from one person or object that has a different coloration than the person or object you’re fixing, using the clone tool will create an obvious circle of out-of-place. In this case, it’s best to use your heal tool that will fix the texture errors but will match the color of the original source. It’s like you want to give architecture a deep rich feel in lightroom.
However, if the borrowed source is similar enough in color and tone, using the heal tool can sometimes be more noticeable than using the clone tool. Because the heal tool pulls in the pixels from the surrounding area, sometimes it can create a noticeable bleed effect that smudges the fixed spot and stands out. In this case, using the clone tool will eliminate that effect.

The heal and clone tools are used to fix up small spots on a subject, and shouldn’t be used to fix up any major problems or large areas. If you want to tone down someone’s entire face, or do something wacky like the place a tree texture on their shirt, you’re better off doing more major editing in Photoshop. If, however, you’re just getting ready to finalize the image and realize there’s an out of place freckle or slightly red cheek, you can use the clone and heal tools to fix small areas.
If you really do need to fix a huge area using only Lightroom’s clone and heal tools, it’s better to do it in smaller sections than to do it in just one giant circle. Smaller sections are harder to notice and you can move the borrowed source around to create something that looks more natural.
When you’re working with these two tools, you won’t always get the final product you were hoping for. The first thing you should do when your first attempt doesn’t go well is to switch from one mode to the other. If the clone is too noticeable, try switching over to heal, and vice versa. Find the one that looks the most like what you want.
If a simple switch doesn’t do it for you, then move the tool around to find a better-borrowed source. Maybe use the person’s arm or leg to get a better match in skin tone. If things still look a little off, reduce the size of your brush and create smaller fixes that are harder to notice, but that will still create a stunning finished product.


Please verify your software version before proceeding.
 I’ve verified my software version


 Facebook
 Google +
Comments (0)
There are no comments yet.