Tag: national parks

5 Tips to Photograph Parks at Night

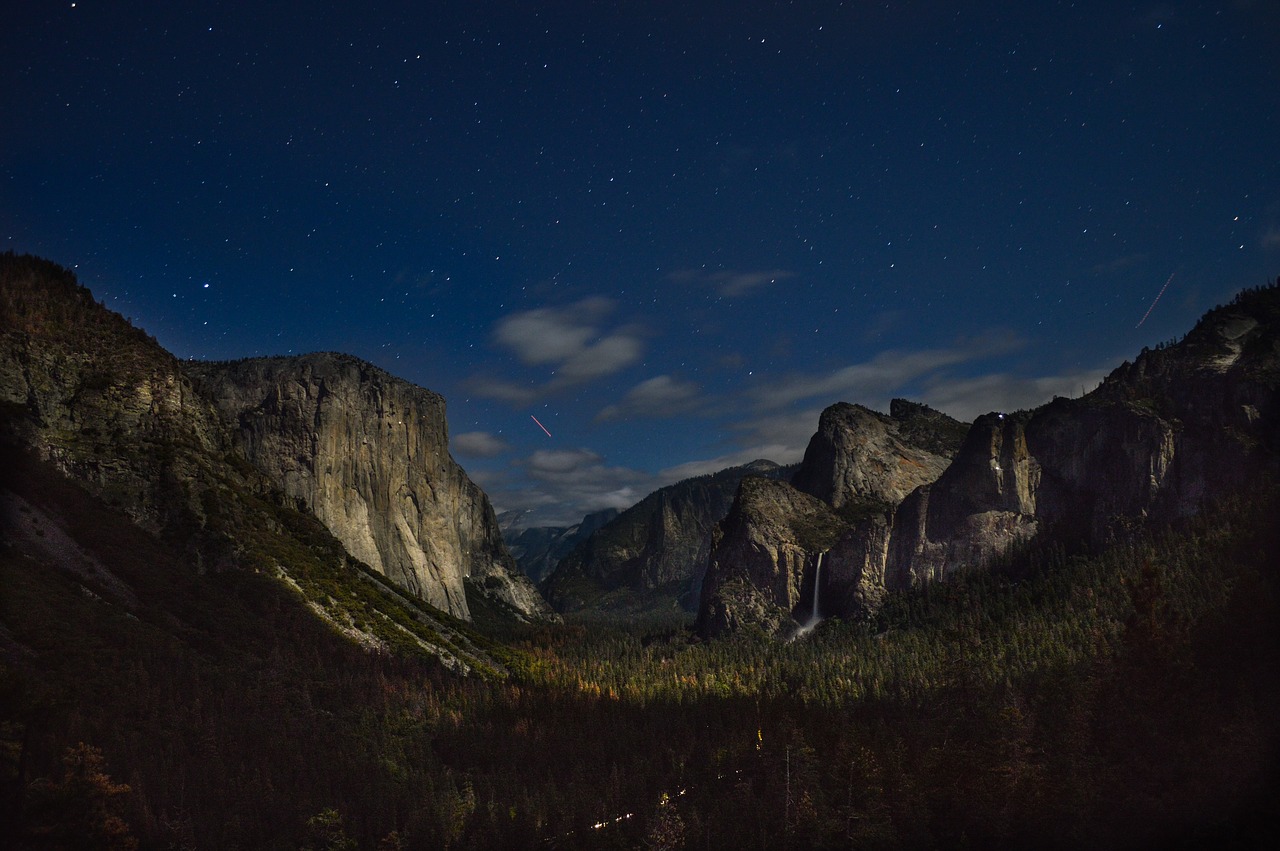
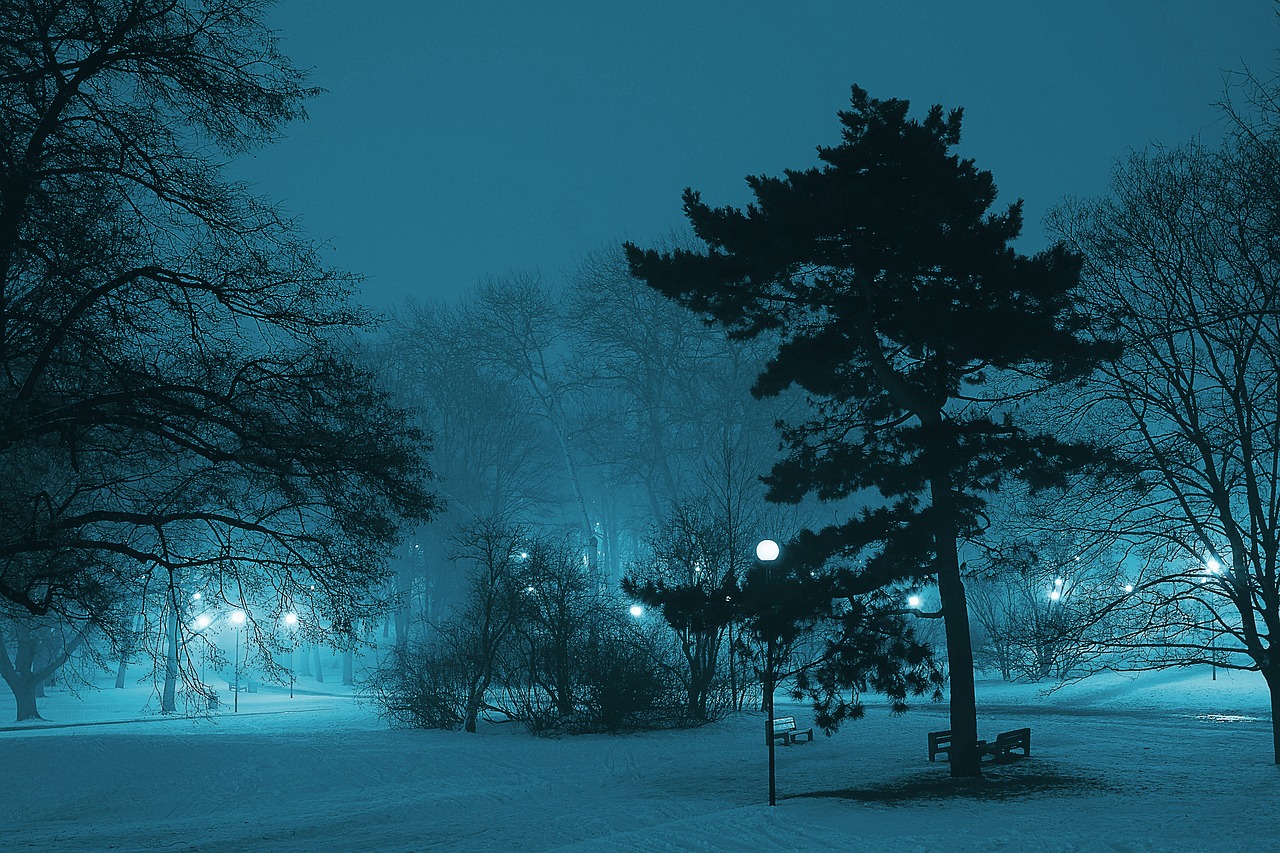
Some of the most spectacular scenes you can capture at night will be in parks. We’re not just talking about city parks here, although they can be quite remarkable. Visit National Parks, with their incredibly expansive skies dotted with stars, or check out amusement parks, where you can find bright lights, vibrant colors, and thrilling movement.

While these locations will definitely provide you with some exciting subject matter, you won’t get the results you’re looking for unless you follow a few tips, especially if it’s your first time out. To shoot in these places in lower-light settings, you’ll need a more advanced camera, a solid wide-angle lens with a fast aperture, and a tripod.

With your gear packed and your location scouted, head out and capture some of the most incredible night photography you’ll ever take – by keeping these tricks in mind.

1. Get Your Timing Right

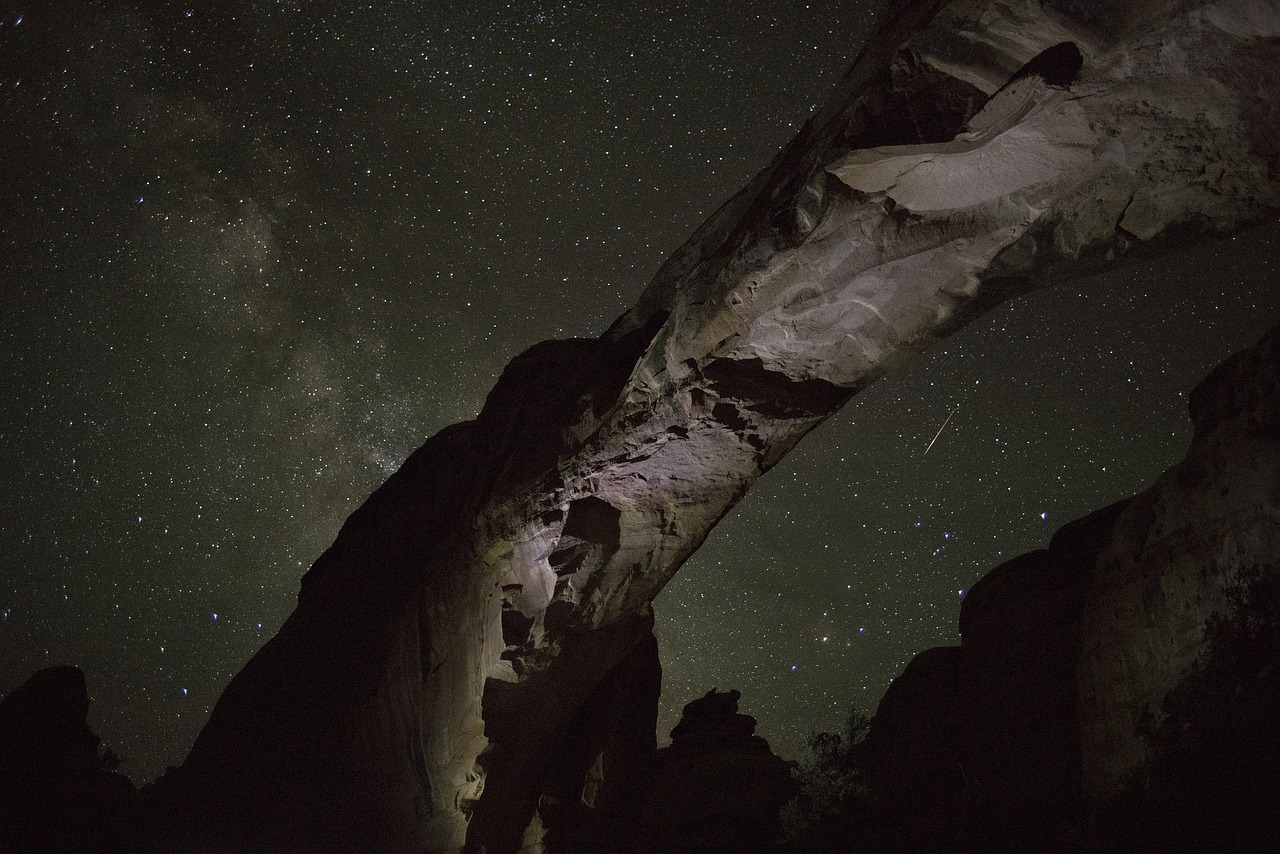
The best time to shoot at night is about a half hour after the sun has slipped below the horizon. You’ll hopefully still be able to capture a bit of afterglow in the sky, but it will be plenty dark to highlight the artificial light in an amusement park. If you’re shooting at a National Park, you’ll have just enough light left to keep some of the details in your landscape and whatever foreground elements you’ve included in your composition.

amusement park night photo

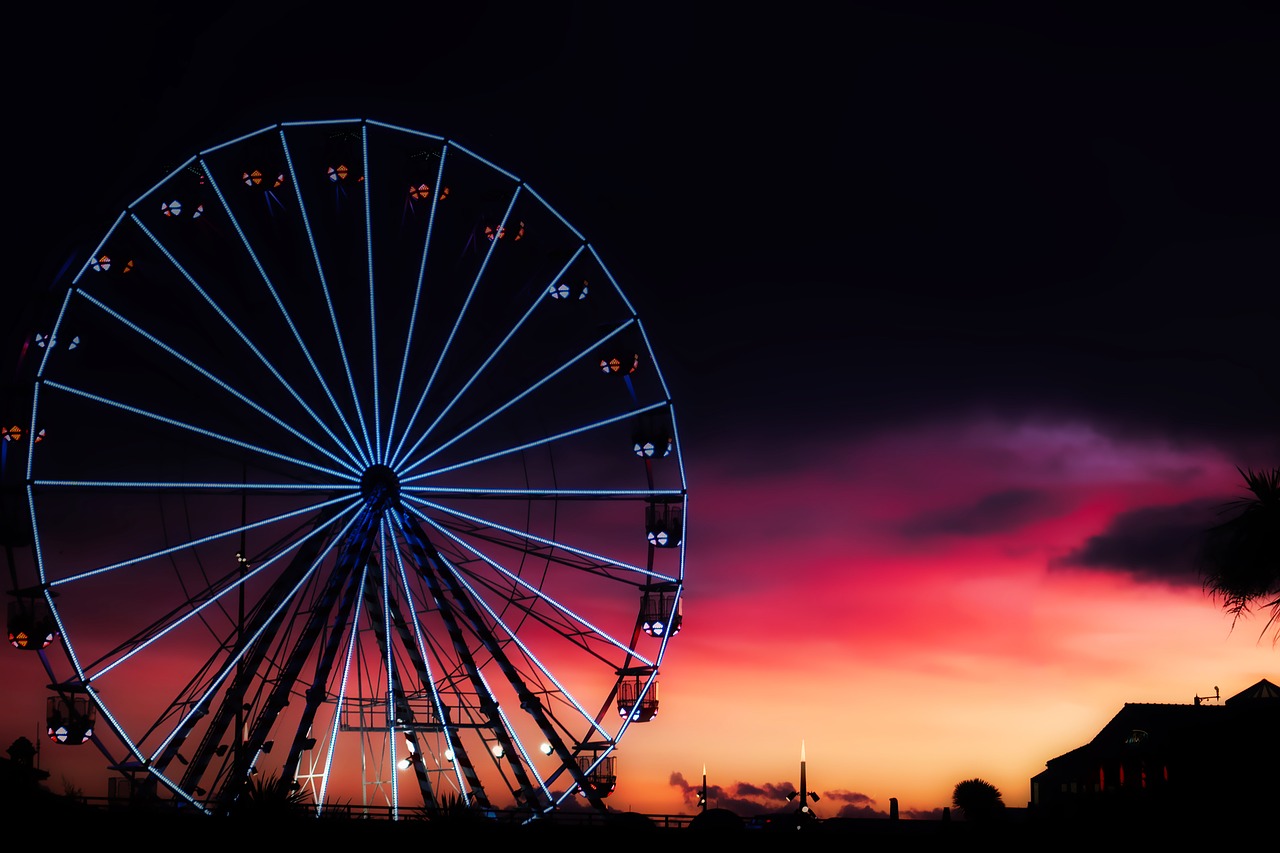
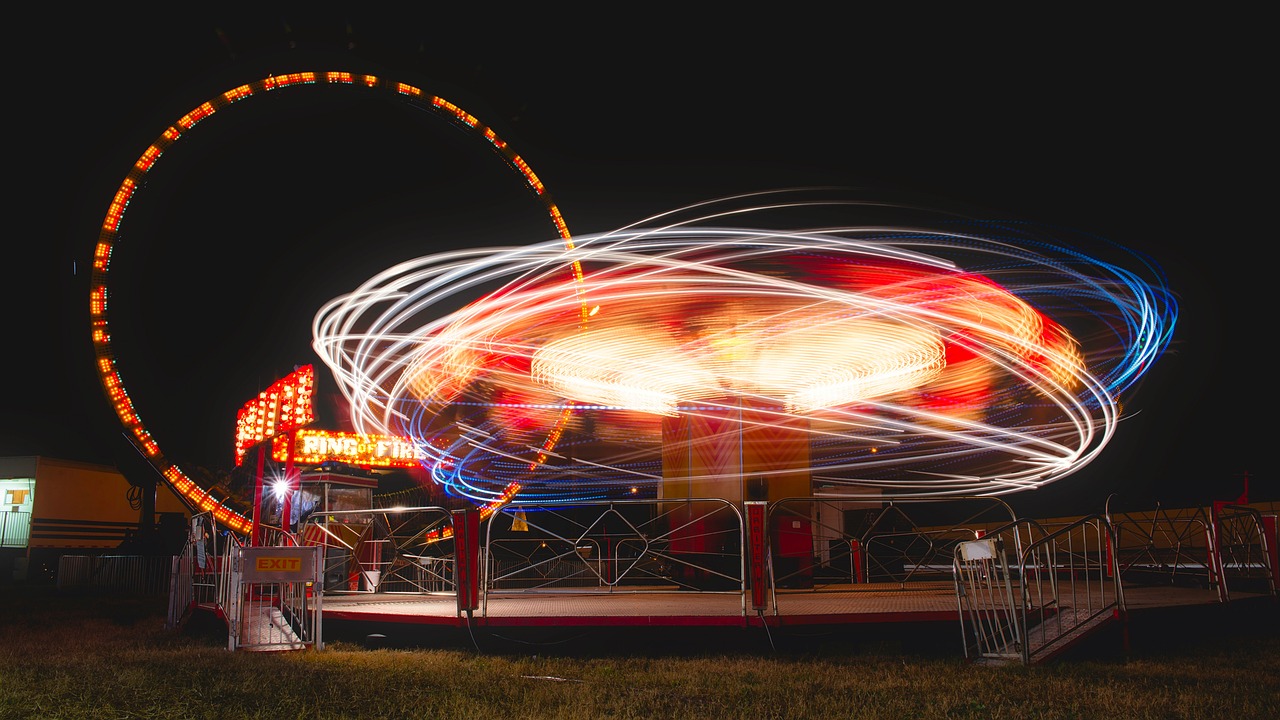
You’ll still be able to get some impressive shots after that vibrant glow is gone, though. The lights on the carnival rides will pop against a velvety black background, and in National Parks, you’ll start to be able to capture the detail in the stars.

2. Adjust Your ISO and Shutter Speed

Increasing your camera’s sensitivity to light will help you accurately capture the details in low light settings, so dial up your ISO to 400 or more. This will depend on the capabilities of your specific camera, as you don’t want to push your sensor to the point where you start seeing a lot of noise.

national park night photography

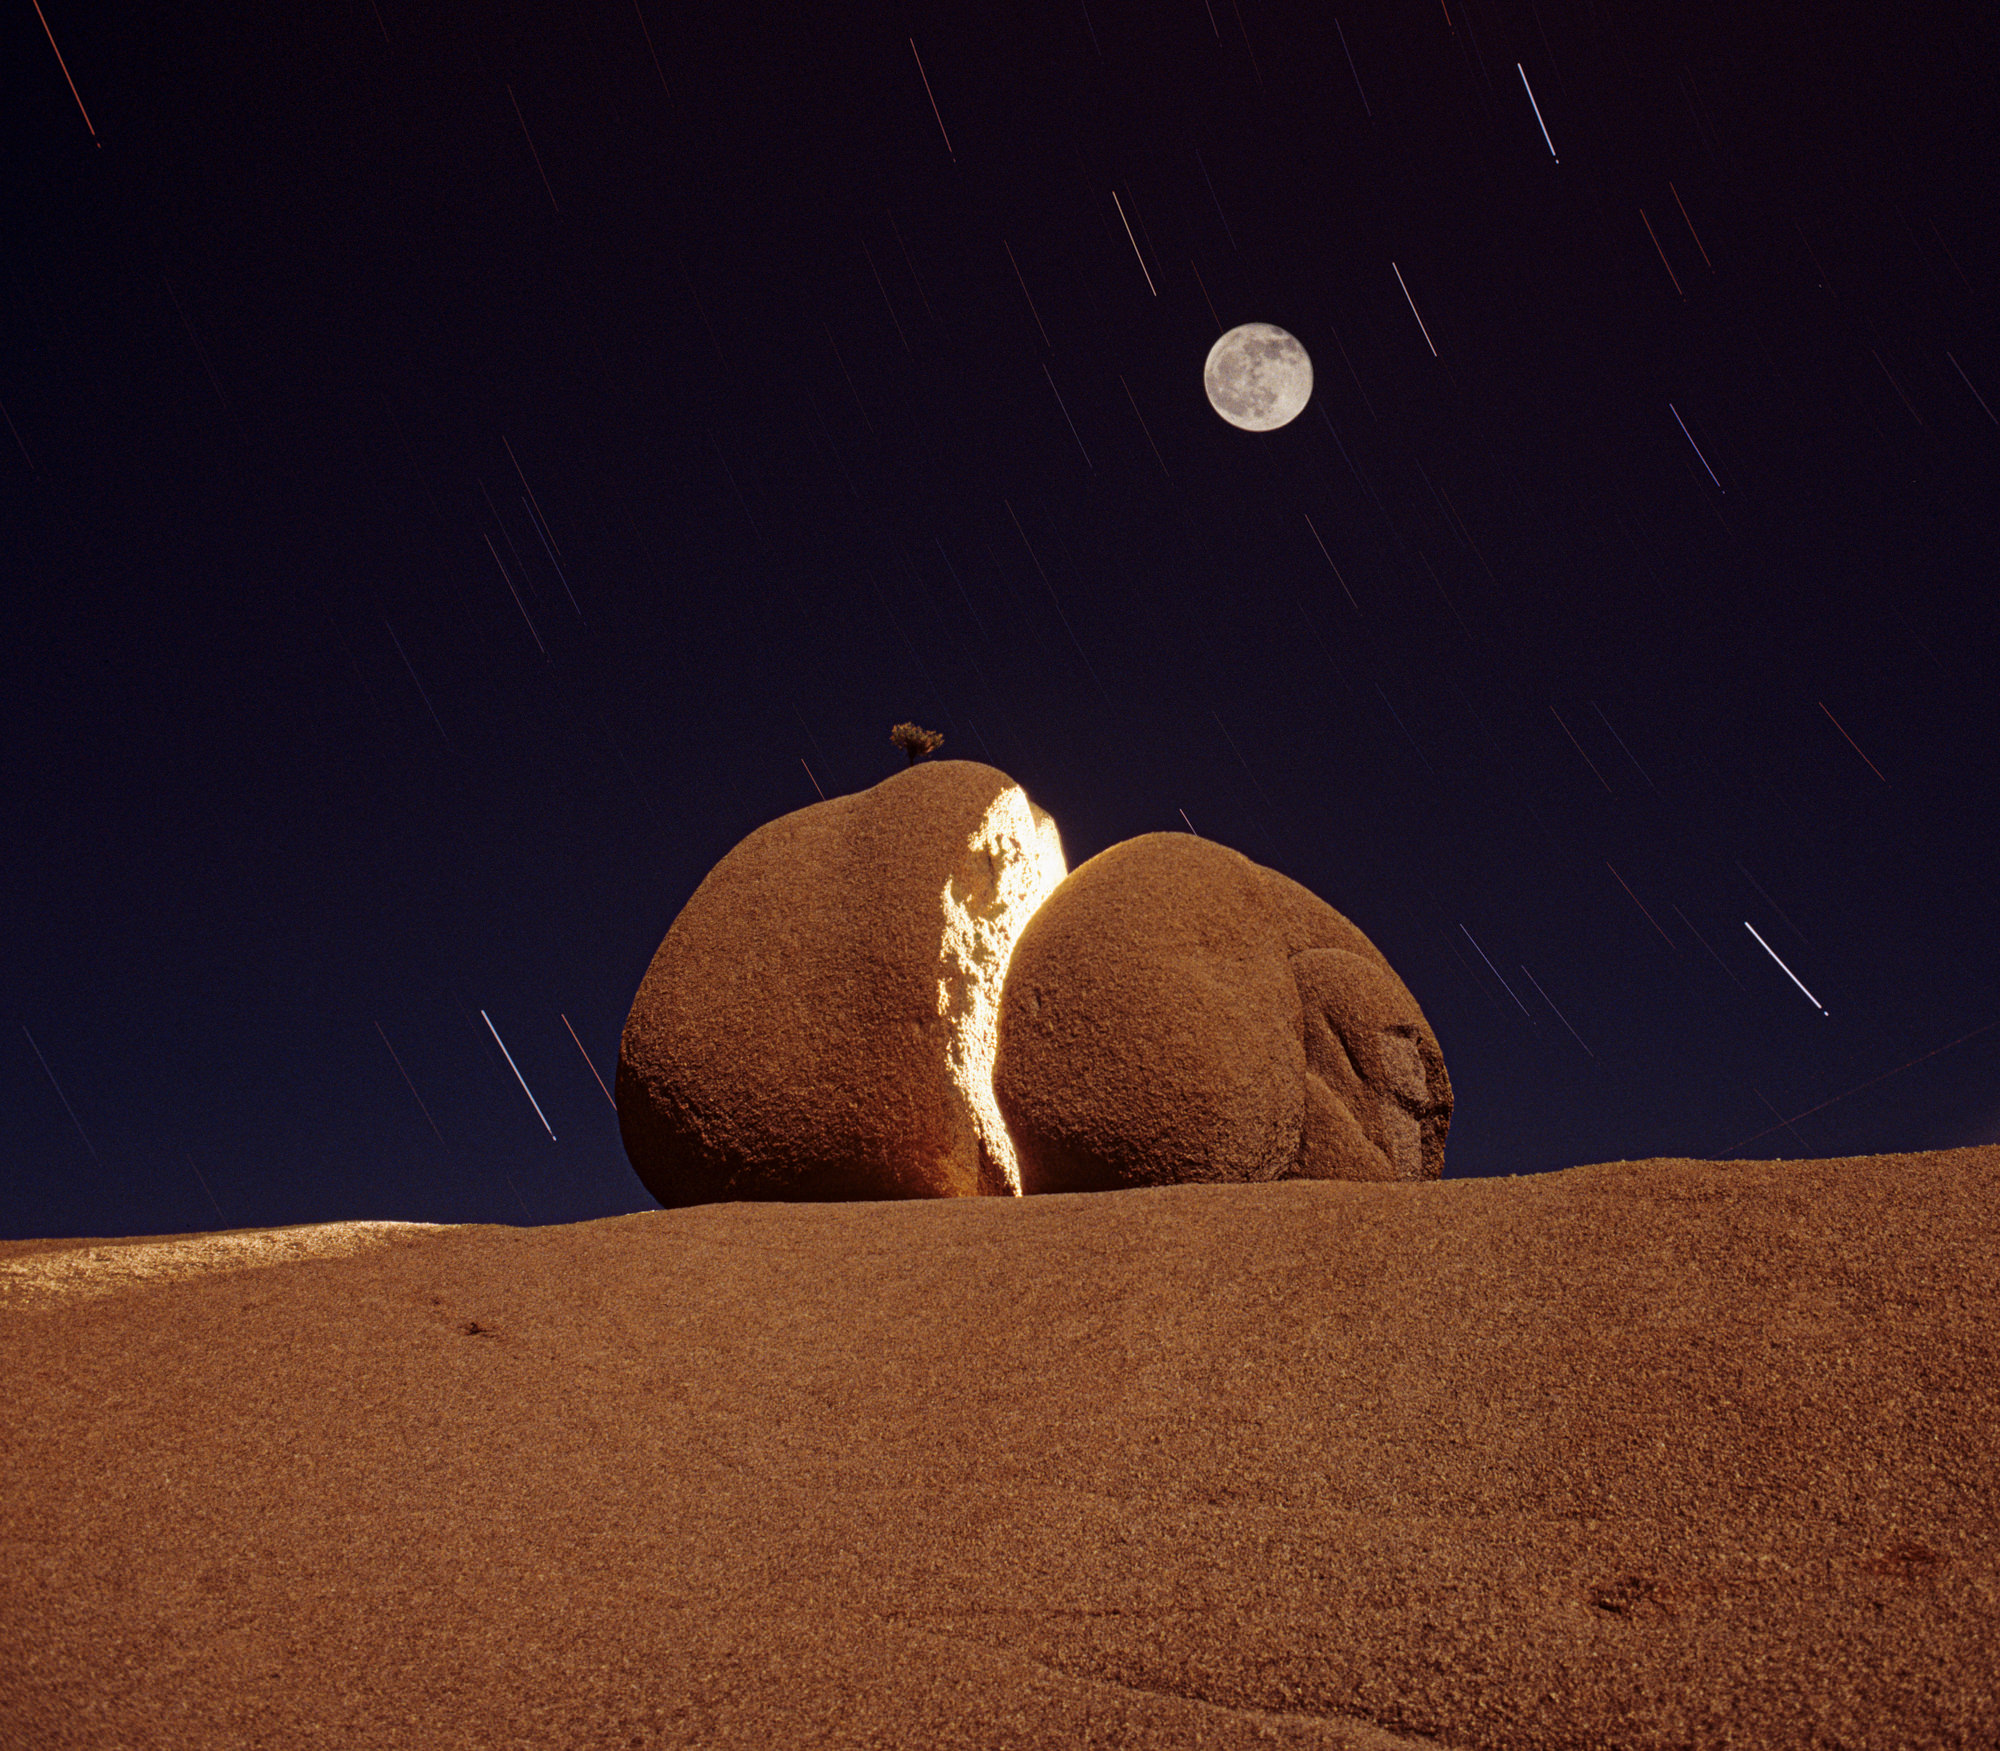
You’ll also want to switch up your shutter speeds. Using a longer exposure time will allow you to capture some movement, but you’ll need to use a tripod and make sure you’re not jostling the camera when you release the shutter. The goal here is to keep static elements of your composition clear while letting the moving parts blur into a colorful, eye-catching pattern.

3. Try Your Camera’s Timelapse Mode

Since night shooting can be somewhat unpredictable, this is a great opportunity to experiment with your camera’s time-lapse feature. This means your camera will automatically expose a frame every four seconds or so, and you’ll wind up with a very unique selection of different blurs, colors, and compositions.

amusement park blurred motion

This is similar to shooting video in that you’ll have a somewhat ongoing record of the scene, but this way, you’ll end up with a series of full-frame stills, instead of a full recording. This gives you some really interesting results that you can play with later, in post-processing.

4. Don’t Rely on Autofocus

Focusing is an issue at night since it’s hard to see the subject of your photo when there’s very little available light. Autofocus is especially unreliable, so you’ll need to get familiar with the manual focusing ring on your lens. You can also use Live View, if your camera allows it, to have a larger screen to work with as you try to focus your lens.

city park night photo

Try using a lens with a wide aperture, so the depth of field shouldn’t be an issue. You want as much of the park scene to be in focus as possible. Try to find areas where some of the ambient light hits your subject, to create a bit of contrast where you can aim your focus.

5. Composition Matters

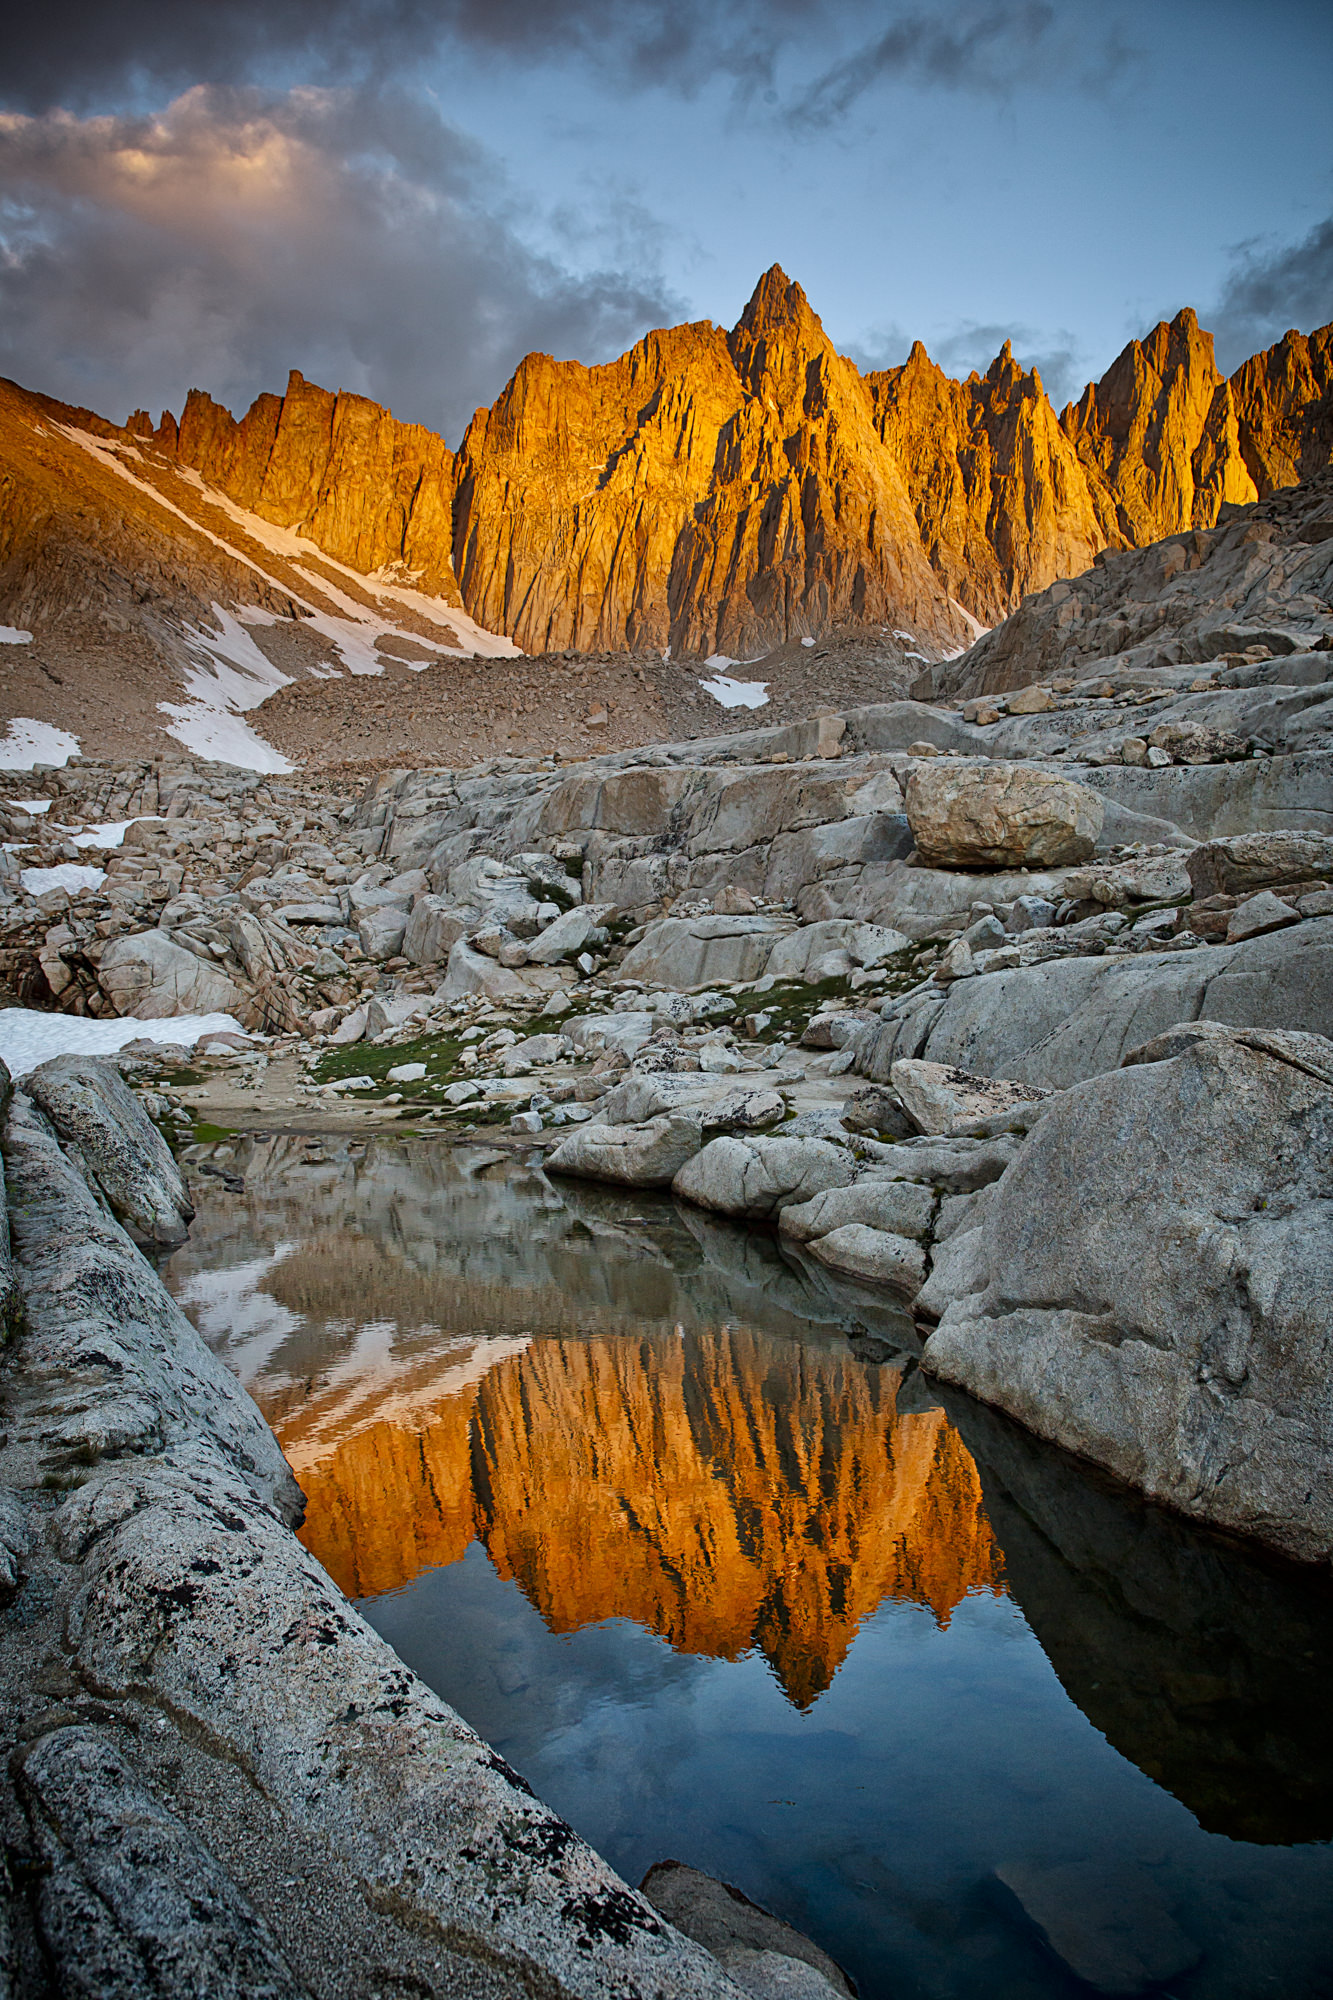
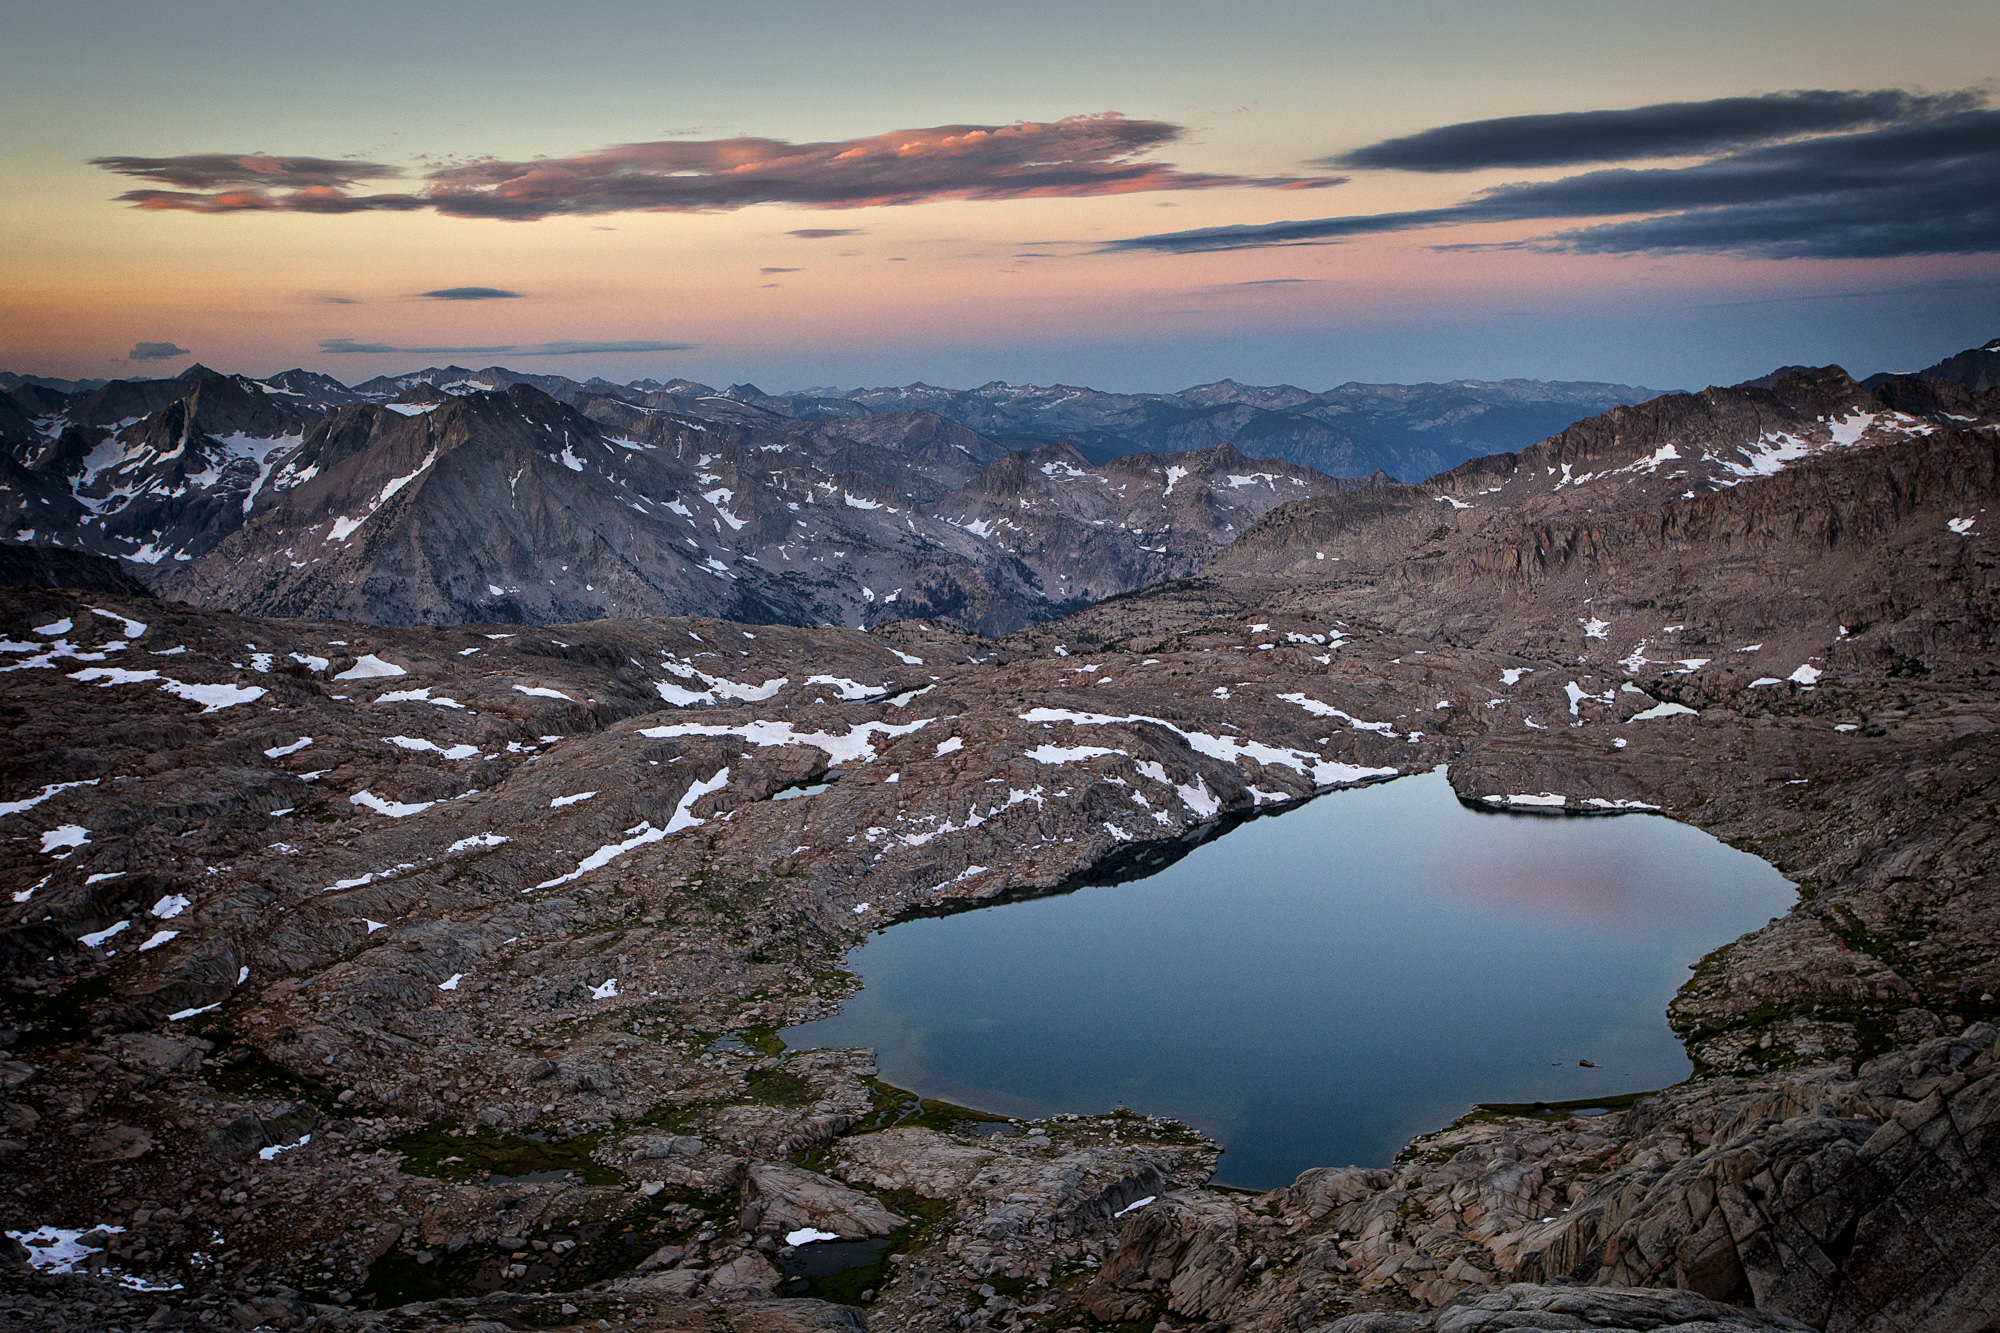
Even when you’re shooting in the dark, it’s important to carefully compose each frame. As you would with any other landscape, try to include elements to provide a sense of depth – leading lines, foreground interest, and as much detail as possible.

It’s easy to let the star of the image be the lights from the amusement park or the sparkling stars in the night sky at one of the many National Parks around the world. But if you want to create a truly eye-catching, dynamic shot, you’ll need to be sure that there is more going on than just these special features.

composition night photography

Now that you’ve got some ideas in mind to help get you started photographing parks during the night, get out and start looking for some dynamic compositions. Remember that trial and error is one of the best ways to help teach yourself more about photography – so don’t be afraid to get brave and try some new things. With digital files to work with, you’ve got nothing to lose!

Repeat Performance: When You Don’t Get the Shot the First Time, Go Back!

I’m a firm believer that life is full of second, third, fourth chances. I freely admit I’ve screwed up a whole bunch of times, picked myself up and then screwed up again. I’m probably lucky to be alive. Finally, along with the way, I’ve gained a bit of wisdom—at least I think so—and figured out how to do some things right.

This equally applies to photography, although I doubt having the wrong f-stop could have killed me. There are so many places that I visit and photograph that is worth returning to. Sometimes, it’s because I was there at the wrong time of day or wrong season, and I optimistically figure the most amazing image of my life will be waiting if I just hit the right moment on the next trip. Other times, I’ll go back because I simply blew it the first time—wrong compositions, wrong lenses, wrong angles, etc. Lastly, as in the case of a national park, I’ll keep coming back because there’s so much more to photograph. I’ve lost count how many times I’ve been to Death Valley National Park and each time, I get something different.

The Art of Persistence

Let me cite one example. I spent years driving out to the desert to photograph landscapes by moonlight and one of my favorite locations was California’s Joshua Tree National Park. This place is a wonderland of photographic possibilities, and working under the full moon meant I wasn’t restricted to just a few minutes of perfect light in the morning or night, but hours. (But that’s another blog.)

One spot I mined for images month after month was Jumbo Rocks, a labyrinth of boulders and other rock formations all easily accessible from the road. In there, atop a slab of gritty granodiorite sat a boulder that had split apart and out of the top grew a small, weathered juniper. I immediately visualized how I wanted to photograph it: I would squeeze into the crack from behind, pop off a flash to make it look like a light was shining through. That light, of course, had to be “moonlight,” so I would double-expose the full moon above the rock. While this looked pretty good in my mind, I just had to get it down on film.

That’s correct. In those days, I was using a film which required 20-minute exposures and no ability to check if I had gotten the picture as I envisioned until it was developed back in town a day later.

It took me four months to get that shot. Each time I went out, I would improve upon the last one. Once, I placed the moon in the wrong place above the crack. Or, I didn’t put enough light in the crack. Given certain ground limitations, I had to shoot up from below the boulder and the angle wasn’t right. So I rented the tallest tripod I could get, which raised the camera to the correct pitch. And then finally on a cold December night, I nailed it. The picture, titled, “Jumbo Rocks, 7 p.m.”, has been a big seller for me ever since.

Jumbo Rocks, 7 a.m. I saw this shot in my mind long before I was able to get it on film Persistence was the key.

Digital Deja Vu

Does this mean if I had a digital camera I could have gotten it right the first time? Maybe yes, maybe no. Even under more usual circumstances, that is, during the day as opposed to the night, you may not realize what you have done correctly—or not—with a subject until after you see the images in Lightroom’s grid and, then, oops: If I had done this instead of that, this picture would be amazing. So often that’s the routine with photography—you need some mental space between the time of exposure and when you see it on a monitor to fully appreciate what you’ve done.

However, if the pictures didn’t work out, it’s not a total loss. Go back if you can. Shoot again with another lens, aperture setting, angle or different ideas. Here are a few factors I consider:

Do I like my compositions? Unfortunately, ideas for how to shoot something don’t always immediately hit me. No matter how much I think I’ve milked a scene, if I go back, I’ll see new ways to tackle it photographically.

The unpredictable things, such as weather or light. Perhaps the weather was really awful or too good, that is, clear skies. There are so many places where the weather is different from day-to-day or even hour-to-hour. Photography is always a bit of a crapshoot when it comes to light. Go back for another roll!

Would a different season make a difference? I might find myself hiking through a grove of quaking aspens in the summer when the leaves are green. If I went back in the fall, perhaps those trees would be aflame in color. Worth a shot.

Mt. Muir, Sunrise I've passed this spot many, many times on the Mt. Whitney trail in the Sierra Mountains, but on this morning, I purposely left the trailhead extremely early to get to this spot at sunrise.
Mt. Muir, Sunrise I’ve passed this spot many, many times on the Mt. Whitney trail in the Sierra Mountains, but on this morning, I purposely left the trailhead extremely early to get to this spot at sunrise.

Time of day. Not every excursion puts you in a place at the golden hour. I figure if something looks good at noon, it’ll be spectacular at sunset or sunrise. So I make a mental note to return in the future and time it so I’m there at the right hour. I’ve even backpacked into a location and camped there just to be around for better light after passing it by on another trip.

More explorations. There are people who have invested most of their lives photographing one grand location. One of my favorite photographers, Michael Frye, lives near Yosemite National Park and has gone there over and over for years. He still manages to surprise me with his fresh perspective on the park. Not only that but repeatedly going back to the same place is a learning experience. You get to know its rhythms, its variations through the seasons. You can then draw on that to up your odds of being at the right place at the right time.

Palisades Basin, Kings Canyon National Park. This is a huge place to explore and it takes many, many trips to even scratch the surface of what's possible. This was taken in a remote location while on a climbing trip to North Palisade Peak.
Palisades Basin, Kings Canyon National Park. This is a huge place to explore and it takes many, many trips to even scratch the surface of what’s possible. This was taken in a remote location while on a climbing trip to North Palisade Peak.

Lastly, even if you can’t go back, learn from the experience. Why were your images just so-so instead of great? Not only go through your photographs to choose the good ones but deeply analyze the horrible ones and figure out what you did wrong so you can apply that lesson in the future.

One of my canyoneering friends once said she couldn’t understand why I bring my camera gear with me on canyons I’ve done before. The reason is pretty simple. I see something different every time I go back. I also have a chance to build on mediocre pictures and even good pictures, and that gets me—occasionally— to great pictures.

A note about the opening image: This was Mono Creek, a spot on the Pacific Crest Trail I’ve passed at least three times, knowing each visit I had to go back just to take pictures. I finally got a chance to camp here and devote an evening to photography.