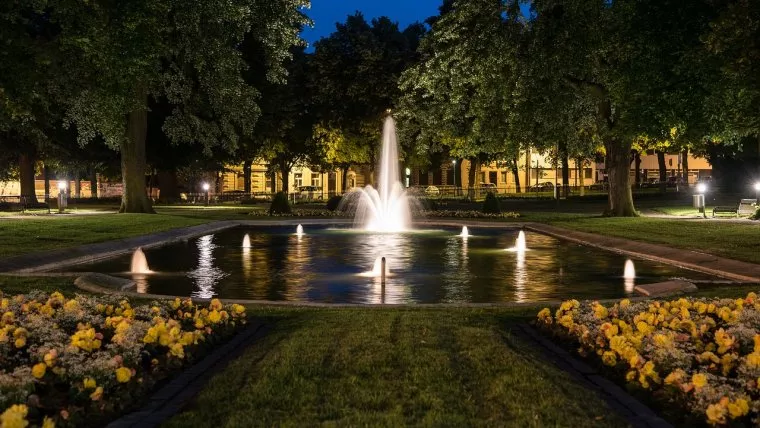
Some of the most spectacular scenes you can capture at night will be in parks. We’re not just talking about city parks here, although they can be quite remarkable. Visit National Parks, with their incredibly expansive skies dotted with stars, or check out amusement parks, where you can find bright lights, vibrant colors, and thrilling movement.
While these locations will definitely provide you with some exciting subject matter, you won’t get the results you’re looking for unless you follow a few tips, especially if it’s your first time out. To shoot in these places in lower-light settings, you’ll need a more advanced camera, a solid wide-angle lens with a fast aperture, and a tripod.
With your gear packed and your location scouted, head out and capture some of the most incredible night photography you’ll ever take – by keeping these tricks in mind.
Table of Contents
The best time to shoot at night is about a half hour after the sun has slipped below the horizon. You’ll hopefully still be able to capture a bit of afterglow in the sky, but it will be plenty dark to highlight the artificial light in an amusement park. If you’re shooting at a National Park, you’ll have just enough light left to keep some of the details in your landscape and whatever foreground elements you’ve included in your composition.
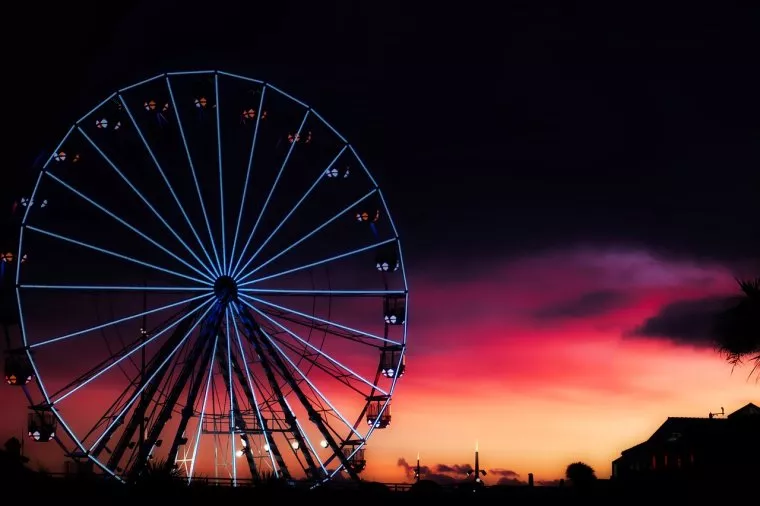
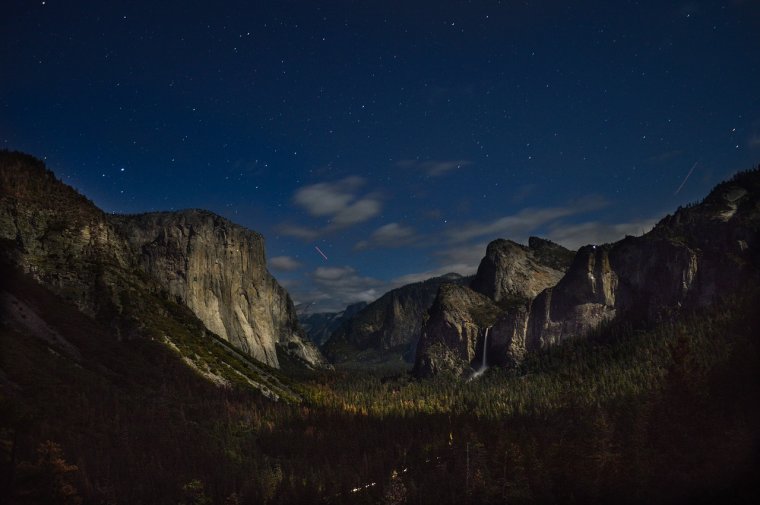
You’ll still be able to get some impressive shots after that vibrant glow is gone, though. The lights on the carnival rides will pop against a velvety black background, and in National Parks, you’ll start to be able to capture the detail in the stars.
Increasing your camera’s sensitivity to light will help you accurately capture the details in low light settings, so dial up your ISO to 400 or more. This will depend on the capabilities of your specific camera, as you don’t want to push your sensor to the point where you start seeing a lot of noise.
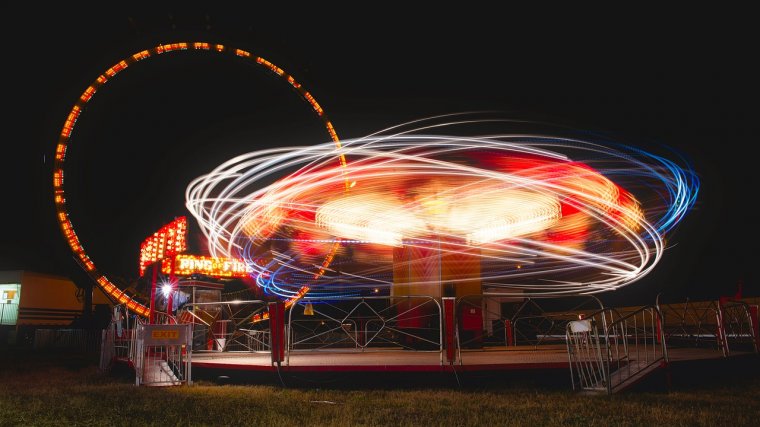
You’ll also want to switch up your shutter speeds. Using a longer exposure time will allow you to capture some movement, but you’ll need to use a tripod and make sure you’re not jostling the camera when you release the shutter. The goal here is to keep static elements of your composition clear while letting the moving parts blur into a colorful, eye-catching pattern.
Since night shooting can be somewhat unpredictable, this is a great opportunity to experiment with your camera’s time-lapse feature. This means your camera will automatically expose a frame every four seconds or so, and you’ll wind up with a very unique selection of different blurs, colors, and compositions.
This is similar to shooting video in that you’ll have a somewhat ongoing record of the scene, but this way, you’ll end up with a series of full-frame stills, instead of a full recording. This gives you some really interesting results that you can play with later, in post-processing.
Focusing is an issue at night since it’s hard to see the subject of your photo when there’s very little available light. Autofocus is especially unreliable, so you’ll need to get familiar with the manual focusing ring on your lens. You can also use Live View, if your camera allows it, to have a larger screen to work with as you try to focus your lens.
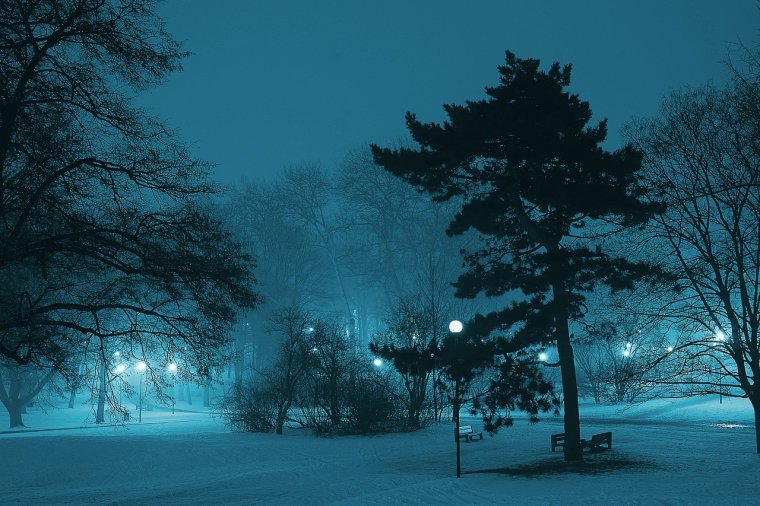
Try using a lens with a wide aperture, so the depth of field shouldn’t be an issue. You want as much of the park scene to be in focus as possible. Try to find areas where some of the ambient light hits your subject, to create a bit of contrast where you can aim your focus.
Even when you’re shooting in the dark, it’s important to carefully compose each frame. As you would with any other landscape, try to include elements to provide a sense of depth – leading lines, foreground interest, and as much detail as possible.
It’s easy to let the star of the image be the lights from the amusement park or the sparkling stars in the night sky at one of the many National Parks around the world. But if you want to create a truly eye-catching, dynamic shot, you’ll need to be sure that there is more going on than just these special features.
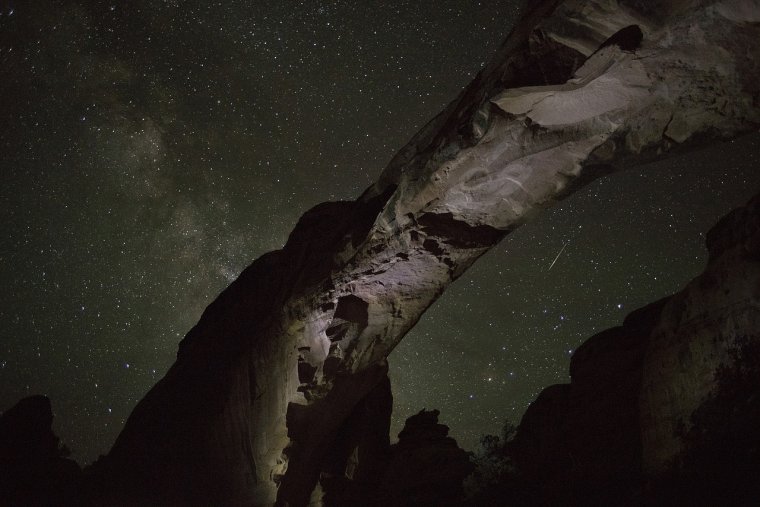
Now that you’ve got some ideas in mind to help get you started photographing parks during the night, get out and start looking for some dynamic compositions. Remember that trial and error is one of the best ways to help teach yourself more about photography – so don’t be afraid to get brave and try some new things. With digital files to work with, you’ve got nothing to lose!
Comments (0)
There are no comments yet.