Tag: lenses

Canon Lens Review – A Look At The 10 Best Lenses For Canon

If you have a Canon DSLR, congratulations! You have access to quite possibly the greatest collection of lenses on Earth. While it’s more than possible to find some remarkable lenses for any DSLR — and I personally recommend checking out Sigma’s excellent Art line for any camera brand — Canon lenses are generally considered the best in the world. Sure, Leica and Zeiss offer some truly astounding glass, such as the Leica Noctilux-M 50mm f/0.95, that arguably outperform the very best from Canon. But if you want a huge selection of dozens of lenses with focal lengths ranging from 8mm to 800mm, look no further than Canon EF lenses.

But with such a massive selection to choose from, picking the lenses that are right for you can be a daunting task. If you’re into a specialized form of photography that requires a specific kind of lens, such as a fisheye, macro, tilt-shift, or super telephoto, then you likely already know what you need. However, if you’re just starting out with your Canon camera, a narrowed down selection of the best Canon has to offer may be helpful.
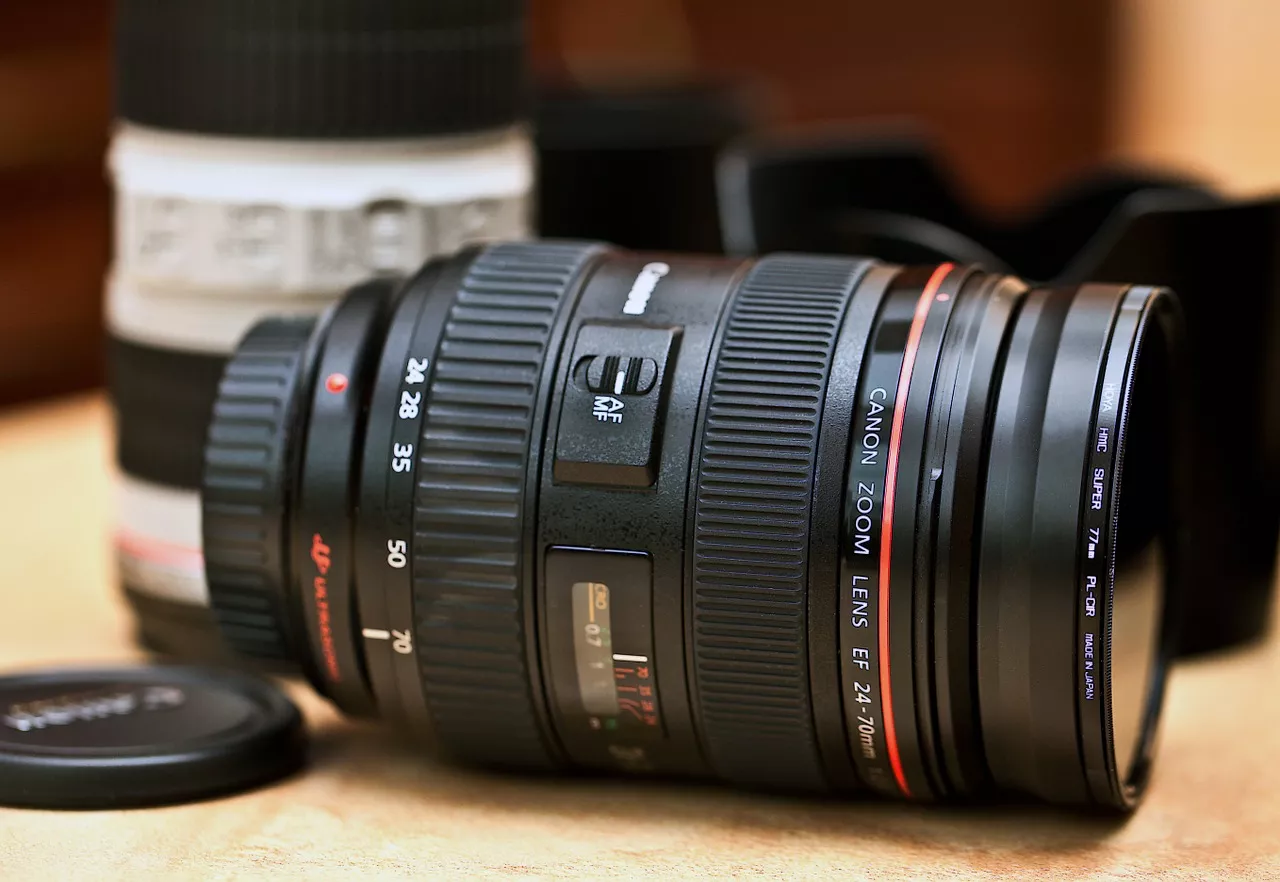
best cheap lenses for canon

There are three noteworthy nuances to the Canon lineup we should go through before we begin:

#1 The first thing to note is if your camera is full-frame or APS-C, already assuming it is an EF mount camera. This will determine what lenses are available to you, and you should always triple check that you’re buying a full-frame lens if you have a full-frame camera. If you have an APS-C camera, you can use any EF-mount lens, but be sure to note that the “equivalent focal length” of a full frame lens on a crop-sensor Canon is 1.6x the listed focal length. So if a full-frame lens is 35mm, on APS-C it would be 35mm x 1.6, or 56mm. APS-C only lenses are denoted as EF-S and shouldn’t be purchased for use with a full-frame camera.

#2 Another important element of the Canon lens system is the division of quality into three distinct tiers:

Silver: These are the everyday lenses that come in camera kits and are generally not the best Canon can make, with a flimsy, plastic build. Though they work fine, these lenses should generally be avoided if you want good image quality, though there are a few exceptions noted on this list. I almost always recommend buying a camera body only and choosing your lenses for yourself, since a kit lens won’t give you results that are much better than a point-and-shoot. These budget lenses have silver rings or no rings at all painted on the barrel.

Gold: The middle tier is essentially just a nicer version of the Silver series, often sporting similar optical design with higher quality glass or coating and a metal construction. some of these lenses are actually pretty good, and you can spot them by their gold ring on the barrel.

Luxury: Then, there is the L series. These are expensive, amazing lenses that pretty much every photographer lusts after. They are easily recognizable by the red ring painted at the end of the barrel, and by their high price tags. Though they have top-end optical and build quality, they are usually big and heavy regardless of the focal length. But if you’re going to take your Canon system seriously, you should save up and focus mostly on L lenses.
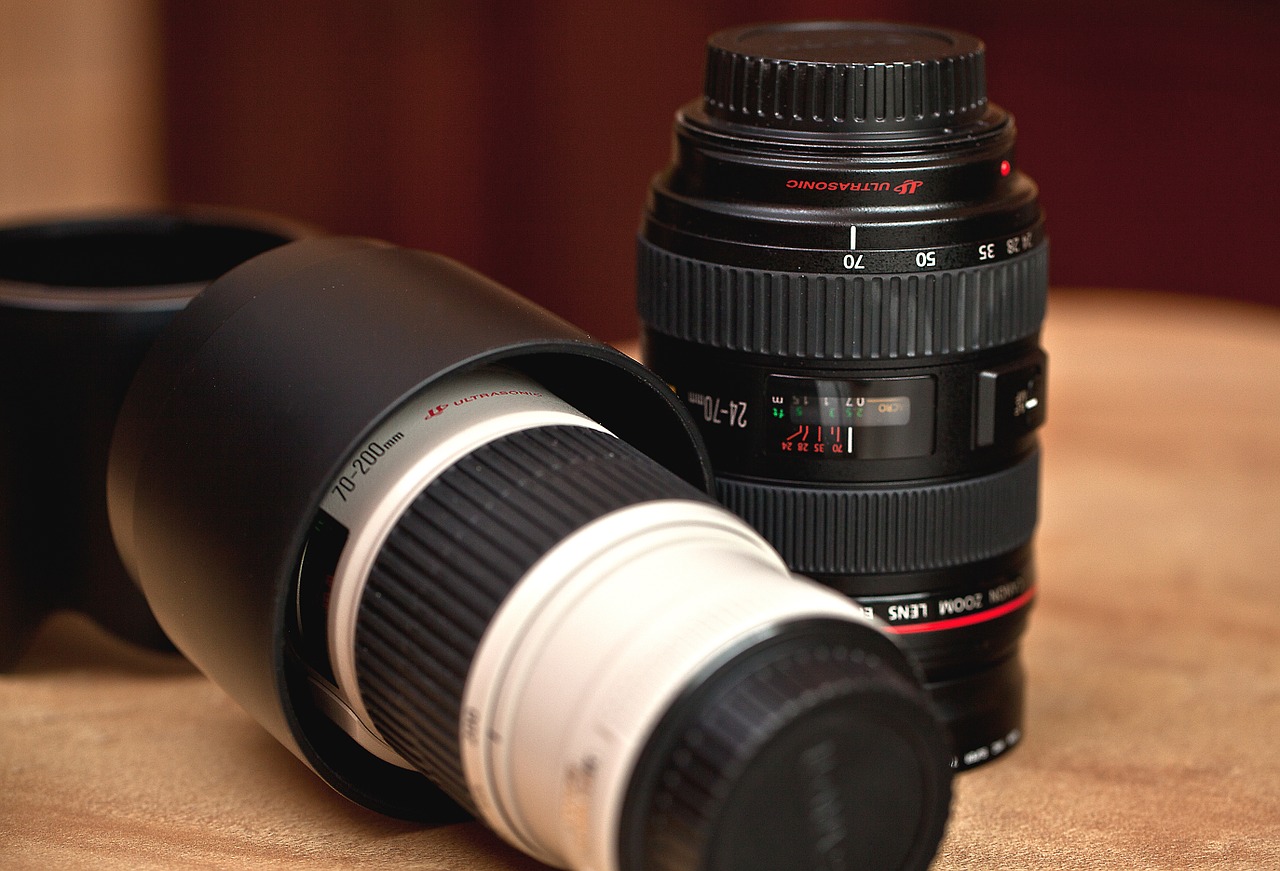
best lens for canon 6d

#3 There are a few acronyms that get tacked onto the beginning or end of a lens’s name (which is made up of the focal length and minimum selectable aperture, like 50mm f/1.8). Each denotes a special feature of that lens, which is helpful for quick comparisons. While there are a number of more obscure acronyms that are only found on a few lenses, all you really need to know are the common ones listed below:

EF: Canon’s designation for full-frame lenses, placed before the lens name

EF-S: Canon’s designation for APS-C lenses, placed before the lens name

IS: Image Stabilization, especially important in telephoto lenses

L: Luxury, this simply tells you it’s a top-of-the-line L series lens

STM: Stepper Motor, a low-vibration focusing motor that’s good for video, with non-mechanical manual focus. It’s generally not as fast or accurate as an UltraSonic Motor and comes in cheaper lenses.

USM/Micro USM: UltraSonic Motor, a fast, quiet, accurate autofocusing motor

I, II, III: These numerals denote if the lens is Mark I, Mark II, or Mark III, or how recent the design is. If a lens is updated it will usually receive a newer Mark in its name. No Mark designation means the lens is a Mark I, which is the case for most of the lenses in the list below. While newer mark lenses are typically a bit better, the improvement isn’t always worth the higher price.

My advice to any new photographer is to allocate about 2/3 of your total photography budget on getting two or three quality lenses. The lens you use will have a far greater impact on your images than the camera you use, and your lenses can stay with you your entire life while you will likely replace your camera every five years or so. If you want proof that the lens is far more important than the camera body, check out this great comparison video by the venerable DigitalRev TV. So if you can, save up and get one L lens instead of two or three non-L lenses and thank me later.

Okay, let’s dive into the list of the best Canon lenses out there. Since this is aimed at photographers who are new to the Canon lens lineup, we’ll go in order from the least expensive to the most expensive. But if you get multiple lenses, make sure they actually serve different purposes by having different focal lengths, physical sizes, or minimum apertures.

10 Best Canon Lenses 


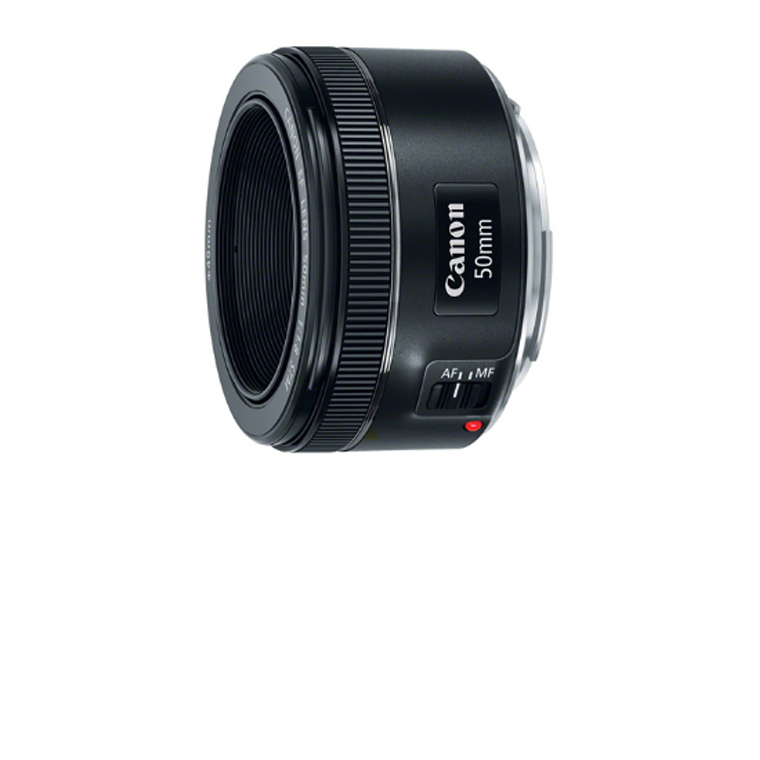
EF 50mm f/1.8 STMGo to Amazon
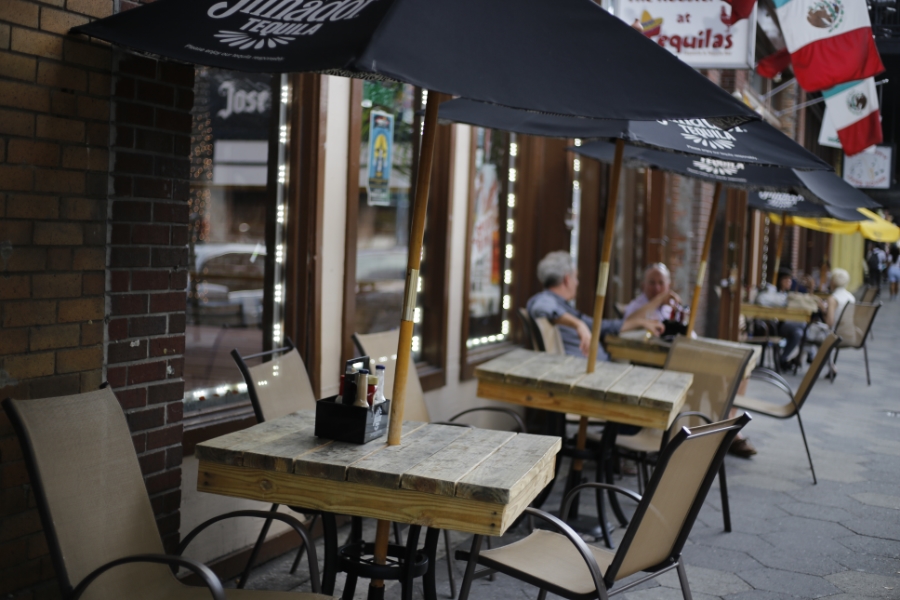
The nifty fifty! Every photographer needs a compact 50mm prime, and Canon has you covered with an excellent lens at an amazing price.
Watch video review
Overall rating:
46
Lightweight:
0
95
100
Zoom Range:
0
30
100
Stabilization:
0
20
100
Focus Speed:
0
40
100
Pros
  • Lightweight (Weight: 158g)
  • AF Capable
  • Silent
  • Smooth video focus
  • Cheap
Cons
  • Modest barrel distortion
  • Slower focus
  • Does not include stabilization
  • Narrower field of view on APS-C cameras.
Click to read the full Review
Considering the popularity of its predecesor, Canon decided to celebrate the 25th anniversary of its EF 50mm f/1.8 II Lens with a power upgrade; something that was amazingly valued by Canon's loyal customers.

It covers full-frame cameras and is an 80mm equivalent lens on APS-C. It's small and has a Stepper autofocus motor (Also known as Smooth Transitions for Motion or STM) that is equally suited for stills and video, something Canon is know for. While it's in the lowest, Silver tier of Canon lenses, it's still a no-brainer purchase because of the price point, fast minimum aperture, and sharp performance. A clear number 1 in this Canon lens review post.

Ideal for those situations were we're shooting at poor lit conditions, for portraits and also for our daily life photographs - in a few words: a lifelong companion.

(Sample photo courtesy of Canon.es)
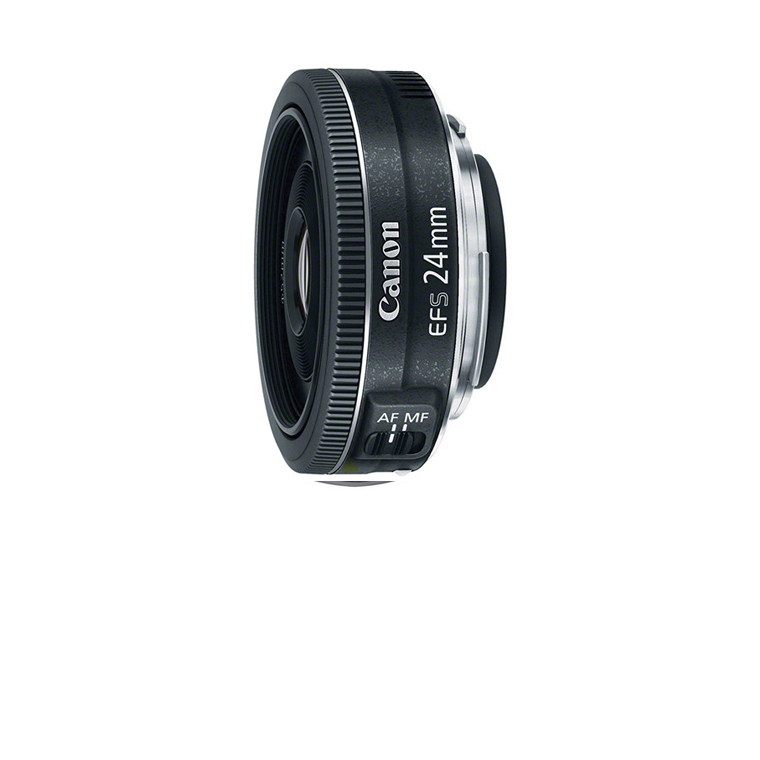
EF-S 24mm f/2.8 STMGo to Amazon
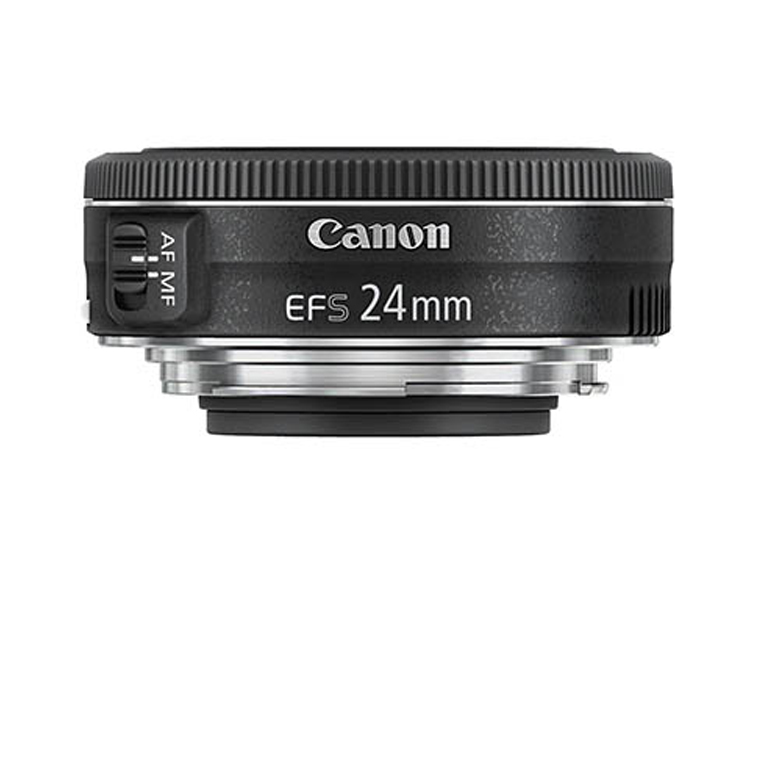
While not at all necessary, having a pancake lens is always kinda fun. As you can see, it's called a pancake lens because it's... shaped like a pancake. While the downside is that it has a relatively simple optical design that lacks a bit of sharpness, the upside is that it's just so darn flat!
Watch video review
Overall rating:
48
Lightweight:
0
97
100
Zoom Range:
0
30
100
Stabilization:
0
20
100
Focus Speed:
0
46
100
Pros
  • Lightweight (Weight: 127 g)
  • AF Capable
  • Real Sharp
  • Very Compact
  • Classic wide-angle field of view
  • Silent STM focus motor
Cons
  • Doesn't feature image stabilization
  • May show vignette effect
  • Not too accurate manual focus
Click to read the full Review
One of the main advantages of this lens is its focal length of 24 mm, which paired with an EOS APS-C camera, will get the same angle of view as with a target of 38 mm and a full frame camera. These conditions are similar to the way in which the human eye perceives images, so these photos will have a nice, natural look for your viewers.

This lens will make your camera feel much smaller and lighter and is great for street photography, since it's not very noticeable or intimidating. Though its optical quality isn't the absolute best, it still can take some great images and is a bargain for a useful wide angle lens.

This lens is also ideal for those DOF effects, as well as for night photography due to its big aperture value - as a great amount of light can be caught by the sensor without even requiring to use a Flash.

(Sample photo courtesy of Thomas Kraus)
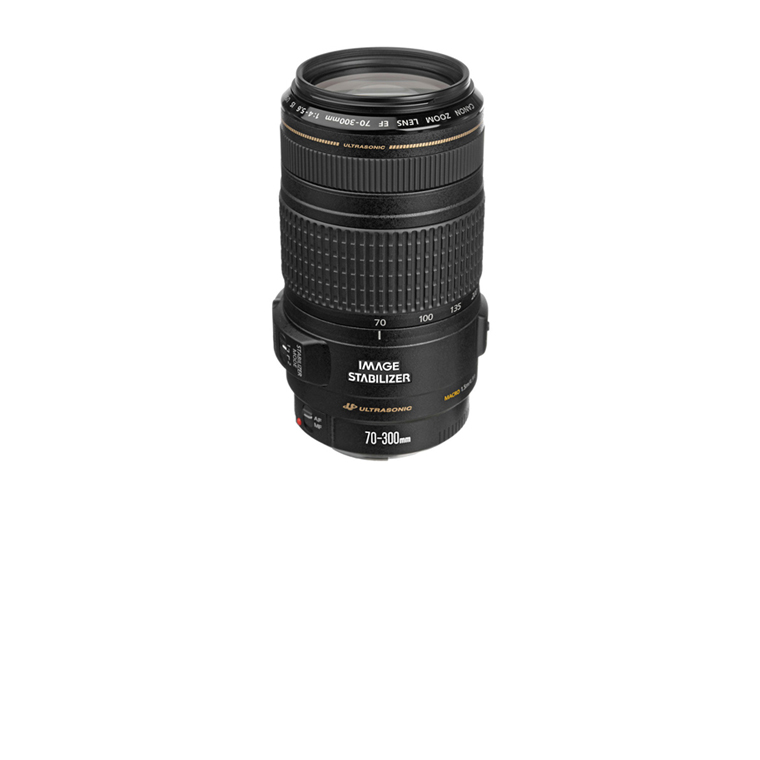
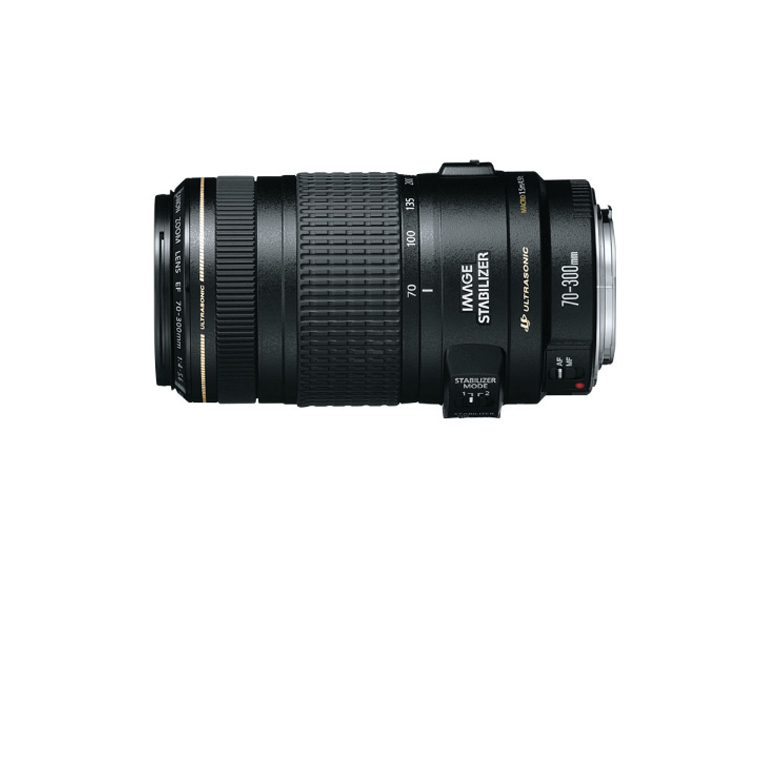
EF 70-300mm f/4-5.6 IS USMGo to Amazon
This baby has quite a bit of zoom range, and it's the first Gold lens on the list. Because of its super long reach, it doesn't have a great minimum aperture range, but that's the price you pay. It does, however, have optical image stabilization, which is something to look for in a telephoto lens.
Watch video review
Overall rating:
71
Lightweight:
0
30
100
Zoom Range:
0
90
100
Stabilization:
0
85
100
Focus Speed:
0
80
100
Pros
  • AF Capable
  • Ultrasonic Autofocus Motor
  • Zoom Ring Lock Lever
  • Optical Image Stabilization
Cons
  • Bulkier (Weight: 0.63 kg)
Click to read the full Review
The lens EF 70-300 mm f/5-5 6 IS USM is equipped with a three steps (IS) image stabilizer, which makes it ideal for working without a tripod. It is possible to use slower shutter speeds values, up to three steps more than would be possible in other cases, without decreasing the sharpness feeling of the image itself.

An element of the objective of UD glass (ultra low dispersion) corrects chromatic aberrations as well as offering resolution and contrasts elevated throughout the zoom range.

Its focus motor is virtually silent, very fast speed for a precise focus even in the most demanding situations.

A budget solution for those who desire to take a step further on travel/landscape/action photography.

(Sample photo courtesy of Fabio Scalabrini)
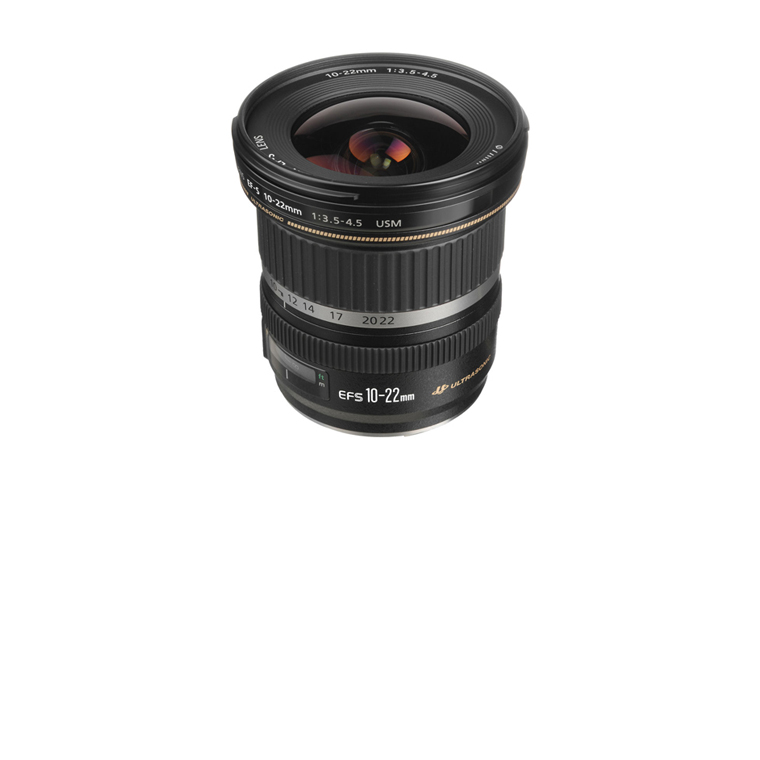
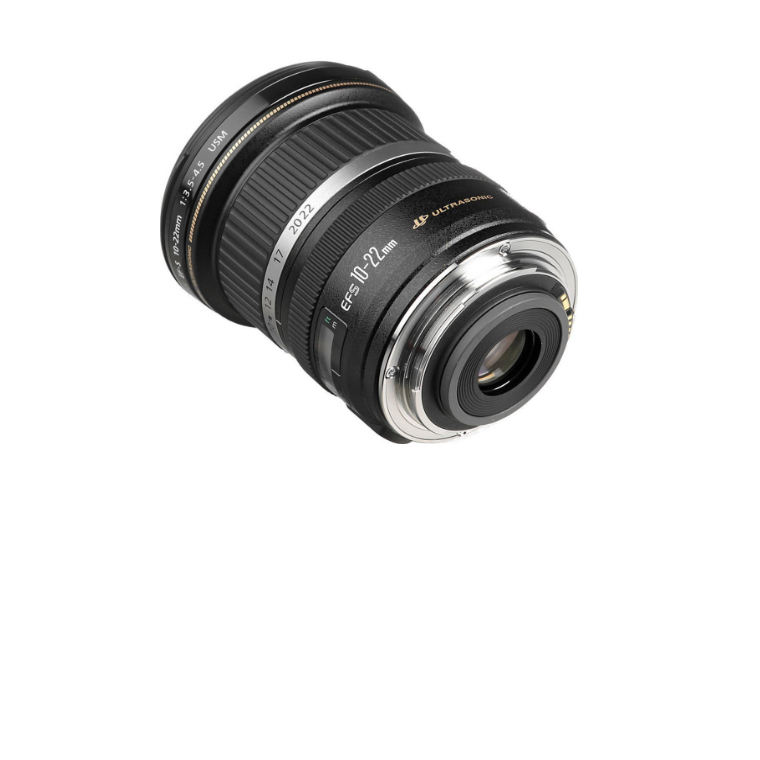
EF-S 10-22mm f/3.5-4.5 USMGo to Amazon
For creative photographers, this is your lens to go - It is capable of altering the perspective of the image in such a way to get incredible dynamic effects.
Watch video review
Overall rating:
61
Lightweight:
0
50
100
Zoom Range:
0
40
100
Stabilization:
0
80
100
Focus Speed:
0
75
100
Pros
  • AF Capable
  • Extreme wide angle coverage
  • Low geometric distortion
  • Ultrasonic Autofocus Motor
Cons
  • Weight: 0.35 kg
  • Lens hood not supplied as standard
  • Modest macro capabilities
  • Incompatible with full-frame bodies
Click to read the full Review
Before you get too excited, remember that this is another APS-C lens, meaning the equivalent focal length is 16-35mm. This is, however, still a very wide angle lens that's right on the border of being a fisheye. This is a great budget option for those looking for a wide angle zoom since it covers basically the entire range you would want. It's also another Gold lens, so you know the build quality will be pretty good too.

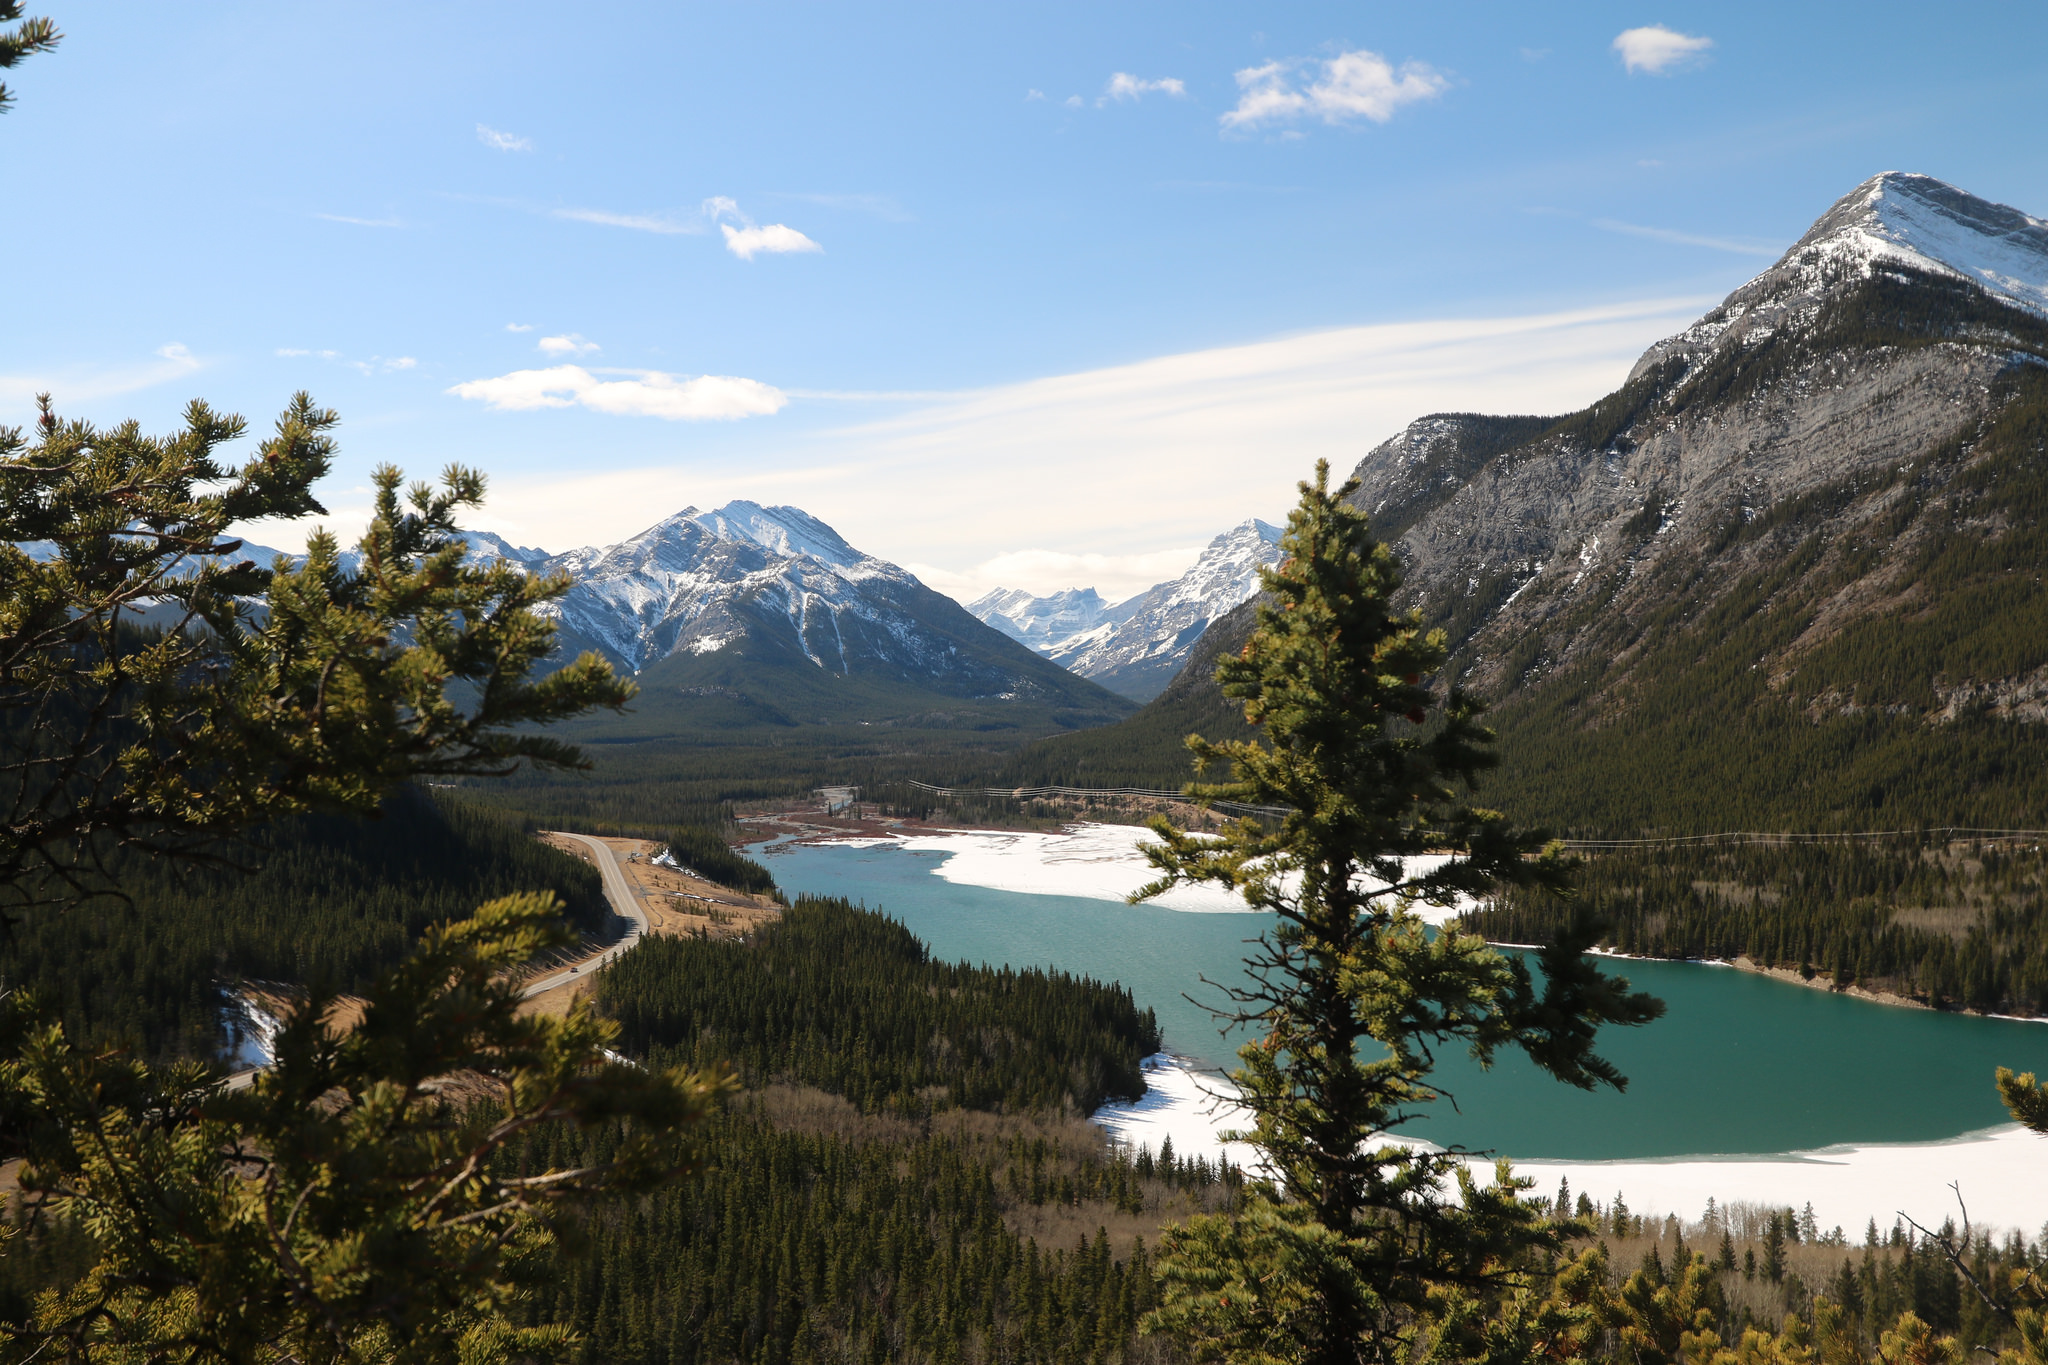
Another advantage of this lens relies on its ability to separate the background plane from the plane of the  subject to portray, reinforcing the feeling of presence while keeping an excellent sharpness value in both planes.

(Sample photo courtesy of Dave)
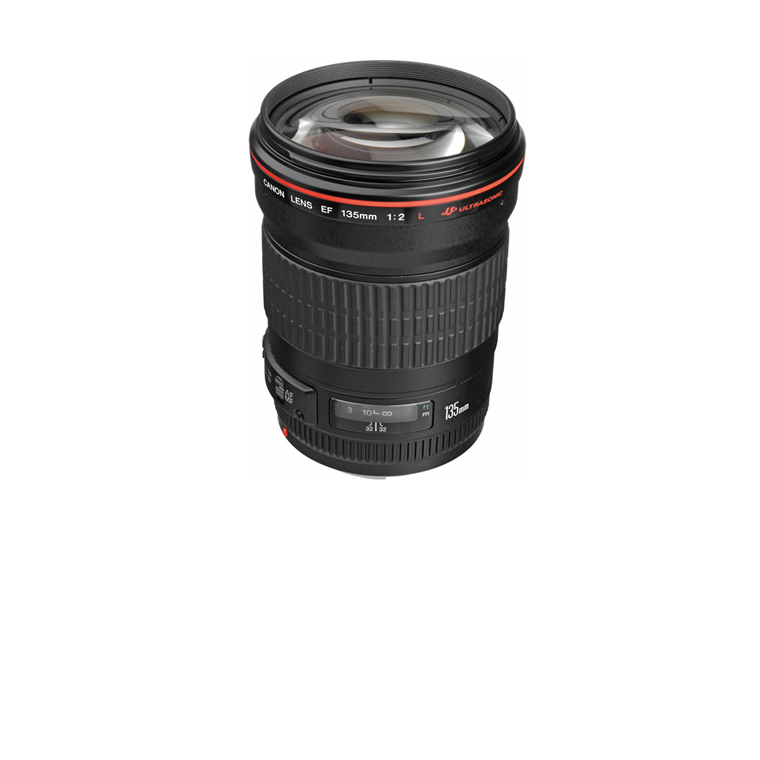
EF 135mm f/2L USMGo to Amazon
It is considered to be a lightweight option for a telephoto lens if you compare it to other similar models - comfortable enough for not requiring a tripod on your common daily-shooting sessions.
Watch video review
Overall rating:
68
Lightweight:
0
60
100
Zoom Range:
0
85
100
Stabilization:
0
50
100
Focus Speed:
0
75
100
Pros
  • AF capable
  • Medium weight (750g)
  • Focusing Range Limiter
  • Depth of Field Scale
  • Ultrasonic Focus Motor
  • Rear Focusing System
Cons
  • No optical stabilization
Click to read the full Review
The first L lens on the list, and it's a real beauty. 135mm is an awesome prime length for nature photography and probably the longest prime you'll want. This is perhaps the largest aperture available in a 135mm lens and it can make for some dramatic images of wildlife. The f/2 aperture is also helpful for nature photography because it can let in lots of light at dusk or dawn, when nature is at its best. You could even use this as a studio portrait lens, though you'll need a decent amount of space between you and your subject because of the longer than ideal focal length.

This lens model also features integration with E-TTL II flash metering, as well as featuring a circular aperture to create a smooth bokeh effect.

Keep in mind that this lens is supplied with a flexible case and lens hood.

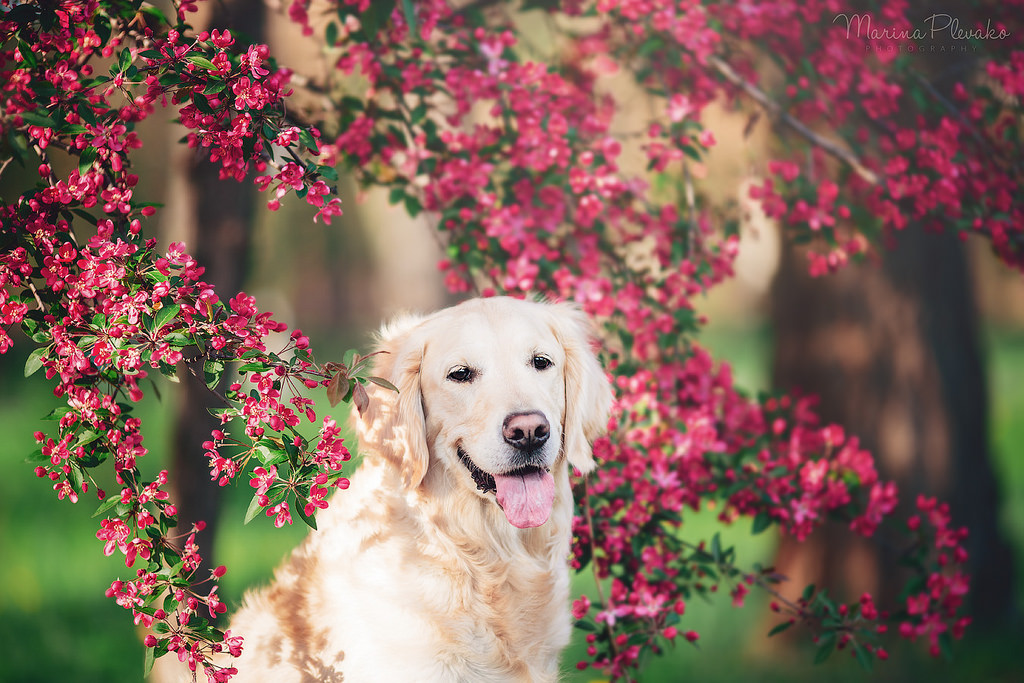
(Sample photo courtesy of Marina Plevako)
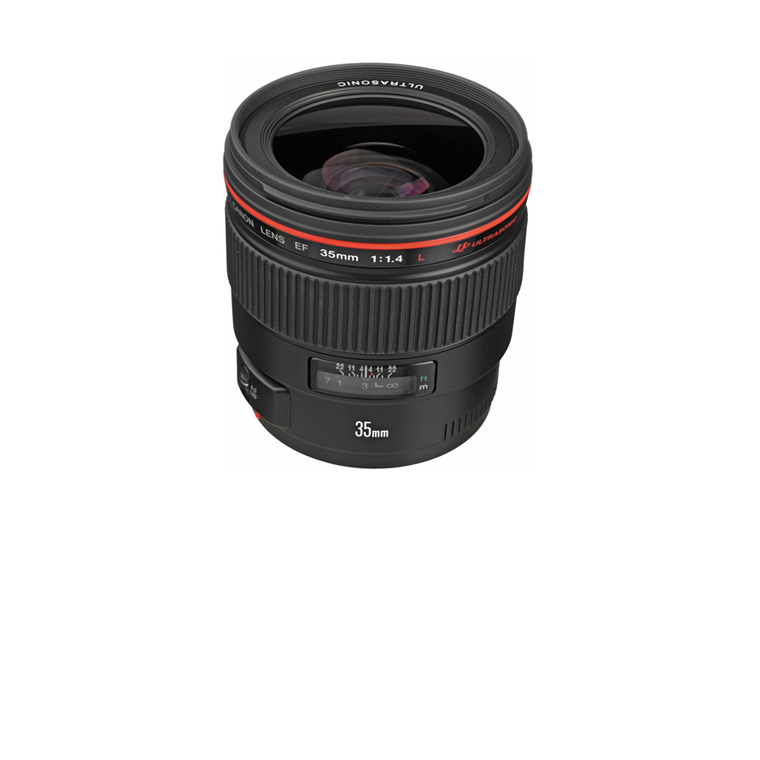
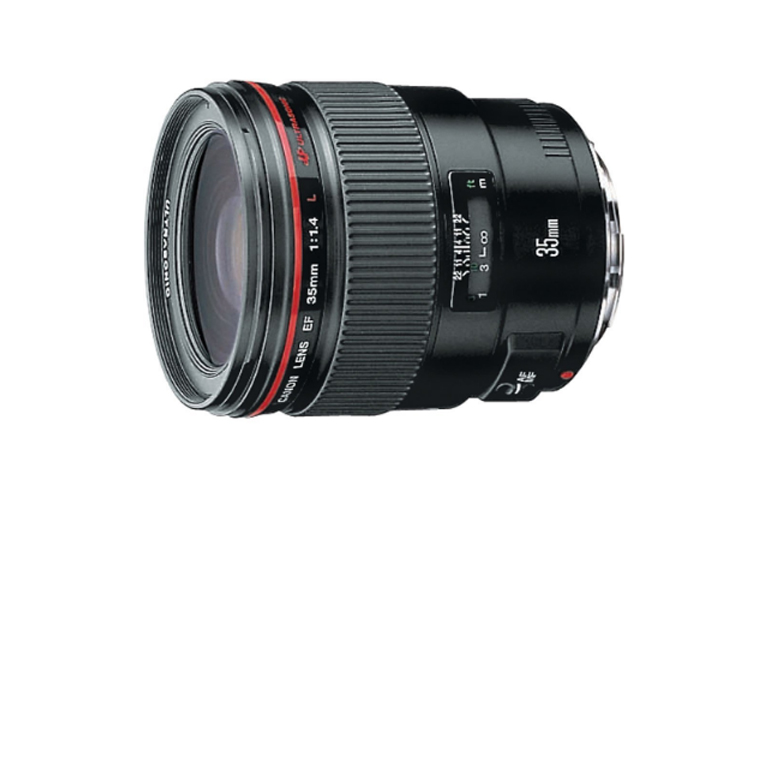
EF 35mm f/1.4L USMGo to Amazon
If you're a street photographer new to Canon, this is probably the lens you want. 35mm is, in my opinion, the best focal length you can have for street photography and really for photography in general. It's a very similar focal length to the human eye, more so than 50mm, and therefore the resulting images look very natural.
Watch video review
Overall rating:
75
Lightweight:
0
60
100
Zoom Range:
0
60
100
Stabilization:
0
85
100
Focus Speed:
0
95
100
Pros
  • AF Capable
  • Optically stabilized
  • Clear sharp lens
Cons
  • Heavy (Weight: 580 g)
  • Some distortion
  • Hood not included
Click to read the full Review
The large f/1.4 maximum aperture allows a broader passage of light in comparison with the optical lens, f/2.8, which makes it ideal for photography without a tripod with low light.
When doing photos with large aperture values, photographers can play with limiting the depth of field value. Through these effects of shallow approach can highlight a reason of the merits and is particularly effective when combined with great visual field wide-angle lens.

As well as with the EF 70-300mm f/4-5.6 IS USM, the Ultra-low dispersion (UD) optics and two aspherical lens elements provide incredible on all frame sharpness, even when the lens is used in its more angular opening.

Basically, if you can afford only one L lens you should seriously consider choosing this one.

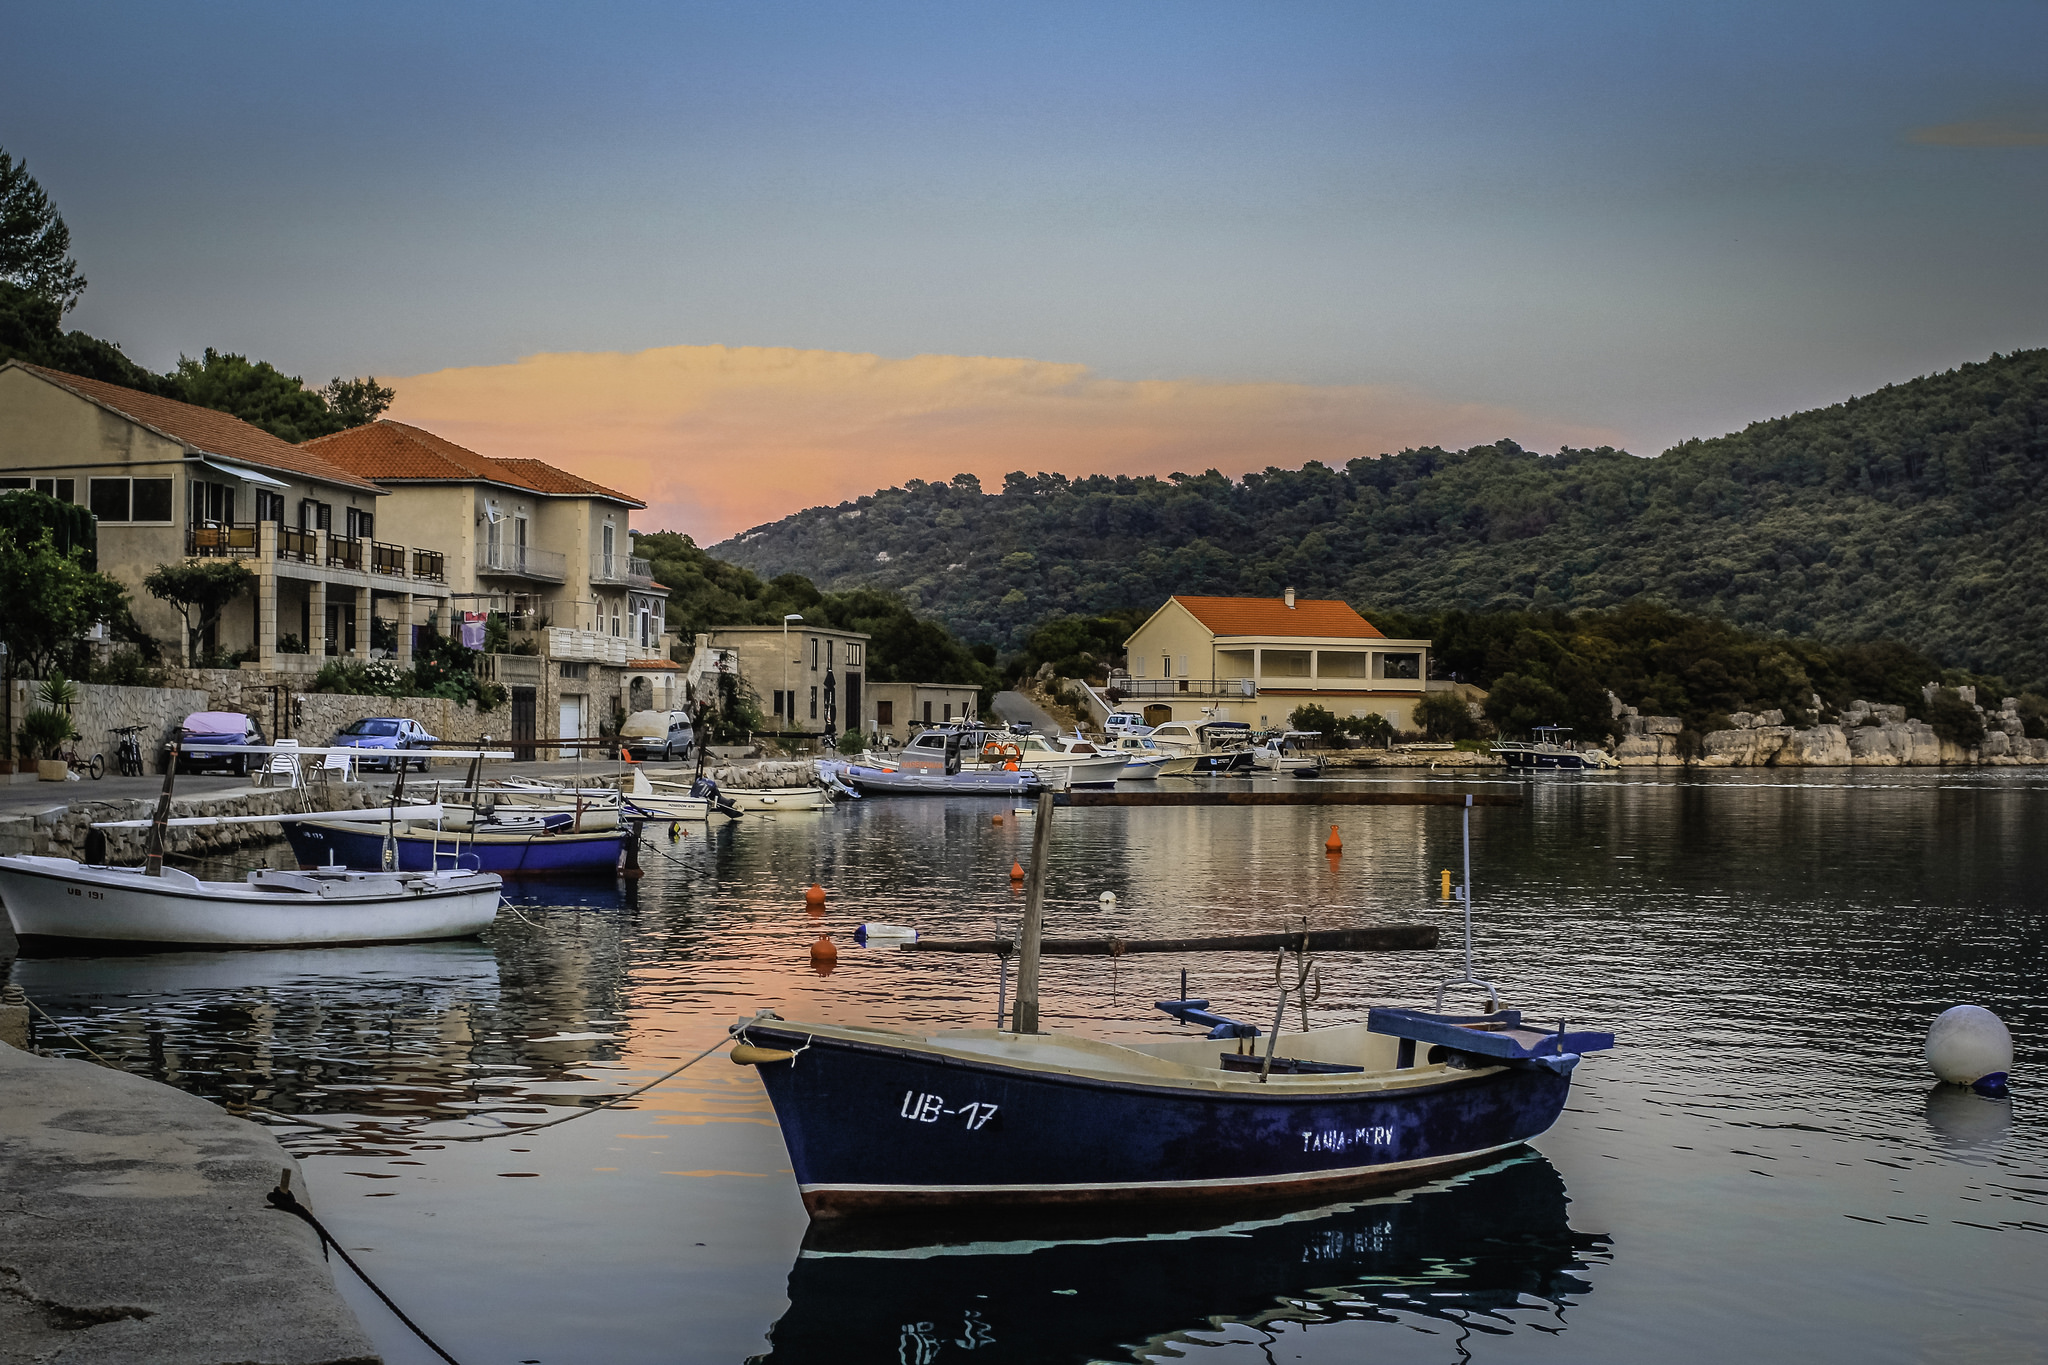
(Sample photo courtesy of Michall Yantsen)
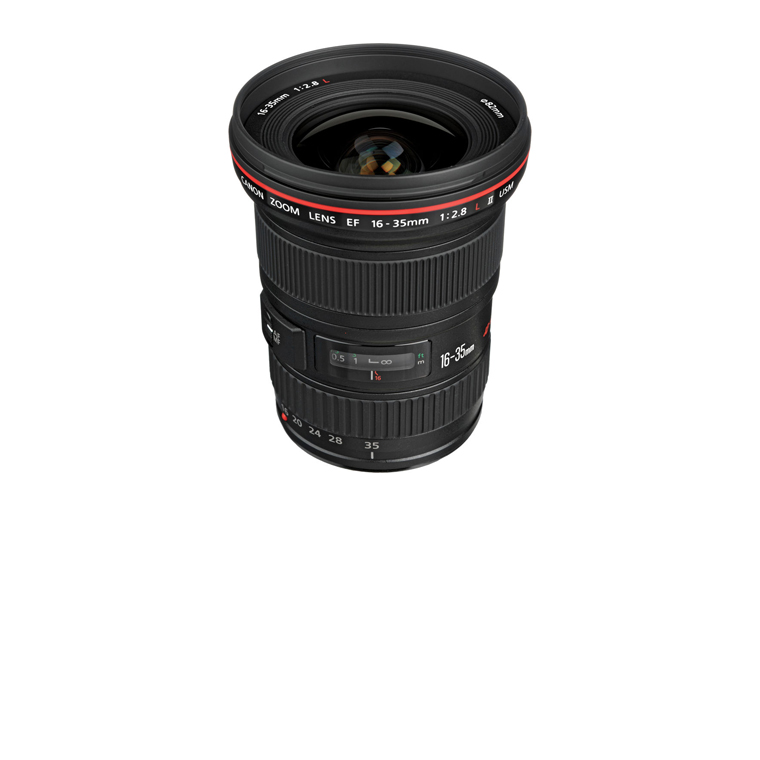
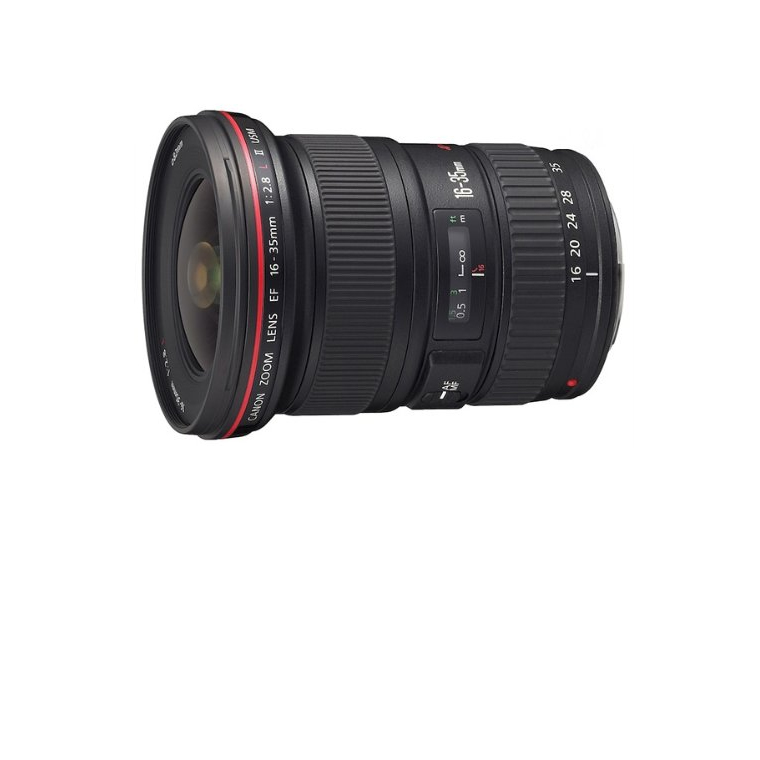
EF 16-35mm f/2.8L II USMGo to Amazon
This is essentially the big-boy (full-frame) equivalent of the EF-S 10-22mm listed above. It has an impressive f/2.8 aperture throughout its zoom range, which is generally the smallest aperture you can use to get pleasingly low depth of field when not shooting macro.
Watch video review
Overall rating:
56
Lightweight:
0
50
100
Zoom Range:
0
20
100
Stabilization:
0
75
100
Focus Speed:
0
80
100
Pros
  • Ultra-wide field of view
  • Fixed f/2.8 aperture
  • Really sharp
Cons
  • Heavy (Weight: 635 g)
  • Limited zoom range
Click to read the full Review
The USM (Ultrasonic Motor) ring controls the fast auto focus system with a nearly silent operation. Mechanical manual focusing can be cancelled without disconnecting the AF system. The lens offers a minimum focus distance of 0.28 m over the entire zoom range.

It also proves itself to be another cool option for getting Bokeh effects; as well as including a flexible case and lens hood, just as we previously seen with the EF 135mm f/2L USM.

This is a great lens for landscapes and should be preferred over its older, Mark I sibling.

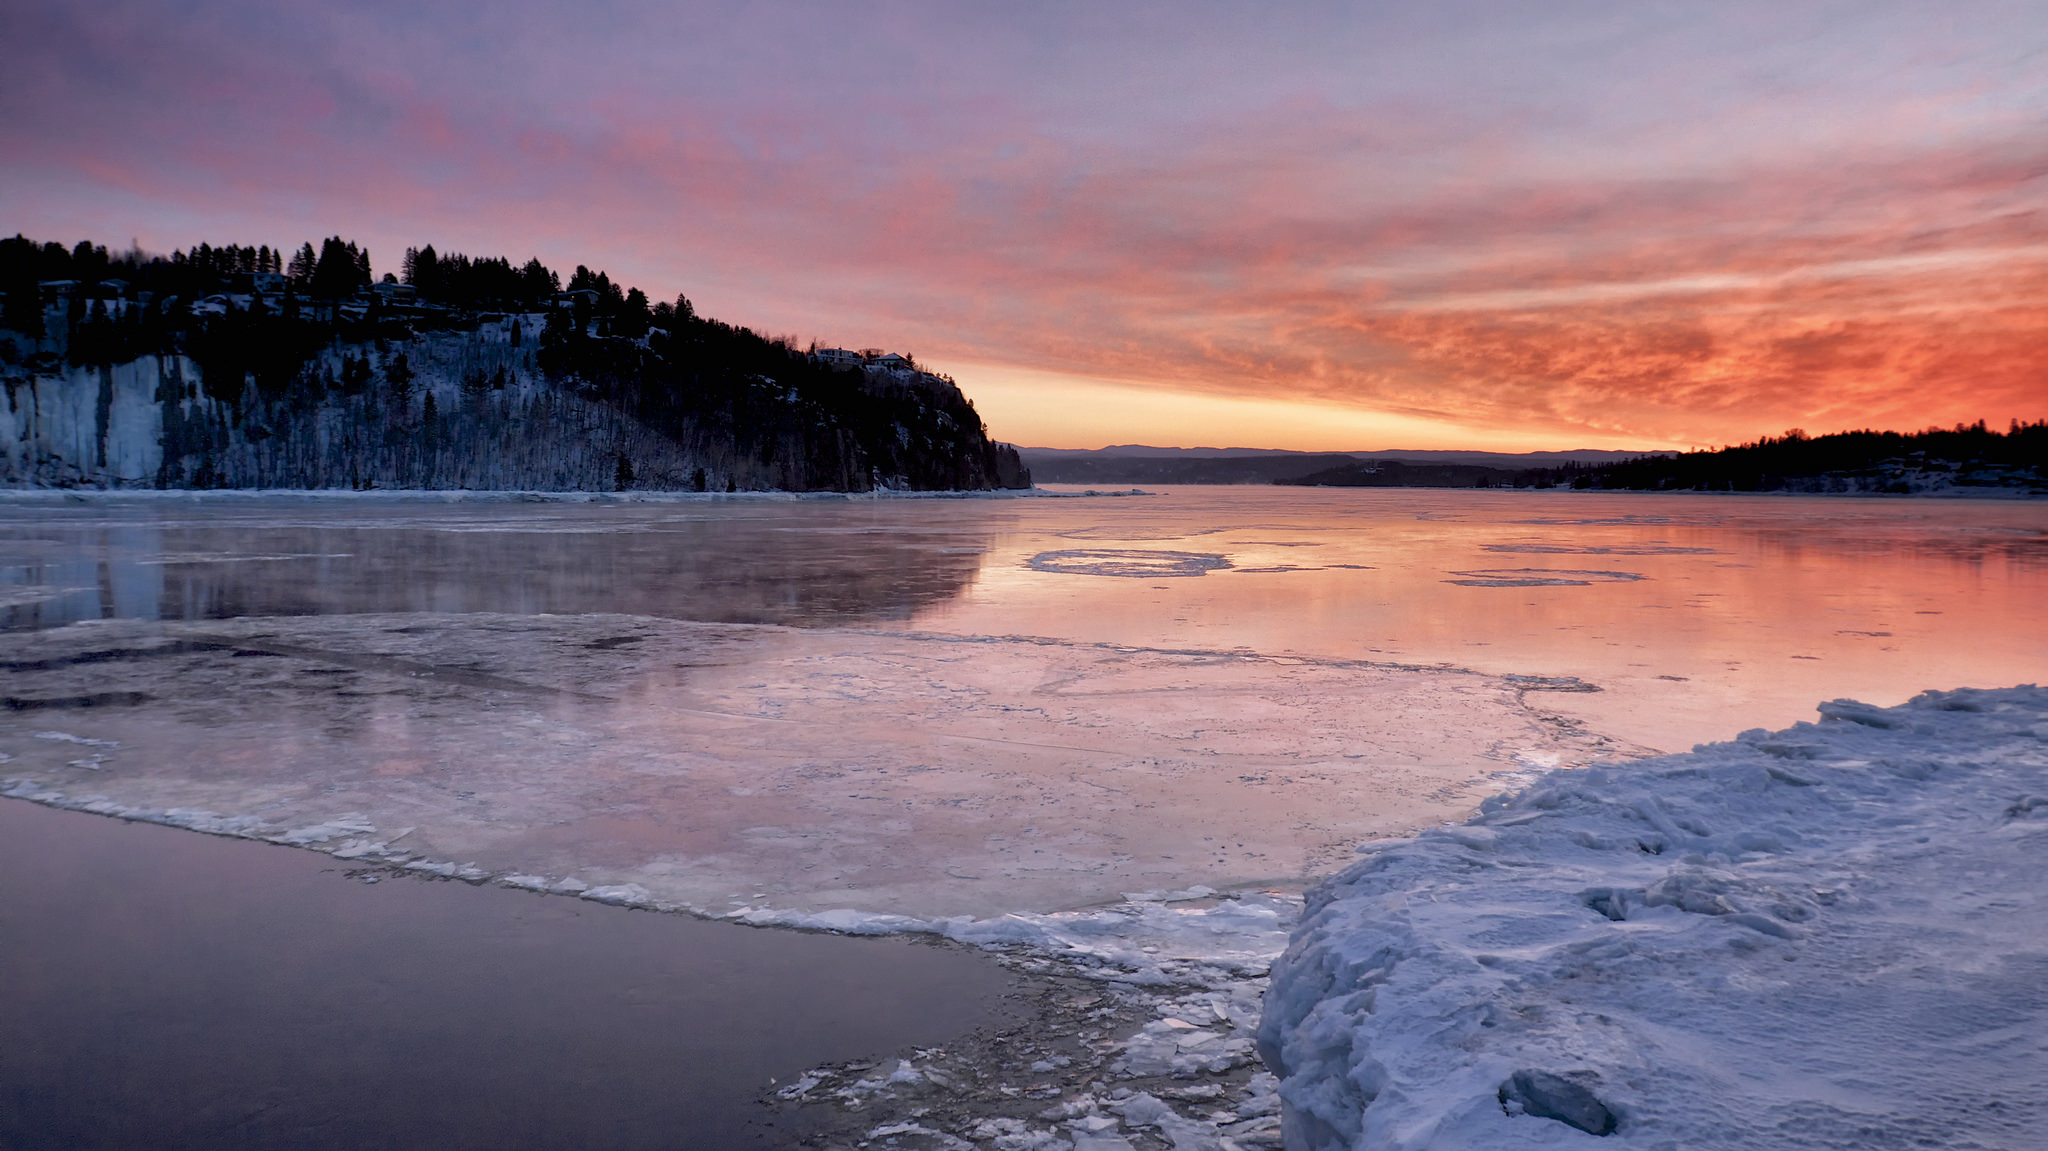
(Sample photo courtesy of Normand Gaudreault)
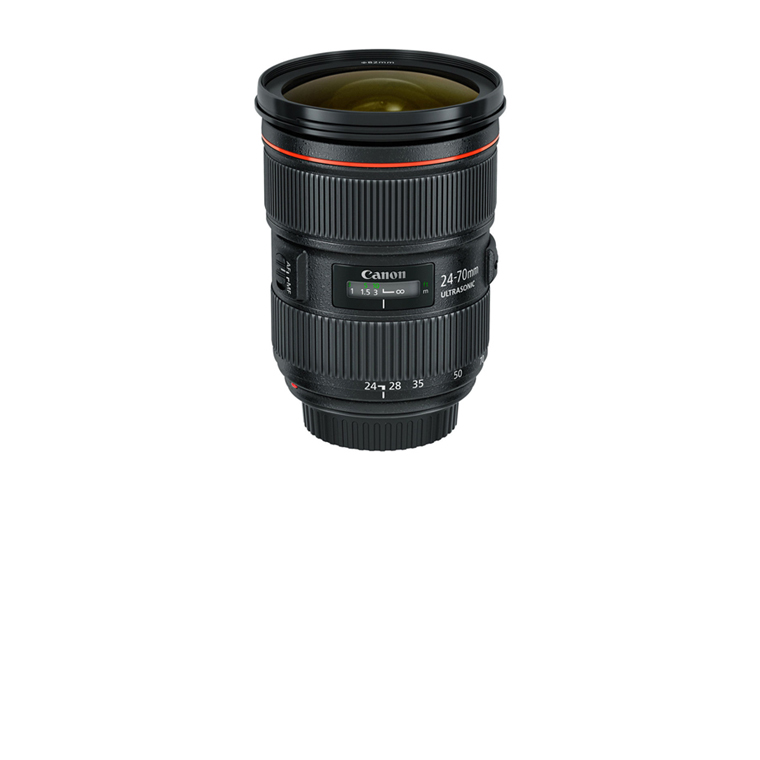
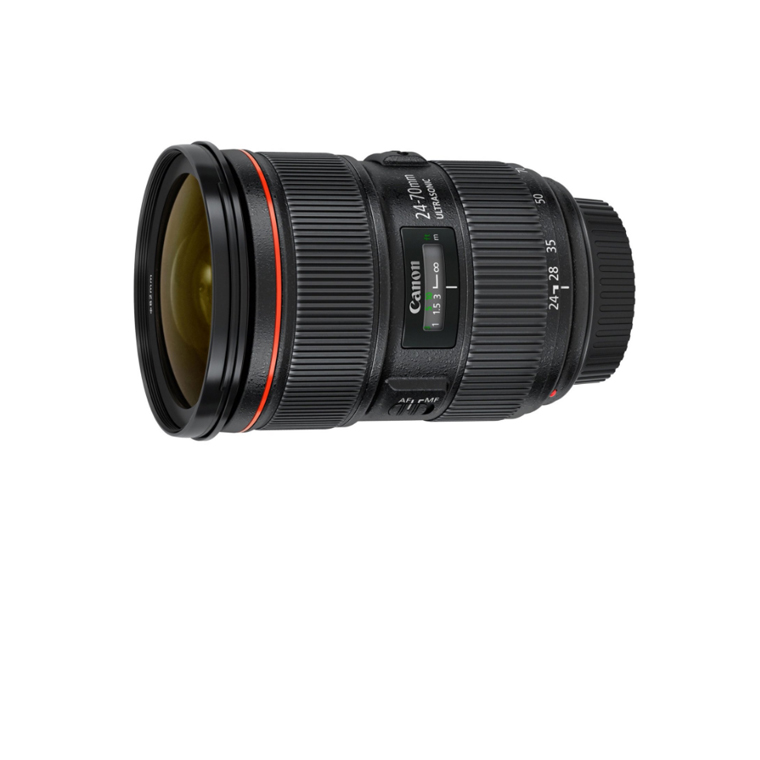
EF 24-70mm f/2.8L II USMGo to Amazon
In the photography gear version of the "Desert Island Game," this is the one lens to bring with you. It covers basically every focal length you could need with excellent quality and a bright/shallow aperture. Many street photographers prefer to use this as their go-to lens over a 35mm or 50mm prime, because it can shoot both of those focal lengths and more.
Watch video review
Overall rating:
55
Lightweight:
0
30
100
Zoom Range:
0
80
100
Stabilization:
0
20
100
Focus Speed:
0
90
100
Pros
  • Sharp Focus
  • AF Capable
  • Ultrasonic Focus Motor
Cons
  • Not Stabilized
  • Pricey: Heavy (Weight: 0.8kg)
Click to read the full Review
The sacrifice you make for tons of versatility is a smaller but still good f/2.8 aperture as compared to an f/1.4, and the lens is also fairly big and heavy.

It's famous for its unique, "reverse zoom" design that actually makes the lens physically longest at 24mm and physically shortest at 70mm.  A minimum distance of 0.38 m focus increases the versatility of the EF 24 - 70 mm f/2 8 L II USM, because that brings up 0. 21 x increase.

This is one of the, if not the, best all-arounders in photography and every Canon owner should try to own it at some point.

(Sample photo courtesy of Mikel L de Arregi)
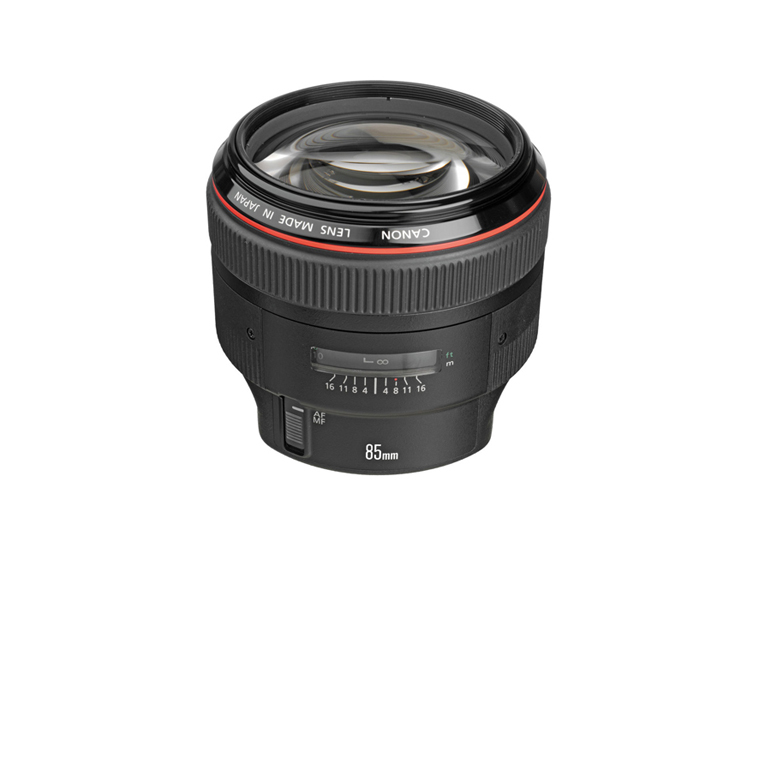
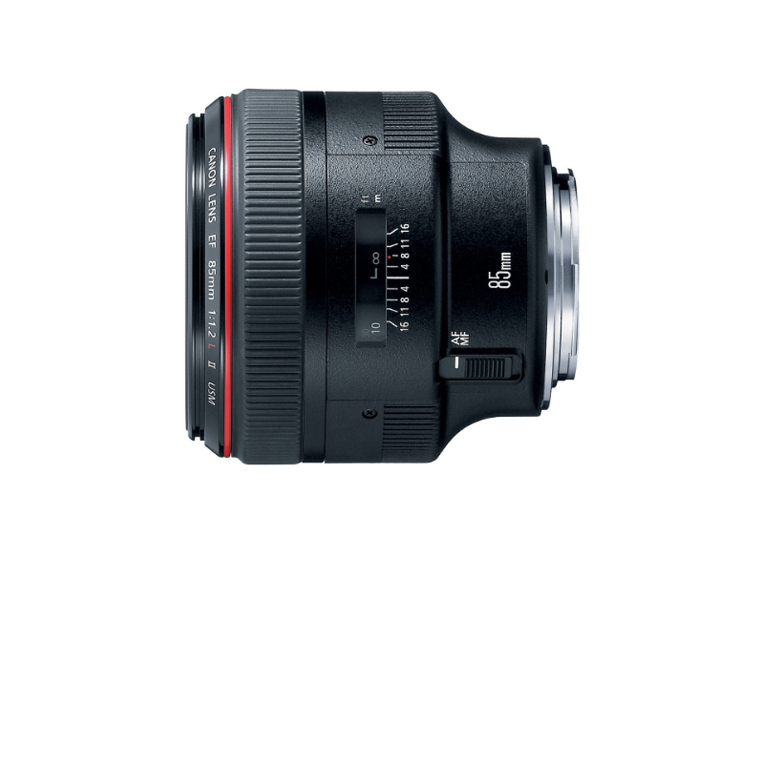
EF 85mm f/1.2L II USMGo to Amazon
One portrait lens to rule them all. This is the ideal focal length for gorgeous portraits, with an impressive f/1.2 aperture that can soften your background beyond recognition without a problem. But be warned, if you get this lens you may find yourself only shooting at f/1.2 and feeling disappointed and frustrated with the rest of your lenses for lacking this extreme aperture.
Watch video review
Overall rating:
55
Lightweight:
0
40
100
Zoom Range:
0
65
100
Stabilization:
0
30
100
Focus Speed:
0
85
100
Pros
  • Very shallow DOF capability
  • Best light-gathering lens
  • Amazingly sharp
Cons
  • Heavy (Weight: 1 kg)
  • Not AF Capable
  • No Stabilization, Expensive
Click to read the full Review
You can see just by looking at the shape of this lens the lengths Canon went to in order to accomplish this massive aperture, opening up the barrel diameter to accommodate an aperture that physically can't fit inside a typical Canon lens barrel.

Ultrasonic autofocus system as we have seen on other previous lenses, get ready to experiment its large f/1.2 maximum aperture, with in combination with the fast focus motor, it provides a remarkable speed to shoot in "low-light without flash" situations. The large aperture also provides precise control over depth of field to capture striking portraits.

If you're a fashion photographer, you need this lens. Anything else just isn't going to match the results you can get from this marvel of design.

(Sample photo courtesy of Bakabon Syorin)
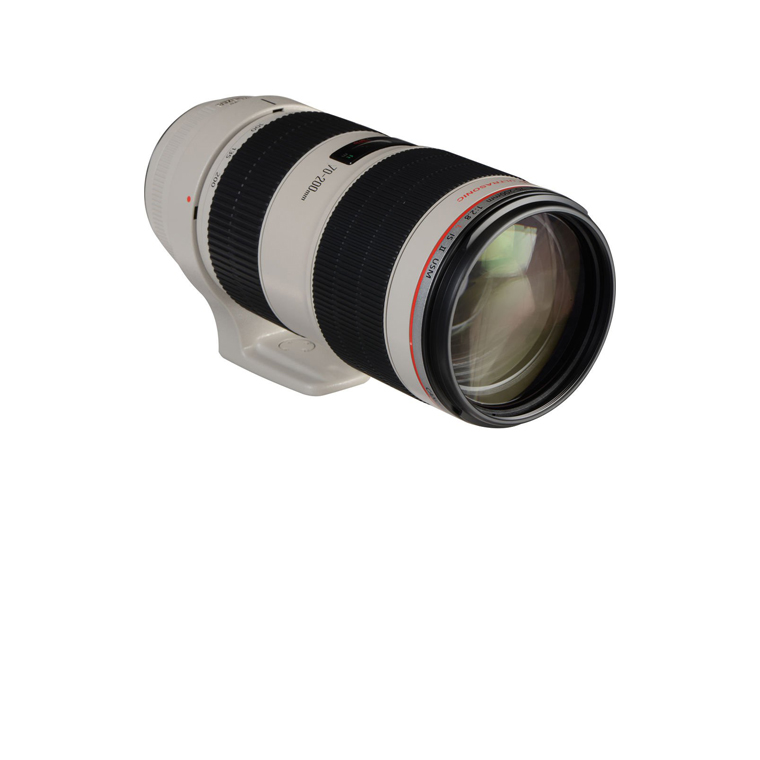
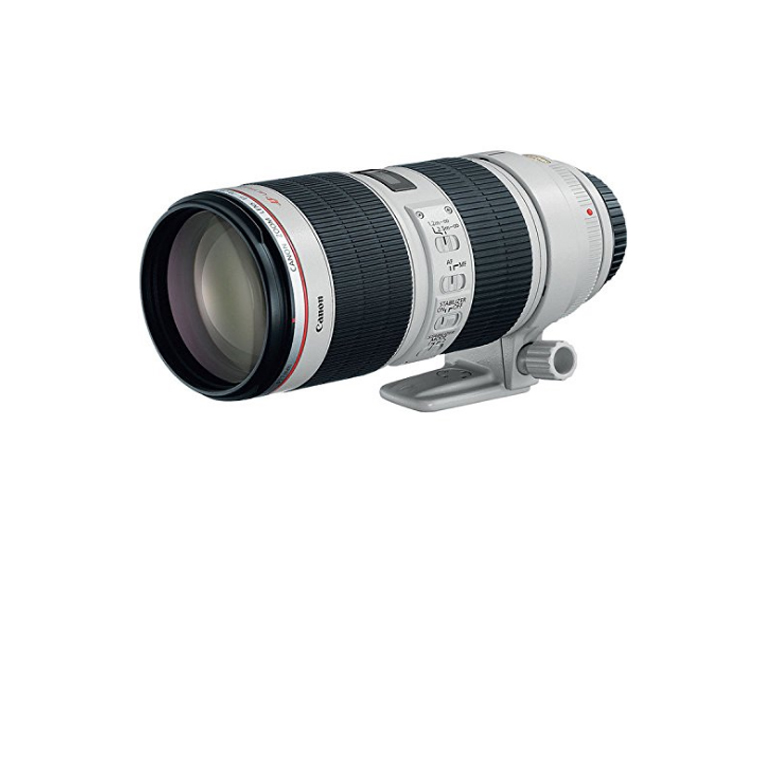
EF 70-200mm f/2.8L IS II USMGo to Amazon
This is another great lens for nature photographers, though it's very popular with sports photographers as well. Price must probably be its only downside, however it can be considered a sort of lifetime investment if you pair it with a Full-Frame camera.
Watch video review
Overall rating:
79
Lightweight:
0
20
100
Zoom Range:
0
100
100
Stabilization:
0
95
100
Focus Speed:
0
100
100
Pros
  • AF Capable
  • Optically stabilized
  • Extremely sharp lens
  • Includes hood and tripod collar
Cons
  • Heavy (Weight: 1 kg)
  • Expensive
  • Some distortion at 70mm
Click to read the full Review
The grey barrel and tripod mount are common signs that it's designed for specialty use where extreme zoom and speed is of the utmost importance, and massive size really isn't a concern.

With no less than 23 pieces of glass, this behemoth ways about 3.2 pounds and is not fun to carry. But if you need a lens like this then you're probably pretty serious about getting the shot, and you likely won't mind the extra work.

Thanks to the circular aperture of 8 sheets, it is possible to create a magnificent background bokeh effect, isolating subjects when using large aperture values.

(Sample photo courtesy of Martin Billard)

So there you have it, all the lenses you need to consider. Okay, it probably won’t hurt to look at just about every lens in Canon’s lineup if you’re so inclined, but when you get totally lost in your selection just come back here and know any of these lenses is an excellent choice.

Be sure to plan your lens purchases for the long term, not to patch a focal length range you need right now. For example, if you have no lenses at all, it may be tempting to fill out your bag right now with the EF 50mm f/1.8 STM, the EF 70-300mm f/4-5.6 IS USM and the EF-S 10-22mm f/3.5-4.5 USM for a total of about $1,225. However, if you eventually purchase an L lens you will likely make one or two of these lenses useless. Instead, it would be wise to perhaps choose the EF 135mm f/2L USM and the EF 50mm f/1.8 STM for about $1,125, then fill in the range with the EF 24-70mm f/2.8L II USM whenever you get the chance.

Whatever you choose, make sure to plan for a diverse and quality set of lenses that can last you a lifetime. Once you have the right lenses for your Canon, the rest of your gear will fall into place.

SaveSave

SaveSave

Focus on Fields of View – Visualising Focal Length

When it comes to composition, or even picking a new lens for your DSLR, it can be helpful to understand how different focal lengths determine what can be packed into a frame. The focal length of a lens not only determines how much it’s possible to get a shot but how fast it is and the depth of field it’s possible to achieve.

Below is a guide to what you can expect to see with different lenses (the examples below were taken on a crop sensor camera) from a wide lens to something with a narrower field of view. It’s not intended to be a super technical guide, and different lenses will produce slightly different results with varying amounts of distortion, but the goal is to help visualize what the millimeters mean on the side of your lens.

Wide – 15-35mm

On a full frame camera, wide angle is usually anything below 35mm. This would translate to about 50mm on a cropped sensor where a focal length of around 18mm, the equivalent of 28mm, would be considered wide. Extremely wide lenses start at around 10mm, though should not be confused with fish-eye lenses which are a different kind of wide lens. They may have similar focal lengths but produce highly distorted images.

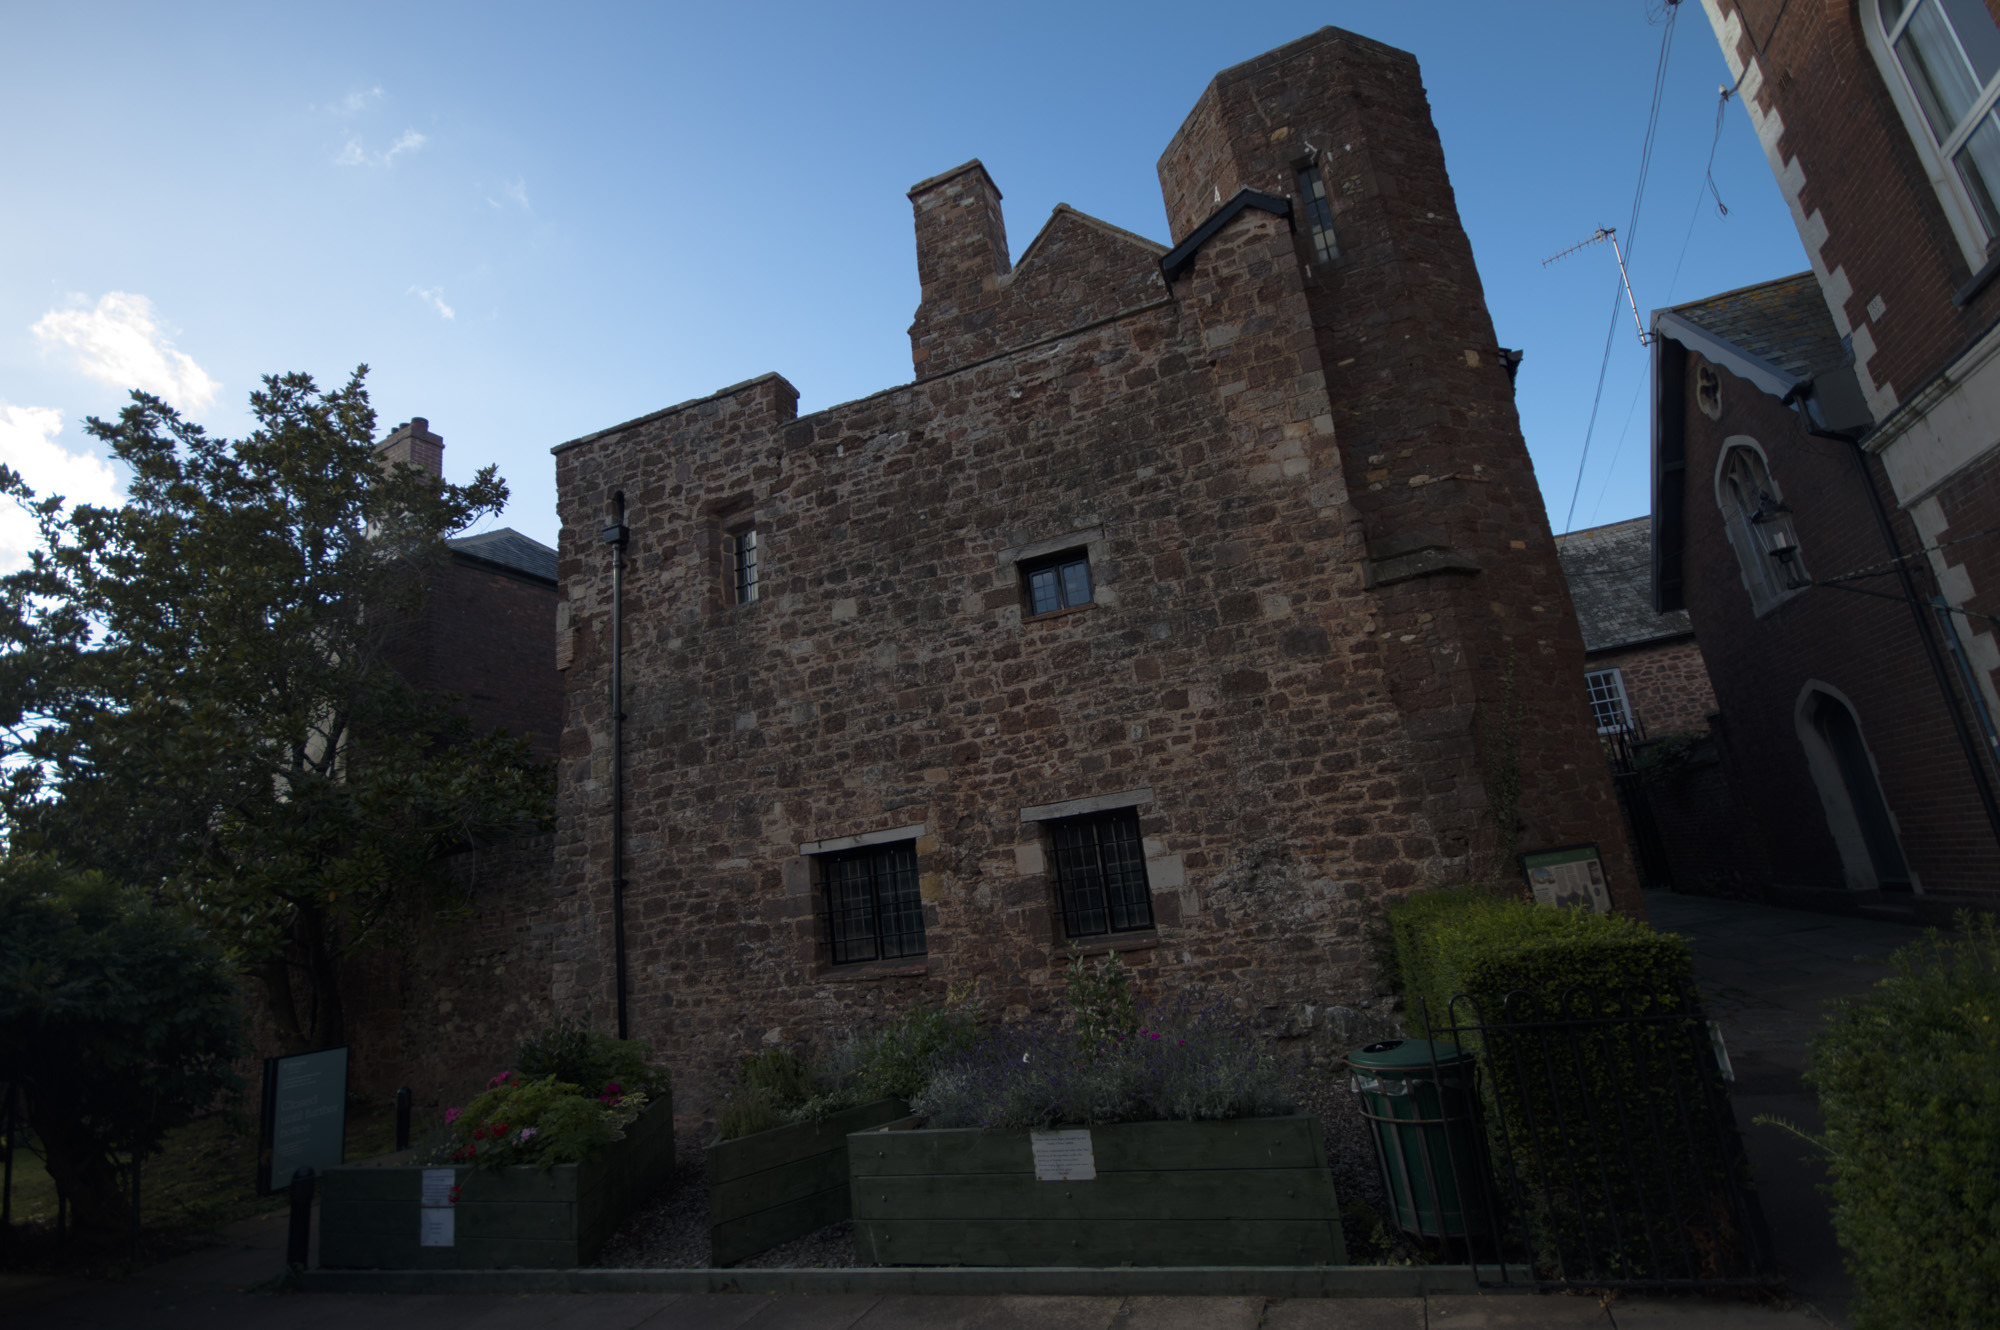
The image below was taken at a focal length of 10mm on a 10-20mm lens (the equivalent of 15mm on a cropped sensor). It was taken standing as far back as possible, roughly 2m, from the building (St Nicholas Priory, an 11th century Benedictine Priory in Exeter, UK). At this focal length, there is some distinct distortion around the edges, this distortion will become more noticeable the closer you are to the subject.

Sleeklens - Fields of View

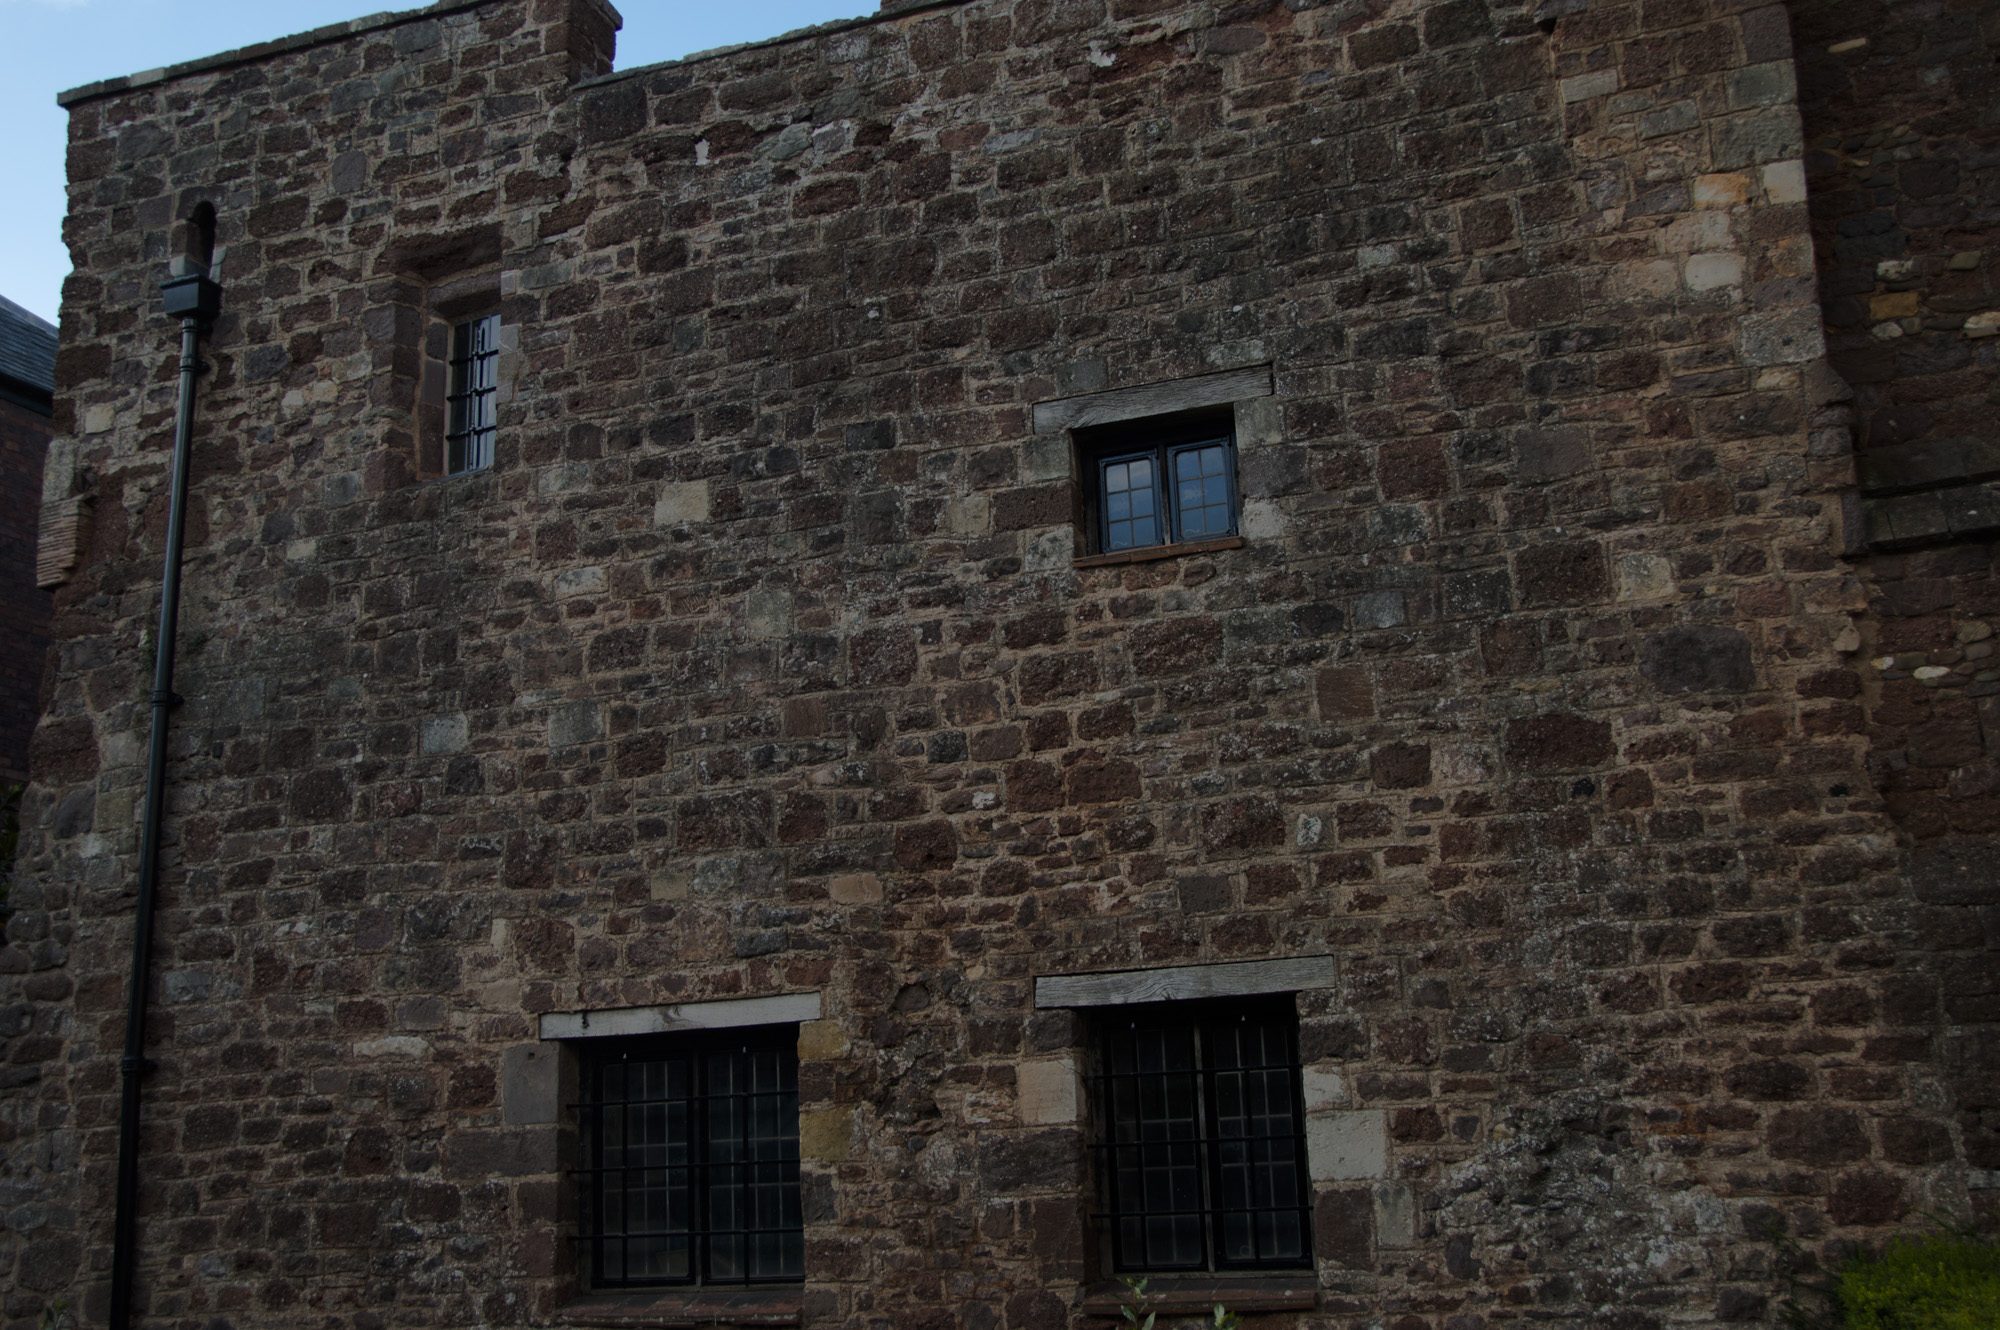
Below is same building taken from the same spot at the equivalent of 35mm on a full-frame sensor. At this focal length, you only see about half of the entire building.

Sleeklens - Fields of View

Wide lenses are perfect for taking shots of buildings and architecture, interior and exterior, where it’s not possible to get everything in with a narrower lens. Sometimes it’s impossible to fit a building in one frame with anything narrower than an extremely wide angle lens, and investing in one can make shooting in cities with narrow streets and interesting architecture a lot of fun.

Medium – 35-70mm

Lenses in the range of 35-70mm are great for taking portraits and fast prime lenses in 35mm and 50mm focal lengths are available inexpensively and can produce great results. Widely considered to be the best first lenses for photographers 35mm and 50mm cameras are the go to lens for street and documentary photography.

Sleeklens - Fields of View
St Nicholas Priory took at the equivalent of 70mm

In addition to being faster and more flattering lenses in this range (and some narrower lenses too) are also good for what’s known as the Bokeh effect. The Bokeh effect occurs when the aperture is wide open creating a narrow depth of field.

Sleeklens - Fields of View
The Bokeh Effect at the equivalent of 50mm

When there are lights in the background and a subject in focus close to the camera the narrow depth of field means the lights become blurred creating a pleasing artistic effect. It works with both natural and artificial light.

Narrow – 70-300mm

Although some consider a 50mm lens one of the best focal lengths for portraits it still produces some distortion, with an 85mm lens on a full-frame camera giving a truer depiction of the subject.

Sleeklens - Fields of View
St Nicholas Priory took at the equivalent of 300mm

Any focal length higher than 135mm will be better suited to wildlife and sports photography. Although not as fast as prime lenses telephoto lenses with a wide range are generally used outdoors in broad daylight and in addition to being the only option for shooting wildlife at a distance are also ideal for sports photography.

Telephoto lenses are great for experimenting with. If you’ve got one with a wide range, from wide to narrow, it will allow you to experiment with different fields of view although the picture quality might not be as good as prime lenses for some of the shorter focal lengths.

Within each category, wide, medium, and narrow, there is a range of different focal lengths that will be equally good for various kinds of photography – a lot of it comes down to personal preference. Sometimes if you’re struggling to get the shot you want it might be because you don’t have the right lens. Wide lenses can really open up confined spaces and enable you to take shots that weren’t possible before while narrower focal lengths are better for taking true-to-life images of people and places.

Curating Great Shots – Tips for Museum Photography

Whether you’re a tourist looking to document an interesting artifact or are just interested in capturing a unique subject, there are many ways you can improve your photography next time you’re shooting inside a museum.

Museums can be exciting places to explore – buildings filled with surprises whether they’re big or small, ancient or modern. However, they do pose plenty of challenges for photographers trying to get creative shots. Having worked at the Royal Albert Memorial Museum in Exeter, the UK for several years as a volunteer and a freelancer, often with a camera in my hand, I’m well aware of the potential pitfalls of taking photographs in museums.

Sleeklens - RAMM Museum Shoot_046 (2000px)_mini

With a couple of lenses (a fast one and a wide one), a polarizing filter, and a monopod I popped into RAMM to take some pictures and prepare some tips for this blog. Its wide range of exhibits offered the ideal opportunity to test a few key problems facing photographers in museums, and their solutions.

Working with reflections

One of the biggest problems is glass creating unwanted and distracting reflections, and all the best stuff is behind glass. There are several ways you can reduce reflections, and also make them work to your artistic advantage.

The first way you can reduce reflections is to invest in a polarizing filter. A polarizing filter will block light from one direction so that in theory you can eliminate the light rays which are causing the reflections and only let the light from behind the glass through. It’s not just a matter of slapping the filter on your lens, though, to get the best results the filter should be rotated so that the light is being filtered at just the right angle. And while polarizing filters can be great they aren’t magic, working best in certain lighting situations and not at all in others.

Sleeklens - RAMM Museum Shoot_025 (2000px)_mini

The other option with reflections is to make them part of the composition, by using a lens with a wide aperture to create a narrow depth of field and blurry reflections – in other words, bokeh. You can also try pressing your lens against the glass which will do the trick as far as removing your own reflection goes and can work well when you’re using a wide one which allows you to frame the whole subject. It makes it more difficult to create a pleasing composition but does offer the advantage of helping to steady the camera if you’re working with low shutter speeds.

Even if you do capture an unwanted reflection not all hope is lost, with the help of Photoshop and Lightroom. If the reflection falls over a particularly dark area it might be possible to make it less noticeable, or even invisible, by making the darks a bit darker in lightroom. Or if you don’t mind a more time-consuming solution the healing brush and clone stamp tools in Photoshop can also be helpful.

Sleeklens - RAMM Museum Shoot_028 (2000px)_mini

Aside from reflections museums cases are also magnets for fingerprints, so it’s worth taking a cloth with you to polish the glass before taking the shot.

Forget about flash

There are several reasons why you shouldn’t use a flash in museums. One is that they can create even more reflections on glass surfaces (and ugly reflections at that), the other is that light levels in museums are carefully controlled to protect sensitive objects. While a quick flash probably isn’t going to cause an ancient artifact to disappear in a puff of previously priceless dust it might shorten its lifespan and rob future photos of an interesting image.

Sleeklens - RAMM Museum Shoot_011 (2000px)_mini

To compensate for dim lighting a fast lens is the way to go, like a prime around f1.8. Slower telephoto lenses will make it a lot more difficult to get bright, sharp shots, especially in darker galleries. And if you want a person in your photo, and you want them to look nice and sharp, a fast lens is a must.

Raising the ISO sensitivity is another option but depending on how your camera handles higher ISOs you may find you’ll be capturing unwanted noise. If you find your images suffer from a high level of noise check out Nikolay’s blog on capturing images with less digital noise.

One leg good, three legs bad

Even larger museums with big open spaces will have plenty of areas where it’s difficult to frame a shot without walking backward and bumping into someone or something. While a little a bit of self and spatial awareness goes a long way in such environments it’s also a good idea to think about your tripod situation if you’re trying to do longer exposures or want to make sure you get a steady shot. Although not as rigid as a tripod a monopod is a great way to go to eek out that extra bit of clarity and create some interesting images, without blocking anyone’s path.

Sleeklens - RAMM Museum Shoot_010 (2000px)_mini

Go wide

The scale can be a tricky thing to work within a museum. Sometimes you’ll find lots of small things in big places, and sometimes you’ll find one or two big things in relatively small spaces (like the elephant below for example). Using a wide-angle lens will allow you to fit everything into one shot or make a composition less cramped, though it may add some distortion at the edges.

Sleeklens - RAMM Museum Shoot_041 (2000px)_mini

Sometimes 18mm isn’t wide enough, and the image above was taken at the widest end of a 10-20mm lens on a cropped sensor (so 15mm full frame). Although not the fastest lens I was shooting at a time of day when the room was particularly well lit.

Ask permission

Just because a museum is free to enter it doesn’t mean it won’t have rules about photography. If taking images for commercial purposes you’ll definitely need to ask permission from the museum (as I did for this blog), and even if the images are just for personal use they’ll probably appreciate you asking. Generally speaking, any museum that has a policy about picture taking, or the lack of it, will have clear signage and may ask you to pay a fee, whatever the reason you’re shooting for.

Don’t hog the history

Finally, it’s also worth mentioning that it can be too easy to spend a long time perfecting your shot of a single object, which may irritate other visitors. If you’re struggling to get the shot you want to move on and come back to it later, not only is this considerate to those around you but it will give you time to think about your composition and the opportunity to come back to it with fresh eyes.

Sleeklens - RAMM Museum Shoot_014 (2000px)_mini

Next time you’re planning a trip to a museum, whether local or not so local, keep these tips in mind to get best out of your trip. And if you’re not usually the museum visiting type but are looking for some creative inspiration a museum is always a good place to start.

How to Do Macro Photography: Magnification and Macro Photography

People often think that taking a picture is about pointing and shooting. That is part of it, but there is so much more. For example, do you know what a 2:1 ratio or 1:1 ratio is? If someone asks you about that, do you know what to say?

It comes all down to magnification ratios, and while you don’t need to know everything about them, having a basic understanding can make you a better photographer and make your pictures that much better.

Understanding macro photography is easy once you understand the ratios. Essentially, a magnification ratio is the size of the object on the camera sensor to the actual size of the object that you are taking a picture of.

The 1:1 ratio means that the image is the same size as the real size of the object. If it is a 1:2 ratio, that means that the image you have on your sensor is going to be half the size of the actual thing you are photographing. This ratio makes sense because the sensor image is half the size of the real object, or ½, and if you take the / and change it to a : you get 1:2.

Macro Lenses and Ratios

When you are choosing a lens, you need to understand magnification ratios. A macro lens will go to 1:1 magnification, but there are times when a manufacturer will attempt to make you think that their lens is a macro lens, but that doesn’t mean it actually is a macro lens.

If a manufacturer says that a lens is 70-300 with macro, it doesn’t mean much beyond the fact that the lens will focus closer than another typical lens. It is important to remember that the lens is not actually a true macro lens. A macro lens will not have any zoom, remember that.

magnification-2a

If you have a 50mm lens on your camera, and you shoot normally, you have a ratio of 1:10. If you put a 50mm extension on that lens, then you are shooting 1:1. This may seem odd, but when you focus on infinity, or straight out into the distance, with your 50mm, the glass is 50mm away from the film plane. If you attach a 100mm lens on, and focus on the distance, your glass is now 100mm away.

If you put two extension tubes onto your 50mm, then you get, for example, 68mm extension and that will give you some magnification. If you put that 68mm onto a 70-200mm that is at 70mm, you don’t get as much extension because you are only at 2mm extra.

We know, it is a bit odd how this works but understanding macro photography better will make your photography that much better.

magnification-2

Focus the Lens Closer

If you want to get that extra bit of magnification, there are several ways to do it, including:

  • Close-up filters: Essentially when you put on one of these close-up filters, you are putting a magnifying glass on the lens. These are great because they don’t cost much and they are very light. The trade-off is the fact that the pictures are not always high quality because of the glass over the lens. That being said, if you focus everything properly, the picture can be sharp in the center, but blurry on the edges. If you want more magnification, you need to put more filters on, which means more glass, which means a further degradation of the image itself.
  • Macro lenses: We have talked about these already but they are the best choice for macro shots. You will get amazing quality, and the convenience of having the lens on hand whenever you need it. That being said, it is also more expensive than any other type of magnification.
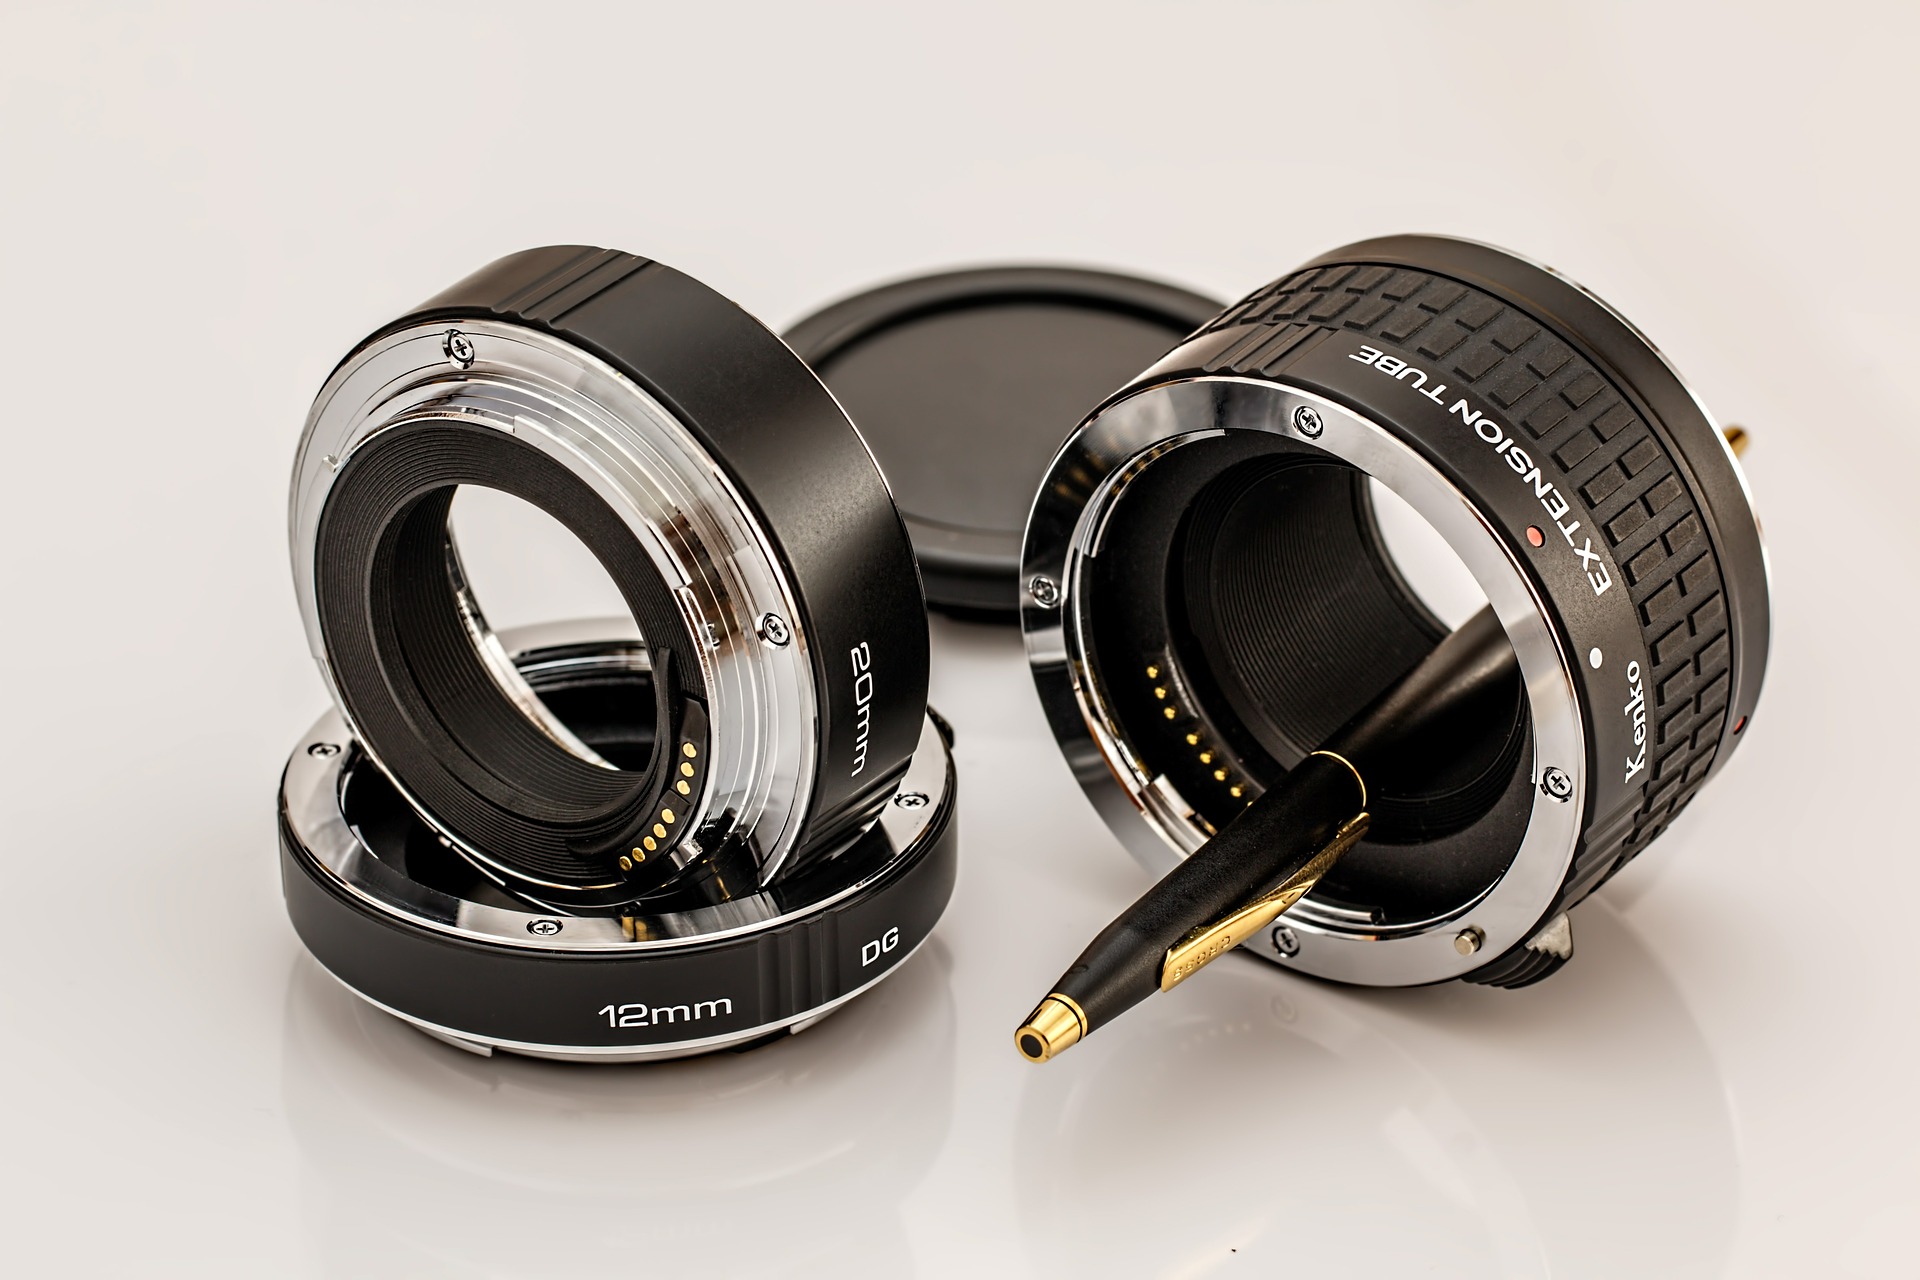
  • Extension tubes: These are barrels that extend the magnification. They are lightweight, but more expensive than the close-up filters. You get a better focus than with the filters, but more time consuming. Extension tubes also take a bit of work to get right as you try and focus on the image. You also get a bit of a curvature with your images, so the edges are not as sharp as the center.

magnification-4

When you are dealing with macro and magnification, sometimes it is best to go the extra mile and get a specific macro lens. It is quick and easy to change out with another lens, you can easily focus and be on your way. You don’t have to fine tune anything, or attempt to focus out of the blurriness like you would with a close-up filter.

If you are serious about macro photography, take the time to understand the ratios and get the proper lens for the task at hand to take your macro photography to the next level.

70-200mm Lens – How to Avoid Blurring?

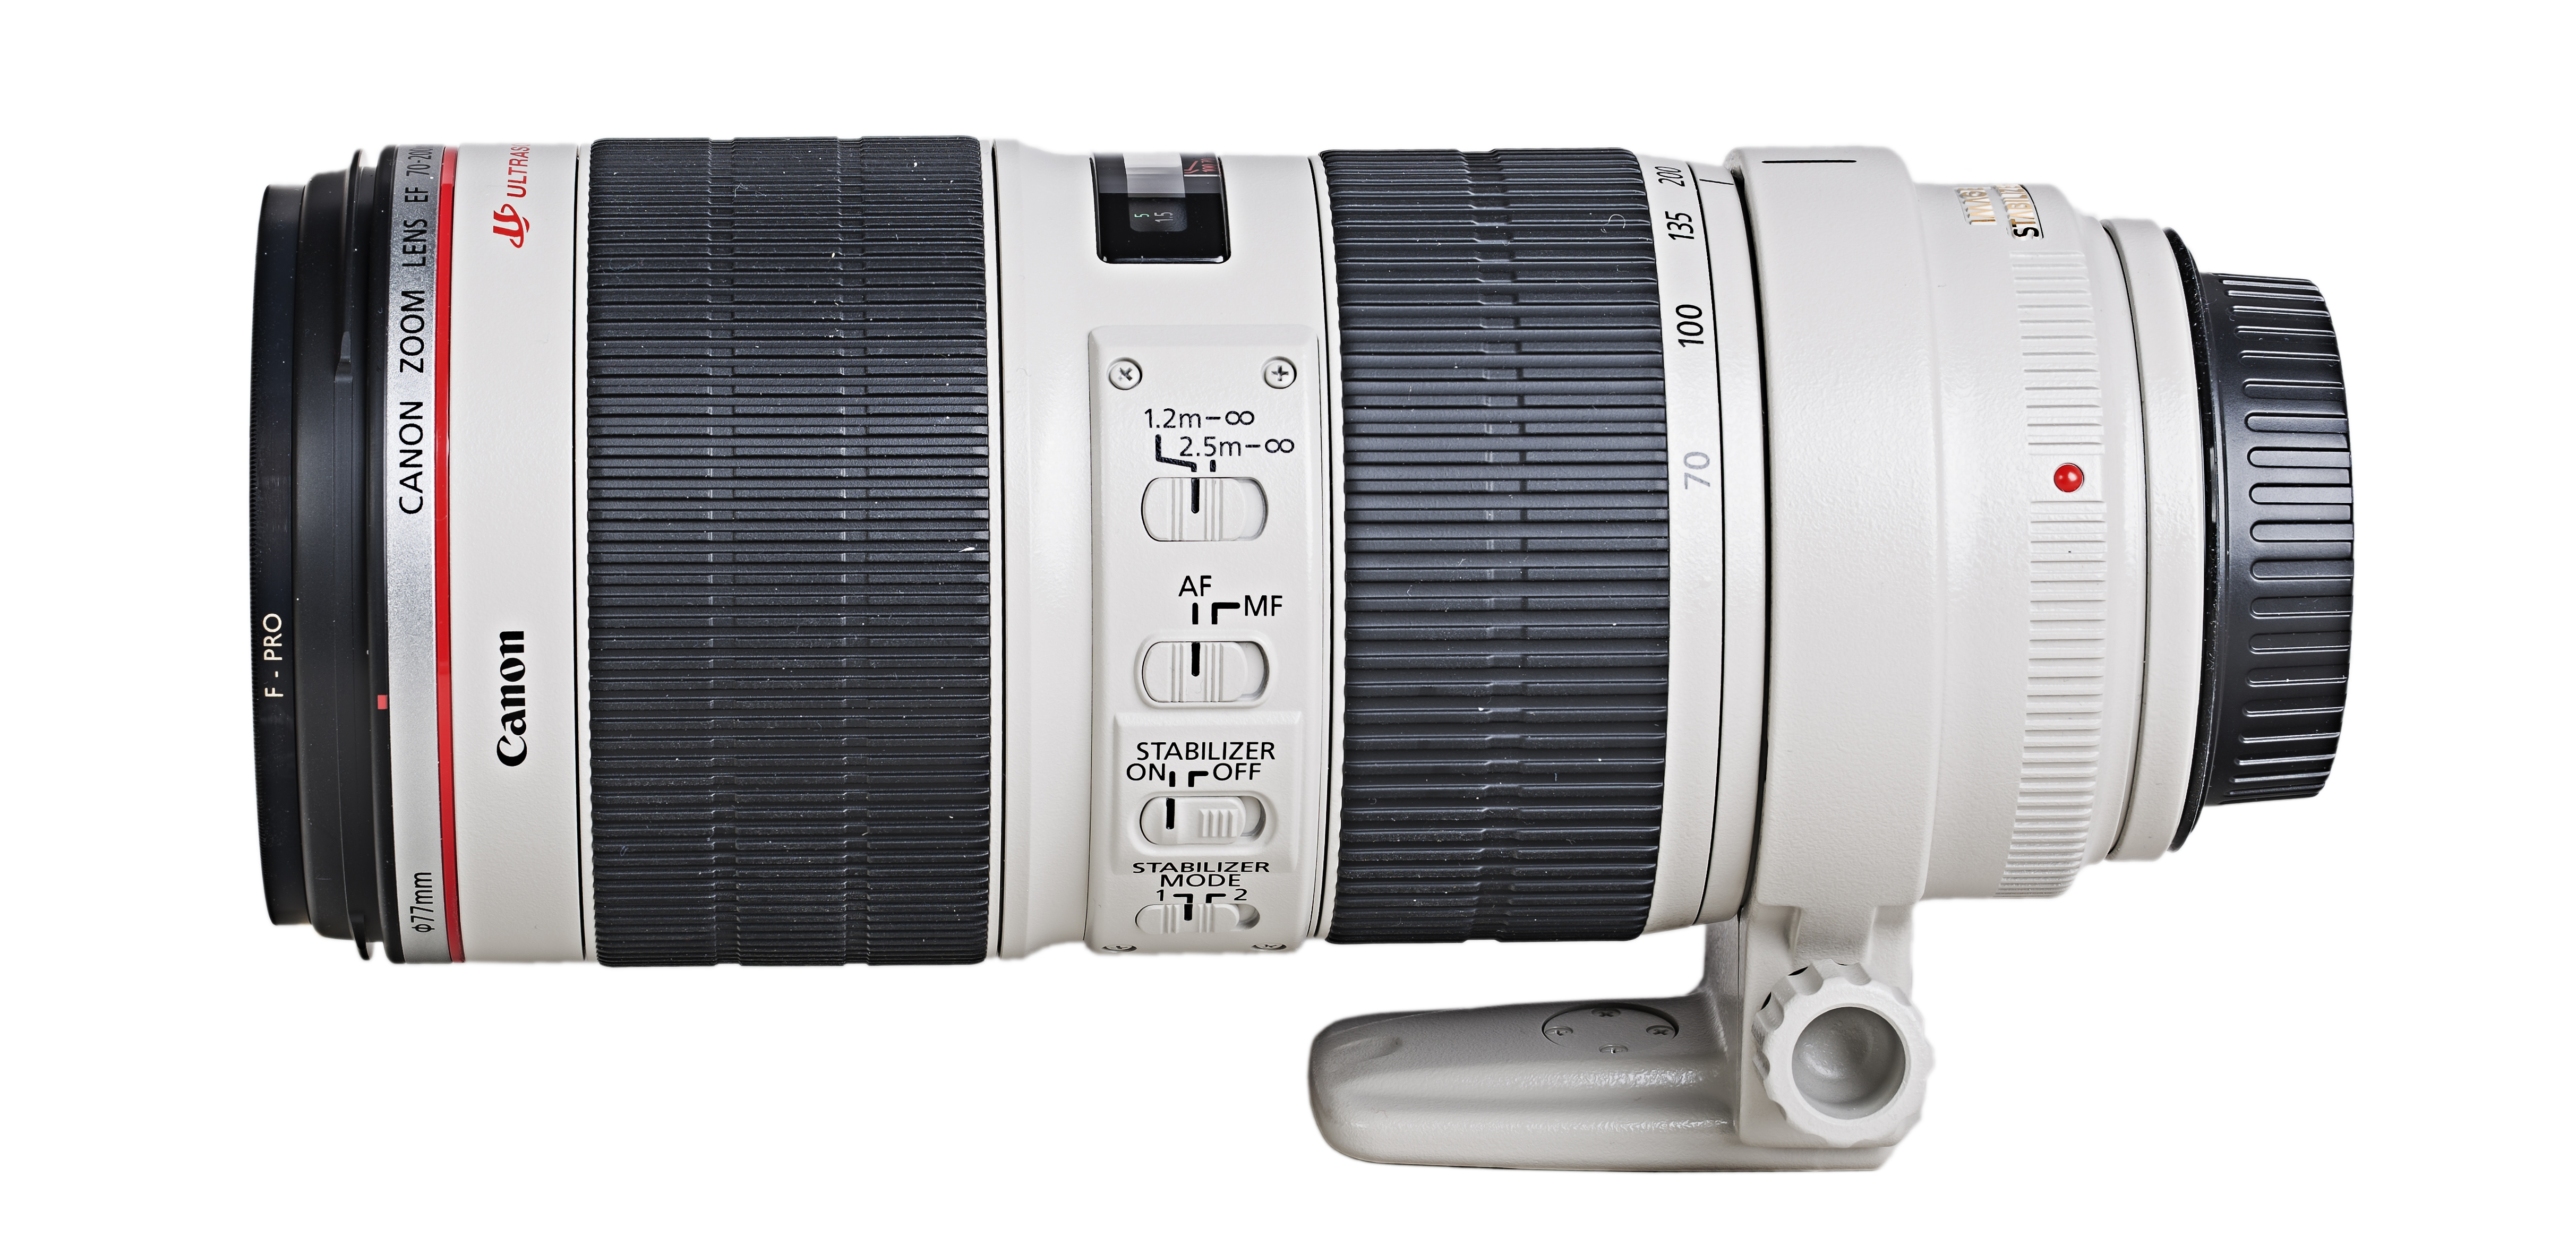
It’s very common among the professional Canon users to grab our 70-200mm lens for indoor as well as for outdoor shoots. The lens is one of the top choices for portraits and product photography due to its versatility and interesting zoom range.

Lens Overview

Speaking of this versatile and powerful Canon lens, we can start to say that it was launched in 2010 as an update of the EF 70 – 200 mm F2.8 L IS USM from 2001. With a gap of 9 years and considering the advances in the technology of DSLR cameras, Canon redesigns this powerhouse by improving both the stabilization and optics, as well as autofocus and its design.

Optics consists of 23 elements in 19 groups, including more than 5 of them with the Ultra-Low Dispersion technology (UD), plus one with Fluorite Coating. The reason? Reducing the Chromatic Aberration of the lens.

Canon_Zoom-Lens_EF_70-200_F2.8L_IS_II_USM-01a_

Built-in metal, we are not talking about a light lens; however, it compensates for the weight with its excellent image quality and enhanced protection in regards to dust that can enter our camera, in addition to being weather sealed.

The Autofocus motor belongs to the technology of Canon Ultrasonic Motor (USM), being extremely agile while maintaining a silent profile.

27358305815_713c7db69e_k

Photo courtesy of Eric Schaffer

The price is something to consider in this lens since we are talking about high-end equipment for what should not amaze us that its initial price is higher than $1500.

The only difficulty that photographers face while using the lens is its weight. A Canon 70-200mm [ f 2.8 IS II ] lens weighs approximately 1600 gms. So, this lens when mounted on a full-frame camera like Canon 5D Mark III weighs almost 2.5 kilograms.

When weight matters

So, how do you take a sharp photograph while holding so much weight in your hand? You might use a tripod to bring in the extra support, balance, and stability. But do tripods work during all circumstances? Not really. How far does ‘Image Stabilisation’ in your lens, help? Not very much. True, it provides the minor stabilization features that you need and but that’s not all.

canon-ef-70-200mm-f-2-8l-is-ii-usm-lens

The way you hold your lens plays a major role. It can sometimes be the ‘break-it’ or ‘make-it’ factor for your photographs.

We are assuming here that you will be using the kit (Canon 5D MK III + Canon 70-200mm f/2.8L IS II lens) handheld and not by tripod mounted. The first thing to do is to rotate the tripod collar from the bottom side of the lens(while mounted with the camera) towards the top side. This way, the tripod collar won’t obtrude and disturb your grip with the lens.

Kindly note: Indoor shoots are tripod-mounted most of the time. So this article may not be applicable to you. But for those who shoot by hand-held devices, this article might be helpful.

A quick but effective solution

So, like I mentioned earlier, the way you hold the lens while shooting may affect your photograph, for good or for worse. Most of the time, we tend to hold the lens somewhere on its collar ( really close to the body of the camera). I used to do this too in my earlier days as a photographer. This helps us control the zoom ring better while composing the photograph. True, but it also indirectly affects the balance in your focus. This sometimes results in blurred images and lesser sharpness. This is because of improper positioning of your palm by the lens. By supporting the lens at the collar location by your palm you are letting more weight towards the front side of the lens which leads to improper balance and with blurred photographs.photographer-1191562_1920This can be overcome by slightly shifting your palm position towards the front side of the lens, which means you need to place your palm almost on the zoom ring. As soon as you shift your palm towards the front end of the lens, you immediately feel the perfect balance of weight while holding. But this situation restricts the zooming ability immediately before you press the shutter button. You have to be prepared in advance, as you cannot zoom as you used to before. Get your frame right, compose what you need and then click away!27010607034_afe1fb94d0_k

Photo courtesy of Pengcheng Pi

We hope this article helped ease your discomfort while shooting using the 70-200mm lens.

Please leave your comments below and let us know about your experience. 🙂

Header photo courtesy of Francesca Pippi

Capturing images with less Digital Noise

In this blog post, I would like to take the opportunity to talk about an issue with which all photographers are well familiar, or they should be – if they capture their images under high ISO settings and low light conditions. Digital Noise – What is it, and best practices for reducing the effect of it. Let’s first talk about what digital noise is. As you may already know, today’s cameras come equipped with two different sensors – CCD and CMOS. Although they function differently from each other, both of them produce digital noise. The CCD, the more expensively produced sensor, handles noise slightly better, compared to the CMOS, which is cheaper to produce. However, the CMOS requires around 100 times less energy to operate. In order to keep the technical part short, as it can take a long time to cover this topic in depth, I will just mention that – both types of sensor accomplish the same task – capturing light and converting it into electrical signals. During this process, varying under different conditions and settings, different types of digital noise is produced. By the way, I did not begin this post with the intention of showing you how to use Photoshop actions or filters, but instead to show you a practical way of working around this issue well before it is time to start editing your images.

So, what steps do we need to take towards capturing images while reducing digital noise?

Camera:

full frame cameraHaving already mentioned the types of sensors found in today’s modern cameras, the very first thing I would do if I was just getting into photography, is to think about buying a full frame camera (more expensive option – but if your goal is to become a professional photographer, it is a must have). If you click on and read some of the info contained in the links provided above, you’ll find out that the size of the sensor makes a world of difference to the overall image quality – not the pixel count, as many people think. File Format: RAW file format opened in Adobe BridgeThe next step will be – setting my camera to capture images only in the High-Quality RAW format. If you are serious about the photography you do, the best way to go is shooting in RAW – this way you’ll have significantly more data captured on your files, to work with later in Adobe Bridge or Lightroom. Camera Mode: manual settings cameraNow, after we have purchased our cameras and have them set to capture images in RAW format – the very next thing we need to start getting into the habit of is to not use our cameras in Auto mode. You, as a photographer, need to be in full control of the camera when taking pictures, not the camera taking control and leaving you with whatever it thinks were the best settings for the particular situation, especially regarding the use of ISO, aperture and shutter speed.Tripod: tripodNext up is, have your tripod or monopod handy for situations where it would be most useful. Depending on the subject and style of the photography we do, very often we’ll need to use tripod or monopod for longer shutter speed, instead of cranking up our ISO settings. This is particularly helpful if the subject of our photographs is static scenes or objects. However, when we need to capture scenes with moving objects and capture them sharply, not in blurred motion,  then we really can’t avoid using higher ISO settings.Speedlights: speedlightSpeedlight – If the scene you’re photographing is too dark, especially with regards to the level of ambient light, the proper use of Speedlight will help you lift up the shadow areas, overall illuminating the scene. This will result in a lot less visible noise. You can perform your own small experiment by photographing the same scene with the same ISO settings, once without a flash, then again with the flash, comparing the results. Lenses: lensesUsing fast lenses, with a wide aperture, can also be added to our arsenal in the fight against the digital noise. Fast lenses will allow you to capture the image in low light situations with lower ISO settings. For example, you can set up the aperture of your lens to F/2.0, or less if you have this option,  which will allow more light to come through the lens and be recorded by the sensor.


And finally, at this point, we are ready to open our images in Adobe Bridge or Lightroom. We use these two versions of software as our main portal in accessing all of the data that we managed to capture in RAW format and then move on to making further refinements in Photoshop.

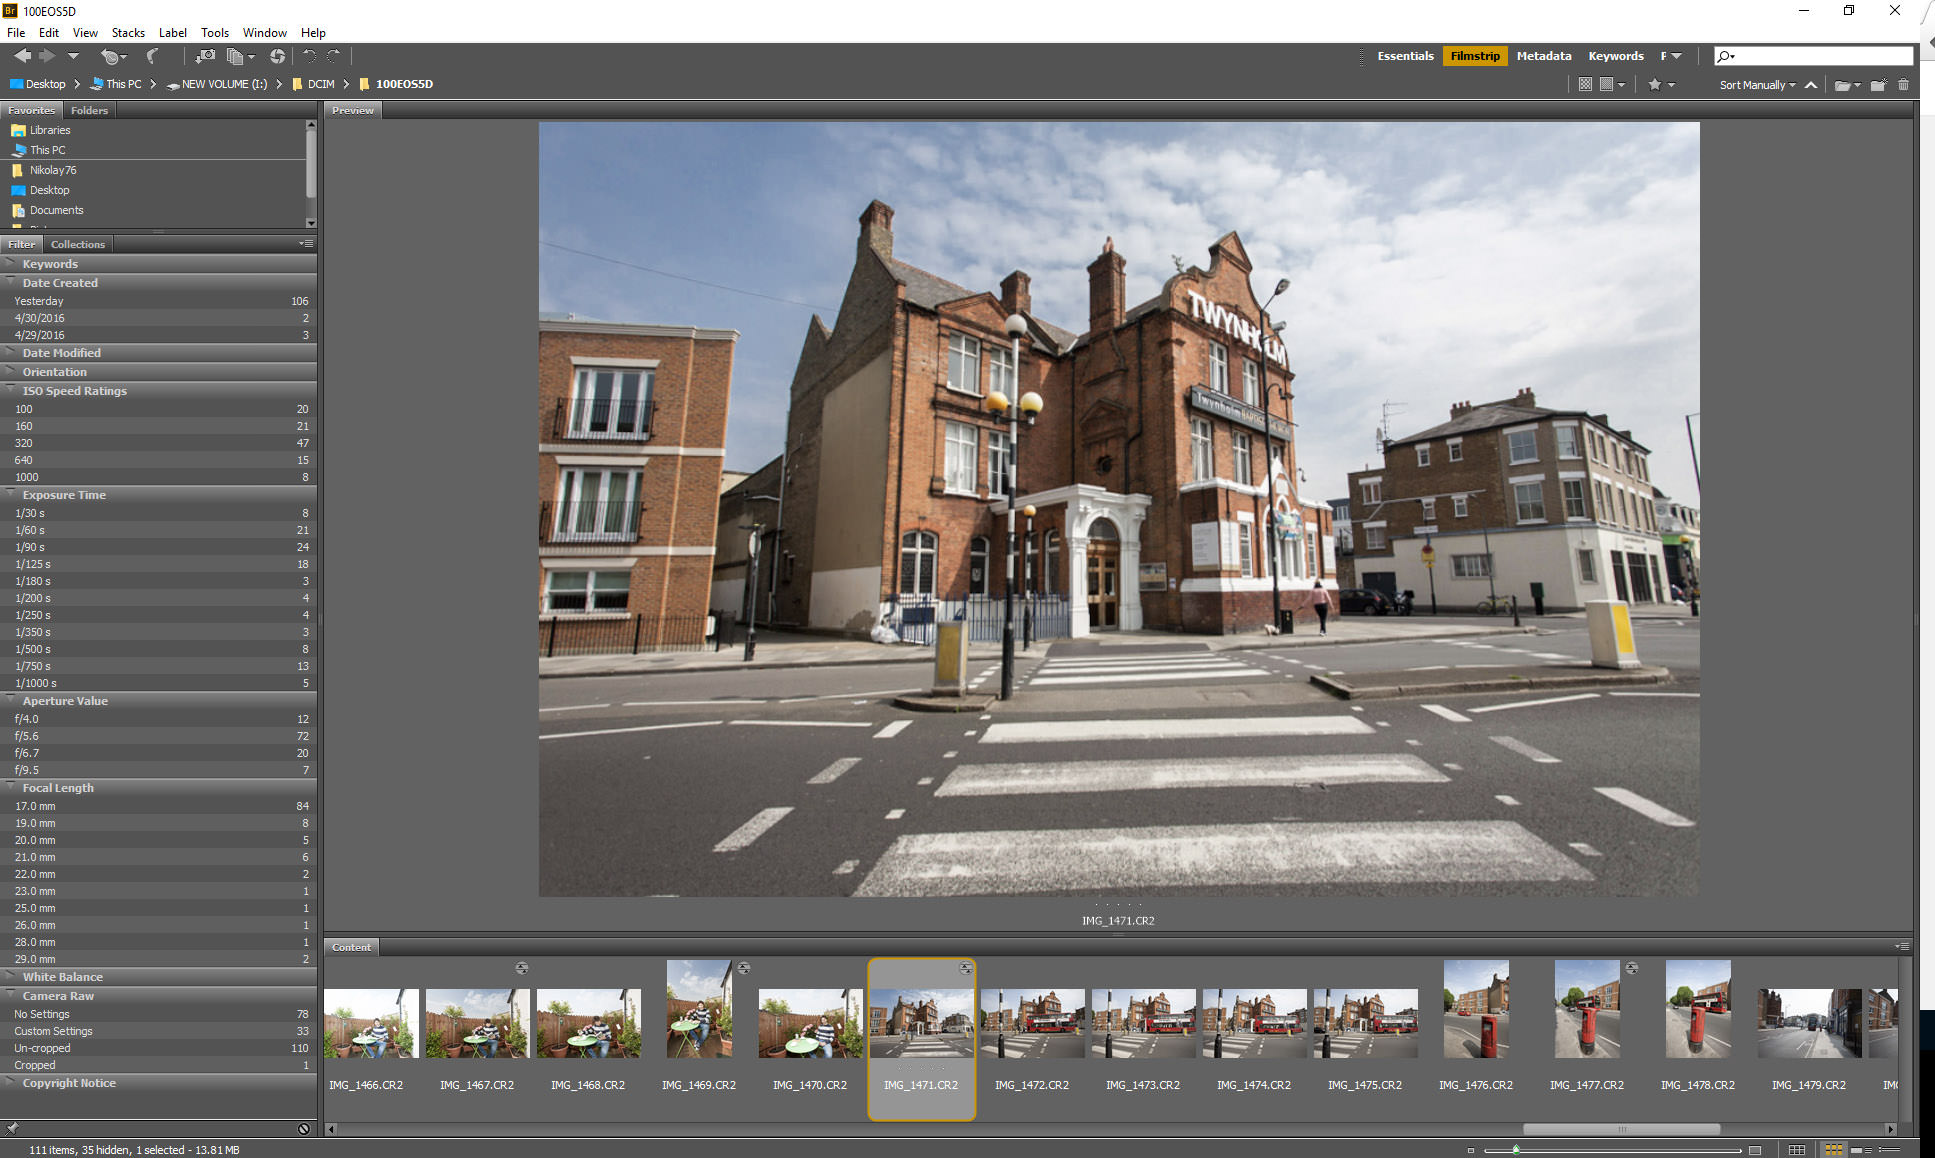
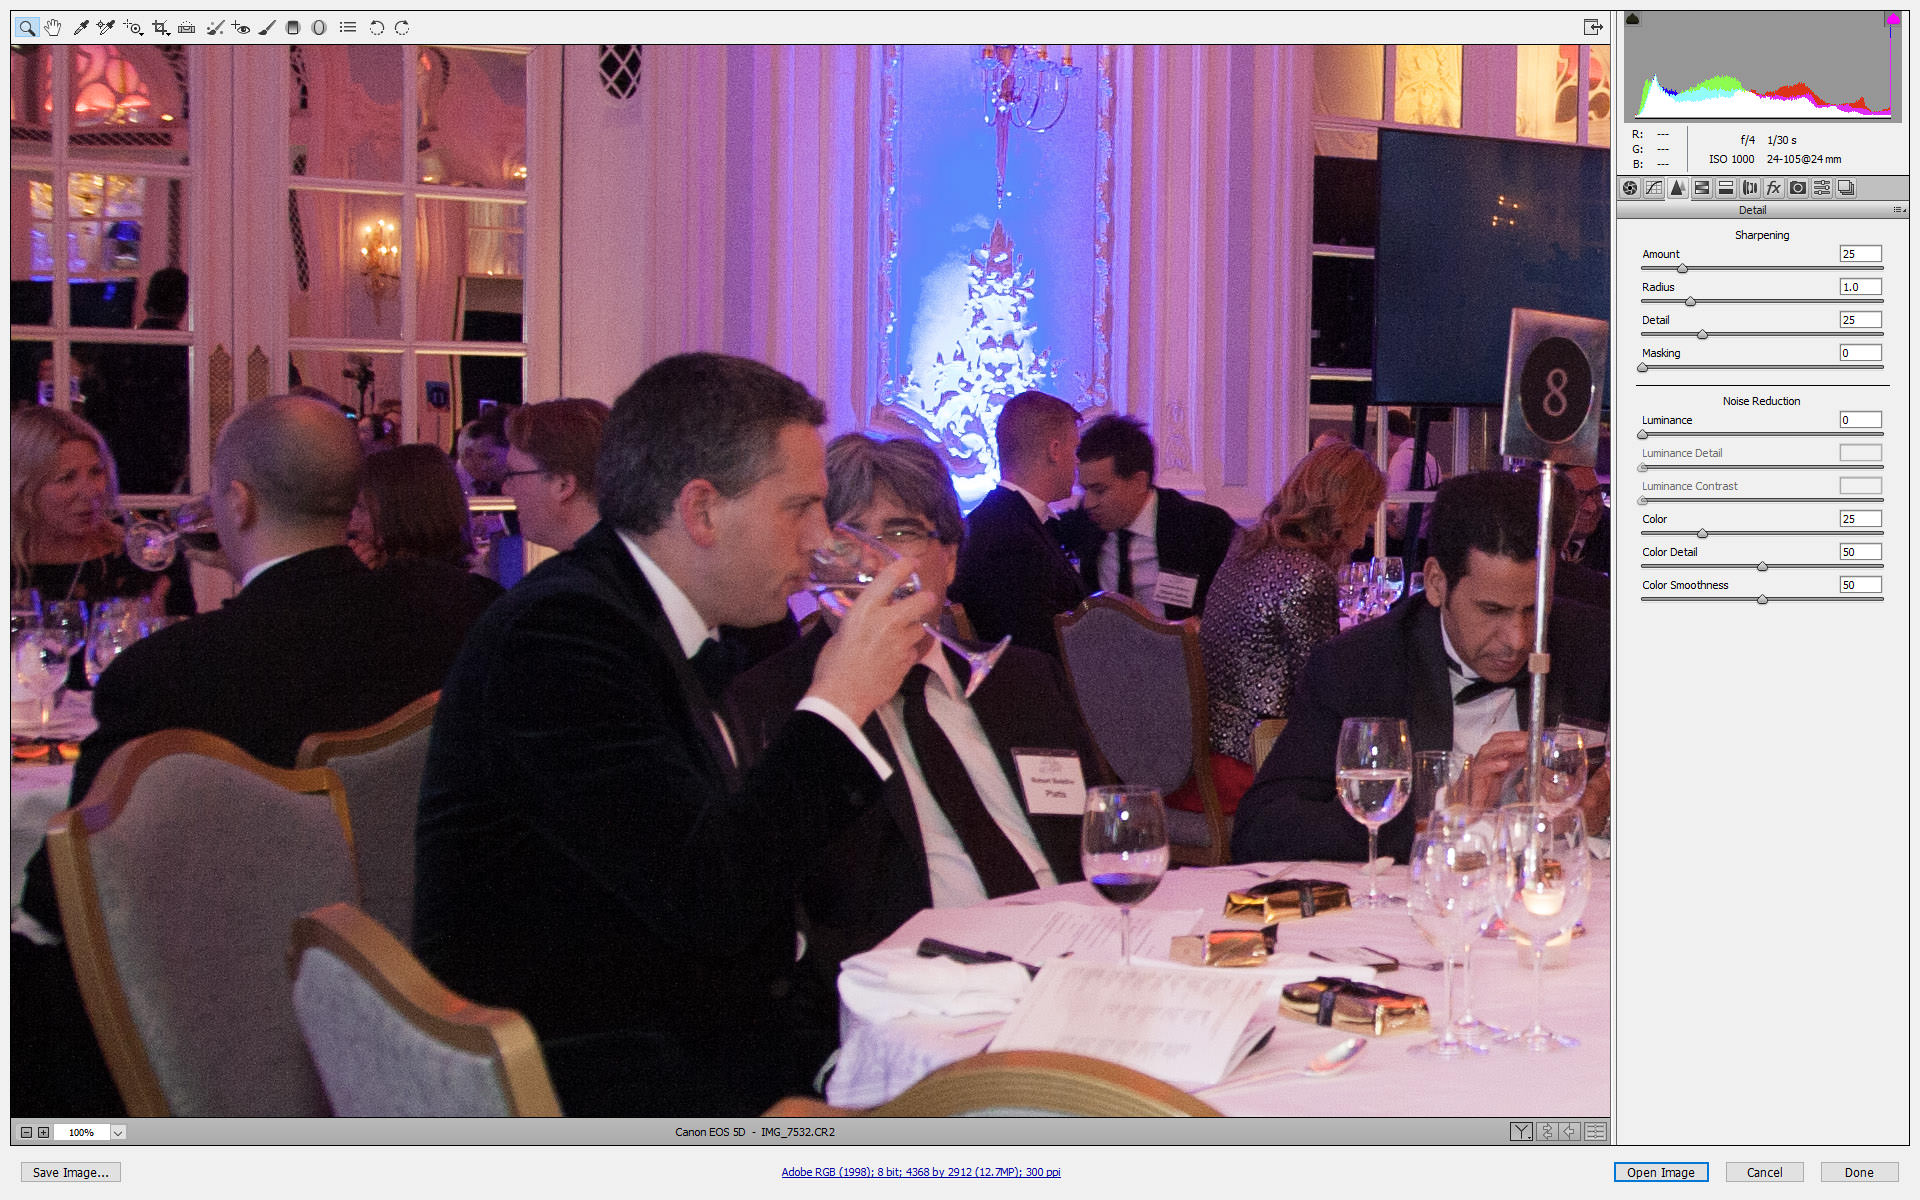
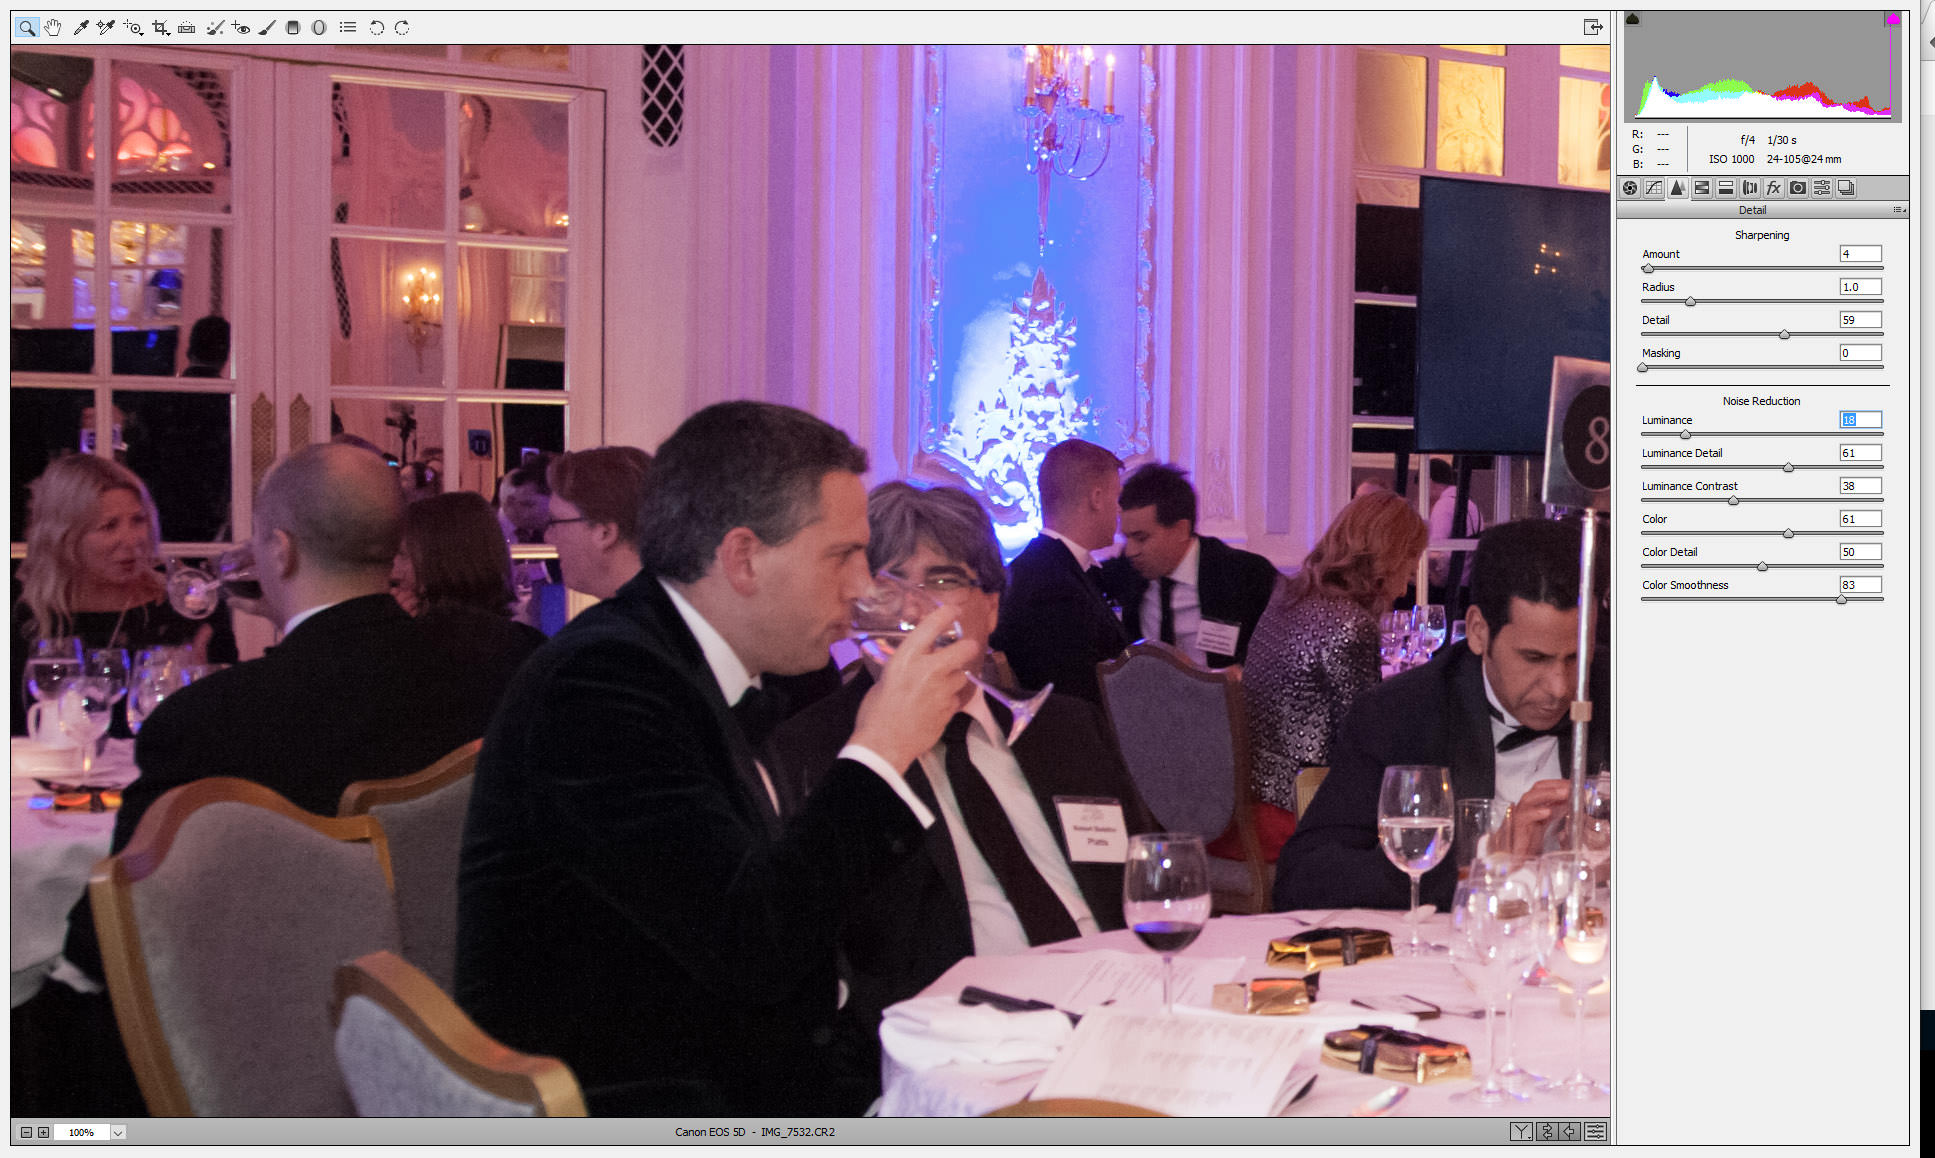
I have provided two snapshots bellow of how the Sharpening/Noise Reduction options work, which is a very simple but powerful way to edit your uncompressed RAW images. I won’t be going in depth over what every slider does, as it is quite self-explanatory.  However, I will say that when playing with the sliders in an attempt to reduce noise, make sure to double check your changes by zooming in on a specific region of the image. For example, zooming in on an area of shadows, where noise is very noticeable, using that as the main point for your adjustments.


Image with heavy digital noise – Default RAW settings, inside Adobe Bridge.

noise image bridge

Image with heavy digital noise – Noise reduction applied.

noise reduction


Wide Angle Lens Photography – Practical Guide

One of the biggest advantages of SLR and DSLR cameras has always been the possibility of interchanging lenses. In the last few years, a new type of camera has appeared on the market, which combined the reduced size and weight of compact cameras with the possibility of attaching different lenses (sometimes called mirrorless or system cameras).

The truth is that without this possibility, the ability of capturing the scene we want in different situations is significantly reduced. In this post I want to concentrate on a specific type of lens, with focal lengths that are rarely achieved by compact cameras. Moreover, these lenses are not usually at the top of photographer’s bucket lists despite their versatility and ability to get some unique results, especially when talking about landscape and travel photography. I am talking about wide angle lenses.

photographer-324921_1920

Since I shoot with a cropped sensor camera (not a full-frame), the focal lengths I will be referring to are specific for that type of cameras. Also, to avoid using ‘cropped sensor’ all the time, whenever I say ‘camera’ I am referring to ‘cropped sensor camera’.

Usually, DSLR cameras come with a kit lens and it is not uncommon that this kit lens is a 18-55 mm. This is a good general purpose lens (I am not talking about quality, just focal length) that can serve to shoot landscapes as well as portraits, for instance. Many wide angle lens photography aficionados stick to this lens but the truth is that it has some important shortcomings. Not only the build quality is not the best (with some sharpness and focusing issues) but the fact that the aperture range in the wide side is quite limited, makes it difficult to take photos under low light conditions or to have the right depth-of-field when taking for instance portraits.

However, the largest limitation and why I recommend experimenting with different lenses, is the focal length itself. While you would need a large zoom or telephoto if your interest is street or wildlife photography, if landscape and travel photography is what motivates you, I would definitely recommend giving wide angle lenses a try.

Why Wide Angle Lens Photography?

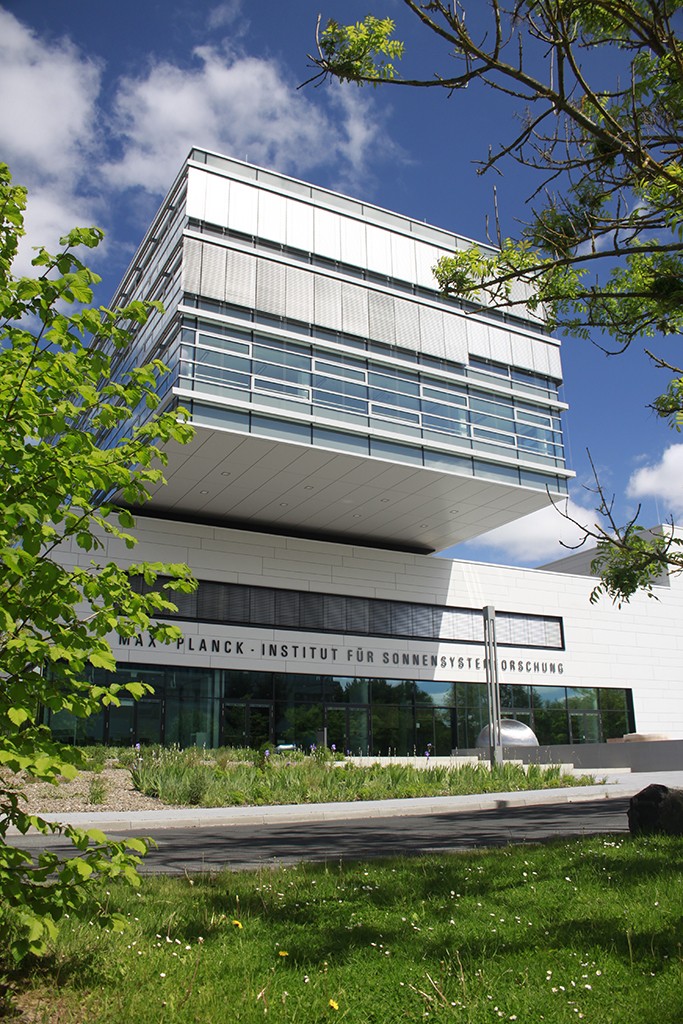
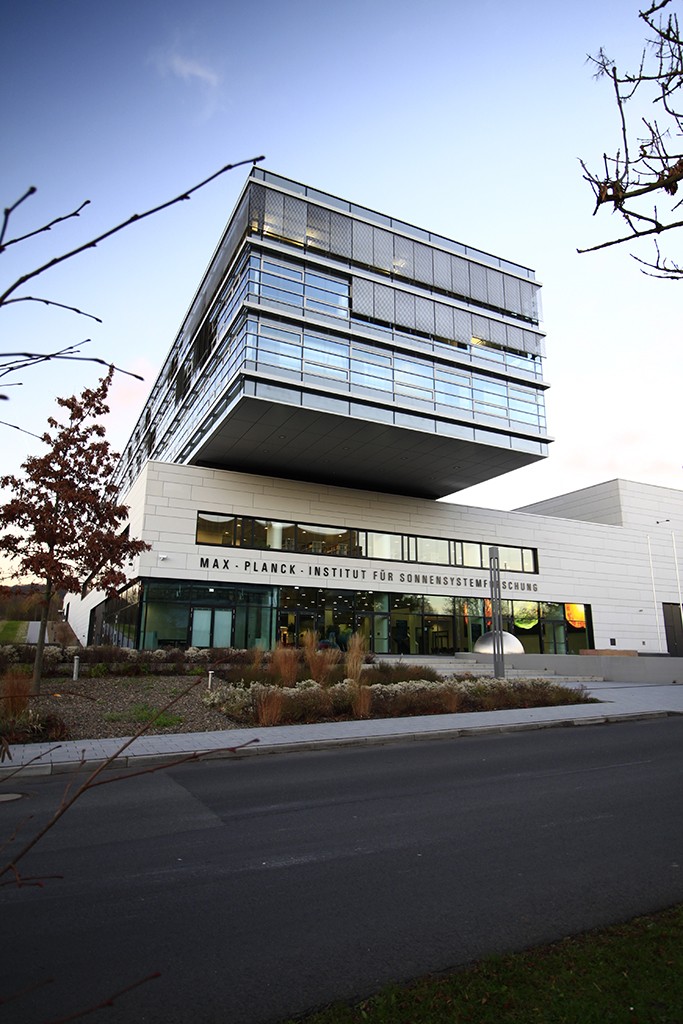
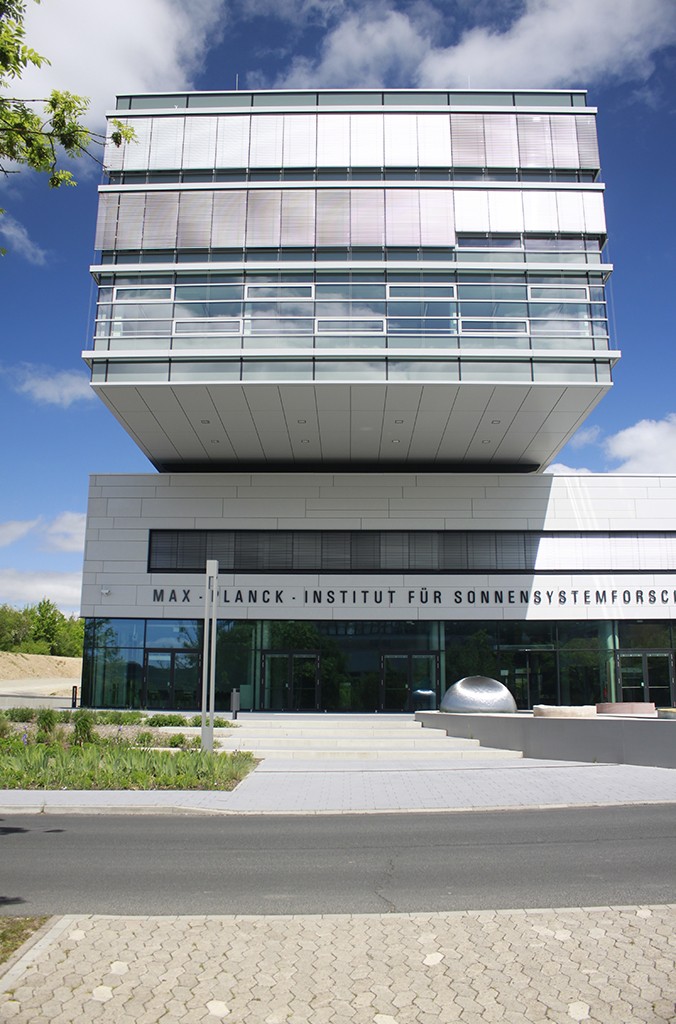
The obvious reason is that sometimes 18 mm is not wide enough to allow us capture everything with a single shot. This is especially relevant in travel and cityscape photography, where sometimes it is just impossible to step back a bit in order to get all the scene in a single exposure. Take, for instance, this image of the Max Planck Institute for Solar System Research in Göttingen, Germany, taken with a focal length of 18 mm.

_MG_9027_1024_nob_noproc

Being a medium-size building, even though I could not capture the whole structure, by stepping back a bit I was able to capture at least the main entrance and a good part of the structure. The image might look interesting like this, but it is simply impossible to get the rest of the building in a single shot, simply because the focal length of the lens is not enough.

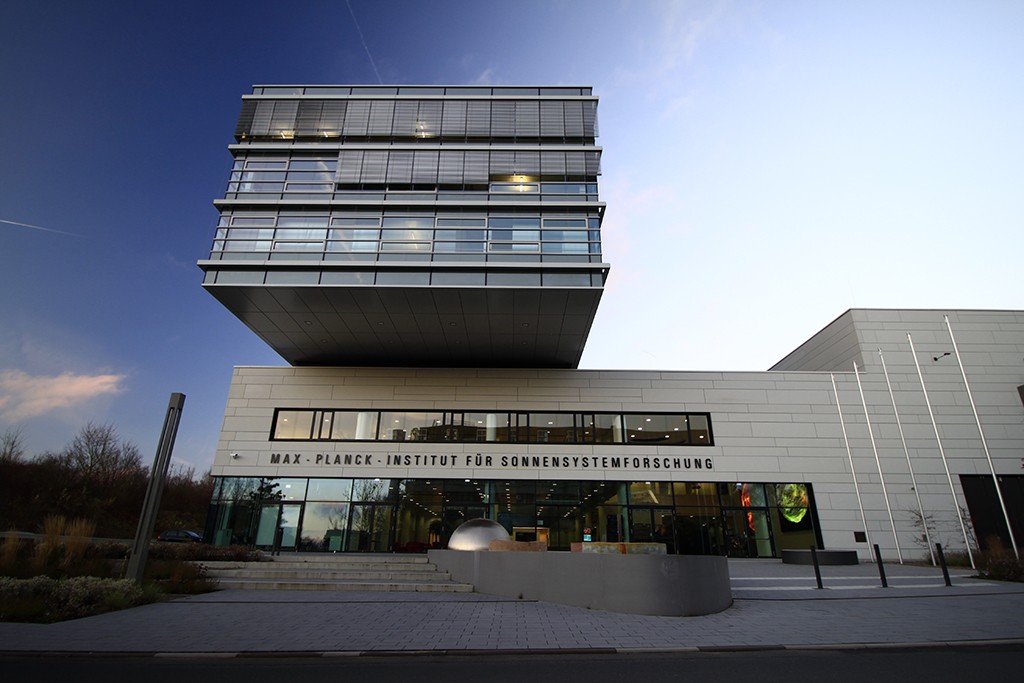
Now take this image of the same building and almost from the same spot, taken this time with a focal length of 10 mm.

_MG_0007_1024_nob_noproc

Ignore the obvious change in mood (the first image was taken in summer while this one was taken in winter). Now, by actually moving forward to cover less foreground, I was able to capture the whole structure, better conveying the size and 3-dimensional structure of the building.

This is actually something central when interested in architecture photography, not only for the outside of the buildings but also for the inside like for instance when doing a photo session for real estate purposes.

Things to keep in mind

Now, as usual, there are some things to keep in mind when using wide angle lenses. When shooting, you need some practice to get the results you want, mostly because the effect of having such a small focal length will make everything look smaller and seem to be farther from the camera than in reality. This is something that cannot be avoided and the only thing you can do is keep it in mind when composing your image by for instance getting a subject in the foreground when capturing a landscape or a building (unless, of course the building itself is the subject!).

_MG_0475_1024_nob_noproc

Another problem that comes with smaller focal lengths is optical distortion. Take for instance this image of the same building as before, this time taken with an 18 mm focal length and looking directly into the entrance (no angle as before).

_MG_9046_1024_nob_noproc

If you look at the straight lines on the image like the border of the sidewalk or the building itself, you will notice that some optical distortion is present, making the lines look bent towards the inner part of the photo. Now look at the same angle, this time captured with a 10 mm focal length.

_MG_0026_1024_nob_noproc

Here you can first see how much of the building we are able to capture (as described before) but also how stronger the optical distortion is, especially when you compare the left border of the building. In fact, as with every lens, the optical distortion is stronger on the borders of the image. This distortion can sometimes be aesthetically appealing, as with the color cast caused by ND filters. However, sometimes it is something we will want to get rid of. Fortunately, this is a simple task in Photoshop but keep in mind that by fixing the distortion you will loose information in different parts of the picture, so you might want to plan for this in advance by, for instance, taking some extra photos at the sky above the building to be able to combine them with your original image later on.

Getting your lens

Unfortunately, photography is an expensive hobby, and arguably the most expensive part of it are precisely the lenses. Some manufacturers have relatively inexpensive and good quality lenses (around €200) but other versions or brands can cost more than a good camera. For this reason, it might be a good idea to first ask some friends to borrow their lenses or even get them for some days at some photography shops that rent equipment. This way you can really find out if that is what you need before committing to an important investment.

I hope you have a better idea now on what you can expect from wide-angle lenses and, as usual, don’t hesitate to write me an email if you have any question regarding this (or any other) topic. I will try my best to answer!