Tag: digital

Turning Your Negatives into Digital Photos

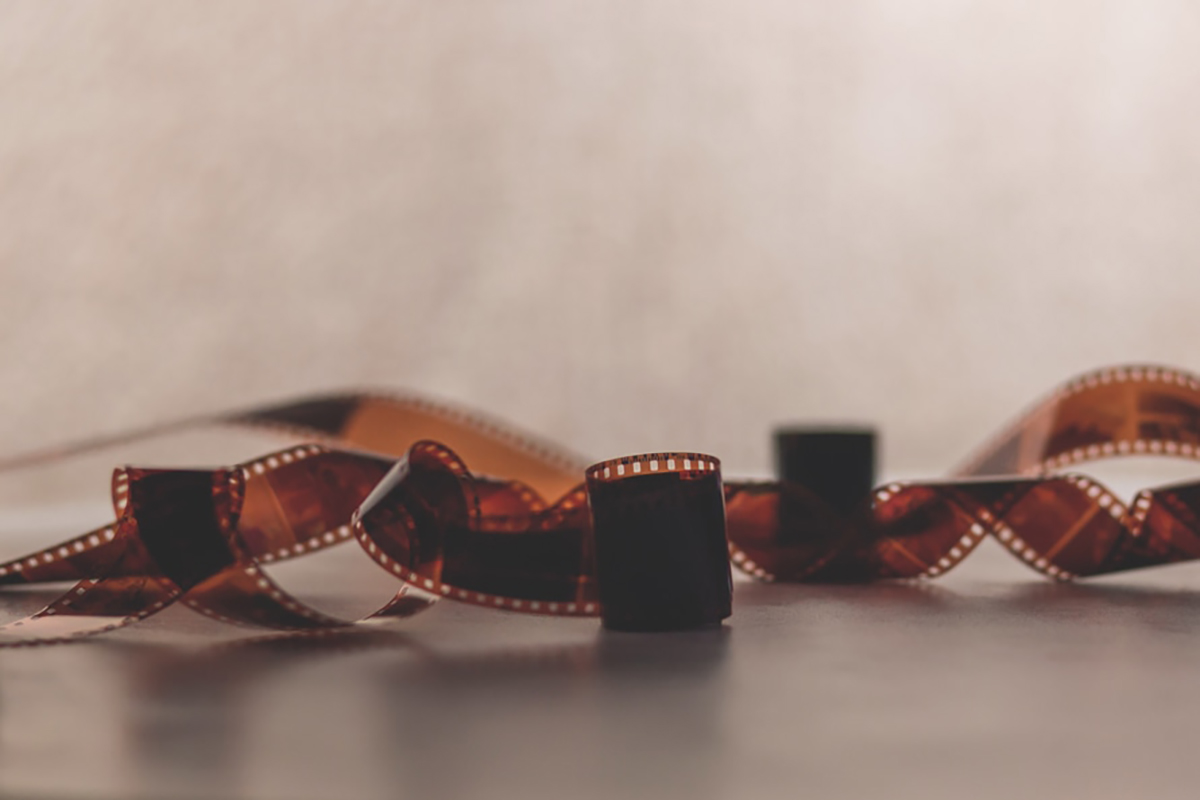
Whether you prefer the mystery and vintage and retro effects of using film cameras, or just have a box of old family photos in your basement, turning your film negatives into digital photos can help make your business or your life easier. By having digital copies of your photos, you can edit them to clear up any mistakes and print multiple copies from the comfort of your own home. Even with a low budget you can convert all of your favorite film negatives to easy-to-manipulate digital photos.

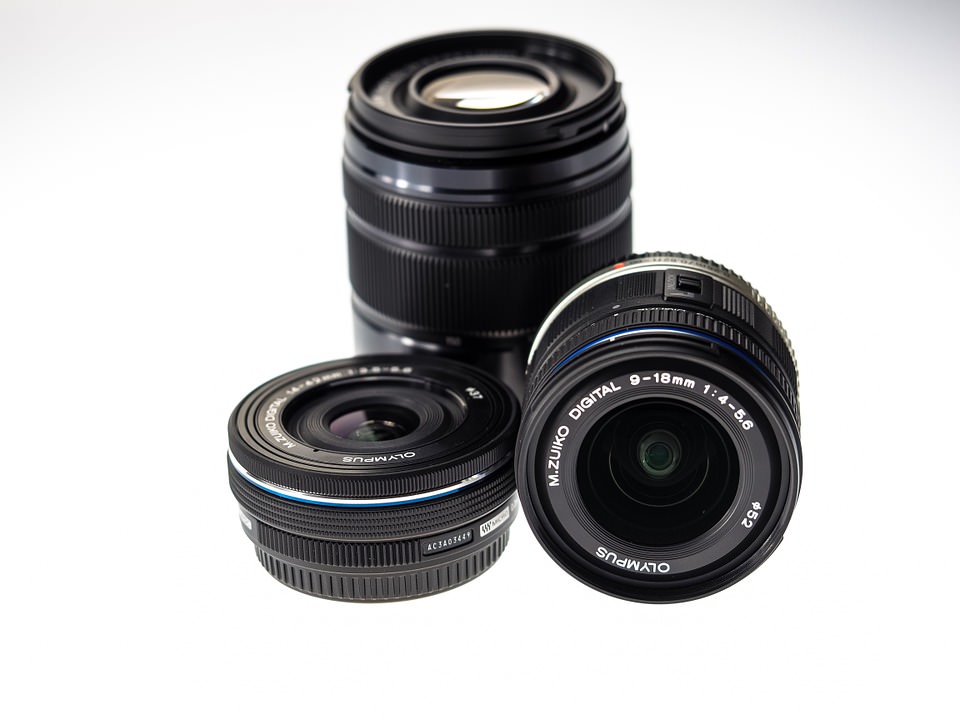
The most important thing in turning your negatives into digital photos is to find a film scanner that works for you. Scanners ranges in both size and price, the smallest, portable ones, being between $50-$150 and the bigger ones up to $1,000. The scanner you’ll need will depend on the size and type of your project.

film-digital-1

Choosing a Film Scanner

If you’re sorting through a large box of negatives, or take several rolls of film of pictures a day, then you’ll be better off with a larger scanner that connects to your computer. The upside of these scanners is they can take a lot of film at a time, some up to an entire roll at once. The scanners connect to your computer and come with their own program that will download the photos into a folder of your choice.

If you only have a handful of negatives or take a week to shoot a whole roll of film, you may want to go with a smaller scanner. The upside of the smaller scanners is that they’re portable. These scanners don’t need to be plugged into your computer. Instead they save all of your pictures onto an internal memory device such as an SD card or a flash drive. All you have to do is place the chip in your computer and save the files to the folder of your choice. Small scanners are also great to take with you on the road if you need to work on your images on a laptop or public computer.

film-digital-2

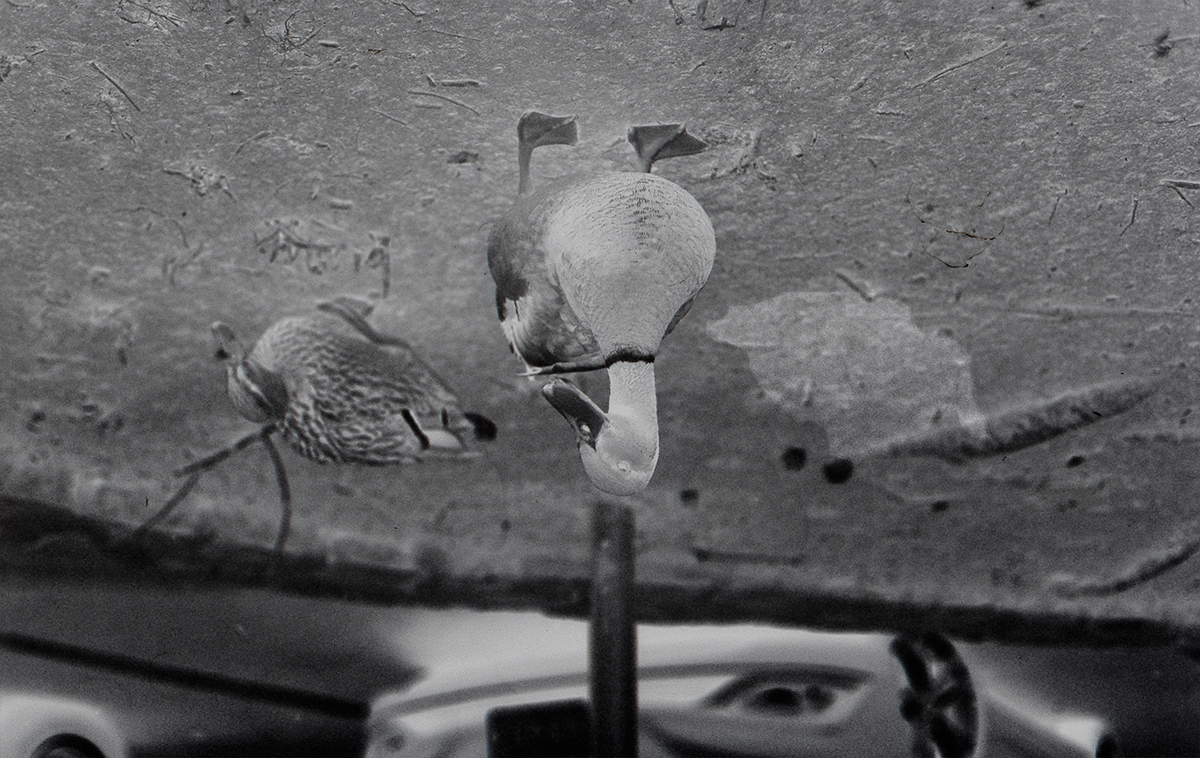
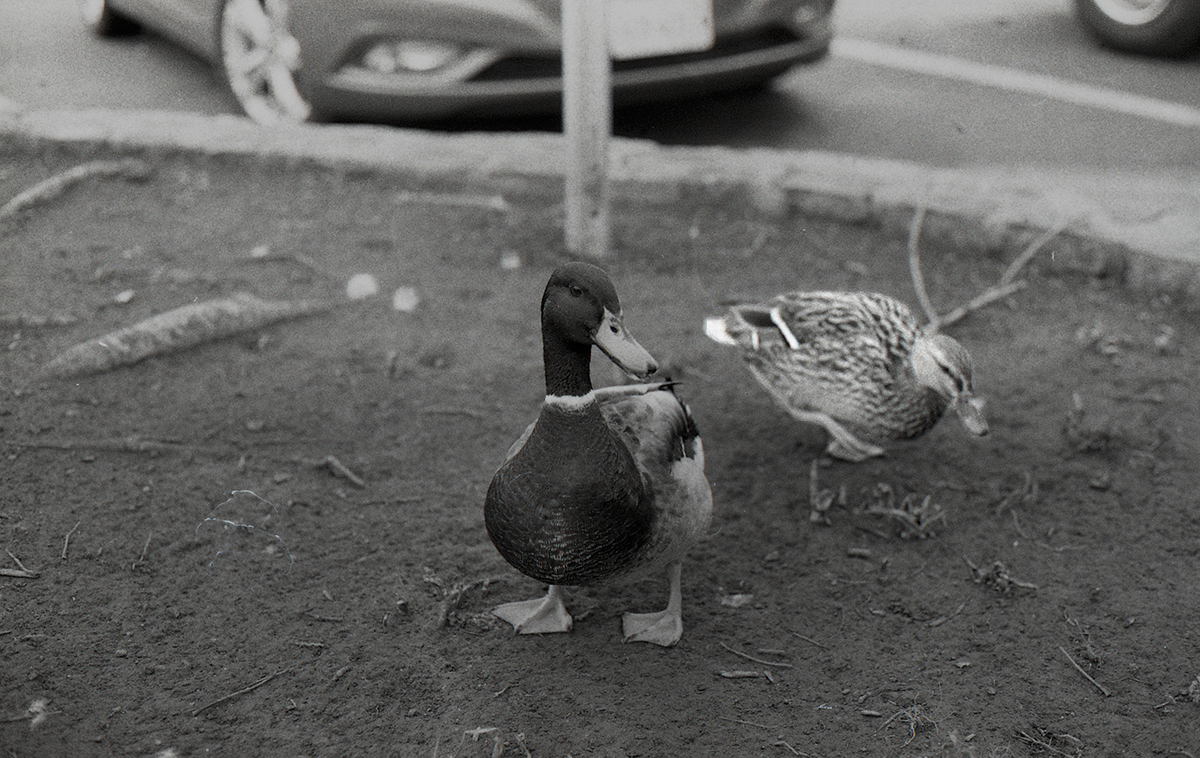
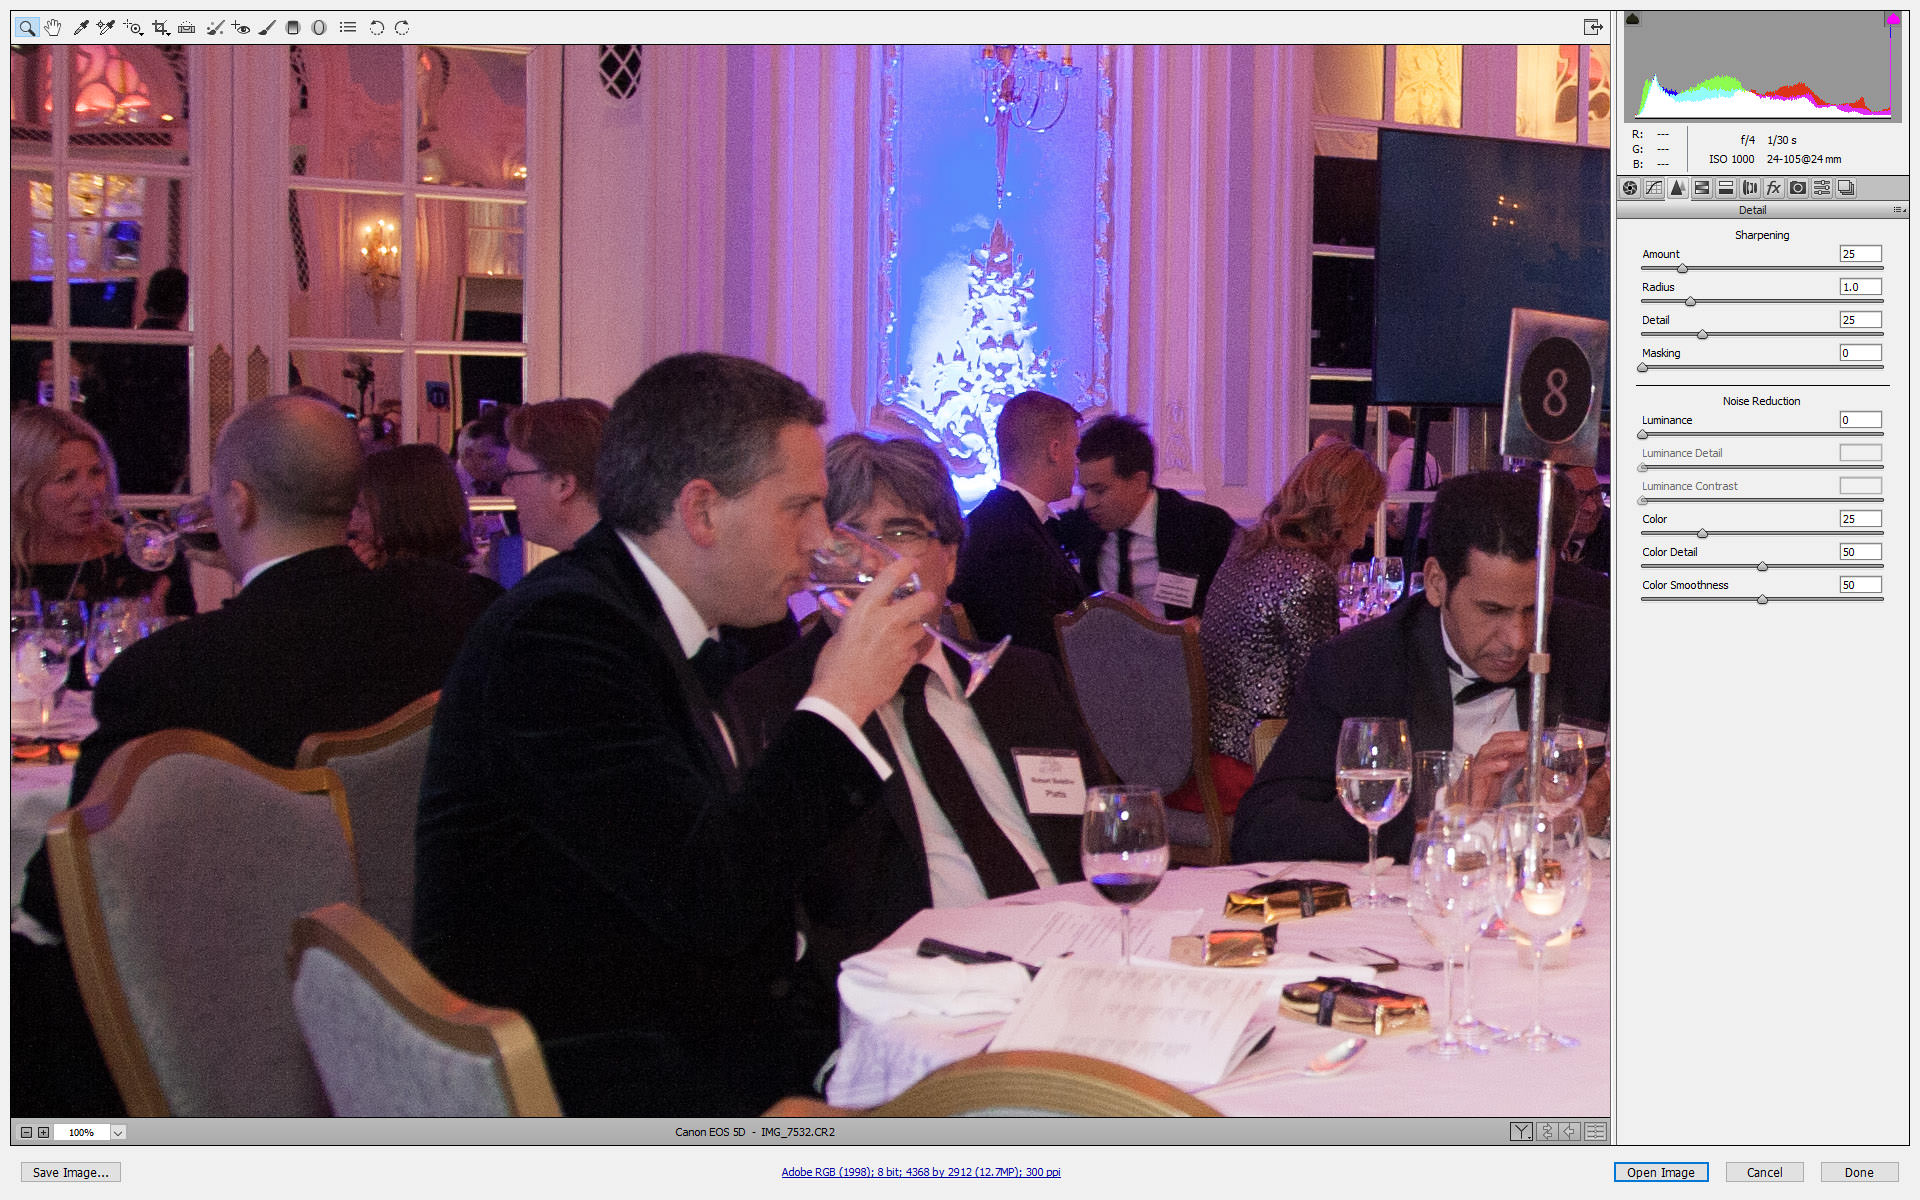
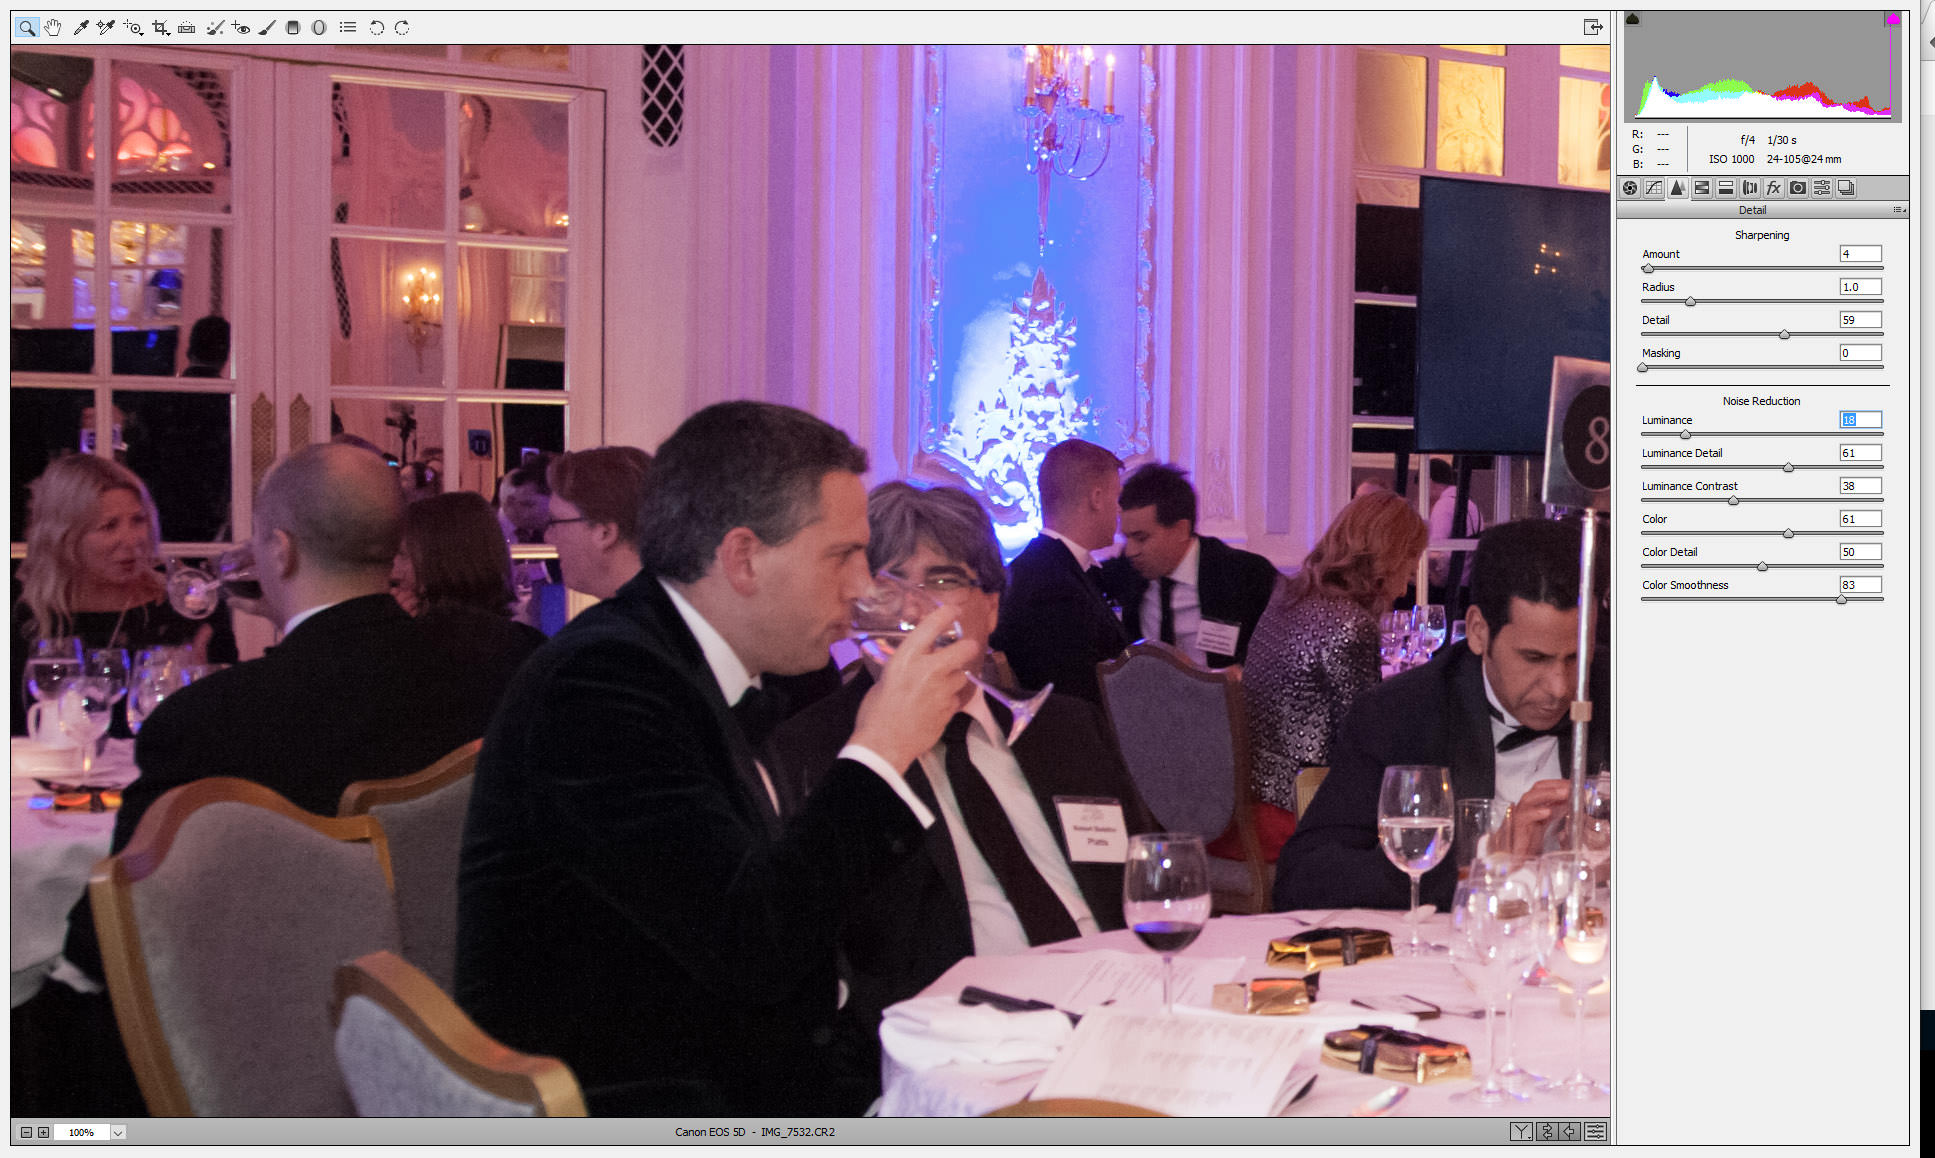
Since some scanners can get pretty expensive, if you’re willing to put in a little more personal labor, you can cut down on costs. Many of the newer and more expensive scanners automatically convert the negatives of your film into positives, turning the dark images into accurate pictures. To save some money, you can buy a pure scanner that just scans what it sees into your computer. You can then manually convert the images with a photo editing program (such as Photoshop). If you already plan on editing the digital files, this can be a great step to save on money, as long as you don’t mind the monotonous work.

Converting Film to Digital

After you’ve found the scanner that works best for you, it’s time to begin the work. Converting your negatives to digital is going to take a lot of time. It can also take a lot of work if you have a smaller scanner or are going to be inverting them on your computer.

An image placed in a pure scanner, upside down

Each scanner has its own way to load the film, but generally the way you load it won’t matter. If you place the film in upside down, or backwards, or flipped around, the image will be easy to fix in any editing software. Because your film is now digital, all you’ll have to do is flip the digitized image around. Therefore when working on the film conversion, you can load as fast as you need.

Each size of scanner has an up and down in the process of conversion. Larger scanners take less of your attention at a time; you can load a bunch of film at once, and just let it run. But the downside is that these scanners can take a long time to convert all of the images.

The smaller scanners require a lot more effort on your part, as you’re constantly switching the negatives out, but they also are designed to scan the images more quickly. If you have a lot of downtime in your day, you might find it better to work with a smaller scanner where you’re engaged more often. However, if you have a lot of other jobs or chores to do while you’re converting your images, you might be better off with a larger scanner that will take its time.

The previous image, rotated and inverted with Photoshop

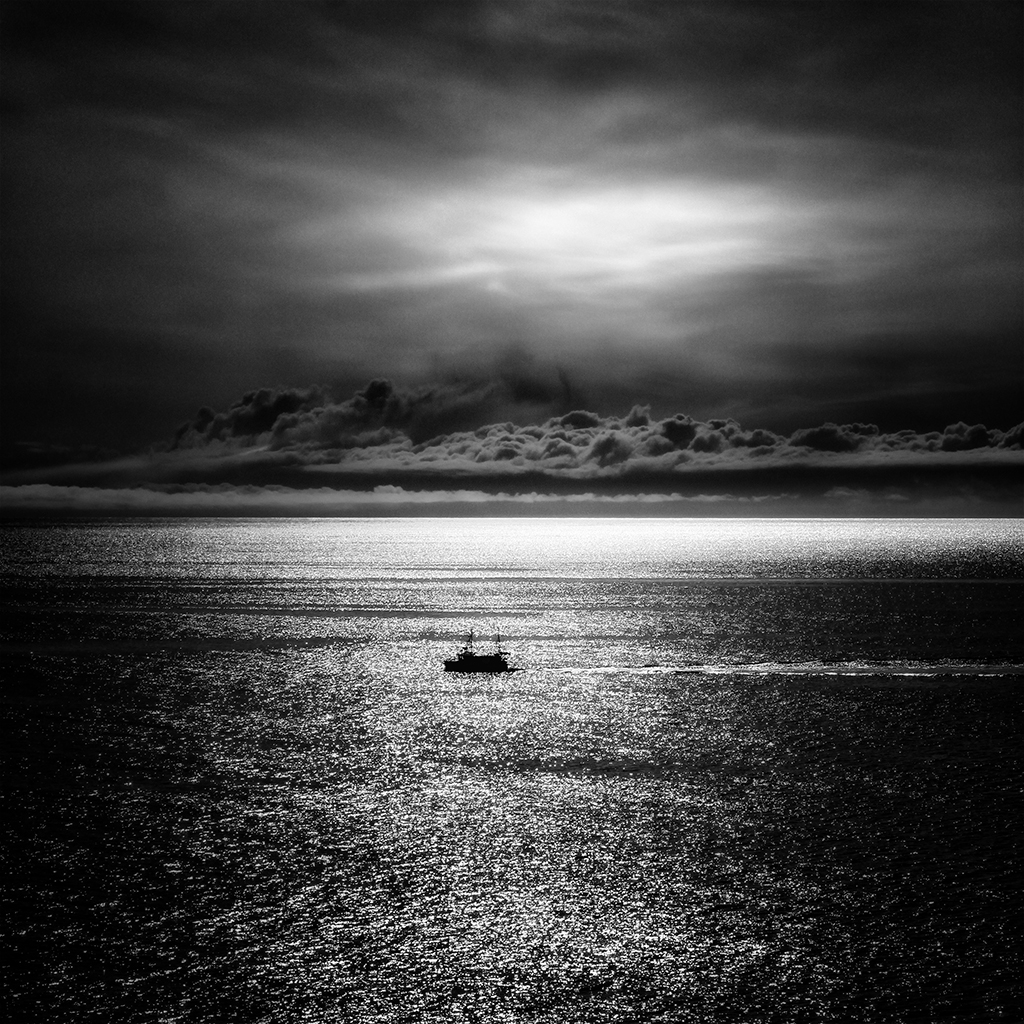
In the time when film photography was the norm, editing photos was a matter of literal cut and paste. In the modern day world of digital photography, editing photos is easy, but there’s a certain charm of film photography that is lost. By using a film scanner to convert your negative film into digital images, you can get the best of both worlds and conserve your family photos with ease.

Capturing images with less Digital Noise

In this blog post, I would like to take the opportunity to talk about an issue with which all photographers are well familiar, or they should be – if they capture their images under high ISO settings and low light conditions. Digital Noise – What is it, and best practices for reducing the effect of it. Let’s first talk about what digital noise is. As you may already know, today’s cameras come equipped with two different sensors – CCD and CMOS. Although they function differently from each other, both of them produce digital noise. The CCD, the more expensively produced sensor, handles noise slightly better, compared to the CMOS, which is cheaper to produce. However, the CMOS requires around 100 times less energy to operate. In order to keep the technical part short, as it can take a long time to cover this topic in depth, I will just mention that – both types of sensor accomplish the same task – capturing light and converting it into electrical signals. During this process, varying under different conditions and settings, different types of digital noise is produced. By the way, I did not begin this post with the intention of showing you how to use Photoshop actions or filters, but instead to show you a practical way of working around this issue well before it is time to start editing your images.

So, what steps do we need to take towards capturing images while reducing digital noise?

Camera:

full frame cameraHaving already mentioned the types of sensors found in today’s modern cameras, the very first thing I would do if I was just getting into photography, is to think about buying a full frame camera (more expensive option – but if your goal is to become a professional photographer, it is a must have). If you click on and read some of the info contained in the links provided above, you’ll find out that the size of the sensor makes a world of difference to the overall image quality – not the pixel count, as many people think. File Format: RAW file format opened in Adobe BridgeThe next step will be – setting my camera to capture images only in the High-Quality RAW format. If you are serious about the photography you do, the best way to go is shooting in RAW – this way you’ll have significantly more data captured on your files, to work with later in Adobe Bridge or Lightroom. Camera Mode: manual settings cameraNow, after we have purchased our cameras and have them set to capture images in RAW format – the very next thing we need to start getting into the habit of is to not use our cameras in Auto mode. You, as a photographer, need to be in full control of the camera when taking pictures, not the camera taking control and leaving you with whatever it thinks were the best settings for the particular situation, especially regarding the use of ISO, aperture and shutter speed.Tripod: tripodNext up is, have your tripod or monopod handy for situations where it would be most useful. Depending on the subject and style of the photography we do, very often we’ll need to use tripod or monopod for longer shutter speed, instead of cranking up our ISO settings. This is particularly helpful if the subject of our photographs is static scenes or objects. However, when we need to capture scenes with moving objects and capture them sharply, not in blurred motion,  then we really can’t avoid using higher ISO settings.Speedlights: speedlightSpeedlight – If the scene you’re photographing is too dark, especially with regards to the level of ambient light, the proper use of Speedlight will help you lift up the shadow areas, overall illuminating the scene. This will result in a lot less visible noise. You can perform your own small experiment by photographing the same scene with the same ISO settings, once without a flash, then again with the flash, comparing the results. Lenses: lensesUsing fast lenses, with a wide aperture, can also be added to our arsenal in the fight against the digital noise. Fast lenses will allow you to capture the image in low light situations with lower ISO settings. For example, you can set up the aperture of your lens to F/2.0, or less if you have this option,  which will allow more light to come through the lens and be recorded by the sensor.


And finally, at this point, we are ready to open our images in Adobe Bridge or Lightroom. We use these two versions of software as our main portal in accessing all of the data that we managed to capture in RAW format and then move on to making further refinements in Photoshop.

I have provided two snapshots bellow of how the Sharpening/Noise Reduction options work, which is a very simple but powerful way to edit your uncompressed RAW images. I won’t be going in depth over what every slider does, as it is quite self-explanatory.  However, I will say that when playing with the sliders in an attempt to reduce noise, make sure to double check your changes by zooming in on a specific region of the image. For example, zooming in on an area of shadows, where noise is very noticeable, using that as the main point for your adjustments.


Image with heavy digital noise – Default RAW settings, inside Adobe Bridge.

noise image bridge

Image with heavy digital noise – Noise reduction applied.

noise reduction


Color or black and white? – A contemporary approach

Already in the last decades of the 19th century, some people were working on the development of color photography, amongst them James Clerk Maxwell. After that, during most of the 20th Century, the love for photography grew and people started taking more and more photos while using either color or black and white films to capture the image they had in mind.

With the invention of the first modern digital camera based on CCD (Charge-Coupled Device) chips in 1975 by Steven Sasson, an electrical engineering working at Eastman Kodak, and the further popularization of digital photography at the beginning of the current century, people started to have the option of choosing between color and black and white without the need to plan ahead as before.

Digital cameras give the user the option to choose whether they want to get the final processed image (e.g. .jpg file) in color or B&W right out of the camera but, more importantly, with post-processing software as Photoshop or Lightroom, this choice can be made during the final stages of preparing the image.

So today, after more than a hundred years since the invention of color photography, we are many times faced with the question whether we think our final image will look better in color or in B&W.

The truth is that, as with many things in photography or any form of art, what looks better is a very subjective matter but, at the same time, and by the way our brains process information, there are certain aspects that are at least slightly more objective. On this small article, I would like to share my ideas on when it might be a good idea to think about converting our color images to B&W. I will not go into any details on converting the images, since you can find some great tutorials about the topic on our blog.

But before beginning, a small advice that you might have read somewhere else already: always shoot in RAW mode; even if you are still not processing RAW files, at some point in the future you probably will, and you will regret not having them for your old photos! Also, the RAW file will always keep the color information, something very handy if we originally planned for a B&W image but in the end we change our mind.

Contrast

One could define contrast as the difference in brightness between the brightest and the darkest pixel in a given image. In a more practical way, I would say that an image with high contrast will have a relatively large amount of very bright and very dark pixels (one could hardly say an image has high contrast if all the pixels but one have the same brightness!).

But why is contrast important here? Well, because one of the things to keep in mind when thinking about B&W photography is that images with very low contrast tend to look rather boring in B&W. Having said this, however, it is important to notice that we can always increase the contrast of an image in post-processing to make it look better in B&W but as a general rule, if there are no bright and dark areas (shadows) in an image, it might be a good idea to keep going with the color version.

b&w_lofoten

Overcast days

Due to the way the brain processes color information, we are generally attracted by images that have some specific colors like some red, yellow and blue. This last one is especially important when capturing parts of the sky. It is for this reason that, unless we have a cloud covered with clouds with a lot of structure (contrast!), having a plain gray sky during an overcast day most of the time calls for a conversion to B&W. This will help merge the sky with the captured scene.

b&w_lindau

Portraits

This one is a less general rule. Portraits tend to benefit from some aspects specifically thought to bring all the attention to the face being captured, but I would say that a well accomplished portrait can always benefit from the special mood transmitted by B&W so, even if you are happy with the final color result, give it a try and convert it to B&W before you make your final decision on this one.

b&w_kiruna

Long exposure

This type of photography is mostly associated with landscapes or cityscapes so, at least for me, the first choice for the final image is usually color. Nevertheless, if the image complies with one of the already mentioned characteristics (e.g. high contrast), the effect given by for instance the motion of clouds or water can give a dramatic effect worth exploring.

b&w_london

The creative process behind the art of photography will always remain a subjective one but I certainly hope that this post was somehow helpful by giving different points of view to think about the use (or removal) of color. So go ahead and play with your images. Convert some of your old images that you have always seen in color to B&W and even try adding interesting effects like HDR and I guarantee you will be surprised by some of the results.