In this blog post, I would like to take the opportunity to talk about an issue with which all photographers are well familiar, or they should be – if they capture their images under high ISO settings and low light conditions. Digital Noise – What is it, and best practices for reducing the effect of it. Let’s first talk about what digital noise is. As you may already know, today’s cameras come equipped with two different sensors – CCD and CMOS. Although they function differently from each other, both of them produce digital noise. The CCD, the more expensively produced sensor, handles noise slightly better, compared to the CMOS, which is cheaper to produce. However, the CMOS requires around 100 times less energy to operate. In order to keep the technical part short, as it can take a long time to cover this topic in depth, I will just mention that – both types of sensor accomplish the same task – capturing light and converting it into electrical signals. During this process, varying under different conditions and settings, different types of digital noise is produced. By the way, I did not begin this post with the intention of showing you how to use Photoshop actions or filters, but instead to show you a practical way of working around this issue well before it is time to start editing your images.
So, what steps do we need to take towards capturing images while reducing digital noise?
Camera:
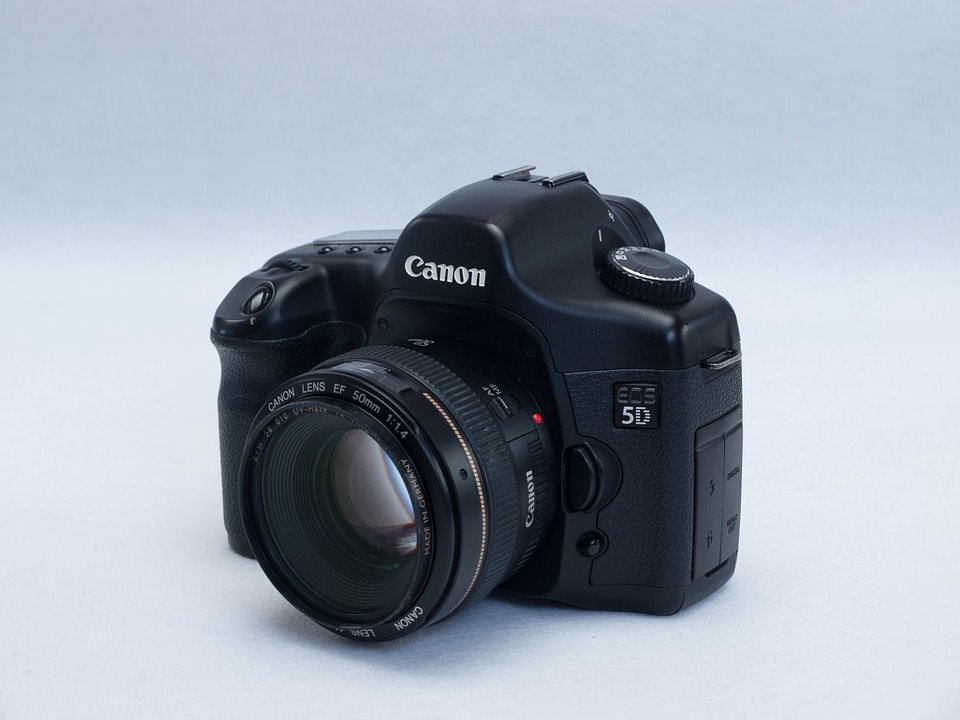 Having already mentioned the types of sensors found in today’s modern cameras, the very first thing I would do if I was just getting into photography, is to think about buying a full frame camera (more expensive option – but if your goal is to become a professional photographer, it is a must have). If you click on and read some of the info contained in the links provided above, you’ll find out that the size of the sensor makes a world of difference to the overall image quality – not the pixel count, as many people think. File Format:
  The next step will be – setting my camera to capture images only in the High-Quality RAW format. If you are serious about the photography you do, the best way to go is shooting in RAW – this way you’ll have significantly more data captured on your files, to work with later in Adobe Bridge or Lightroom. Camera Mode:
 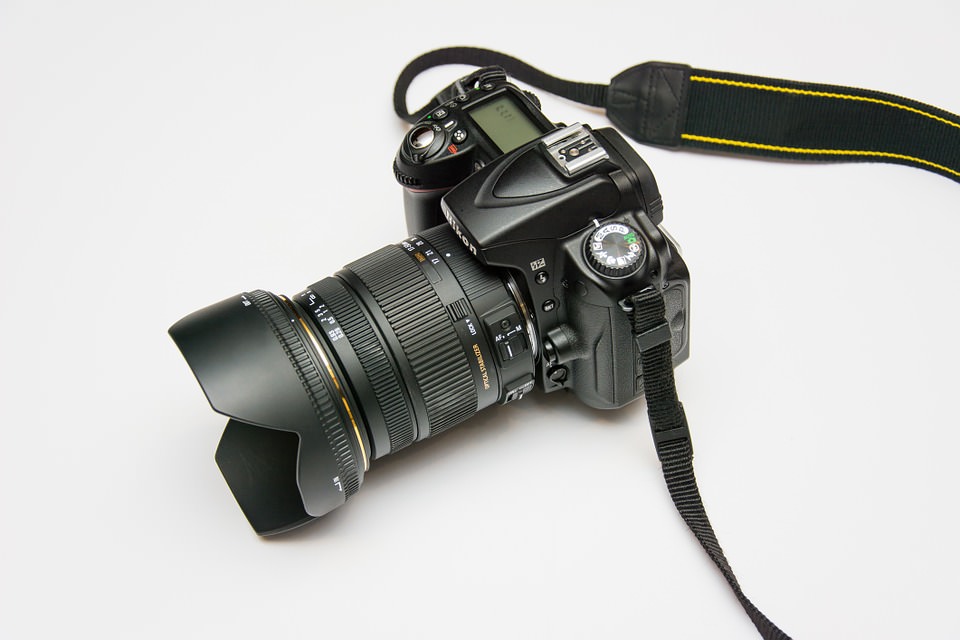 Now, after we have purchased our cameras and have them set to capture images in RAW format – the very next thing we need to start getting into the habit of is to not use our cameras in Auto mode. You, as a photographer, need to be in full control of the camera when taking pictures, not the camera taking control and leaving you with whatever it thinks were the best settings for the particular situation, especially regarding the use of ISO, aperture and shutter speed.Tripod:
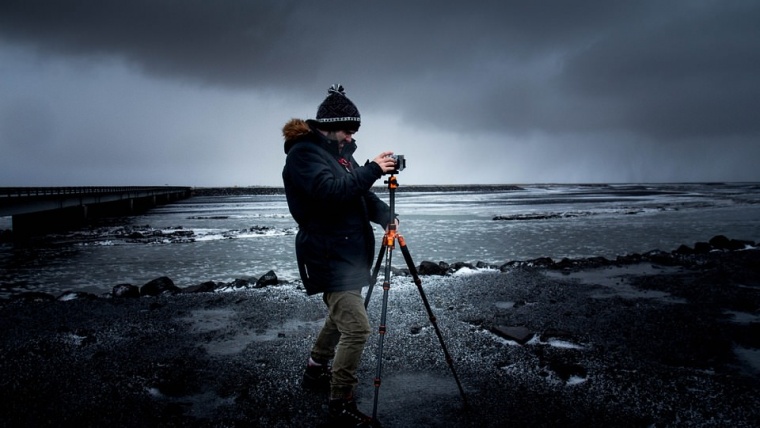
 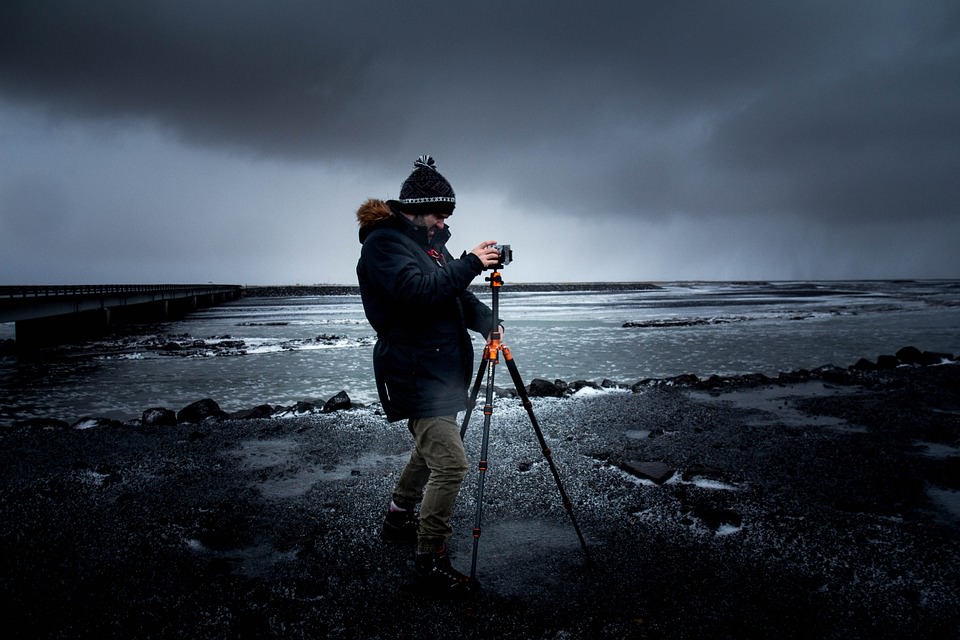 Next up is, have your tripod or monopod handy for situations where it would be most useful. Depending on the subject and style of the photography we do, very often we’ll need to use tripod or monopod for longer shutter speed, instead of cranking up our ISO settings. This is particularly helpful if the subject of our photographs is static scenes or objects. However, when we need to capture scenes with moving objects and capture them sharply, not in blurred motion, then we really can’t avoid using higher ISO settings.Speedlights:
 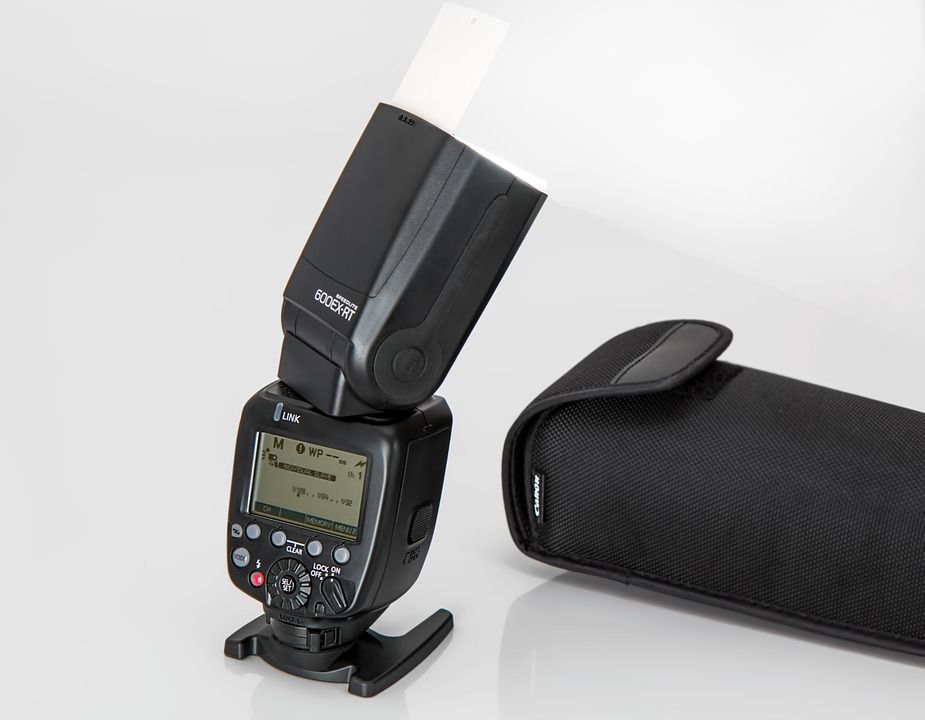 Speedlight – If the scene you’re photographing is too dark, especially with regards to the level of ambient light, the proper use of Speedlight will help you lift up the shadow areas, overall illuminating the scene. This will result in a lot less visible noise. You can perform your own small experiment by photographing the same scene with the same ISO settings, once without a flash, then again with the flash, comparing the results. Lenses:
 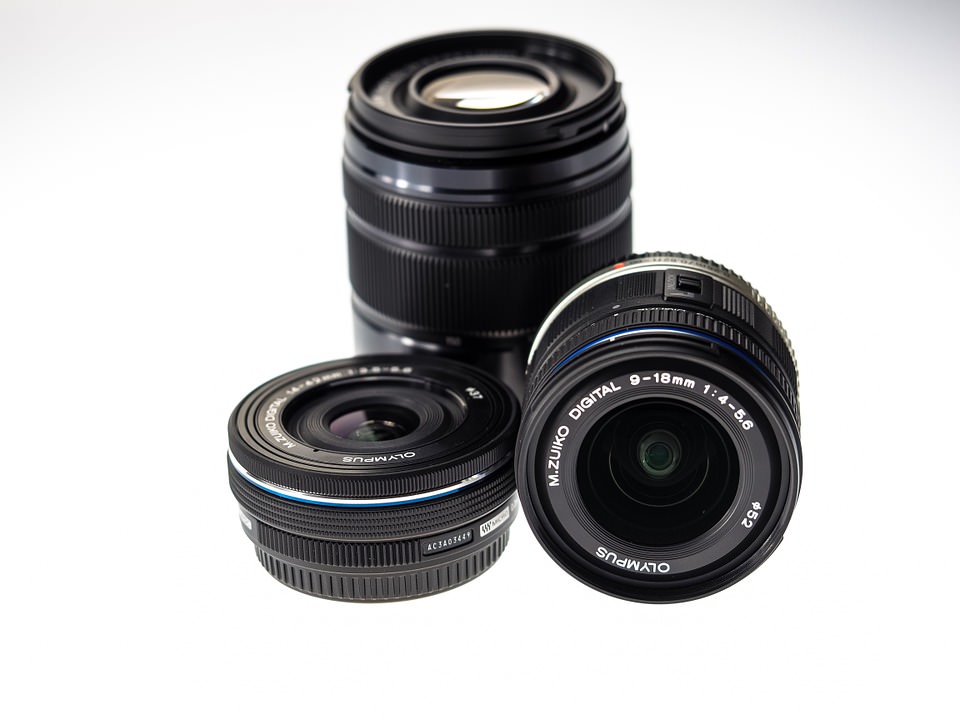 Using fast lenses, with a wide aperture, can also be added to our arsenal in the fight against the digital noise. Fast lenses will allow you to capture the image in low light situations with lower ISO settings. For example, you can set up the aperture of your lens to F/2.0, or less if you have this option, which will allow more light to come through the lens and be recorded by the sensor.
And finally, at this point, we are ready to open our images in Adobe Bridge or Lightroom. We use these two versions of software as our main portal in accessing all of the data that we managed to capture in RAW format and then move on to making further refinements in Photoshop.
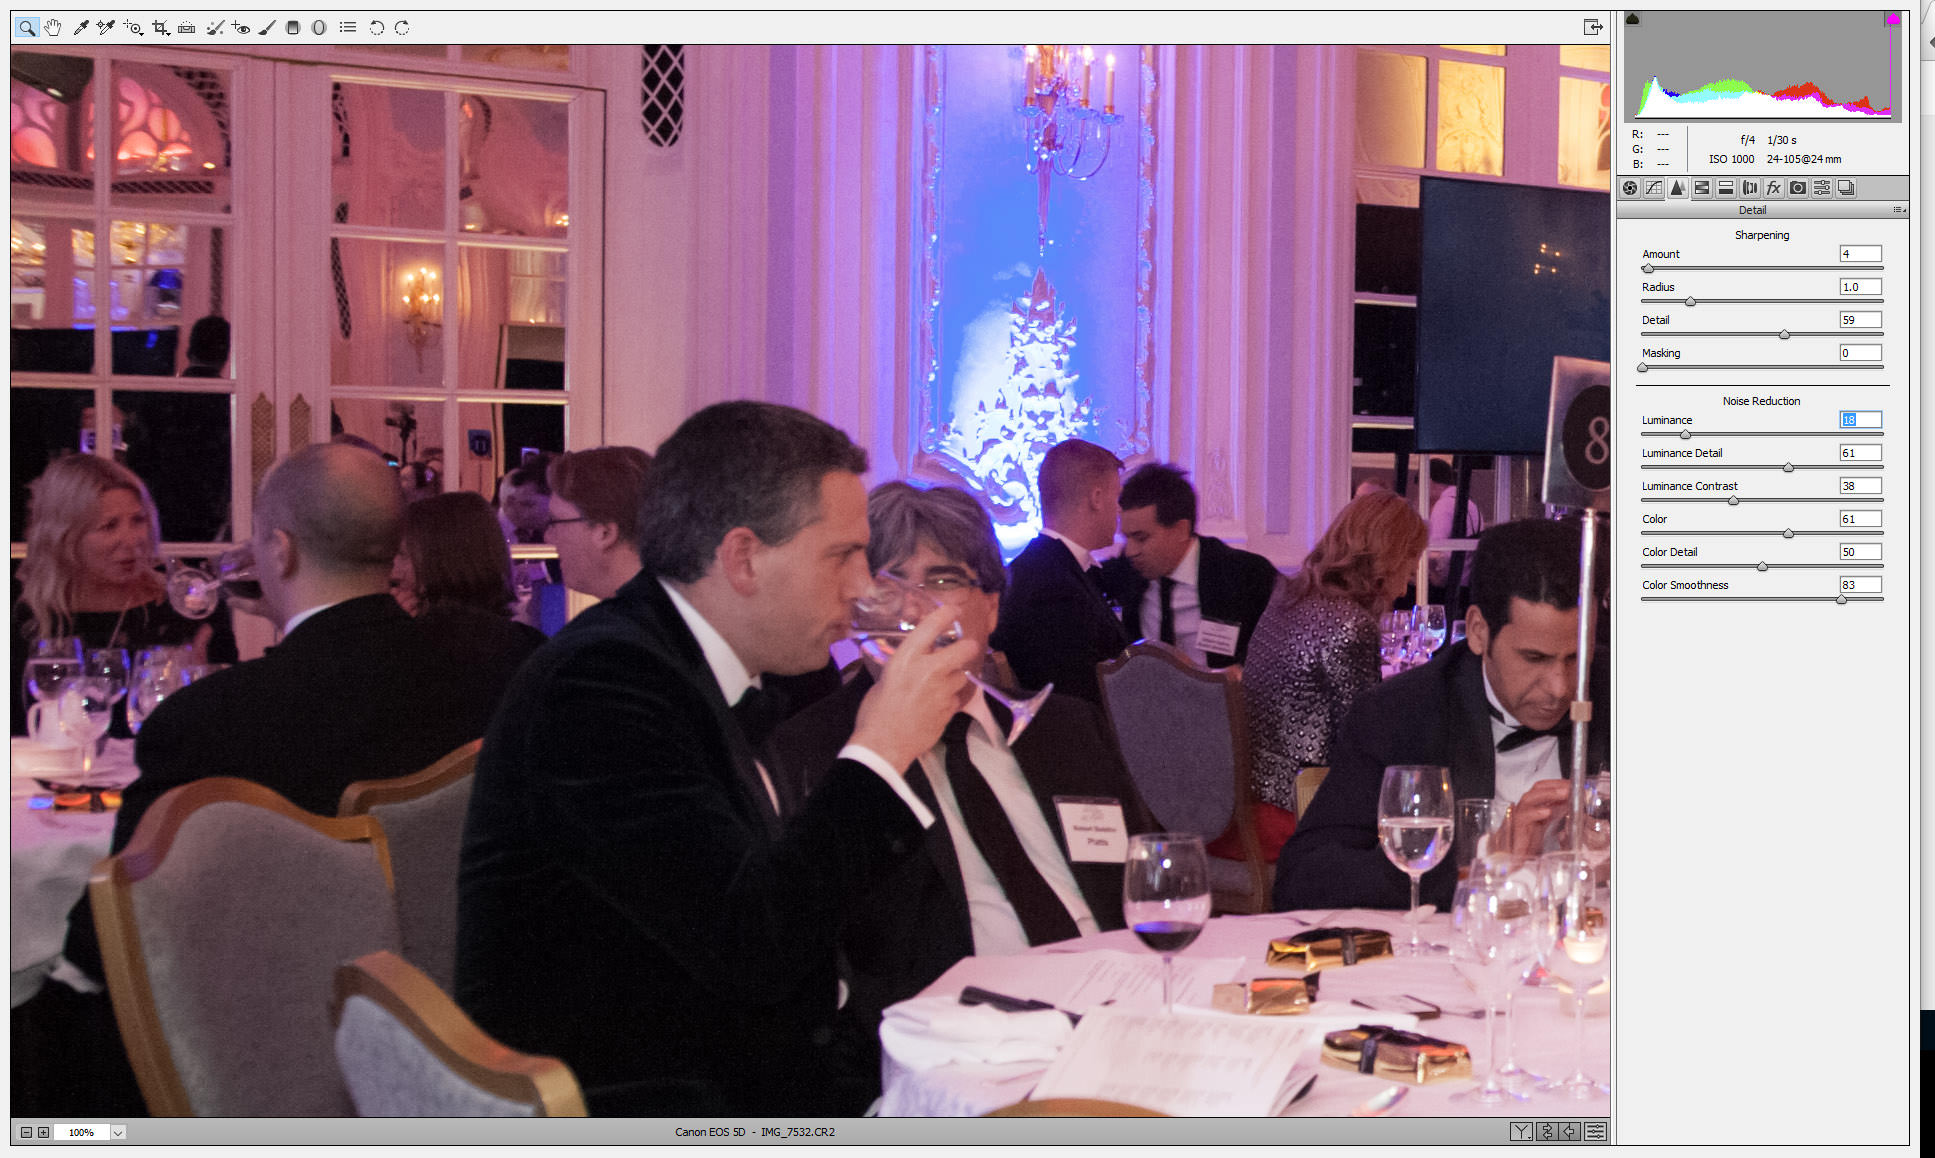
I have provided two snapshots bellow of how the Sharpening/Noise Reduction options work, which is a very simple but powerful way to edit your uncompressed RAW images. I won’t be going in depth over what every slider does, as it is quite self-explanatory. However, I will say that when playing with the sliders in an attempt to reduce noise, make sure to double check your changes by zooming in on a specific region of the image. For example, zooming in on an area of shadows, where noise is very noticeable, using that as the main point for your adjustments.
Image with heavy digital noise – Default RAW settings, inside Adobe Bridge.
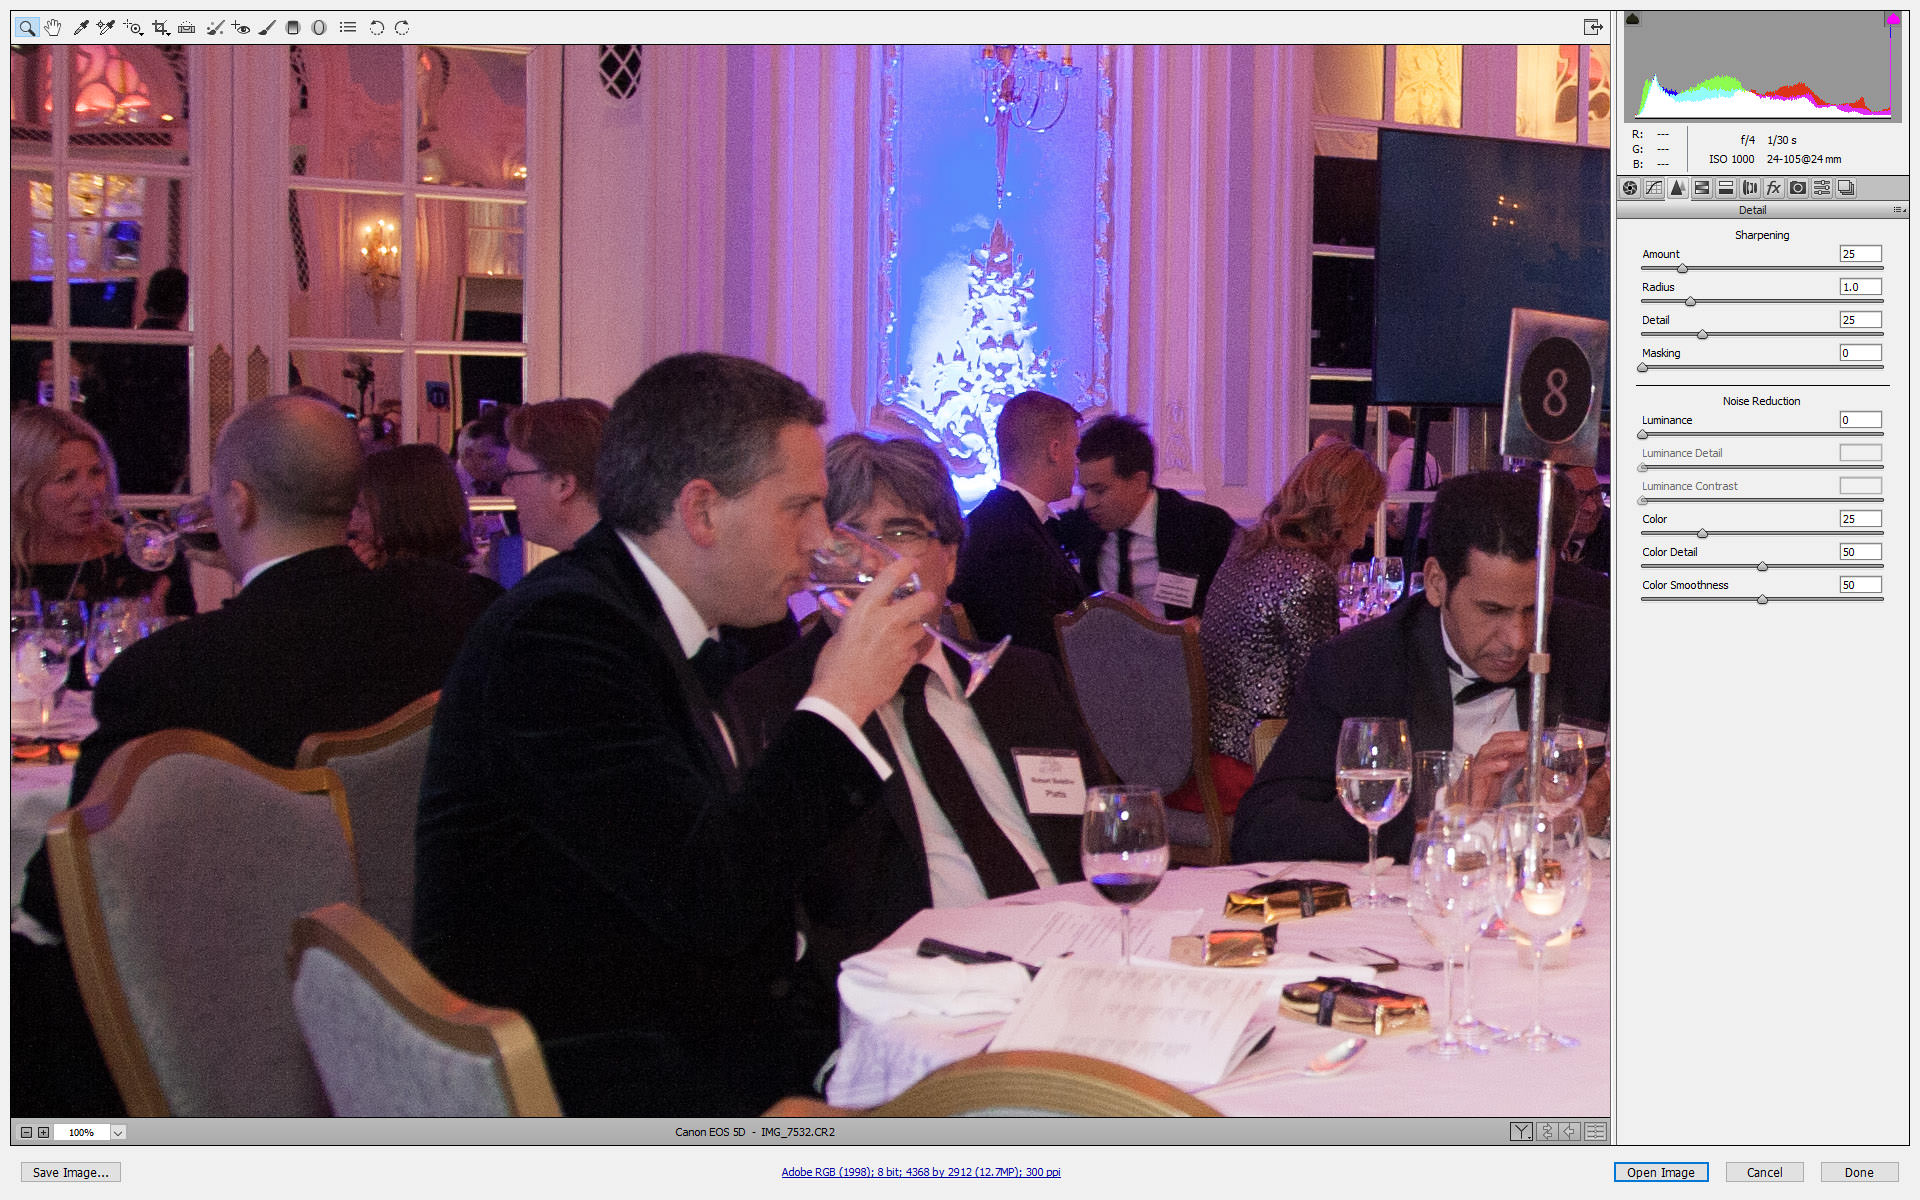
Image with heavy digital noise – Noise reduction applied.


Please verify your software version before proceeding.
 I’ve verified my software version


 Facebook
 Google +
Comments (0)
There are no comments yet.