Tag: wide angle

A Short Guide To Different Camera Lenses

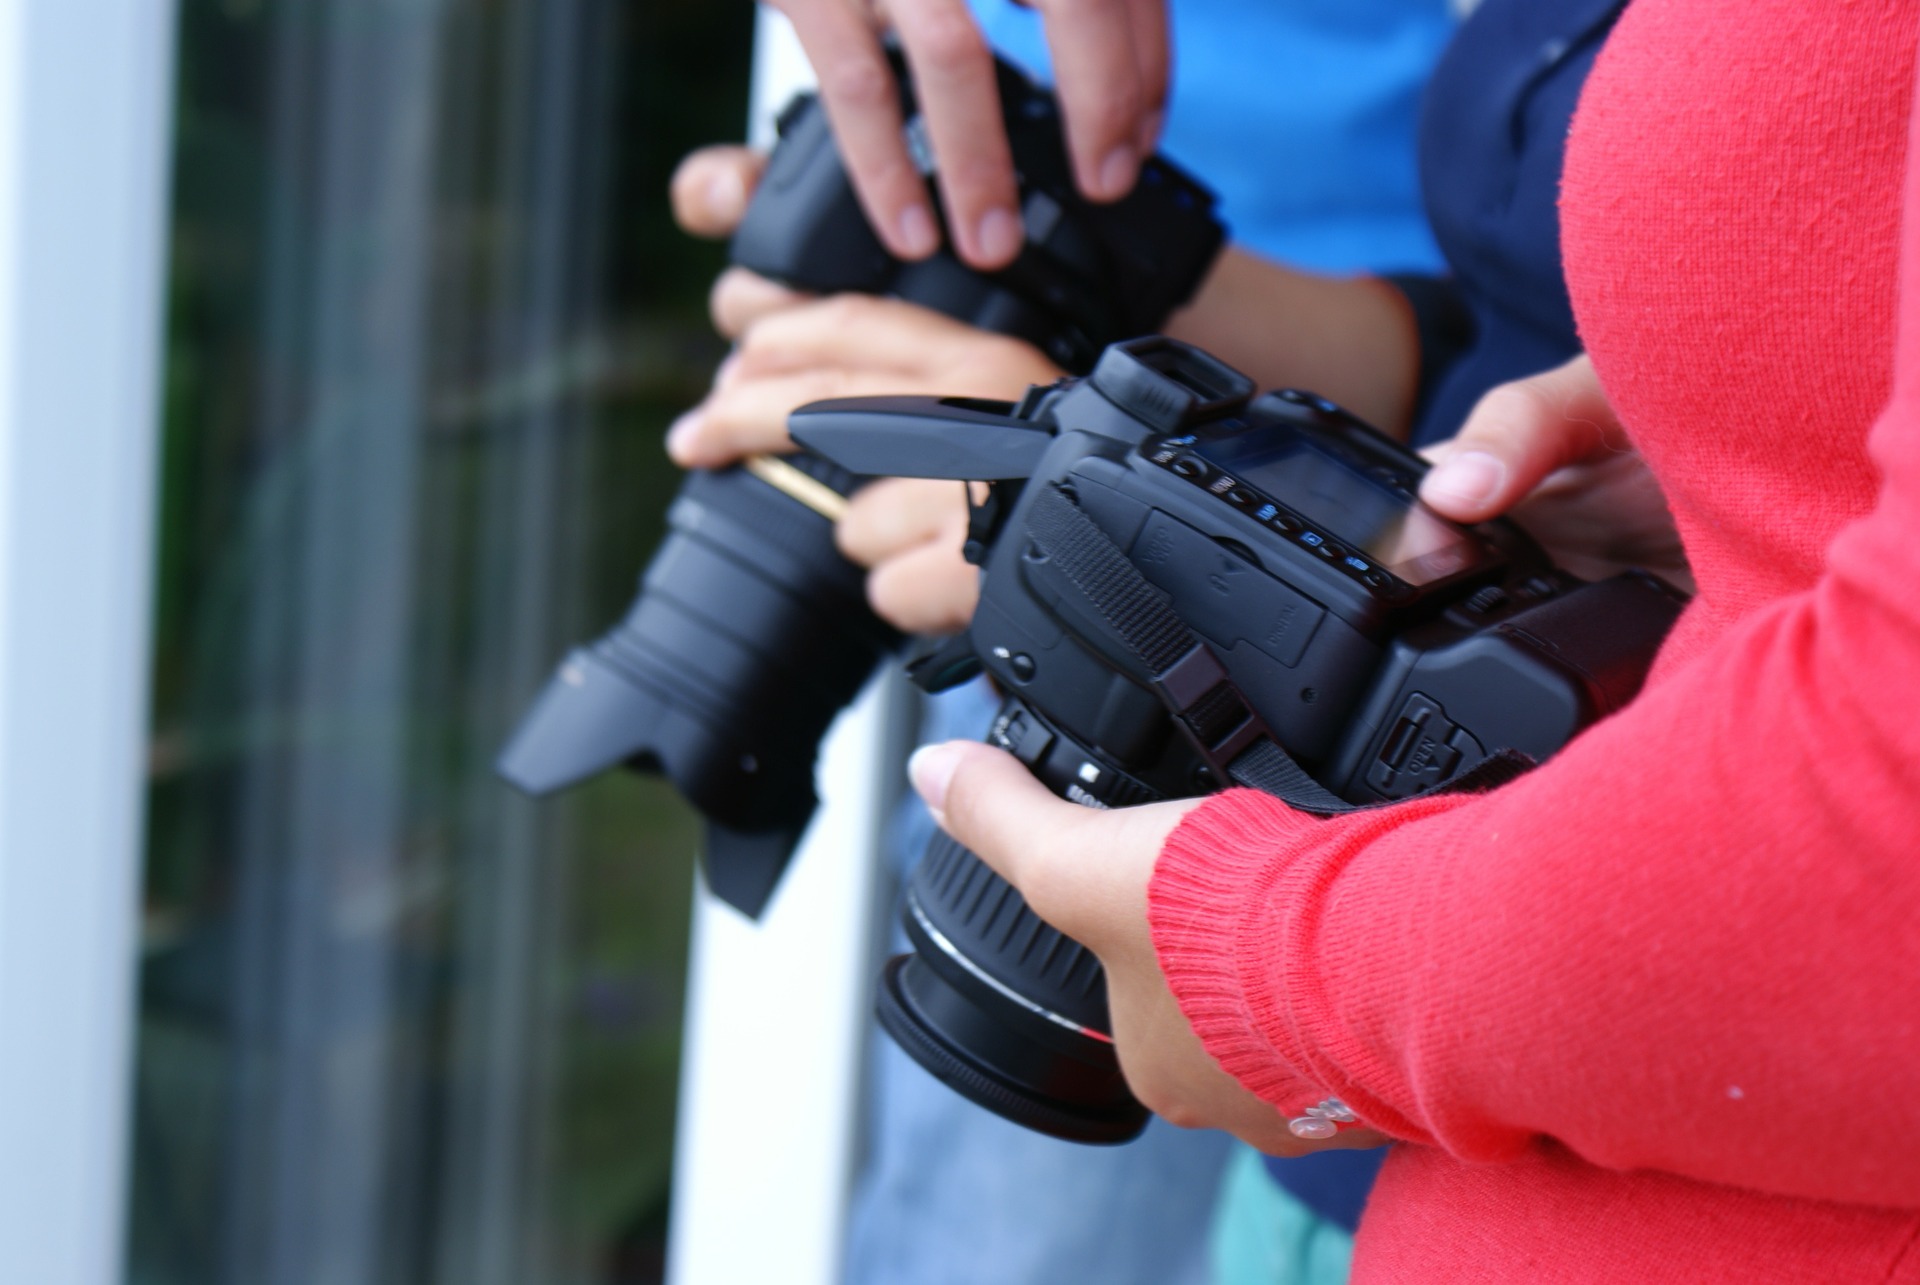
No matter how good compact cameras or smartphones get, there is one aspect in which they will never be able to overcome DSLRs (and, more recently, so-called system cameras): the ability to exchange lenses. While some people tend to argue that having a single large zoom on a compact camera is an advantage due to the portability it can provide, the truth is that the picture quality that can be achieved with a good lens specifically designed for a given type of photography is hard, if not impossible, to overcome.

lenses00

I take that, if you are reading this article, you most probably have a DSLR camera and you are either puzzled by what lens you should buy next or at least you are familiar with the feeling. Most photography enthusiasts first go out and buy a camera and only after some time taking photos they find out what type of photography they enjoy the most and only then start thinking about going beyond the kit lens. So let’s look at the different types of lenses out there and what their uses are.

One thing to keep in mind all the time is that, due to the crop factor, the focal lengths of different camera lenses will vary depending on whether the lens is intended to be used on a crop sensor o on a full frame camera. You must be very careful with this because not all the lenses on the market will work with your camera and, even more important, trying to fit some lenses to full frame cameras might actually damage it.

Different Types of Camera Lenses Guide

Kit lenses

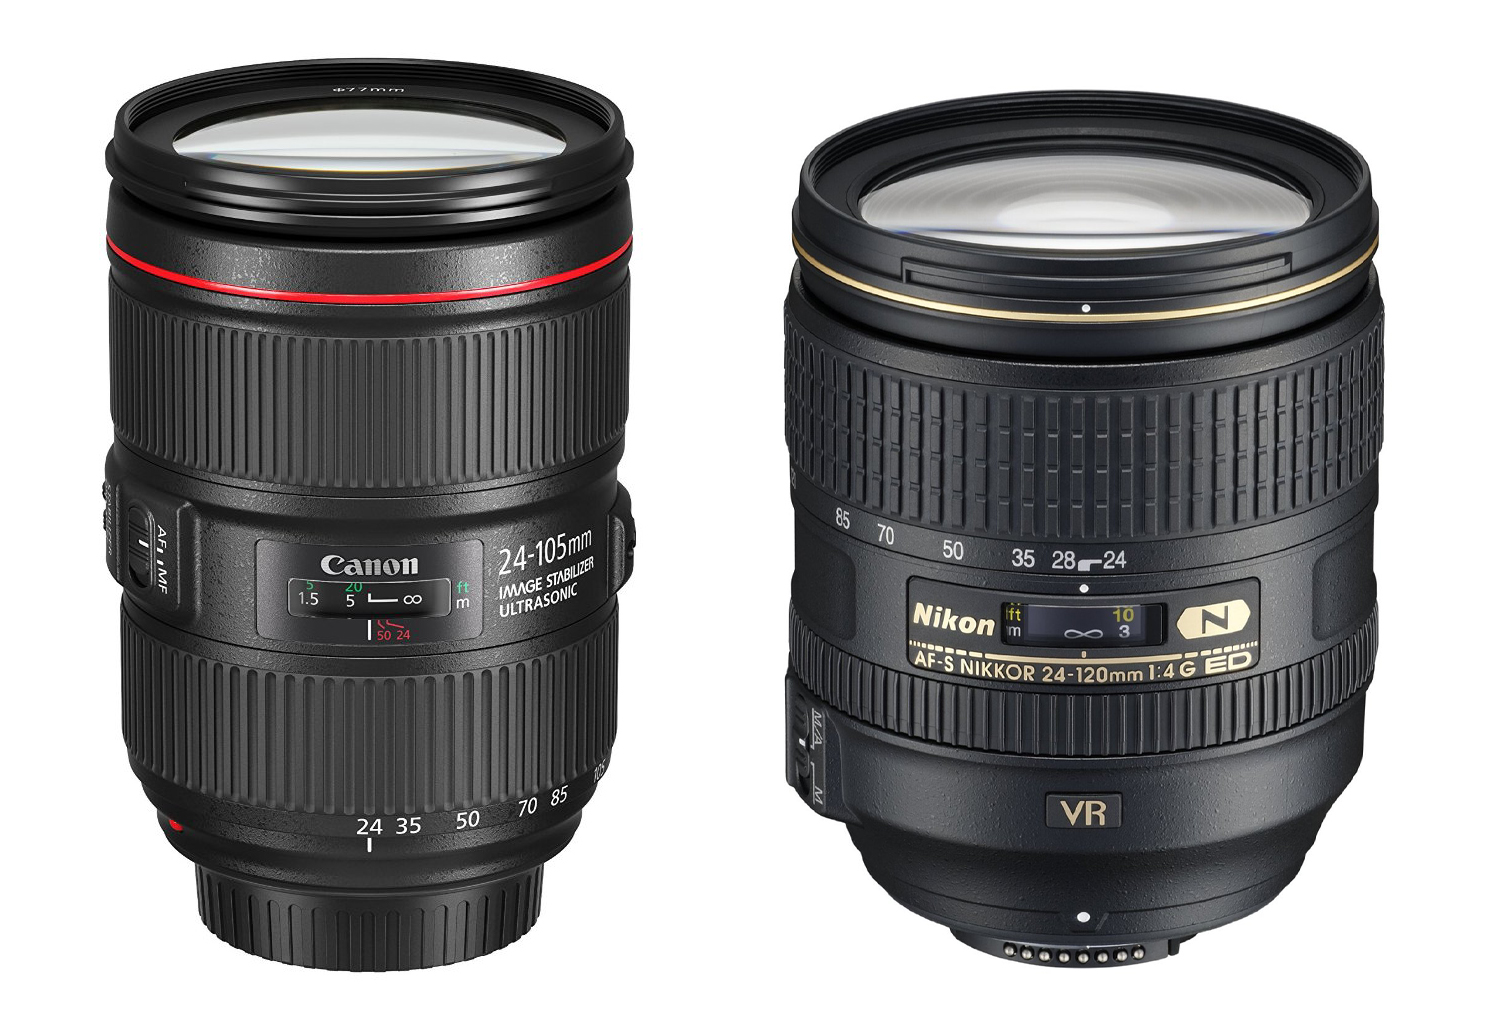
While this cannot really be a category on its own, I simply put it here to talk a bit about their capabilities and limitations. Kit lenses are basically those that manufacturers sell together with camera bodies. For most cameras, it is possible to buy either just the body or the body with one of those kit lenses. Usually, the quality of the kit lens depends on the quality of the camera, with full frame cameras offering the high quality option (like the EF 24-105mm f/4L IS II USM that comes with the Canon EOS 5D Mark IV or the 24-120mm f/4G ED VR Auto Focus-S that comes with the Nikon D-750). For most of the entry-level and mid-range cameras, while the quality of the kit lenses has improved with time, they are a good option for a limited amount of time and rather sooner than later you will feel the need for an upgrade.

lenses01

One of the most useful ways to look at the different lenses that are available on the market is by their focal length. These can be divided into five categories: fisheye, wide angle, mid-range, zoom, and telephoto. Different people use some of these terms differently, but I will clarify what I mean with each category further on.

Fisheye

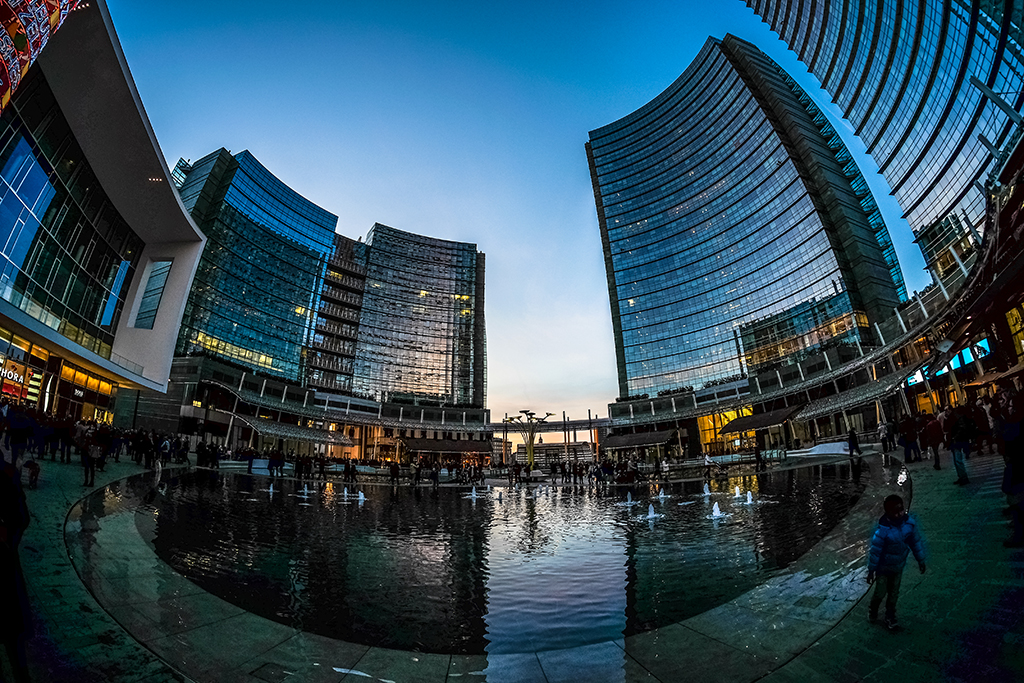
If you think of the available focal lengths as a continuum from short to long, fisheye lenses are located on the short end. They have focal lengths around 10 mm or less and can have a range of focal lengths (e.g. Canon EF 8-15mm f/4L Fisheye USM) or a fixed one (e.g. Nikon AF DX Nikkor 10.5mm f/2.8G ED). The short focal length is not the only special thing about fisheye lenses, though. The construction of the lens differs from normal wide angle lenses allowing them to provide fields of view close to 180 degrees producing highly distorted images.

They are commonly used in some specific applications such as all-sky cameras (used to study meteorological phenomena such as clouds or auroras monitoring) and can provide an interesting point of view for other types of photography such as landscapes or cityscapes. Unless you are really fascinated by how things look with the strong distortion created by these lenses, I would not recommend this as the first one to get after your kit lens.

lenses02

Wide angle lenses

With focal lengths a bit longer than fisheye lenses, wide angles are one of the most useful (and many times forgotten) objectives out there, especially if landscape and travel photography is what moves you. Wide angle lenses are built to minimize visual distortions and even though getting rid of the distortion completely is virtually impossible, the good ones do a pretty good job.

The main advantage of wide angle lenses is that they let you get closer to your subject while still covering most of it and a good part of the background. This makes them ideal for some types of photography such as sports, travel, and landscape photography. For instance, if you think of the latter, a common reason for landscape photos to come out rather dull when compared to what we saw is the lack of a main subject located relatively close to the camera. The use of a wide-angle lens gives you countless opportunities since you can simply get close to something like a flower or a rock and still capture the beauty of the background. The same can be said for travel or architecture photography.

lenses03

The price range of wide angle lenses vary significantly depending on what you choose. An amazing choice for those using Canon (although only for crop sensor cameras) is the relatively new Canon EF-S 10-18mm f/4.5-5.6 IS STM that provides great results with minimal distortion and at an incredibly affordable price. A Nikon alternative, although more expensive, is the Nikon AF-S DX NIKKOR 10-24mm f/3.5-4.5G ED.

Mid-range

By mid-range I mean lenses that are located, in terms of focal length, between wide-angle and telephoto objectives. Some of these, like the kit lenses that come with entry-level DSLRs (Canon EF-S 18-55mm f/3.5-5.6 IS II or NIKKOR 18-55mm f/3.5-5.6G VR II), are sold like all-purpose lenses and there is some truth on that. While the quality of these lenses is not the best, they are a good option to start making photos with. The wide end (18mm) is wide enough to allow you to capture many wide scenes like landscapes and the narrow end (55mm) is good enough for getting closer to some subjects, especially for taking portraits and some studio setups. The big limitation of these lenses is usually the aperture which is 5.6 at the narrow end, producing rather dark and dull results in some cases due to the deep depth of field.

If your main interest lies in portrait photography, this mid-range is in fact a good place to stay and there are many good options in the market with a wide range of prices. Canon offers three different options for fixed 50mm lenses which are perfect for portraits: the famous and affordable EF 50mm f/1.8 STM, the mid-priced EF 50mm f/1.4 USM and the expensive Canon EF 50mm f/1.2 L USM. Nikon has similar options with the AF FX NIKKOR 50mm f/1.8D and the AF-S FX NIKKOR 50mm f/1.4G. The magic of these lenses lies on their small size and the incredible depth of field, even with the cheaper options producing great portraits.

lenses04

If you are working with a full frame camera, your best choice for portraits is to get an 85mm which is almost equivalent to 50mm on crop sensor cameras. As I mentioned before, be aware of the compatibility of any lens you plan to buy with your camera to avoid unpleasant surprises. Also, if you are considering switching from crop sensor to full frame, be aware that the camera is not the only thing that will get considerably more expensive; lenses will also become more pricey.

Zoom & Telephoto

While these two terms are sometimes used without any discrimination between them, they tend to be related but are not the same. A zoom lens is any lens with a variable focal length while a telephoto is a lens with a large focal length (usually around 90mm and above). I decided to put them into the same category here because, while some of the objectives mentioned before (10-18mm or 18-55mm) are zoom lenses, the term is commonly associated with those really large and bulky ones that you can see when press people are taking photos at a stadium.

Once again, the price range here is huge. For Canon, you can get a good zoom range with the EF 75-300mm f/4-5.6 III. Once again, the issue with this lens is the aperture (5.6 at 300mm) although the truth is that to get a good aperture at telephoto ranges you might have to pay more than you are ready to like for instance the EF 400mm f/2.8L IS USM II. The construction of the lens, especially in the case of zoom lenses, to get large focal lengths and apertures is very complex and that is definitely reflected in the retail price.

In terms of use, telephoto lenses (both fixed focal length and zoom) are perfect for wildlife, street and sports photography. When capturing wildlife, it is usually difficult to get close enough to your subject before they run off scared or before your own life is at risk. Street photography is based on capturing everyday life of people on the street and, unless you want to get an angry stare or a fake pose, you need to stay unnoticed and thus a large focal length is necessary. Finally, to shoot sports events you will usually be located quite far from your subjects (like for instance a football player on a stadium).

lenses05

A good focal length to start with is 250 or 300mm. The already mentioned EF 75-300mm is quite affordable and will allow you to get close enough to some animals, although probably not enough to fill the frame if the animals are particularly afraid of people. A big problem with the cheapest options like the 75-300 is that they do not have image stabilization, meaning that when shooting at 300mm you will need to either shoot under very sunny conditions or shoot at very high ISO numbers which can produce very noisy results depending on your camera and how much you push it. Still, given the price, if you are simply exploring different aspects of photography, I would say is worth giving it a try.

If what moves you is sports photography, you will need a larger focal length and, more importantly, a faster lens. Here you are getting into the realm of really expensive gear (we are talking about usually more than $7000 for a lens) so this is most commonly reserved for professionals who are actually making money out of it. Still, if you can afford it, having something like the Canon EF 200-400mm f/4L IS USM Extender 1.4x (that is f/4 over the whole range!) can work miracles on your sports and wildlife photography.

There is another type of lens that, due to its intended use, falls into a completely different category that is independent of the focal length. I am talking about macro lenses. These lenses are intended to take photos of small subjects and people have gotten to the point of adapting microscope lenses to DSLR cameras to get amazing results. I will not go into details, however, because describing macro lenses and how to work with them would require a full post and I prefer to leave that for experts on the field.

I want to finish with a small list summarizing the types of lenses that I went through and their uses so you can use it as a quick guide to decided what to buy next.

  • Fisheye: lenses with small focal length (usually less than 10mm). Somewhat useful for architecture photography, but only if you are actually looking to create a heavily distorted image.
  • Wide angle: the perfect option for landscape, travel and architecture photography (both indoors and outdoors). Sometimes over-looked, this is a great second lens unless you are really motivated by street portraits, street, wildlife or sports photography.
  • Mid-range: your best choice if your main interest lies in studio and portrait photography. Pay special attention to the aperture. In general, anything with at least 2.8 is going to produce nice results.
  • Telephoto: if you are mostly interested in subjects that you cannot get closer to (wildlife, people on the street or sports events), getting something with a focal length of at least 250mm is your best shot. If you are only starting, think about buying on of the most affordable options in the market, although be ready to spend significant amounts of money if you want to upgrade your gear later on.

Curating Great Shots – Tips for Museum Photography

Whether you’re a tourist looking to document an interesting artifact or are just interested in capturing a unique subject, there are many ways you can improve your photography next time you’re shooting inside a museum.

Museums can be exciting places to explore – buildings filled with surprises whether they’re big or small, ancient or modern. However, they do pose plenty of challenges for photographers trying to get creative shots. Having worked at the Royal Albert Memorial Museum in Exeter, the UK for several years as a volunteer and a freelancer, often with a camera in my hand, I’m well aware of the potential pitfalls of taking photographs in museums.

Sleeklens - RAMM Museum Shoot_046 (2000px)_mini

With a couple of lenses (a fast one and a wide one), a polarizing filter, and a monopod I popped into RAMM to take some pictures and prepare some tips for this blog. Its wide range of exhibits offered the ideal opportunity to test a few key problems facing photographers in museums, and their solutions.

Working with reflections

One of the biggest problems is glass creating unwanted and distracting reflections, and all the best stuff is behind glass. There are several ways you can reduce reflections, and also make them work to your artistic advantage.

The first way you can reduce reflections is to invest in a polarizing filter. A polarizing filter will block light from one direction so that in theory you can eliminate the light rays which are causing the reflections and only let the light from behind the glass through. It’s not just a matter of slapping the filter on your lens, though, to get the best results the filter should be rotated so that the light is being filtered at just the right angle. And while polarizing filters can be great they aren’t magic, working best in certain lighting situations and not at all in others.

Sleeklens - RAMM Museum Shoot_025 (2000px)_mini

The other option with reflections is to make them part of the composition, by using a lens with a wide aperture to create a narrow depth of field and blurry reflections – in other words, bokeh. You can also try pressing your lens against the glass which will do the trick as far as removing your own reflection goes and can work well when you’re using a wide one which allows you to frame the whole subject. It makes it more difficult to create a pleasing composition but does offer the advantage of helping to steady the camera if you’re working with low shutter speeds.

Even if you do capture an unwanted reflection not all hope is lost, with the help of Photoshop and Lightroom. If the reflection falls over a particularly dark area it might be possible to make it less noticeable, or even invisible, by making the darks a bit darker in lightroom. Or if you don’t mind a more time-consuming solution the healing brush and clone stamp tools in Photoshop can also be helpful.

Sleeklens - RAMM Museum Shoot_028 (2000px)_mini

Aside from reflections museums cases are also magnets for fingerprints, so it’s worth taking a cloth with you to polish the glass before taking the shot.

Forget about flash

There are several reasons why you shouldn’t use a flash in museums. One is that they can create even more reflections on glass surfaces (and ugly reflections at that), the other is that light levels in museums are carefully controlled to protect sensitive objects. While a quick flash probably isn’t going to cause an ancient artifact to disappear in a puff of previously priceless dust it might shorten its lifespan and rob future photos of an interesting image.

Sleeklens - RAMM Museum Shoot_011 (2000px)_mini

To compensate for dim lighting a fast lens is the way to go, like a prime around f1.8. Slower telephoto lenses will make it a lot more difficult to get bright, sharp shots, especially in darker galleries. And if you want a person in your photo, and you want them to look nice and sharp, a fast lens is a must.

Raising the ISO sensitivity is another option but depending on how your camera handles higher ISOs you may find you’ll be capturing unwanted noise. If you find your images suffer from a high level of noise check out Nikolay’s blog on capturing images with less digital noise.

One leg good, three legs bad

Even larger museums with big open spaces will have plenty of areas where it’s difficult to frame a shot without walking backward and bumping into someone or something. While a little a bit of self and spatial awareness goes a long way in such environments it’s also a good idea to think about your tripod situation if you’re trying to do longer exposures or want to make sure you get a steady shot. Although not as rigid as a tripod a monopod is a great way to go to eek out that extra bit of clarity and create some interesting images, without blocking anyone’s path.

Sleeklens - RAMM Museum Shoot_010 (2000px)_mini

Go wide

The scale can be a tricky thing to work within a museum. Sometimes you’ll find lots of small things in big places, and sometimes you’ll find one or two big things in relatively small spaces (like the elephant below for example). Using a wide-angle lens will allow you to fit everything into one shot or make a composition less cramped, though it may add some distortion at the edges.

Sleeklens - RAMM Museum Shoot_041 (2000px)_mini

Sometimes 18mm isn’t wide enough, and the image above was taken at the widest end of a 10-20mm lens on a cropped sensor (so 15mm full frame). Although not the fastest lens I was shooting at a time of day when the room was particularly well lit.

Ask permission

Just because a museum is free to enter it doesn’t mean it won’t have rules about photography. If taking images for commercial purposes you’ll definitely need to ask permission from the museum (as I did for this blog), and even if the images are just for personal use they’ll probably appreciate you asking. Generally speaking, any museum that has a policy about picture taking, or the lack of it, will have clear signage and may ask you to pay a fee, whatever the reason you’re shooting for.

Don’t hog the history

Finally, it’s also worth mentioning that it can be too easy to spend a long time perfecting your shot of a single object, which may irritate other visitors. If you’re struggling to get the shot you want to move on and come back to it later, not only is this considerate to those around you but it will give you time to think about your composition and the opportunity to come back to it with fresh eyes.

Sleeklens - RAMM Museum Shoot_014 (2000px)_mini

Next time you’re planning a trip to a museum, whether local or not so local, keep these tips in mind to get best out of your trip. And if you’re not usually the museum visiting type but are looking for some creative inspiration a museum is always a good place to start.

Wide Angle Lens Photography – Practical Guide

One of the biggest advantages of SLR and DSLR cameras has always been the possibility of interchanging lenses. In the last few years, a new type of camera has appeared on the market, which combined the reduced size and weight of compact cameras with the possibility of attaching different lenses (sometimes called mirrorless or system cameras).

The truth is that without this possibility, the ability of capturing the scene we want in different situations is significantly reduced. In this post I want to concentrate on a specific type of lens, with focal lengths that are rarely achieved by compact cameras. Moreover, these lenses are not usually at the top of photographer’s bucket lists despite their versatility and ability to get some unique results, especially when talking about landscape and travel photography. I am talking about wide angle lenses.

photographer-324921_1920

Since I shoot with a cropped sensor camera (not a full-frame), the focal lengths I will be referring to are specific for that type of cameras. Also, to avoid using ‘cropped sensor’ all the time, whenever I say ‘camera’ I am referring to ‘cropped sensor camera’.

Usually, DSLR cameras come with a kit lens and it is not uncommon that this kit lens is a 18-55 mm. This is a good general purpose lens (I am not talking about quality, just focal length) that can serve to shoot landscapes as well as portraits, for instance. Many wide angle lens photography aficionados stick to this lens but the truth is that it has some important shortcomings. Not only the build quality is not the best (with some sharpness and focusing issues) but the fact that the aperture range in the wide side is quite limited, makes it difficult to take photos under low light conditions or to have the right depth-of-field when taking for instance portraits.

However, the largest limitation and why I recommend experimenting with different lenses, is the focal length itself. While you would need a large zoom or telephoto if your interest is street or wildlife photography, if landscape and travel photography is what motivates you, I would definitely recommend giving wide angle lenses a try.

Why Wide Angle Lens Photography?

The obvious reason is that sometimes 18 mm is not wide enough to allow us capture everything with a single shot. This is especially relevant in travel and cityscape photography, where sometimes it is just impossible to step back a bit in order to get all the scene in a single exposure. Take, for instance, this image of the Max Planck Institute for Solar System Research in Göttingen, Germany, taken with a focal length of 18 mm.

_MG_9027_1024_nob_noproc

Being a medium-size building, even though I could not capture the whole structure, by stepping back a bit I was able to capture at least the main entrance and a good part of the structure. The image might look interesting like this, but it is simply impossible to get the rest of the building in a single shot, simply because the focal length of the lens is not enough.

Now take this image of the same building and almost from the same spot, taken this time with a focal length of 10 mm.

_MG_0007_1024_nob_noproc

Ignore the obvious change in mood (the first image was taken in summer while this one was taken in winter). Now, by actually moving forward to cover less foreground, I was able to capture the whole structure, better conveying the size and 3-dimensional structure of the building.

This is actually something central when interested in architecture photography, not only for the outside of the buildings but also for the inside like for instance when doing a photo session for real estate purposes.

Things to keep in mind

Now, as usual, there are some things to keep in mind when using wide angle lenses. When shooting, you need some practice to get the results you want, mostly because the effect of having such a small focal length will make everything look smaller and seem to be farther from the camera than in reality. This is something that cannot be avoided and the only thing you can do is keep it in mind when composing your image by for instance getting a subject in the foreground when capturing a landscape or a building (unless, of course the building itself is the subject!).

_MG_0475_1024_nob_noproc

Another problem that comes with smaller focal lengths is optical distortion. Take for instance this image of the same building as before, this time taken with an 18 mm focal length and looking directly into the entrance (no angle as before).

_MG_9046_1024_nob_noproc

If you look at the straight lines on the image like the border of the sidewalk or the building itself, you will notice that some optical distortion is present, making the lines look bent towards the inner part of the photo. Now look at the same angle, this time captured with a 10 mm focal length.

_MG_0026_1024_nob_noproc

Here you can first see how much of the building we are able to capture (as described before) but also how stronger the optical distortion is, especially when you compare the left border of the building. In fact, as with every lens, the optical distortion is stronger on the borders of the image. This distortion can sometimes be aesthetically appealing, as with the color cast caused by ND filters. However, sometimes it is something we will want to get rid of. Fortunately, this is a simple task in Photoshop but keep in mind that by fixing the distortion you will loose information in different parts of the picture, so you might want to plan for this in advance by, for instance, taking some extra photos at the sky above the building to be able to combine them with your original image later on.

Getting your lens

Unfortunately, photography is an expensive hobby, and arguably the most expensive part of it are precisely the lenses. Some manufacturers have relatively inexpensive and good quality lenses (around €200) but other versions or brands can cost more than a good camera. For this reason, it might be a good idea to first ask some friends to borrow their lenses or even get them for some days at some photography shops that rent equipment. This way you can really find out if that is what you need before committing to an important investment.

I hope you have a better idea now on what you can expect from wide-angle lenses and, as usual, don’t hesitate to write me an email if you have any question regarding this (or any other) topic. I will try my best to answer!