Tag: food photography

Silver Linings – 5 Rainy Day Photography Projects

Rainy days may put a damper on outdoor photography shoots but for those who decide to ditch a day out with their camera in favour of a day in there’s plenty of creative fun you can have indoors. From building a stock photography library to rediscovering forgotten photographs in Lightroom there are many ways to make the most of wet days. The limitations of working indoors and in poor lighting conditions offer an opportunity for inventive and original shots.

All you need is a camera and a bit of imagination to turn a light shower into a storm of creativity.

Stock photography

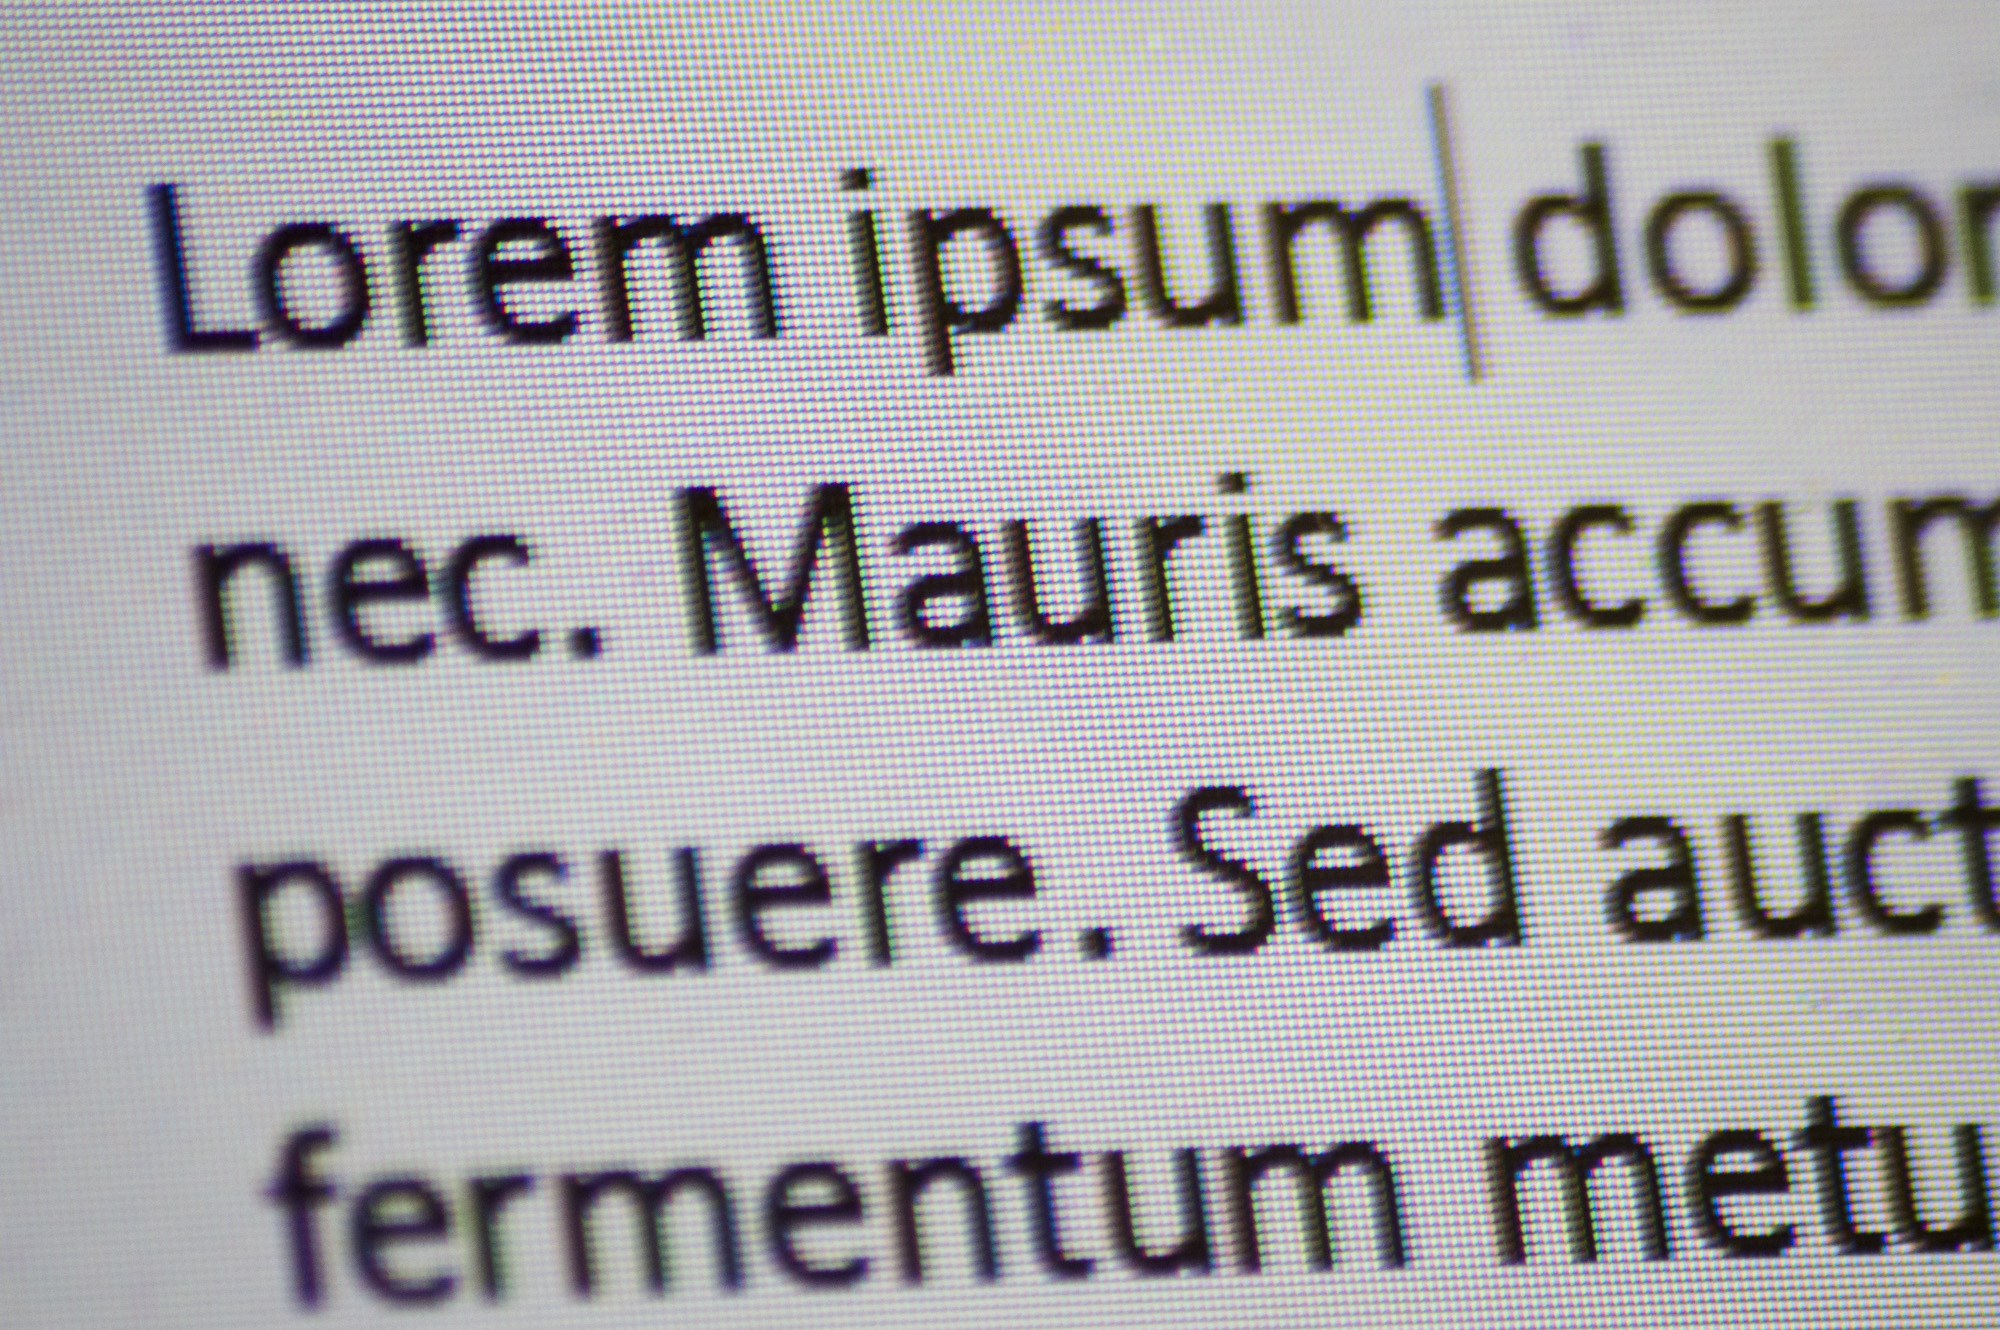
If you often find yourself searching for generic images when working on projects, only to be hindered by copyright laws, rainy days are great excuses to build up a library of stock images. The easiest kind of images to get will be everyday objects that could be used in multiple contexts. Hands on keyboards, photos of computer screens where you can see the pixels, and shots of colourful things like pencils and post-its are all great ideas that can have a range of uses.

Rainy Day Photography Projects

Rainy Day Photography Projects

A tripod is a useful thing to have for rainy day photography as if you don’t have a spare body you can set up your shots and then use the timer feature, or an infrared shutter control, and shoot your own hands.
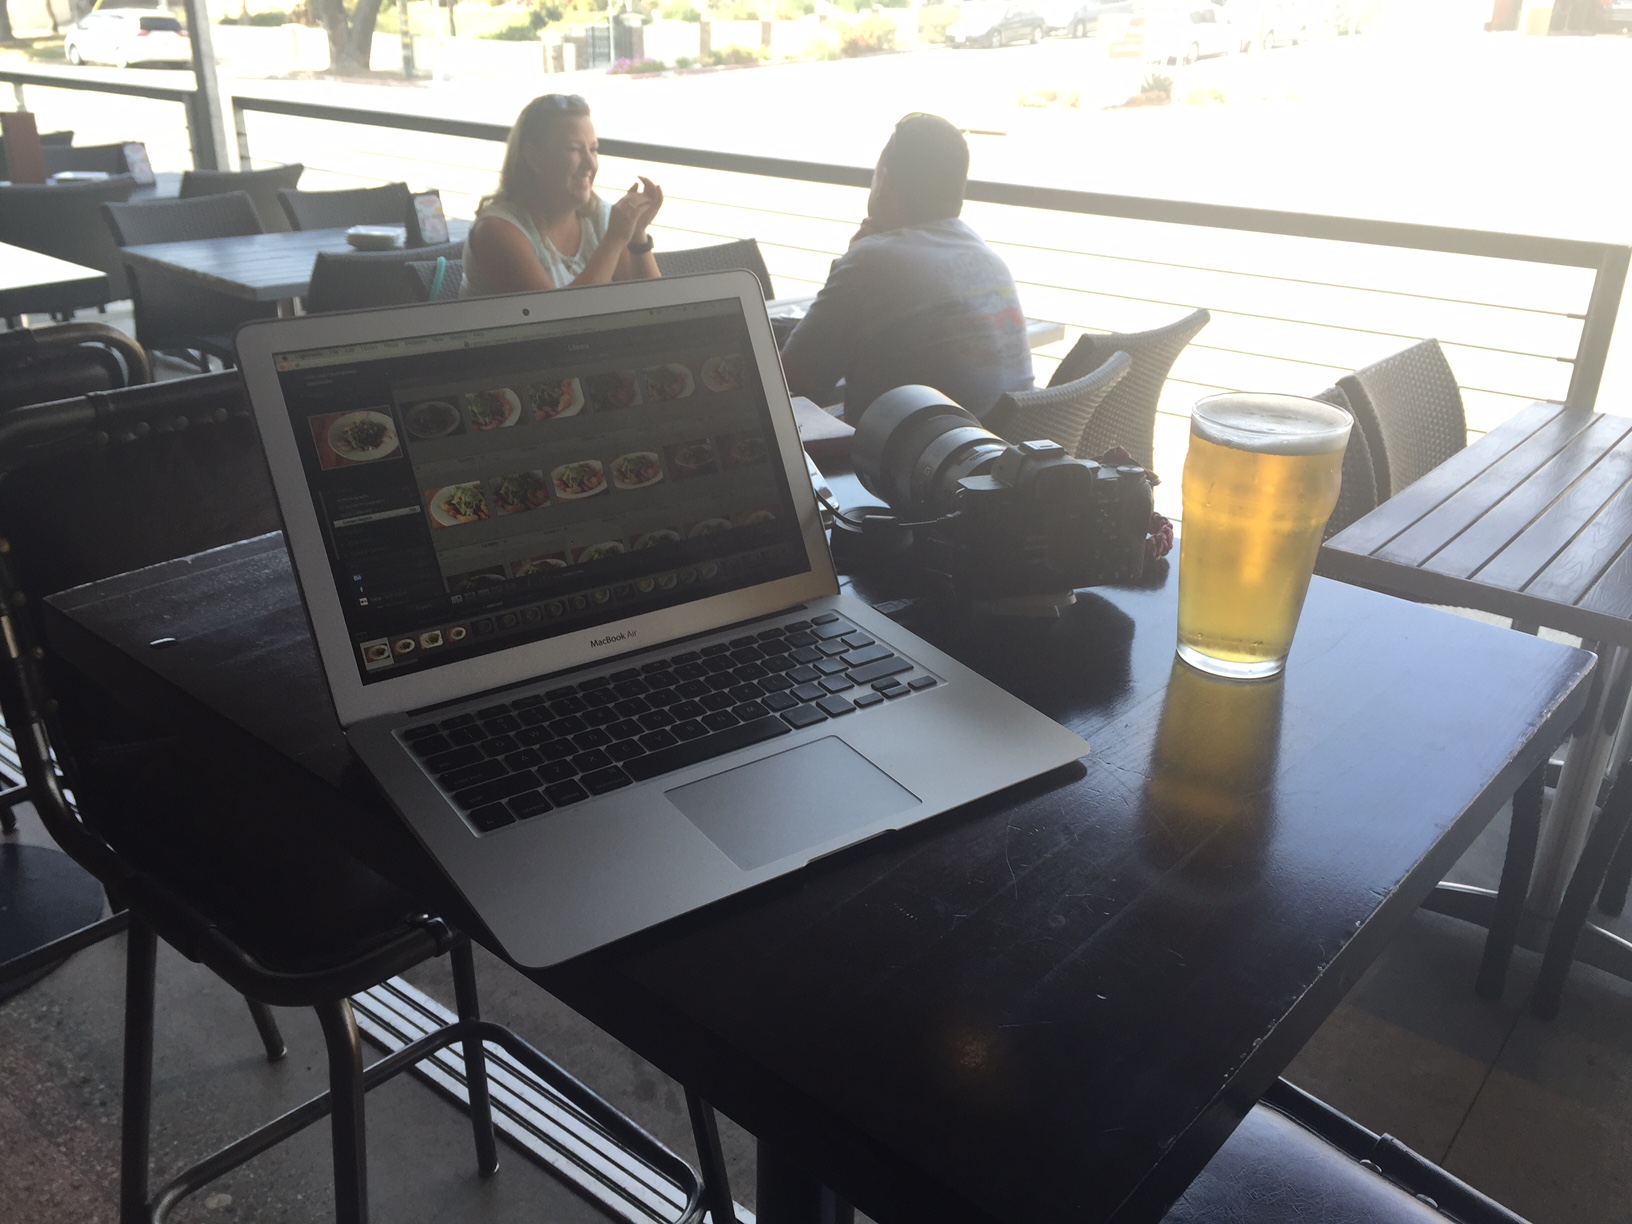
Food photography

When you’re locked indoors, with nowhere to go, and a cupboard full of food there’s only one thing to do – photograph it (and then eat it). Whether you’ve got a project in mind or just want to experiment make yourself a snack or meal and find the most flattering way to frame it. If it’s a rainy day natural light probably won’t be your friend so get out the spotlight (or whatever lighting you have to hand) and have a go at setting something and frying something up.

Rainy Day Photography Projects

One spotlight will usually suffice for food photography whatever you’re shooting. Bounce the light off a wall or ceiling to cast a bright but diffuse light on the subject. A prime lens will help to create a narrow depth of field and also offer better shutter speeds in darker lighting conditions.

Experiment with lighting

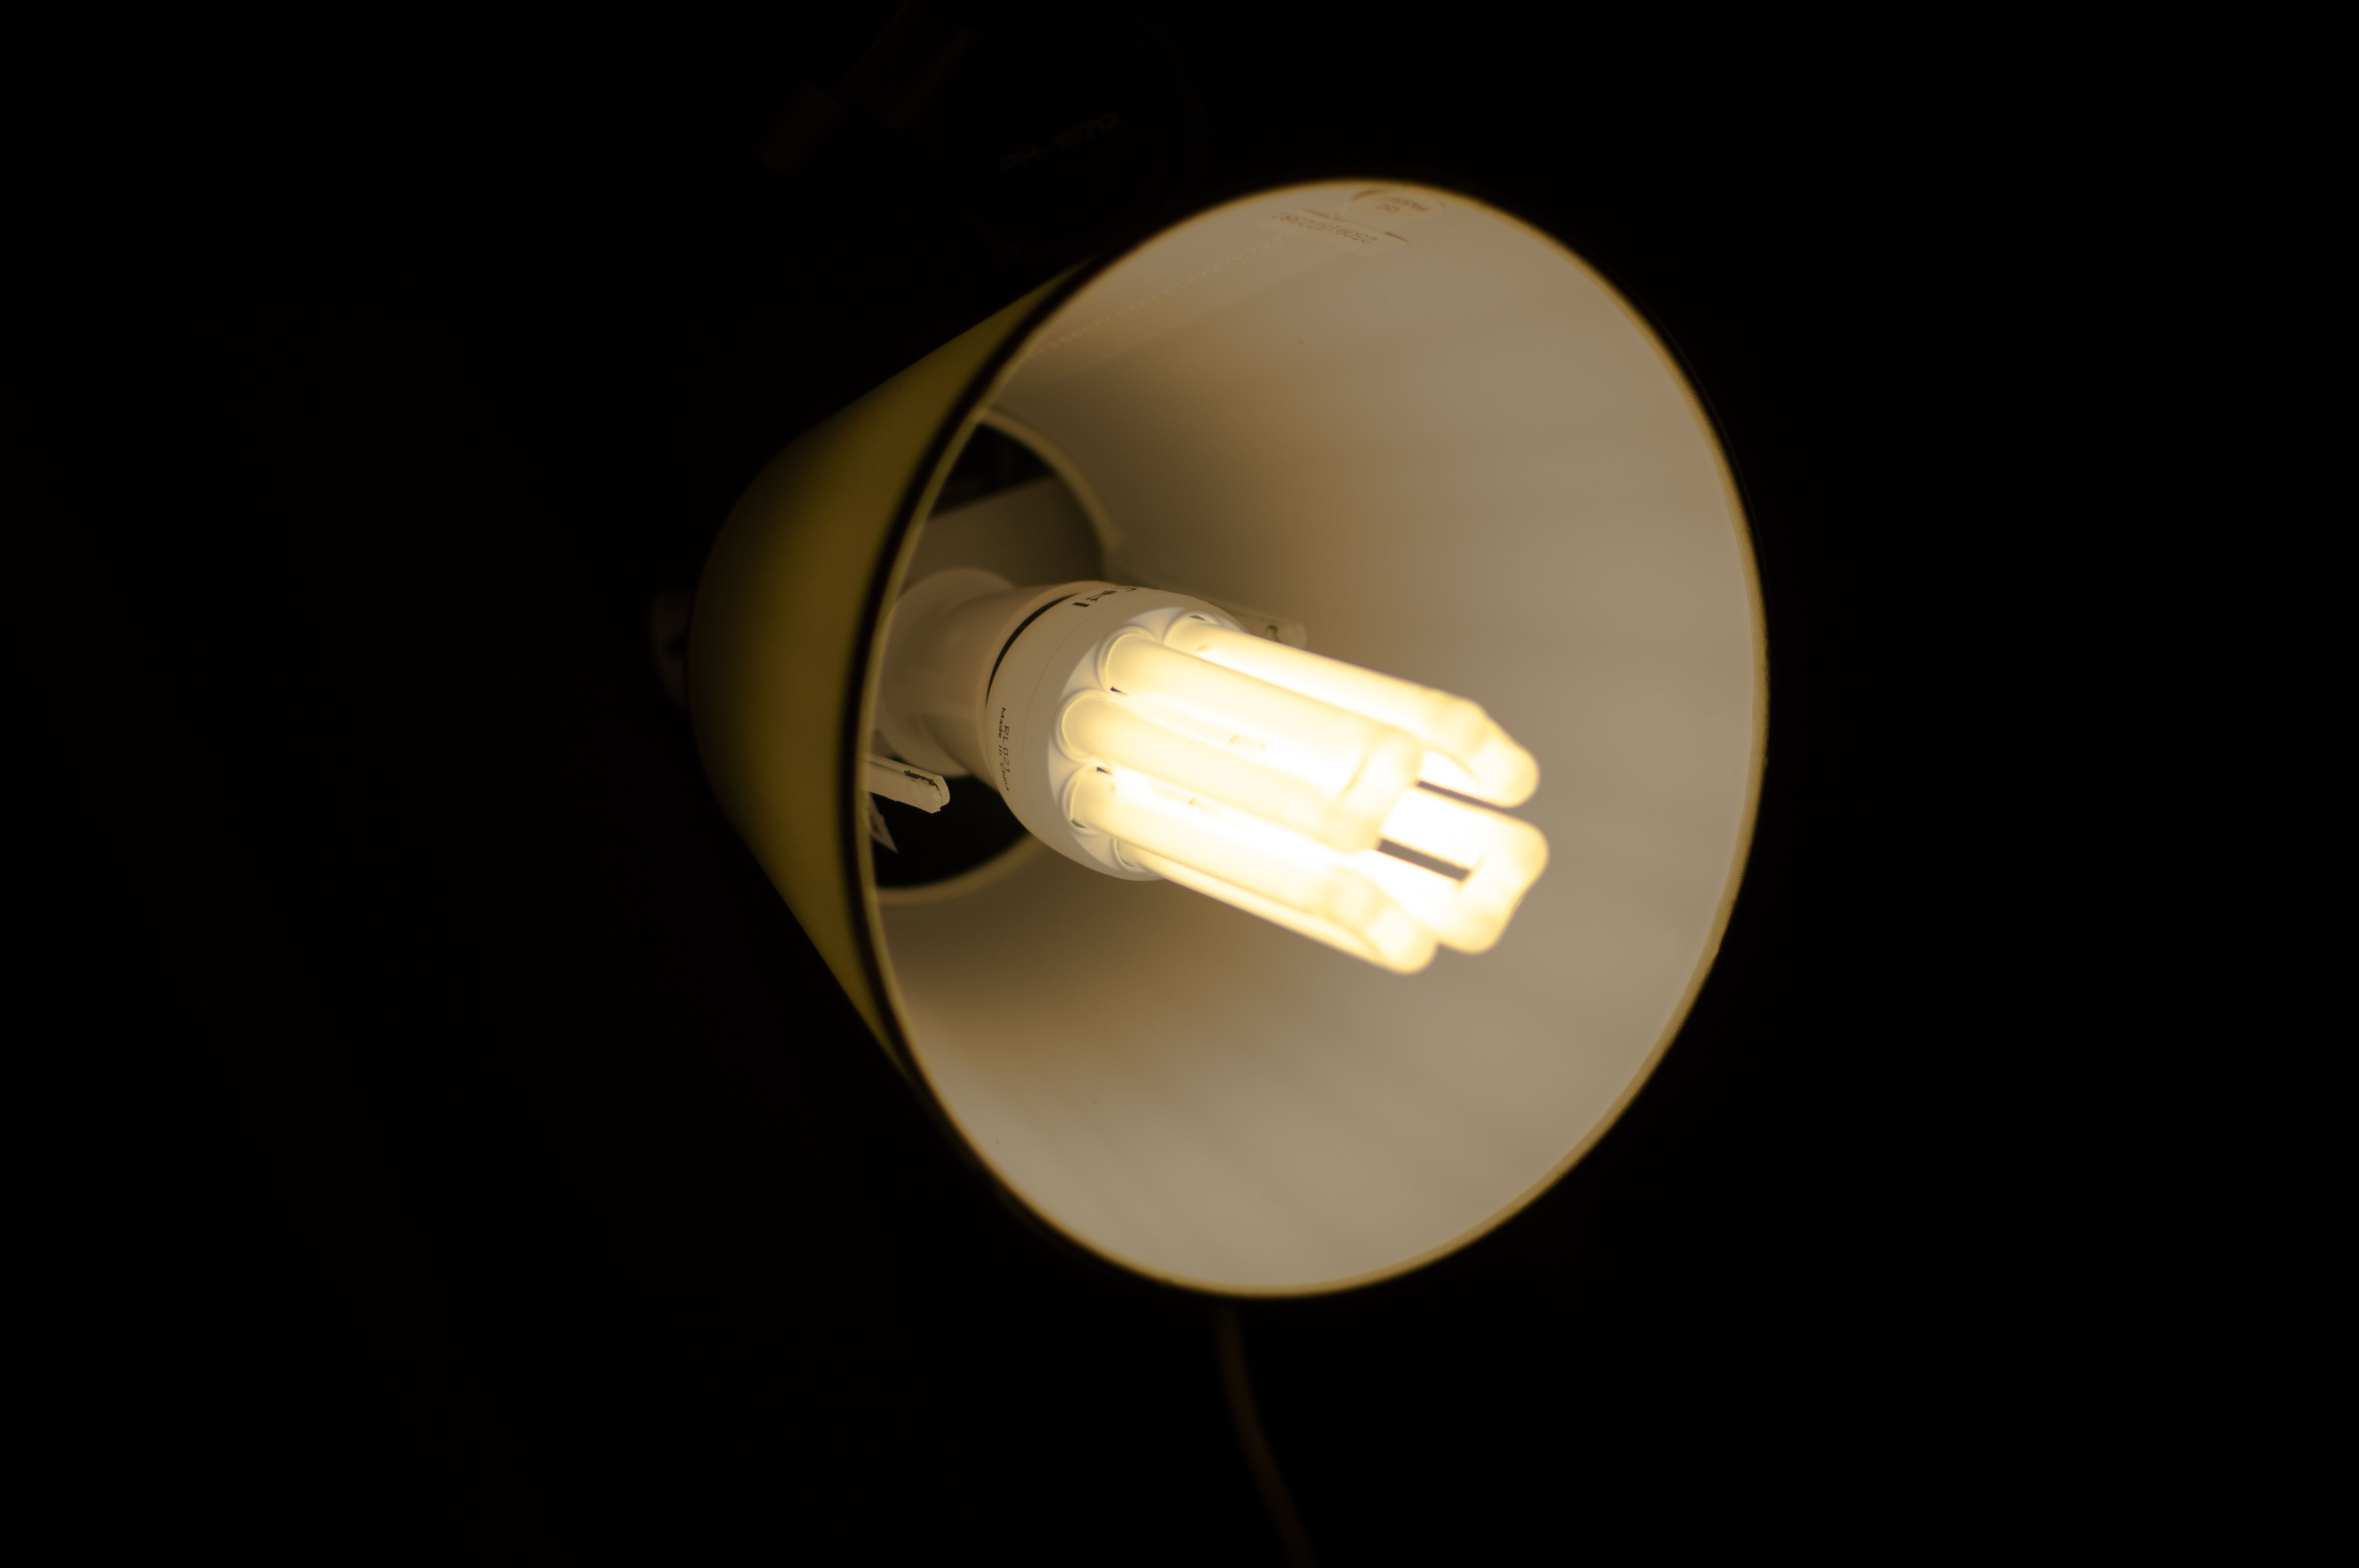
If you’re struggling to get sufficient light for your shots embrace the darkness and experiment with extra lighting. There are plenty of ways you can improve the situation with budget lighting ideas, or with things you already have around your home. If you don’t have a spotlight try using any source of light that can illuminate your compositions. Ceiling lights and standing lamps won’t make a huge difference, though every little helps, but brighter work lights are a more effective solution and fairly inexpensive to buy. Typical household light bulbs will cast a yellow glow but this can be improved in Lightroom by adjusting the colour temperature slider.

Rainy Day Photography Projects

Even if these experiments don’t yield great results exercises like this can be great for learning what works and what doesn’t, and save you time on a future shoot.

Rediscover your home

It might not seem like the most obvious place for photographic inspiration but rainy days can be a great way to rediscover your home through the eye of a lens, and develop a photographer’s eye around the house. Whether it’s a small detail or a wider shot of a room try experimenting with lighting and subject matter to capture what’s special about where you live.

Rainy Day Photography

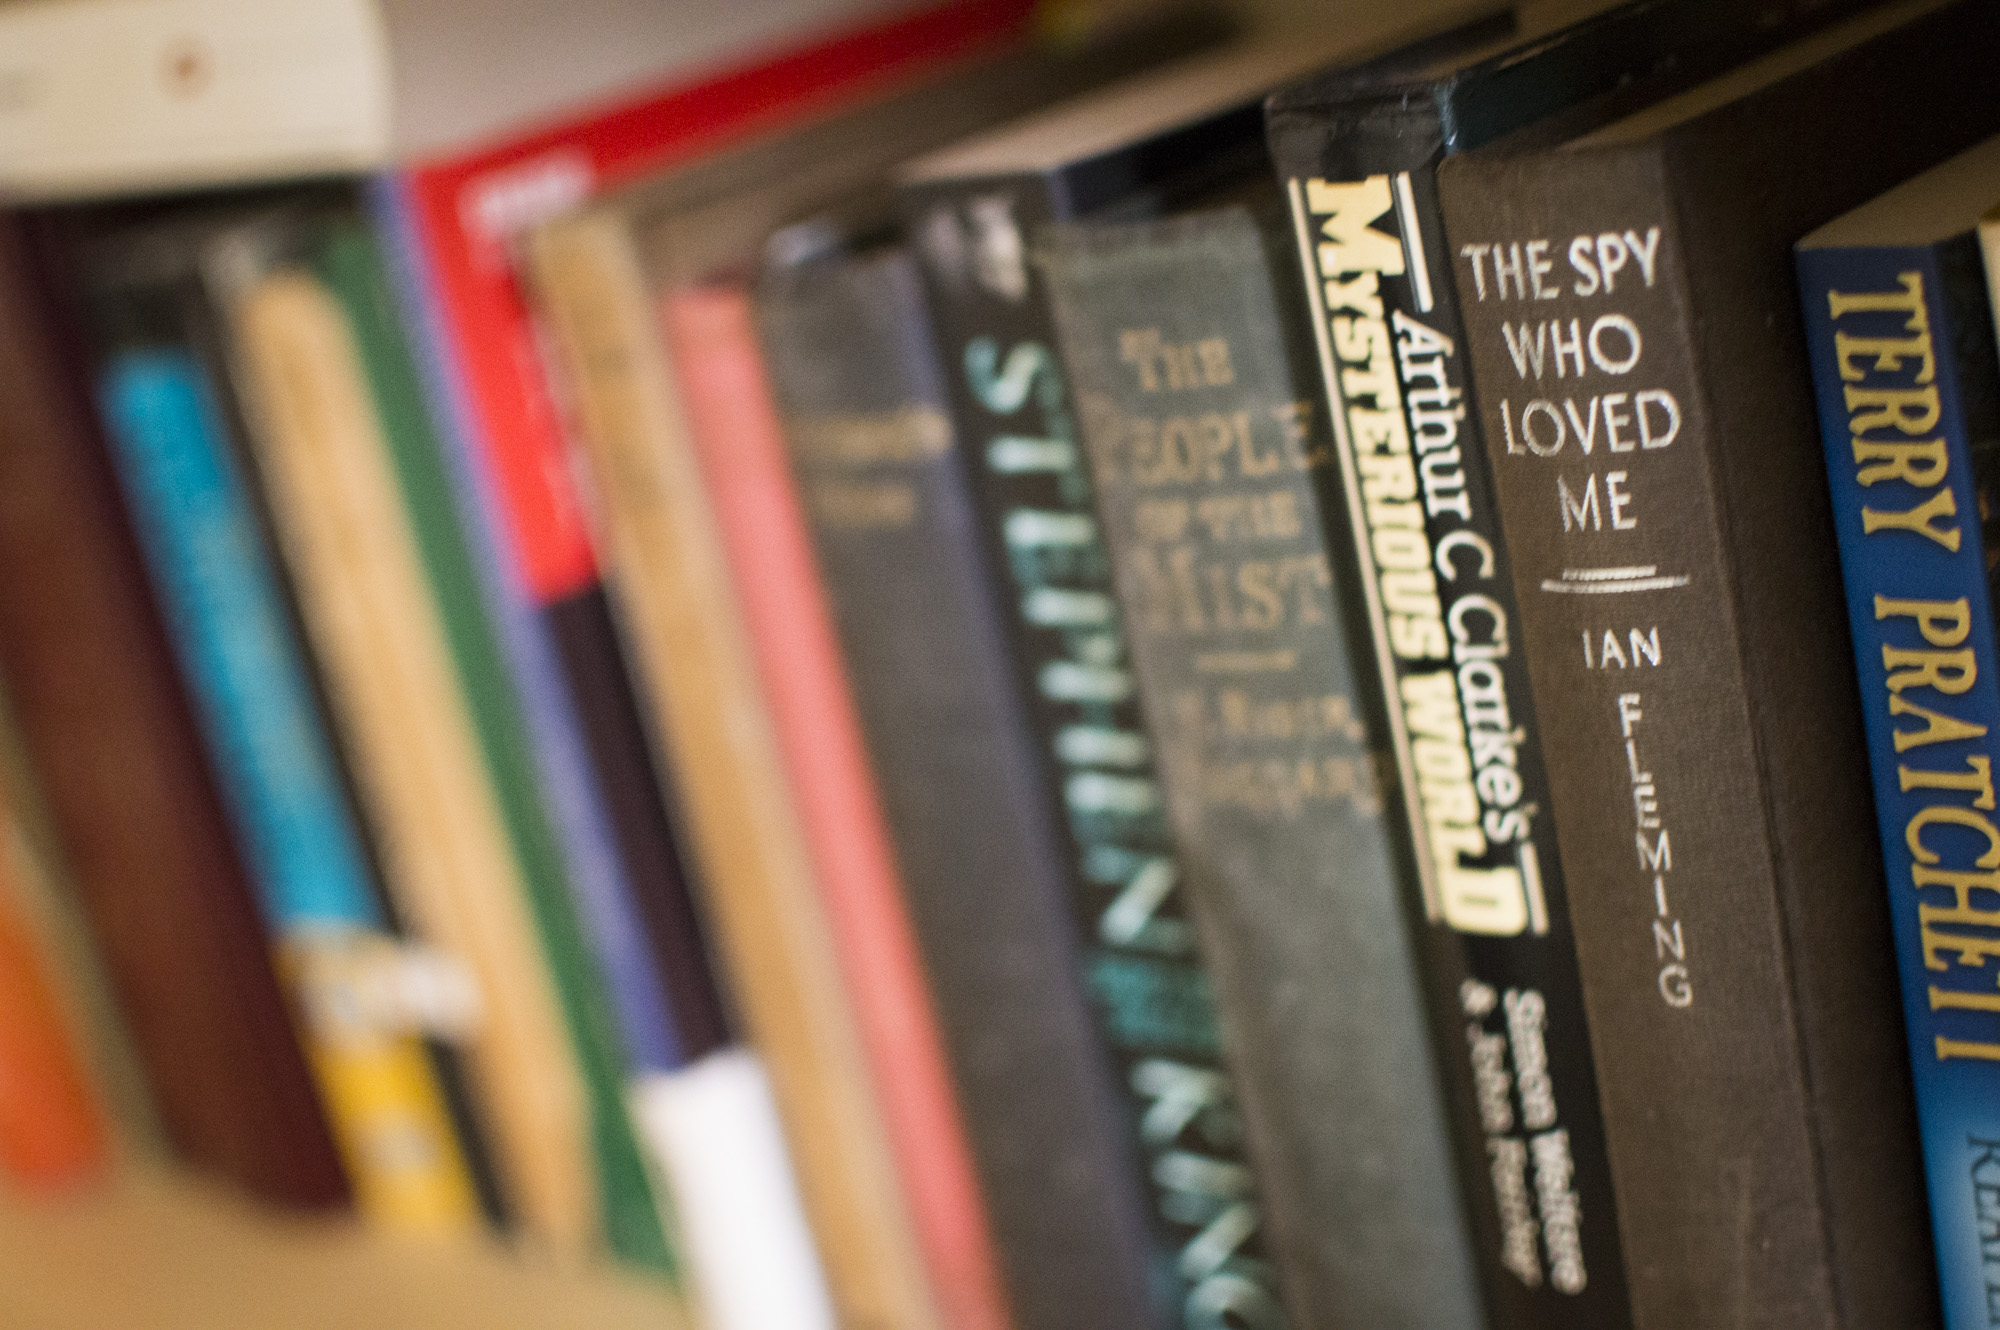
Your subject could be something as simple as a bookcase or an interesting piece of furniture. Or it could be a room in your house that has a strong character. If you’re shooting a room imagines you’re taking shots intended to help sell it – this will put you in the mindset of trying it make it look as attractive as possible and as an added bonus encourage you to do your household chores, like dusting bookshelves for example.

When photographing rooms keep in mind the field of view, and if you have multiple lenses or a telephoto lens with a wide range try taking images at different focal lengths to see how it affects your compositions.

Revisit old photographs

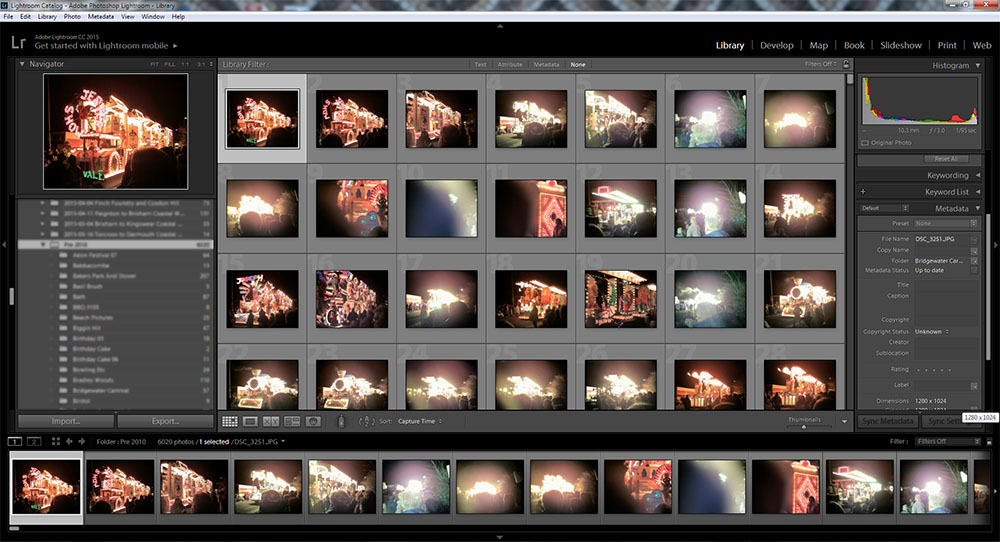
Finally, if the rain is too oppressive and you just want to curl up under a blanket with a laptop on your lap it’s a great time to boot up Lightroom and rediscover old photographs you’ve taken. Looking over old photos with new eyes may reveal shots that deserve a second chance, and help you to see how your eye has developed over the years. If you’ve built up a large collection of images before adopting Lightroom it’s also a good excuse to see how older images could be brought back to life with its range of filters and brushes.

Rainy Day Photography Projects

It can also be fun to see what can be done with some of your earliest digital photos, in my case those taken with a Fuji @xia ix-100 in 2002 – the results might not be amazing but it will make you grateful for modern camera technology.

Rainy Day Photography

Next time it rains doesn’t despair, just use it as an excuse to get creative with your camera. Even if you live in a small and uninspiring apartment like this Sleeklens writer when you’re looking at things through a lens you can often find some interesting surprises.

Food Photography Setup: How to Shoot Food Photography with Minimal Equipment

Food photography may seem daunting to some photographers. Beginning photographer’s may have the assumption that you need tons of equipment and props just to make good photographs. In reality, this is not always true. In fact, there are only a few essential pieces of equipment you need to produce fantastic food photography images. Check out our tips for food photography setup and how to shoot food photography.

DSC06051

Lenses

The style of food photography you want to produce will determine which lens you will need. For the most part, getting a long macro lens works great for food photography. A macro lens around 90-100mm is great for getting in very tight and isolating the food. See the below image as an example. It can also be nice to have a standard 50mm lens or something similar for process shots or of the venue, kitchen or chef as an overall profile of a restaurant. Even if you think you may not need this, it’s always best to have a few lenses you are comfortable with on hand for different perspectives.

DSC06252

Tripod

A tripod is essential for food photography when using a macro lens. This is because of the slow shutter speed you will get when using a larger aperture. In food photography, it is nicer when all of the frame is in focus, so you need to use an aperture like f8 or wider. On a 90mm macro lens for example, when at ISO 100 and f8, the shutter speed will be somewhere near 1/2 second, far too slow for hand holding. The rule of hand holding a camera is that the shutter speed needs to be at least the same as the focal length. So for a 90mm macro lens, that’s 1/90, which is tough even at f3.5. Using a tripod and remote shutter release will solve this issue.

IMG_4734

Remote Shutter Release

Another essential piece of equipment is the remote shutter release. Without this, you will have to rely on smaller apertures and less of the frame in focus. This is exactly what happened to me on this shoot because I forgot my remote shutter release. You will notice all of the images are not fully in focus for this reason. In food photography, when some of the frame is not in focus, it can be very distracting. Bringing a remote shutter release will ensure you don’t have to face the issue of sacrificing creativity and aesthetic for an in-focus image.

DSC06285

Reflector

You’ll need a piece of equipment to be able to bounce light. Personally, I only shoot with natural light because I don’t have access or experience using big soft boxes and staged lighting in my shooting. But all you really need to produce beautiful images is a nice natural light source and something to bounce the light off of. For this, you can opt for a proper reflector, which usually comes in a circular shape and offers sides with multiple color reflective surfaces, from white to gold to darker colors. If you don’t want to spend the $45 on a small reflector, you can also use simple white foam core board bought from an office supply store. I’ve even seen photographers use napkins and even crumpled aluminum foil from the restaurant kitchen. The below shoot was done using a simple foam core board bought at Staples.

IMG_4731

Basic Settings

Food photography does require some basic camera settings which are somewhat universal. The trend now in food photography is for the entire frame to be in focus. This requires a larger aperture, at least f8 or higher, to get the shot. In some cases, if you want to focus on something very specific, a smaller aperture is best. You’ll also want to shoot at ISO 100, which will help make the image as clear as possible. You want to avoid any grain in your images, and with the lighting needed to produce good images of food, ISO 100 is your best choice. Shutter speed is not necessarily a concern in food photography, so best to shoot in Aperture Priority Mode, then you can quickly switch back and forth from small to large apertures as you shoot, without having to worry about shutter speed. And if you are on a tripod with remote shutter release, you won’t have to think about shutter and camera shake at all.

After a day of shooting, there’s nothing like sitting outside, reviewing images, and enjoying a cold beer.

IMG_4739

Farm Fresh Photos – Tips for Photographing Fruit and Veg

Whether you’re a greengrocer who wants to show off their wares or just wants to have fun with food photography fruit and vegetables offer many opportunities to create interesting and fun images. Unlike meat fruits and veggies don’t need cooking to look delicious and are generally more colourful and varied in their shape and form.

Before getting creative in the kitchen it’s worth taking a moment to consider how to get the best out of a bunch of carrots or a bowl of apples and making sure everything is set so you get your shots before your produce stops looking its best.

Pick your subjects carefully

The aim of any food photography should be to make the viewer’s stomach rumble and their taste buds salivate, which isn’t going to happen by shooting things that are less than fresh. When picking out produce keep an eye out for the best-looking pieces, avoiding anything that looks wilted or bruised. While the less perfect edibles can still be as tasty this real-life flavour won’t translate into a photo.

In addition to seeking out colourful and interesting-shaped goods think about what’s going on inside as well. There are many fruits that look interesting when sliced open, the obvious choice being an orange though citrus fruits, in general, are attractive when sliced with bright colours and a translucent flesh.

Organic lighting

Depending on the location of your kitchen it might be difficult to take advantage of organic lighting, but if shooting a movable feast try and find a spot where there’s some good natural lighting as this will help the food to look more appealing. Windows, in particular, are great spots to shoot fruit and beautify root vegetables.

Using a fast prime lens with organic lighting will produce bright and clean shots, and it’s worth using a higher f value so the depth of field isn’t too narrow and all the subject is in focus. However, a wider aperture is good for shots after the food has been prepared when you want the draw the viewer into the image.

For really detailed shots that reveal the inner beauty of the fruit or veg use a macro lens to capture all those delicious details.

Work fast, avoid wilting

Like any foodstuff fruit and veg has a finite shelf life, some longer the others. And while some things will stay good for a long time most things will stop looking fresh quite quickly, and may not even look fresh in the shop. If you really want to catch fruit at its freshest it might be worth finding out when your local greengrocer gets their deliveries, or even being there at the moment of harvesting (or if you’re feeling green-fingered try growing your own).

However, some root vegetables will keep their shape for weeks though any leaves, like carrot tops, will be a giveaway sign of something that is less than fresh. Trim off anything that gives the game away if your veggies have been hanging around for a while.

To add some fake freshness to your shots try spraying them with some water, to create droplets on the surface. This will make the subject look dewy fresh and add some interesting reflections to the image if lit correctly.

Perfect your presentation

From cleaning counter tops to adding garnish these little details are worth considering while shooting. It’s easy to remove an unwanted spec of dirt in Photoshop but it’s a lot less easy to convincingly add a sprig of parsley to a bowl of soup.

While earthier coloured surfaces make good backdrops for vegetables to get the freshest shots of fruit white surfaces work best, or bright colours. Shadowy areas will make images look dark and mysterious, rather than fresh and fun, though this could work well for seasonal produce such as a pumpkin.

Go bananas, go nuts

While crisp shots against a bright background may look funky and fun there’s a lot of opportunity for more creative shots with fruit and veg. Pumpkins aren’t the only fruit that can be carved and there are many types of fruit and vegetables that can become a canvas for a sharp knife or a block of marble for budding Michelangelos. If you’re looking for a material to experiment with fresh produce is cheap and plentiful, and can be eaten if things don’t work out as you were hoping.

Think about the varieties of colour and texture that are on offer and have some fun with your fruit, whether you want to create interesting textures or turn a potato into an asteroid.

Processing your produce

Sometimes a good composition and the best local organic produce isn’t enough to produce those magic shots that will make even die-hard meat eaters drool. If there’s still an ingredient missing after the shoot Lightroom can be indispensable for enhancing colours, removing blemishes and making meals worthy of the finest food magazines and menus.

The spot removal tool in Lightroom is ideal for removing small imperfections, while Photoshop’s heal and clone stamp tools are good for dealing with larger problems though will require more time and patience to get natural looking results.

If stuck shooting under fluorescent lighting uses Lightroom’s colour temperature slider to simulate a more natural kind of lighting. Another great way of finessing your food photography is to use the A la Carta workflow for Lightroom, where the various colour burst presets can really make your fruits pop.

When it comes to food photography, especially fruit and vegetables, it’s definitely OK to play with your food. Experiment, have fun and make sure you get your five a day – whether for nutritional purposes or to expand your Lightroom library.