
The old saying goes that the camera never lies, which was never true even before the creation of Photoshop. There are plenty of ways to take advantage of the lack of truth that’s part of life through a lens, especially for making images that defy plausibility. Even without the aid of post production (or at least not much of it), it’s possible to create images that are both fantastic and fantastical with just a few in-camera tricks.
Below are a few fun things to try which will both help you to learn about how photography really works and make you look like a manual mode magician.
Table of Contents
Forced perspective is a classic trick that anyone with a camera can do but which can take a little bit of know-how to really get it looking right. Forced perspective is where one object is closer to the camera lens and another further away, the objective being to make the closer object appear larger than it actually is in relation to the object which is further away, or vice versa.
This is commonly done with fingers and bodies (and in the case of the movie: hobbits and wizards), classic examples being someone holding Stonehenge in the palm of their hand, pinching the moon between their fingers, or pushing the Leaning Tower of Piza into a more upright position.
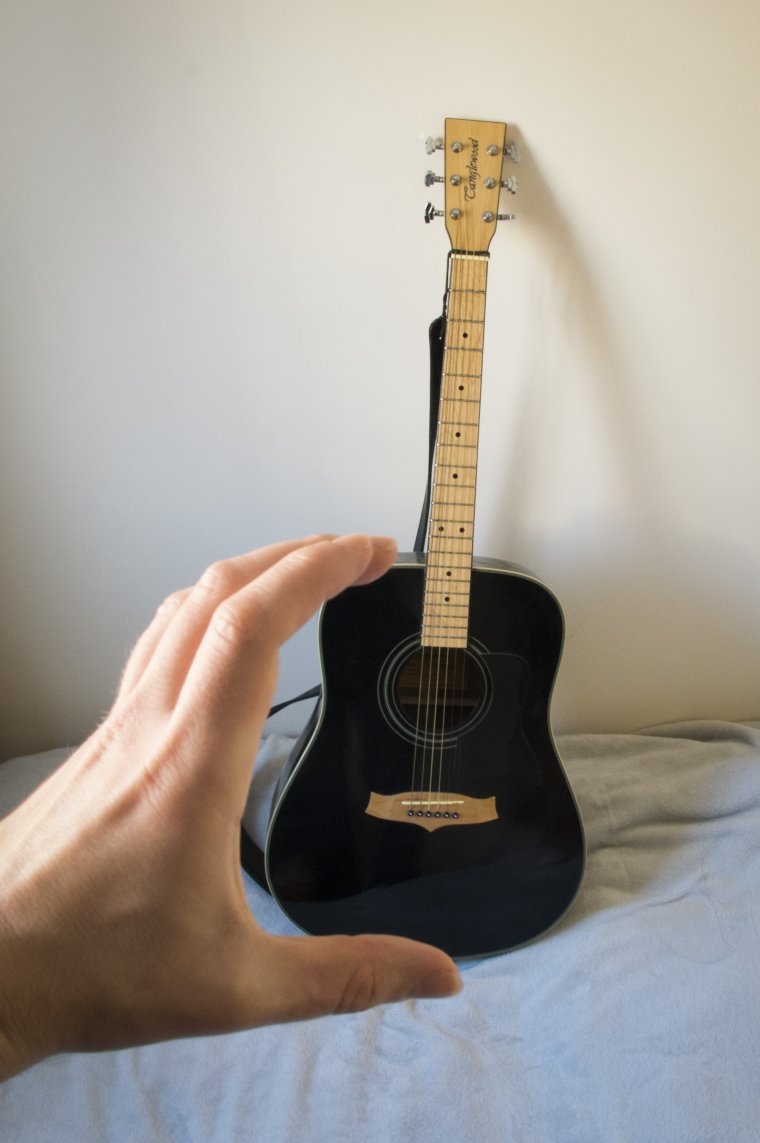
It’s easy to practice taking these kinds of images within the comfort of your own home with the right objects and a little bit of space, the example above features a regular-sized guitar.
The key thing to remember is to keep both the foreground and the background in focus (the effect wouldn’t work if either were out of focus). This is easier with wider angle lenses with a large depth of field. For narrower focal lengths it may be necessary to use a higher f-stop value to increase the depth of field. It also may take a bit of experimentation with the distance between the lens and the object closer to it to get a convincing looking shot.
While making sure everything is in focus is important for forcing perspective a narrow depth of field can be your friend for creating mind-bending images where it’s hard to define a sense of scale. Op Art is a style of art, usually black and white, which creates the illusion of movement, swelling, and warping by the way it uses patterns.
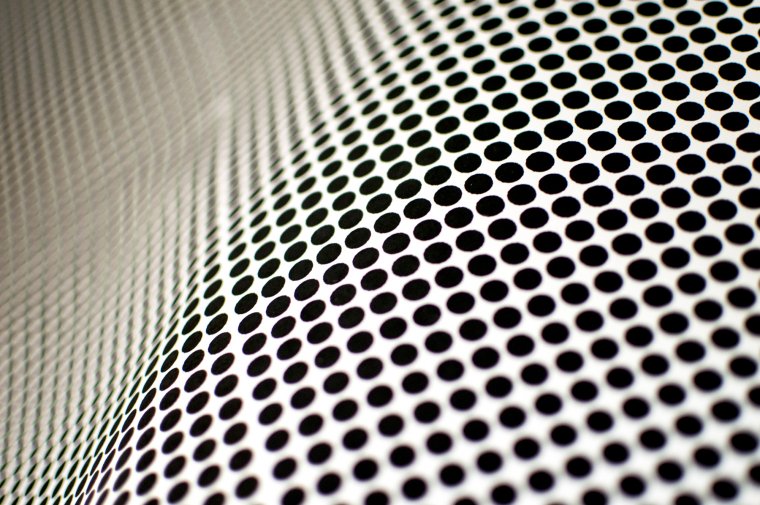
It’s possible to create this kind of art in-camera with a few simple printouts. In the image above four A4 sheets of black dots can be used to create an infinite sea holes simply through the use of a narrow depth of field. Placing objects underneath the paper can be used to create a warped effect that mimics the style of Op Art.
Levitation effects can be simply achieved not by using the force (or in this case a fork) but with a high shutter speed to capture objects or people mid-air. A high shutter speed will freeze the subject as it’s falling or rising, and give the impression that it is floating. The higher the shutter speed the better, as it needs to be fast enough to freeze the subject in motion.
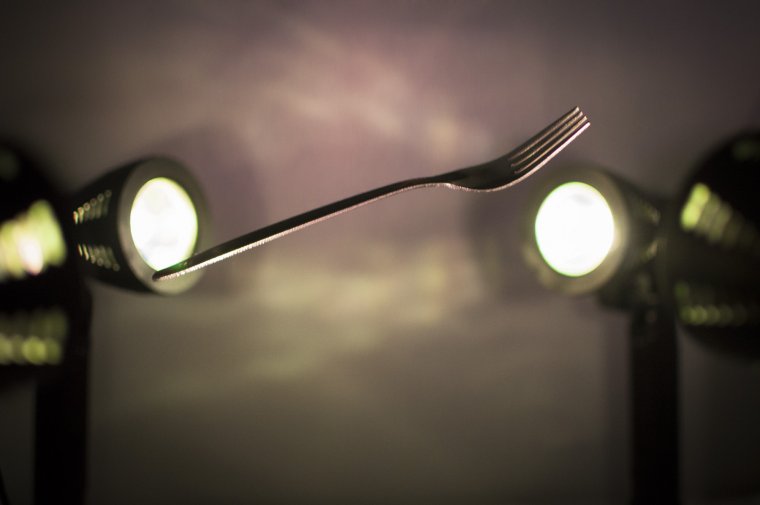
The above image was taken indoors using a shutter speed of 1/4000 and required a lot of extra light to get a bright image and a high shutter speed.
Sometimes a lack of focus can help to make an image look more convincing if a fake subject is a thing that’s out of focus. Even a simple cut-out like the alien below can appear to be a convincing visitation if staged correctly.
The picture below was taken in a dark room with an open window behind the subject. The aperture was set to f1.8 and the exposure time was 8 minutes.
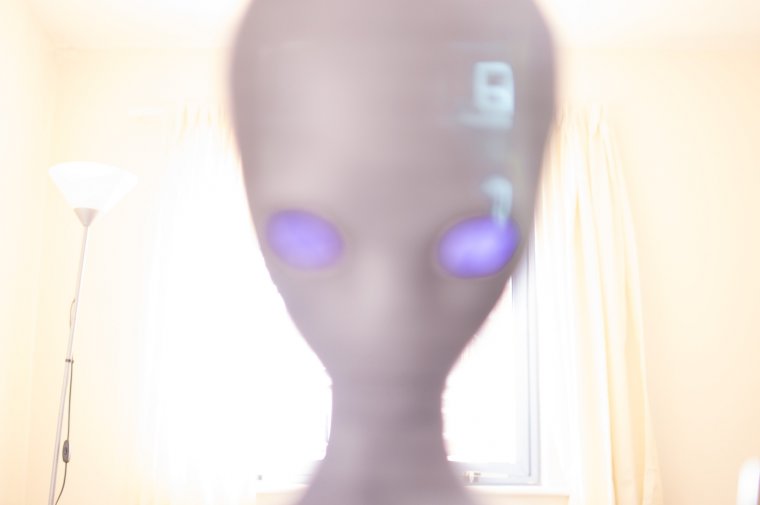
Backgrounds can also benefit from being out of focus, and blurring what’s behind the subject can help to disguise blemishes or textures that might reveal where the image is actually being taken.
There’s also a lot of fun to be had with mirrors for creating practical in-camera effects. It’s possible to create many impossible-looking effects with a few reflective surfaces. With one mirror you can create the illusion of a hovering object if the area in front of the mirror is similar to that behind it. With two or more mirrors you can create the illusion of things repeating into infinity.
In the image below the playing card is surrounded by five mirrors, the lights help to increase the number of iterations it’s possible to see.
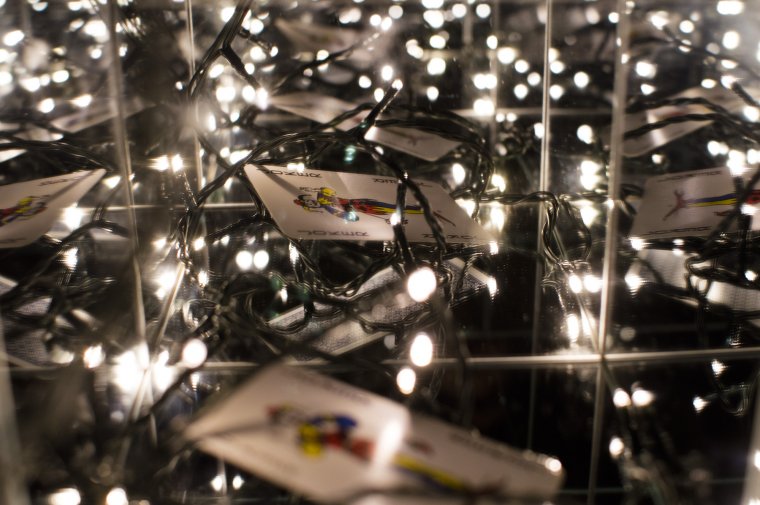
One of the hardest things about photographing mirrors is finding an angle where you don’t catch your reflection, so it may take a few tries to get it right.
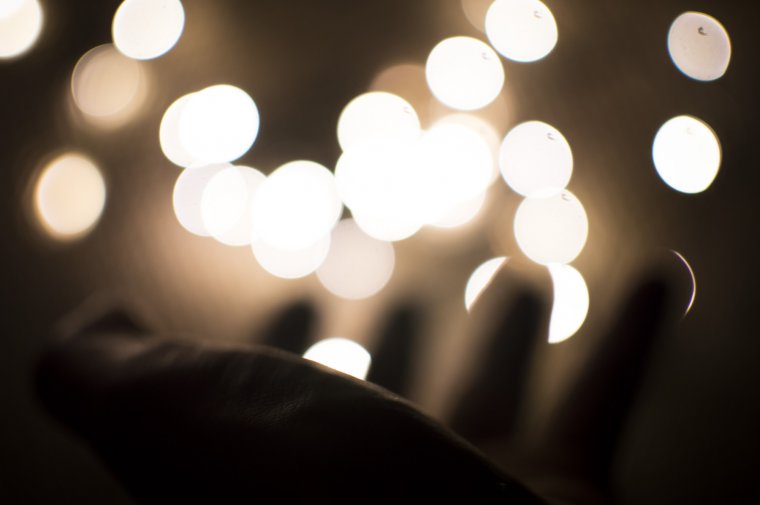
Finally, it’s possible to sprinkle a bit of pixellated pixie dust on your pictures through the creative use of bokeh layers, actions and effects. Fairy lights are a particularly effective way of creating a cluster of bokeh lights, and when combined with hands (or wands if you have one) can be used to create a magical effect.
Whether you want to learn about how light interacts with a lens, or just want to shoot some fun images, these tricks are well worth trying out. Although it can take a lot of patience, and trial and error, to get the intended effect it’s all the more rewarding when you get that image that defies explanation.


Please verify your software version before proceeding.
 I’ve verified my software version


 Facebook
 Google +
Comments (0)
There are no comments yet.