If you go down to the woods – Tips for forest photographywww.sleeklens.com
Your local wood may be a nice place to go for a Sunday afternoon walk, but not always the first choice for a photography outing. Unless your local geography is particularly unique any woods or forests near you may not be obviously inspiring, but any place with an abundance of greenery, shaded areas, and clearings where the sun can burst through are great places to practice photography and learn how to find the most interesting aspects of any location.
Below are a few tips for discovering what surprises your local wood or forest has in store, and how best to capture them.
Table of Contents
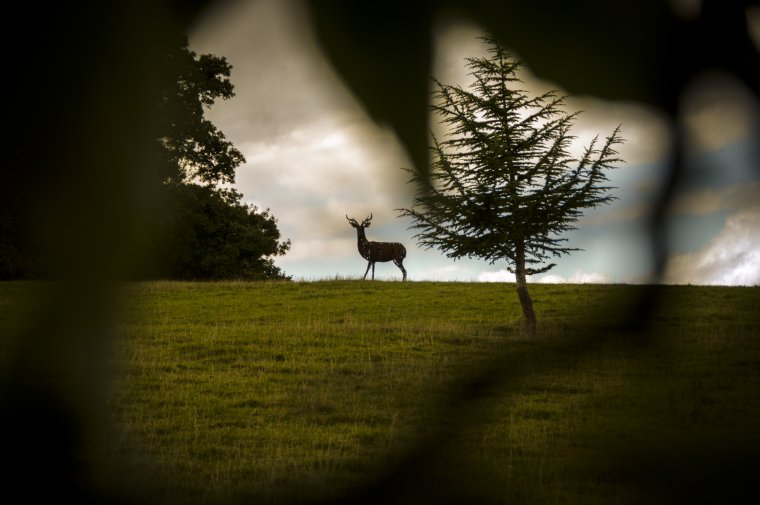
Rain and Wildlife
As with any shoot outdoors, rain can be the enemy of quick lens changes, especially if trying to capture wildlife that has suddenly appeared. A telephoto lens with a wide range is a good option if you want to be prepared for all weather conditions and for capturing far away things that might be gone by the time you’ve switched lenses. The downside is that woods can be dark places, forests darker still, especially in gloomy weather and it might hard to get the shutter speeds necessary for sharp images from a telephoto lens. Using a faster prime lens will mean you can take pictures at lower ISO settings and with higher shutter speeds, with less noise.
Higher shutter speeds, from around 1/500 and upwards, will be necessary for getting crisp captures of wildlife (which unless you’re a ninja will require a telephoto lens anyway) while leaves blowing even gently in the wind will be a dead giveaway of lower shutter speeds.
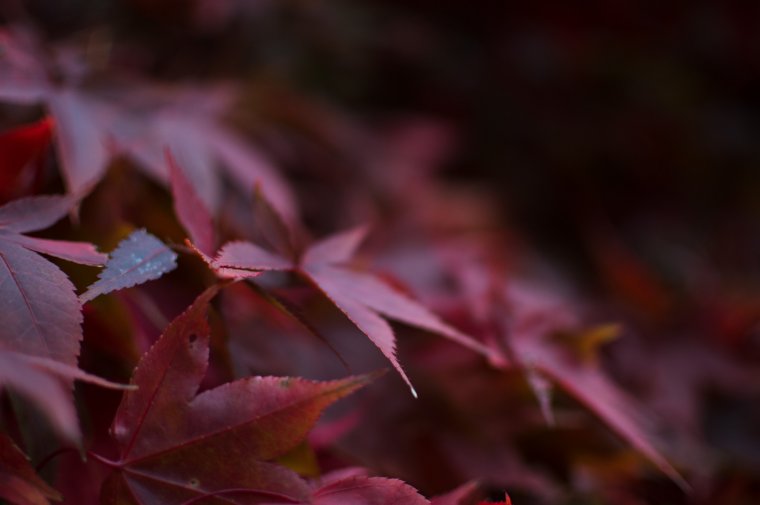
All seasons, all lenses
Check out your local woods in all seasons. Autumn is an obvious time for woodland photography, offering a more vibrant colour palette, though winter can be great for creating atmospheric shots. Go rambling early in the morning and late in the afternoon during the winter months to capture longer shadows which can make pictures look more dramatic. The early morning and late afternoon light can also make it easier to expose images correctly.
Simply going armed with another lens on your camera is another reason to revisit. Walking around the woods again with a prime lens instead of a telephoto, or vice versa will make you think differently about the shots you take and possibly yield some new surprises.
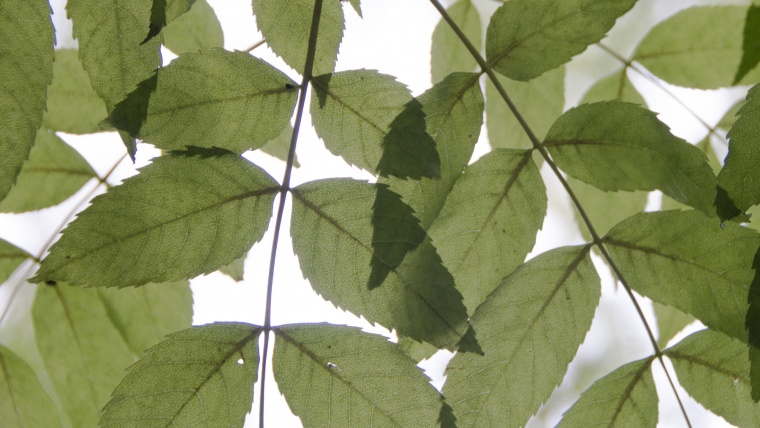
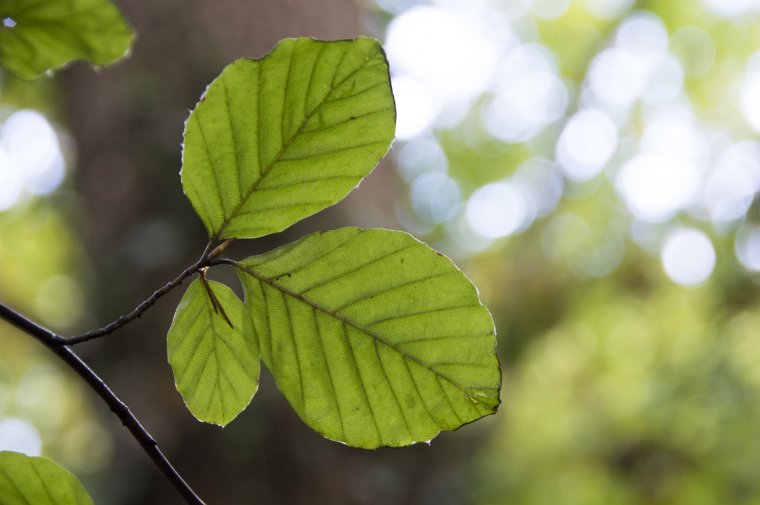
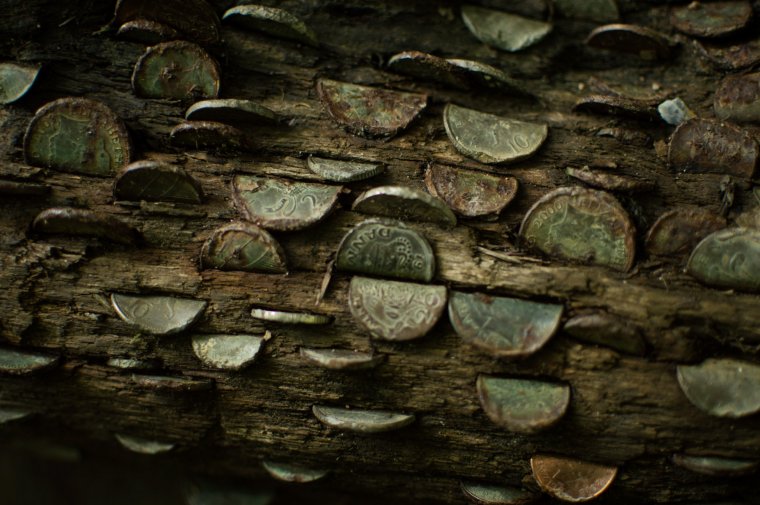
Leaves and Light
Often the most photo-worthy parts of a wood are to be found in the details. This could be moss on the side of a tree or the light shining from behind a leaf with a lens pointed towards the sky. By thinking outside the box it’s possible to find more original shots than simply snapping on a horizontal plane of view along the footpath.
Experiment with longer focal lengths, 50mm and higher, and the light coming through the trees to create bokeh effects, and use prime lenses to explore details such as small plants closer to the ground or textured tree barks.
Sometimes getting the best images in the woods is a waiting game. The light moving from behind a cloud can change the atmosphere in wooded areas in an instant. Not only will waiting reveal photogenic lighting conditions but details you may not have noticed before. The moss on the side of a tree may look quite dull when overcast, but can suddenly come to life if lit in the right way.
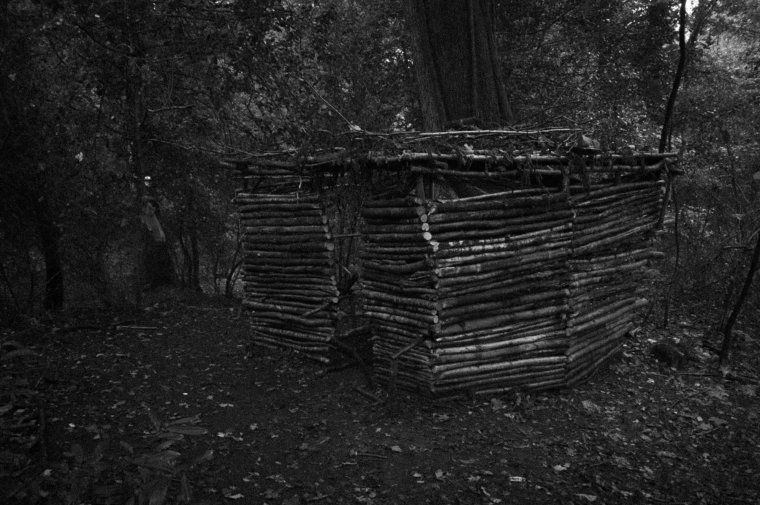
Go off the beaten bath
As long as you feel safe exploring the lesser-trodden parts of your local woods there’s much to be gained from going off the trail into the darker areas. You might stumble across a unique feature, or come across a spooky long cabin, unexpected things that can make for atmospheric images.
Woods are generally old places so you may find the remains of an old building, someone’s name carved in a tree or any number of random things which have been placed or created there.
Light and Dark and Lightroom
Because of the contrast between heavily wooded areas and the sky it can be hard to expose images of woods without creating areas that are too bright or too dark. Use spot metering to expose different elements correctly, and adjust the exposure level to balance out the different areas. Spot metering the sky will expose the sky correctly but leave the woods in darkness, while exposing the woods correctly will leave the sky blown out in bright lighting conditions. Using spot metering on an area between the two extremes may produce the best results. Another option to simply come back later when the sun is lower and there’s less of a contrast between the woods and sky, making it easier to balance the exposure.
If all else fails shooting in RAW mode and importing photos into Lightroom can also help to overcome this issue, as detail can be recovered in the brighter areas and enhanced in the darker ones.
Lightroom can also help when compositions are good but the light is maybe not quite right or the colours dull. As images of wooded areas tend to feature a lot of green, and a lot of brown, turning them black and white can eliminate the problem of a lack of colour variety and bring out the strength of the composition. Or add a sinister touch depending on the subject matter.
The woods are one of the many common places that are close to home for many people and perfect for practising photography. There are challenges to be overcome and secrets to be uncovered, and in doing so you can learn to find interesting images in the most unlikely of places.
I'm a freelance content creator who has been writing and taking photographs for the web since 2009. I've written about everything from cutting-edge tech to classic cars and have taken photographs for clients including the National Trust, the Royal Albert Memorial Museum, and Choc Edge - a 3D chocolate printing company. Based in South West England I'm close to the coast and the legendary Dartmoor, where I try to take my camera as often as possible.


 Facebook
 Google +
Comments (0)
There are no comments yet.