I like reading and watching all kind of tutorials and talks about photography. I have a list of photographers I admire but the one that has had more influence on me is David du Chemin. He is a world and humanitarian assignment photographer that promotes quite actively the idea of developing your own photographic vision. At first the concept of “my own photographic vision” sounded foreign to me. I am not a famous photographer and I don’t even have the best quality gear. How was I going to have a photographic vision? Well, I was mistaken. We all have a photographic vision. The difference is that some of us are not aware meanwhile others work actively in order to develop it and express it.
The concept of photographic vision can be confusing. One of the reasons I like David du Chemin is for his way of making complicated things look achievable. He defined vision as the way YOU see the world. It is unique because it depends on how your eyes and mind filter the image you see in front of you. Thanks to this definition I understood that I also have a vision of life and I decided to work on discovering it (this will probably be a life-long job). I focused in the 2 big parts of my workflow: shooting and post-processing. Today I want to focus in the post-processing part and tell you the 3 things I started doing that are helping me to find and express my vision.
I found really useful to look other photographers’ works in order to understand my vision. This might seem a bit contradictory at first, but let me explain myself better. We all have a particular way to understand a scene. This is because we all have a different background, experiences, feelings… so we face things and react to them in unique ways. It is part of the beauty of being human.
I find really difficult to establish abstract connections between elements of an image such its color or sharpness and my feelings or vision. For that reason I decided to do a bit of research about myself using other photographer’s images at first. How I do it? I look for a photo that calls my attention and then I study the feelings the image awakes on me and the possible connection between the feeling and the photo element. Writing my conclusions in a document or notebook is a good way to keep track of my thoughts.
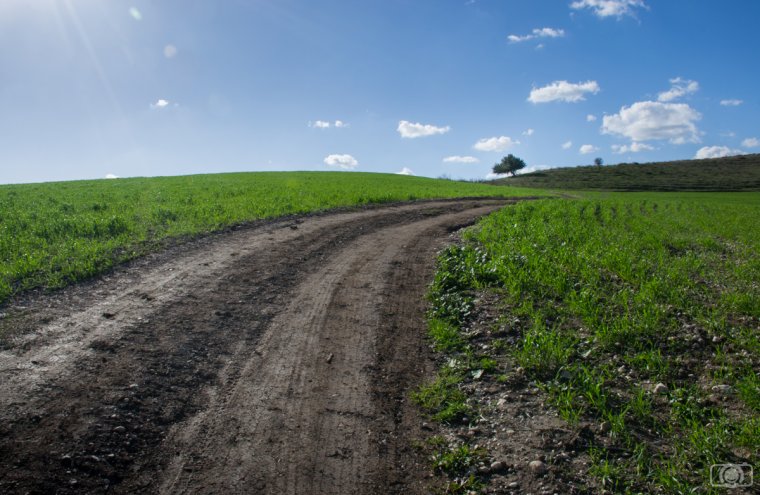
I use this list to know myself and not to copy the style of the other photographers. You should check photos that you like and also the ones you don’t like too much (it is also good to know what generates this rejection feelings). For example, thanks to my research I know that sharp images for me are synonym of energy and strength.
Now, if I take a picture in which I want to express energy and strength I know that one option to achieve it is to sharpen the image in post-processing. Or after watching tones of photos of flowers I realize that I love when they look a bit blurry in the border of the petals because this gives them a delicate look.

I let myself to growth the list slowly in order to enjoy the whole process of understanding the way I see things. Follow your own rhythm and try not pushing your vision.
Ideally, I would recommend to post-process the photos as soon as you can because then you will have fresh in your mind the vision you had meanwhile you were shooting. Maybe you were happy, or melancholic, or taking some photos make you think in a particular subject. The idea is making this thoughts pop out in the post-processing. This will depend on your own way to see the world, but I will give you some examples using my vision just that you can understand what I mean:
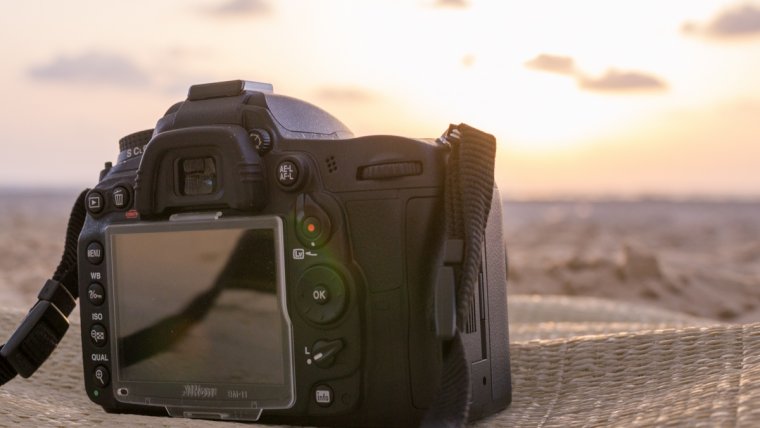
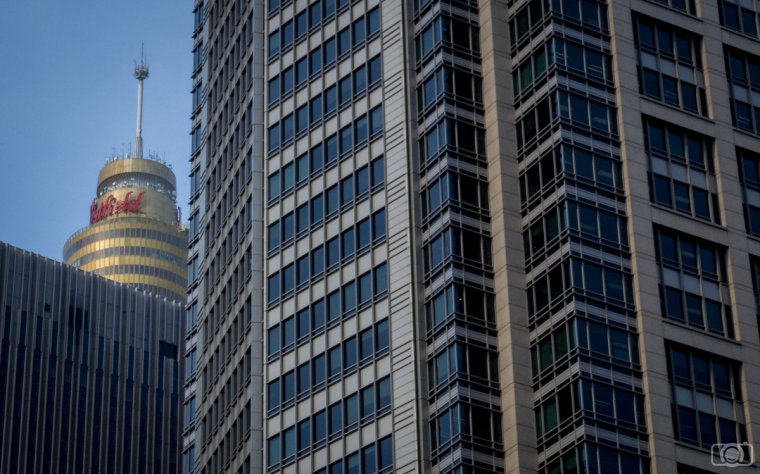
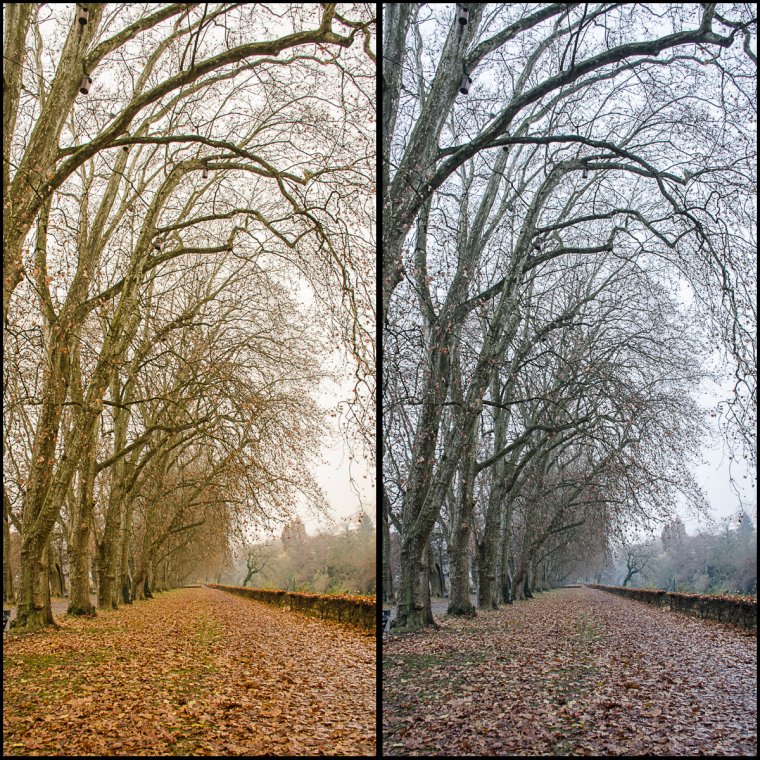
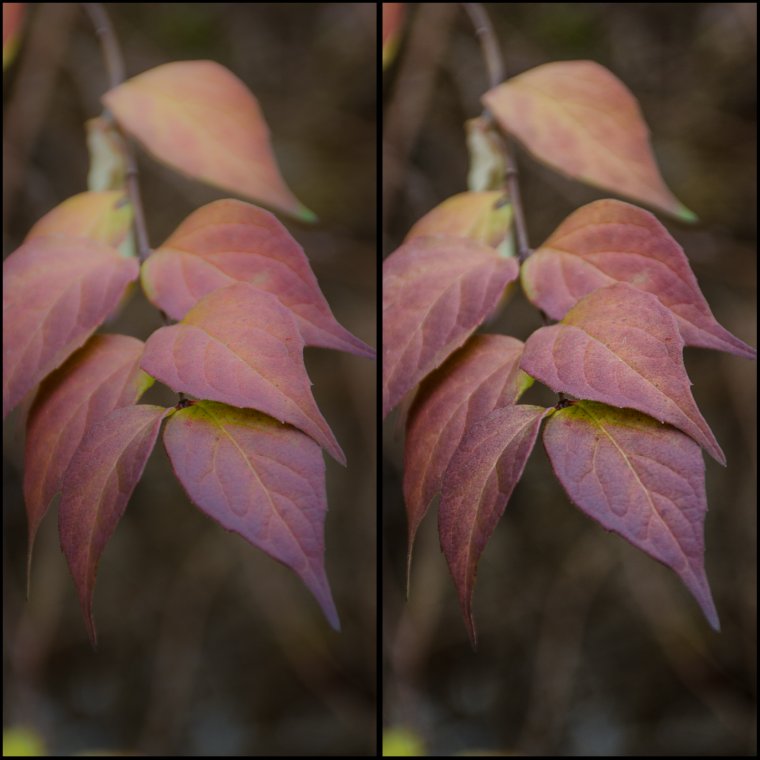
For me happy moments are full of light and color, so a photo that expresses my vision of happiness will look something like this:

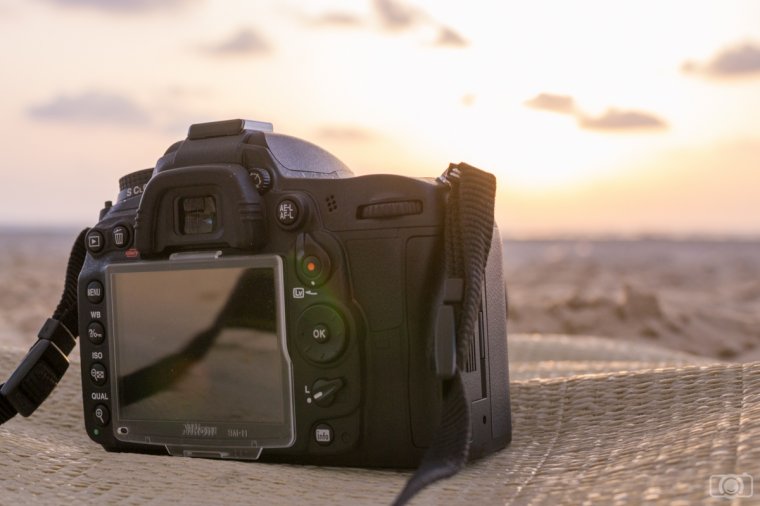
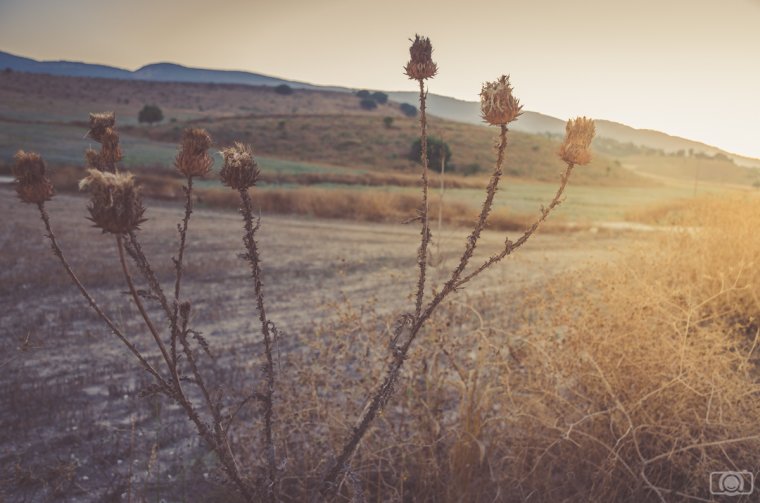
However, I relate nostalgic moments with a kind of dreamy mood, so if I want to express this in the same image, it will look like this:
In this case, the post-processing will depend on your way to understand happiness and nostalgia. For that reason doing some previous work on knowing yourself (previous tip) will be really helpful.
We can’t always post-process our photos right after shooting. We might be taking photos far from our computer and it will take us time to get there. Or maybe we are busy and we just find the time for post-processing after some days after the shooting (or even weeks!). In that cases I try to make a real effort of remembering my feelings on the shooting day or I even write in a little notebook some notes that will help me to fly back to the real scene once I am sitting in front of the computer.
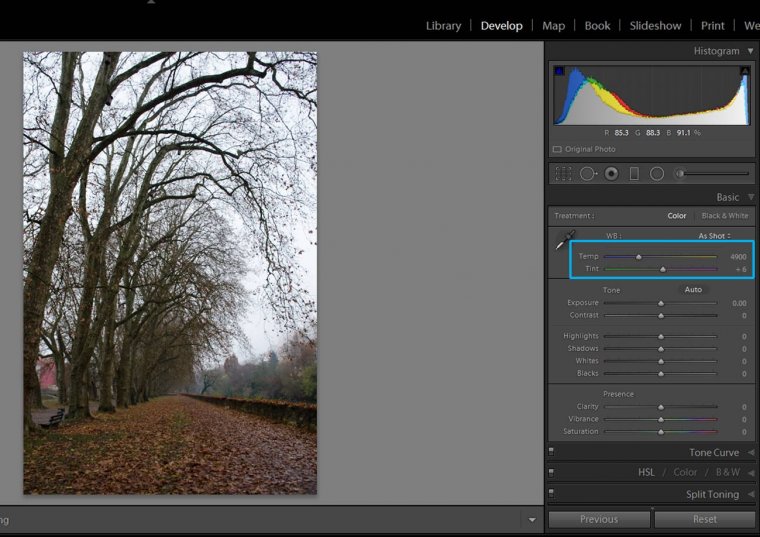
There are a lot of post-processing tools you can use in order to better express your vision. However, it can be a bit overwhelming to do a self-discovery work about your vision and at the same time try to master all the Lightroom or Photoshop tricks. I would tell you to focus in few tools and once you feel comfortable with them, you can introduce more. Some tools that can be good to start with are both the Temperature (Temp), Tint and and Clarity slide in Lightroom.
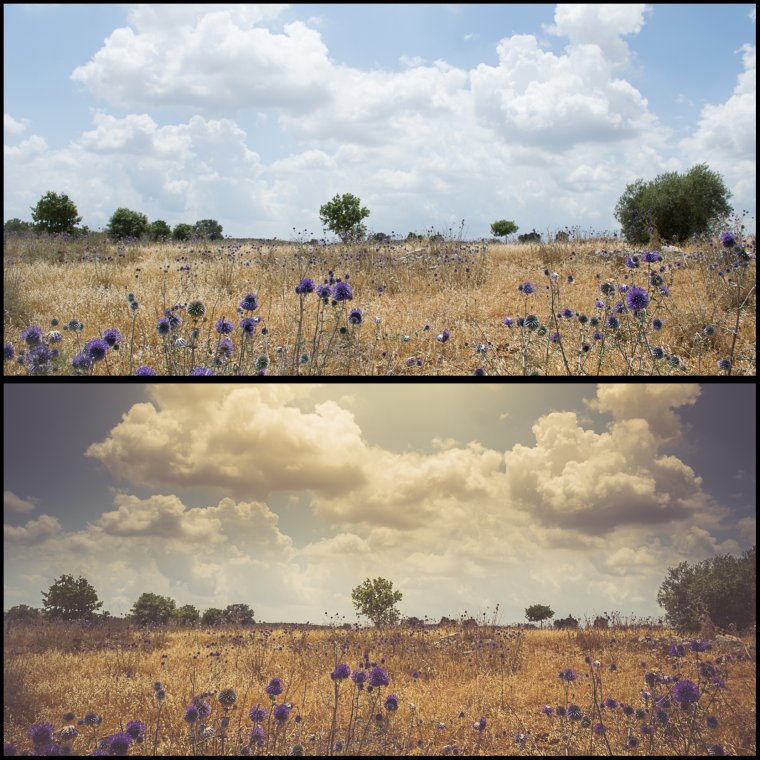
With the Temp and Tint slides, you can modify the colors of the whole image to fit the vision you had when you took it. You just need to play around with the slide until you get to a point that fits you.
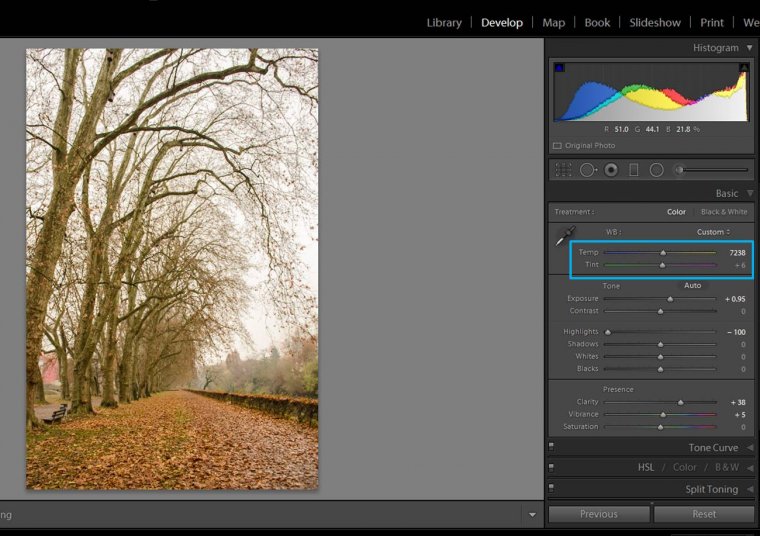
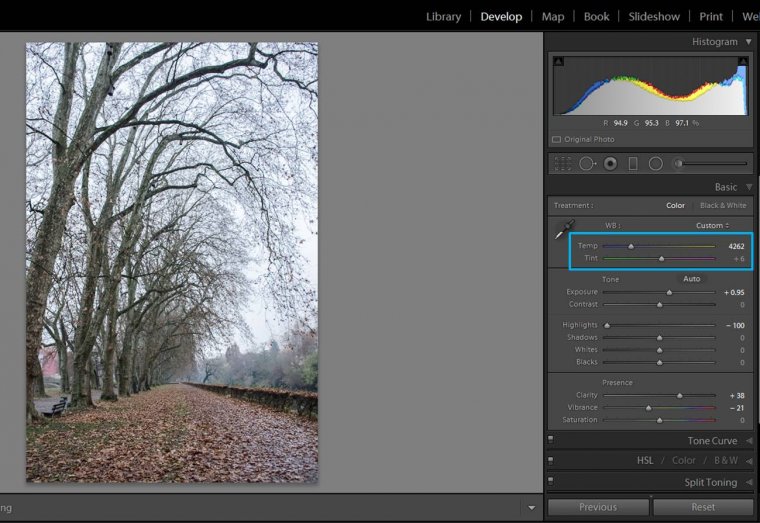
Moving the clarity slide you can either make all the details of the image stand out or you can soften them.
I hope you liked this tips for starting working on your photographic vision. Do you have any other technique to do it? I would love to hear about it! Have a happy post-processing!!!


Please verify your software version before proceeding.
 I’ve verified my software version


 Facebook
 Google +
Comments (2)
Thank you Marcin! I am glad you like the article!
Thanks for your article, it changed the way I will be thinking about photos, more countiously.