
Many articles, books, and guides have covered the topic of professional post-production in digital photography. However, when the time comes to pinpoint the most appropriate software for this task, Adobe Lightroom stands out from the crowd.
Created almost a decade ago as an independent project by the creators of Adobe Photoshop, today it has reached the peak within the photography community, being a common topic in most digital photography courses being taught these days.
Lightroom surprises its potential users by featuring a friendly-looking interface without any hidden tools. Not only professionals can use it, but beginners as well, taking a step ahead of many other applications in the industry by not only post-producing professional looking pictures, but also teaching users where they failed through the shooting process and how to become better as time goes by.
Lightroom will fully adapt to your needs, enhancing your shots in quick succession. All you need to have is enough confidence in becoming a professional user. Your skills will start to improve without you even noticing.
Considering all of these factors, today we are going to learn what makes Adobe Lightroom such a versatile tool for photographers.
Table of Contents
Despite being related with Adobe Photoshop, Lightroom doesn’t share the same interface structure. Adobe Photoshop is meant to work with plugins, enhancing the capacity of performance, adjusting images with them, whereas Lightroom despite being able to work with plugins, is not really meant for that.
Presets are, in short words, sets of instructions defined on Lightroom native tools. These presets can be created either by professional designers such as Sleeklens or even by you (if you have enough knowledge about how the software works as well as a keen eye for photography), which can later on be exported/imported if needed (for example when we reinstall the software on our machine, or if we want to share a nice looking preset with our friends).

Now it’s time to start working with Lightroom. When we open Lightroom for the very first time we will find ourselves inside the Library module; Lightroom’s interface is meant to have a neat workflow split into modules, where each module contains all the tools needed for each specific task such as Importing Pictures (Library Module), Development (Develop Module), Printing (Print Module) and so on. Also each module is divided into panels, where each panel contains a set of tools for achieving the task needed by the user.
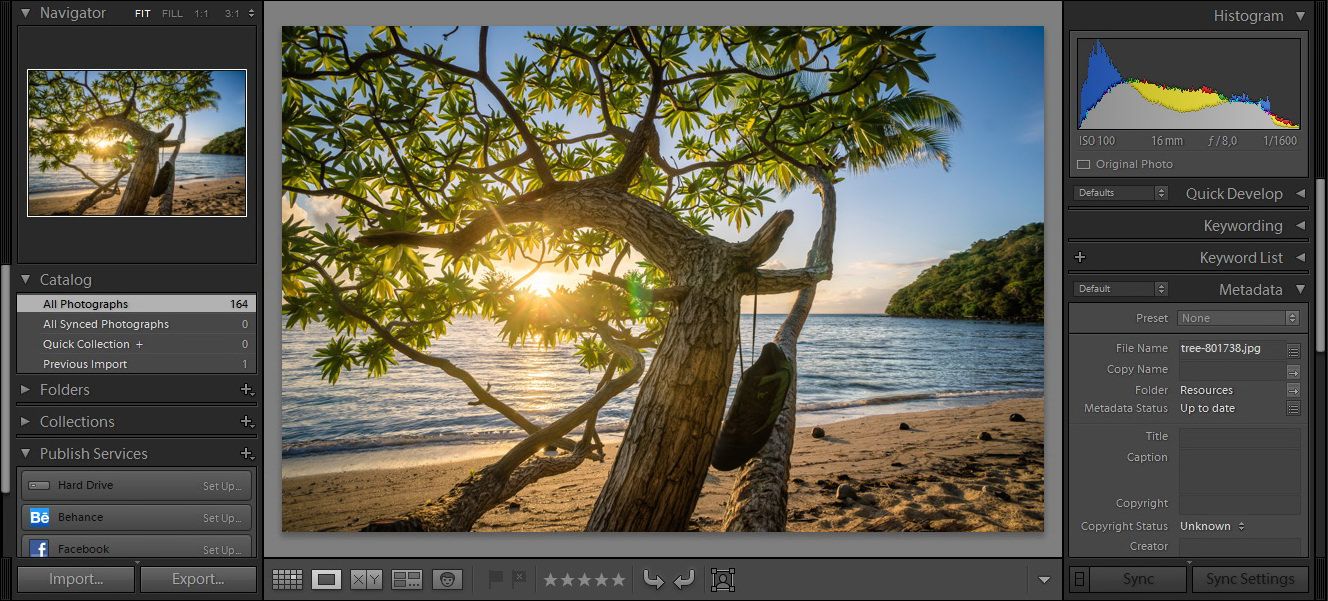
Access the Import window and browse from your media source to find the images you want to work with. Lightroom will recognize almost any format, even though it is best if you work with RAW files, since they don’t suffer compression adjustments the way JPEG files do.
In case you were in a hurry, Lightroom allows you to process great bulks of pictures in only a few seconds by using presets: the Quick Develop panel on the Library Module works with our installed presets, applying the adjustments set at the preset at all the pictures we select inside the Library Module. Such feature comes handy for example when processing party/wedding pictures that feature similar lighting conditions, speeding up the development process by over 200%.
Leaving behind the Library Module, select the picture you want to work with and switch to the Develop Module.
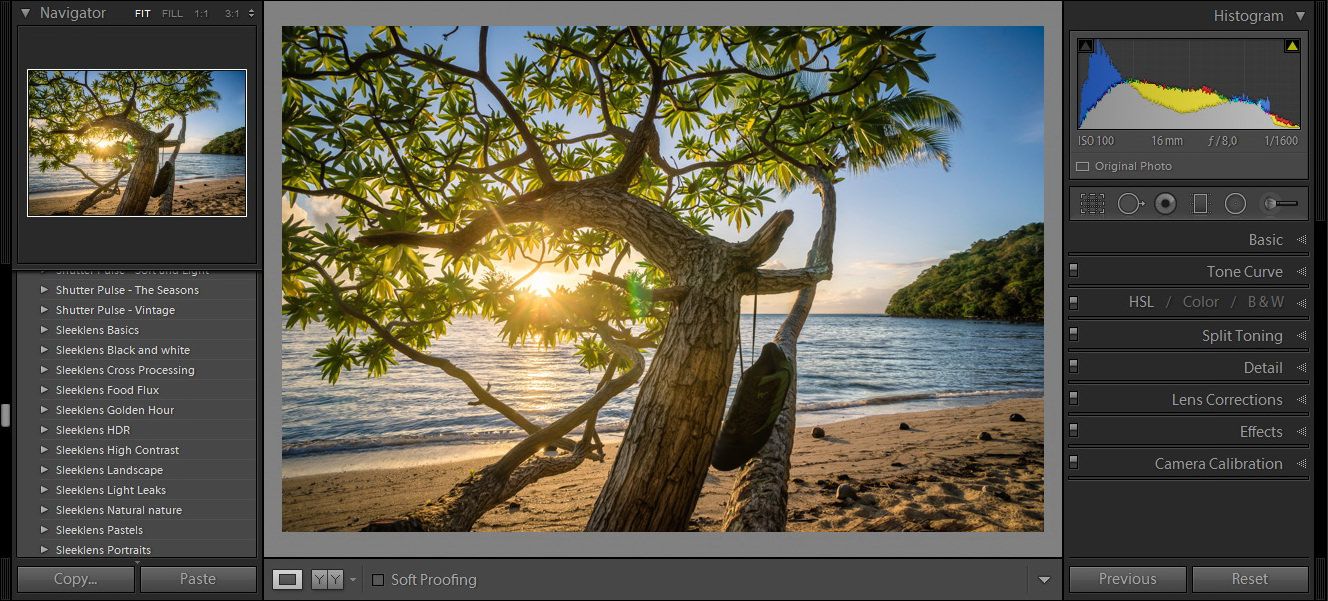
In here you will notice that Lightroom has very few features that can be labeled as tools, and which are meant for advanced adjustments that can’t be achieved only by working with sliders:
For this tutorial purpose, we are going to develop a picture fully inside Lightroom both with the traditional native tools from Lightroom and by using Sleeklens’ free bundle of presets.
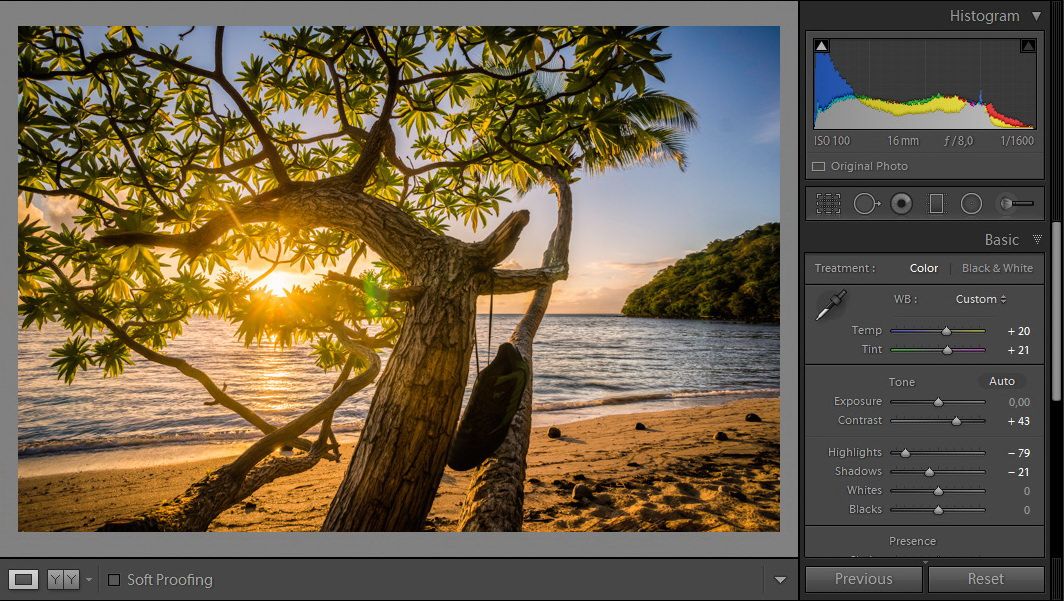
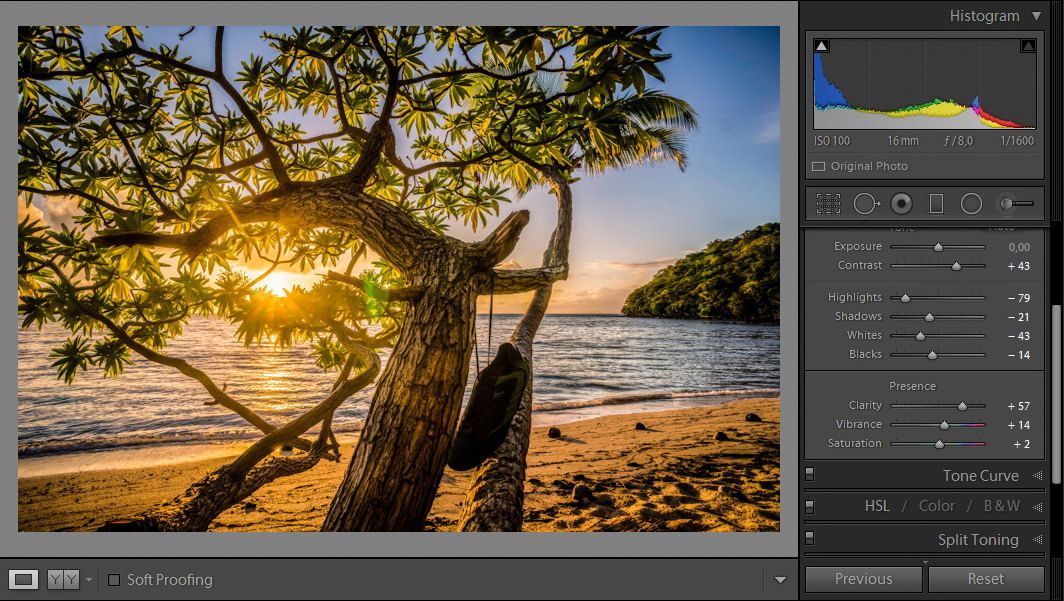
First of all, start correcting the White Balance values, as this will alter the hue values of the whole image. For this task, we can either use the Dropper tool (trying to sample at a neutral grey area) or we can use the Sliders (which is what I will be doing in this case, as I don’t have a neutral grey) for Temp and Tint. Work on it until you are pleased with the result.

I am going to leave Exposure as it is and increase the Contrast for a more vivid look.

Since the sun is facing directly towards us, we need to reduce Highlights in order to avoid having such intense lighting conditions. Notice that by doing so, you are also gaining details in the sky (such as clouds) in the background plane.
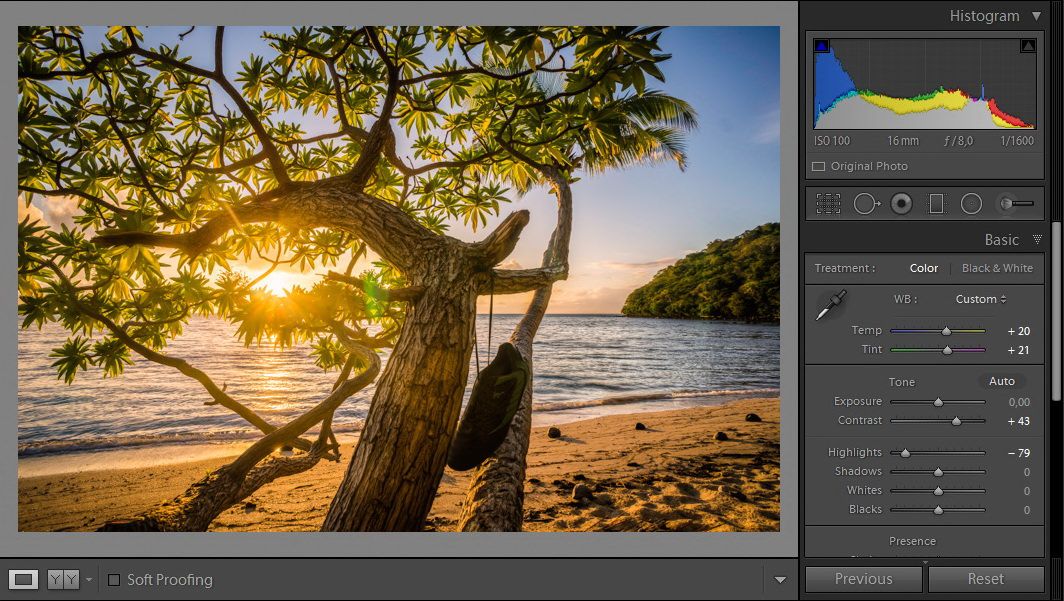
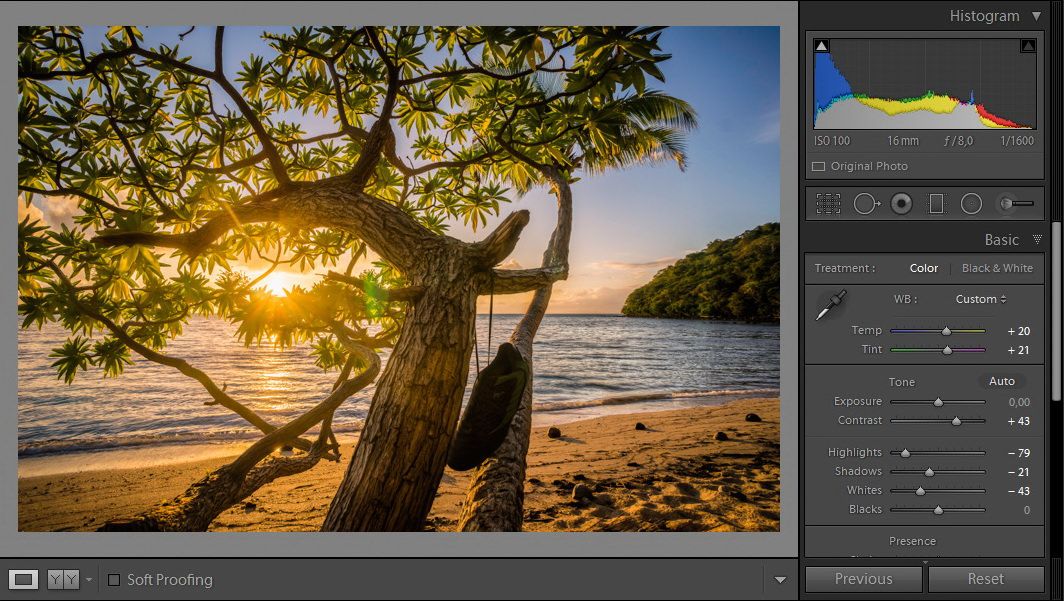
Increase the Shadows by moving the Shadows slider towards the negative values.
Decrease the Whites by moving the Whites towards the negative values; this way we are also reducing annoying excessive light present in our scene.
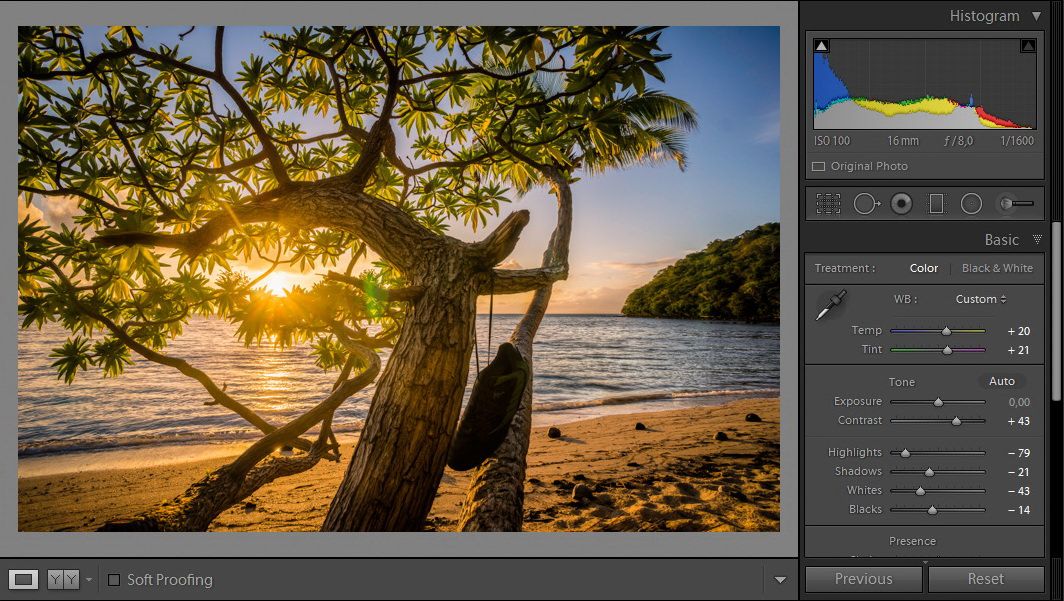
Increase Blacks the very same way we did with Shadows, and the image will start looking quite pleasant to the eye.
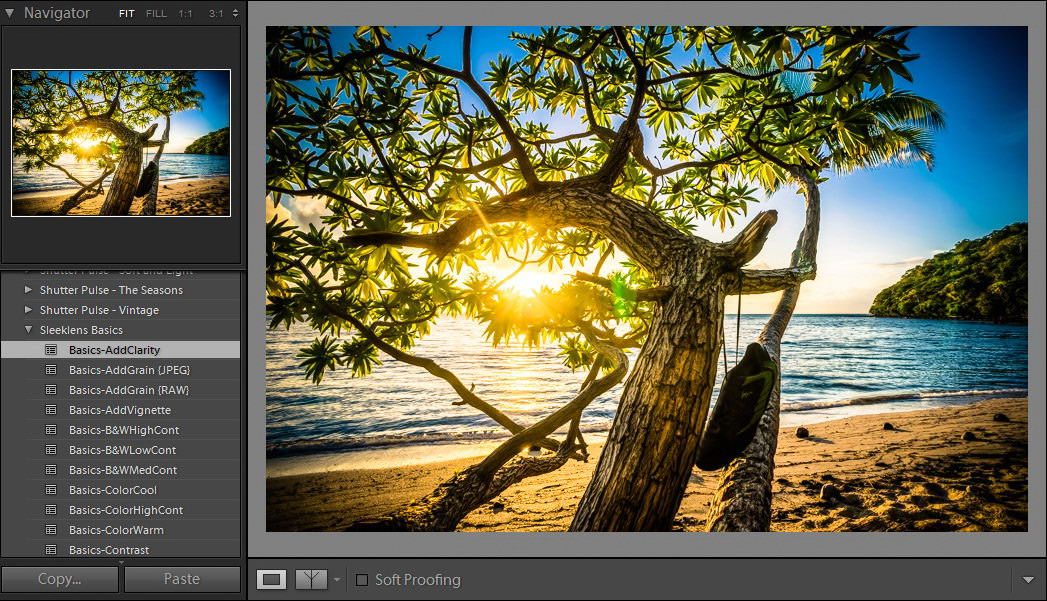
By adding Clarity, we are increasing the amount of detail present at the scene as well as clarifying certain tints. Values over 60 should be kept only for HDR effects.
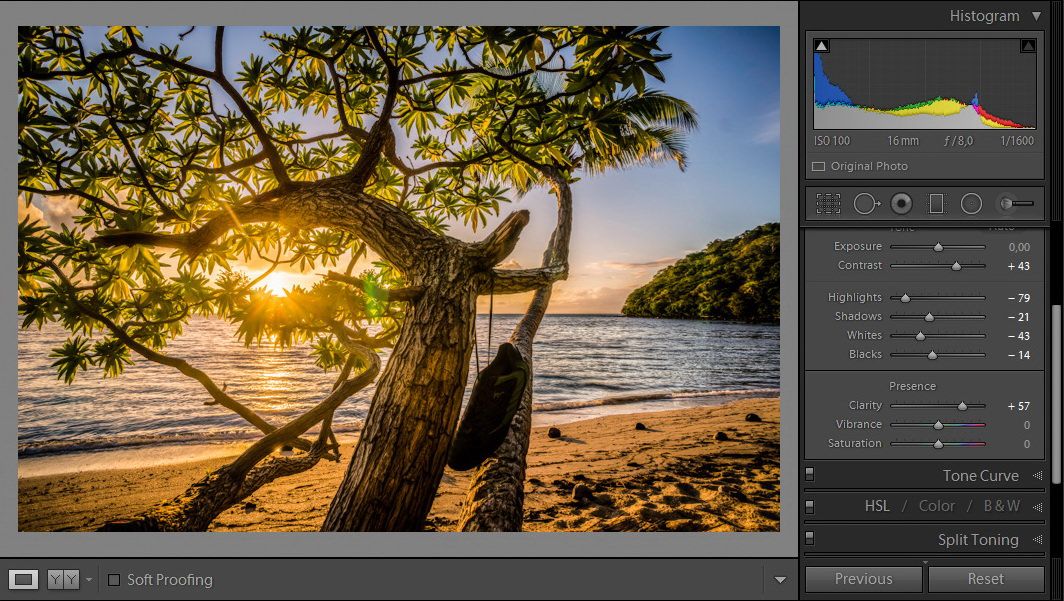
Increase Vibrance in order to give life to the softer hues available in the image.

Next, do the same with Saturation in order to determine how much tint is available at the scene. Apply this slider with extreme caution, otherwise it won’t look realistic.
Now, let’s do a Before/After shot to compare what we have done up until this point.
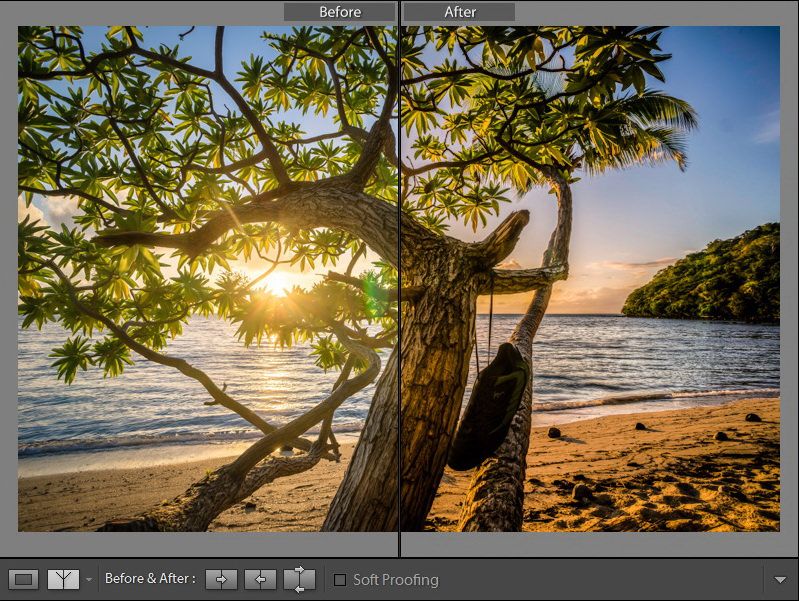
In my opinion, the result is very convincing on its own, and if we plan to increase the Contrast a bit more, the image will turn out like this.
The traditional method is always reliable, but takes time and the knowledge of Lightroom tools in order to get the most out of them.
Return to the original image before changes (unless you were wise enough to create a Virtual Copy of it), and now we are going to emulate the effect we created with traditional tools, only we will be using our set of Sleeklens presets.
First, I am going to apply a ColorWarm preset for approximating the White Balance condition we created before.

Then apply a Contrast preset in order to bring life to the image.
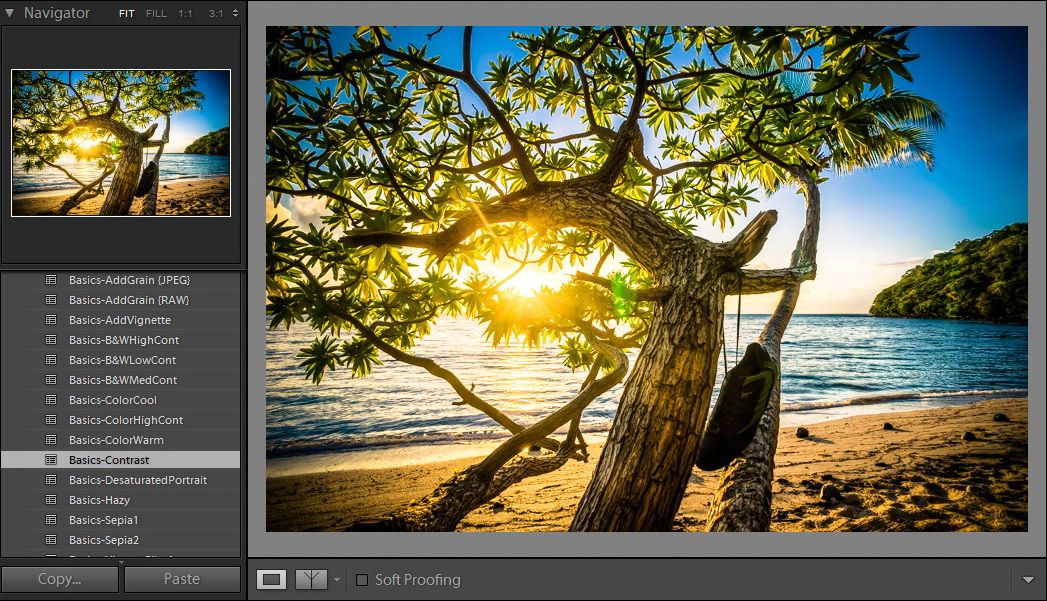
Use the AddClarity preset to bring more detail to the picture. At this point, the image will look very similar to the image we were working on before, if not better, and this in just a few seconds.
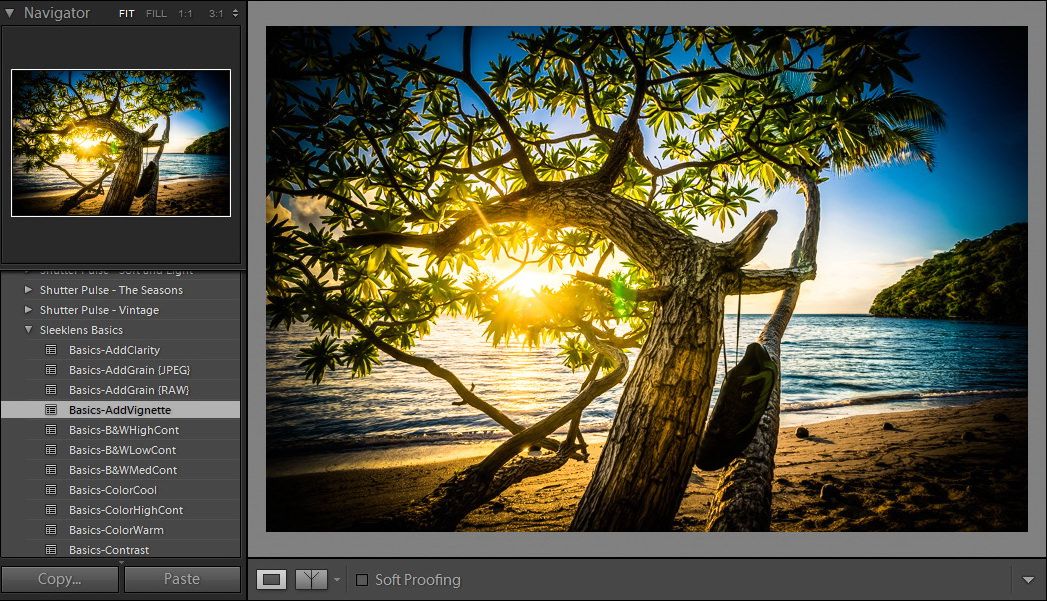
Finally, add the AddVignette preset as this always look quite appealing.
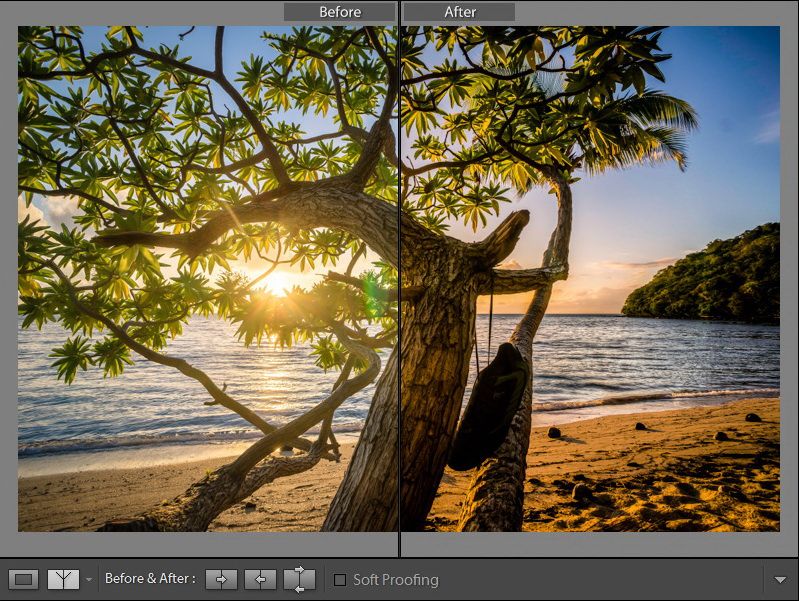
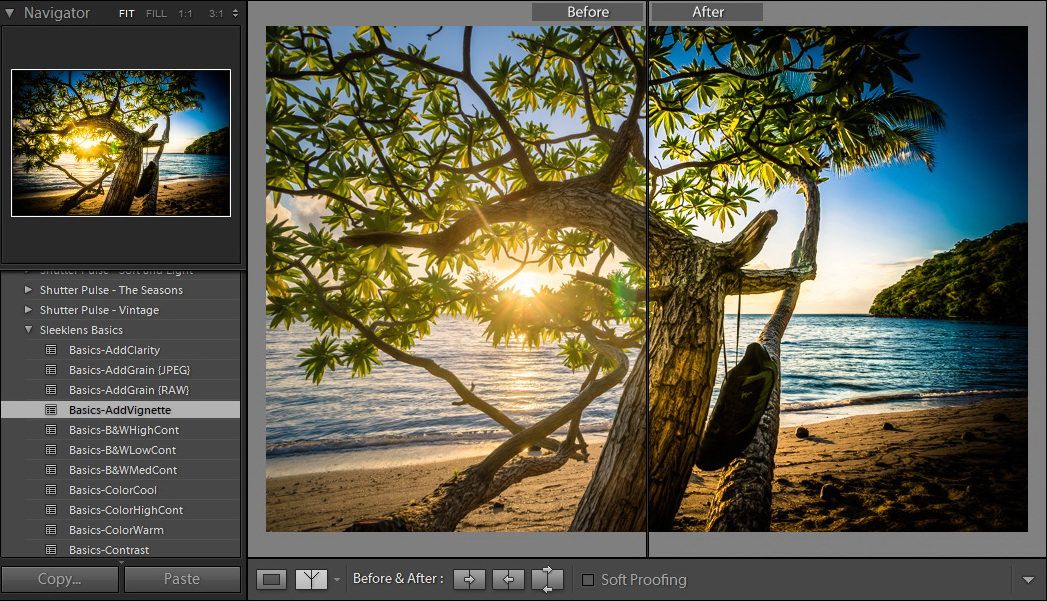
With the Before/After shot we can compare the results.
As you can see, unlike Photoshop there are no secret tricks inside Lightroom. It just takes a lot of practice and a good library of Presets in order to be able to create fantastic effects. This also makes Lightroom such a stunning software, as it constantly encourages users to keep improving their skills in order to achieve advanced adjustments with their pictures.
So I will ask you: what are you waiting for? Now is the time to ace Lightroom and become a better photographer by taking your pictures to the next level.


Please verify your software version before proceeding.
 I’ve verified my software version


 Facebook
 Google +
Comments (0)
There are no comments yet.