Photoshop For Beginners Roundup – Part Iwww.sleeklens.com
Hi everyone, so for today I thought I would take things back to basics a little. I think that a lot of my tutorials are somewhat advanced, although explained well, there are still a few that may be for more advanced users of Photoshop.
So for that reason, you will be seeing more coverage of Photoshop CS6 in many of my upcoming tutorials. In short, I’m going to be showing your the ins and outs of this wonderful program, so come along with me, and hopefully you’re going to learn a lot.
Sit back, enjoy, and learn Photoshop for beginners.
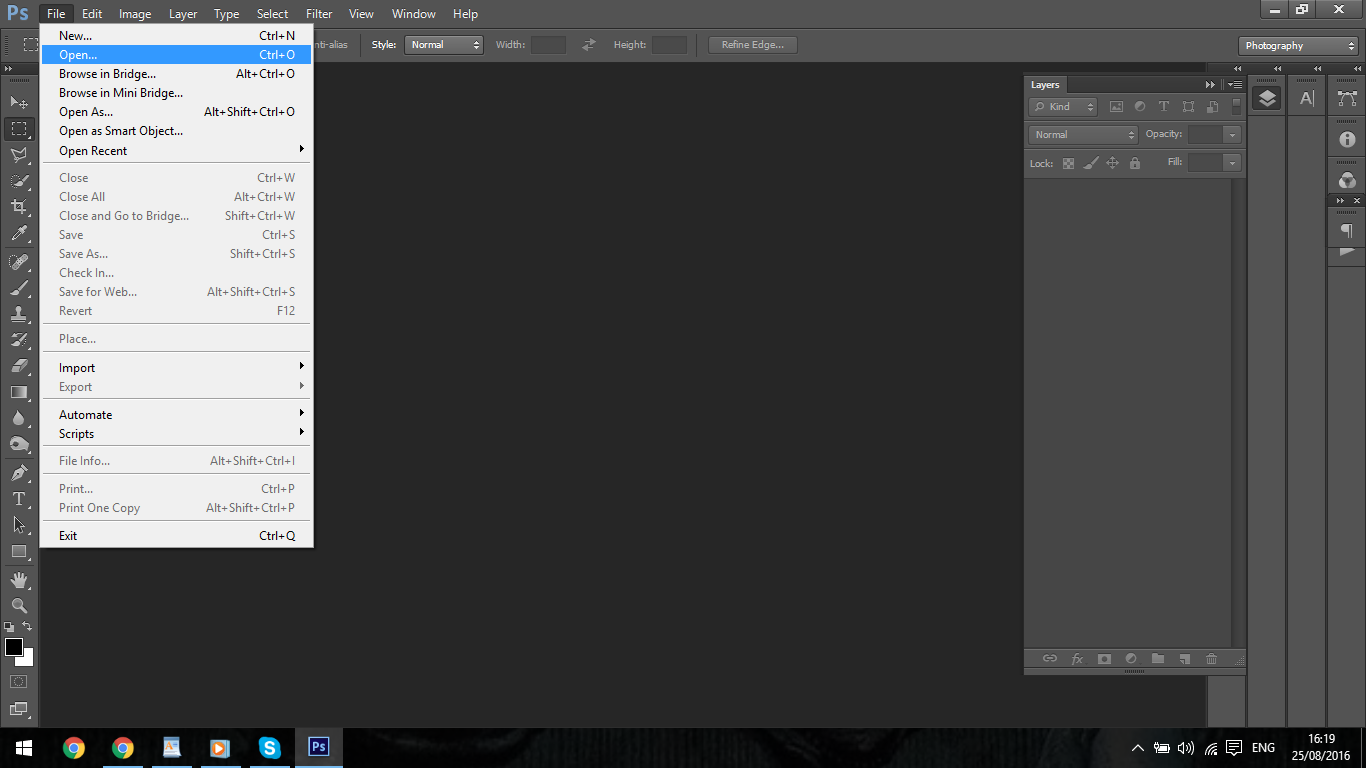
First up start up your program and go to the File Tabs, we’re going to choose a Photo to import.
If you have a Mac or are using Windows then don’t worry, the program will remain the same through out so both Mac and Windows users can use this Tutorial.
The only complication comes from when we start using Keyboard Shortcuts, but this is for another time so don’t worry about them right now, you don’t need them so to speak, they just speed things up a little so if you never used Keyboard Short cuts it would never matter.
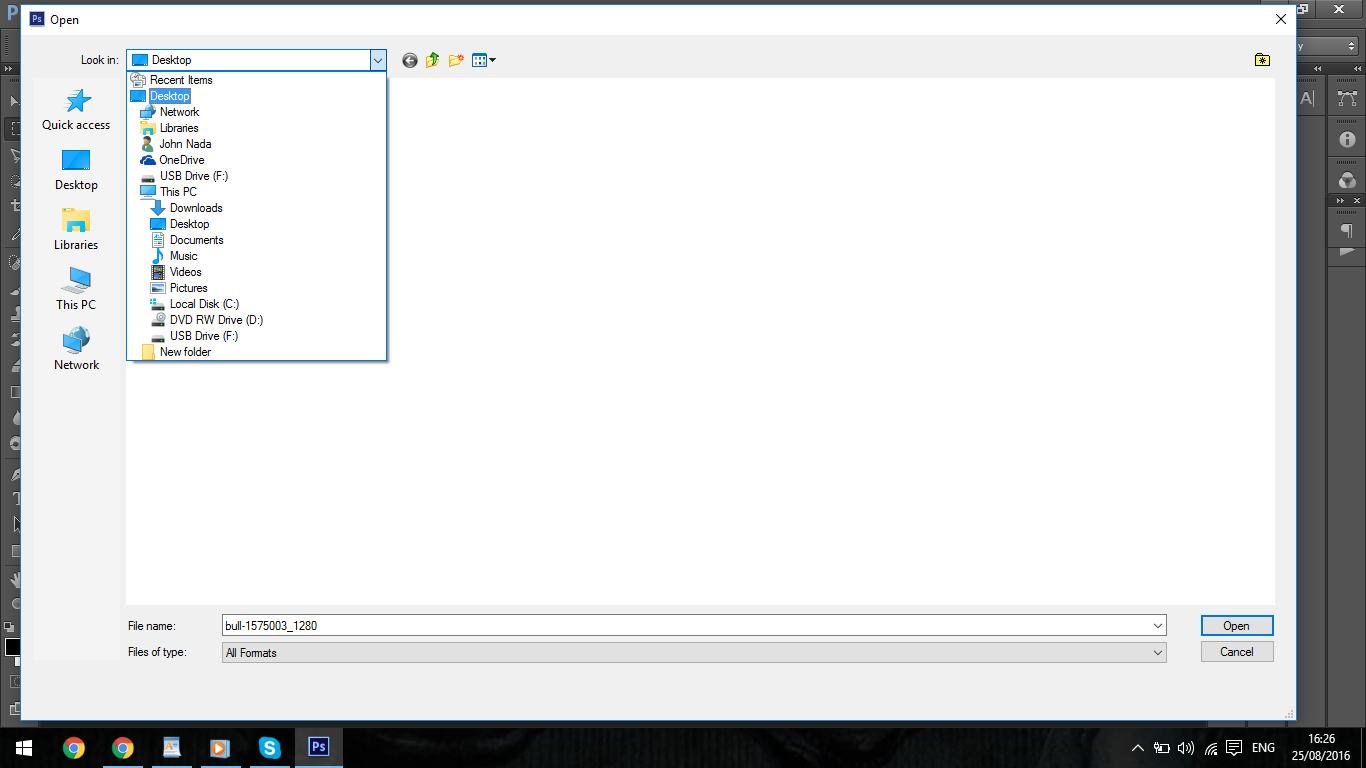
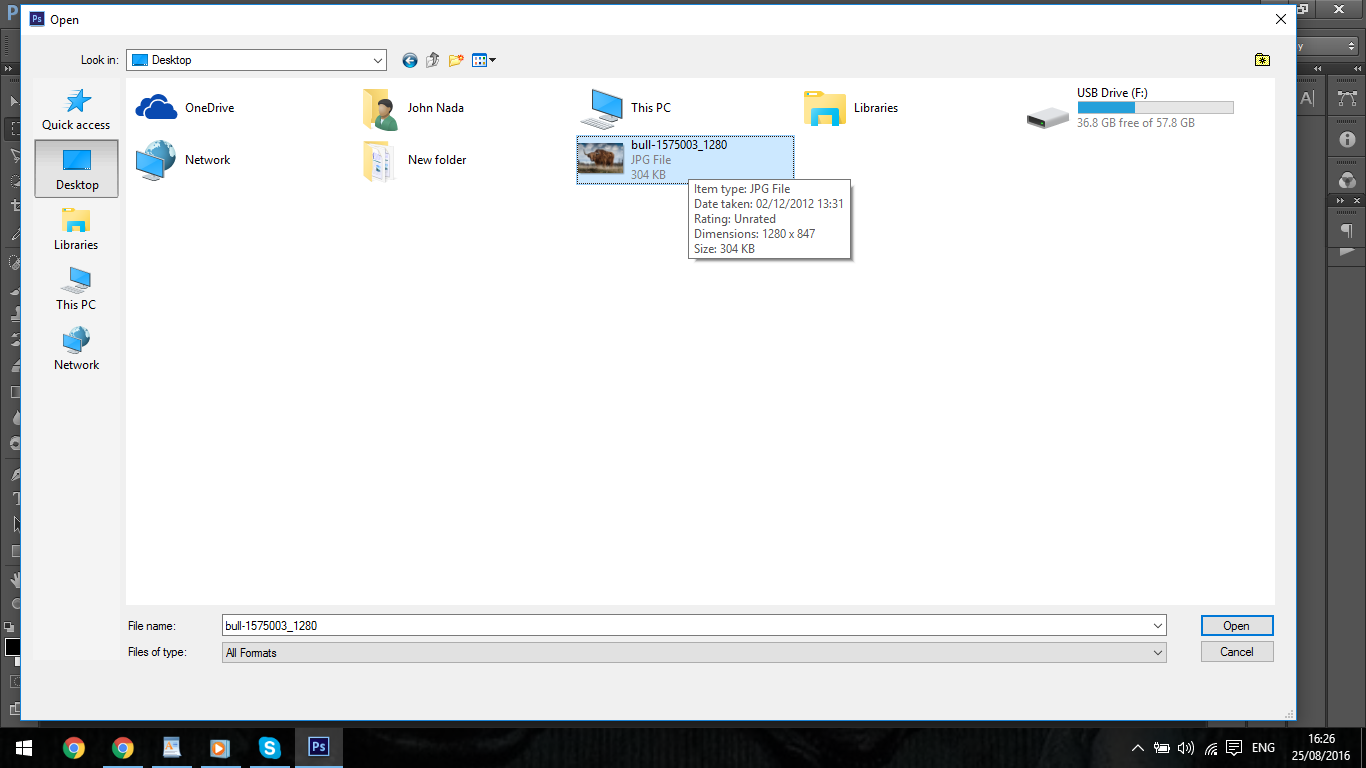
So find your image, I have mine on my desktop but you can be more organised and have your stuff in Pictures or your own image folder, if you know a little about navigating your PC/Laptop then that basic knowledge will help you here if not don’t worry my diagrams will walk your through it.
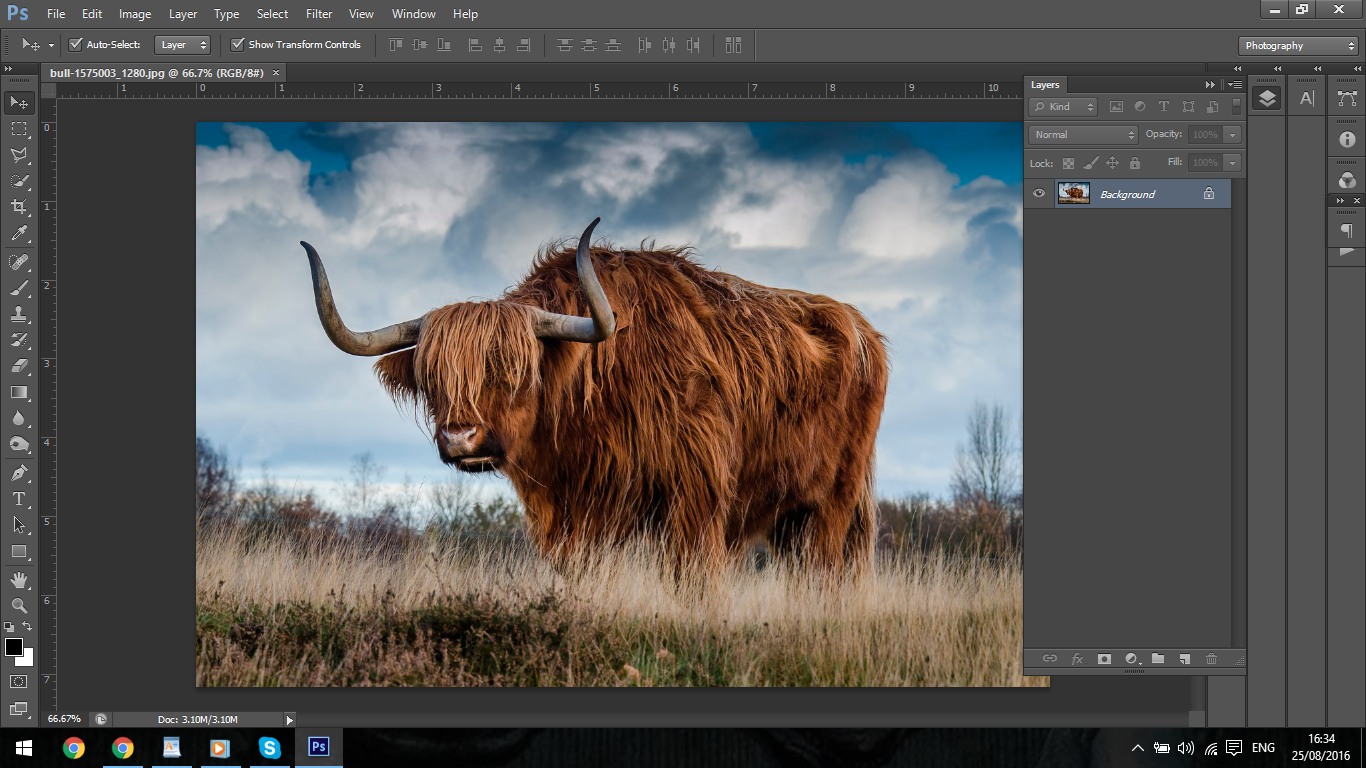
Cool so you should be seeing your image now opened on to your Photoshop.
The first Tool we’ll be looking at is the Move Tool, which is the very first on the left hand side Tool Bar.
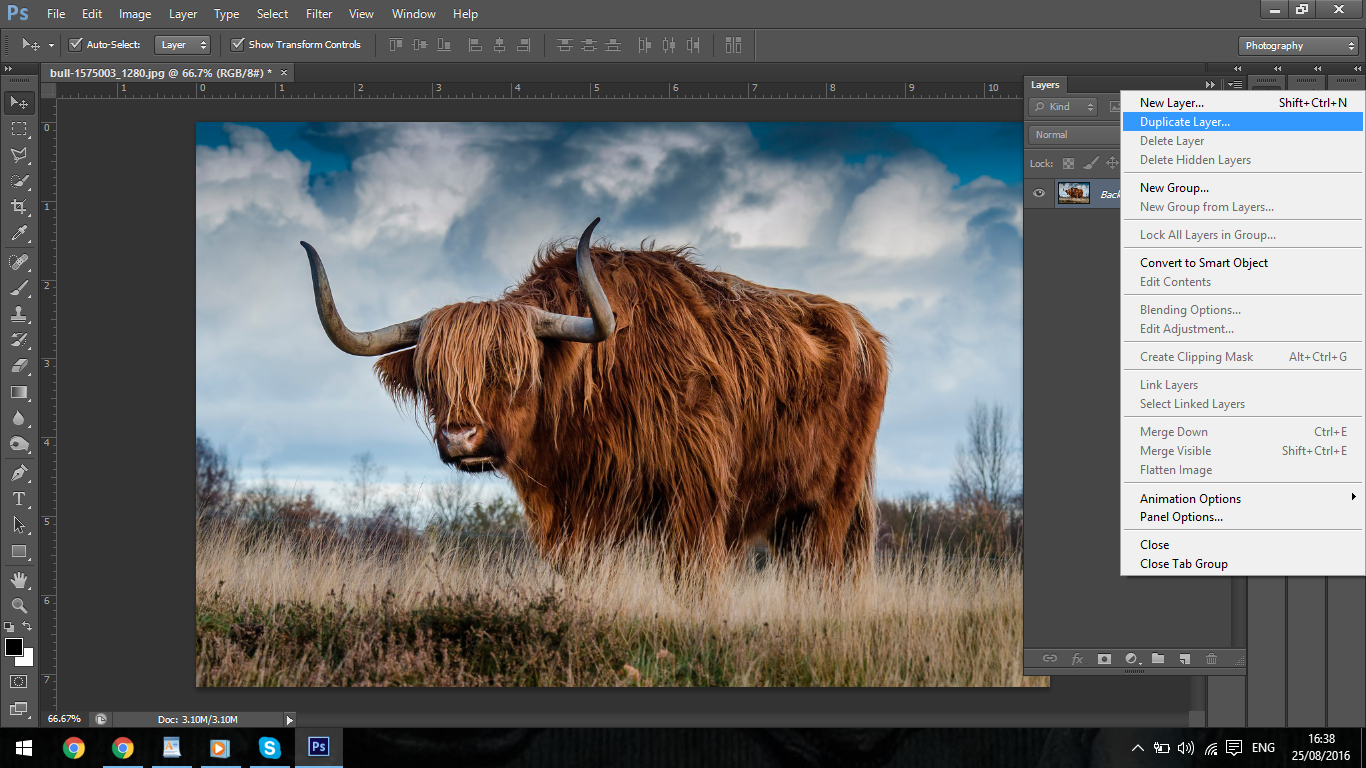
Click on that and then we’ll go over to the right hand side where you can see layers, then you click on the Layer in there that will say Background and a little Padlock on it.
So that being clicked on, you can now move your mouse up past Fill and Opacity, over the next small bar and you will see a little box at the top right hand side of the layer panel.
Click on that and some option will now appear.
Click on Duplicate Layer and then press ok.
You have now created a copy of the bottom layer, which you want to keep as a back up copy, I do this with all my projects so the sooner you know/remember to aswell the better, it really will save you a lot of bother in the future, you can trust me on that one haha.
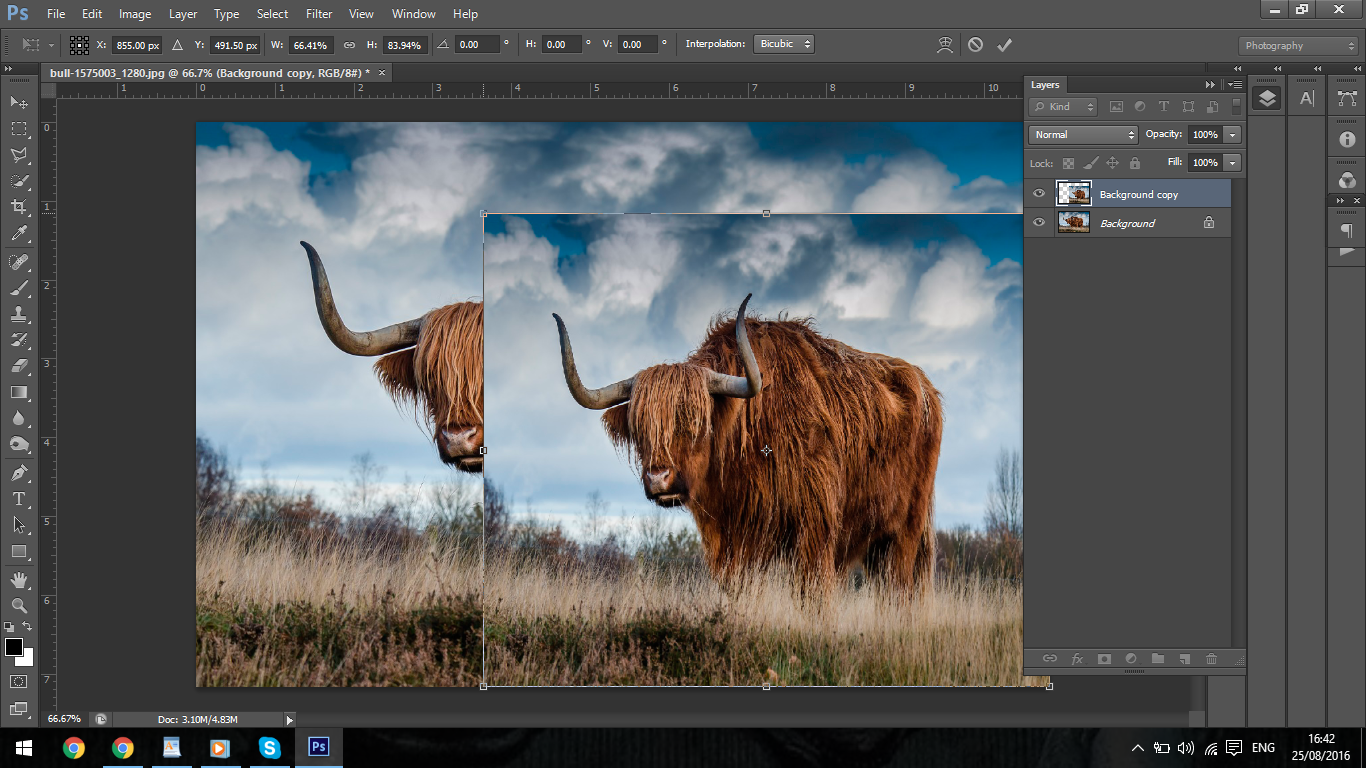
Now with the Arrow you can click on the ends of the Image and start to change it’s size.
If you do this while holding the Shift Key on your keyboard it will constrain the size, which means while holding shift you can change the size as normal but it will reduce the size and scale it at the same time so you don’t get any warping.
So there is further options with this I think you’ll love to know.
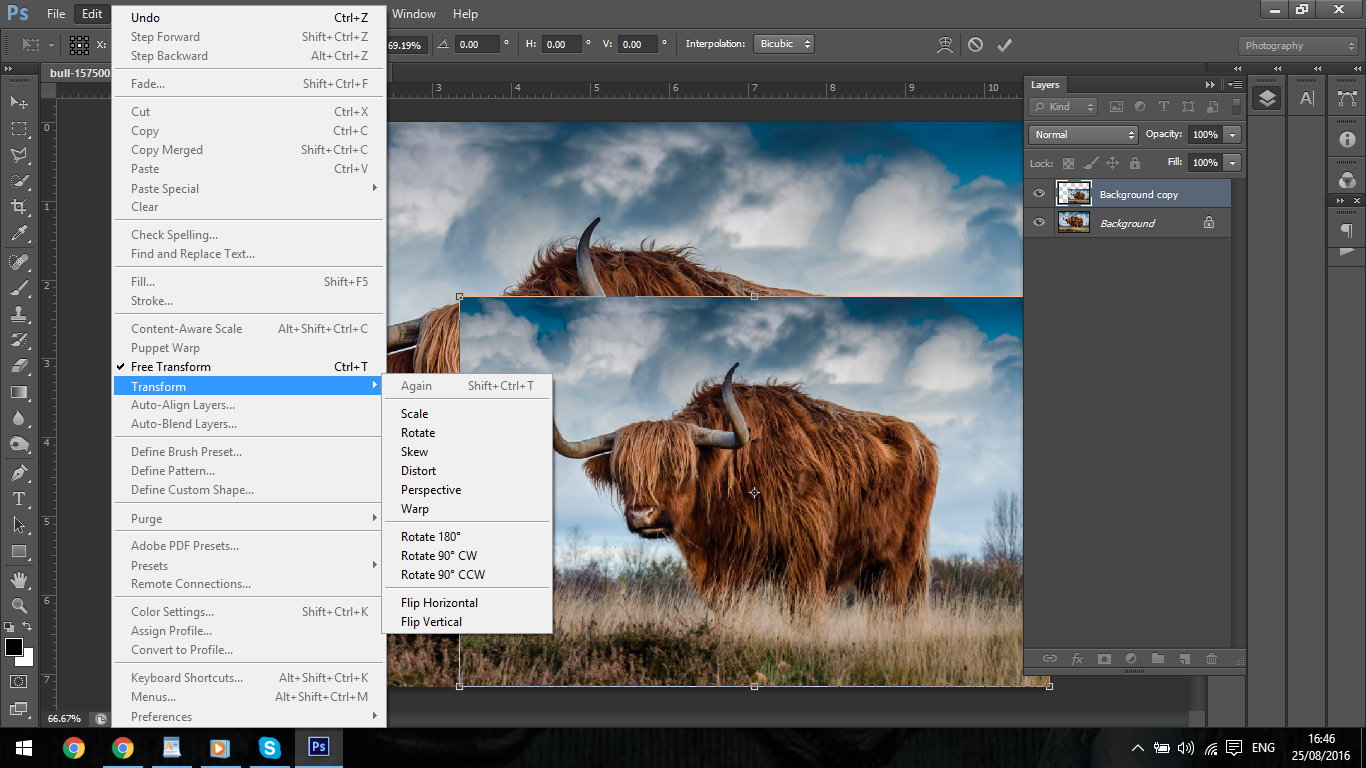
If you click on Edit and go down to Transform you will see loads more options.
Don’t worry about Scale, it does the same as we just did.
Rotate is as it says, Rotate can also be done by hovering around the edge of the image till you see the semi circle icon indicating it has been activated.
The you just click outside your image a Rotate.
If you hold Shift while doing this you can get perfect 90 Degree angles while you Rotate, so pretty easy stuff.
Skew ignore, I’ve personally never used it so don’t bother with that.
Distort allows you to click on the squares on the edge of the image and move it around as the image below shows.
The next Tool is Perspective which works in the same way only this time the computer will keep the image in Perspective, this is good for adding pictures to walls and stuff like that.
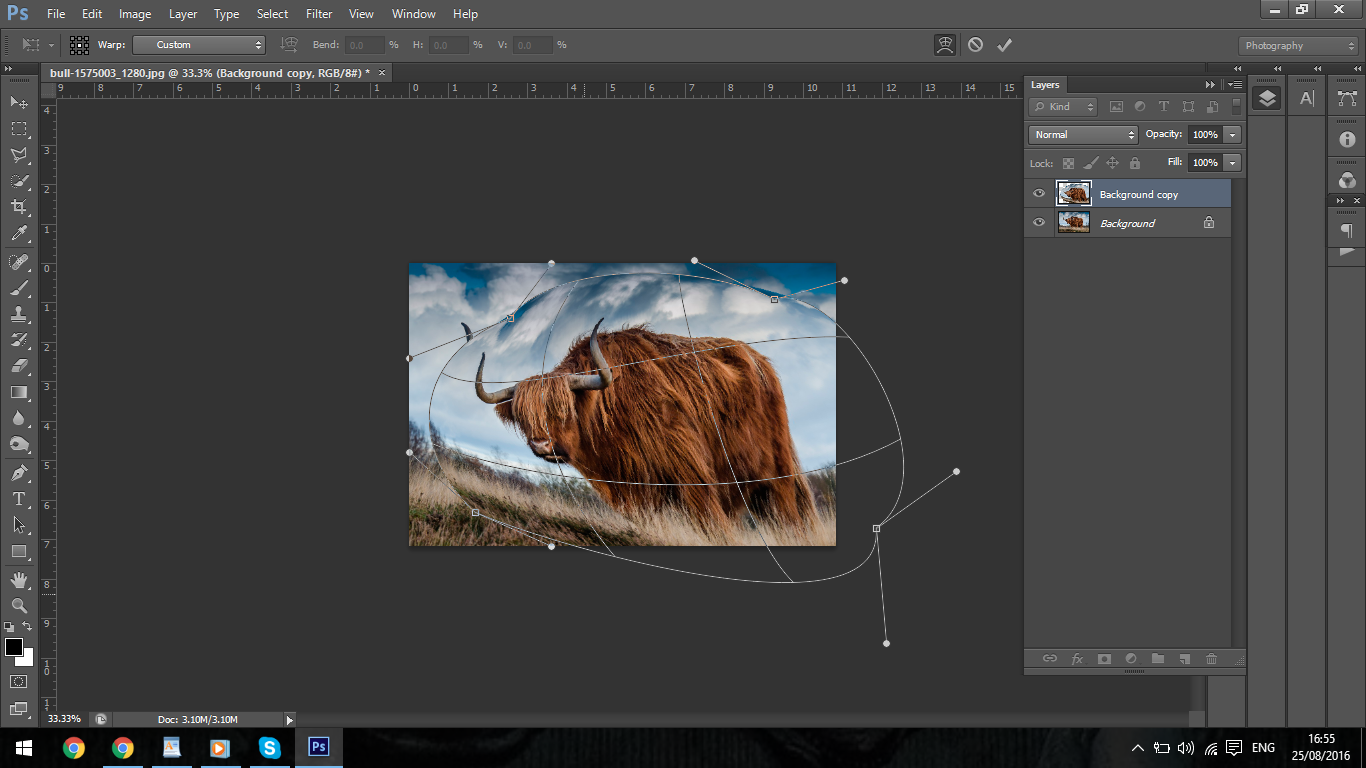
And last up the Warp Tool.
This is pretty cool, if you want to mess up Faces or Landscapes this is a great Tool, when it’s activated it will lay a grid over your image, then all you have to do is click on the points and drag to what ever position you’d like.
Stay tuned for our next Tutorial and I’ll teach you more 🙂
Graduated from college in 2002 with a degree in Art & Design, I started exploring my way in Graphic Design and Professional Post Production. Full-time freelancer since 2011.


 Facebook
 Google +
Comments (0)
There are no comments yet.