Tag: Fruit

How to Capture Water Splash Photography

What I’m going to offer to you today would be how to freeze a moment, reproducing the illusion of motion with a bowl of water and a piece or whole fruit. In another word, today subject is Fruity Splash photography.

It is not an ordinary photography; I consider this type of photos as a special effect photos.

So let’s begin. A friend of mine is planning to open a smoothie store and asked me if I could make some fruit pictures for him. I did not want to make simple ordinary dead nature photos, and that’s how I came up with an idea for this kind of photos.
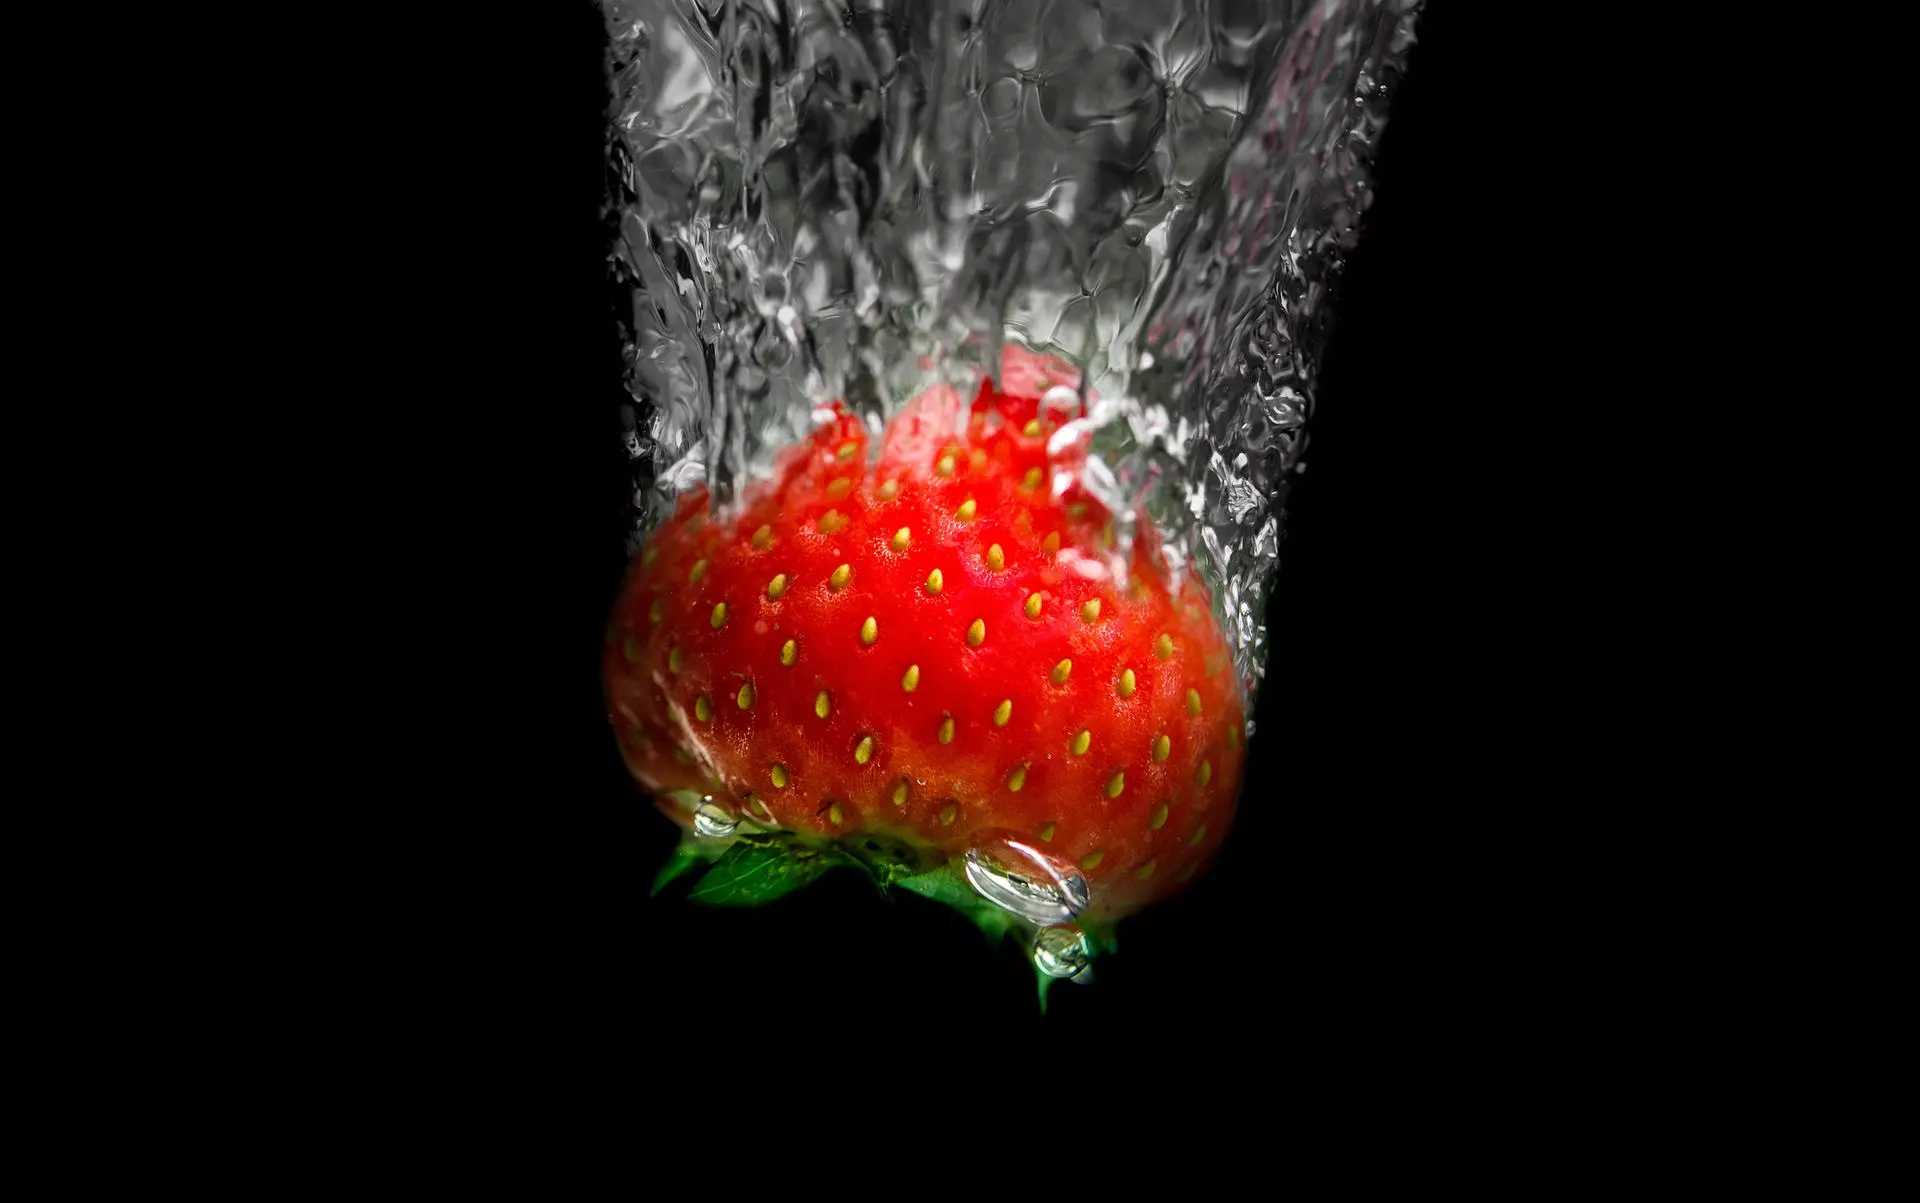
Fruity water splash photography

You don’t, need much of equipment. A tripod and a remote shooter, average macro lens, a Speedlite flash unit or two, a transparent bowl, and cardboard background (I prefer black background) will be enough. Back in the days when my brother had an aquarium, we had different kinds of problems with the tap water, so I used bottled water just to get rid of all the bubbles on the inner side of the bowl.

The setup is the most important. First, the surface will be flooded with water from all the splashes, so be prepared to clean and keep a towel close to you. The camera should be set to cover only the bowl and the background. Then get your flashes ready. If you have only one flash, you should consider having an additional reflector or a bright light. They should be set on the both sides of the bowl, not in the front or the back of the bowl. This creates a great effect and is visible on both the glass and water. Buy many different kinds of fruits just to have many objects for shooting. Also, you can make two photos with one fruit if you shoot the whole fruit and a second photo when sliced.  If you ask me Lemons and other citrus fruits are the best because of the freshness, they bring in to the photography.

Now we are talking about the camera settings. Use aperture form f/4 to f/8. I found that f/5.6 works great. For the shooter speed, you should use anywhere between 1/125s up to 1/250s, but you should experiment on this and find what is best for you. The ISO is also something that is negotiable, I used ISO 400, and it was just fine. The request from my friend demanded that I use RAW format rather than JPEG, and that is what I always prefer to use for something like this.  For this setting, the autofocus works great, so manual or auto-focus does not make any difference. The white balance is set on flash. Finally connect the remote shooter because we don’t need any vibrations on the camera, and make sure that the camera is away from the bowl because nobody wants to splash water on the camera and the lens. It is a must that you use the continuous burst shooting or a timer mode.
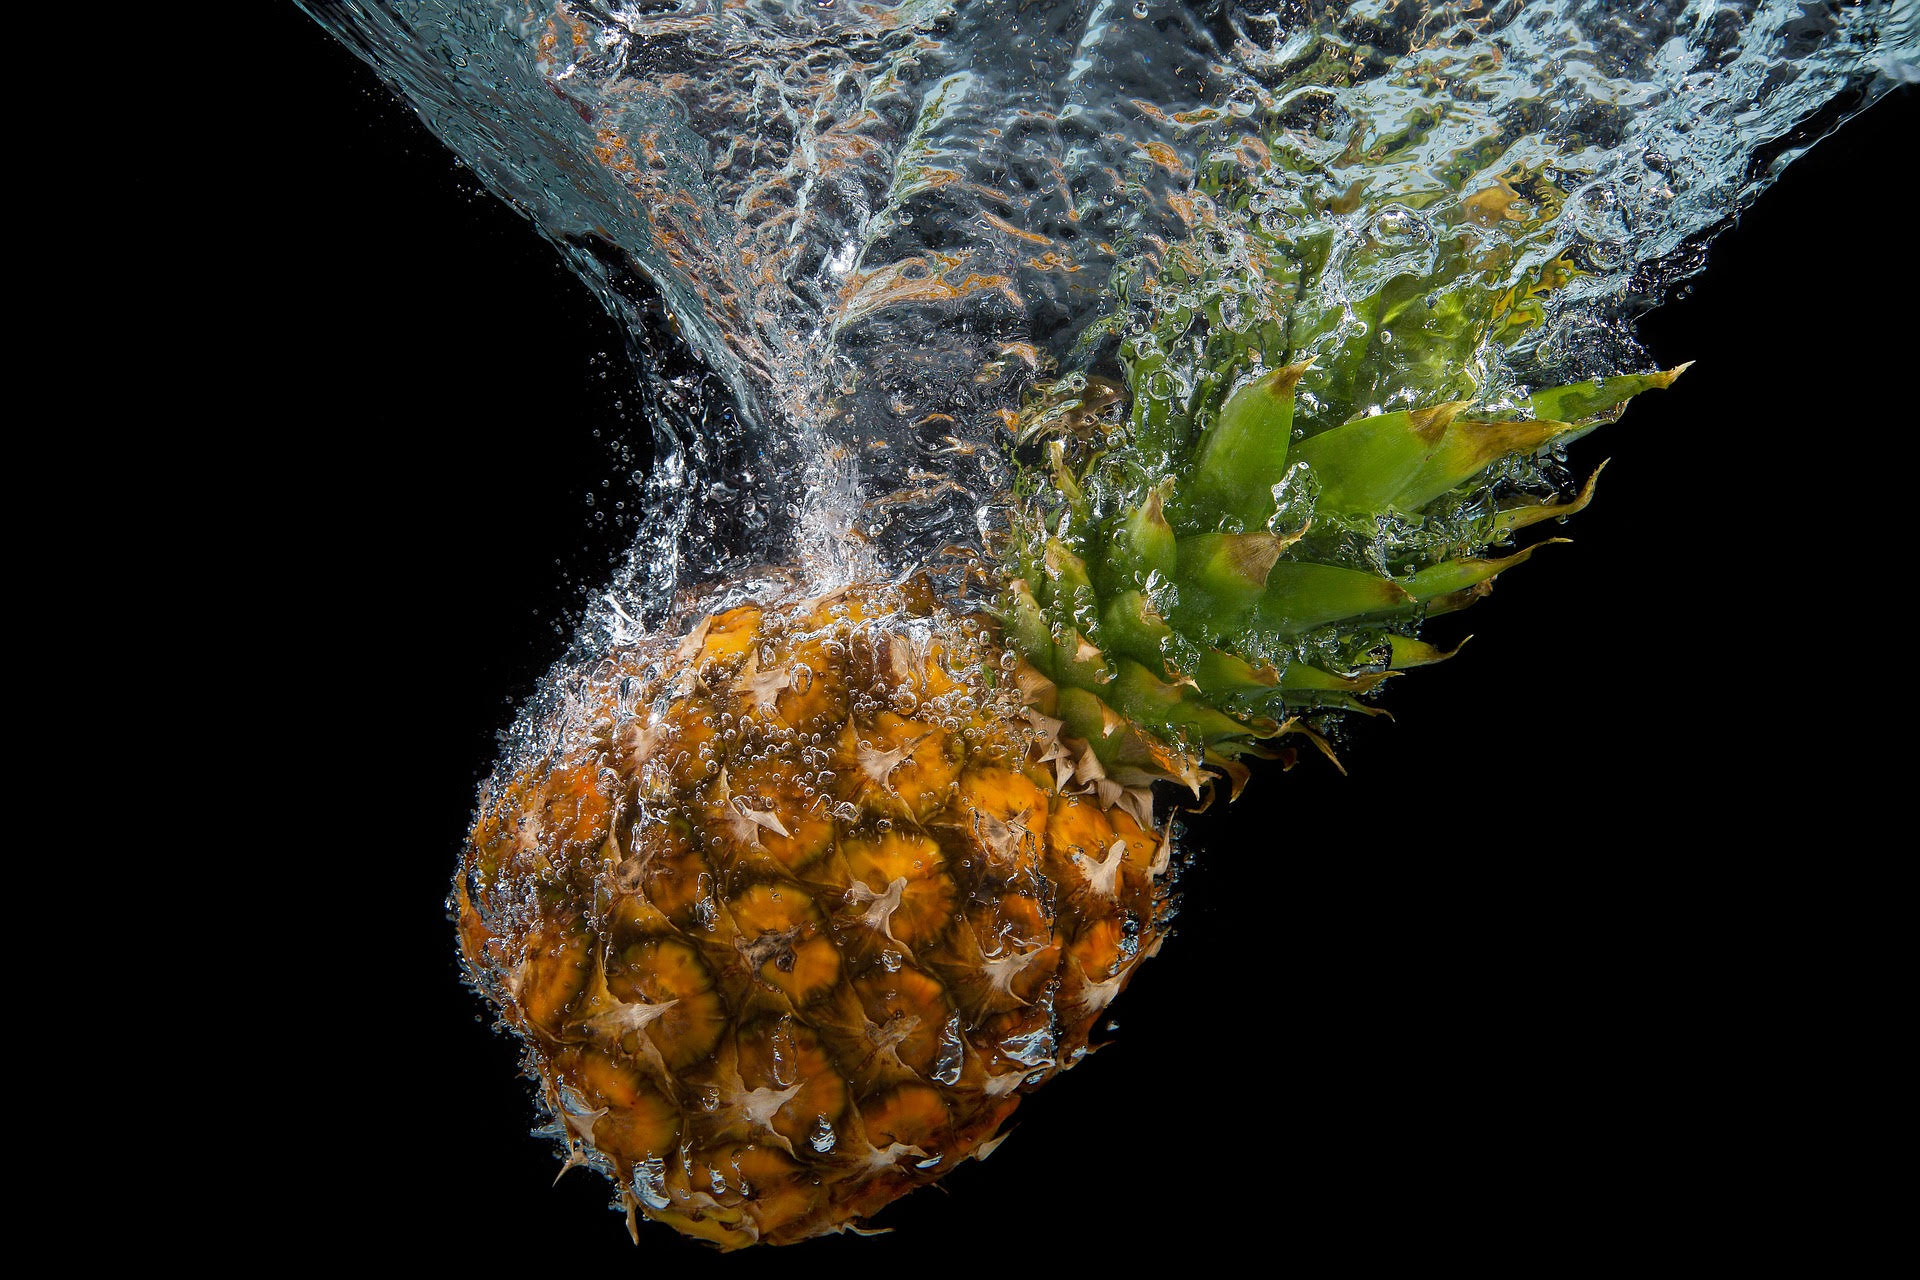
Fruity water splash

The only thing left is that you drop the fruit in the bowl. But wait, it is not that simple. This is where patience is the key to success, and it is the fun part for this kind of photography. You will need to master the art of pressing the shutter with your left hand, waiting for the timer to end, then dropping the fruit with your right hand and firing the flash with your left hand. The timing is essential, and you will miss a fruit or two just to figure out when to press the button or to drop the fruit. Be sure that you don’t drop the fruit from a location that is too high; it will create a big splash that the camera may not capture, along with that, it can create a mess in your home studio. With practice, you will determine the height for the drop, and you will get the perfect photo. After your first success, things get easy. I find that you get the best splash in the photos if you trigger the flash as the fruit hits bottom, though this will take a lot of trial and error and you will probably end up with a lot of photos of your fruit hovering over the surface of the water. The key is to take a lot of photos. But after you upload them into your computer you will have to choose only 5 to 10 images, because it’s “impossible” to edit all of them.

Post processing the photos is the next step. This is optional but is recommended.

So that is it, go on and try this beautiful and fun technique.

Farm Fresh Photos – Tips for Photographing Fruit and Veg

Whether you’re a greengrocer who wants to show off their wares or just wants to have fun with food photography fruit and vegetables offer many opportunities to create interesting and fun images. Unlike meat fruits and veggies don’t need cooking to look delicious and are generally more colourful and varied in their shape and form.

Before getting creative in the kitchen it’s worth taking a moment to consider how to get the best out of a bunch of carrots or a bowl of apples and making sure everything is set so you get your shots before your produce stops looking its best.

Pick your subjects carefully

The aim of any food photography should be to make the viewer’s stomach rumble and their taste buds salivate, which isn’t going to happen by shooting things that are less than fresh. When picking out produce keep an eye out for the best-looking pieces, avoiding anything that looks wilted or bruised. While the less perfect edibles can still be as tasty this real-life flavour won’t translate into a photo.

In addition to seeking out colourful and interesting-shaped goods think about what’s going on inside as well. There are many fruits that look interesting when sliced open, the obvious choice being an orange though citrus fruits, in general, are attractive when sliced with bright colours and a translucent flesh.

Organic lighting

Depending on the location of your kitchen it might be difficult to take advantage of organic lighting, but if shooting a movable feast try and find a spot where there’s some good natural lighting as this will help the food to look more appealing. Windows, in particular, are great spots to shoot fruit and beautify root vegetables.

Using a fast prime lens with organic lighting will produce bright and clean shots, and it’s worth using a higher f value so the depth of field isn’t too narrow and all the subject is in focus. However, a wider aperture is good for shots after the food has been prepared when you want the draw the viewer into the image.

For really detailed shots that reveal the inner beauty of the fruit or veg use a macro lens to capture all those delicious details.

Work fast, avoid wilting

Like any foodstuff fruit and veg has a finite shelf life, some longer the others. And while some things will stay good for a long time most things will stop looking fresh quite quickly, and may not even look fresh in the shop. If you really want to catch fruit at its freshest it might be worth finding out when your local greengrocer gets their deliveries, or even being there at the moment of harvesting (or if you’re feeling green-fingered try growing your own).

However, some root vegetables will keep their shape for weeks though any leaves, like carrot tops, will be a giveaway sign of something that is less than fresh. Trim off anything that gives the game away if your veggies have been hanging around for a while.

To add some fake freshness to your shots try spraying them with some water, to create droplets on the surface. This will make the subject look dewy fresh and add some interesting reflections to the image if lit correctly.

Perfect your presentation

From cleaning counter tops to adding garnish these little details are worth considering while shooting. It’s easy to remove an unwanted spec of dirt in Photoshop but it’s a lot less easy to convincingly add a sprig of parsley to a bowl of soup.

While earthier coloured surfaces make good backdrops for vegetables to get the freshest shots of fruit white surfaces work best, or bright colours. Shadowy areas will make images look dark and mysterious, rather than fresh and fun, though this could work well for seasonal produce such as a pumpkin.

Go bananas, go nuts

While crisp shots against a bright background may look funky and fun there’s a lot of opportunity for more creative shots with fruit and veg. Pumpkins aren’t the only fruit that can be carved and there are many types of fruit and vegetables that can become a canvas for a sharp knife or a block of marble for budding Michelangelos. If you’re looking for a material to experiment with fresh produce is cheap and plentiful, and can be eaten if things don’t work out as you were hoping.

Think about the varieties of colour and texture that are on offer and have some fun with your fruit, whether you want to create interesting textures or turn a potato into an asteroid.

Processing your produce

Sometimes a good composition and the best local organic produce isn’t enough to produce those magic shots that will make even die-hard meat eaters drool. If there’s still an ingredient missing after the shoot Lightroom can be indispensable for enhancing colours, removing blemishes and making meals worthy of the finest food magazines and menus.

The spot removal tool in Lightroom is ideal for removing small imperfections, while Photoshop’s heal and clone stamp tools are good for dealing with larger problems though will require more time and patience to get natural looking results.

If stuck shooting under fluorescent lighting uses Lightroom’s colour temperature slider to simulate a more natural kind of lighting. Another great way of finessing your food photography is to use the A la Carta workflow for Lightroom, where the various colour burst presets can really make your fruits pop.

When it comes to food photography, especially fruit and vegetables, it’s definitely OK to play with your food. Experiment, have fun and make sure you get your five a day – whether for nutritional purposes or to expand your Lightroom library.