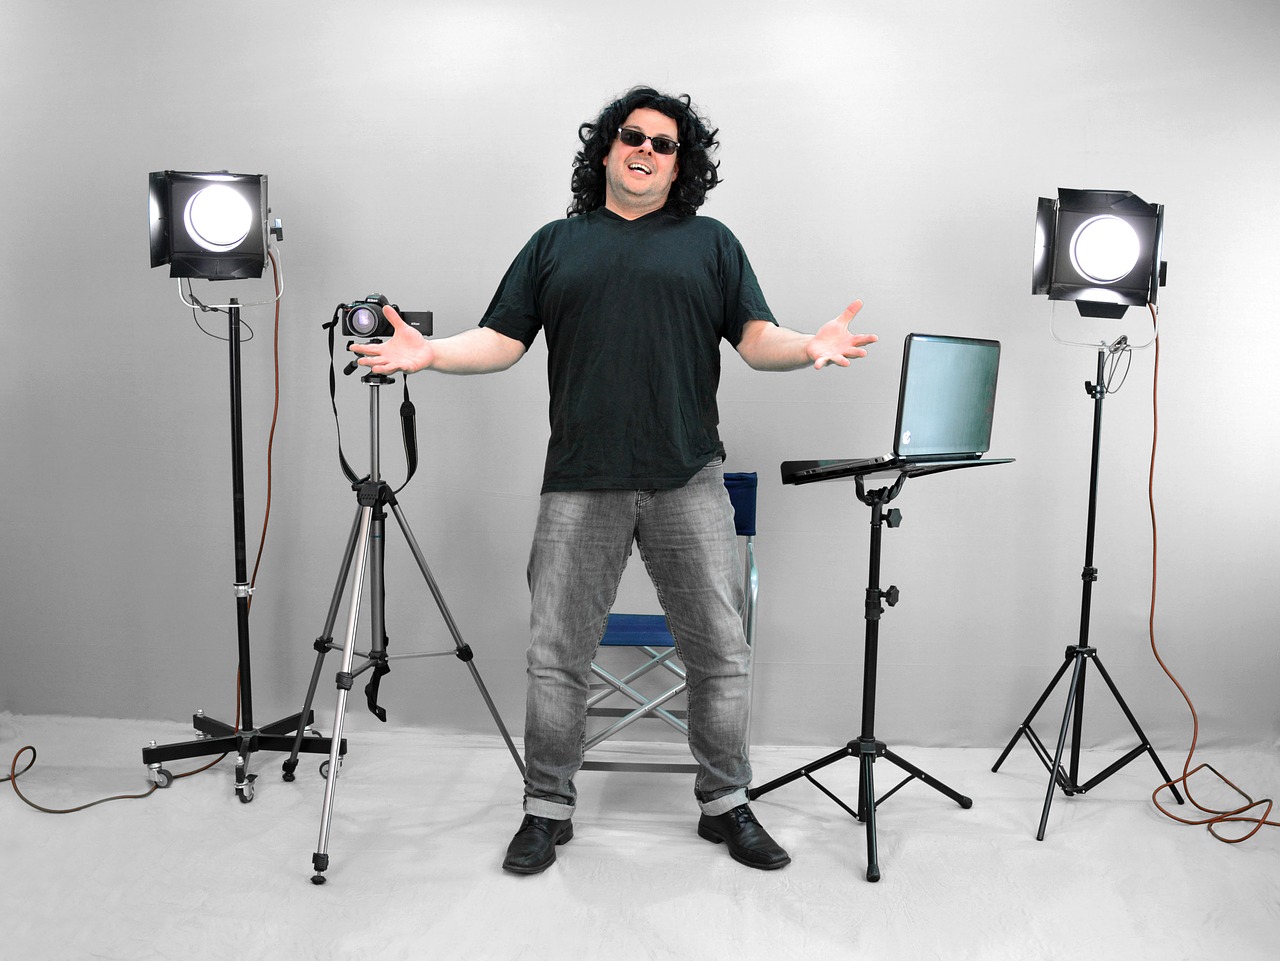
When taking someone’s photograph, whether professionally or just for fun, lighting is the number one problem you’ll run into. It can be difficult to get natural lighting to work with your vision, but buying all the equipment necessary for a studio can be extremely costly. There are pros and cons to each, but usually, the decision comes down to the photograph you want to create. So before you spend hundreds of dollars on lights or start religiously tracking storms and cloud movements, ask yourself these questions:
What’s the Style You’re Going For?
When doing a photo shoot, it’s important to keep in mind what you’re trying to portray in your final images. Do you want the photos to be fun and light? Or are you going for more of a serious photo someone might use as a headshot or business photo? Different styles of photographs will require different settings to make them work.
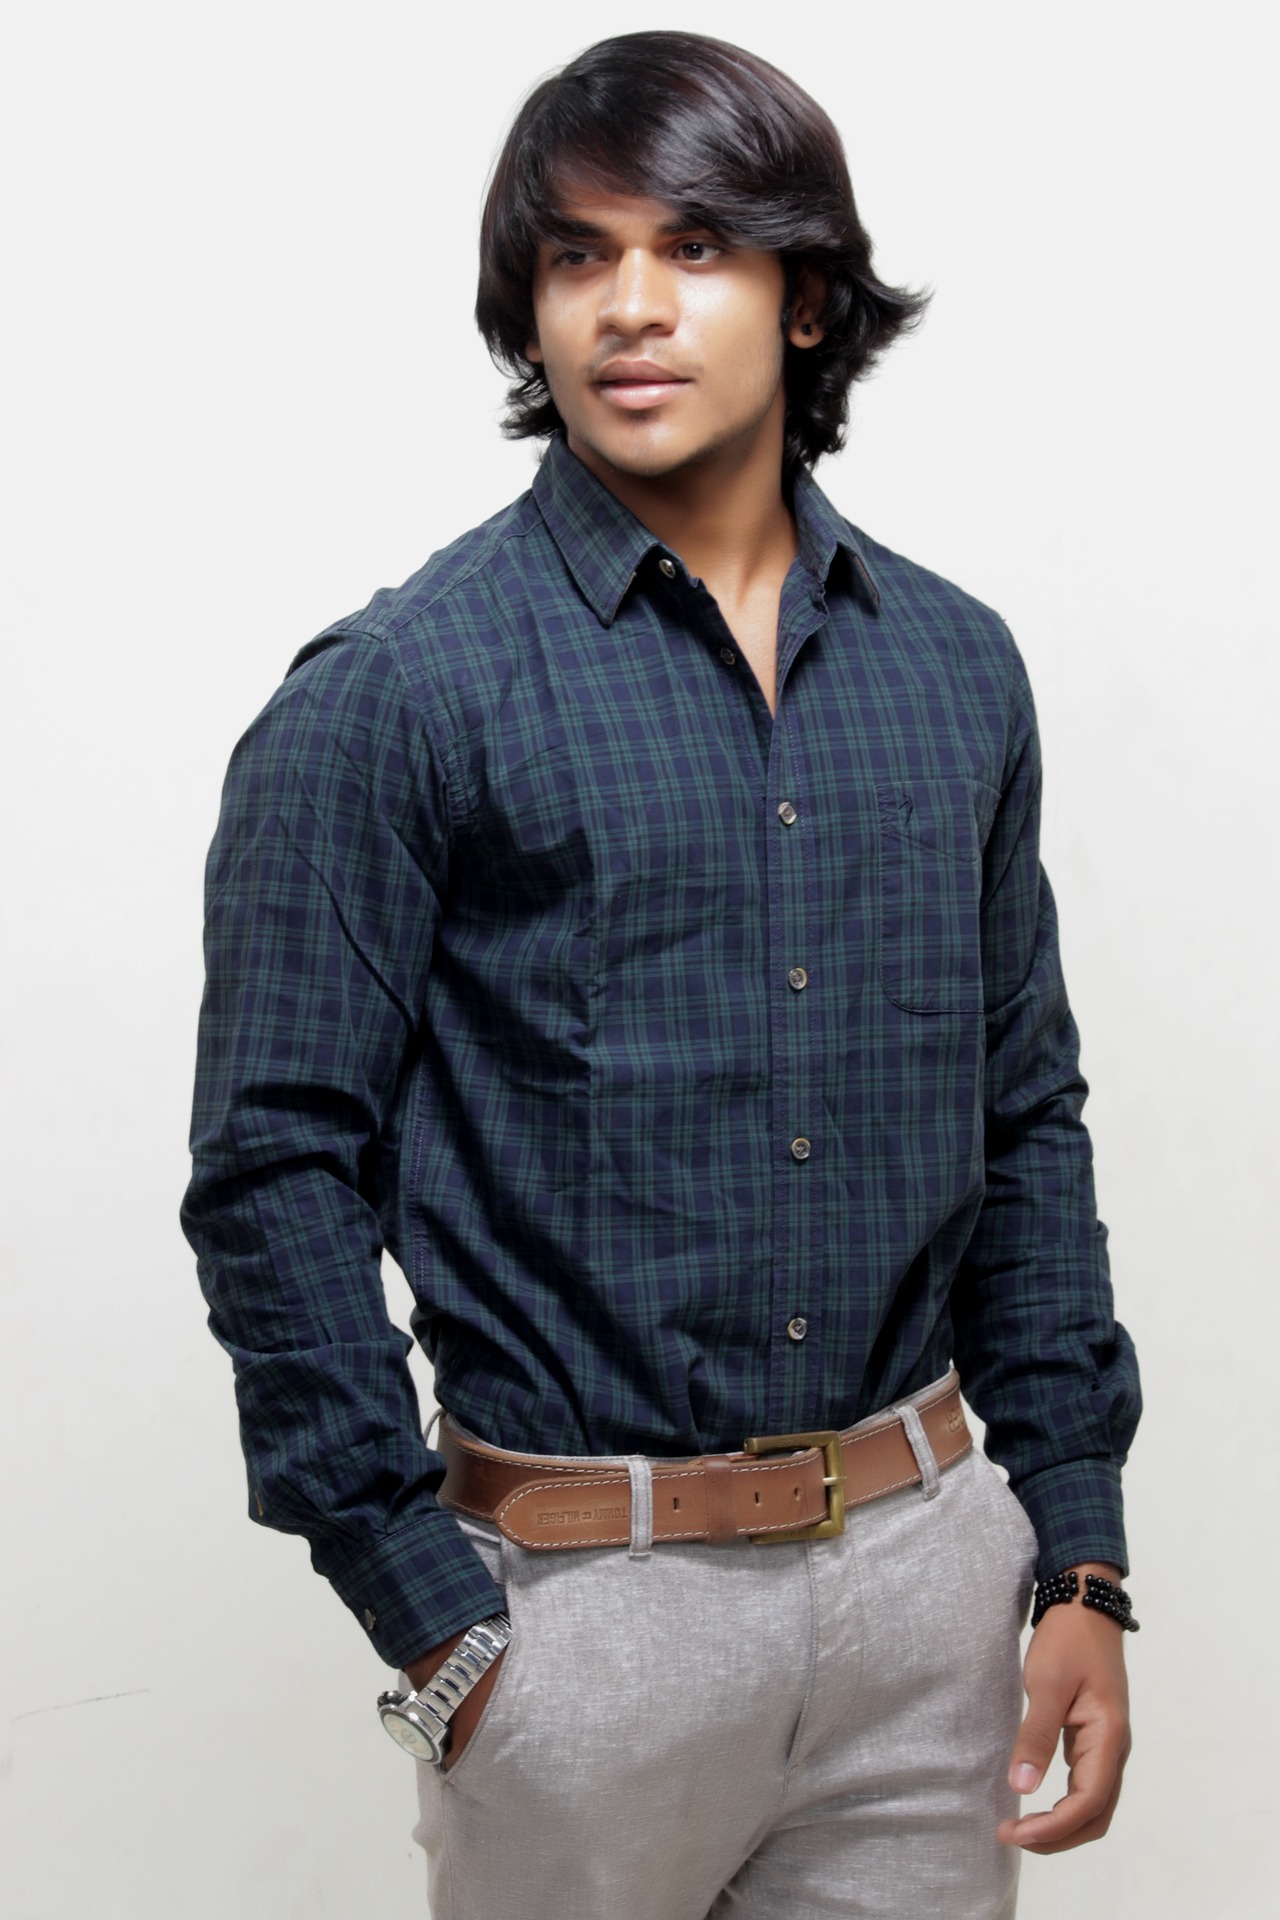
If you’re going for something serious that will be used in a professional setting, then it makes more sense to move into your studio. This way you’ll be able to control the lighting to make sure that it looks perfect; plus, photos with a solid color background are generally considered to be more professional than ones taken in front of a bunch of foliage.
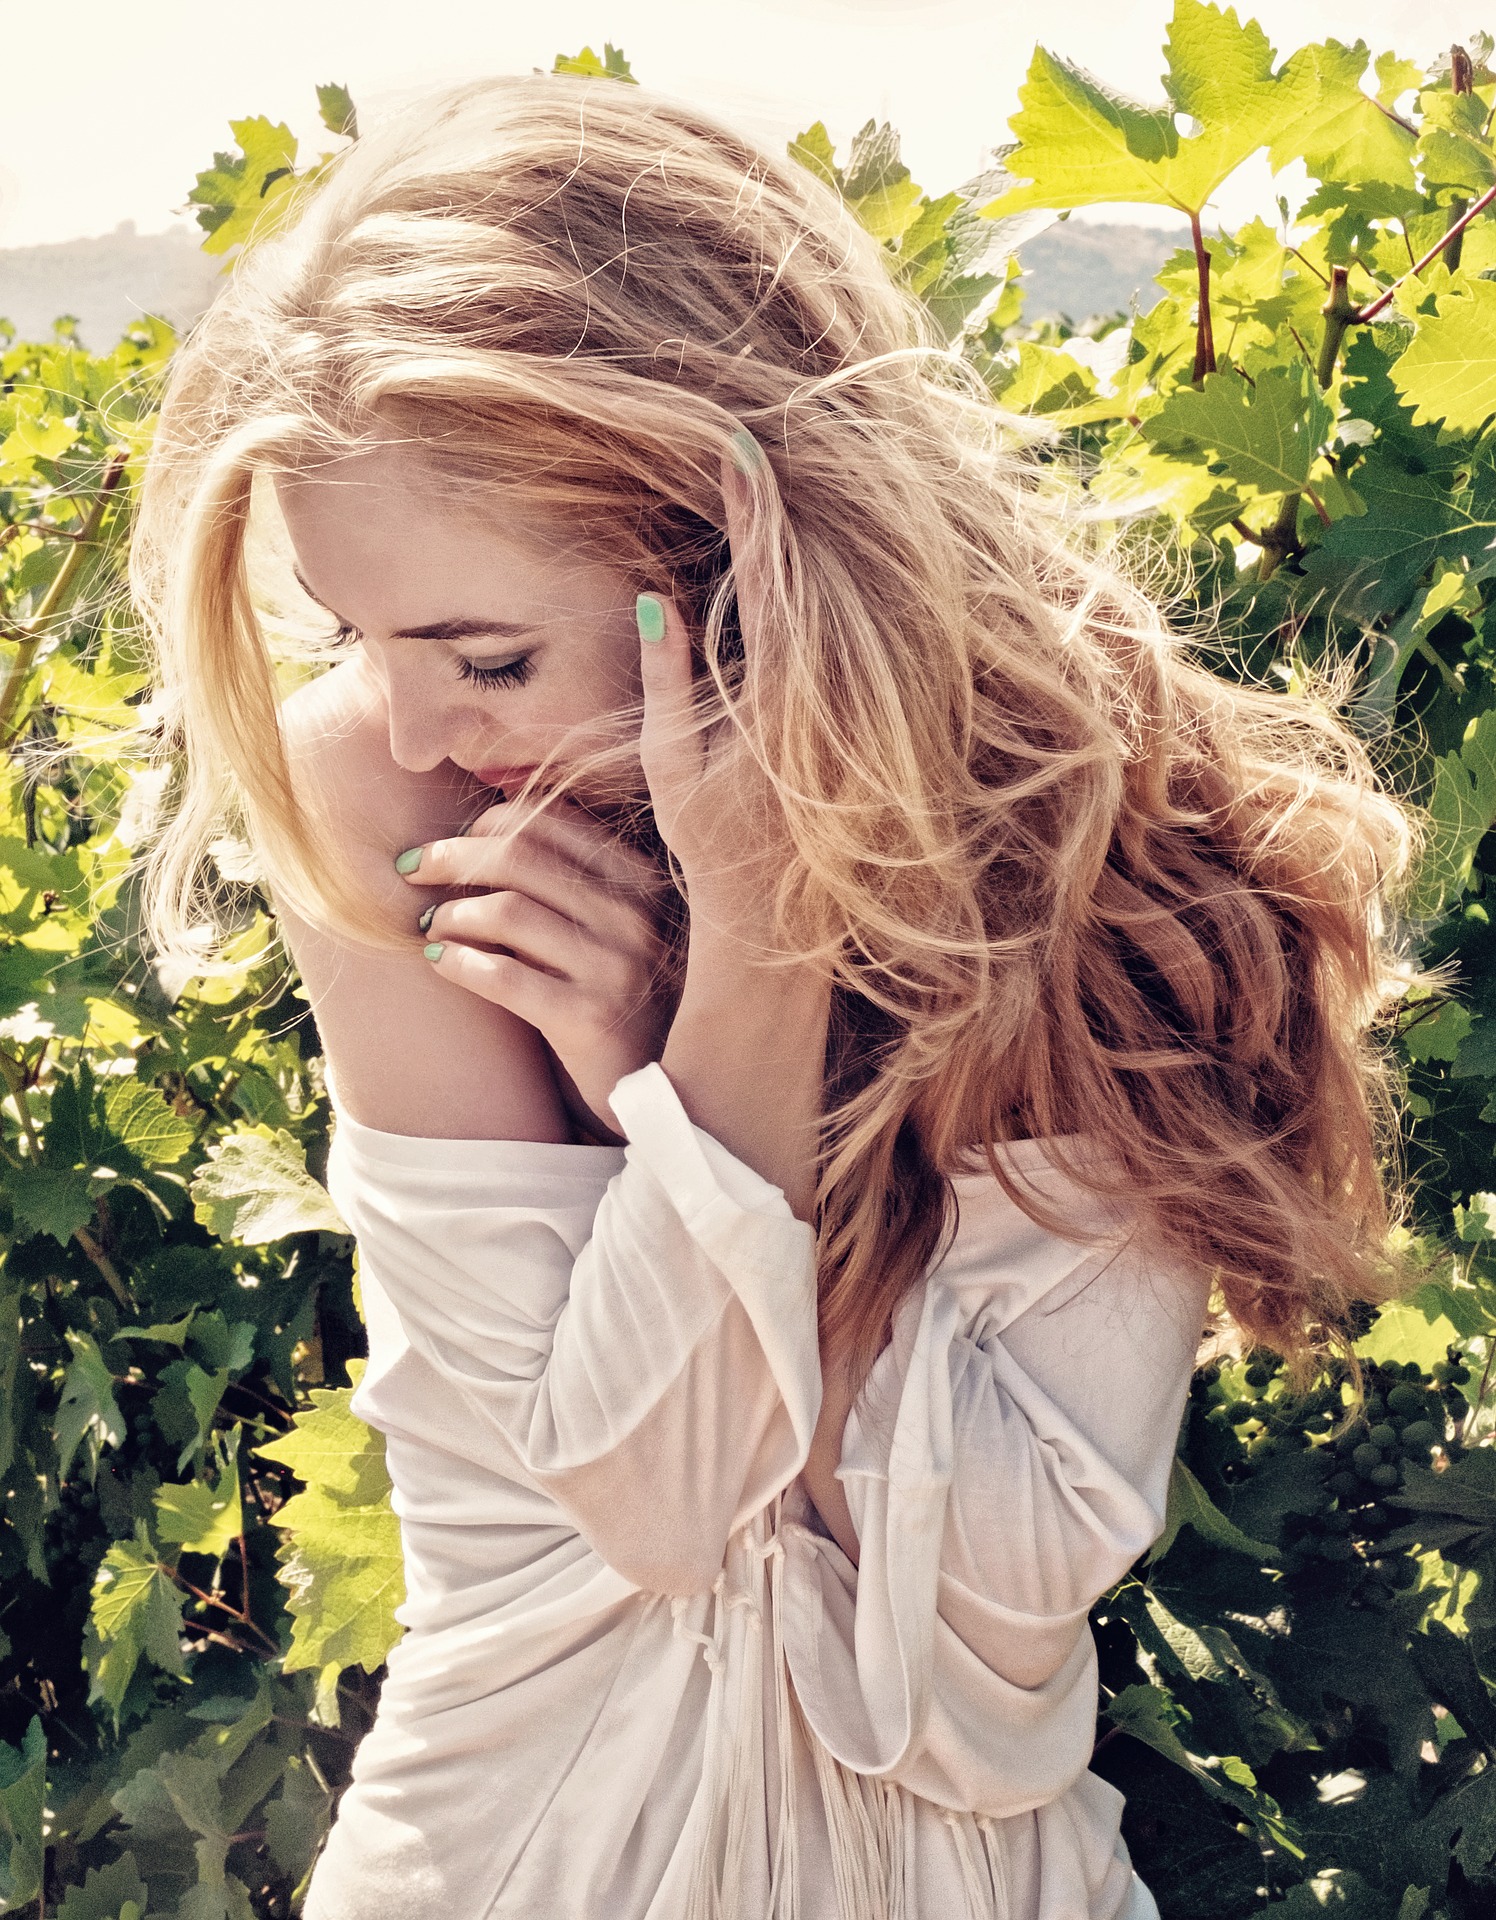
But, if you’re going for something more fun, then head outdoors. Let’s say your friend wants a cute picture to put on social media, natural light will give a nice effect. The sun tends to give photos an airy quality. The bright and fun backgrounds found in real life are hard and expensive to reproduce in a studio setting.
How Much Time Do You Have?
This question has two sides to it. One, what is your timeline? Does your client need the images today, or is it something that can wait a week or two? Two, how long do you have during the photo shoot? Is your client only booked for an hour, or do you have all day? Timing can play a big part in deciding where you want to take your photos.
If you’re crunched for time in either of the scenarios, it’s best to use studio light. It may not bring out the full style you wanted in your picture, but with enough setup time beforehand, you can come pretty close to re-creating the outdoors. Because Mother Nature doesn’t always play nice, being on a time crunch will make getting the perfect outdoor shot difficult.
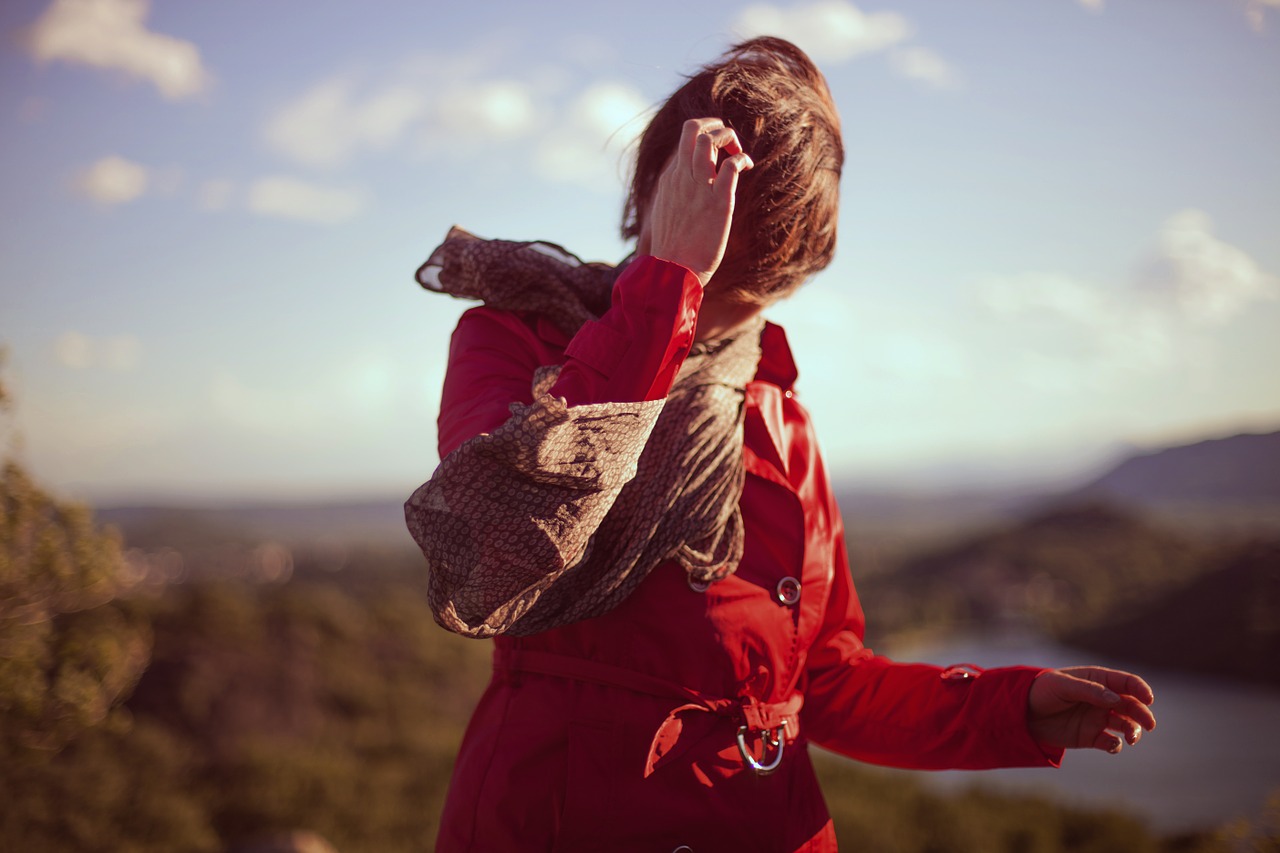
However, if you’ve got a lot of time on your hands, you can easily try for that great outdoor shot. It might take a couple of days to find the perfect location. And you may have to wait for weather and great natural light, especially where the sun is in the right position for the background you want to use, but if you’re patient enough, you can find that sweet spot. Check the weather and be prepared to stand around and wait for your model until the moment is just right.
How Much Control Do You Need?
When you’re outside, you’re at Mother Nature’s mercy. When you’re in your own studio, you have full control. Part of this issue comes down to the type of person you are; the other comes down to the photo you want and the amount of time you have to get it. If you’re the kind of person who likes to be in control – who wants to get in, get that shot, and get out – then it’s best to use a studio setting.
However, if you’re comfortable waiting around and letting the sun and clouds do all the work, then as long as the photo style calls for it, head outdoors.
Other Factors for Shooting in Studio or Natural Light
Of course, there are other factors that are less a stylistic choice and more a force you can’t control. Money, for one, is a big contender. Creating good studio lighting means buying a lot of different parts, not just one big spotlight. Don’t get me wrong, you can create some pretty dramatic scenes with just one light, it just needs to be the right one.
Simply going outside with a model and a camera doesn’t cost anything extra than what you spent on your camera. Other things to keep in mind are the weather, the environment, and the space of your studio.
Being cramped in a tiny little room with lots of hot lights pointed at someone can make any shoot uncomfortable. At the same time, the weather isn’t always certain so good natural light isn’t always guaranteed, and sometimes you may have to drive long ways out to get to a nice location that will suit your client’s needs (and that can eat up a lot of time and money).
The never ending energy of a toddler can be great for play time, but when you’re trying to get a perfect image of them to send to family and friends or hang up on your wall, that energy can quickly turn the photo shoot into a disaster.
Toddlers won’t act like adults during a photo shoot and can’t be expected to. Yet it is still possible to get a great image of your child that you can cherish forever, without too much stress or hassle. By following these tips, you’ll have a great day out with your kid and several photos to show for it.
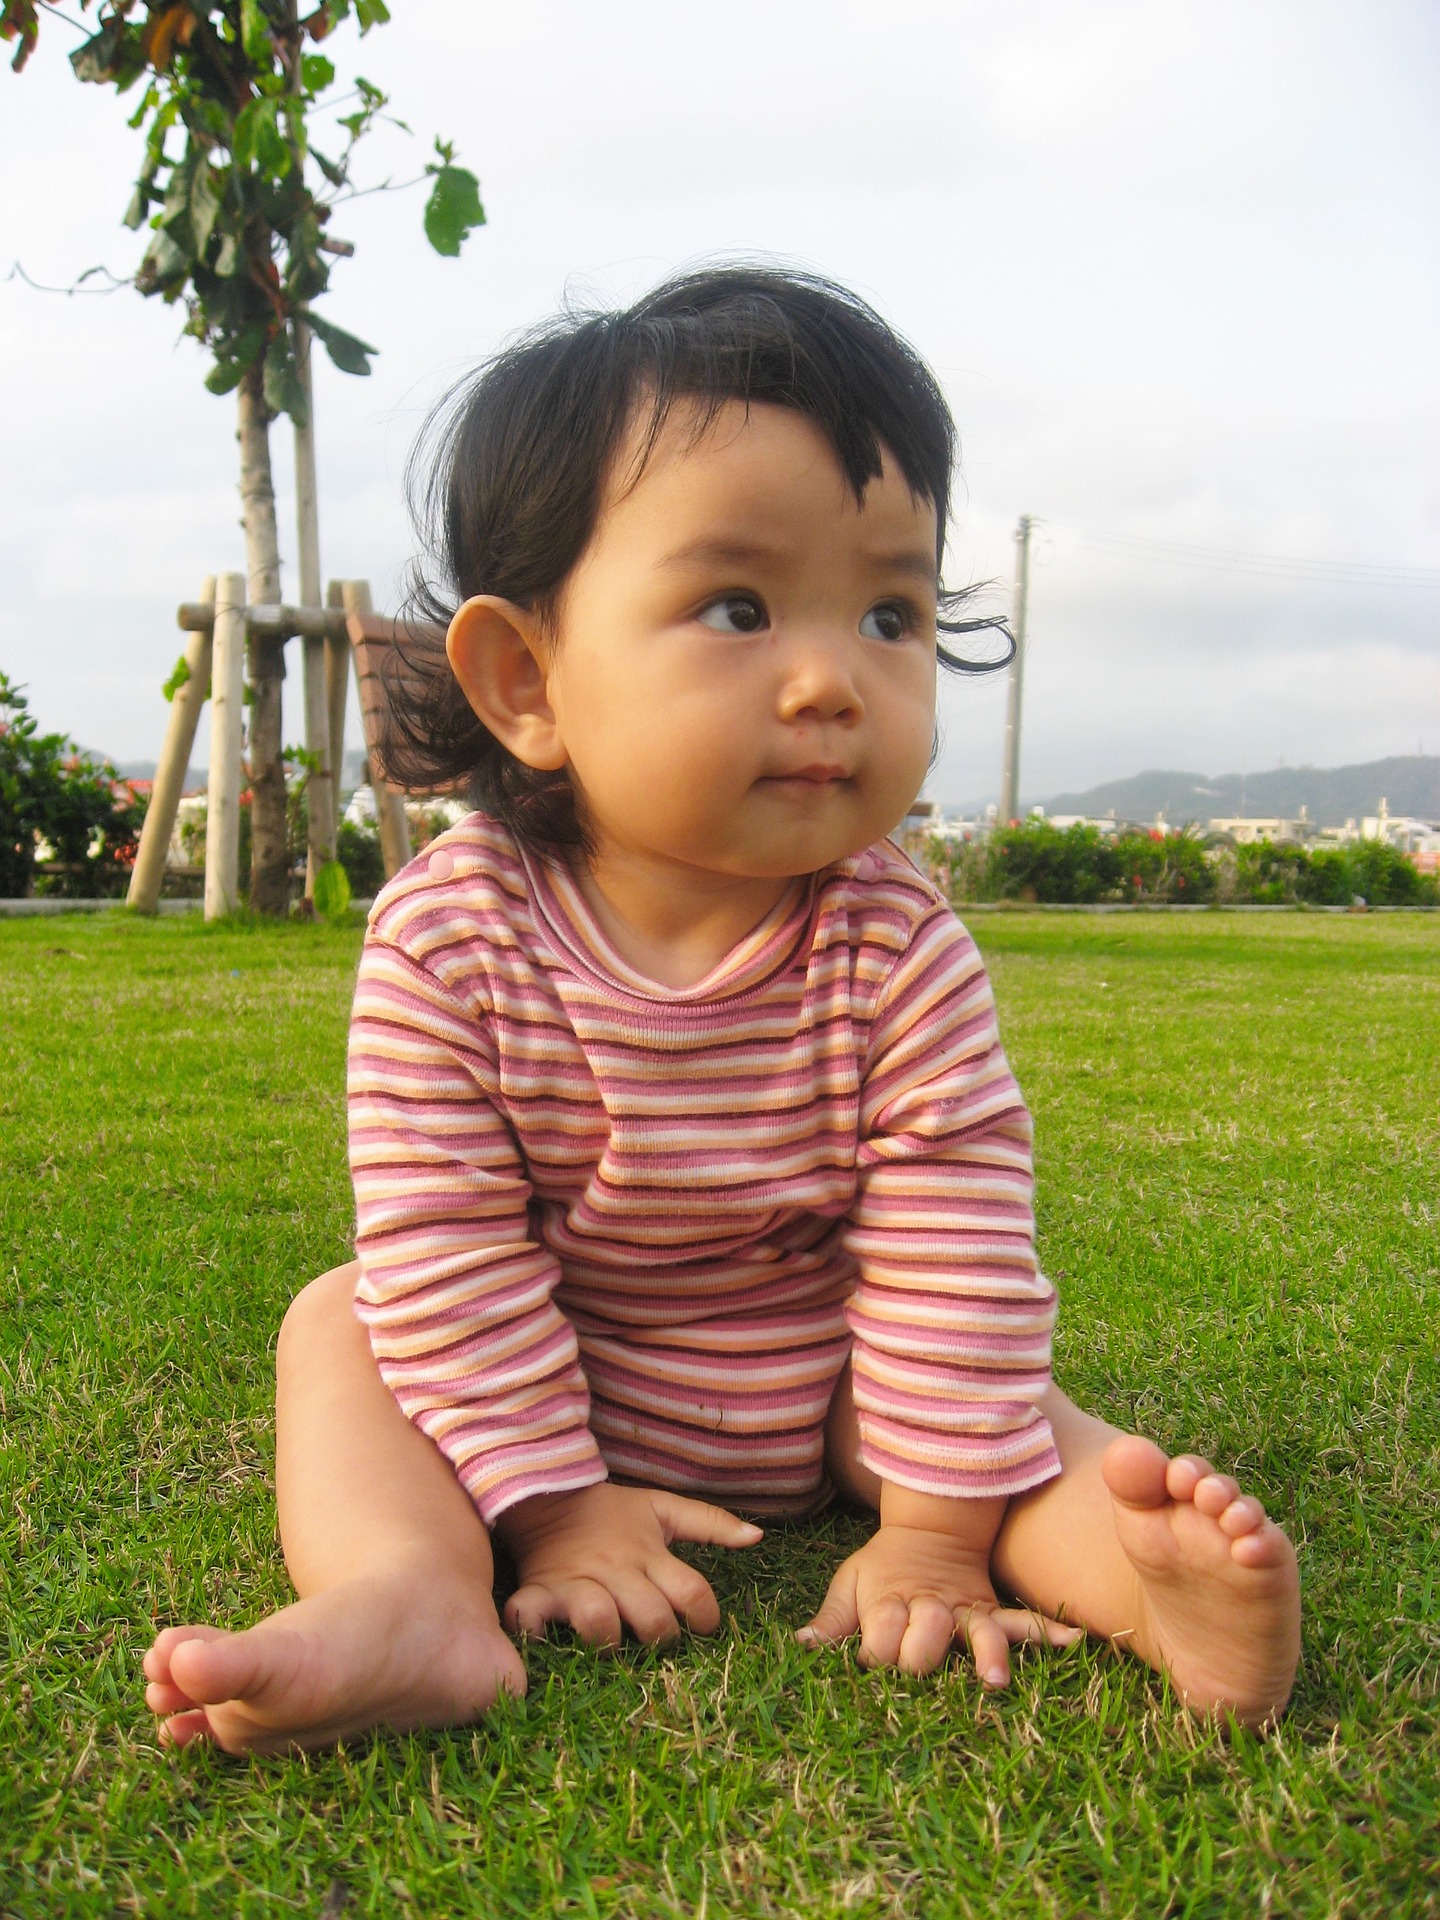
Be Outside
Although you can get amazing images of children indoors, outside is one of the best places to photograph toddlers. The natural light will eliminate the need for a flash which can scare toddlers or even hurt their eyes. The outdoors also has lots of natural props for the kids to use and lots of space for them to play, allowing you capture natural reactions and smiles.
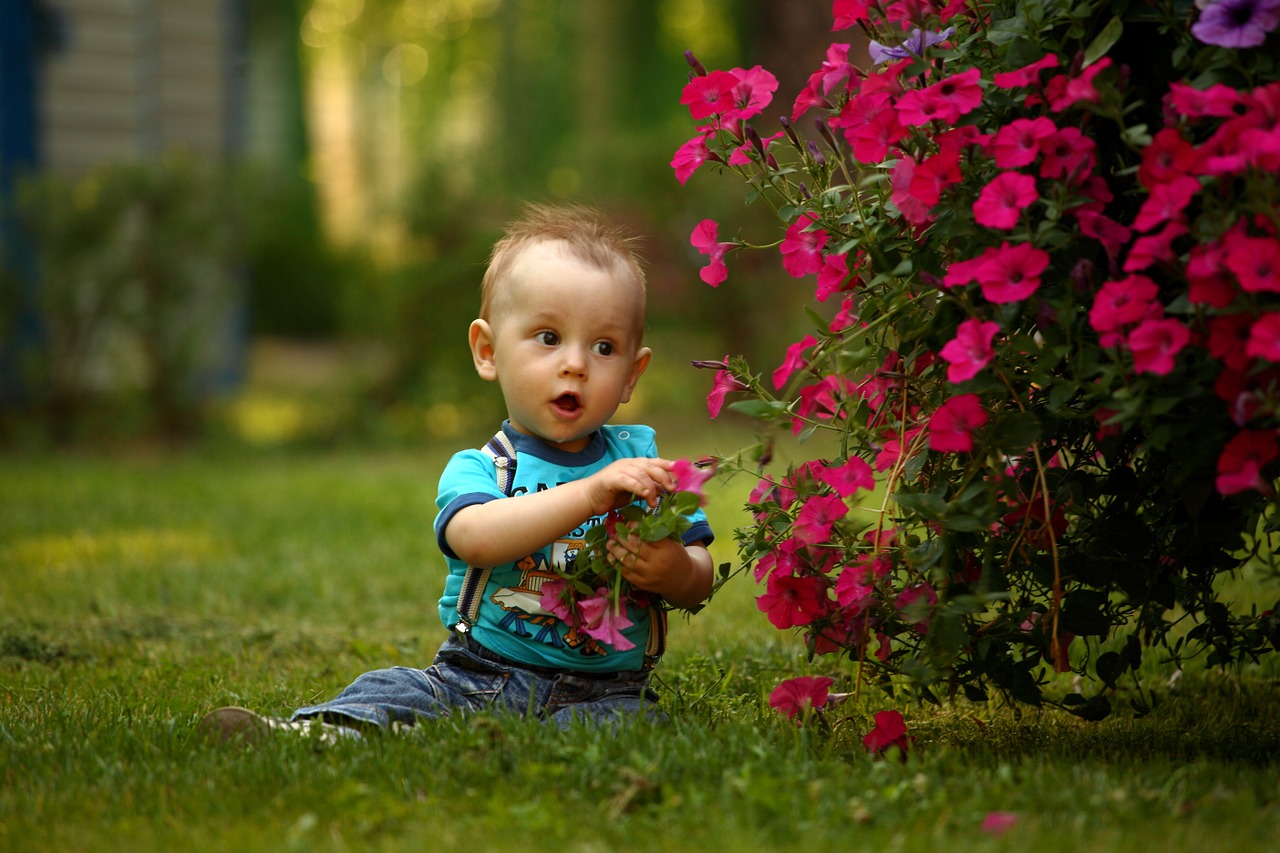
Be Loose
Because toddlers can have a short attention span, it’s important to keep the photo shoot loose. Give your kid a few toys or take them to a place with some animals and just let them do what they want to do. The best images of toddlers are the ones that aren’t forced and are just the kids being kids. Don’t get too stressed about having them sit still and smile for you. Let them explore their surroundings and take a picture when they find their own reason to smile.
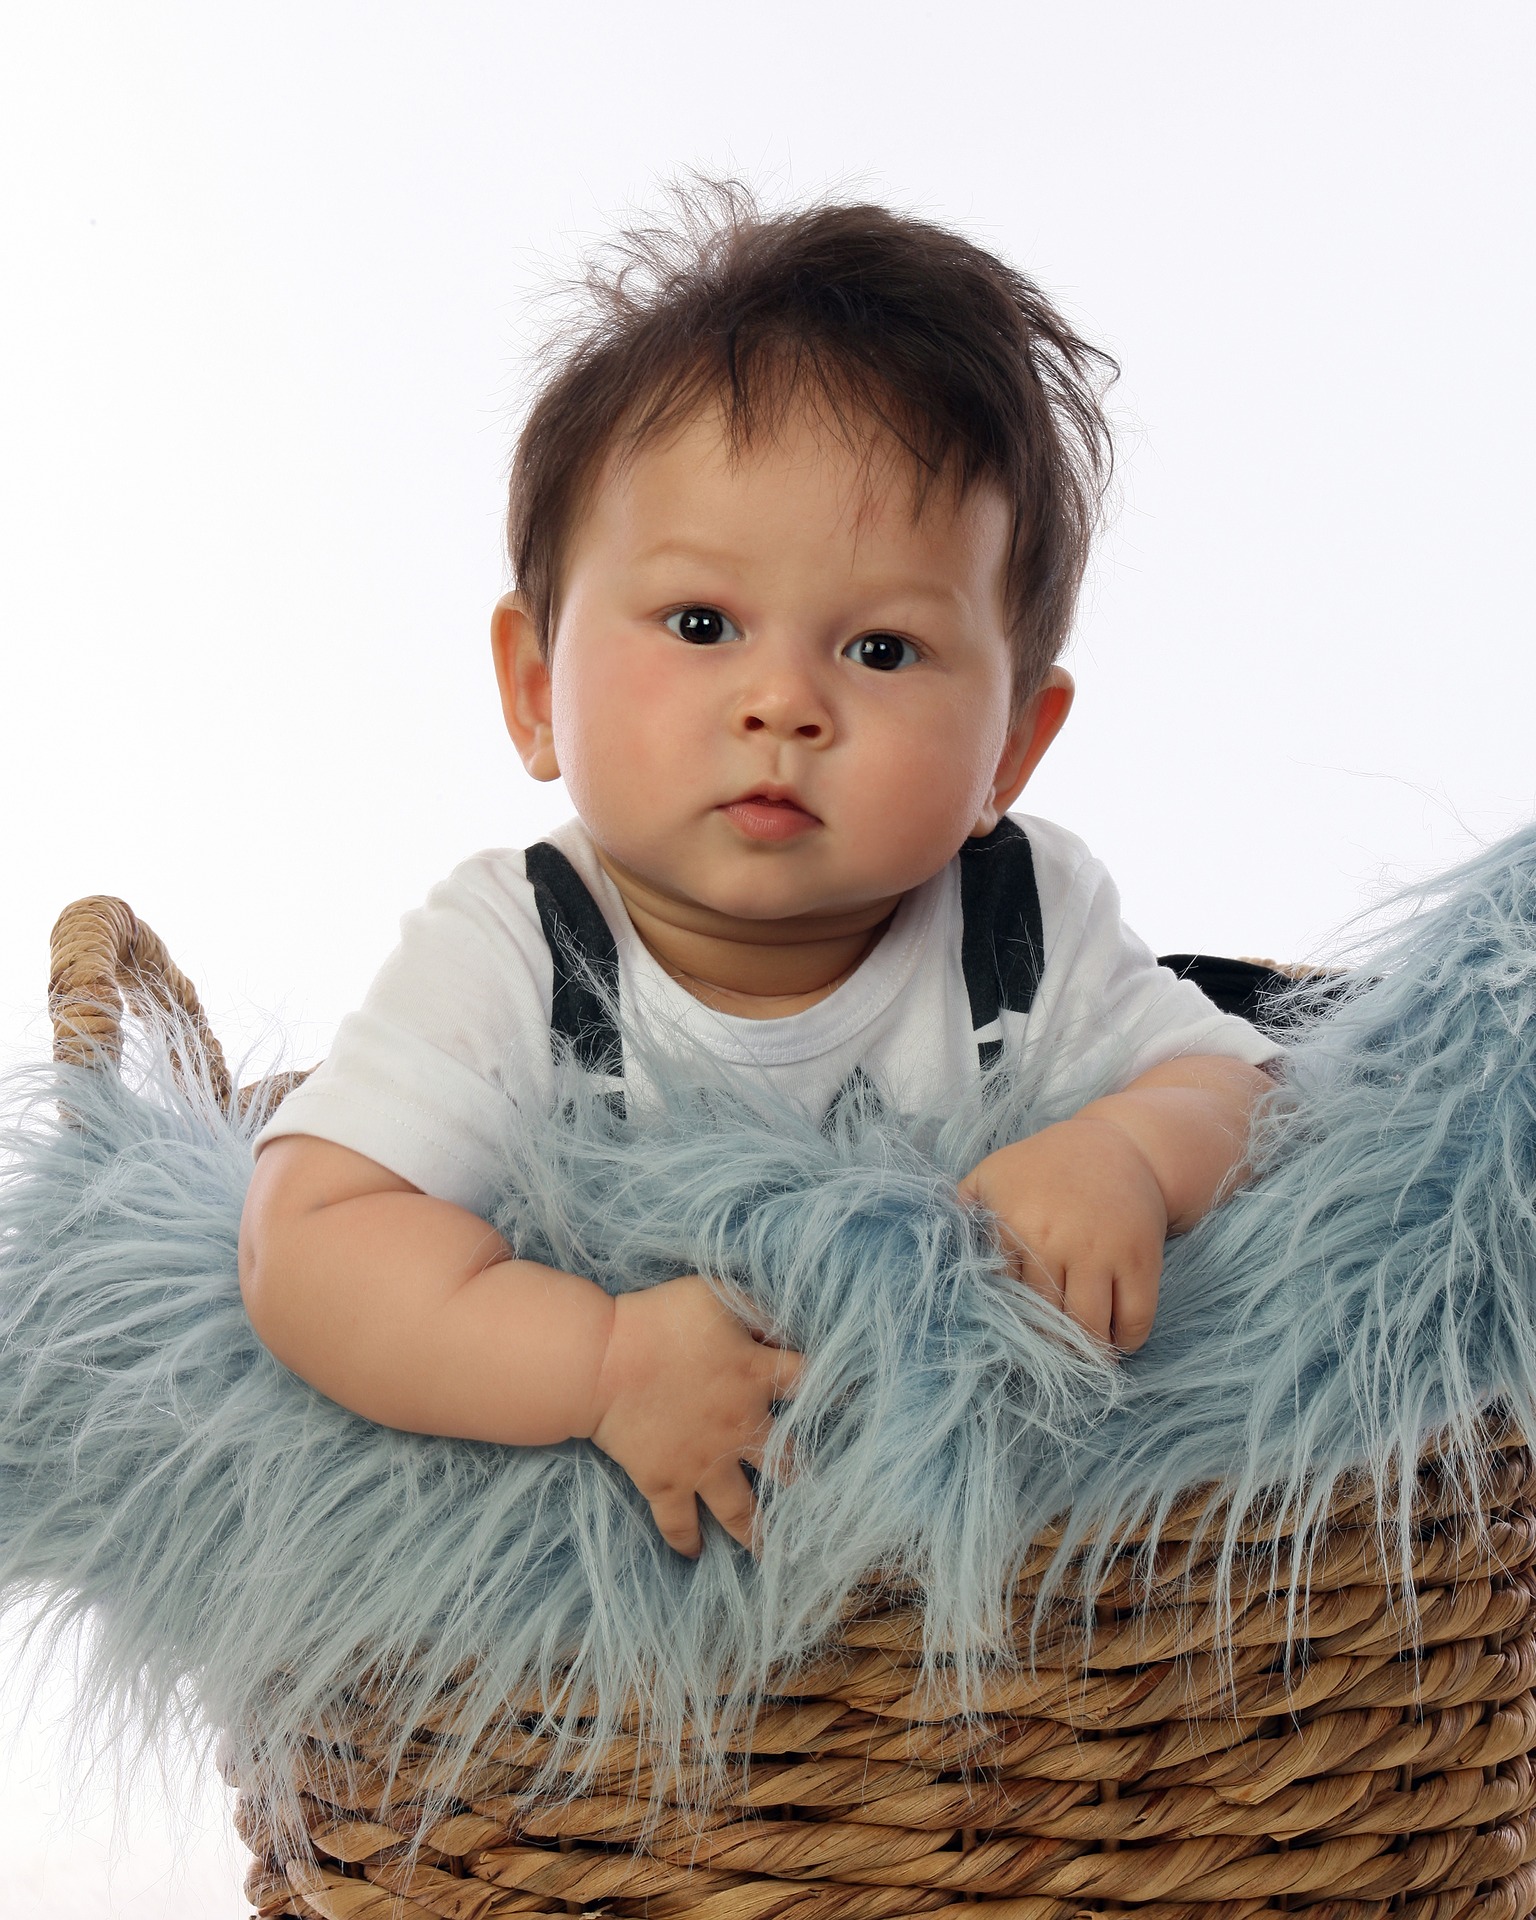
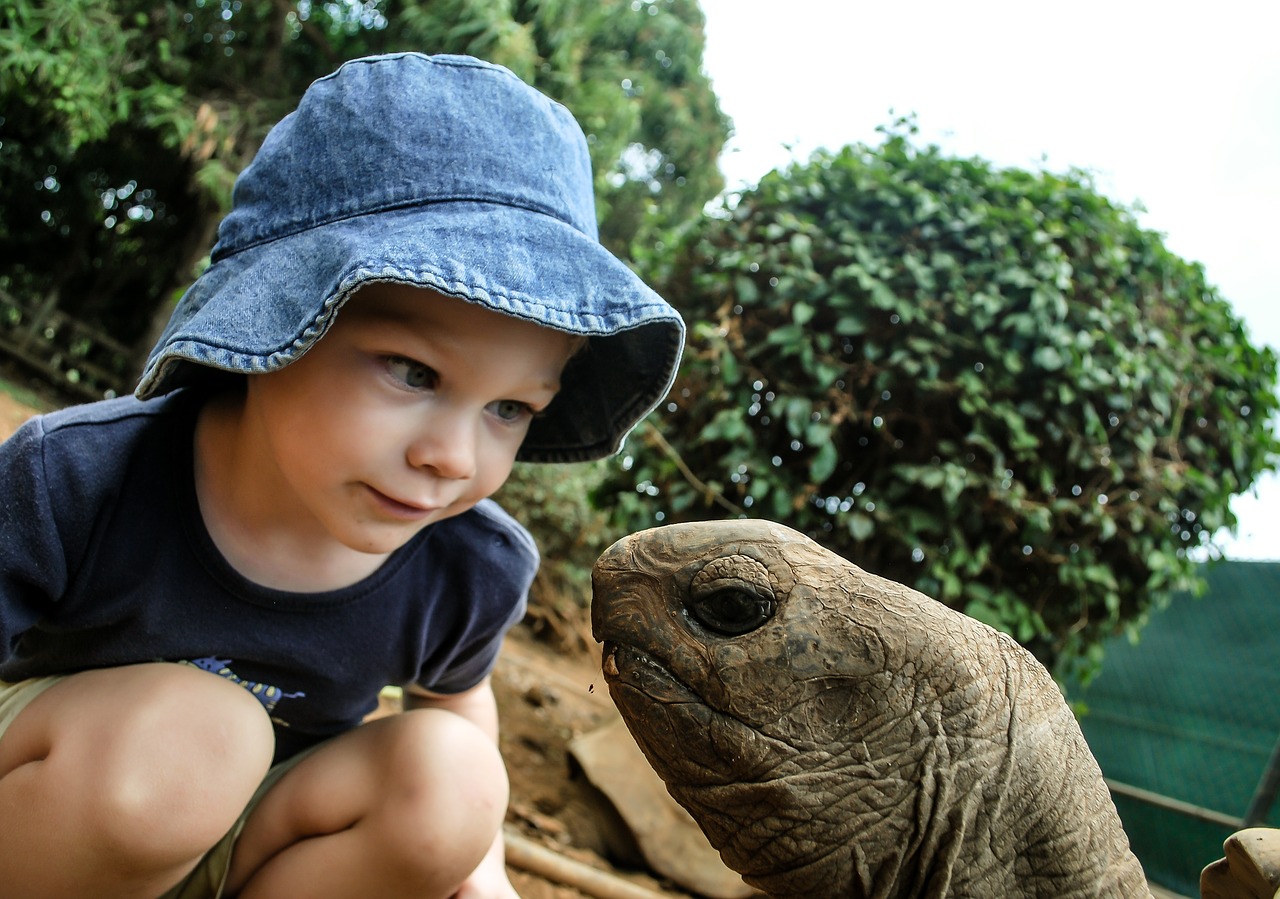
Use Props
Children love to play with and explore new objects. Allowing a child to examine a leaf or play with a broom can help you get natural photos of your child. Something like a wicker basket or small chair can also be useful in helping you get a more formal photo where you might need your child to stay in a contained space. Don’t be afraid to let the kids get a bit creative. Allow them to crawl into the laundry basket or, carefully, make it to the top of the couch.
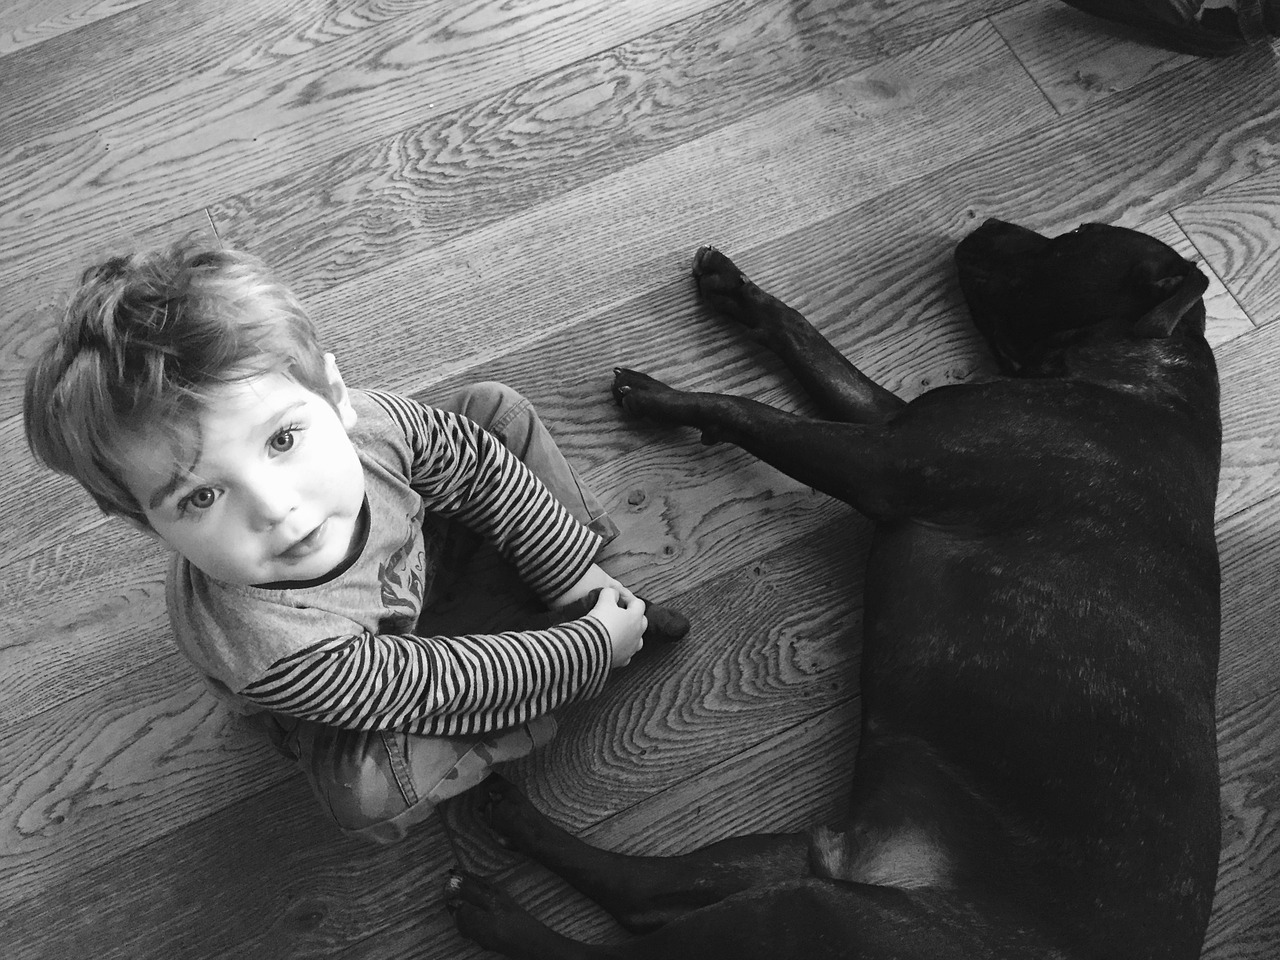
Get on Their Level
An image facing down on a child could possibly make them feel afraid or worried. When photographing children, always kneel, bend, or lay down on their level to take the image. Let the kid lead the way and follow them around. This will help them feel more at ease and can also help you bond.
Bring in Other Family Members
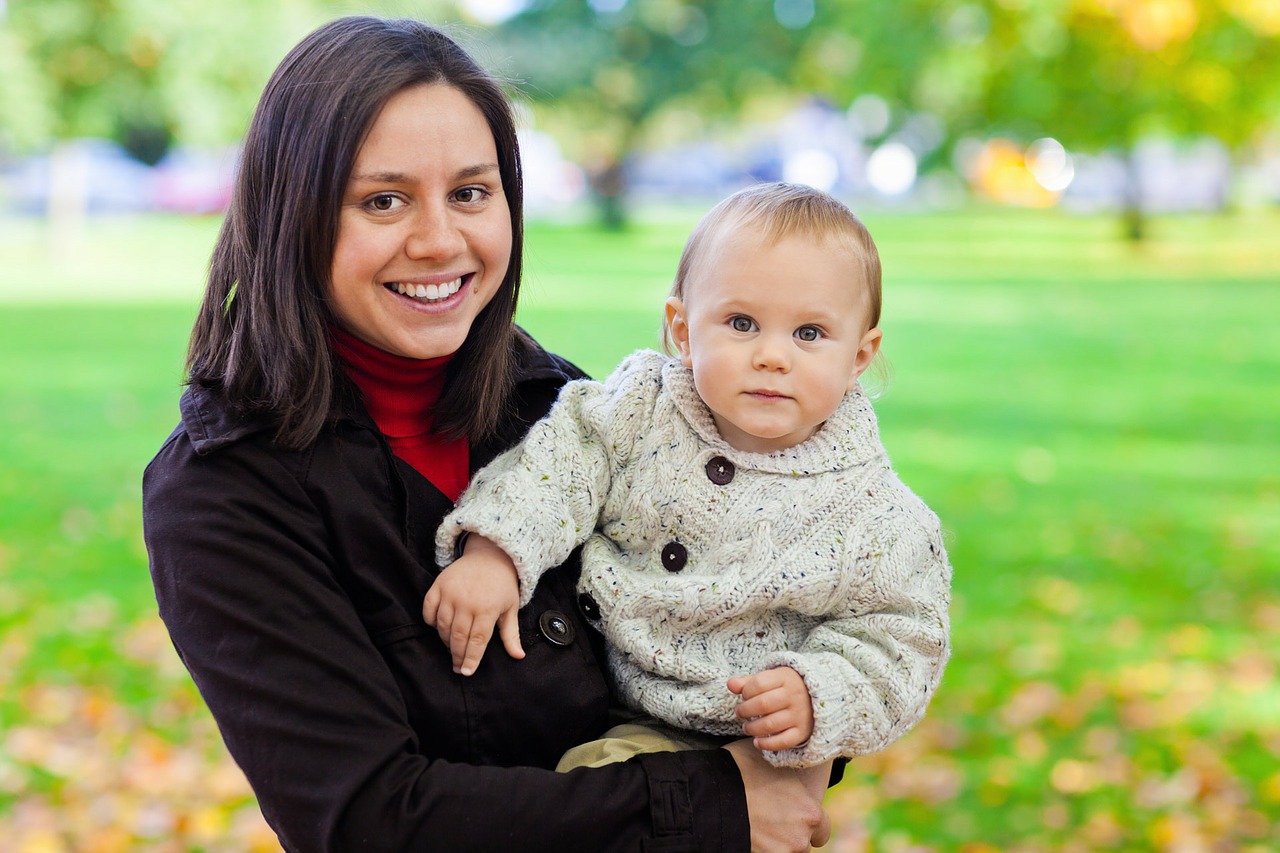
If you really need an image of your child in a formal pose or standing still, try bringing in another family member. This will also help a toddler feel more at ease if you’re taking them to an unfamiliar place like a studio. The other family member can help hold the child for formal images, and can also play with the child to help create natural smiles. The other family member can stay in the image for a fun family photo or can be framed or cropped out to keep the focus on the toddler.
Use Natural Poses
When photographing your child, don’t try and force them into a pose you think will look good. Instead, just let the child play, and take images as they go. If you’re using a digital camera you can take as many pictures as you want and then later decide on the photos that most reflect your child. Sometimes the best photo shoots are ones taken during play time. Just letting your toddler play with their toys, or run around outside while you take pictures can create some of the most stunning images. Or take them on a family outing to some place new and exciting.
Be Unique
Allow the toddler to hold their favorite blanket or play with their favorite toy. Not only will their reactions in your photos be real, but they will also help display the character of your child, showing off their uniqueness. Having an image of your toddler hugging their stuffed bear makes the image special to your child and your family. It not only captures the child, but also the way they interact with their world.
Each toddler is different, and each deserves the best photograph to help their friends and family remember the early years. Taking pictures of toddlers can be difficult both in technique and in creativity. And, it’s a bit of a different process than taking pictures of babies, who are more likely to be still or sleeping during the shoot. As long as you keep the child entertained and happy, you’ll be able to get a great image that will be a family treasure for years to come.
I don’t know about you, but I always feel anxiety before a photo session. It is a strange feeling because on one hand I love photography and I am happy about booking photo sessions. On the other hand I suffer because all kind of fears come to me: Am I going to do it well? Is the client/model going to be happy with my photos? Maybe I am not good enough! OMG!! Sometimes I feel like I am boycotting myself. Luckily my passion for photography is stronger than my fears and for that reason I looked for strategies that help me to handle my pre-photo session anxiety.
Learning how to handle your photographer’s anxiety is crucial for developing yourself as an artist and professional.
Invest time on preparing the photo session
There might be photographers over there that are able to do great photo session without or just a little of preparation. Not me. I know that if I don’t prepare the photo session in advance my anxiety will be unbearable and I won’t perform well as a photographer when the moment of shooting arrives. I found than investing some time preparing the photo session makes me feel much more confident and in consequence my anxiety diminish. The first time I prepared a photo session took me a lot of time. But then I developed a protocol and now I enjoy getting ready for a photo shoot and doesn’t take me so long. You can have a look to my How-To Guide on Organizing a Portrait Photo Session to check how I prepare everything and get some inspiration.
Investing time preparing your photo session is a great way of reducing the photographer’s anxiety: when you know you are ready, things looks easier!
Do the must-have photos first
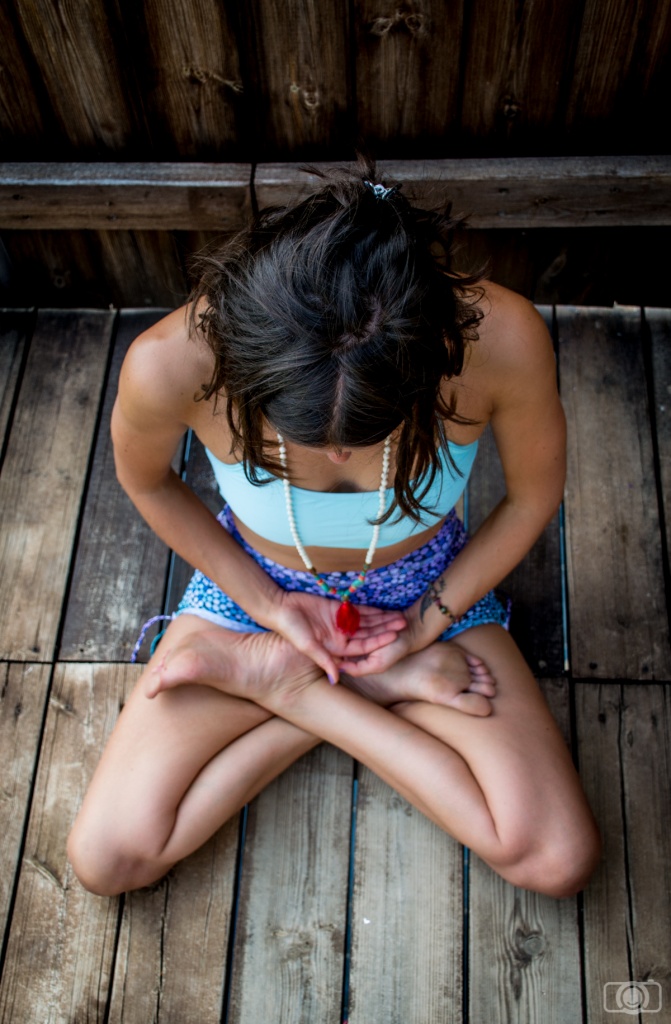
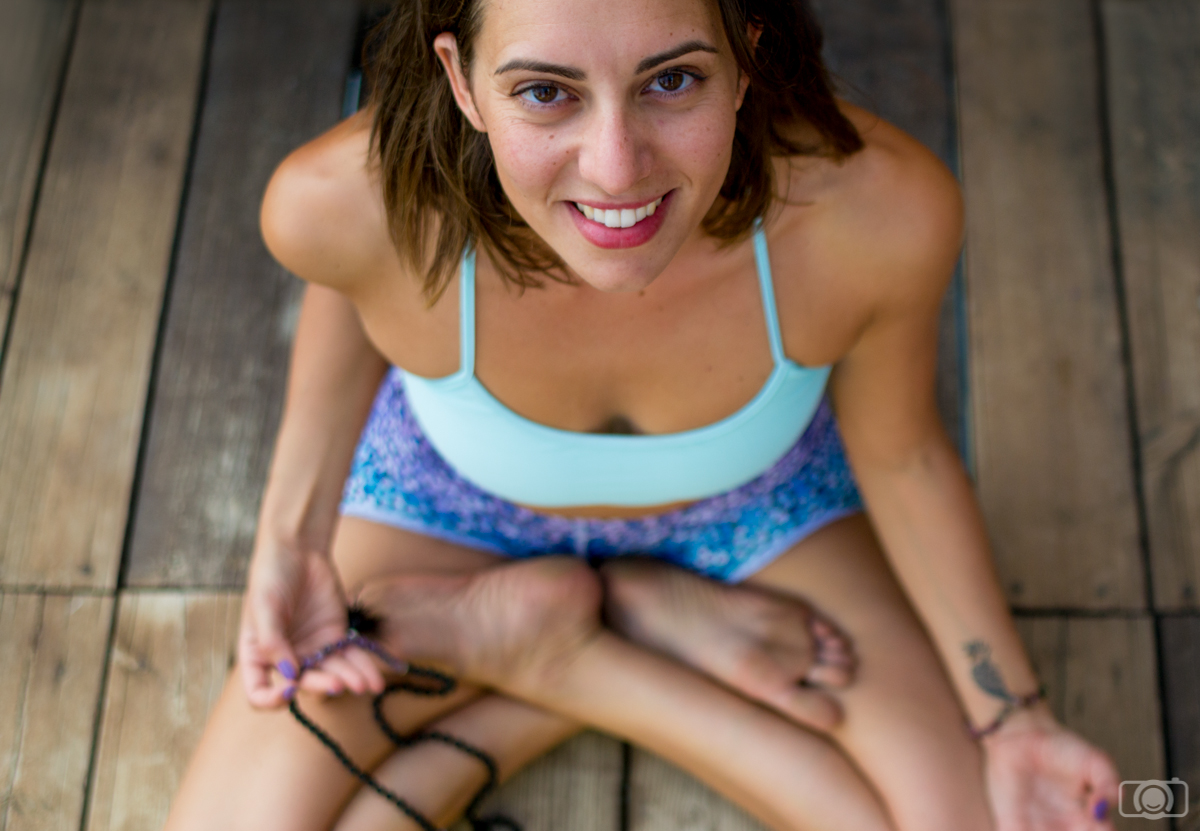
I always recommend working on the poses before the photo session. You can create a list of poses and have it with you in the photo session (printed or in your phone/tablet). Put first in the list the must-have photos. This is a great strategy to reduce anxiety because you won’t need to be all the time thinking if you took all the important photos or if you forgot something. You just do the important photos at he beginning and then you can relax and be creative.
I always do the must-to-do shots first. In this photo session my model needed to have photos with props (the necklace was one of them). We did first a series of photos with her props and then we moved to more creative images.
Learn from your previous mistakes
Yes, we all make mistakes, even the super pro. Understanding this simple statement was difficult for me. I don’t like making mistakes. Especially if my clients are involve on them. Just thinking about the possible consequences of our mistakes might paralyze us and make us fell self-conscious. This feelings won’t help when you are with your client/model and you need to direct them and look professional. They will notice you don’t trust on yourself and they will feel uncomfortable about it. I needed to meditate a lot about mistakes. I finally understood that the best thing I can do in order to develop myself as a photographer is trying to do always my best (because my clients deserve it) and if a mistake happens, solve it with a professional attitude and learn from it. Mistakes will happen and they will be hard and painful. However, they are a natural part of any learning process. The important thing is that you learn from them and don’t repeat them again. Mistakes can help you to growth as a photographer and as a professional. Accepting this was a big step for me.
I had a lot of mistakes along the way. Some of them are big and other small. The important thing is to learn from them. In this yoga session I didn’t put much attention to the hair of my model (Nita from Nita’s realm) and it is difficult seeing her face. This was a mistake and I learnt. Now I am always checking that the hair is ok before taking the photo.
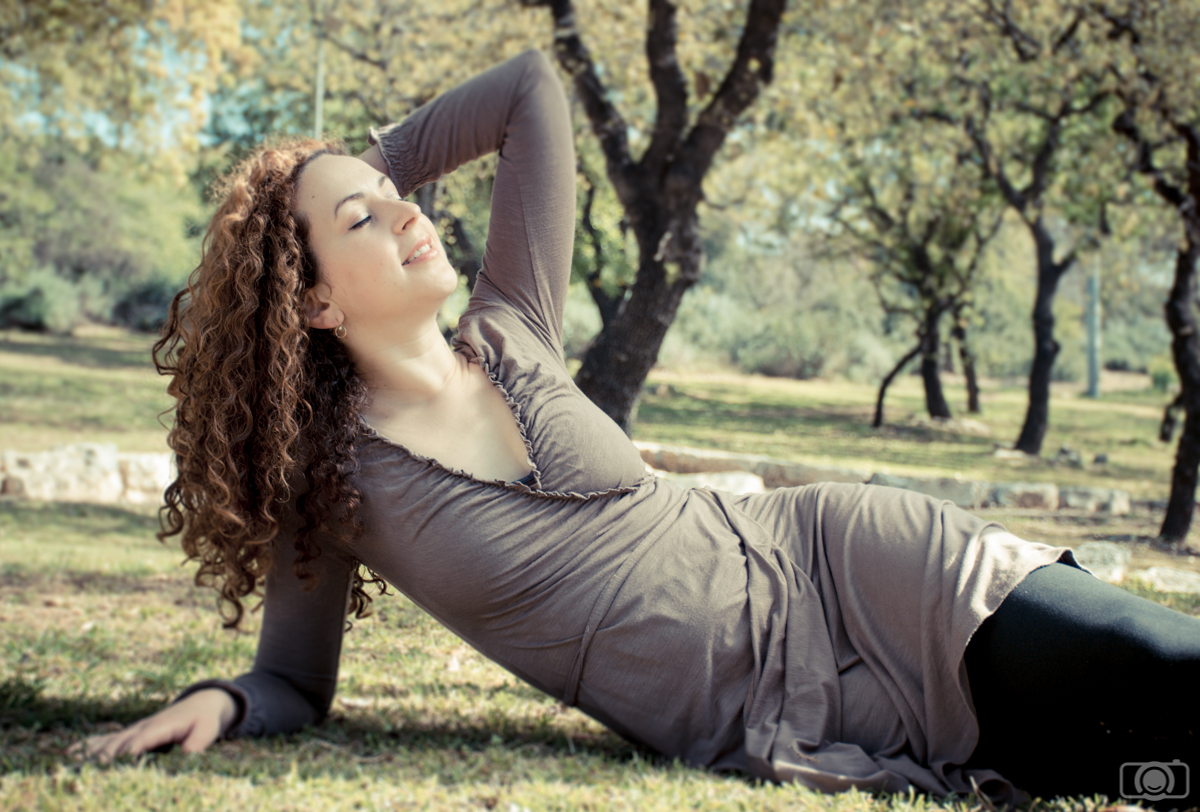
Schedule some relaxing activity the day before the photo session
I do all the photo session preparations enough time in advance to be able to relax a little. I know we are all busy. But I have found myself preparing my equipment for a morning photo session in the middle of the night and believe me…. This didn’t help me to diminish my anxiety at all. Since then I arrange my schedule in order to have my equipment ready early enough to be able to relax doing some kind of activity I like. Personally, I like doing yoga, meditation, running or going for a hike. But this depends on your taste. Maybe you prefer reading or meeting with a friend. It is up to you! But take this relaxing time seriously enough to include it in your schedule. It will help you to recharge your energy and clear your mind. You will handle the photo session with a more positive attitude and much less anxiety.
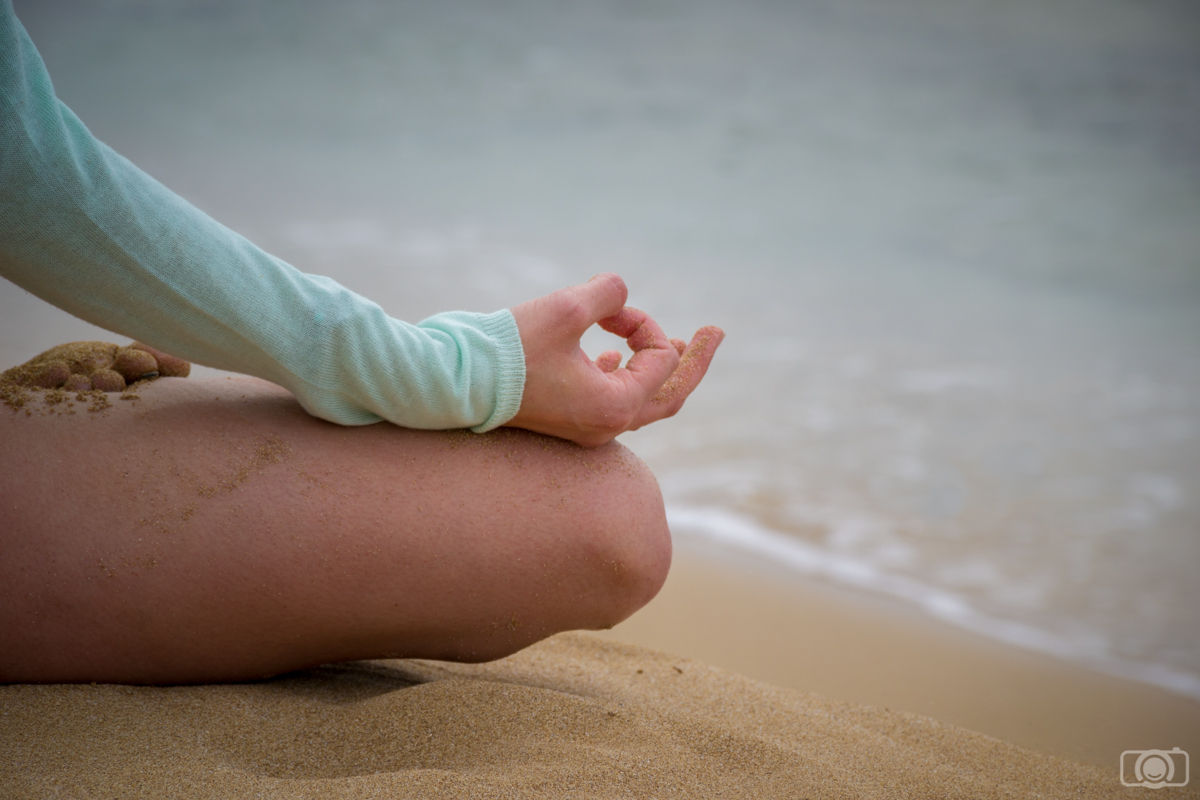
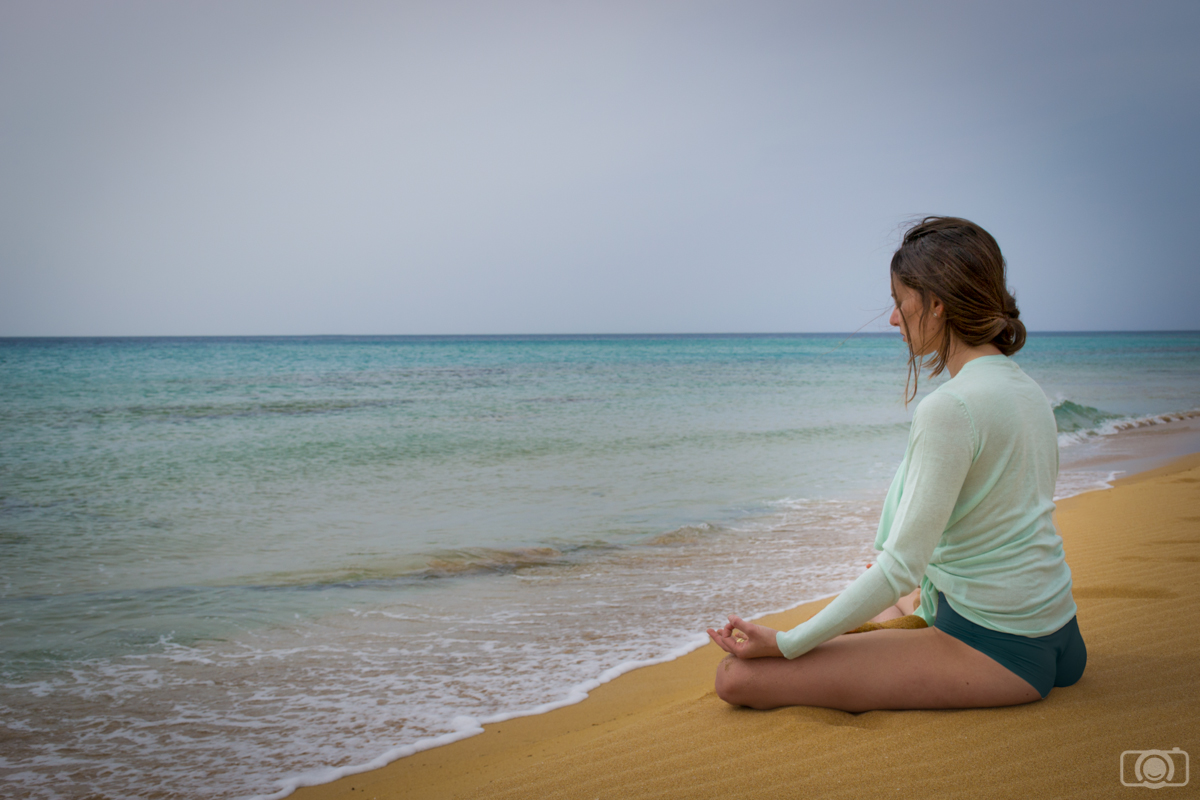
Meditating is a good way to reduce anxiety.
Eat healthy and don’t drink so much
Don’t misunderstand me. I love going out for a beer or a wine with my friends. But the night before the photo session I prefer drinking something alcohol-free just because I want to make sure that I won’t have any headache in the photo session. I also try to eat healthy because if I eat heavy food that is hard to digest I usually don’t sleep well and next day I feel deadly tired. If you are like me, the day before the photo session eat something light and drink alcohol-free beverages. You will notice that you wake up in a good mood and with energy to handle any photo session
Eat a good amount of fresh vegetables and fruit the day before the photo session is better than eating food that is difficult to digest
Sleep enough hours
This advice goes in the same than the previous one: if you don’t sleep enough hours you won’t have enough energy to deal with all the little problems that a photo session might have. In fact these little problems will look like huge problems because you will feel too tired to solve them. Make sure to sleep enough hours and be rested for the photo session.
Coffee can help you when you didn’t get a good sleep, but it is not the best solution because too much coffee can also increase your anxiety levels. Instead of drinking liters of coffee try to sleep enough hours the day before your photo session
Breathe
If at any point during the photo session you start to feel too anxious and you start breathing to fast, try to slow down. Take a 5 minutes break in the photo session, go to a calmer place and breathe deeply. Breathing exercises (http://www.mindbodygreen.com/0-4386/A-Simple-Breathing-Exercise-to-Calm-Your-Mind-Body.html) can calm the nervous system and reduce anxiety.
Are you also feeling this photographer’s anxiety before a photo session? Do you have a technic to handle it? Feel free to tell me about your strategy or anything else in the comments below. Have a happy photo session!!
Do you need to organize a portrait photo session? If it is your first photo session or if you want to improve the organization of your photo shoots, keep reading. At first it might seem a bit overwhelming. But if you establish a good workflow, things will become easier. You will feel more confident organizing your portrait photo session and you will even enjoy the process! Along the article, just for simplification purposes, I will refer to the model as “client”. You can apply these tips to friends or models. The photos I am sharing with you today are from two photo sessions that I did for my friend Nita. As she is a yoga teacher, all the photos in this article are somehow yoga related. But these tips are good for any portrait session.
This is Nita, my yogi friend. She needed photos mostly for her social media and blog so she became my client.
Talk with your client and discover for what does he/she wants the photos
This first tip is a general one and it might seem pretty obvious. However, what your clients want to get from the photos will determine the whole organization of your photo shoot. Deciding about poses or locations will be easier if you know what you want to achieve in the photo session. It is important that you talk with your clients before the photo session and you ask them a series of questions. Some of them will be quite practical and to the point: how many photos they need, if they need them in landscape or portrait orientation, do they need some negative space (empty space) to add text in the photos, if the photos are meant for printing or just for using on the internet, if they will need to change clothes and so on. Other questions are not so easy to answer but are extremely important: what do your clients want to express on the photos? Do they want to look serious? Friendly? Strong? You can talk face to face with your client, by phone or even send them a questionnaire. I strongly recommend you to keep record of everything your client answers.
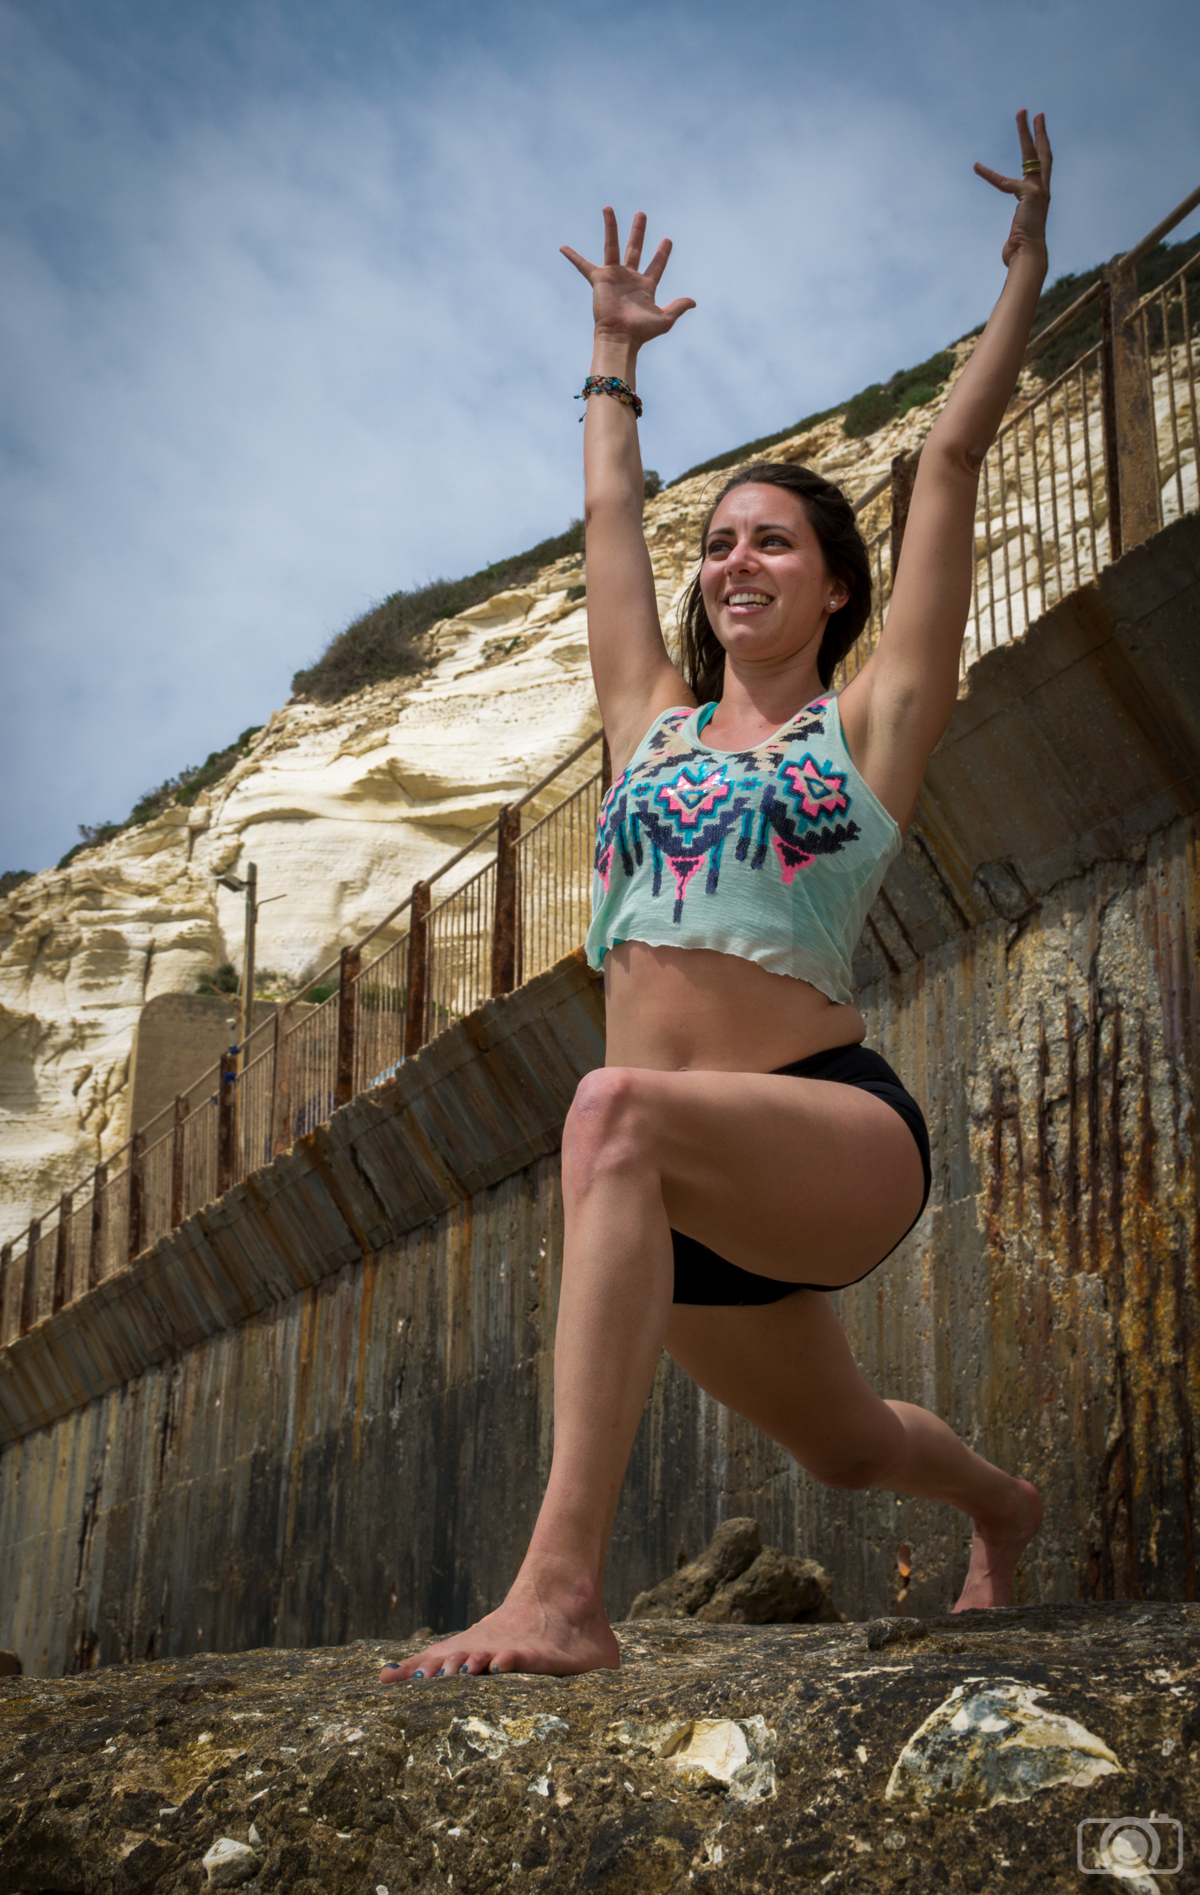
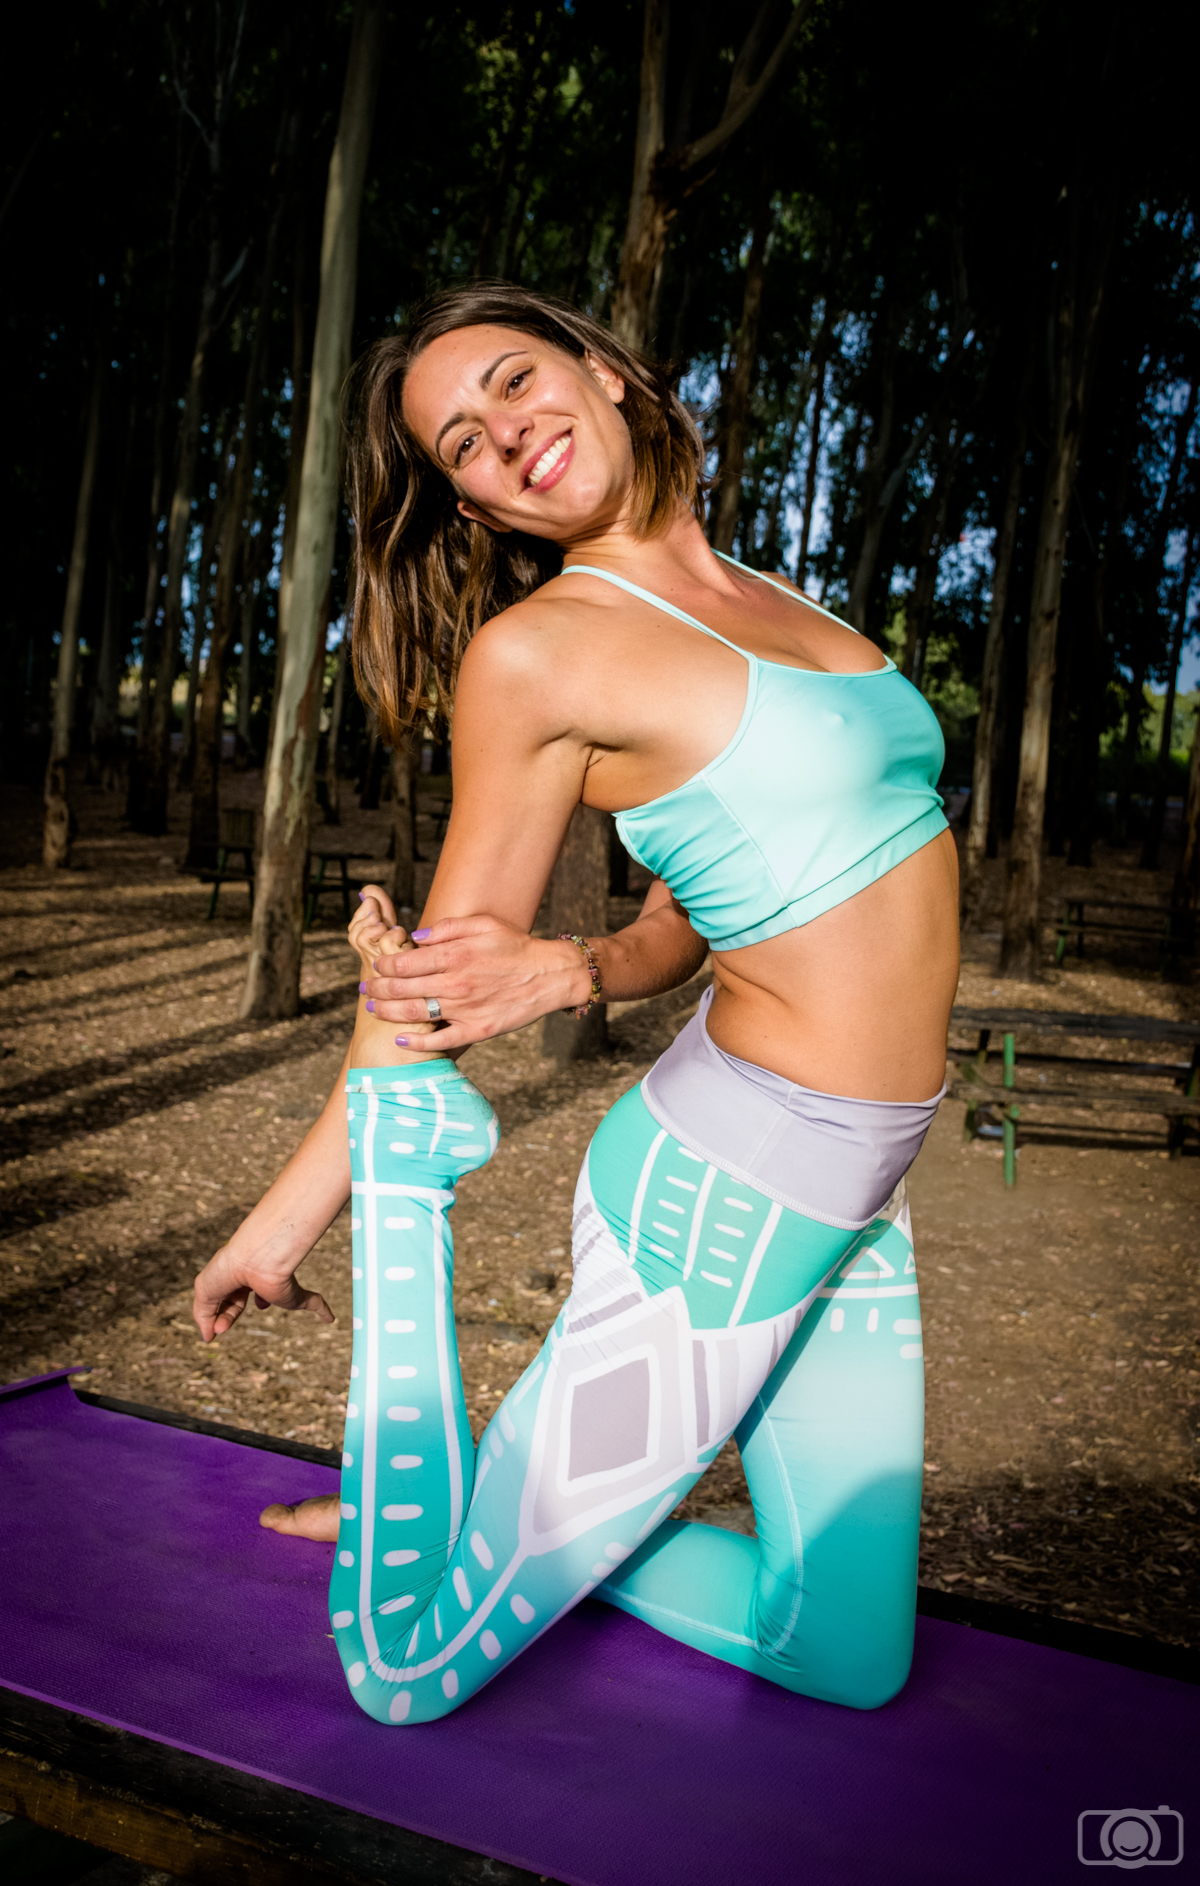
Nita wanted to look friendly and approachable, so we made sure to take pictures of her smiling.
Decide on location and session length
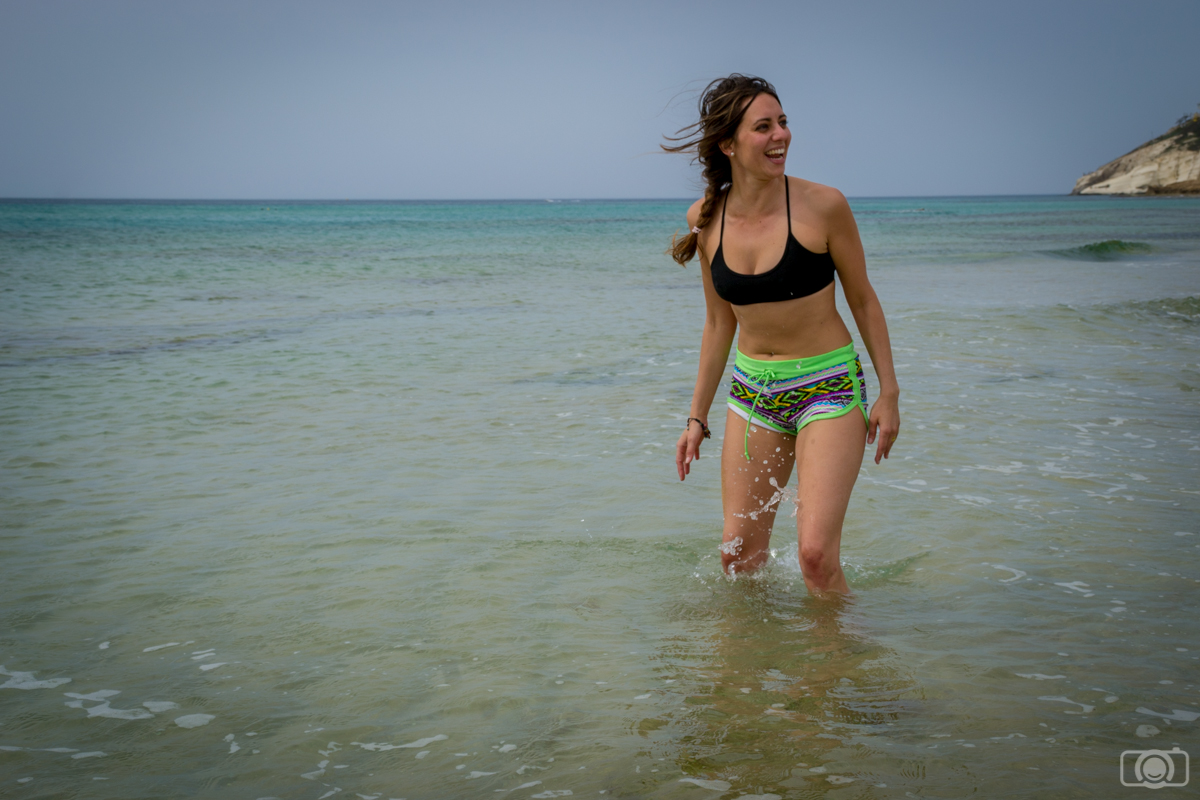
The information your clients would provide you is precious because it will help you to set the perfect photo session for him/her. I would start thinking on what the client wants to express. From this information you can have a first idea about the location of the photo session. Maybe your client has a location in mind, but as the photographer, I think you should offer your opinion regarding the choice of location. Offer your client a plan but also listen to what they have to say about it. For example, in our yoga photo session, Nita wanted to look friendly, approachable and strong. We decided to do the photo session in several outdoors locations, mostly in the beach. Beach portraits can convey this playful mood that would add to the friendly, approachable look. In addition, Nita loves being outdoors, so she feels comfortable in this type of locations. Think of the comfort of your clients. Happy and relaxed clients mean better photos and will increase the chance that they call on your services again!
Beach photos have this playful atmosphere that can help in creating a friendly and approachable look
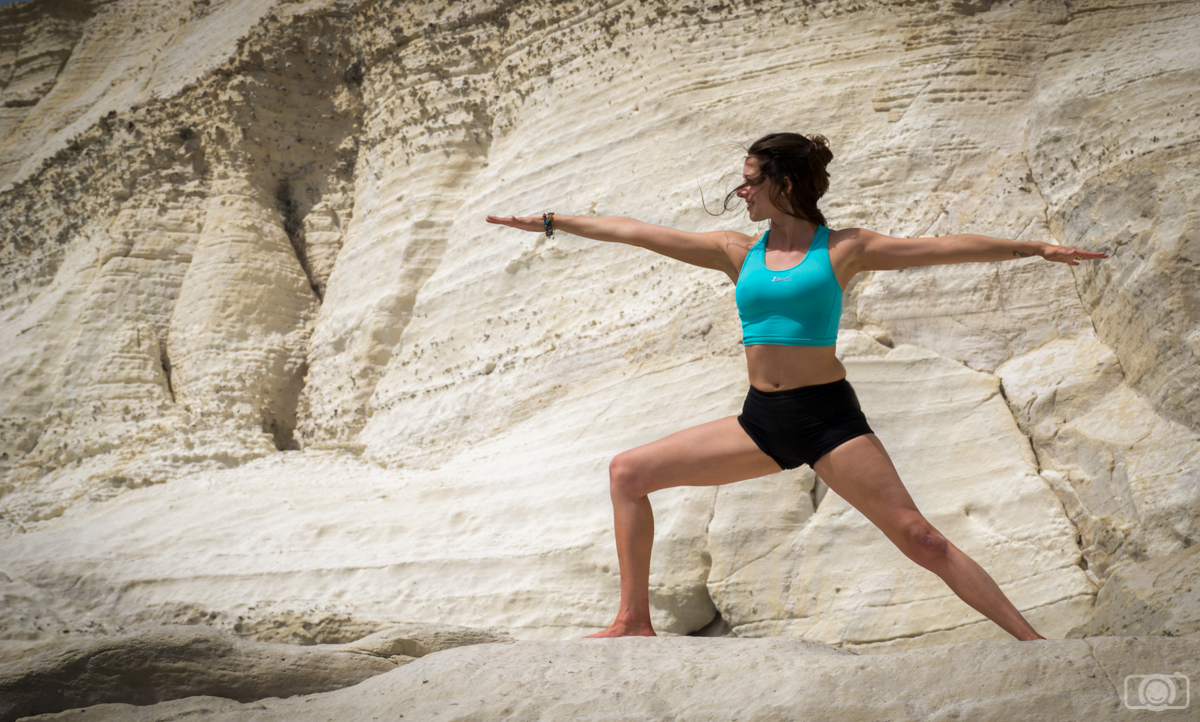
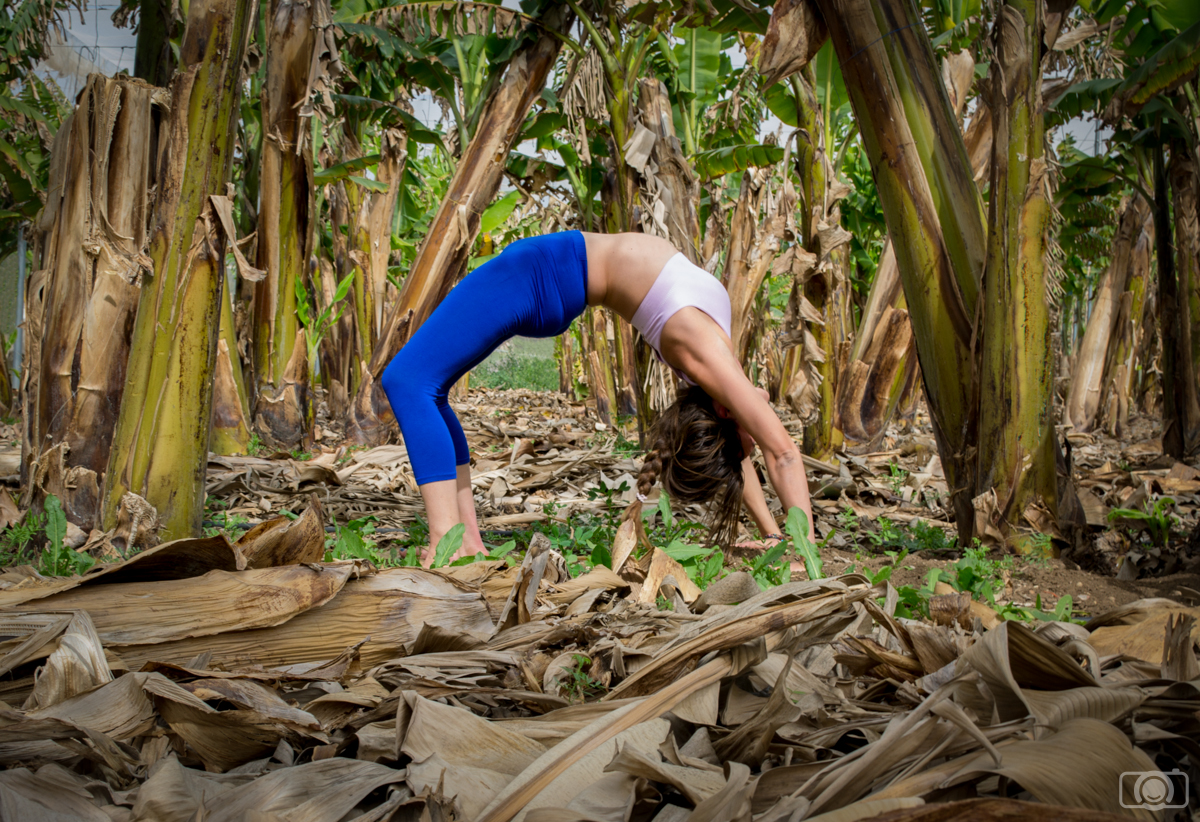
She also decided that she needed people to know that she is good doing asanas (asana is the name of the yoga postures) and that she also gives importance to meditation. We made sure to include pictures that show these two sides of Nita.
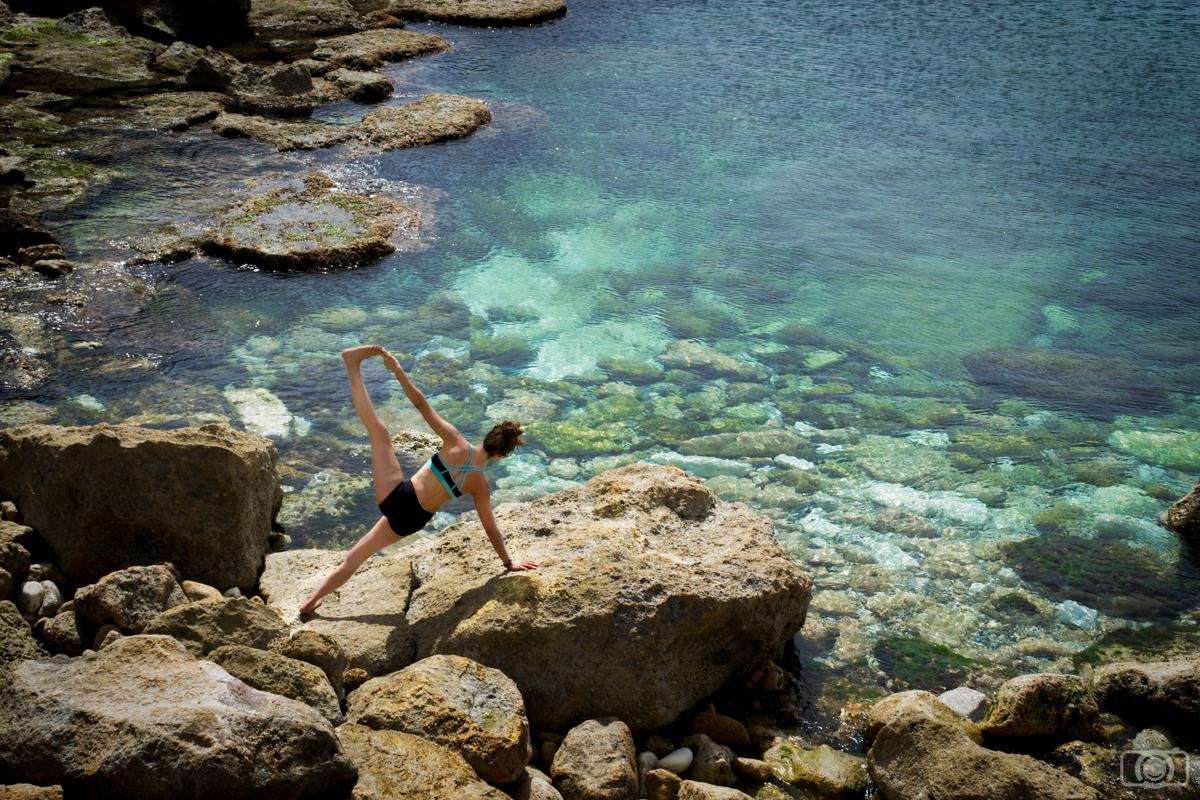
By combining the right environment with the correct pose, you can emphasize different traits of your clients. This photo of Nita in a bridge pose shows us how flexible she is and in the same time reveals her sculpted muscles, indicating a combination of agility and strength, this effect is emphasized by the banana plants standing on either side of her, bringing out Nita’s image thanks to their symmetry, shape and color.
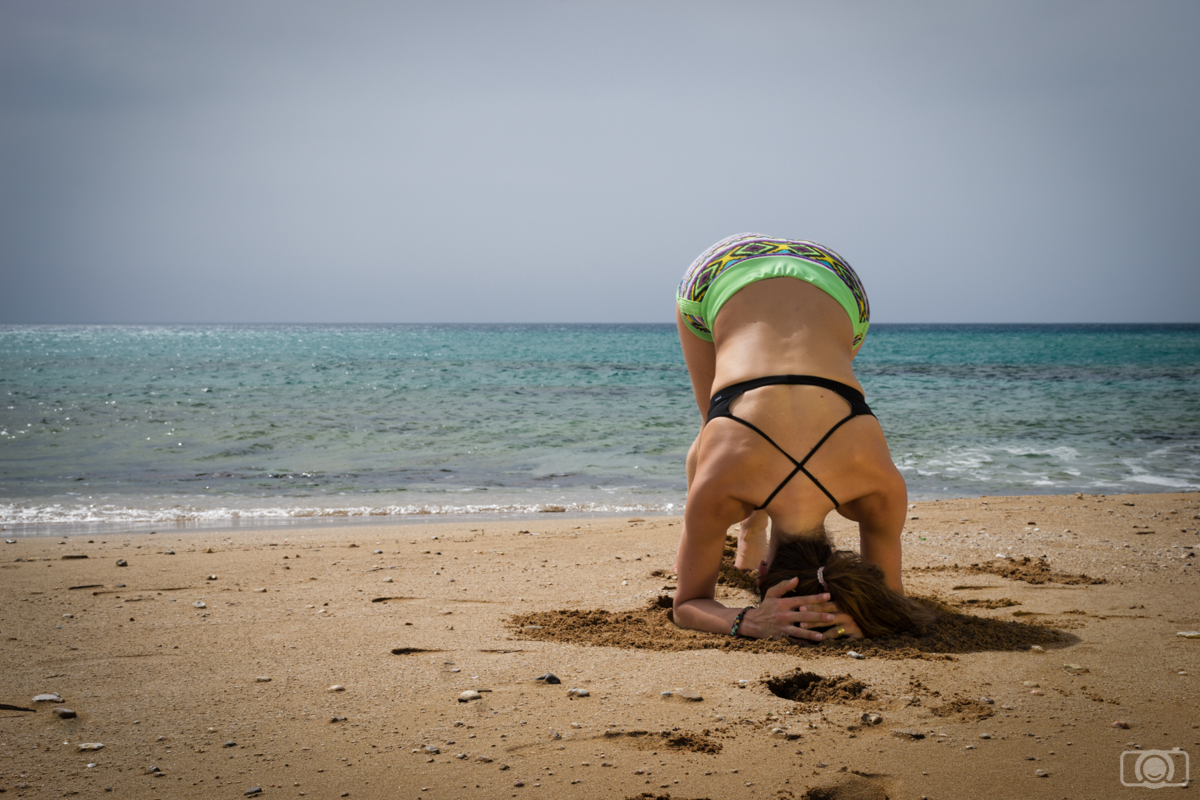
The undisturbed sand that Nita sits on, together with the clear, blue sea and the wide horizon help to convey the tranquility and openness that Nita achieves through her meditation and breathing exercises.
Now that you know the location and the number of photos your client needs, you can do a better estimation of time you need to book for the photo session. Don’t forget to add some extra time if your client needs to change clothes.
Think about the poses
I found it really helpful to have a set of ready-to-use poses. I usually do some research online looking for poses that will help the client to express what they want: poses looking strong, or relaxed, or approachable…. You can ask the client to show you photos they like too. I even prepare a power point of photos that I will bring with me on the day of the photo session (I like to bring my tablet to the photo sessions, but you can also print them or show them on the phone). This doesn’t mean that I want to copy the poses I saw online. I just have them to give some inspiration to the client. I notice that when I show clients these power points, they feel more confident. I guess they feel like they can always have a look at the power point if they run out of ideas. I have to admit that many of my clients take only one or two looks in the power points I make for them. But even if they don’t use it a lot, just for the blast of confidence it provides, it is worth to have it. The photos I take usually don’t look at all like the ones in the power point.
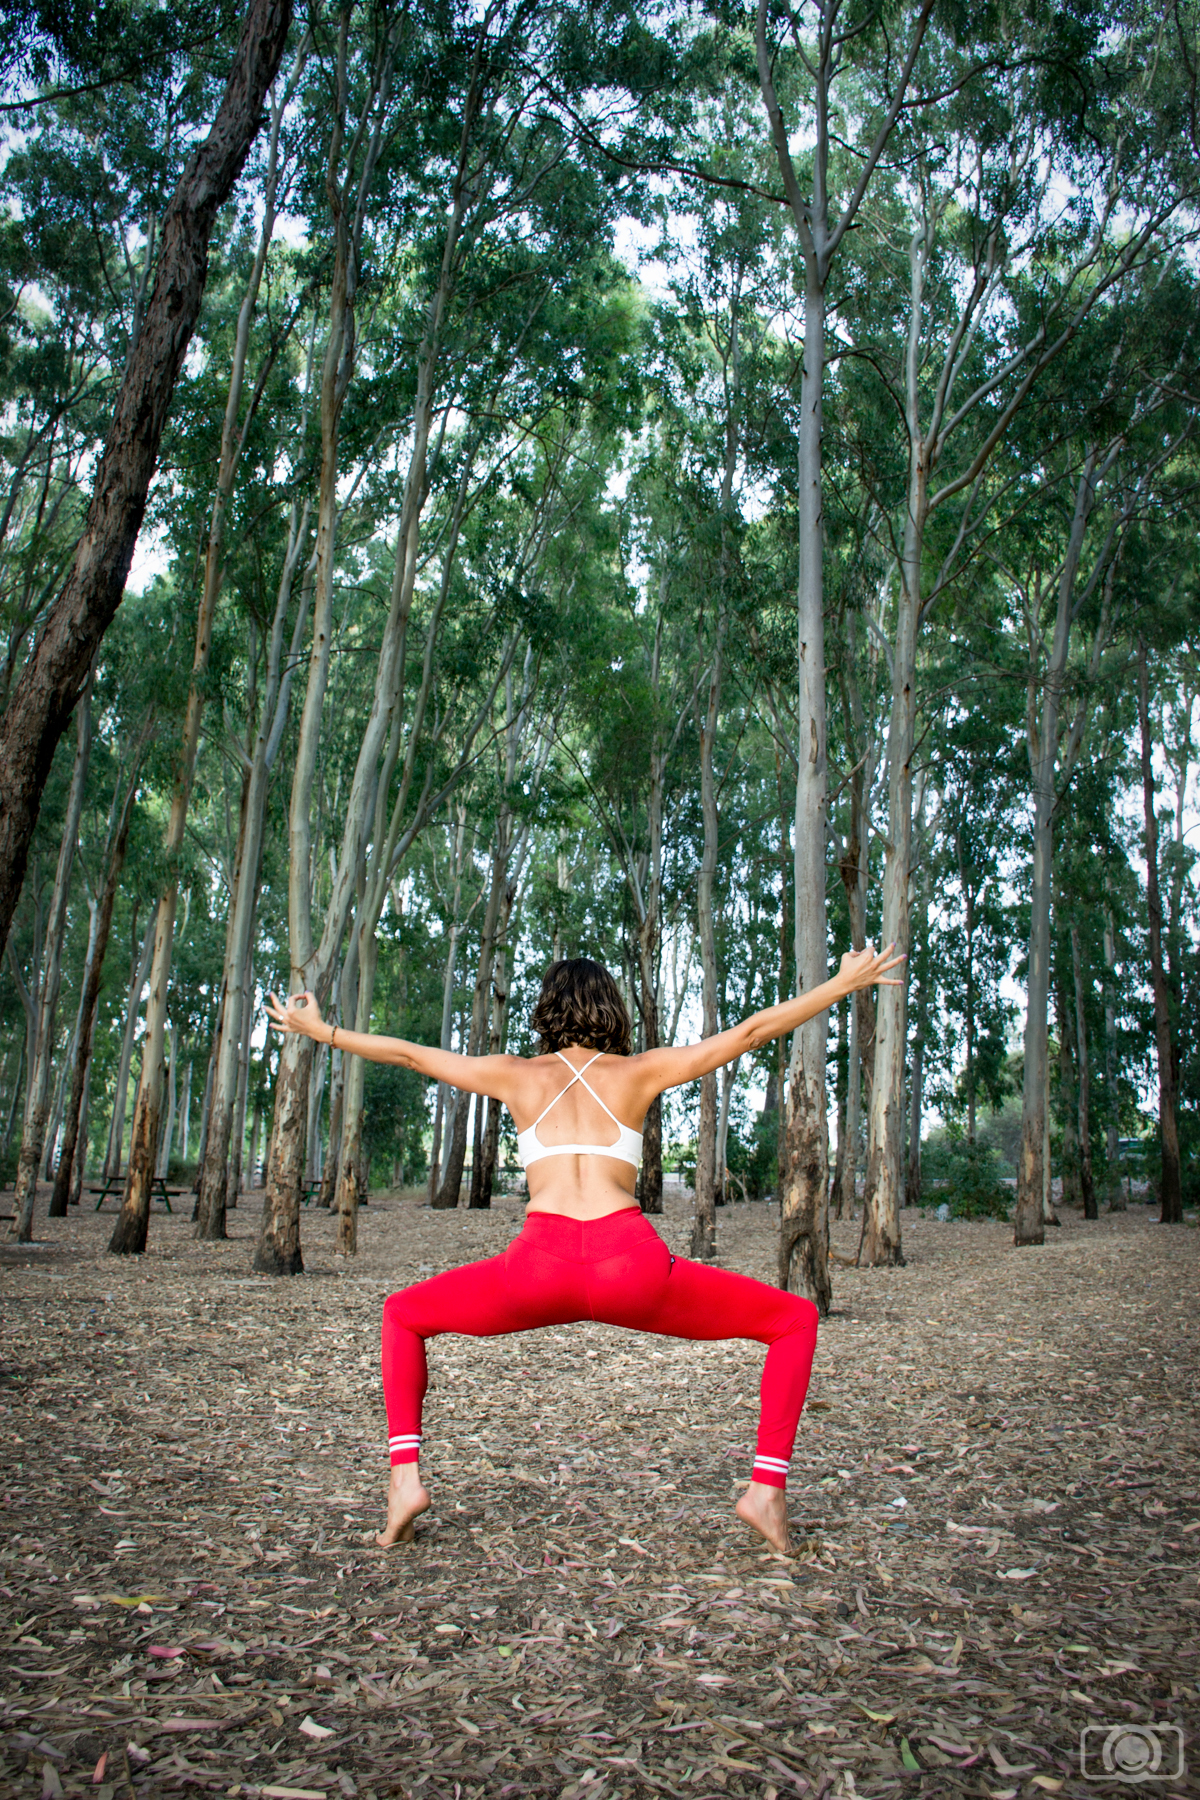
Here we had a moment where we ran out of ideas, we already did the bridge pose and with this vibrant and sporty outfit we wanted another photo that will scream “I’m strong!”, after a quick look to the power point Nita came up with this pose.
Check if you need to practice some techniques
Think about the techniques you will need in the photo session. Would you need to use a flash? Do you need a reflector? Or maybe you need to use a circular polarizing filter. Make sure to practice before the photo shoot. You don’t want to make any beginners mistakes in front of your client.
: Here we needed to use a reflector to add some light to Nita’s face. It seems like a simple and straight forward tool (Just aim the beam of light and that’s all, right?), well, it is a bit more complicated than that. To start with, if you are not careful you can blind your client, another issue is the angle at which the light hits the model (for example, some angles can help to bring out features such as muscle lines). In short- practice with a reflector (or any other equipment) before the photo session.
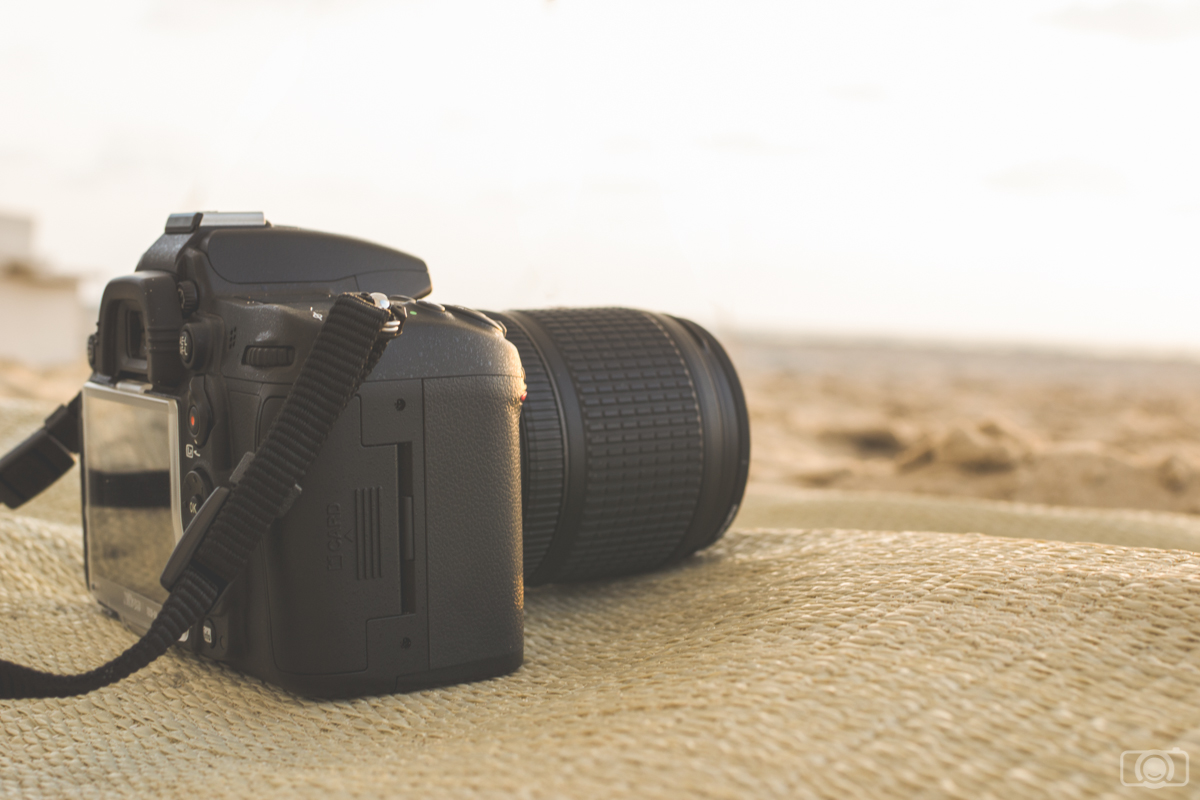
Make a list of the equipment you need for the photo shoot
I love checklists. I have one made with all the equipment for the photo sessions: memory cards (formatted!), batteries (charged!!!), reflector, filters, lenses (clean!!!), camera (of course!)… The amount of equipment you need might be a lot, so having it listed will make your life easier. It is terrible to realize that you forgot something once you are in the photo session. I also add to the list things that might help the client: something to tie the hair with in case it is windy, make up, some water bottles…
Make a list with the kind of photos you need to take
Your client already gave you all this information. Just make sure you remember how many and the type of photos you need to take: portrait, landscape orientation, with a lot of negative space…
Nita needed some photos with negative space so she could add some text to them if she wanted to. We used the beautiful Mediterranean Sea to add some interesting negative space to the photos.
Prepare the equipment
The photo shoot is approaching!! Take your equipment list and prepare everything you need. Do it the day before or at least with enough time to charge the batteries in case you need to replace them (even if you are certain you have enough power in the battery, it’s always good to have spares).
Meet with the client a bit in advance
I recommend meeting with the client a bit before the photo session to have time to relax, check your camera settings, prepare your equipment, talk a little and show them the power point with the photos. Starting a photo session in a rush is never a good thing.
Enjoy the photo session
You prepared a great photo session, so you’re gonna rock it! Now it is time to have fun with what you like the most: taking photos!
I have some specific tips for yoga/sports photo sessions: If your client needs to do some physical effort, think that she might need to warm up. These kind of sessions might be exhausting for your client. Talk with him/her and decide if you want to make the complicated and tiring photos at the beginning of the session or towards the end. Everybody is different, so it is important that you know how they prefer to organize these high demanding photos.
Last but not least… tell your clients to choose their clothes wisely, including their underwear!! If you don’t want to spend hours in Photoshop removing marks, folds and underwear that shows up… tell them to pick photo-session suitable clothes. And don’t hesitate in helping them to adjust their clothes during the photo shoot. It might seem like a joke, but believe me; you can save a lot of time and headaches here!
Tell your client to choose their clothes wisely, especially if they are going to be upside down and underwear can show up easily.
Tell me if you find these tips useful or if you miss something. I would love to know.


 Facebook
 Google +