A How-To Guide on Organizing a Portrait Photo Sessionwww.sleeklens.com
Do you need to organize a portrait photo session? If it is your first photo session or if you want to improve the organization of your photo shoots, keep reading. At first it might seem a bit overwhelming. But if you establish a good workflow, things will become easier. You will feel more confident organizing your portrait photo session and you will even enjoy the process! Along the article, just for simplification purposes, I will refer to the model as “client”. You can apply these tips to friends or models. The photos I am sharing with you today are from two photo sessions that I did for my friend Nita. As she is a yoga teacher, all the photos in this article are somehow yoga related. But these tips are good for any portrait session.
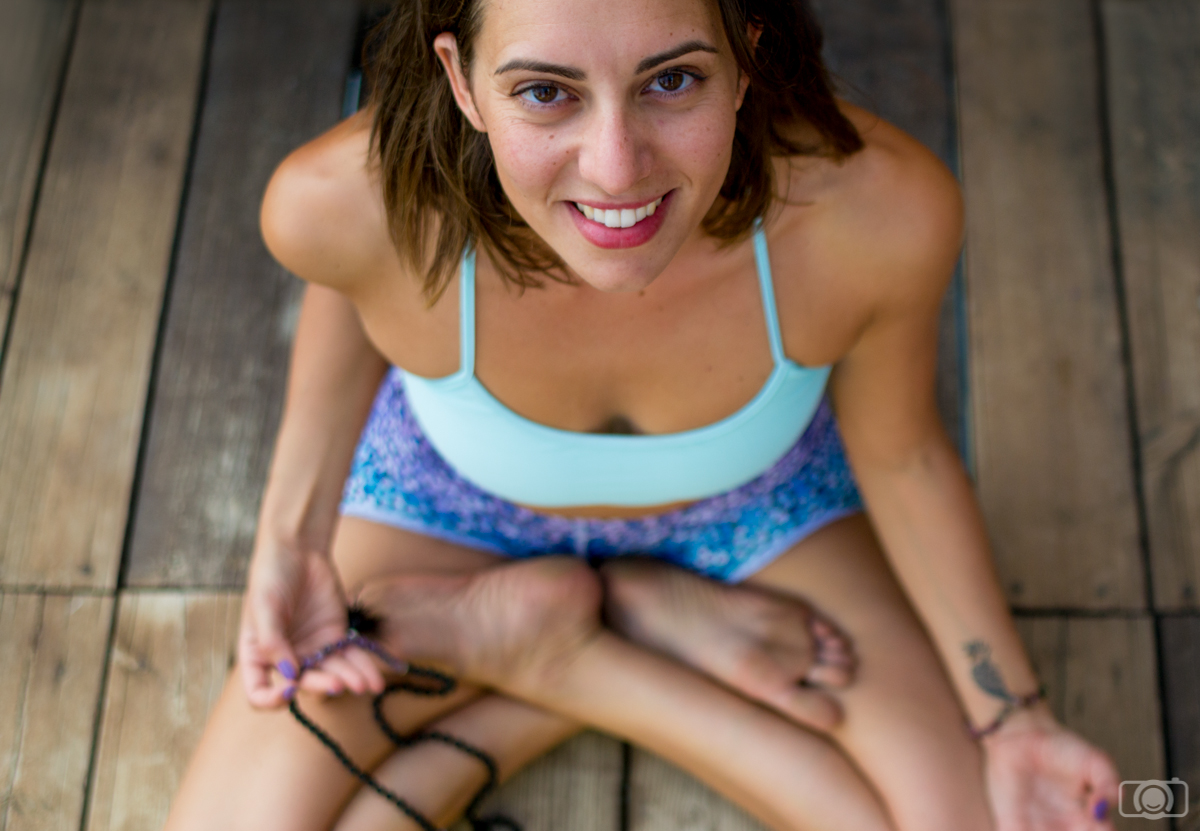
This is Nita, my yogi friend. She needed photos mostly for her social media and blog so she became my client.
Table of Contents
Talk with your client and discover for what does he/she wants the photos
This first tip is a general one and it might seem pretty obvious. However, what your clients want to get from the photos will determine the whole organization of your photo shoot. Deciding about poses or locations will be easier if you know what you want to achieve in the photo session. It is important that you talk with your clients before the photo session and you ask them a series of questions. Some of them will be quite practical and to the point: how many photos they need, if they need them in landscape or portrait orientation, do they need some negative space (empty space) to add text in the photos, if the photos are meant for printing or just for using on the internet, if they will need to change clothes and so on. Other questions are not so easy to answer but are extremely important: what do your clients want to express on the photos? Do they want to look serious? Friendly? Strong? You can talk face to face with your client, by phone or even send them a questionnaire. I strongly recommend you to keep record of everything your client answers.
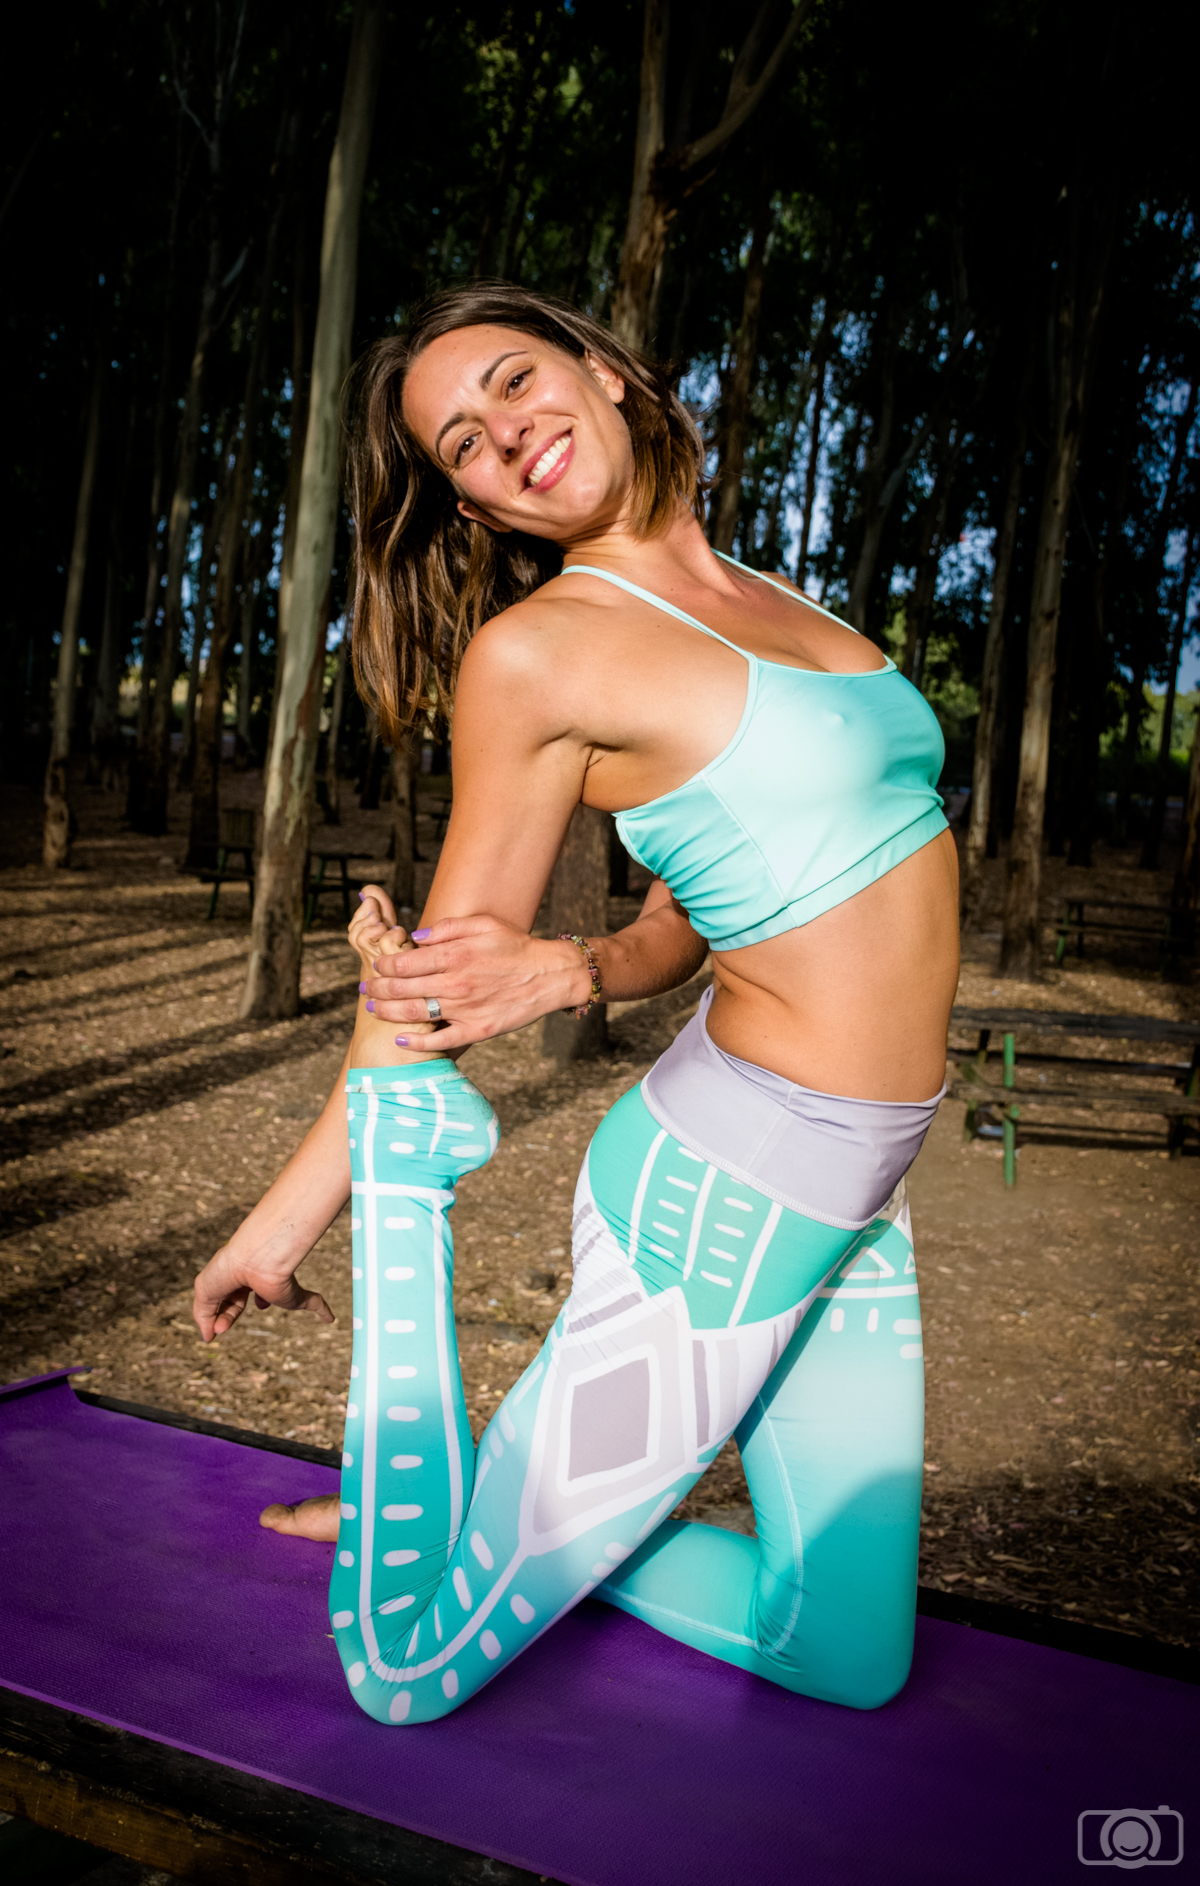
Nita wanted to look friendly and approachable, so we made sure to take pictures of her smiling.
Decide on location and session length
The information your clients would provide you is precious because it will help you to set the perfect photo session for him/her. I would start thinking on what the client wants to express. From this information you can have a first idea about the location of the photo session. Maybe your client has a location in mind, but as the photographer, I think you should offer your opinion regarding the choice of location. Offer your client a plan but also listen to what they have to say about it. For example, in our yoga photo session, Nita wanted to look friendly, approachable and strong. We decided to do the photo session in several outdoors locations, mostly in the beach. Beach portraits can convey this playful mood that would add to the friendly, approachable look. In addition, Nita loves being outdoors, so she feels comfortable in this type of locations. Think of the comfort of your clients. Happy and relaxed clients mean better photos and will increase the chance that they call on your services again!
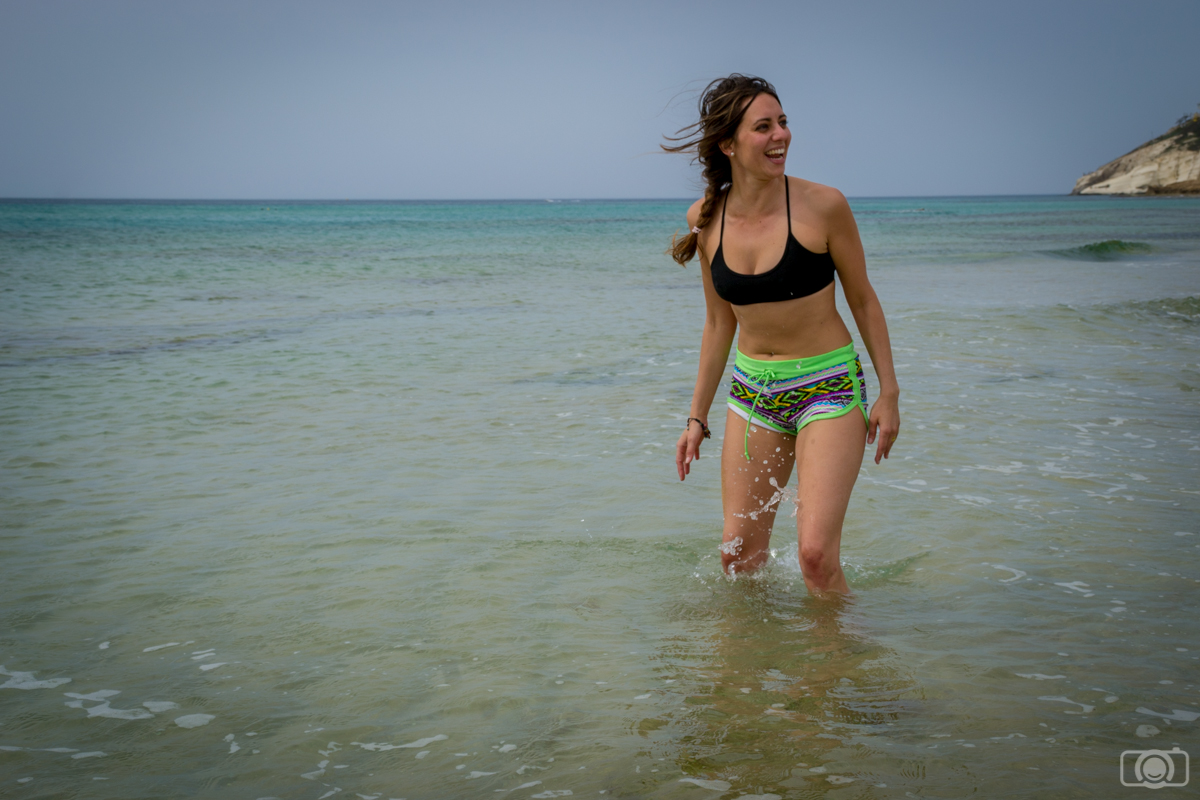
Beach photos have this playful atmosphere that can help in creating a friendly and approachable look
She also decided that she needed people to know that she is good doing asanas (asana is the name of the yoga postures) and that she also gives importance to meditation. We made sure to include pictures that show these two sides of Nita.
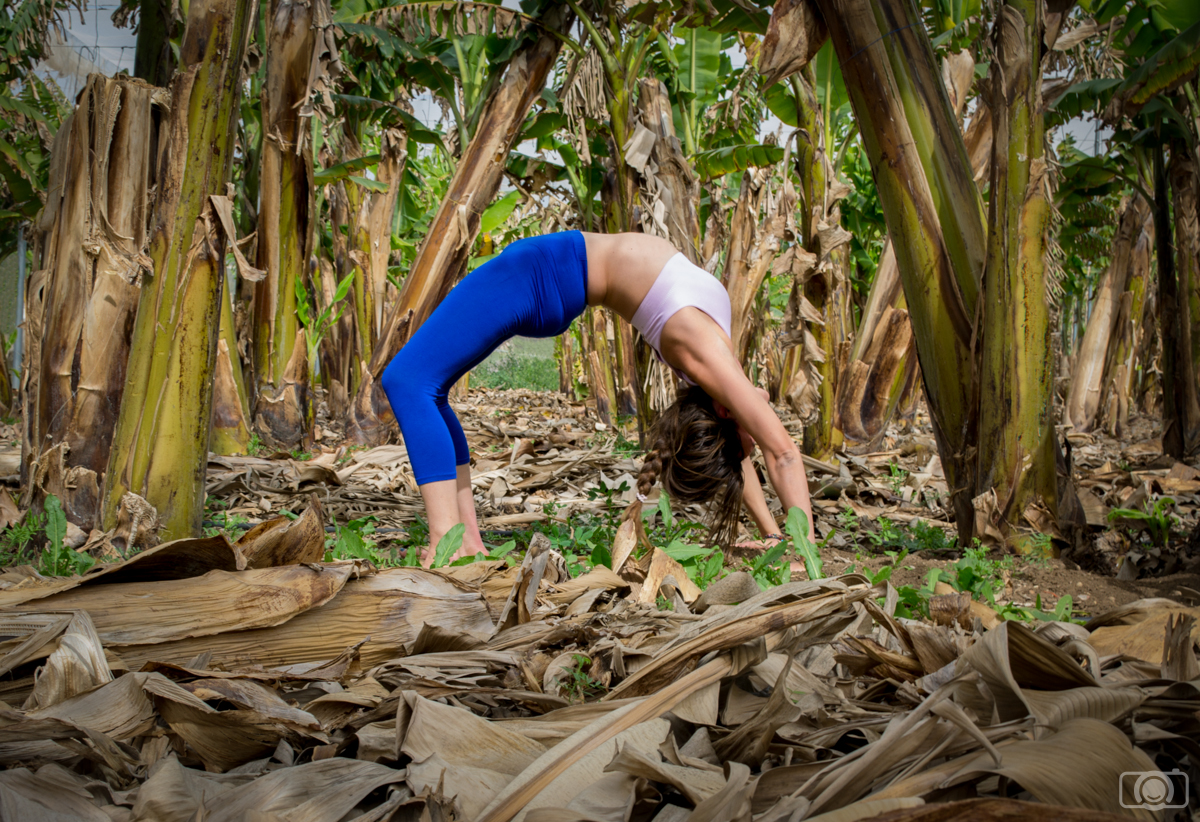
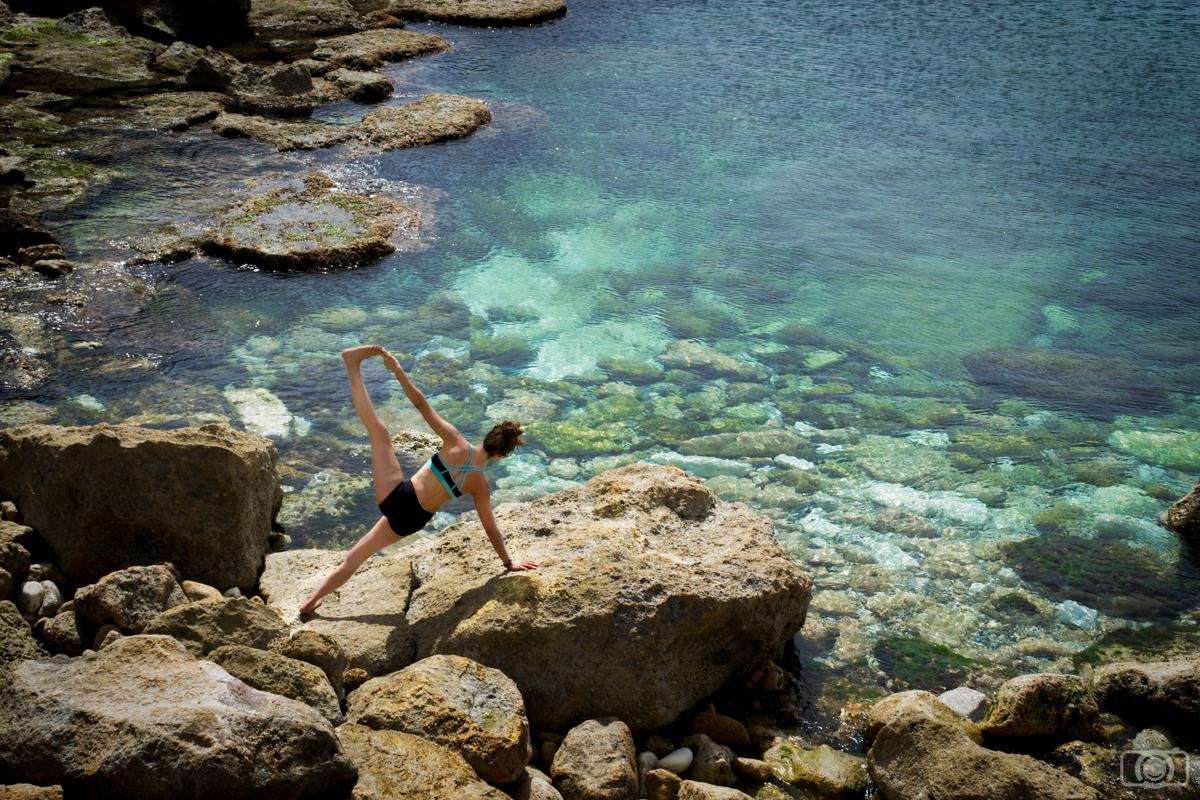
By combining the right environment with the correct pose, you can emphasize different traits of your clients. This photo of Nita in a bridge pose shows us how flexible she is and in the same time reveals her sculpted muscles, indicating a combination of agility and strength, this effect is emphasized by the banana plants standing on either side of her, bringing out Nita’s image thanks to their symmetry, shape and color.
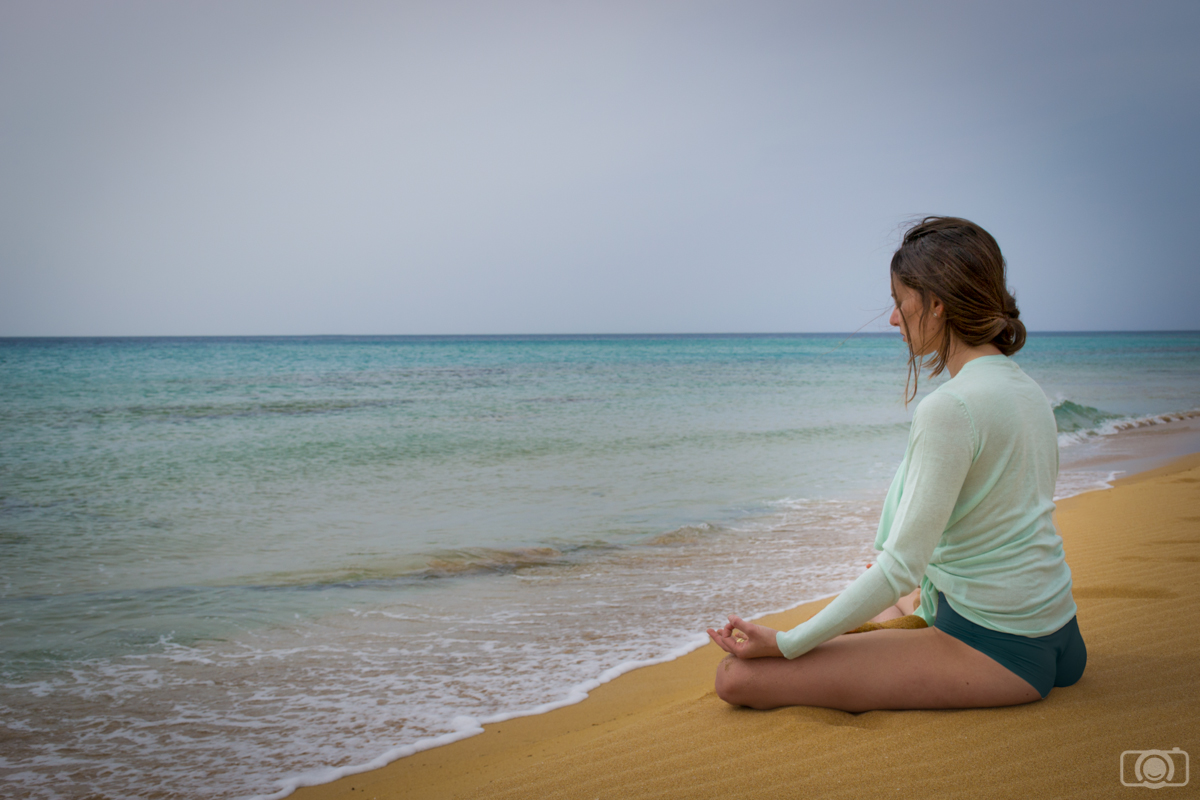
The undisturbed sand that Nita sits on, together with the clear, blue sea and the wide horizon help to convey the tranquility and openness that Nita achieves through her meditation and breathing exercises.
Now that you know the location and the number of photos your client needs, you can do a better estimation of time you need to book for the photo session. Don’t forget to add some extra time if your client needs to change clothes.
Think about the poses
I found it really helpful to have a set of ready-to-use poses. I usually do some research online looking for poses that will help the client to express what they want: poses looking strong, or relaxed, or approachable…. You can ask the client to show you photos they like too. I even prepare a power point of photos that I will bring with me on the day of the photo session (I like to bring my tablet to the photo sessions, but you can also print them or show them on the phone). This doesn’t mean that I want to copy the poses I saw online. I just have them to give some inspiration to the client. I notice that when I show clients these power points, they feel more confident. I guess they feel like they can always have a look at the power point if they run out of ideas. I have to admit that many of my clients take only one or two looks in the power points I make for them. But even if they don’t use it a lot, just for the blast of confidence it provides, it is worth to have it. The photos I take usually don’t look at all like the ones in the power point.
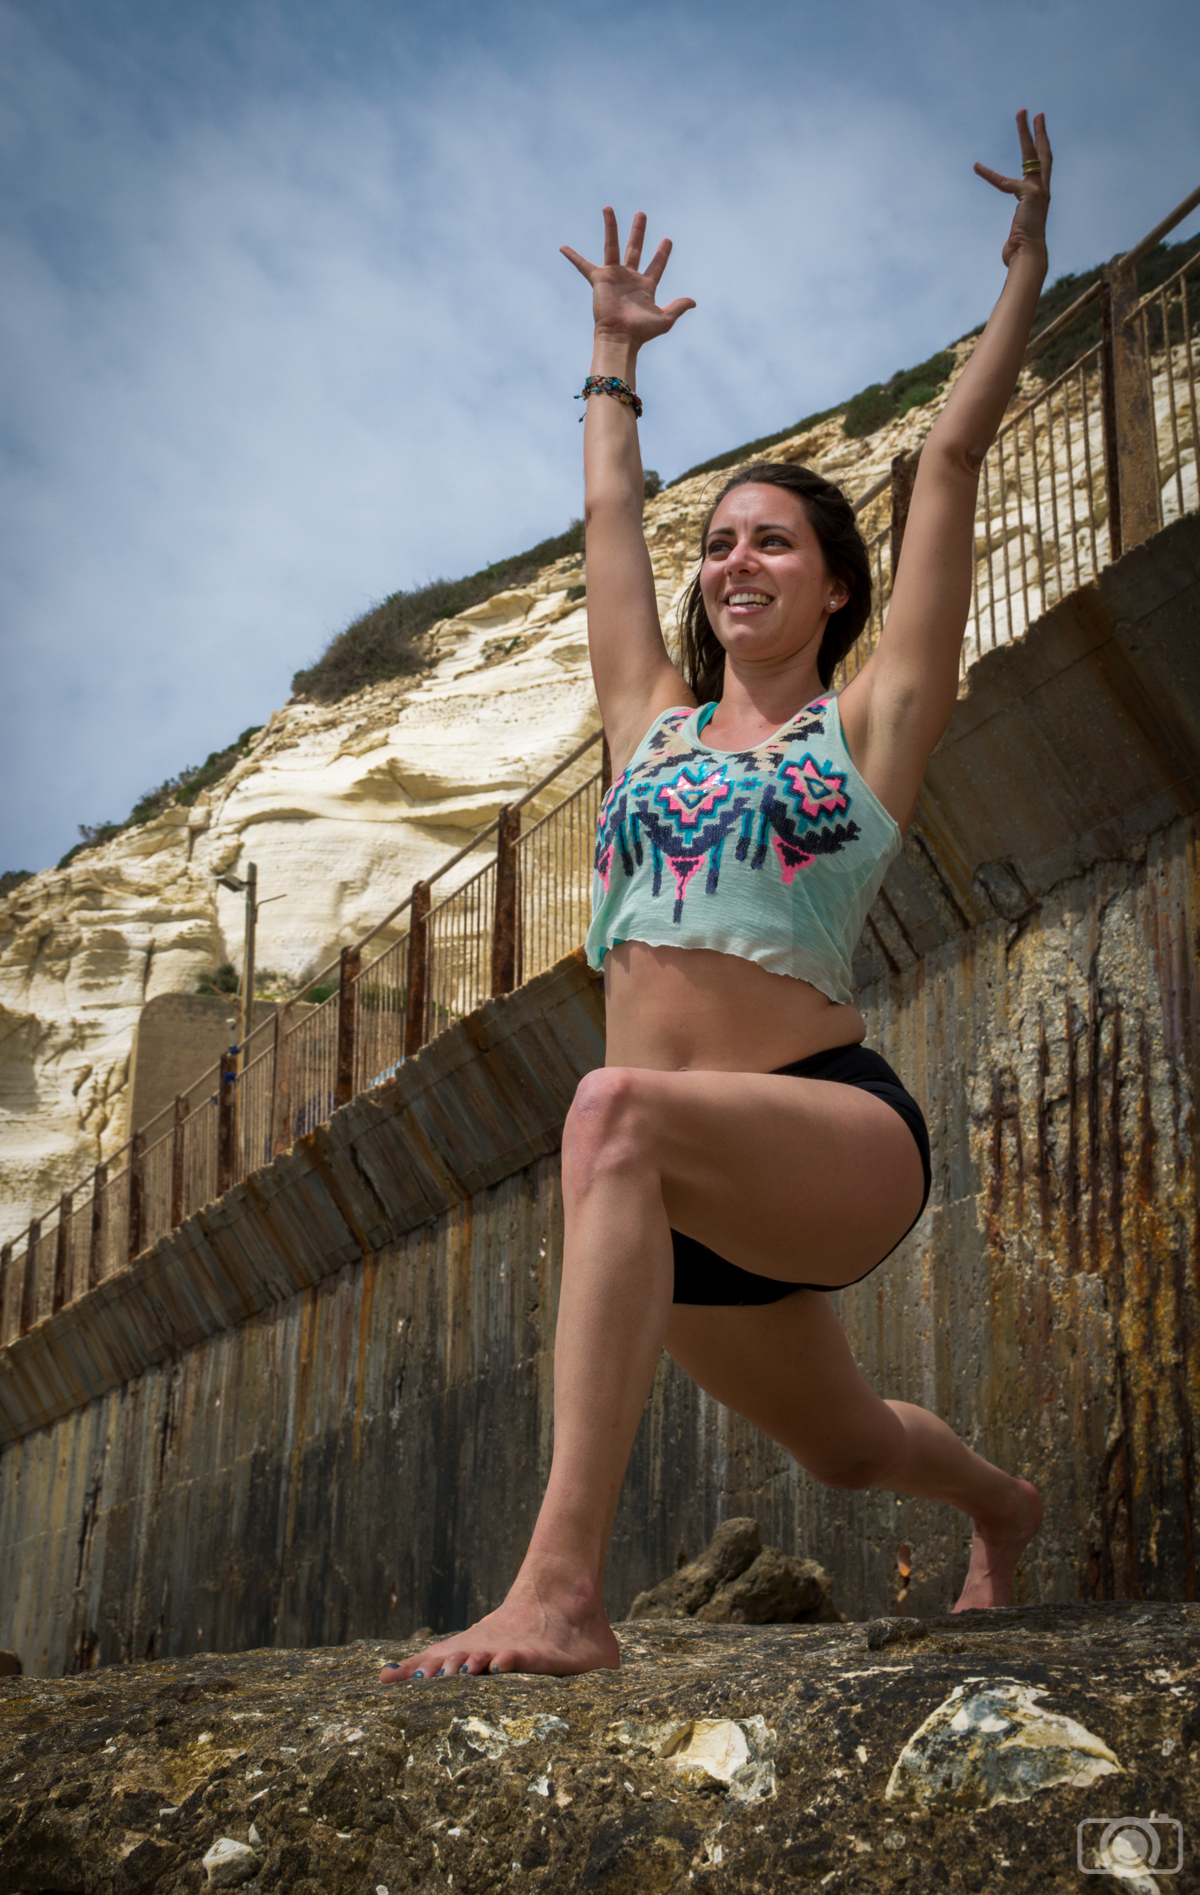
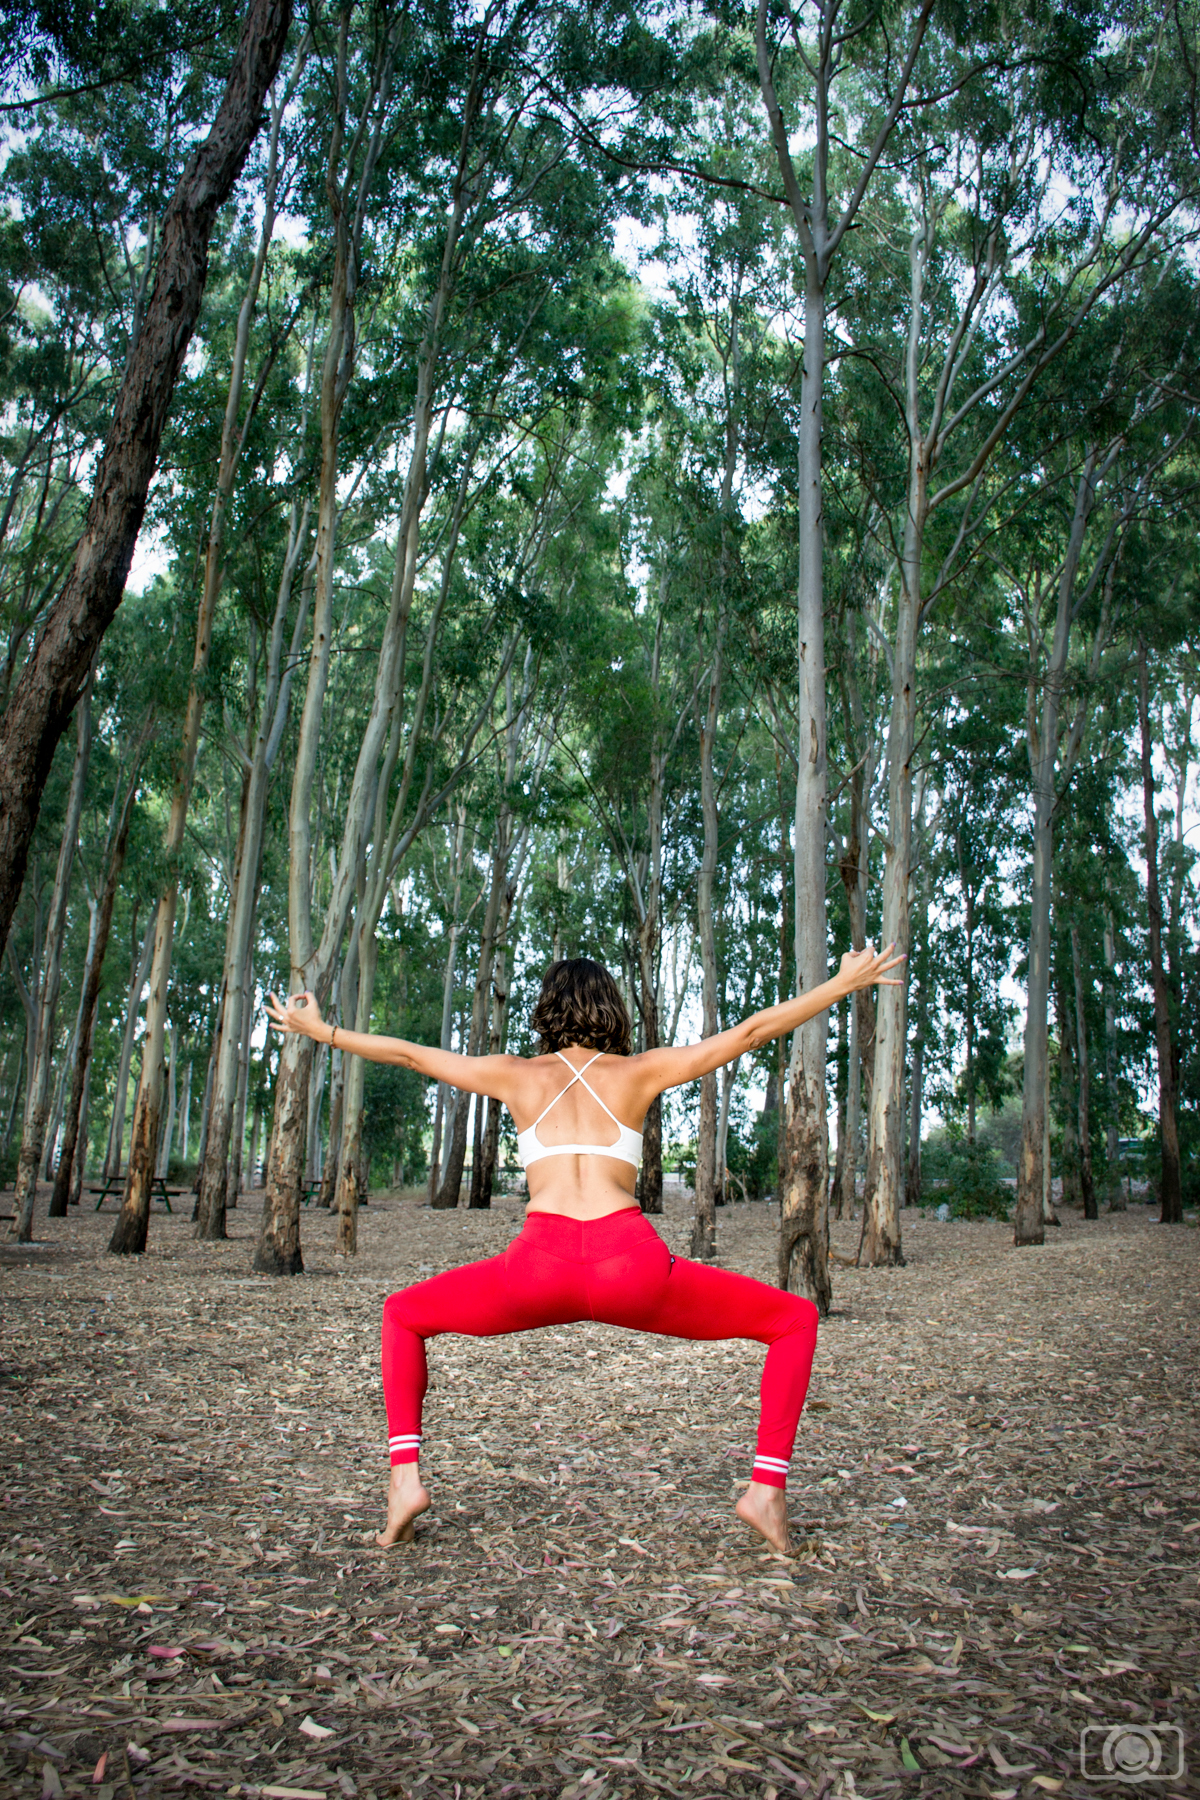
Here we had a moment where we ran out of ideas, we already did the bridge pose and with this vibrant and sporty outfit we wanted another photo that will scream “I’m strong!”, after a quick look to the power point Nita came up with this pose.
Check if you need to practice some techniques
Think about the techniques you will need in the photo session. Would you need to use a flash? Do you need a reflector? Or maybe you need to use a circular polarizing filter. Make sure to practice before the photo shoot. You don’t want to make any beginners mistakes in front of your client.
: Here we needed to use a reflector to add some light to Nita’s face. It seems like a simple and straight forward tool (Just aim the beam of light and that’s all, right?), well, it is a bit more complicated than that. To start with, if you are not careful you can blind your client, another issue is the angle at which the light hits the model (for example, some angles can help to bring out features such as muscle lines). In short- practice with a reflector (or any other equipment) before the photo session.
Make a list of the equipment you need for the photo shoot
I love checklists. I have one made with all the equipment for the photo sessions: memory cards (formatted!), batteries (charged!!!), reflector, filters, lenses (clean!!!), camera (of course!)… The amount of equipment you need might be a lot, so having it listed will make your life easier. It is terrible to realize that you forgot something once you are in the photo session. I also add to the list things that might help the client: something to tie the hair with in case it is windy, make up, some water bottles…
Make a list with the kind of photos you need to take
Your client already gave you all this information. Just make sure you remember how many and the type of photos you need to take: portrait, landscape orientation, with a lot of negative space…
Nita needed some photos with negative space so she could add some text to them if she wanted to. We used the beautiful Mediterranean Sea to add some interesting negative space to the photos.
Prepare the equipment
The photo shoot is approaching!! Take your equipment list and prepare everything you need. Do it the day before or at least with enough time to charge the batteries in case you need to replace them (even if you are certain you have enough power in the battery, it’s always good to have spares).
Meet with the client a bit in advance
I recommend meeting with the client a bit before the photo session to have time to relax, check your camera settings, prepare your equipment, talk a little and show them the power point with the photos. Starting a photo session in a rush is never a good thing.
Enjoy the photo session
You prepared a great photo session, so you’re gonna rock it! Now it is time to have fun with what you like the most: taking photos!
I have some specific tips for yoga/sports photo sessions: If your client needs to do some physical effort, think that she might need to warm up. These kind of sessions might be exhausting for your client. Talk with him/her and decide if you want to make the complicated and tiring photos at the beginning of the session or towards the end. Everybody is different, so it is important that you know how they prefer to organize these high demanding photos.
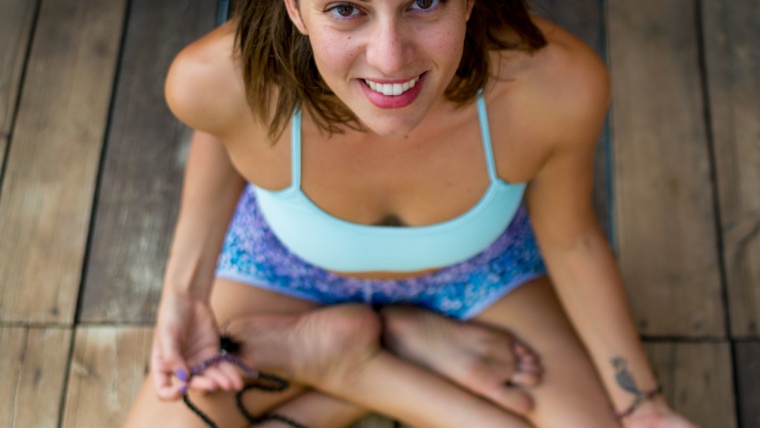
Last but not least… tell your clients to choose their clothes wisely, including their underwear!! If you don’t want to spend hours in Photoshop removing marks, folds and underwear that shows up… tell them to pick photo-session suitable clothes. And don’t hesitate in helping them to adjust their clothes during the photo shoot. It might seem like a joke, but believe me; you can save a lot of time and headaches here!
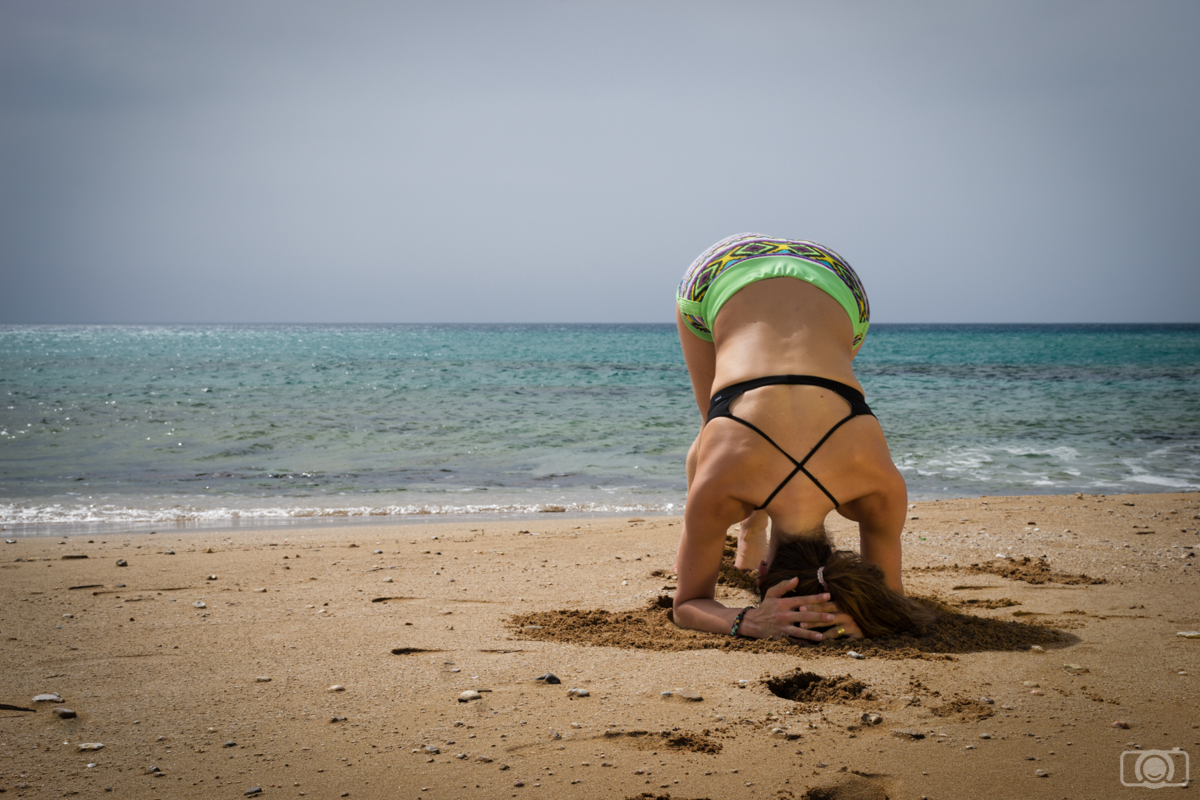
Tell your client to choose their clothes wisely, especially if they are going to be upside down and underwear can show up easily.
Tell me if you find these tips useful or if you miss something. I would love to know.
I am a biologist and a self-taught photographer based in Barcelona (Catalonia). Buddhist philosophy has a strong influence on me: I have a deep appreciation to life and I give a huge value to the little things that makes our days happier. I became a passionate about photography when I got my first camera and I understood that photography allows me to express my way of approaching life. I love learning so I am always willing to trying new things. These days I am shooting mostly nature and portraits.


 Facebook
 Google +
Comments (0)
There are no comments yet.