Have you ever wonder how much of your precious time and even more of your precious money will you need to create your own home studio?
Well, this went thru my mind couple of weeks ago after I needed to rent one. I started an online research, and I created one, and believe me it was not difficult and it did not cost much.

So let’s get started. First, you need space, extra room in your home, a garage, or a basement. Sure, if you don’t have extra room things get tricky, the cheapest solution, in this case, is to use your home.
Also if your space is wider, you will need a rope between the hooks and clamps so that you can stretch the sheet evenly. Don’t worry about the clamps because they will stay out of the photos.
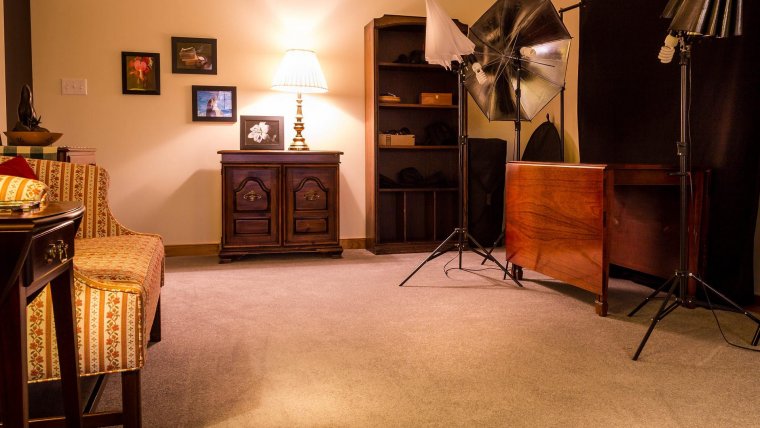
If you have constant lights facing your object, you will instantly see how is the light falling on. But these kinds of lights are showing a lack of power and brightness. Therefore, you will need additional light. Speedlight’s are compact and easy to operate on the set. The best way to use these lights is in conjunction with radio triggers and receivers. This allows you to use them off the camera and you can move the speedlights around the studio. But the best of the best is to have professional studio strobes. These are a dream come true when compared to the speedlights and constant lights, but they come with the highest price tag. They are seriously powerful, and they have very fast charging time that will never slow you down. But strobes are professional equipment and don’t consider them if your plans are a studio for a hobby.
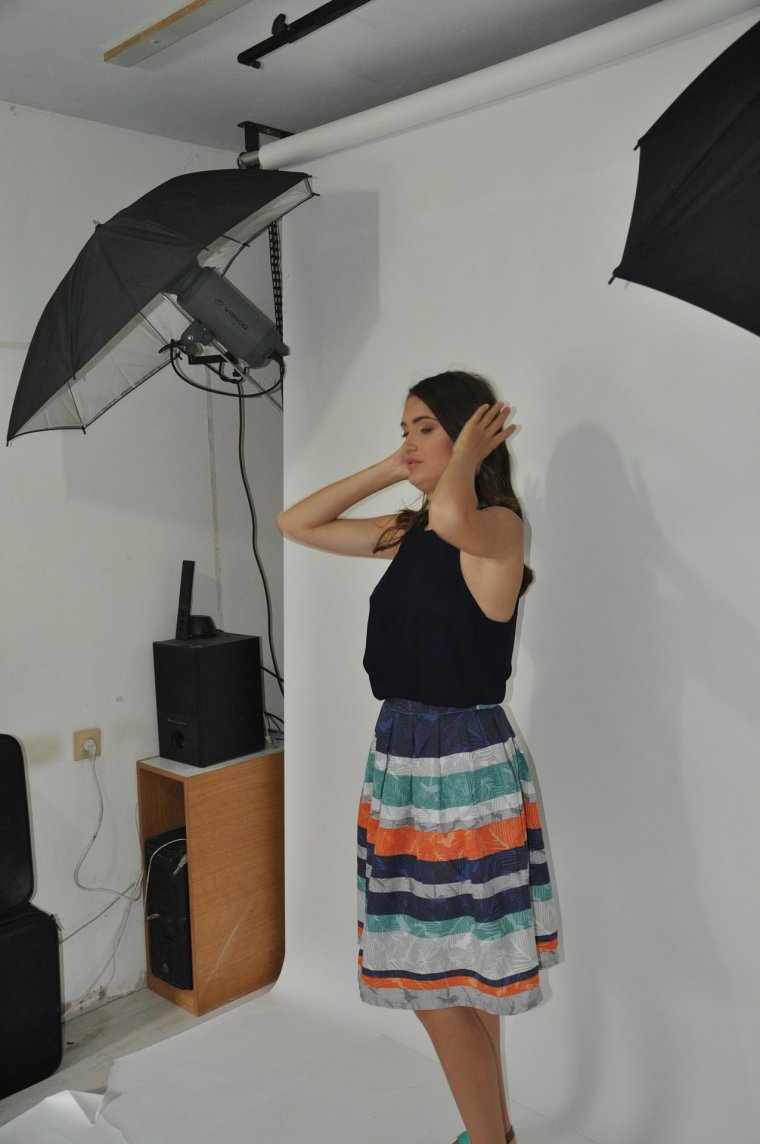
Umbrellas are here in the studio to spread light. This is a nice choice if you are trying to light a bigger area or a group of people. In the stores, you can buy different types of umbrellas, but for a home studio stick with a white umbrella or a silver reflective umbrella. These are highly portable and very cheap depending on what you get.
Now all of these things should be put in their own space. You don’t want somebody to trip over your equipment and make a mess of it. Having this dedicated space is also important because you don’t want your clients to feel like they have just invaded your personal space. Also, your clients, kids, or friends-models will appreciate the comfort in your studio, and this additional will influence the quality of your final product and to the will to collaborate with you.
Also if the ceilings are low, they will bounce of the light making the ceiling a big reflector board. If your photos show unwanted light, then consider putting a black piece of fabric on the ceiling only to suck the light.
After you are done with your studio preparations, you should practice a little bit, and find your perfect set up, depending on the object that you are shooting. Your photos will look very professional and if it is your first time at a studio you will be amazed of your final product. Don’t forget to hang some of your best photos on the wall. Probably your clients have already seen some of your work somewhere on the social networks or your web page, but seeing a printed photo is something else. Printed photo it’s an entirely different experience and really brings the photo to life.
As for the answer to the question, it takes me 2 days and 307$ (2x speedlights 96$, 2x Stands 76$, 2x umbrellas 60$, 1x reflector (5 in one) 45$, 1x sheet 20$, Clamps and hooks 10$) to create my own studio.


Please verify your software version before proceeding.
 I’ve verified my software version


 Facebook
 Google +
Comments (0)
There are no comments yet.