Adobe Lightroom’s Rating System Guide for Beginnerswww.sleeklens.com
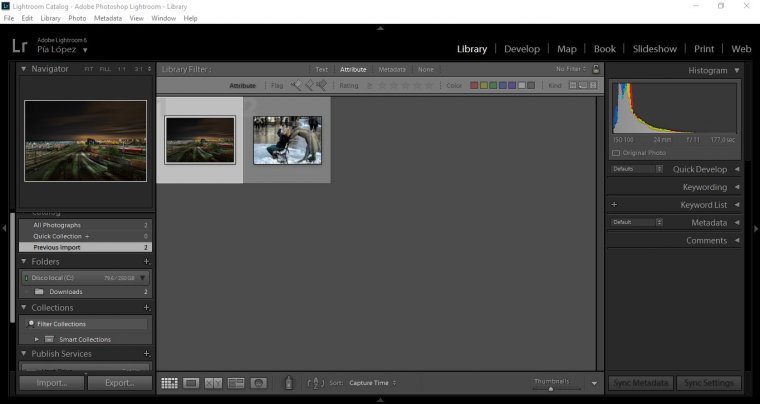
When you have hundreds, maybe even thousands of images you need a way to sort through them that’s both quick in practice and set-up. Lightroom gives the photographer several methods of tagging / attributing images ready to be put into collections and you may find you have a preferred method or actually find them all useful. Whatever the outcome, this Lightroom’s Rating System tutorial will talk you through the various tagging methods as well as give you tips on why rating your images is important.Lightroom offers three different rating systems – star ratings, flags and colors. Star ratings are usually used to record the quality or value of the photo, with 1-star photos being poor, and 5-star photos being the best you’ve ever taken. Grading the photos gives you more information to help you find the best photos again later. The downside is if you’re indecisive, you could spend ages trying to figure out whether a photo deserves 2 stars or 3, and as your photography improves, your older 3-star photos might only count as 2-star photos now. But, you can always change the rating on a photograph, so you don’t have to worry about it much, now. Flags are much simpler, having just 3 states – flagged, unflagged or rejected. It’s quicker to decide whether you like the photo or not, so if you find yourself dithering between 2 and 3 stars, flags might be the ideal system for you.Colors are kind of open to interpretation. This gives you a lot of flexibility, but it also means that in order to get the most out of color labels you will need to develop your own system. For example, when you are finished with a photo and it is ready to export you could mark it as green. When there is a photo that you know you want to print you could mark it as red. Photos that need more work could be set to yellow. The colors can mean whatever you want them to mean, you just need to decide on the system that will work for you.These three options are collectively referred to as “Image Attributes”.
Table of Contents
Why would you need this feature?
The answer to this question is simple. You need to use these features too:
Keep your workspace organised.
Easily sort through your library.
Save a lot of time.
Make your work a lot more friendly, neat and easy.
Easily separate and tell the difference between specific shots in various ways.
Like I said before, an image can be given a star rating ranging from 0-5, with 0 being the worst and 5 being the best. It’s best to apply the theory that the more stars an image have the better you believe it is. This will speed up your work-flow and stop things becoming confusing when you’re looking back through your images. Rating stars can be set or displayed in any view of the Library module (Grid view, Loupe view or Survey view). There are multiple ways to provide star rating to your image(s):
Select the photo that you want to rate, then choose Photo > Set rating and select a number from the drop-down list.
Alternatively, select the image you wish to rate and press a number from 1 – 5 on your keyboard to rate the picture.
Hover your mouse cursor over a thumbnail and to the bottom left you will see 5 dots appear. Clicking on these allows you to apply a number of stars to the image. But please note that this method works only in the Grid View.
Tip 1: You can select photos and press ] to increase the rating or press [ to decrease the rating.Tip 2: You may find the Compare View useful when applying stars as this will allow you to compare two similar shots side-by-side so you can decide which one deserves the higher score.
How to Flag Photos in Lightroom
The main purpose of flagging photos is to help you know which ones to keep and which ones to reject. When it comes to flags each photo will be in one of three states: it can be marked to keep, marked to reject, or unmarked.
The quickest way to pick or reject an image is to use the keyboard shortcuts: P – to pick an image. X – to reject an image. U – to mark an image as unflagged.
Alternatively, you can select an image in Grid view or Loupe view, and mark it as any of the three ( Flagged, Rejected or Unflagged). Choose Photo > Set Flag > Choose any of the options from the drop-down list. This method works in any of the views (Grid, Loupe or Survey)
Note: Marking a photo as “Reject” will not remove it from the Library. They will simply be grouped as rejected photographs.
A flagged image.
A rejected image would have a flag icon with a cross over it. (top left of the cell)
Colour Labelling
Labeling photos with a certain color is a flexible way to quickly mark a large number of photos. Like I mentioned before, colours are open to interpretation. They can mean whatever you want them to mean, and you just have to identify a system that works best for you. Like the other two attributes, the colour rating can be done in a number of methods:
Select the photograph that you want to rate, choose Photo > Set colour rating and choose a colour from the drop-down menu.
Alternatively, you can also use the keys 6-9 to select a particular colour. the “6” key for red the “7” key for yellow the “8” key for green the “9” key for blue
Unfortunately, the colour purple does not have a keyboard shortcut. Press the same number key again to remove the colour rating. Once applied, the colours will be visible around the images.
An example of what a colour-rated cell would look like.
That covers three of Lightroom’s most powerful features for keeping your photos organized. The key is to decide on your own system and then actually use it by tagging your photos.
We hope this article is helpful in guiding you to maintain a clean and organized workspace. Leave a comment below and let us know about your experience. And if you’re interested about lightroom’s features, check our post about Lightroom Masterclass in Clarity.
Navaneethan Viswanathan (best known as Navanee Viswa) is a professional photographer based in Chennai. After completion of his Engineering and Management degrees he worked as a Civil Engineer for almost 10 years and slowly realized that his true passion was in building good photographs rather than building a structured construction. This made him quit his job and become a full time photographer to pursue his passion. Now he specializes in Candid Wedding photography primarily, he also does Product photography, and Industrial photography.
Navaneeth is a trekker and a traveller, who enjoys photographing things he comes across during his travels. He contributes articles regularly to photography websites like Digital Photography School , and he also maintains a photography blog which is followed by many. This blog has lots to talk about photography and the techniques involved. His works have been exhibited at the photography exhibition organized as part of Art Chennai 2012. Many of his works have been chosen as best entries in on-line galleries like One Eyeland . Navaneeth is also well known in the industry for his photography related workshops.


 Facebook
 Google +
Comments (0)
There are no comments yet.