Shortcuts for Lightroom’s Develop Modulewww.sleeklens.com
Knowing some key shortcuts makes one’s job a lot easier and faster. It makes your work process faster and your job a lot more comfortable. In our previous article, we had discussed some key shortcuts to know while working in the Library module of Lightroom. So naturally, this article will focus on the next module- the one with a lot of action- the develop module of Lightroom. So, what is the Develop module? It is the part of Lightroom that lets you, literally, develop your image into one that looks magical and enticing. It is the part of Lightroom that allows you to process your image into something much better. So, knowing a few key shortcuts for this module will help you a lot in the long run.
Table of Contents
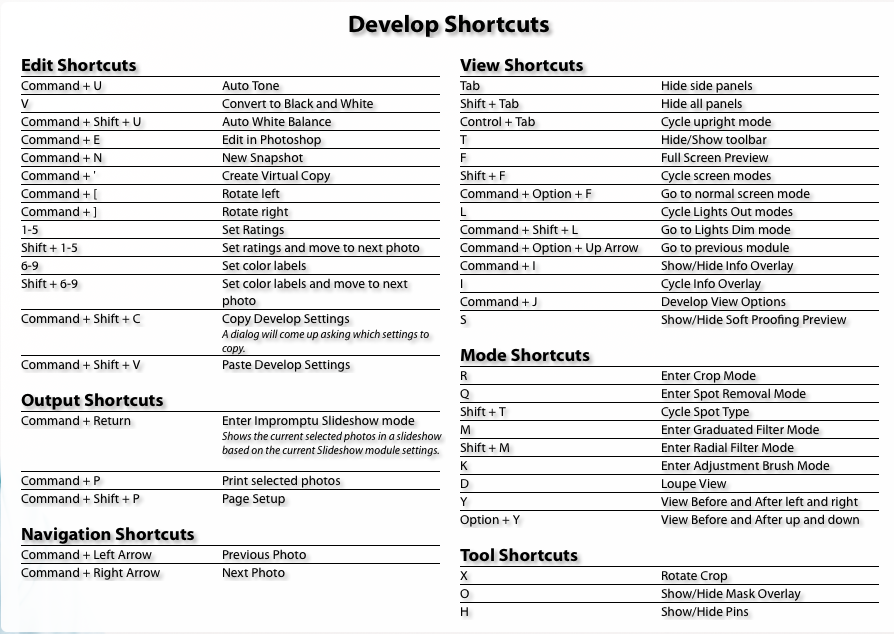
View All Lightroom Develop Module Shortcuts
Like in the Library module, “Ctrl + Alt + /” on the Windows or “Command + Alt + /” on the Mac will take you to a window that shows all the shortcuts applicable for the Develop module only. This is helpful when you quickly want to refer the shortcut for a particular process.
Develop Module shortcuts.
Display Options
Some people don’t like the hindrance of a hundred panels on the left and right, while processing an image. So, is there a way to hide all those panels from view? Yes. TAB
: Press the Tab key on your keyboard to hide the side panels from view. Press the Tab key again to view the panels.
F : Press the F key to enter full-screen mode. Now, work without any disturbance!
L : While working on the image, press the L key to dim the lights surrounding the image. This highlights the image area and helps you to view your progress better. Press the L key again to remove light completely from the surrounding area. And press the L key again, to bring the lights back on.
Dim lights . These settings can also be changed in Preferences.
Adjustment shortcuts for Basic Panel
If you are in the habit of using your keyboard in Develop module, then you should know some of these keys to control the entire basic correction panel only. 1. Press period (.) or comma (,) for selecting a slider (e.g., Exposure) 2. Then press plus (+) to increase the value and press minus (-) to decrease the value of the same. 3. Now press period (.) to go to the next.
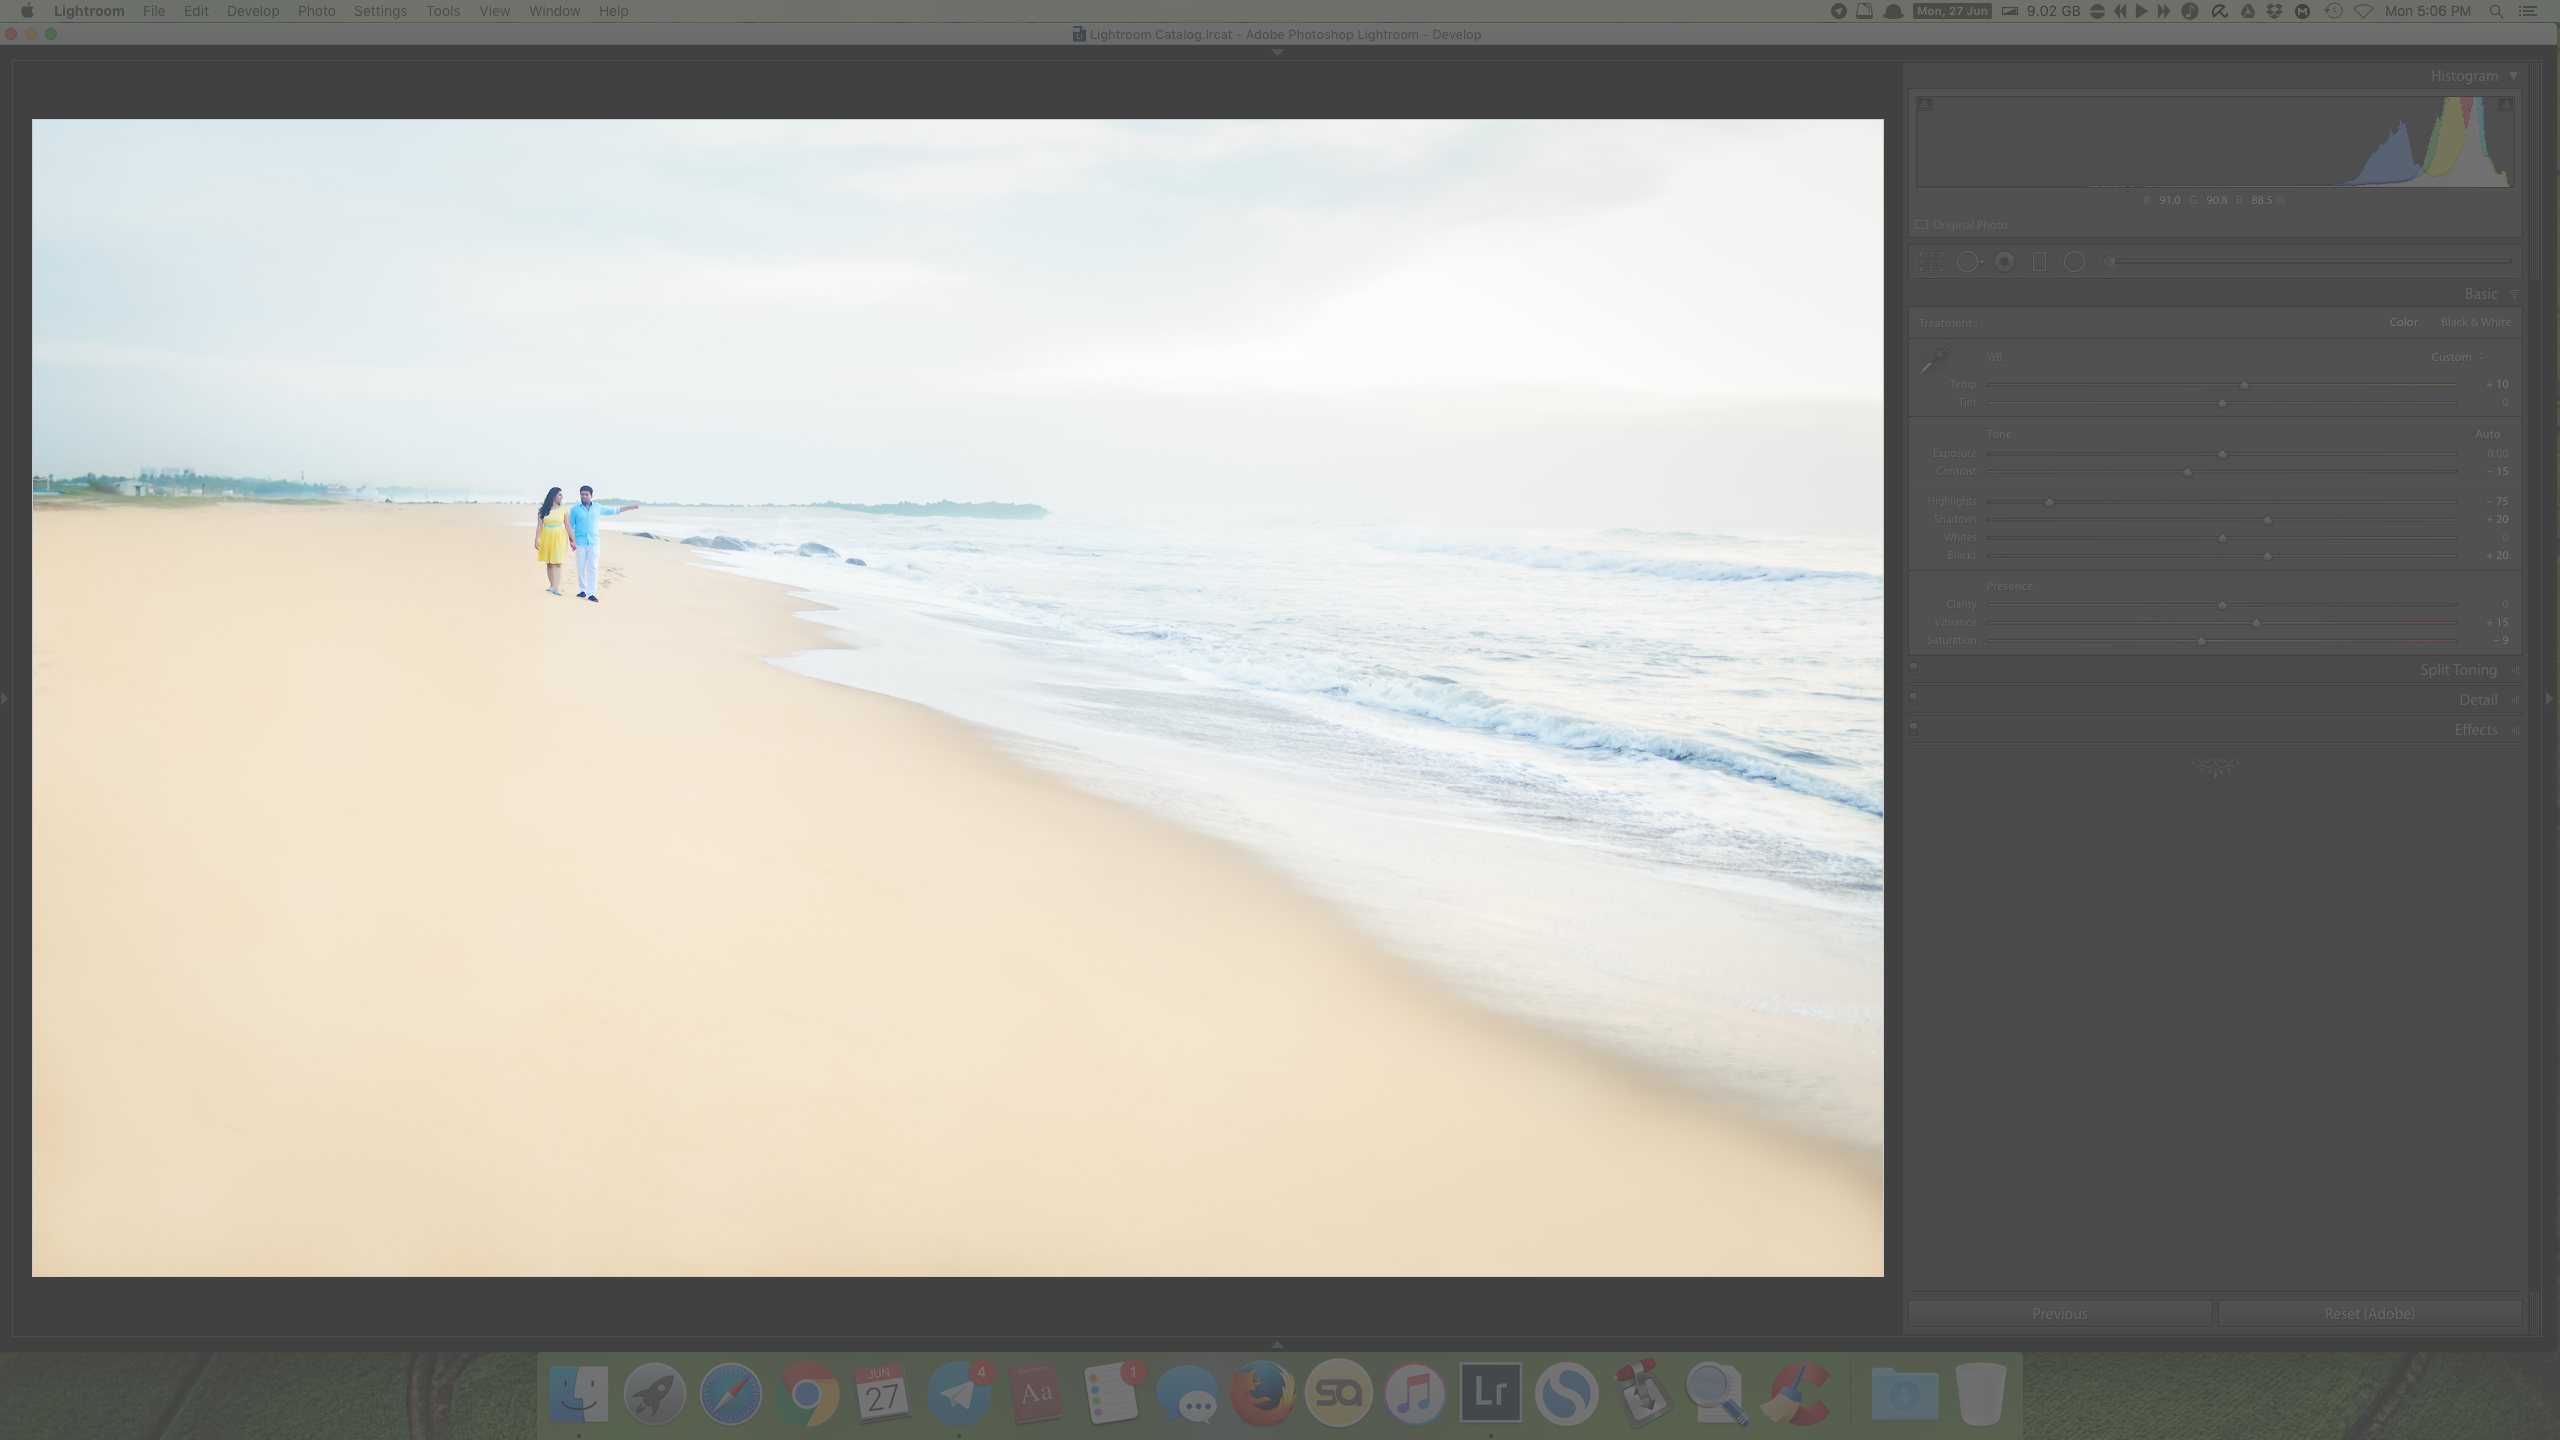
Basic Correction Panel
Tip:
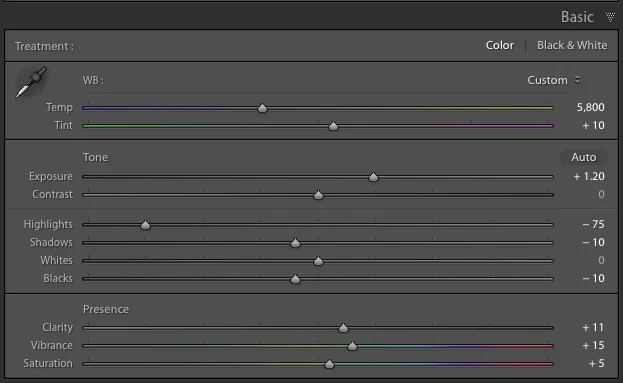
You can save any of the local adjustment tool settings as a preset which can be used for any of the tools. For example, if you are a portrait retoucher, you may want to save your favorite skin-softening settings as a preset. You can do that by clicking “Save as a preset” at the bottom of the local correction tool set. Likewise you can save any kind of settings which you may use often.
Save settings as Preset shortcut.
Auto Tone & Auto White Balance
Most of the time, you start with and finish with the Auto Tone in Lightroom specially if the photos are family or friends photo or even vacation documentation collections. When you don’t want to spend a lot of time setting your WB and retouching:
To set Auto WB:”Ctrl + Shift + U” on Windows ; “Command + Shift + U “ on Mac
To set Auto Tone:”Ctrl + U” on Windows ; “Command + U “ on Mac
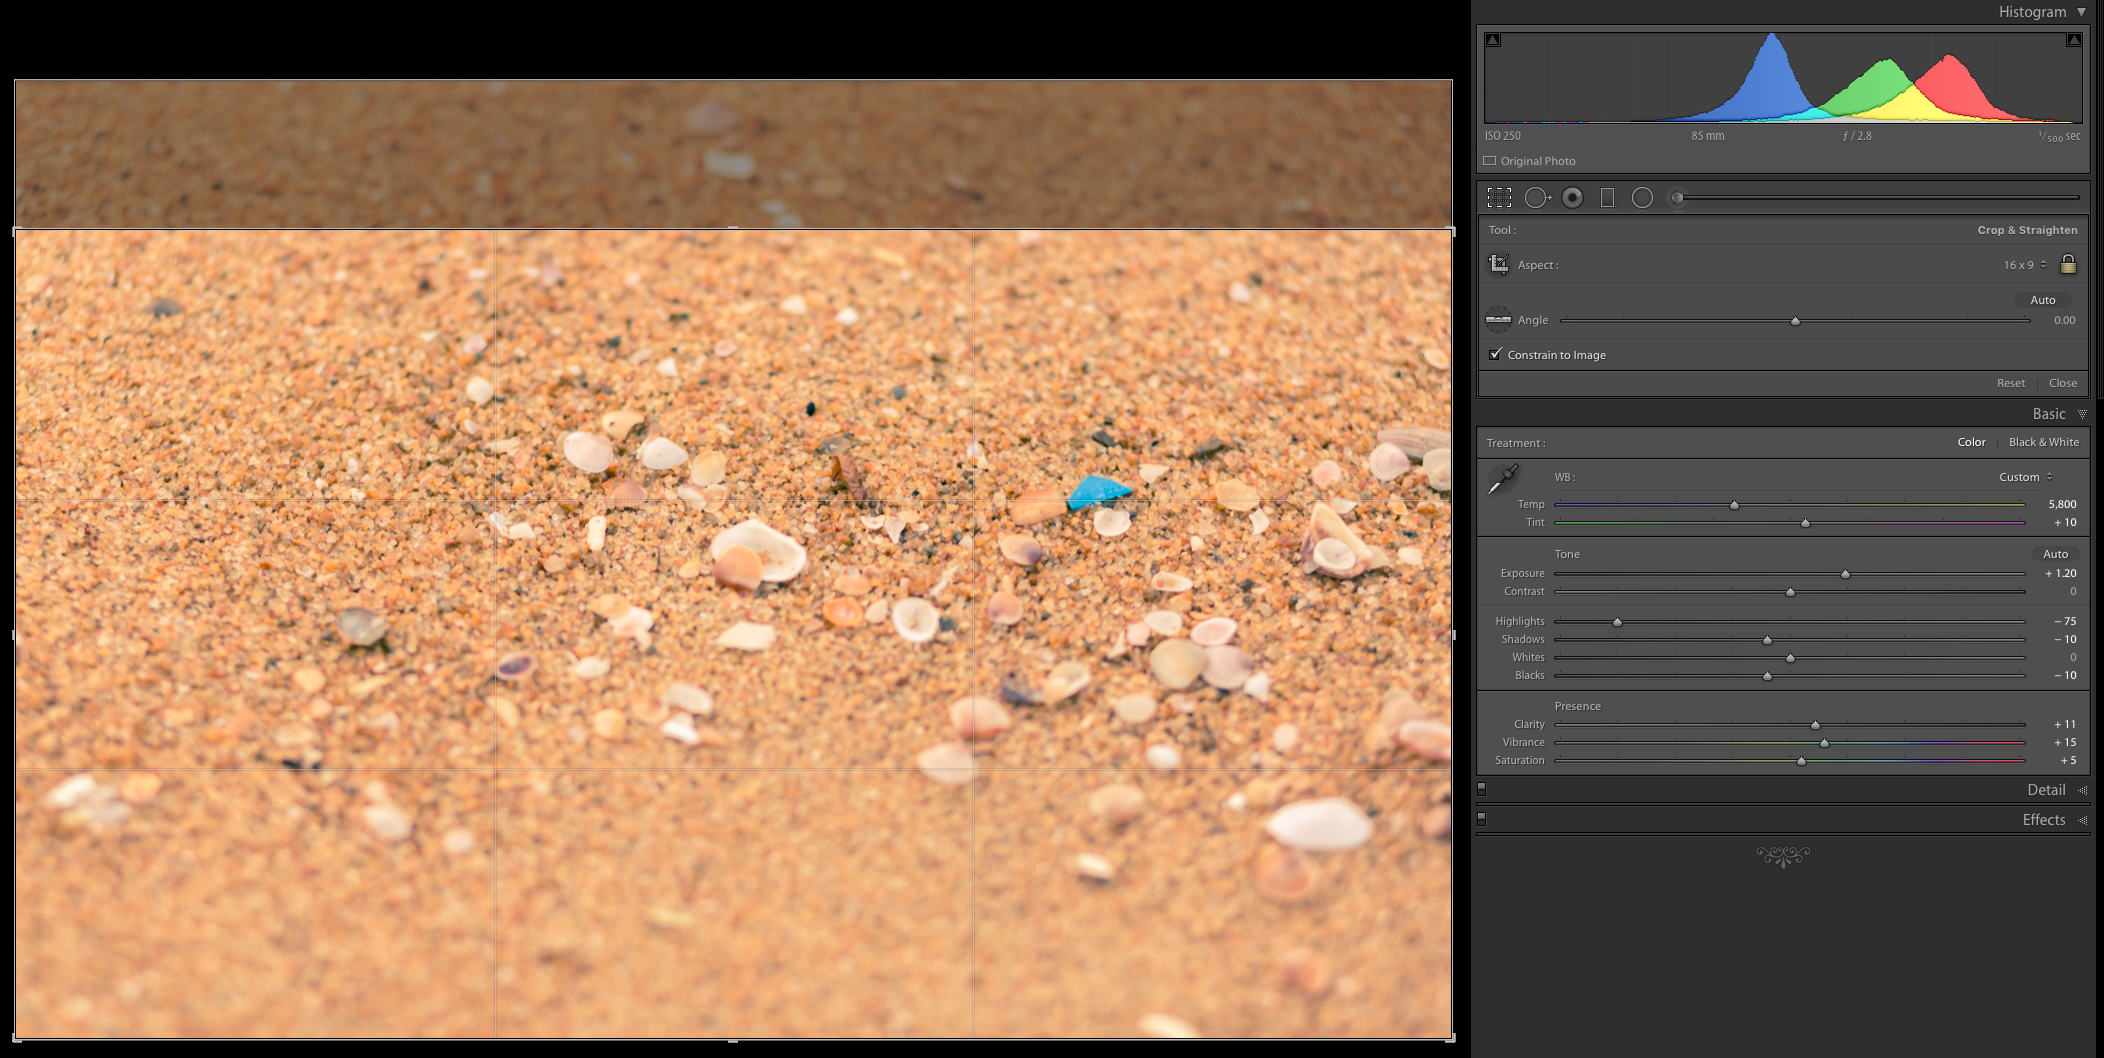
Cropping And Straightening
The Straighten Tool within Crop tool can be used to straighten out a photo by drawing a line across the horizon that should be a straight. The crop will automatically adjust itself so this line. This is useful if the horizon line is not leveled or you want to straighten against a pillar or vertical line. If you have many photos that need leveling or straightening, you can speed up the process by using this shortcut: Just press R to go to the crop tool. Now to straighten with the keyboard rather than accessing the Straighten Tool by clicking on the icon in the panel, just hold down the Command (Mac) / Control (Win) key and the straighten tool will appear. From there just draw the line and the crop will adjust. This is a quick way to straighten a photo without needing to click on the tool itself.
Cropping and straightening.
Tip:
O : Show Cycle Crop grid overlay.
Shift + O : Show Cycle Crop grid overlay orientation.
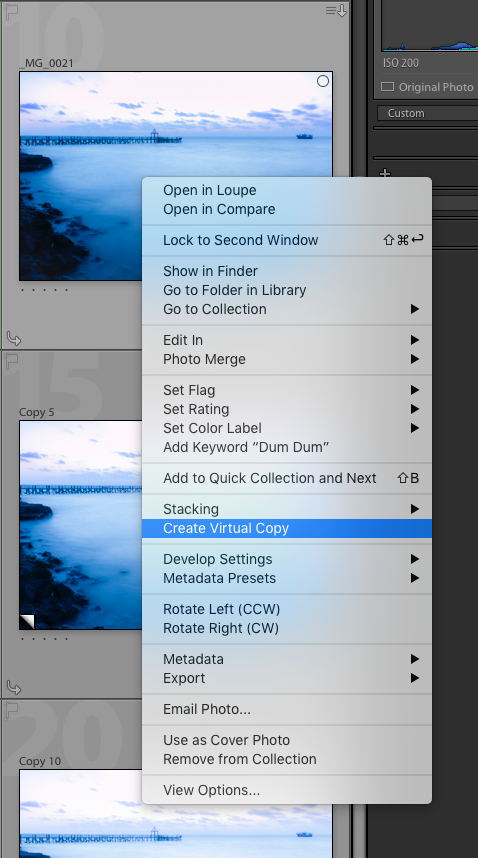
Create Virtual Copies
For those of you aren’t aware of what virtual copies are, read our previous article on the significance of virtual copies in Lightroom, to know more about their uses. Now, for those of you use virtual copies regularly, did you know that “Ctrl + ‘ “ on Windows or “ Command + ‘ “ on Mac will create a new virtual copy? Yup, it’s that easy. You don’t have to right click the image and select “Create Virtual Copy” every time. Make work faster, use the shortcut!
Create a new virtual copy.
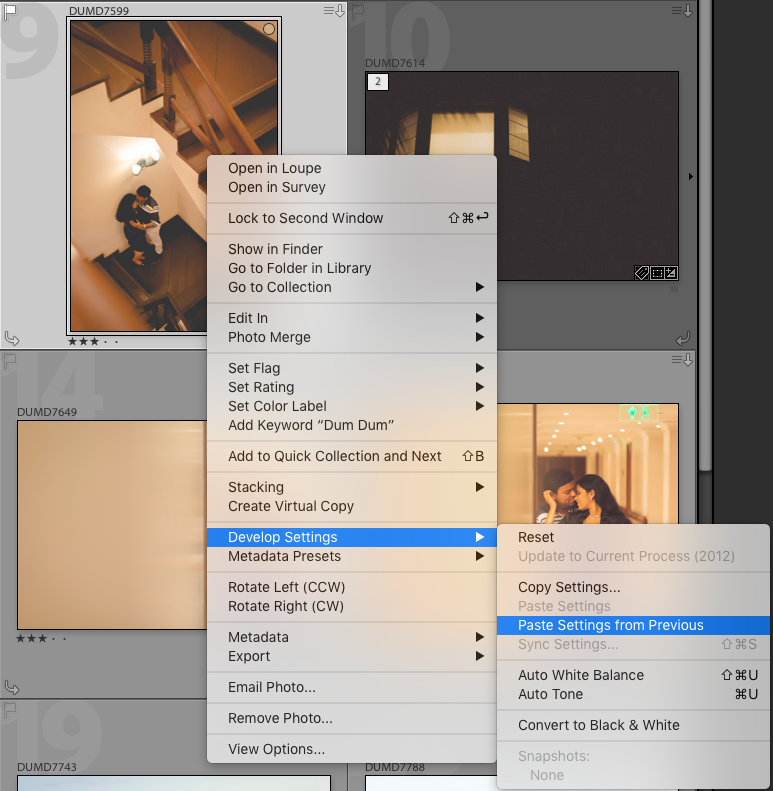
Paste Settings from one image to another
Shortcut: “Ctrl + Alt + V” for Windows or “Command + Option + V” for Mac. Transfers all the adjustment settings from the selected photo onto the current photo. When you have images that require similar processing, this is the most valuable and time-saving shortcut!
Paste settings from one image to another.
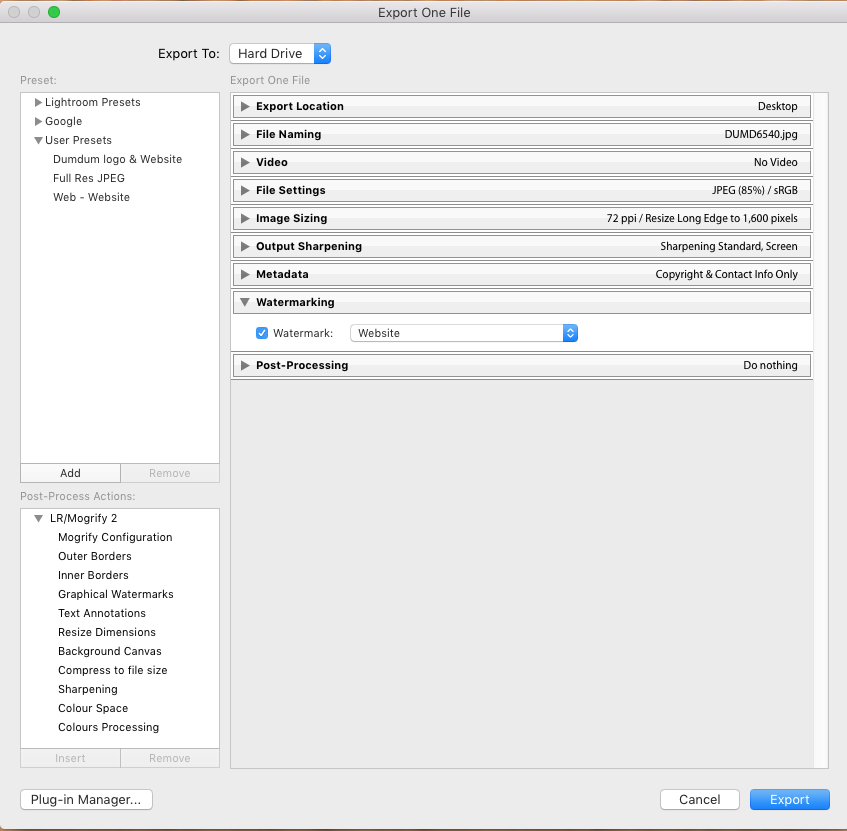
Export your Image
So, the easiest way to export your image is to press “Ctrl + Shift + E” for Windows or “Command + Shift + E” for the Mac.You can export photos using the same settings from the most recent export session that was set manually, including modified presets. Use “Ctrl + Alt + Shift + E” or “Command + Option + Shift + E” and export the image with the previous settings saved. Easy! Now, need to mail the image to the client for approval? Need to show your boss before printing? What do you do? Use “Ctrl + Shift + M” or “Command + Shift + M” to email the image directly from Lightroom to the recipient.
Export settings.
We hope this article was helpful to you. Please share your comments below and let us know if we have missed out on any other interesting shortcut.
Navaneethan Viswanathan (best known as Navanee Viswa) is a professional photographer based in Chennai. After completion of his Engineering and Management degrees he worked as a Civil Engineer for almost 10 years and slowly realized that his true passion was in building good photographs rather than building a structured construction. This made him quit his job and become a full time photographer to pursue his passion. Now he specializes in Candid Wedding photography primarily, he also does Product photography, and Industrial photography.
Navaneeth is a trekker and a traveller, who enjoys photographing things he comes across during his travels. He contributes articles regularly to photography websites like Digital Photography School , and he also maintains a photography blog which is followed by many. This blog has lots to talk about photography and the techniques involved. His works have been exhibited at the photography exhibition organized as part of Art Chennai 2012. Many of his works have been chosen as best entries in on-line galleries like One Eyeland . Navaneeth is also well known in the industry for his photography related workshops.
All wonderful tips and tricks, but how do you EXIT from the Develop Shortcuts window? I cannot for the life of me get it to go away. Without having to restart Lightroom, that is. Thanks in advance 🙂


 Facebook
 Google +
Comments (1)
All wonderful tips and tricks, but how do you EXIT from the Develop Shortcuts window? I cannot for the life of me get it to go away. Without having to restart Lightroom, that is. Thanks in advance 🙂