Adobe Lightroom and Image Stacking

Rating: 5.00 based on 1 Rating
  By Navanee Viswa
Adobe Lightroom and Image Stacking www.sleeklens.com

Stacking images in Library module in Lightroom is nothing but putting together similar photographs into a group. The images that you group are layered on top of one another with the most active image placed on top. You can expand the stack to view all the images when you need to. Image Stacks in Lightroom are great for organizing photos that are visually similar – to make your catalogs easier to browse.

An expanded image stack.

Stacking photographs is highly helpful to keep your library & filmstrip organized, stacking is especially helpful in organizing a portrait photo session photos, but you can use it for any kind of shoot you feel apt. When grouping photos in a stack, the photos are stacked according to their sort order in the Grid view, with the active photo at the top of the stack.

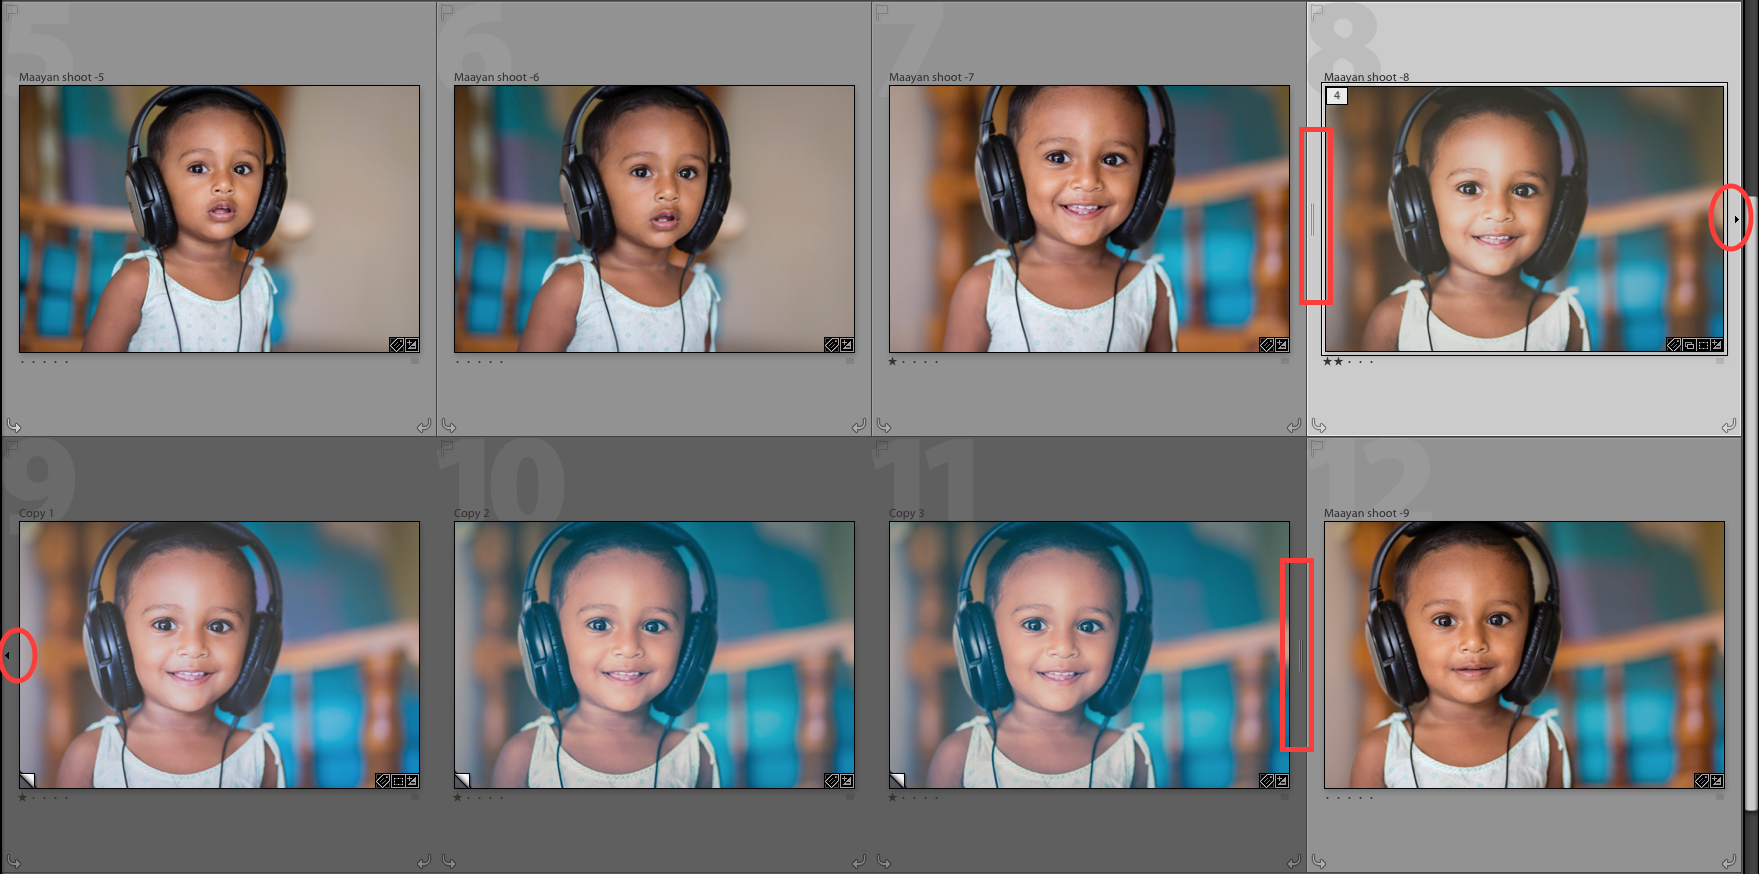
The stack images are shown to the user by displaying some symbols around the cells and over the images as well.

Screenshot 2016-06-21 12.51.50

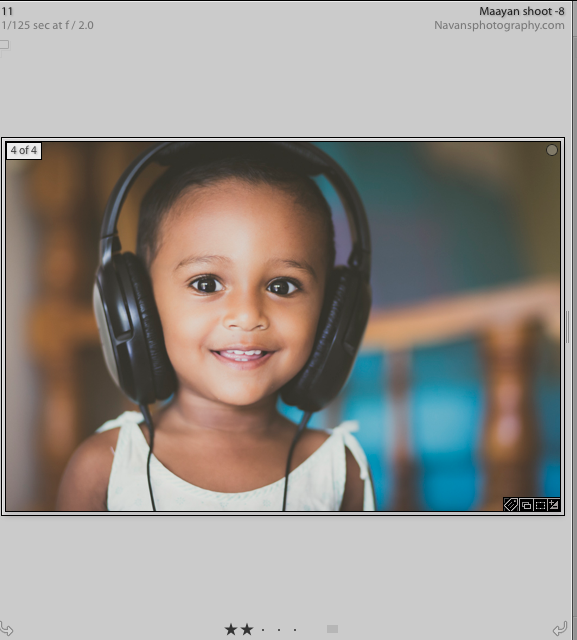
The number of photos in the stack is displayed in the upper-left corner of the thumbnail.

To see the images under the top image in the stack, use the command Photo > Stacking > Expand Stack, or press the S key. Clicking the vertical bar at the side of the top image will “expand” the stack so you can see the underlying images, and clicking it again “collapses” the stack. Stacking the photos lets you easily access them all in one place instead of having them scattered across rows of thumbnails.

Stacking features

Few features of stacking in Lightroom:

  • Now if you add a single photograph from a stack to a collection, that particular photo alone will be part of the collection and not the entire stack.
  • If you wish to remove one single photograph from a stack, just right click on that particular photograph; Right click → Stacking → Remove from Stack. This will remove that selected photograph from the stack. Removing photos from a stack keep them in the Lightroom catalog. Deleting photos from a stack removes them from both the stack and the catalog.
  • Split Stacking – This is when you want to split an existing stack into two separate stacks.

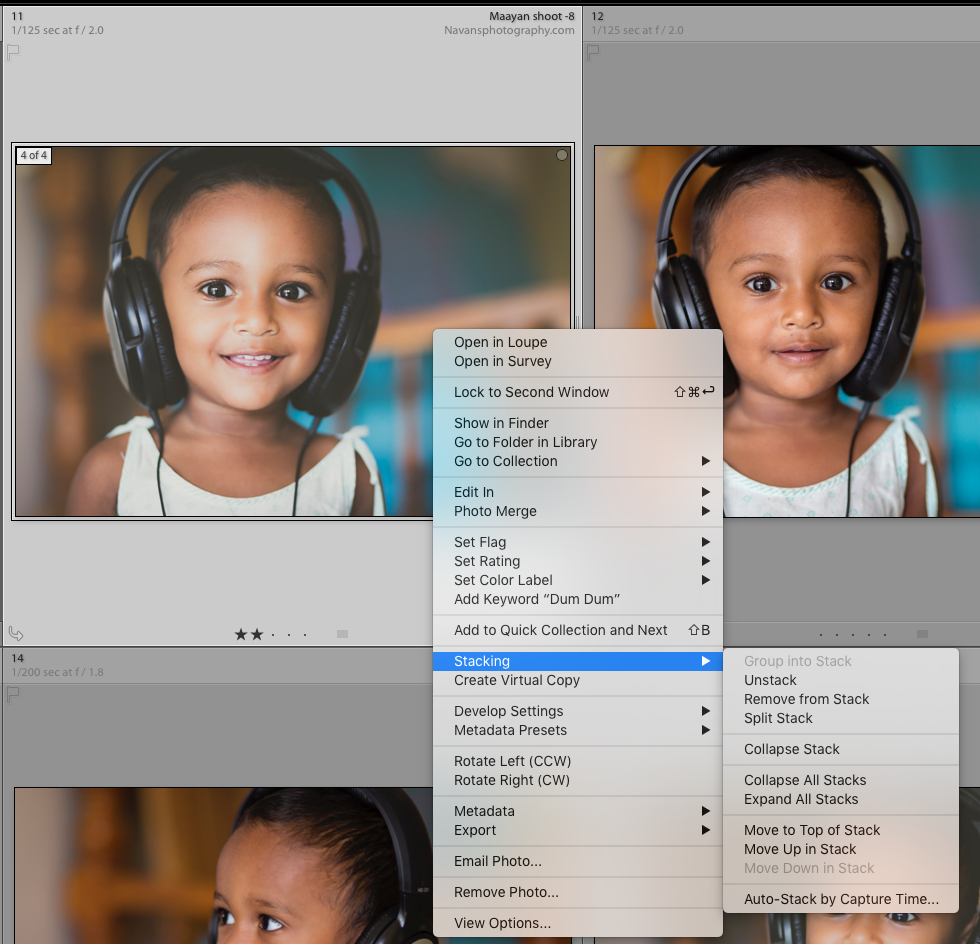
    Note: The Split Stack command is not available if you select only the top photo in a stack.

  • Collapse All Stacks – This will collapse all stacks to show only the top-most pictures on the library grid.
  • Expand All Stacks – This will expand all the stacks in your library to show you detailed images in each stack.
  • You can change the order of images in a stack as well. Within the Photo > Stacking menu, there are menu options to move an image to the top of the stack or to move an image up or down in the stack. But you can also drag and drop the images to place them in the desired order.To move the image up the stack: Shift + Left Bracket

    To move the image down the stack: Shift + Right Bracket
  • Auto-Stack by Capture Time –  you specify how closely together in time the photos have to have been captured. As you can imagine, the longer the time between photos allowed, the more stacks of unrelated photos you are likely to get.

Auto Capture-time dialog box

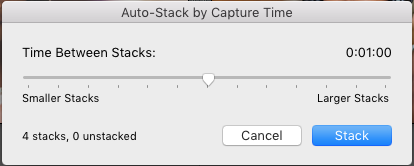
Auto-Stack Capture Time dialog box

In the Auto-Stack By Capture Time dialog box, drag the Time Between Stacks slider to specify the minimum duration between capture times that creates a new stack. The timer can be set up to one hour. Once you select the capture time frame, Lightroom tells you the number of the images that will be included and the number of images that will not be included. It also shows you an immediate preview of the stack. The images that are included in that particular stack will be in a light gray cell. This preview updates immediately as you change the Timeframe.

I hope this article helped you declutter your library a bit. Let us know your feedback in the comments.

Rating: 5.00 based on 1 Rating
The following two tabs change content below.

Navanee Viswa

Navaneethan Viswanathan (best known as Navanee Viswa) is a professional photographer based in Chennai. After completion of his Engineering and Management degrees he worked as a Civil Engineer for almost 10 years and slowly realized that his true passion was in building good photographs rather than building a structured construction. This made him quit his job and become a full time photographer to pursue his passion. Now he specializes in Candid Wedding photography primarily, he also does Product photography, and Industrial photography. Navaneeth is a trekker and a traveller, who enjoys photographing things he comes across during his travels. He contributes articles regularly to photography websites like Digital Photography School , and he also maintains a photography blog which is followed by many. This blog has lots to talk about photography and the techniques involved. His works have been exhibited at the photography exhibition organized as part of Art Chennai 2012. Many of his works have been chosen as best entries in on-line galleries like One Eyeland . Navaneeth is also well known in the industry for his photography related workshops.

Comments (0)

There are no comments yet.