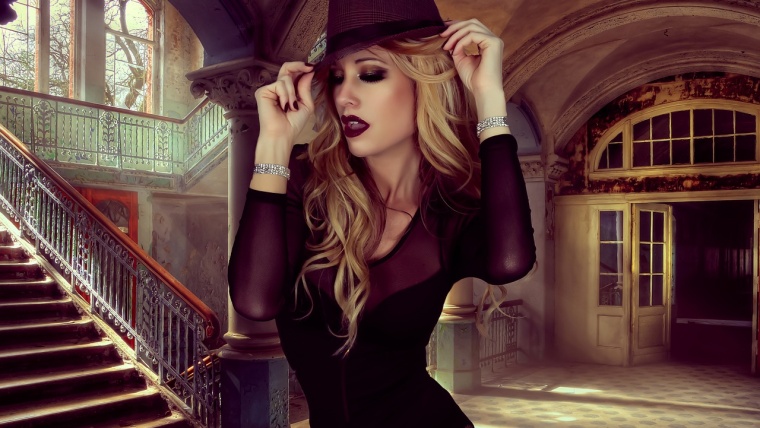
Hi Everyone, in this tutorial we’re going to be taking a look at how to retouch your portraits.
This one is for all you budding Fashionista Portraitists out there.
Normally I would use Photoshop for this task, but I’m going to show how to do it in Lightroom also, if you’re a lightroom purest.
So hopefully you’ll get a lot out of this tutorial 🙂
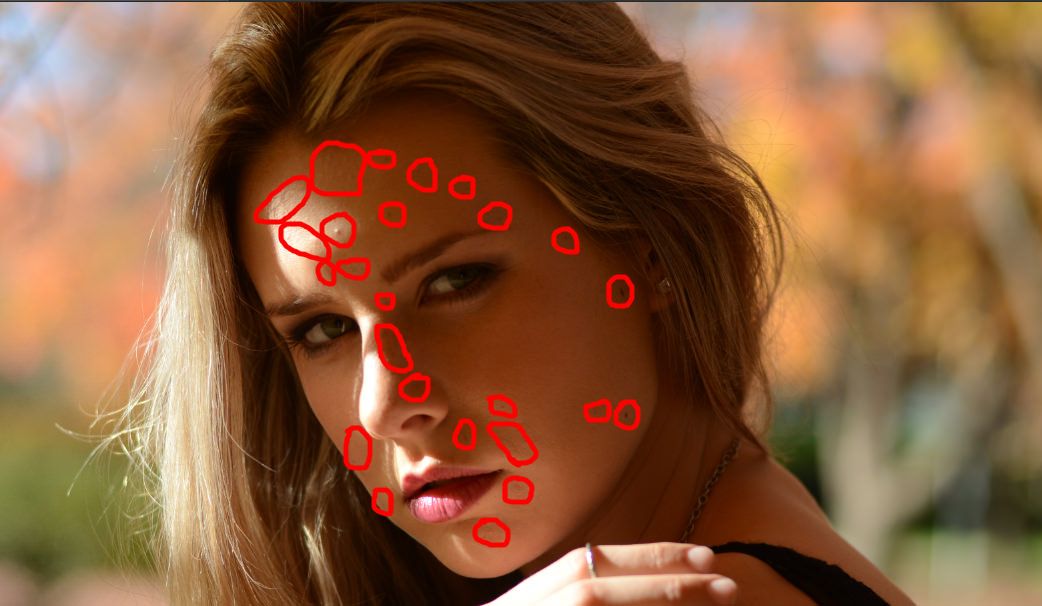
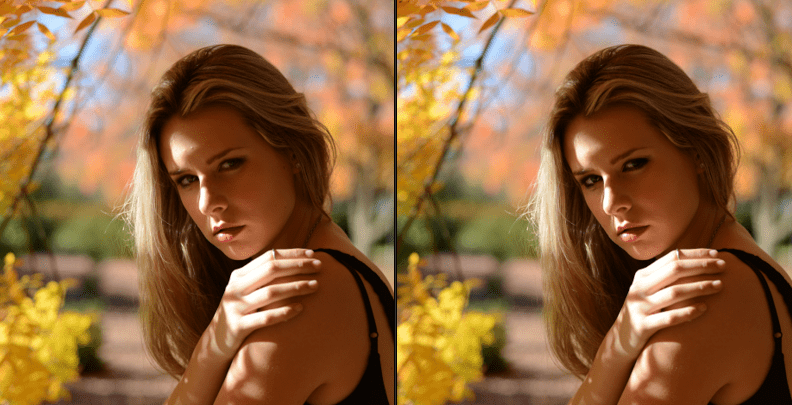
So, the first thing I would look for are any Moles, Spots or Wrinkles on my portraits face and make a list on a piece of paper of what I want to retouch, in the image below you will see examples circled.
Press (Q) and this will take you directly to your Spot Removal Tool.
Add a little feather, make sure your Opacity is up around 70-100% and remember you can click on [ or ] to change the size of your brush back and forth.

(Ctrl +) will Zoom in on your image and then we just start to remove the little Spots and Blemishes one by one.

You can move your image around by pressing SPACE BAR, then you will see a little hang, you use that to click and drag to different areas around your Portrait.
Clicking and dragging your Spot Healing Tool around will help you erase any wrinkles that the subject may have, make sure with that, you decrease the size of your brush more.
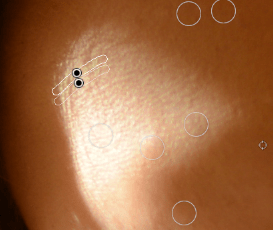
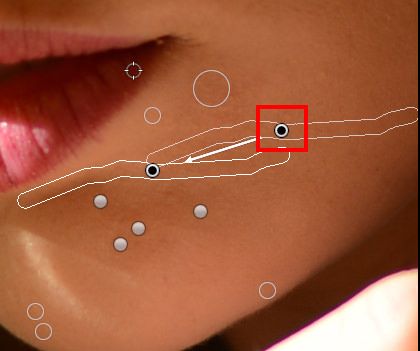
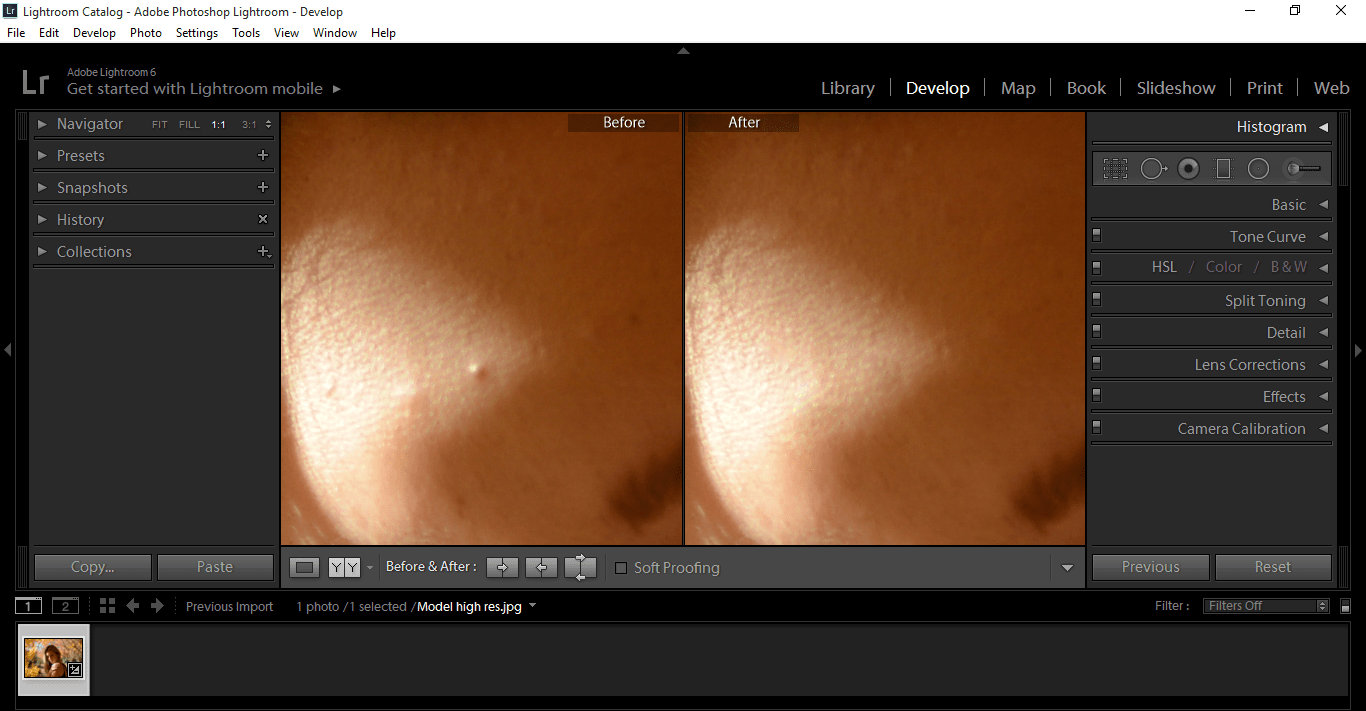
Lightroom samples a spot where it thinks it is similar, though sometimes the spot it chooses is not good to say the least, as in the image shown below.
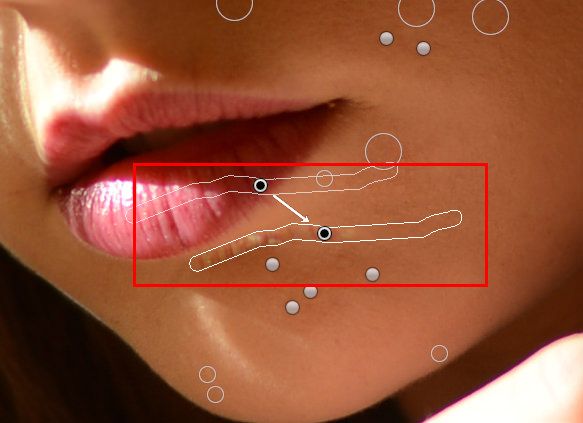
So, you then click and drag the second circle indicated below to an area that suits much better.
Ok, so now we got that done and hopefully you are happy with your results. I would suggest taking your time and going over the face a few times until you are completely happy, though in saying that don’t go overboard, you still want your portrait to look realistic at the end.
I would say a 70-80% Retouch is better than a 100%, you still want some character to remain, but that’s my opinion.
Anyway…
Next up, let’s Soften the skin a little, so click on (K) to bring up your Brush Tool.
So just in case, reset your brush, where it says Effect you can double click on that or hold the Alt key and press Reset.
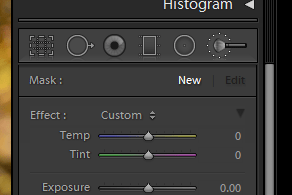
In the dropdown where it says Custom you will have some settings.
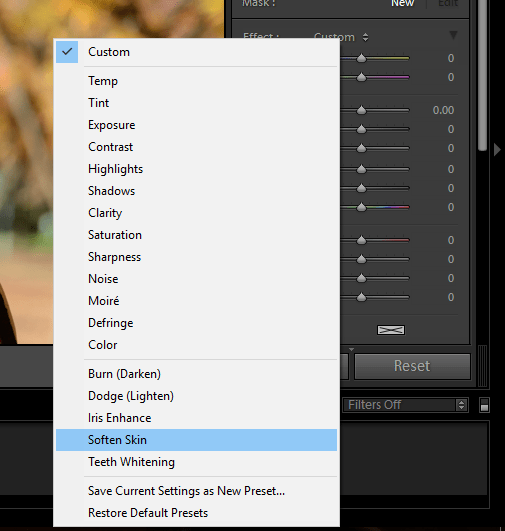
And we’re going to click on Soften Skin, you can also see other settings in there such as Teeth Whitening all I can say is that they do exactly as they say. So, if your model is after a bit of Teeth Whitening, you use that tool, if you want to Enhance their eyes, you use Iris Enhance and so on.
Easy 🙂
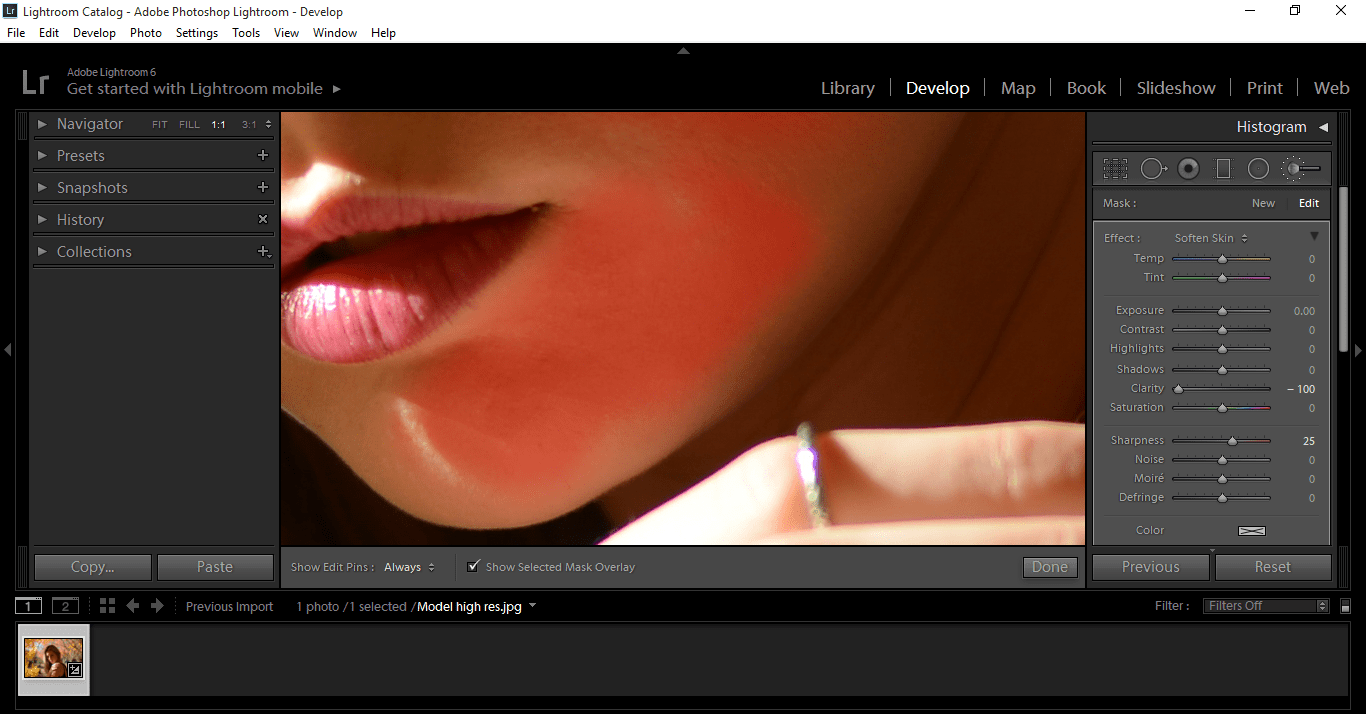
Now you just paint onto the skin.
Pressing (O) will show an overlay as to where you have been painting, so that helps as a good guide. Make sure to leave areas that you want to remain sharp such as the Eyes and Mouth etc.
At any stage while painting, you can press Alt and it will open your brushes minus options, then you can paint back and erase any mistakes or overlaps.
Clicking this little icon shown below will change back and forth from your original to what you have been working on, make sure you disable the overlay by pressing (O) for a best view.
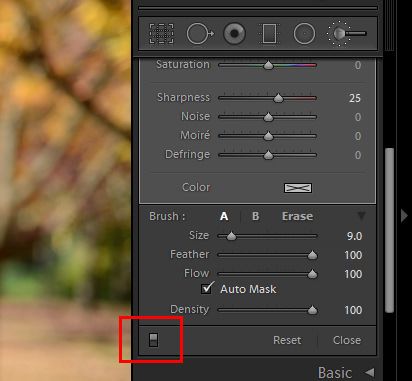
If it’s a little strong, you can work with your clarity slider to bring it back a little.

When you’re happy with your results press Done.
Now we will repeat the steps above, but this time instead of clicking on Smooth Skin, we’re going to be Enhancing her eyes.
So make sure you reset your brush (double clicking on effect)
Zoom in on her eyes and paint over her Iris.
Pressing (Y) will take you to a split view mode where you can look at the differences from the before and after, then you can zoom in and out as normal.
Other retouches that you may want to do is to sharpen up her eyes a little, for example. So for that, reset your brush, increase you Clarity and Sharpness and paint on to the areas you want, changing the size of your brush and pressing Ctrl Z to erase as you go along. If your settings are too strong, then decrease Clarity and Sharpness and try again until you reach the result you are most happy with.

And we’re done 🙂
This is a very basic introduction into retouching, my retouches are very subtle and my picture was pretty good to start with so I didn’t have to do a lot. Sometimes you may get pictures that need a lot of work to go into them, but this will give you a great start.
Some Presets that will really enhance and help your portraits are:
Chasing Light Workflow Presets
Strike a Pose Portrait Workflow
These are all excellent additions to any Portraits.


Please verify your software version before proceeding.
 I’ve verified my software version


 Facebook
 Google +
Comments (0)
There are no comments yet.