Tag: compare

Complete Guide to Flash for Beginners (II): Things to Consider when Buying an External Flash

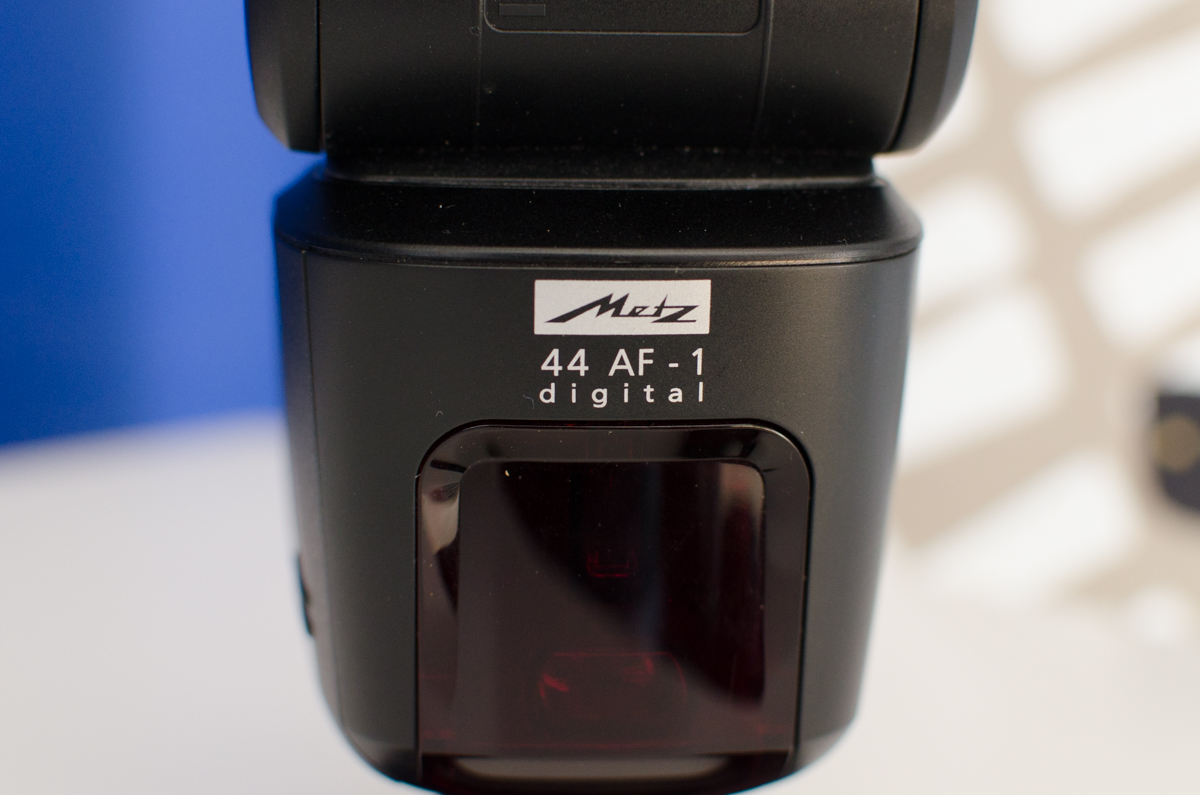
In the previous article, I talked about the advantages and disadvantages of using an external flash. If you decided that it is time for you to get one, now you will face the big question: Which one should I buy? I struggled quite a lot before I got my first flash because I didn’t understand well the specifications. In addition, I did not know what I needed to have in order to answer my requirements. Today I will share with you everything I learned in the process of buying a flash. I hope this will make it easier for you!

external flash for beginners


Get to know what the specifications of a flash mean

When you are new into flashes, it might seem that the specifications and reviews are written in another language. TTL, guide number, flash value, zoom coverage, bounce capacity, speed sync…. a lot of new terminology you never heard before! Let’s go over all of them. You will be able to understand flash terminology in a flash (sorry, couldn’t resist the pun)!

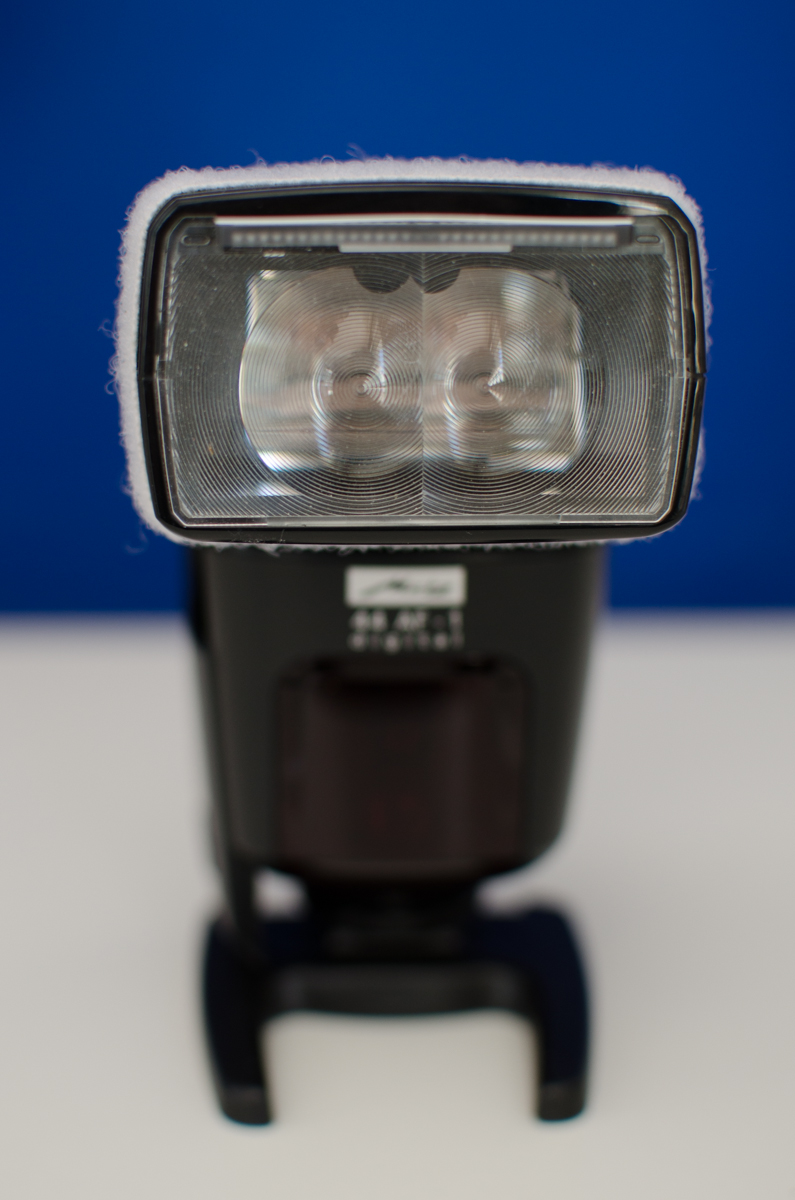
Guide number: measures the flash’s ability to illuminate the subject so that it will have a balanced exposure. It is calculated as the distance the subject from the flash times the f-value of the aperture (in order to simplify it, the calculation is usually done with the iso value of 100). This calculation can help you decide on the type of flash you should buy but also can help you to decide on placement in the photo when using the flash you have and your camera settings.

Zoom coverage: indicates how far the light from the flash can reach (and still be effective for the photo). Some flashes can adjust the distance to be synchronized with the zoom of the lens

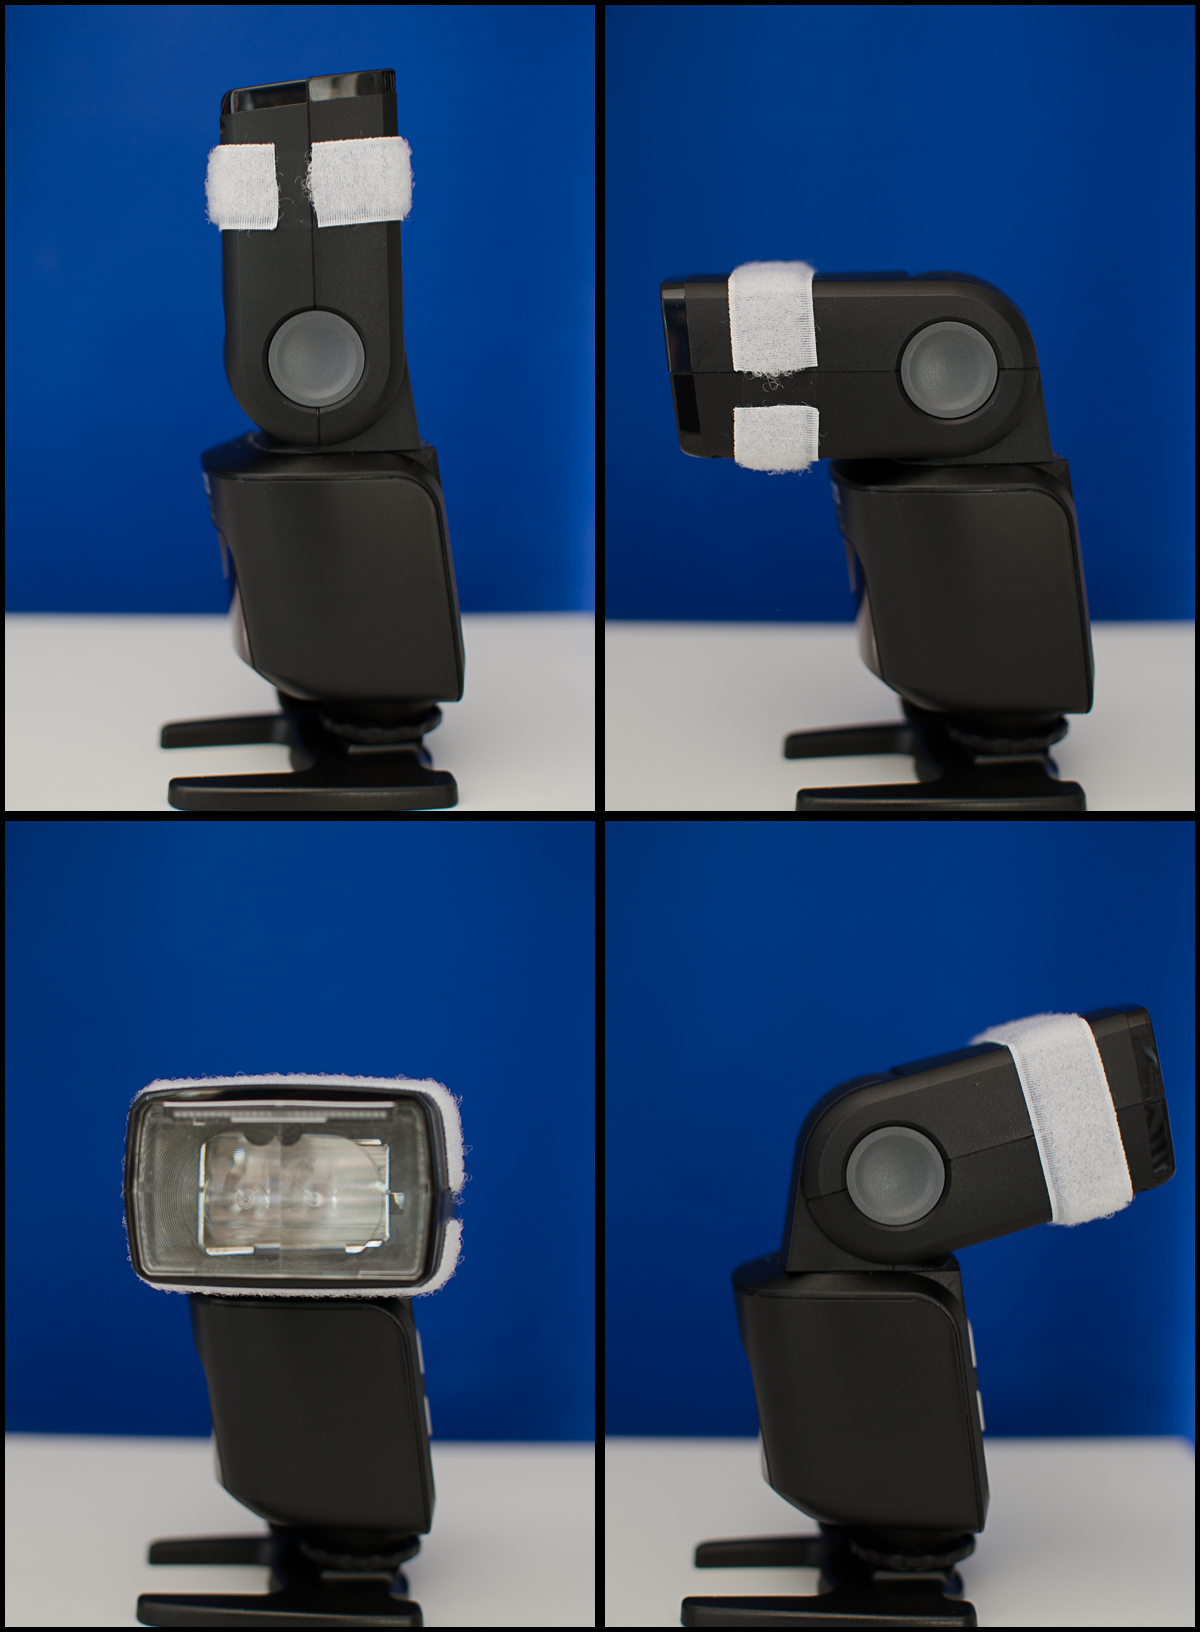
 Bounce capacity: Certain flashes have swivel and tilting heads. This feature enables you to use the flash not only for illuminating your subject with direct light (which can be too hard in certain situations) but also to reflect (or bounce) the light off of surfaces, softening it in the process.

external flash for beginners

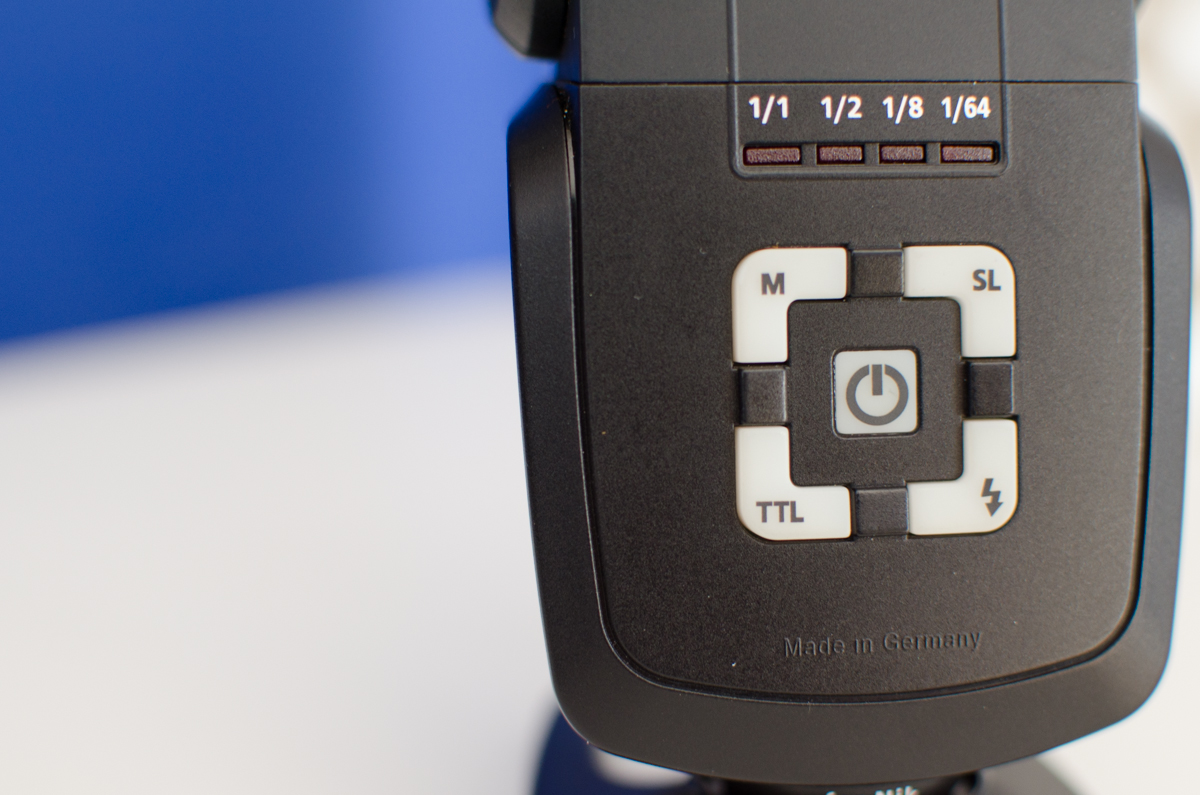
Speed Sync: When using a flash two actions happen: the shutter opens to expose the sensor (or film) to light and it discharges a burst of light onto the subject. In the basic level, these two actions need to be synchronized in order to be effective. In a more advanced level of flash usage, if it fires closer to the moment the shutter opens or having the flash closer to the moment the shutter closes will of light closer to the yield different effects.

TTL: In the camera, you have different modes to choose from: auto, aperture, manual etc. The external flash also has several modes of action. In manual mode, you set it as you want and the settings will remain that way until you change them. In TTL mode your flash changes its settings according to instructions from the camera. The camera tells the flash to discharge twice; first before the shot to allow the camera to adjust the flash settings, and second while taking the shot itself (while the shutter is open) in order to illuminate the subject.

external flash for beginners

Evaluate the use you will make  

Choosing between one flash model and another will depend on the usage you intend for it. Some of the most frequent uses are:

  • Indoors portraits: When you take photos of one or two people in small and closed spaces, as is usually the case with indoors photography, you’ll mostly use the flash to remove shadows and give a bit more of light to the scene. You don’t need a super powerful flash with long coverage because you are usually close to the model and your light conditions are not the worst (you are not shooting in total darkness). However, it will be nice if you have TTL (it will be faster and your model will have easier time). Having a flash with rotating and tilting head will be useful too, because it will give you more flexibility to bounce the light from different directions and objects.

external flash for beginnersexternal flash for beginners

  • Indoors group portraits: Same as above, with the difference of having more than two subjects, this means you’d need to take the photo from a bigger distance from them so they will all fit in the frame. If this is your case, you would want a flash with higher flash value so it could reach from further away.
  • Portraits outdoors: You’ll probably be taking portraits at several locations which probably won’t provide the same protective and dependable environment a studio (or a room) would provide. I heard stories about flashes falling from cliffs or get broken because they fell because of a gust of In this case, I’d recommend you to get a flash that will be powerful enough, but still cheap (you might want to consider to take your chances with a none brand-name product). Then, if something happens to it, you won´t feel so bad about it.

external flash for beginners

  • Events: Events are a bit of a mixture of all of the above, they could require you to switch between locations, you might need to take photos of groups and/or individuals, you’ll probably need to take photos of little details as well as wide angle shots. In order to truly be prepared you might consider having more than just one flash (and even more than just one camera). Of course that depends on the nature of the event and what is required of you.

external flash for beginners

These were just some examples, meant to give you food for thought while you analyze your future use of the flash and why some flashes might fit better that others. You are the one that knows the type of photos you want to take, so the final decision is yours and it might be different from what I said in the examples.

Decide on a budget

Prices start at around 10 US Dollars and can go up to hundreds of dollars. Decide on a budget before you start looking. You can find the perfect flash for you and then realize that it is way too expensive  and you can´t afford it. I always recommend not spend a lot on the first one you get. You don´t know yet if you are going to use it as much as you think. You might love using flash, but you might also hate it. Getting a flash with good quality/price ratio is always a good choice in my opinion especially when you are trying something new. You can always upgrade to a more expensive one in the future, when you are sure of your needs and real requirements. Also, it is better to make all the beginner’s mistakes done on a cheap piece of equipment than on an expensive one.

external flash for beginners

Same brand of your camera or a third party flash?

You can get a flash from the same brand as your camera or from a totally different company that makes flashes compatible with your camera (third party). There are advantages and disadvantages to the two options.

If you get a flash from the same brand of your camera, the compatibility is assured. Besides, most brand names provide worldwide repair services and most reliable private repair services will also be familiar with them. Moreover, some added value functions such as remote communication between the camera and the flash would work only when using devices of the same brand.

Third party flashes are usually cheaper, making a great option in case you have a budget to consider. Also, you might want it to have features or accessories that are provided by a specific brand.

 external flash for beginners

First or second hand?

The advantages of getting a brand new flash are quite obvious, you know exactly what condition it is, you have a warranty and who to contact if you have issues or need of technical support. The major disadvantage is the cost. On the other hand, some people prefer buying second hand equipment when they try a new thing; it’s cheaper, you don’t have the constant fear of scratching it when using it and if you are electronic savvy who likes to fix things by yourself, warranty is not an issue. However, when it comes to flashes you must keep in mind that it has a light-bulb which has a life span measured by how many times it’s been fired (or lit). Make sure it is not going to burn out soon and keep in mind it will entail further expanses and a visit to the service lab.


I hope you’d found my article helpful. If you have any questions, suggestions or remarks feel free to write a comment. Happy shooting!

Comparing Photos without Becoming a Bitter Photographer

I am going to share something I am not proud of: comparing my photos with the ones taken by other photographers makes me a bitter person. Yes, I too, have these moments in which I hate all the photographers in the world. OK, I am exaggerating. I don’t hate them all. I just hate the ones that are better than me. When I come to this realization, I feel even worst. I will give you a real example.

The other day I went to take photos of a valley close to my home. It is one of my favorite landscapes. I know that sunsets are beautiful in this area. And now is already summer, so everything turns golden. I was feeling happy and inspired. I found the perfect spot, set the tripod and my camera and I was shooting until I got what at that point I considered the perfect picture. I ran home and first thing I did was to transfer the photos to my computer. I searched for “THE PHOTO” and I did some post-processing using my best photo edition skills and Lightroom tools.  When I saw the final picture I thought:  “This is a great landscape photo”. I felt happy and proud. Such a great moment!

Comparing photos
This place is right next to my home. I was feeling so happy when I took this photo! I emphasized the summer mood of the scene in post-processing and I was proud of the result. Until I started comparing myself with other photographers.

I decided to share it in a photography community to see if people like it. I usually post my photos in 500px. In case you don’t know it, 500px is an online community that encourage photographers to share their best work. It is a good place to connect with other photographers and get some inspiration. At that point I just needed to wait for the “likes” and the comments. I decided to have a look at what other photographers posted in the landscape category. I started comparing my photos with all the others. And so I entered into what I like to call the “negative criticism spiral”.  I am so familiar with it that I can even describe it by stages.

Stages of the negative criticism spiral

  • First 30 seconds: everything looks amazing. I like all the pictures. They are so BEAUTIFUL!! I love the colors, and the composition. Everything!!
  • From second 31 to 1 minute: Insecurity. Would I ever be able to take a photo like this? And I thought that my picture was good!! Next to these beautiful landscapes my photo looks so bad!!
  • Second minute: Hate. “I am sure that these photographers have a better camera and better lenses“. “I am sure they are  having fun all the time! They just travel to these wonderful places and they have all the time of the world for finding the perfect composition”. “I hate them!”
  • Third minute: Sadness. I go into a very negative mindset: “I am not good enough. I should quit photography”.
  • Fourth minute: Comfort. I feel desperate and I try to cheer myself up. “Let’s see the pictures of the beginners. I am sure there are going to be worse than mine” (recognizing that I can think in this way is kind of embarrassing)
  • Fifth minute: Deep sadness. I realized what just happened in the last minutes and I conclude that I am a bitter photographer.
Comparing photos
When I start comparing myself to others I am like a cactus: I put barriers between me and anything that can come from the outside.

Can you relate? In just five minutes I went from having a positive mindset (I was happy and enjoying my photography) to a deep sadness. I was either putting myself down or putting others down in order to feel better. Why do I do it? I guess that the answer is simple:

I compare myself with others because I am human.

I was not getting any benefit out of these comparisons. They were just making me sad and angry. I was losing my passion for photography too. These comparisons are destructive, so instead I decided to turn them into something constructive. I want to share with you my 3 ways not to become such a bitter photographer:

Put yourself in the shoes of the other photographer

For some reason I tend to think that these photographers are not making any effort. I just see their final photo and I forget that it is the result of their work. You can’t know just by looking at one photo how many books they read about composition or how many years it took them to find their photographic vision. They might be travelling all the time. But you can’t know what they left behind. Maybe they did a big sacrifice in life in order to become a landscape photographer. Maybe they feel lonely. Maybe they took 10000 photos that day in order to get this one outstanding photo. Maybe they also feel that other photographers are much better than them. Now when I see that I start hating some photographer, I take a deep breath and I imagine all the efforts that this person might have done for taking the photo. It also helps to appreciate the picture even more.

Comparing photos
I took this photo in Australia. You might think that I spent months travelling to the other side of the world and living great adventures. But the reality is totally different. I couldn’t afford travelling to Australia. I did it because they send me to a Biology conference (I am also a biologist. I spend most of my day working inside a laboratory). Instead of going to the good recommended hotels, I went to hostels. In that way I saved some money that I spent travelling around for just 2 weeks because I needed to come back to work in the lab. The stories behind the photos are not always what we thought.

Instead of comparing yourself with these photographers, use them as inspiration

Now every time I see a photo that I find great I add it to a gallery. This way I can come back to it at any time I want. I study them. I try to figure out what I like in them so much. Is it because of the composition? Or maybe it is the mood of the photo? When I focus on the photo and not on the photographer, I go into a positive mindset and I feel like I want to learn from the guy (or girl). I end up following them as a fan.

Comparing photos
I was never modifying my backgrounds. But I saw the awesome work of other nature photographers that were doing it. I decided to give it a try and in my next hike I took with me a black cardboard. The cardboard allowed me to isolate this gorgeous Gilboa Irus (Iris haynei) from the messy background.

Compare your pictures from now with the photos you took some time ago

If still feel like I need to compare myself with something, I do it with one of my old photos. That I can see how I evolved and improved. I would like to go over all the learning process and take awesome pictures NOW. But photography doesn’t work like that. You learn, you practice, you make mistakes, you keep learning… and you improve. Slowly but surely. Put a new and an old photo next to each other and feel proud of yourself. Then comparing your photos can become something positive.  Be aware of your strengths and keep learning to improve. Enjoy the journey. Love your photography. Appreciating yourself is the best way to keep motivated!

Comparing photos
I took this photo 5 years ago. I am not sure what I wanted to show here. The only thing I see is a flat sand landscape that doesn’t talks to me.
Comparing photos
I took this photo the last weekend. I wanted to show how summer looks like for me. It is not the best landscape photography ever. But if I compare it with the previous photo, I can see my progression. Now I put more of myself into each photo.

Each time you feel you are entering into a negative spiral of comparison, take a breath and apply one of the tips I told you. Think that it is all about mindset. My strategies are focused on promoting a positivity. When you’re looking at photos with a negative mood you close your mind, you don’t want to learn or to see any more good photos. On the other hand, a positive mindset will keep your mind open, You will learn from others and this will lead you to good places!