Tag: tool

When to Use Heal vs. Clone Tools in Lightroom

Using Lightroom to fix up blemishes or other small mistakes can turn your good photo into a great one. No one likes to look at their photo and see a giant pimple they couldn’t cover with make-up. Or the spot of their beard they missed while shaving. But when it comes down to it, which is better to use, the heal tool or the clone tool in Lightroom?

Both of them have their own pros and cons. In the end, it’s really about what you’re trying to do, and where you’re trying to do it. Here are the things to keep in mind when trying to decide which works best for you.

Borrowed Source vs. Original Source

When using the clone and heal tools in Lightroom presets, you’re borrowing from one part of the picture to put into another. It’s important to keep in mind where you’re borrowing from, and where you’re sending it. Maybe you’re just using a nice, clear portion of the model’s skin. Maybe you’re using the smooth texture of a baby’s skin to soften the skin of the grandparent who’s holding them. No matter what you’re doing with it when you’re borrowing from one area and sending it to another, you’re bound to run into a problem or two. Be patient, and work with different size brushes and sources until you get what you want. These tools can be used if you install Lightroom presets.

Color and Texture

Both the heal and the clone tool will transfer the texture from your borrowed source to your original source. However, the color does not always go with it.
lightroom-heal-vs-clone-1

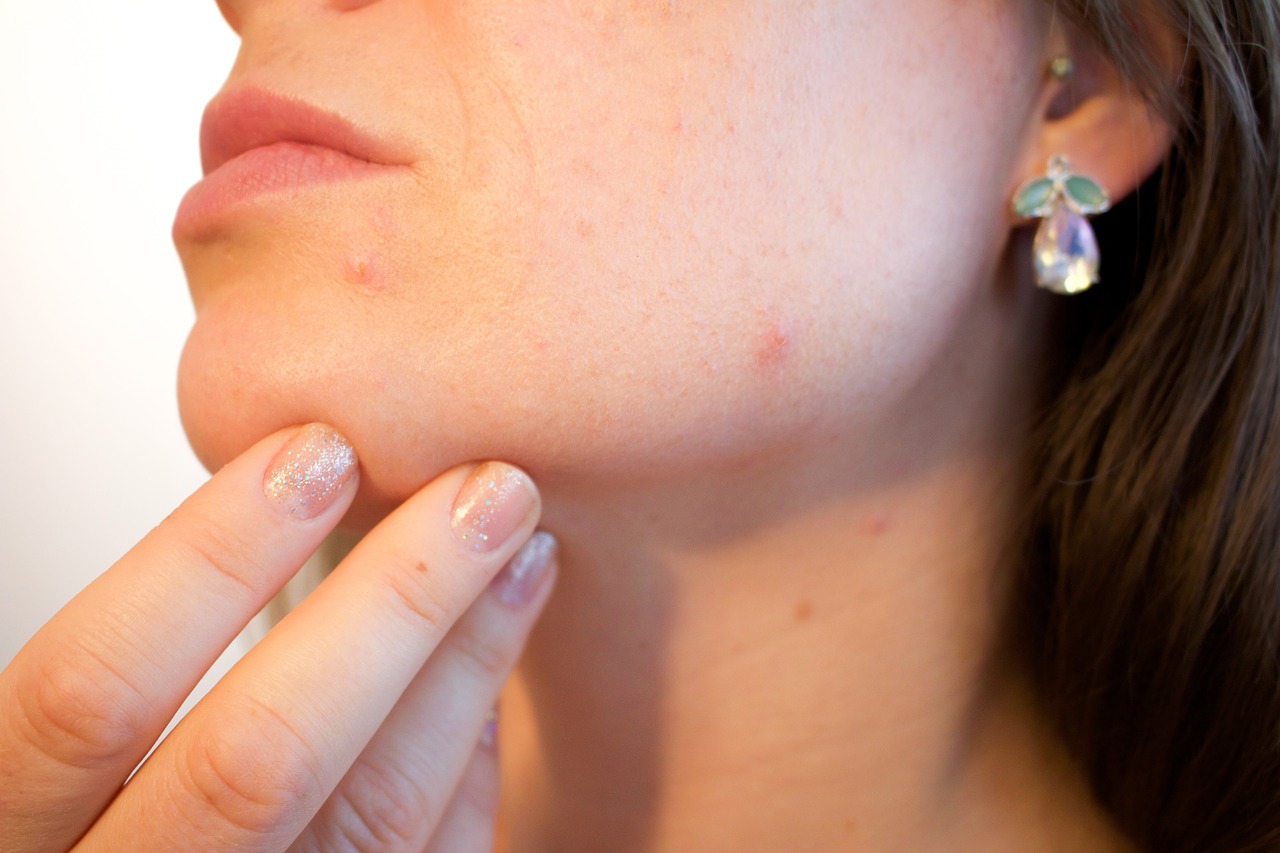
The clone tool does exactly what you’d expect of it, it will clone the exactly borrowed source and place it on the original source. This includes the shape, color, and texture. If you want to perfectly re-create something, the clone tool is right for you. This tool is good to use on people that have the same skin tone, or if you’re borrowing from one person’s side of the face to the other. You don’t have to add deep richness into the color.

The healing tool takes into account the colors and textures that are surrounding it and blends everything together. This tool will pull in the soft or hard texture of the borrowed source, but match it to the color and tone of the original source. This is useful to use on people who have different skin tones or if you’re pulling the texture from another object onto someone’s clothes or skin.

lightroom-heal-vs-clone-2

In the example above, I used the heal tool on the pimple on the right side of the face, and the clone tool on the left side, under the lip. The clone tool blends in more and the heal tool creates a noticeable bleed in the circle. When the borrowed source is the same model/object as the original source, it’s better to use the clone tool.

Noticeability

Both the clone tool and the heal tool can, at one point or another, be completely noticeable. If you’re borrowing from one person or object that has a different coloration than the person or object you’re fixing, using the clone tool will create an obvious circle of out-of-place. In this case, it’s best to use your heal tool that will fix the texture errors but will match the color of the original source. It’s like you want to give architecture a deep rich feel in lightroom.
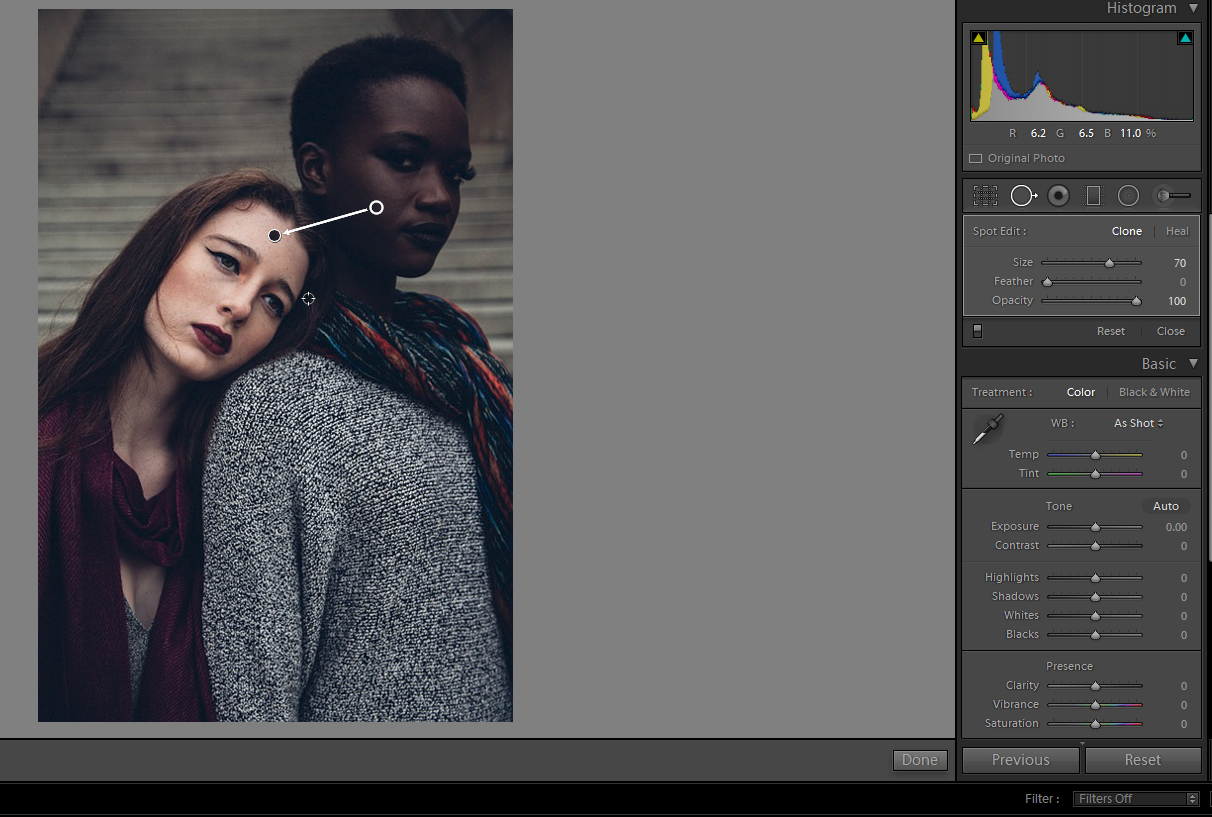
Using the clone tool creates a noticeable dark circle on the left girl's face
Using the clone tool creates a noticeable dark circle on the left girl’s face

However, if the borrowed source is similar enough in color and tone, using the heal tool can sometimes be more noticeable than using the clone tool. Because the heal tool pulls in the pixels from the surrounding area, sometimes it can create a noticeable bleed effect that smudges the fixed spot and stands out. In this case, using the clone tool will eliminate that effect.
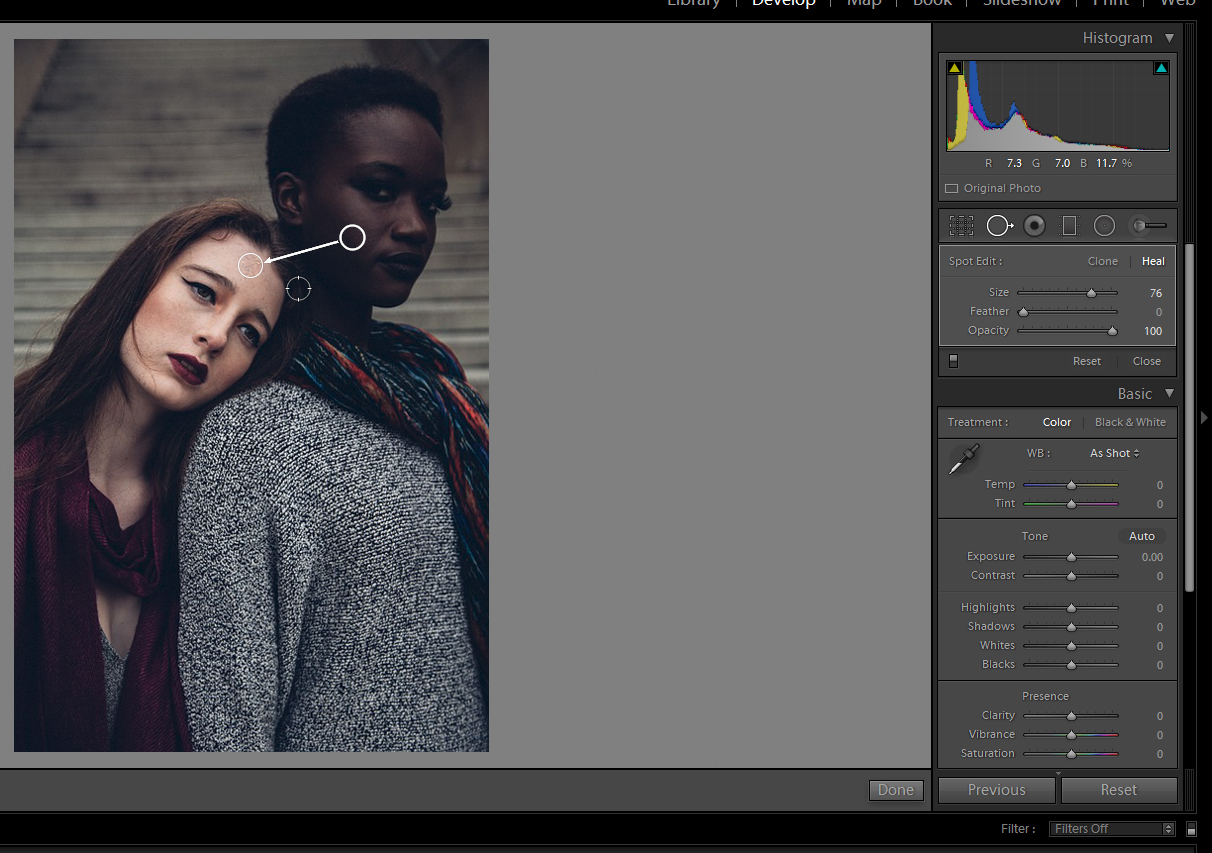
Using the heal tool creates a textured circle that matches the girl’s skin tone

Size

The heal and clone tools are used to fix up small spots on a subject, and shouldn’t be used to fix up any major problems or large areas. If you want to tone down someone’s entire face, or do something wacky like the place a tree texture on their shirt, you’re better off doing more major editing in Photoshop. If, however, you’re just getting ready to finalize the image and realize there’s an out of place freckle or slightly red cheek, you can use the clone and heal tools to fix small areas.
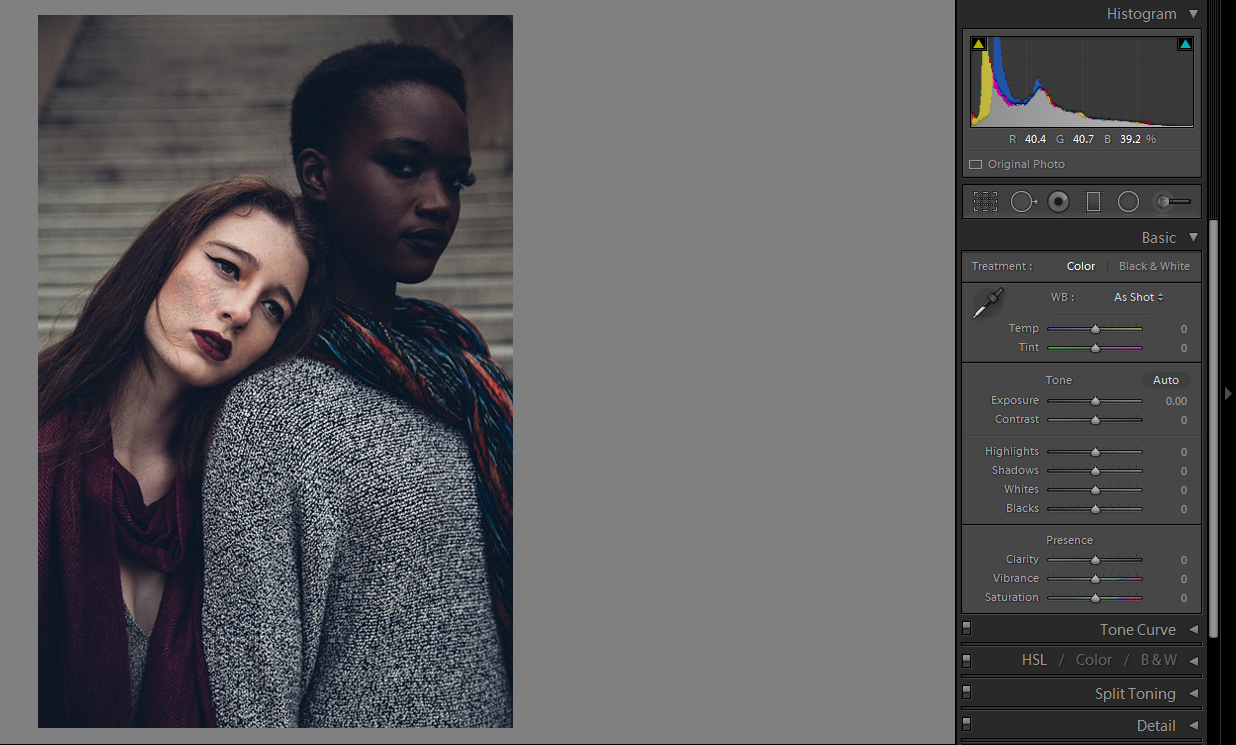
Using too large of a circle on the left girl’s cheek creates a noticeable change in texture
Using too large of a  brush on the left girl’s cheek creates a noticeable change in texture

If you really do need to fix a huge area using only Lightroom’s clone and heal tools, it’s better to do it in smaller sections than to do it in just one giant circle. Smaller sections are harder to notice and you can move the borrowed source around to create something that looks more natural.

Problems

When you’re working with these two tools, you won’t always get the final product you were hoping for. The first thing you should do when your first attempt doesn’t go well is to switch from one mode to the other. If the clone is too noticeable, try switching over to heal, and vice versa. Find the one that looks the most like what you want.

If a simple switch doesn’t do it for you, then move the tool around to find a better-borrowed source. Maybe use the person’s arm or leg to get a better match in skin tone. If things still look a little off, reduce the size of your brush and create smaller fixes that are harder to notice, but that will still create a stunning finished product.

Photography as a Stress Relieving Tool: 5 Tips to a Calm Mind

Go to work, take care of your family, go to the gym, pay the bills, attend social meetings, take care of the house, try to be healthy… the list of things we do every day is never-ending. We didn’t even realize and stress already took over us. Luckily there is something we can do about it. As photography-lovers we have a great stress management tool in our hands: our camera. We can use photography as a stress relieving tool.

We are all similar: we all suffer stress at certain degree.

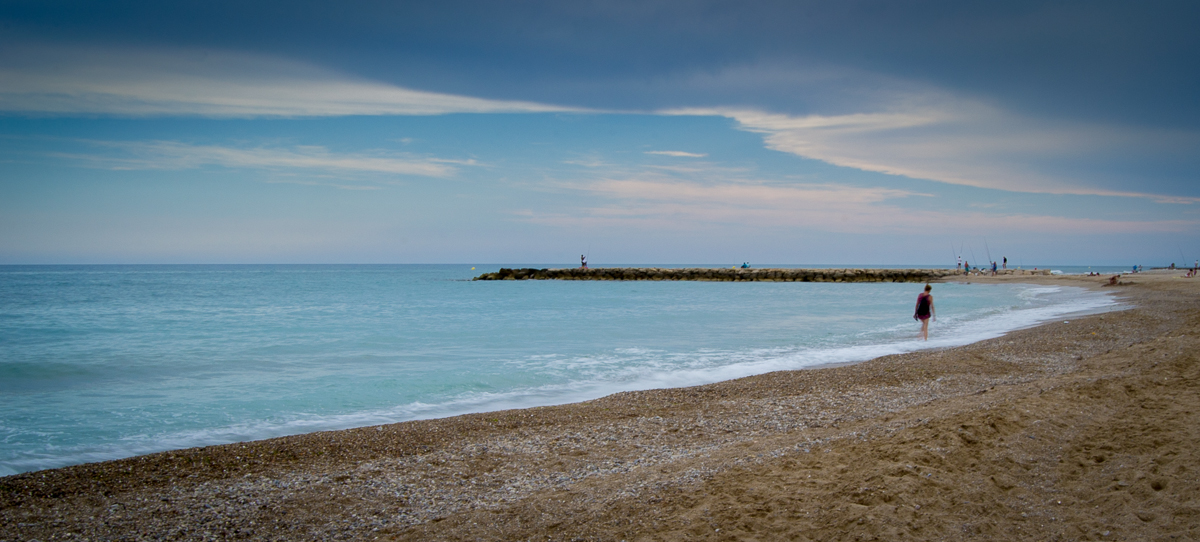
Photographing sea landscapes always makes me feel calmer.

Stress is a normal reaction of our body to get adapted to changes. It allows us to react in dangerous situations preparing out body to react: faster heartbeat and breath, muscles get ready to action… our body is ready for everything. Certain levels of stress are OK because our body is able to handle it. In fact stress help us to wake up in the morning, prepare meetings, etc… But when the stress is kept for long time or it is too much, then it can have the negative consequences that we are all familiar with: depression, anxiety, hypertension…

Photography as a stress relieving tool

We are all similar: we all suffer stress at certain degree.

We all suffer stress at different intensity levels. There is a big diversity of behaviors in front of the same situation. We don’t need a really stressful situation to enter into anxiety mode. Our mind is able to make something not stressful for the most part of the people in something really stressful for us. This means that we are in great part responsible of our suffering.  This is a good new: if we are the responsible ones, avoiding stress is in our hands. Well, we all know it is not so easy. There are as many ways to handle stress: meditation, breathing techniques, do sports… and also photography!

Photography as a stress relieving tool

Differences in the way we react to a situation (as moving to another country) is what makes us to experience it as a negatively stressful period  or just as exciting times.

I use photography as a stress management tool because it helps me to focus my attention outside my mind and distract me from the stress and anxiety I might be feeling. It is a great way to stop negative thoughts. It helps me to relax. As you are reading this article, I understand that you like photography. If you have not use photography to relive stress, I recommend you to give it a try. Here you have some tips I hope will help you:

Don’t care so much about the final product

Remember that you took the camera to relieve stress, not to take the best shoot of your life. Take the photos just to have fun, for yourself. Don’t care so much about composition.  Leave the perfectionism and inner criticisms at home. Don’t hold expectations. It is all about enjoying the process.

Photography as a stress relieving tool

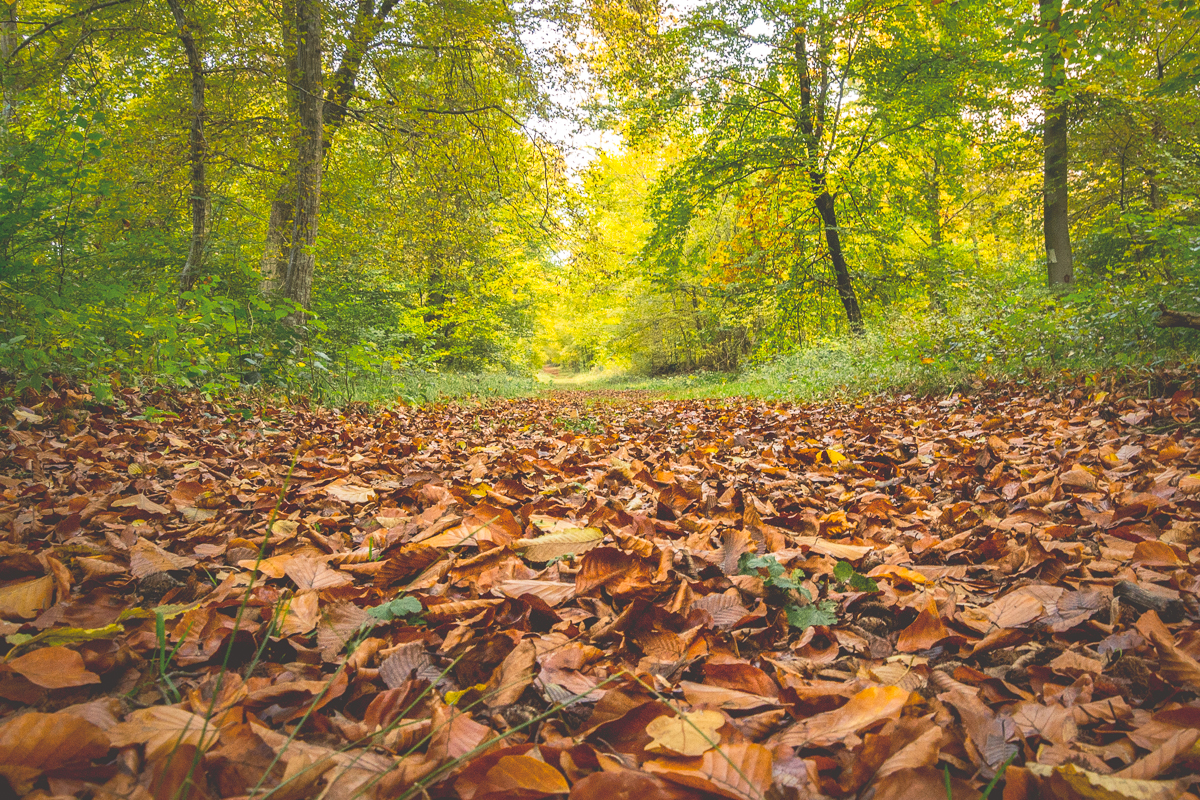
This is not my best composition but I still remember how much fun I had taking this photo. I was lying on the floor in that bed of leaves feeling happy.

Turn on the camera and turn off the phone

Phones can be a huge stress factor. They provide us with a lot of little tasks that divide our attention and distract us. If you want to relieve stress, try to turn off the phone (or allow just the entry calls) for the time you are taking photos. Forget about Whats App, email and other applications. If you are using the camera of your phone, try to ignore all the notifications for a while. It will help you to focus your attention in just one thing: taking photos. Give your brain a bit of resting time.

Do a photo-walk

Walk slow, breath deep, pay attention to the details, take photos. The idea is that you become mindful about your surroundings and that you enjoy everything you see.

Photography as a stress relieving tool

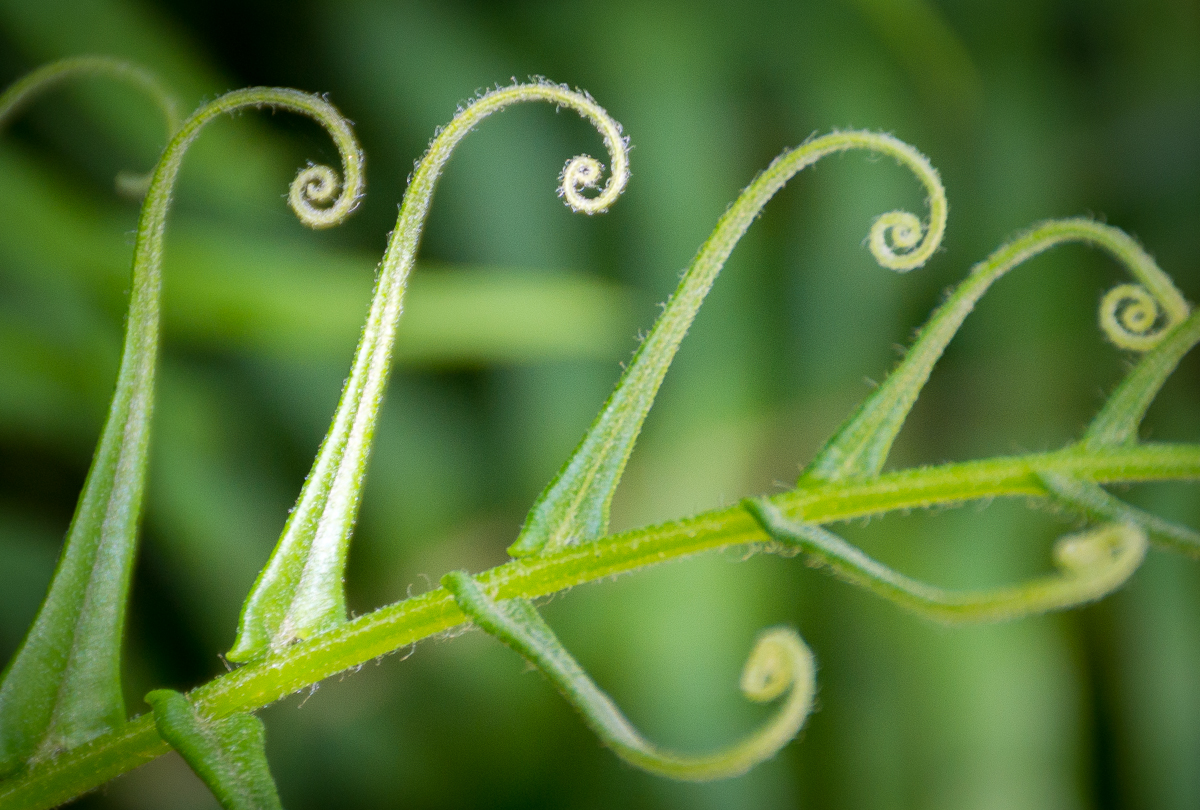
Paying attention to details helps me to focus my mind and find little hidden treasures.

Practice gratitude

We humans have a tendency to see easily all the bad things. This behavior is pretty negative and doesn’t help to relieve stress. Practicing gratitude can help us to switch our point of view. Try focusing on the good. You can start small: look for the good on the things you see. Take photos of them. Be grateful you can enjoy them. This will give your brain a positive input that will help you to handle negative situations in a better way.

Photography as a stress relieving tool

I found this extravagant leave close to my home. It made me feel grateful about nature.

Pick a photographic subject

If you feel so stressed that your brain jumps from one thing to other like a crazy monkey, you will need to help it to calm down. It can be useful to give your brain just one thing to focus: pick a restrictive project. You can make your brain to look after one shape or just one color: circles, squares, blue, red…  Or you can choose a location or a camera setting. Just pick one subject and take photos respecting the limitations. You will see like the crazy monkey starts to calm down after a while taking photos because you will need to use all your creativity skills. No room for anything else.

Photography as a stress relieving tool

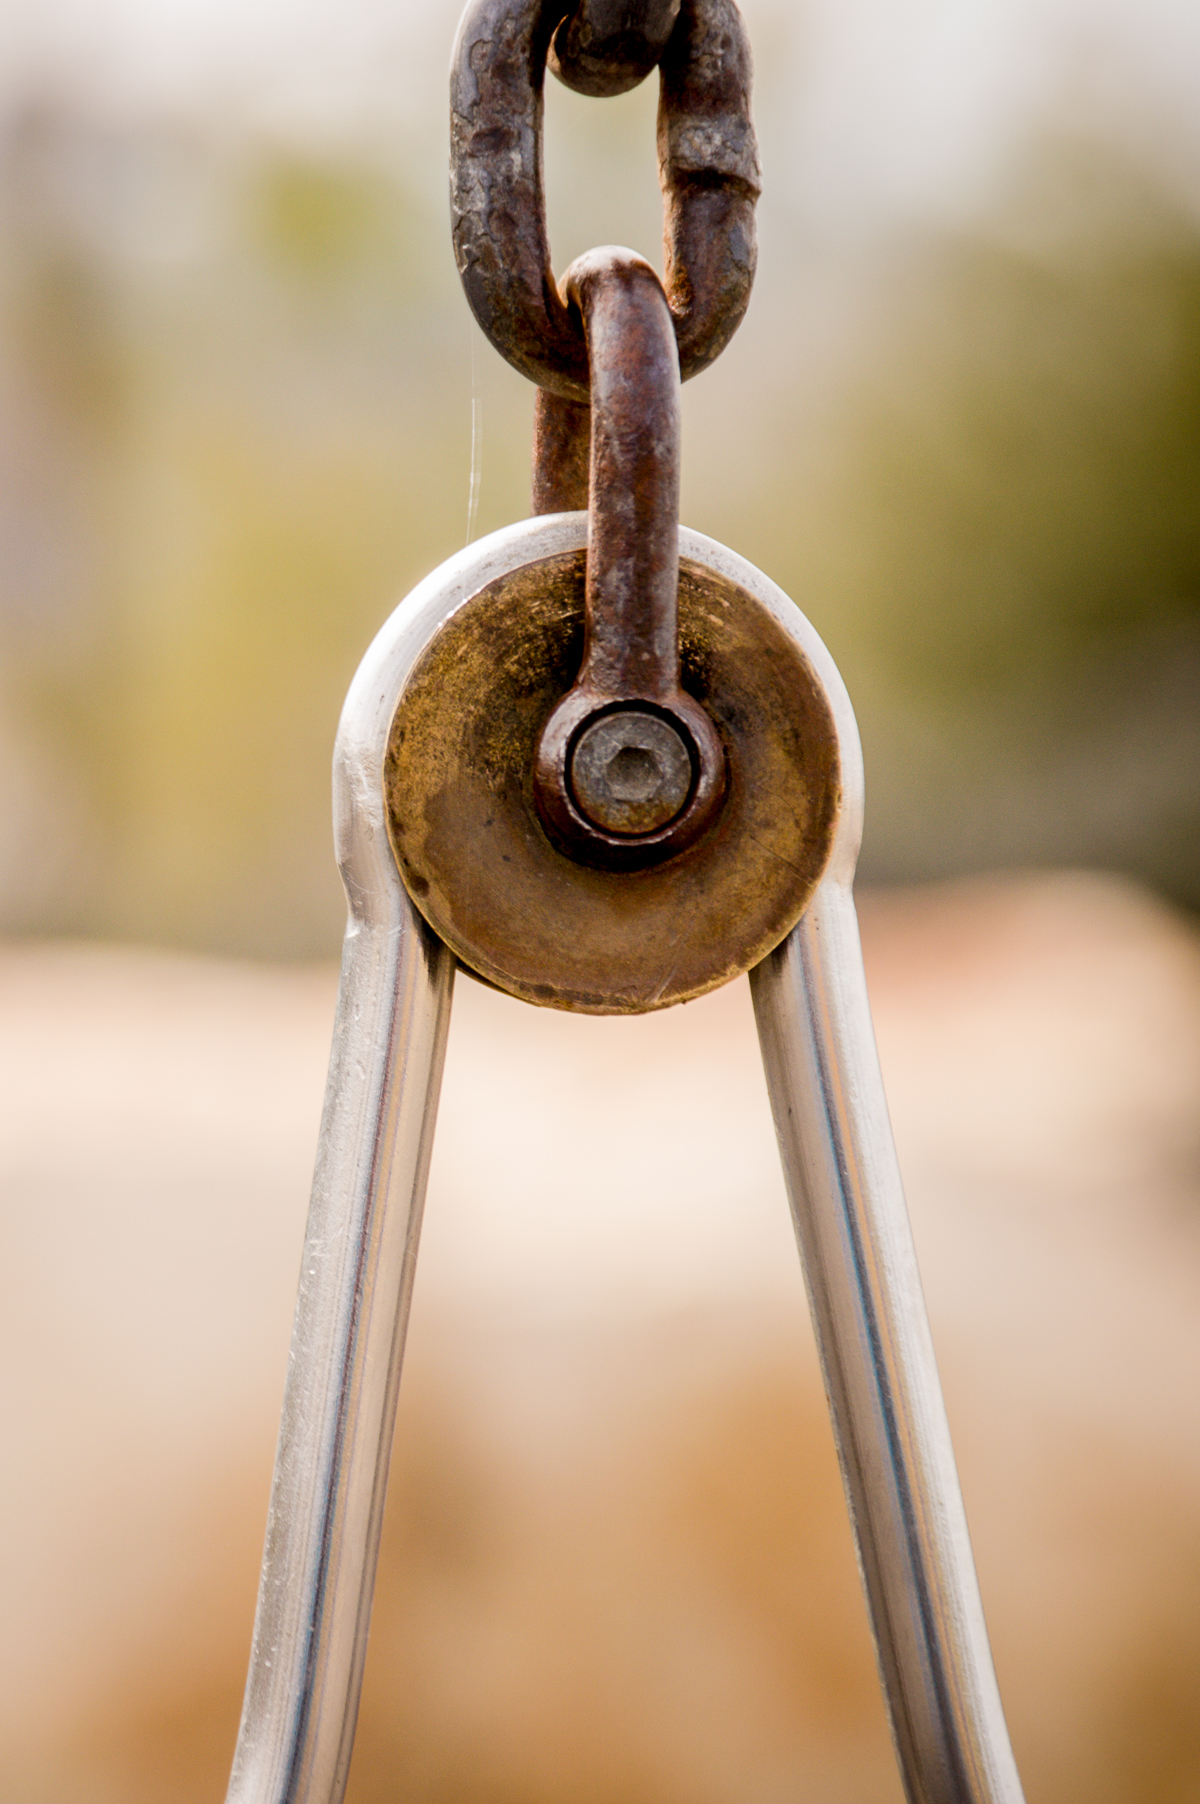
I did a photo session about circles. I usually don’t restrict myself so much, but it was really useful to help my mind to stop wondering and focus in just one thing.

In conclusion, photography can be a great stress management tool. First of all, it is a way to treat yourself: enjoy some time doing something you love will bring a bit of  balance to all your responsibilities. Taking photos always helps to focus on what you have in front of your eyes NOW. This is especially important because a lot of us (meaning stressed people) are not living in the present moment. We are constantly thinking about the past or worrying about the future. But photography can slow you down and can bring you to a more peaceful mindset that will help you to deal better with all your obligations.