A personal photography project is a series of images sequenced to tell a specific story. Usually, a story which the photographer has a great passion or emotion towards. The project can range in the number of images and amount of time. Or from simple subjects (Elias Weiss Friedman aka The Dogist) to complex, global initiatives (Sebastiao Salgado’s Genesis).

Why Start a Photography Project?
A personal project is a great way to expand beyond a single image into more complex story telling. You’ll learn to plan, shoot and edit a sequence of photos to convey a story. You can experiment with different styles, techniques, and gear. These may be outside of your normal shooting but might be what you enjoy rather than what would pay the bills.
Personal projects aim to be a creative break from your standard paid work. They allow the photographer to expand on a subject which they feel passionate about. Personal projects are also intended to be self-motivated and fun! They interest the photographer first, so shoot only for yourself. You have the ultimate creative control here.

How to Start?
Find a Subject
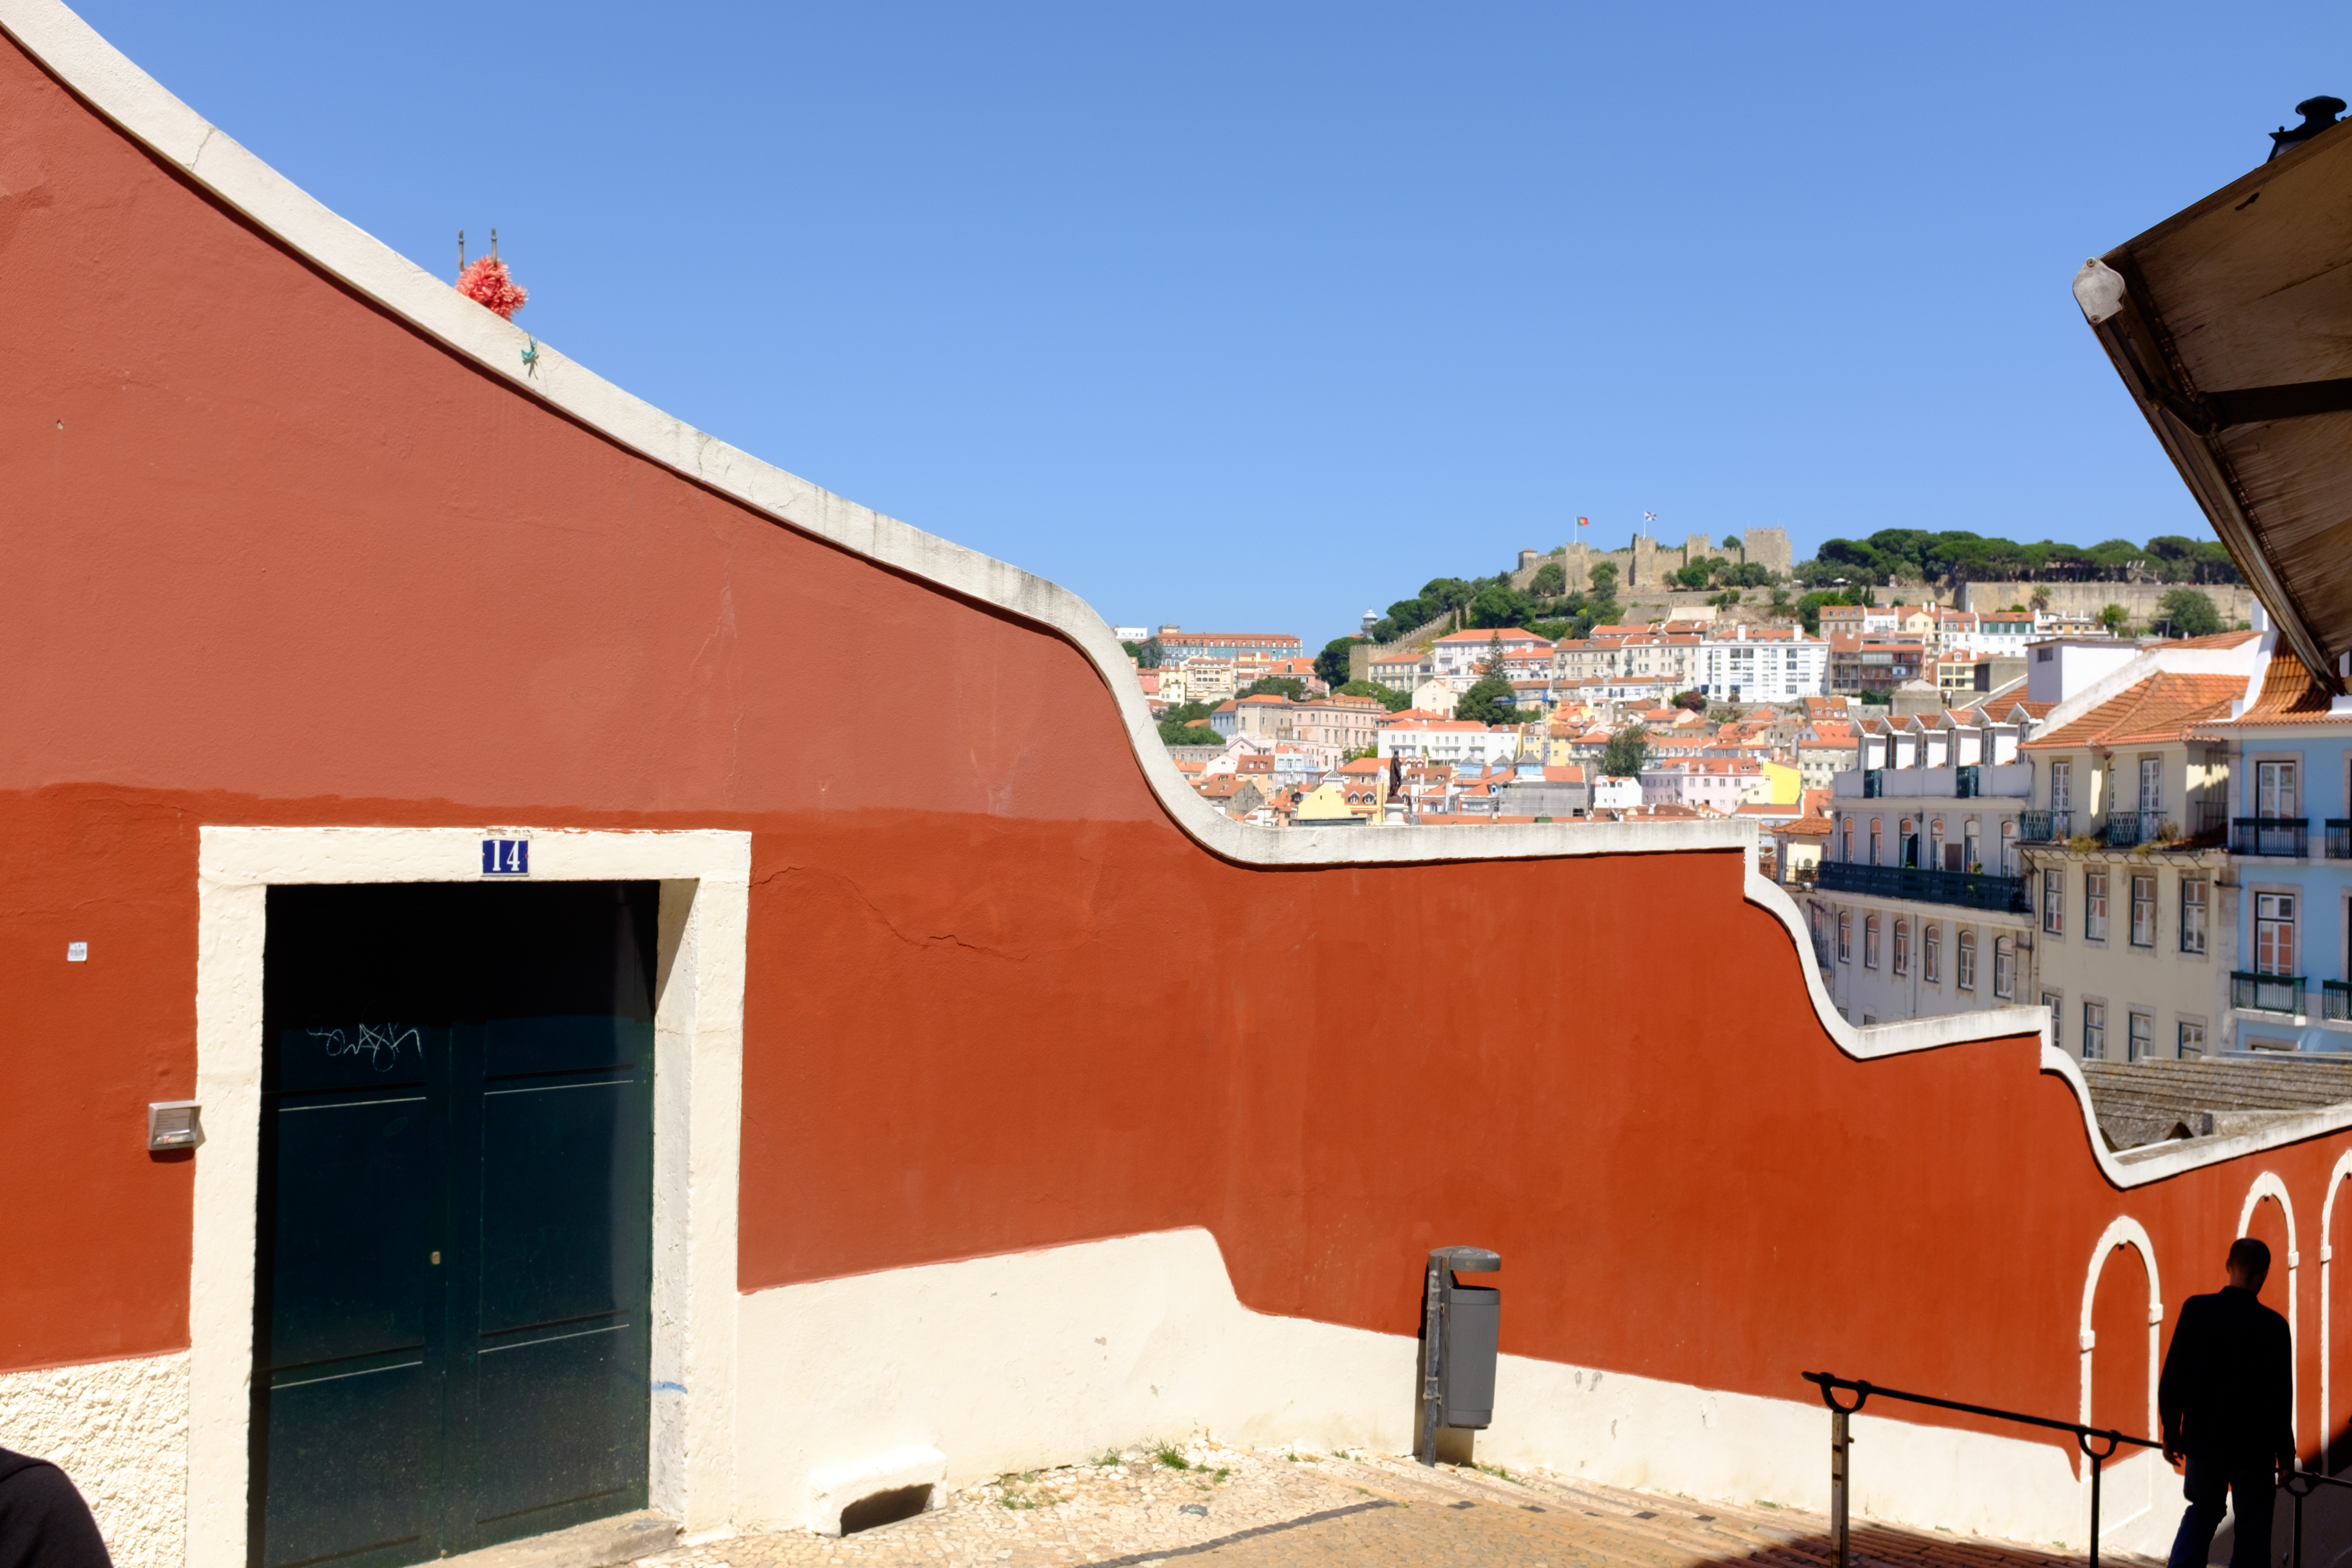
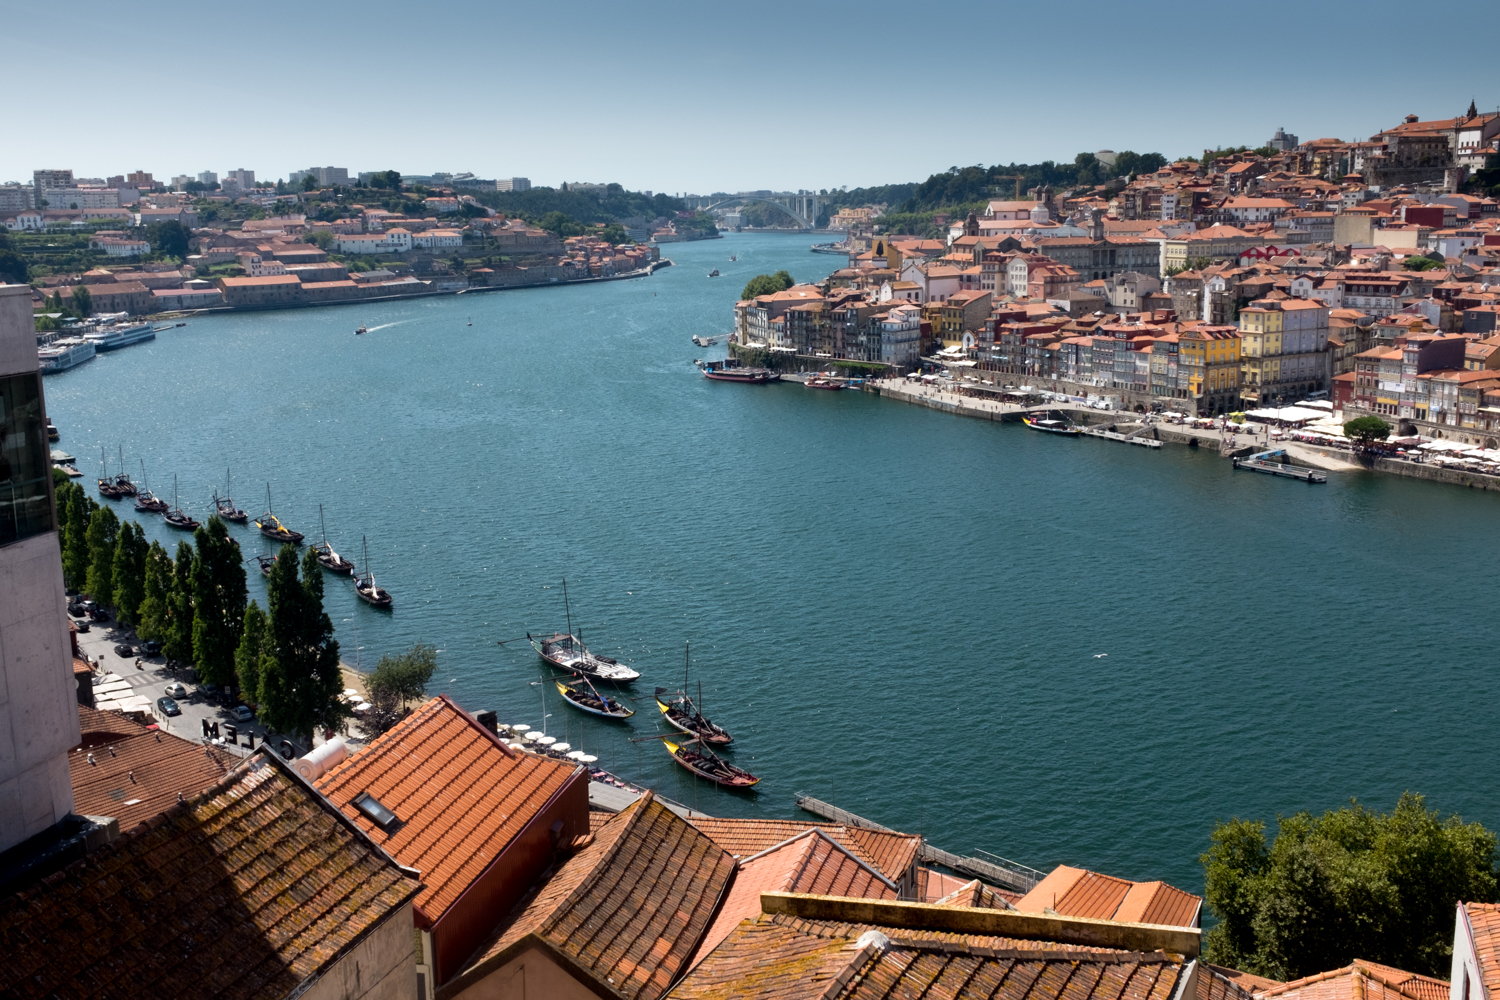
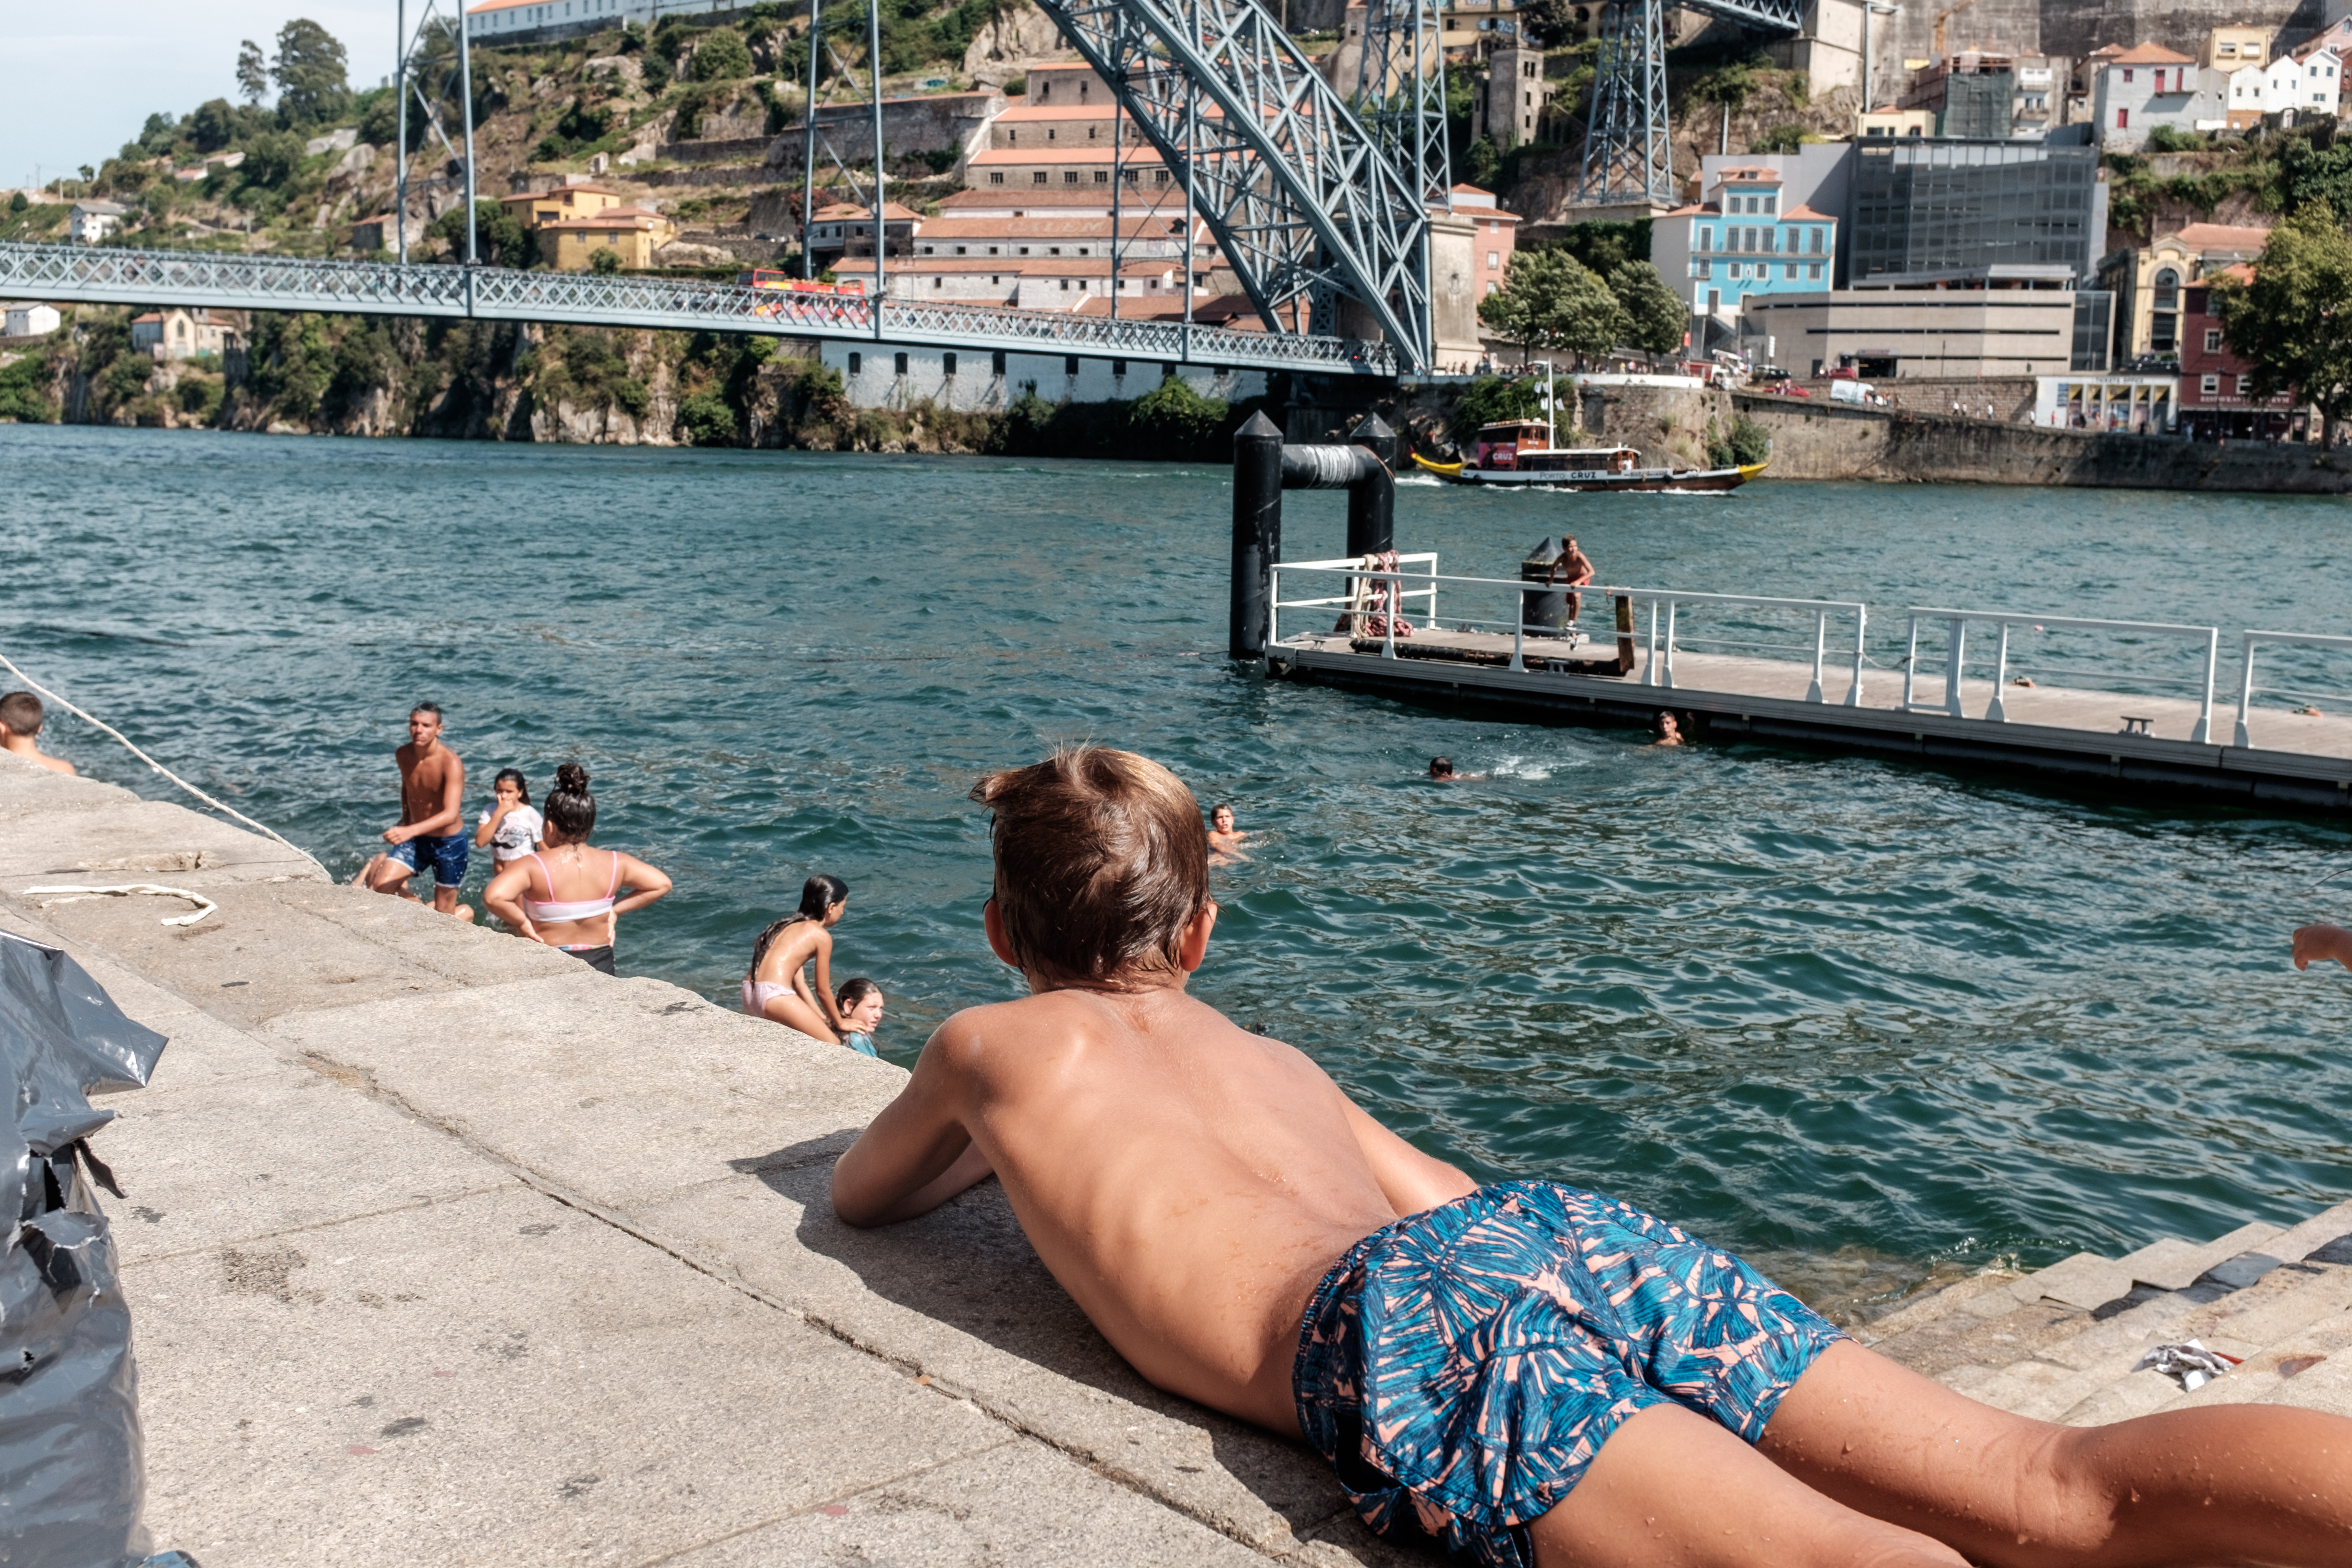
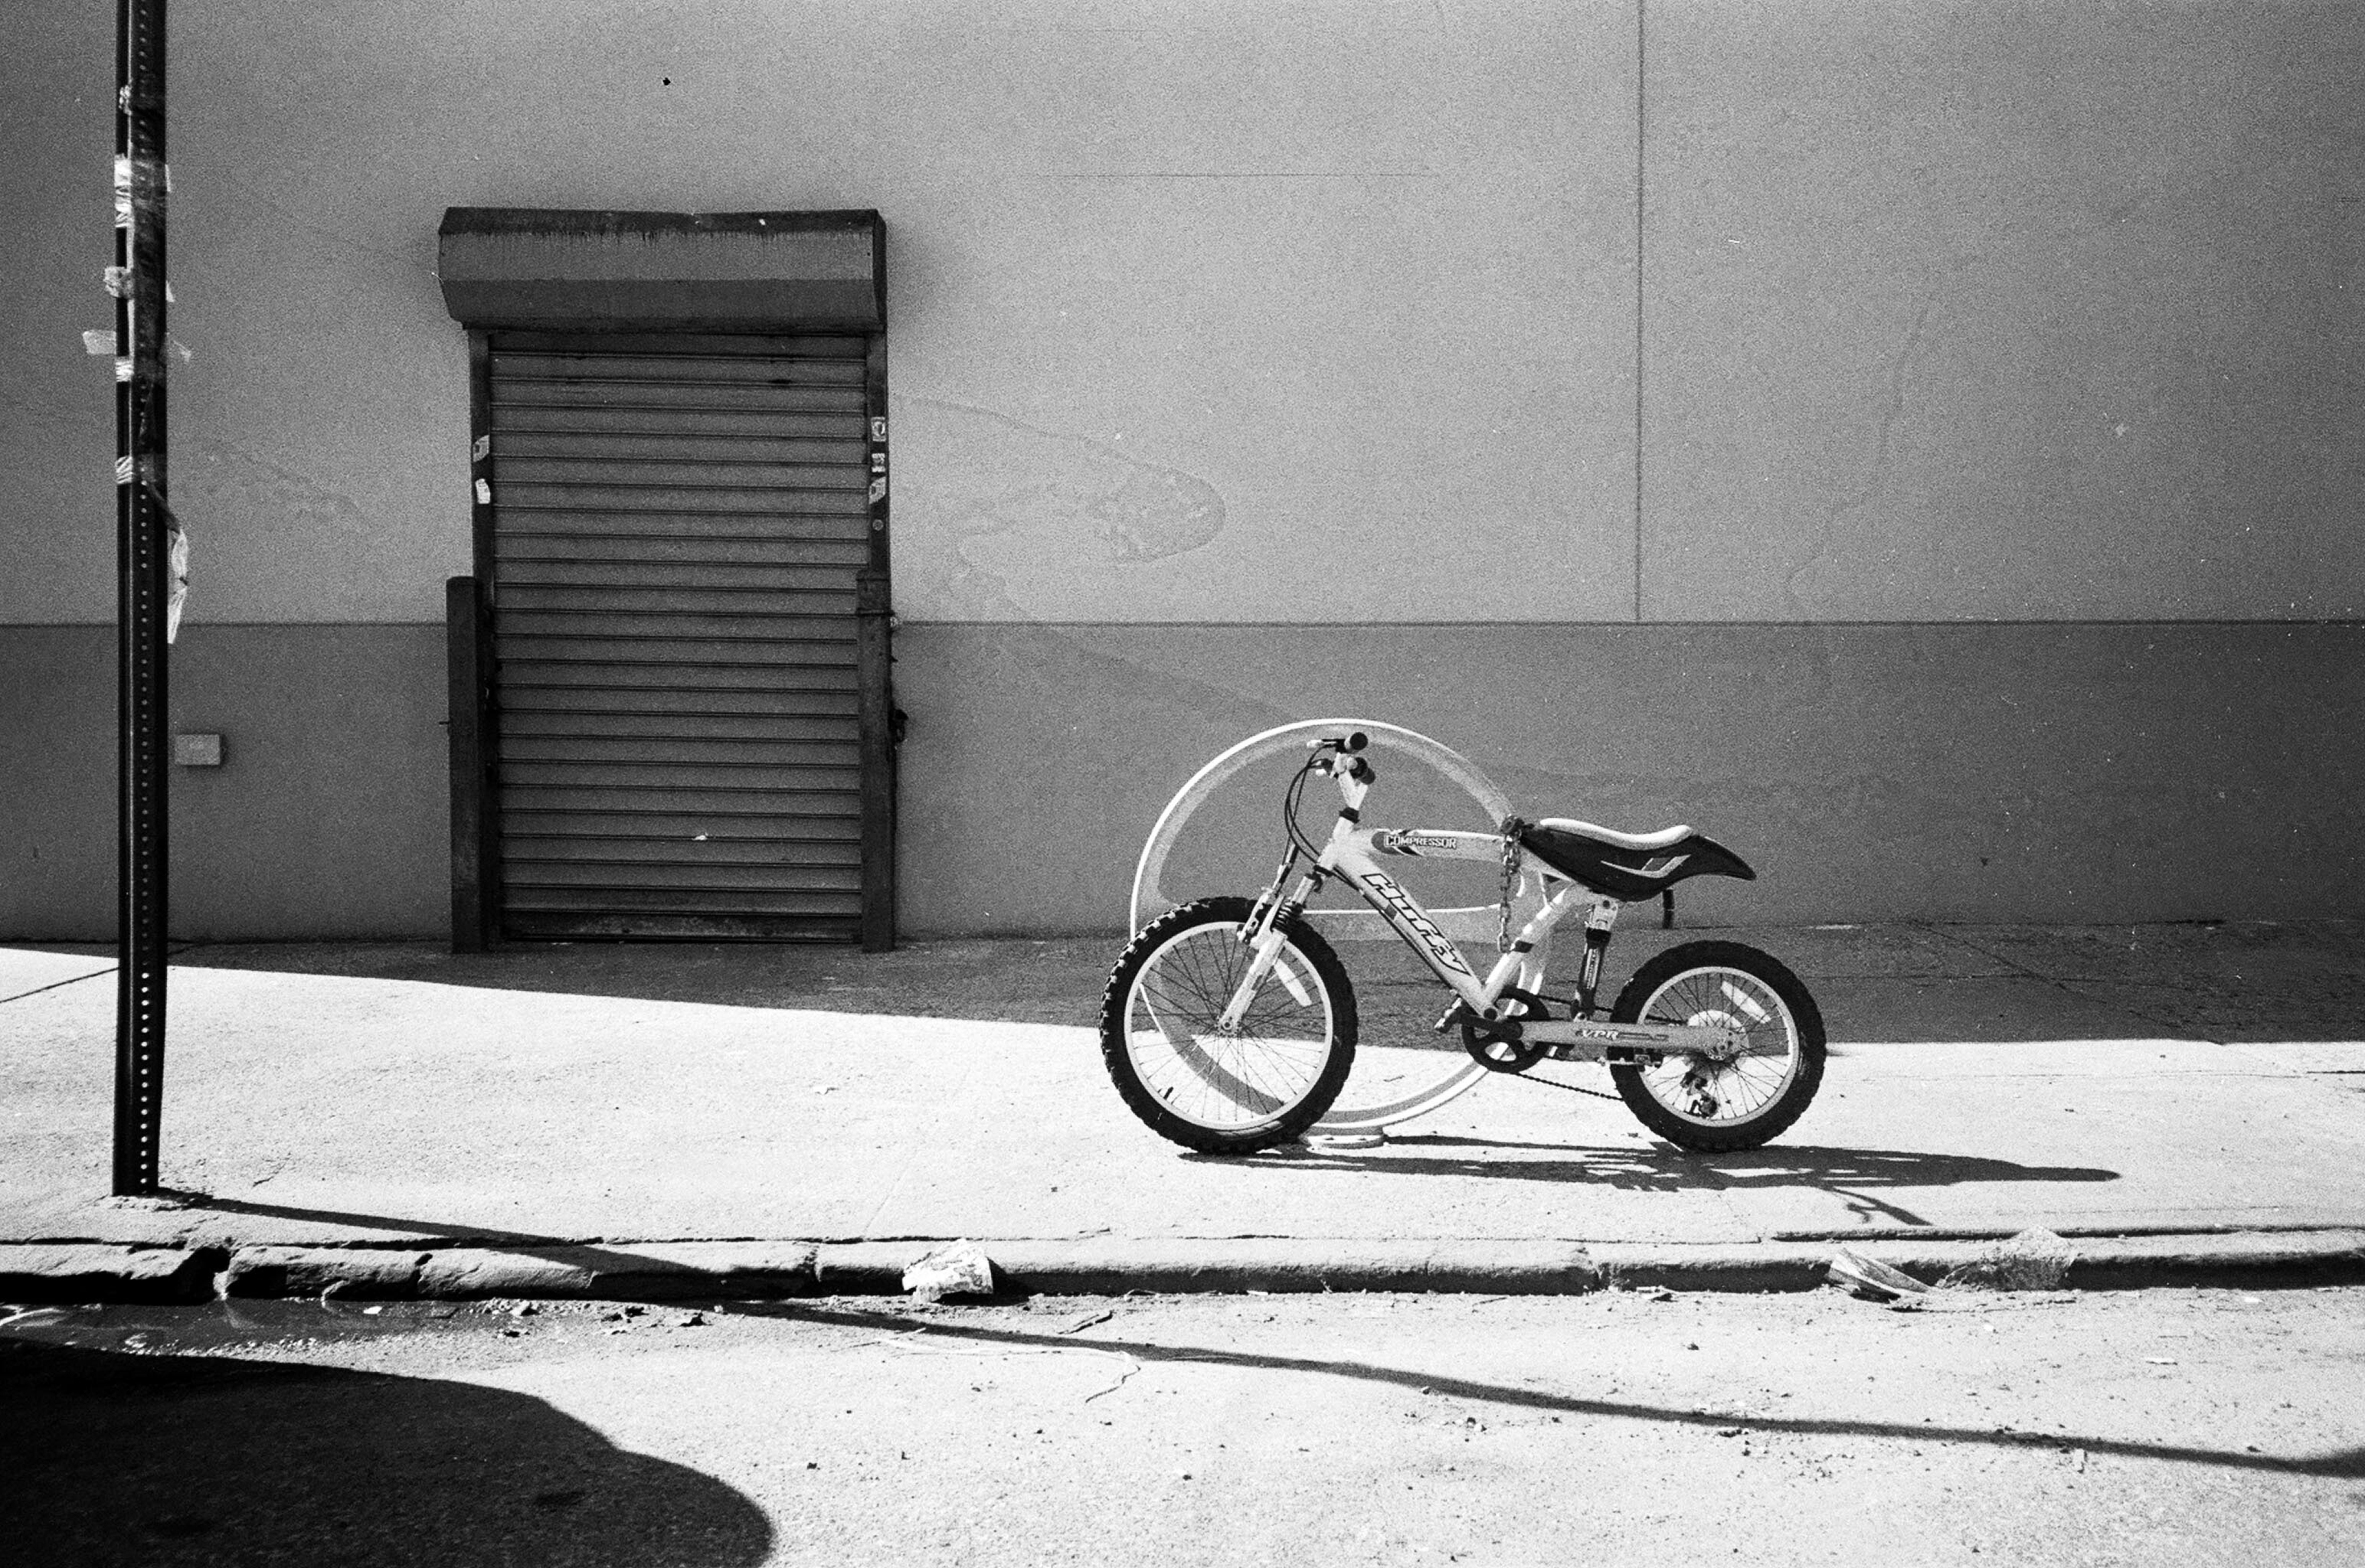
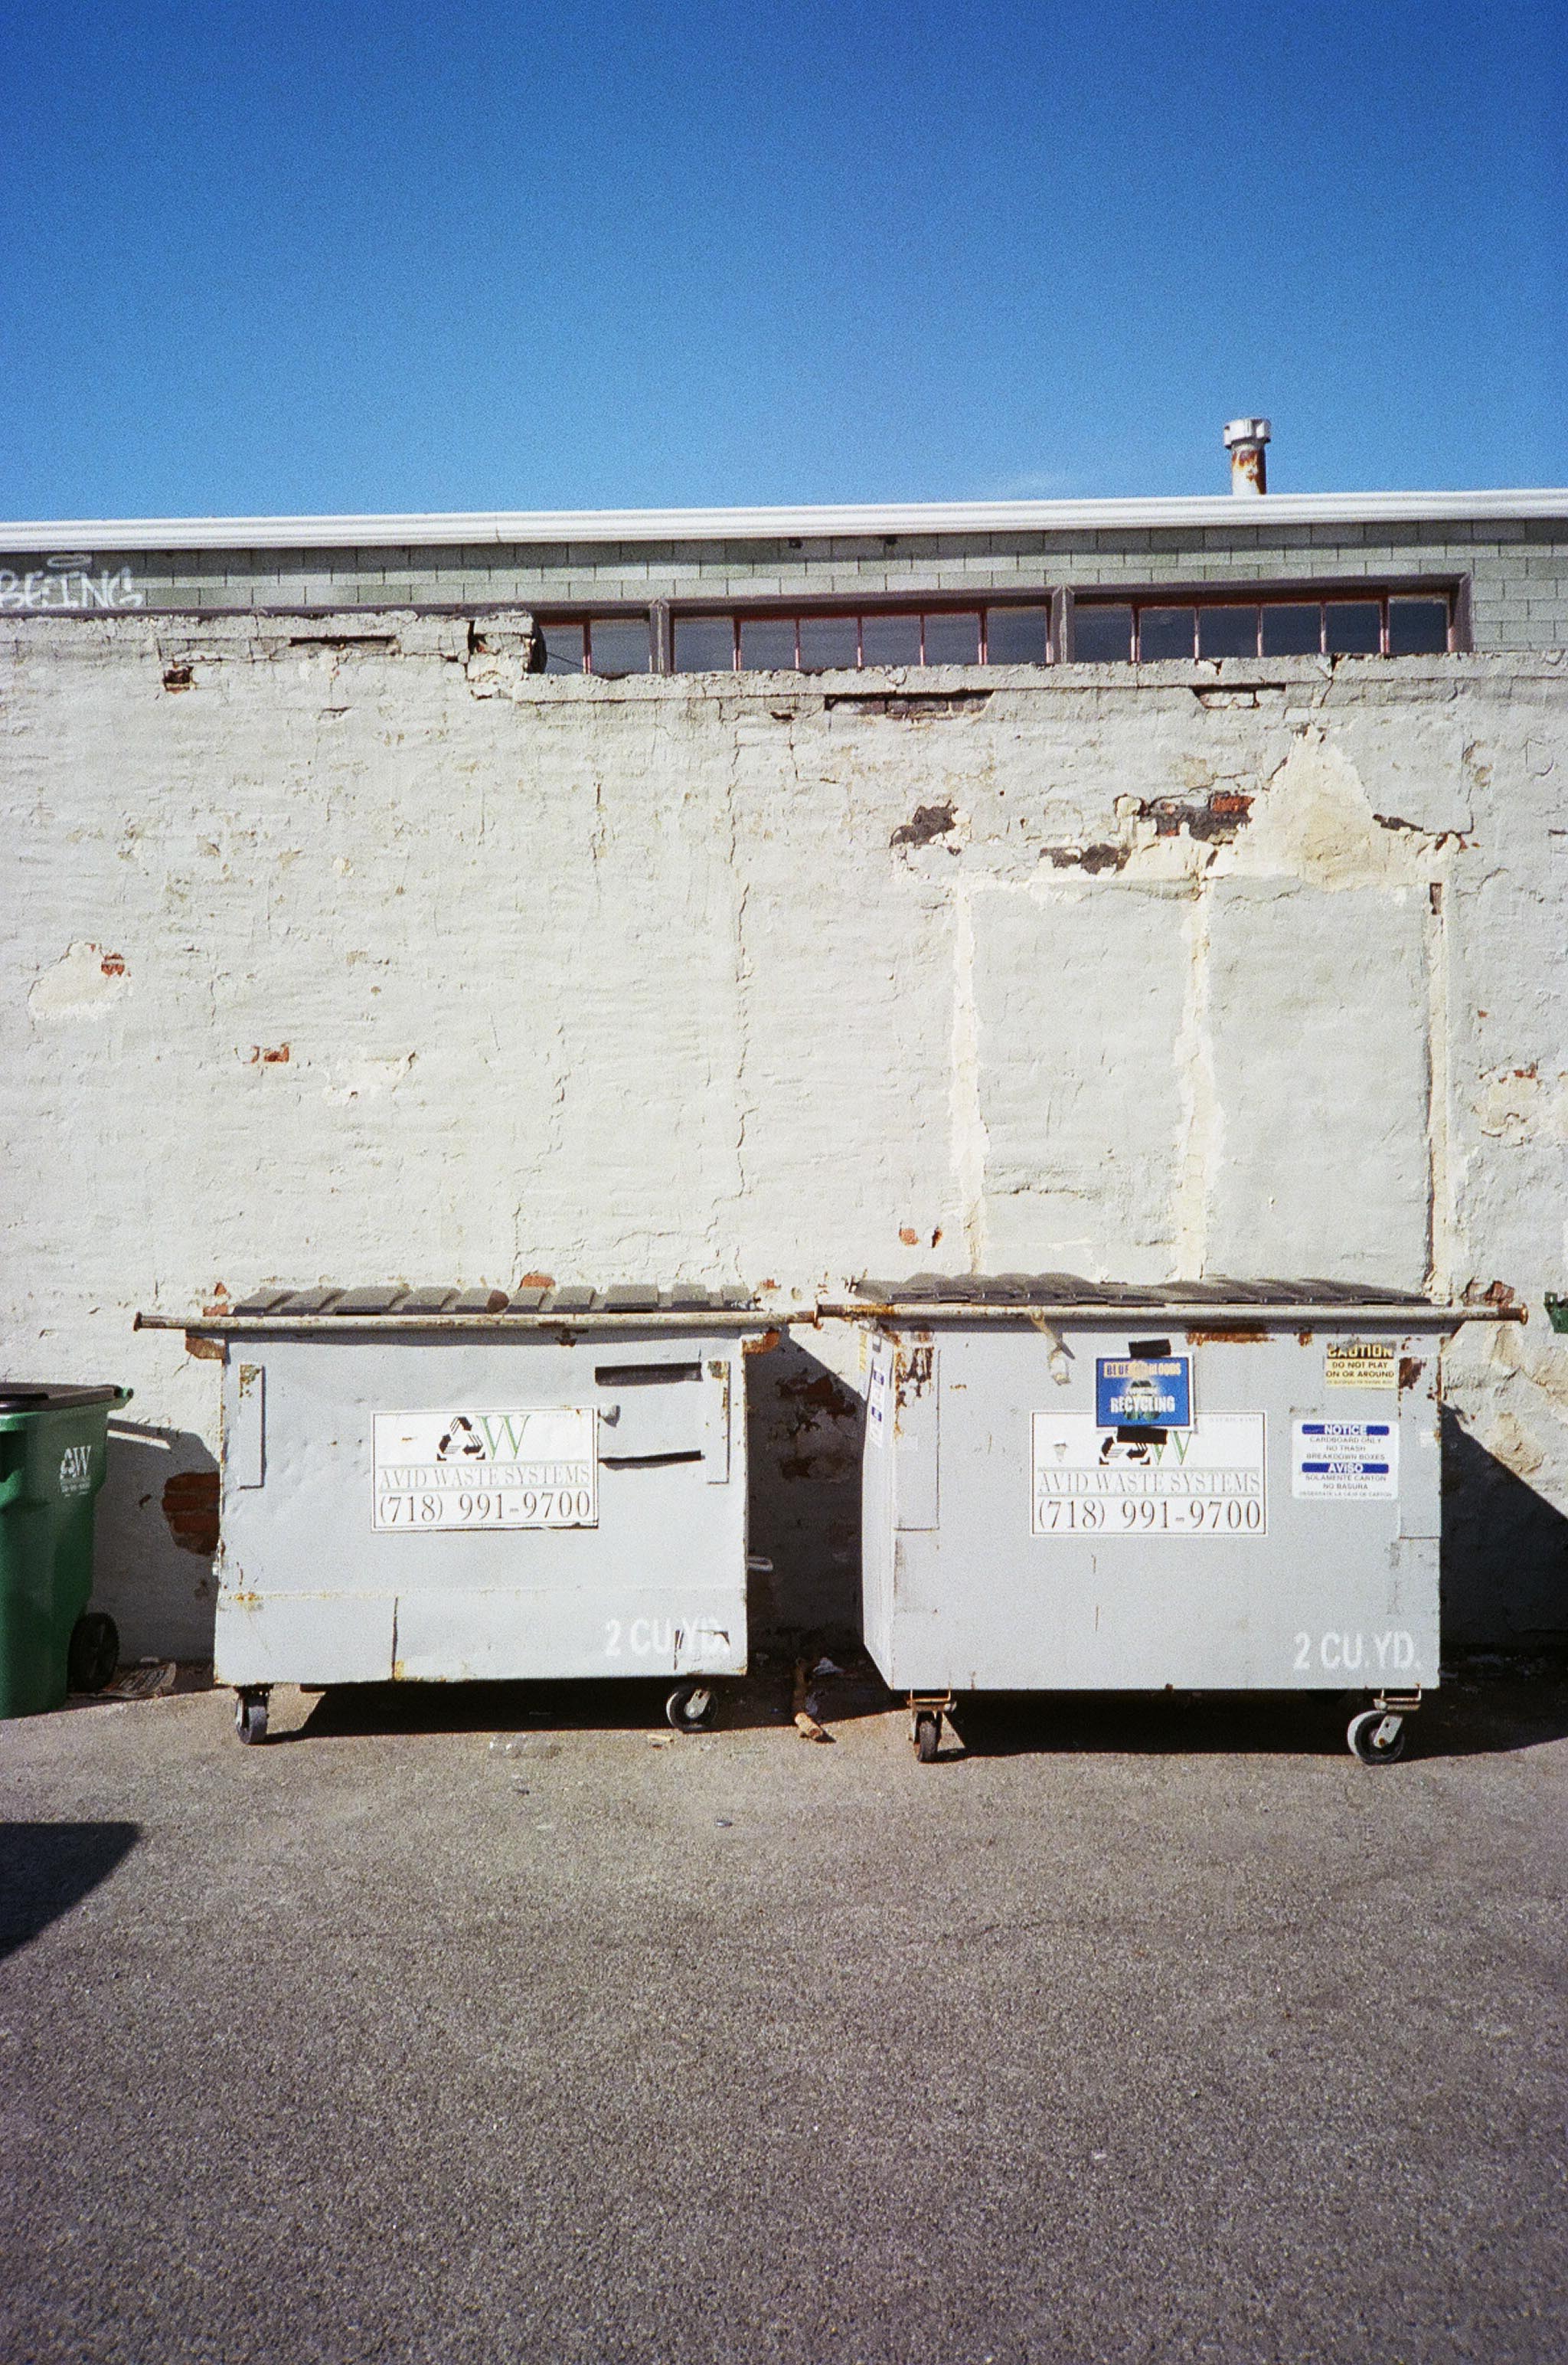
Start with a passion, whether large or small. You will always have a unique voice and story to tell, and keeping that story close will create a strong body of work. You might be a part-time musician or maybe you volunteer a few hours at a local non-profit. Great! Shoot their stories from an insider’s perspective. Or explore your neighborhood. You can do a story on a local business or business owner – shooting them at home, work, on days off, etc. There are ideas all around us, it is up to you to get out and find them.
Short or Long-Term
Short-term projects are good for starting out in photography projects. You don’t need to commit long-term, but it will get you thinking about the process. This can span a few hours or days. Even a few months can be short compared with decade-long projects. Bruce Davidson shot his project Circus over 4 months and Brooklyn Gang over a summer. Long-term projects are more popular in photography because complex subject matters need time to develop. Yet, the time commitment and editing of images into a cohesive project can seem daunting. A great example of a long-term photography project is Josef Koudelka’s Gypsies. He spent 9 years traveling with a Roma community and photographing their society. His 9-year immersion in the project created beautiful images. Another great long term project example is Nicholas Nixon’s The Brown Sisters. A yearly portrait of his wife and her sisters, this ongoing project has spanned 40 years of their lives. Studying well-known photographers and their projects is helpful when beginning your own project.
It is important to understand how much time you plan on shooting this project. Whether 1 day or 10 years, it’s important to have a general idea of how long this project will take you. This can change as you go along depending on subject matter, but have a general timeline in place and be aware of it.

Equipment
First, you should nail down your subject matter before getting into equipment. You may need different lenses if you plan to shoot indoors vs. outdoors. Or when shooting something generally close up or far away. Or even your expected lighting conditions when shooting. You may also need more portable equipment if your story takes you out away from civilization or on a long trip. This is for you to determine, there is no right or wrong answer here, only the vision of you the photographer.
Just make sure your equipment stays consistent throughout the duration of the project. It will help the images flow together and achieve a uniform sense. The focus here is the subject, not the variety of lenses you have and techniques you practice. If you want to showcase a specific piece of equipment or skill set, pick one and stick with it. You’ll have other opportunities in future projects to show different skill sets.
Editing Your Work
Aside from post-processing, you’ll need to edit and sequence your photos. The goal here is ensuring you don’t present too many or too few images. You’ll want to find the least amount of images required to tell the full story. Most likely, you’ll take way more than necessary, which is fine. It’s better to shoot too many and spend longer sequencing, than realizing you have gaps in your story. Don’t limit yourself to a set number of images, just let that come with the process. Lay out physical prints, and begin arranging them in order, pulling out any excess images. You’ll find this process easier than it sounds.
If you find you have too many images and cannot edit further, walk away. Removing yourself from the process will ensure you come back with fresh eyes. Some photographers swear by this method of letting photos “marinate”.
Also, getting your project critiqued by a trusted photographer friend can also be beneficial. They don’t have the same connection to the project, and can give an unbiased opinion.
Publishing
When you’re finally ready to share your images, it’s time to publish your project.
There are many publishing options, and you’ll find one that works best for your project. Some options include printing a book, exhibiting in a gallery or posting to social media. A printed book is a great portfolio piece when meeting with potential clients. You can even send the book to publishers to get a book deal. As long as it is right for you and the project. You can also exhibit in a gallery. It could be challenging to find a gallery willing to showcase your work, but it could be great exposure. Social media is quick, easy and will reach the largest audience. But some may find it does not convey their story the right way. You need to ensure the publishing process you choose is right for the project and your vision.
There are no rules here, just stay true to your vision and tell a story you are passionate about. You have control of what you present to the world, make sure you enjoy the process as much as the final outcome.

Suggested Further Reading
Below are just a few of my favorite photography books for further inspiration. Keeping photo books around can help for inspiration and continued motivation.
Bruce Davidson Subway
Robert Frank The Americans
Josef Koudelka Exiles
Willaim Eggleston’s Guide
Trent Parke Minutes to Midnight
Martin Parr The Last Resort


 Facebook
 Google +