The face is important in photography, whether you’re looking for a beautiful close-up portrait, or just the right expression for a full-body fashion shot. The only thing that will consistently land you professional shots is practice. This is especially true when it comes to photographing the human face, but a little basic knowledge can help anyone improve the quality of their pictures.
When it comes to facial posing, light and shadow become very important. The shape of the face is largely going to be determined by how the shadows fall in the final photograph. Too much light will blend the features, while too little can obscure them in shadows. You have to work the angle of the face with the lighting to get it right, all while getting the model to convey the right emotion. It sounds complicated, but some simple tricks will have you well on your way to better pictures in no time!
Decide What Kind of Lighting to Use
You should have some idea of what you want to convey with your photograph, along with some good lights for studio portraits. Are you taking a professional portrait, fashion photograph, or moody art piece? The overall mood will be determined by the model’s expression and your lighting choices. You should use the lighting to work with the basic shape of the models face as well.
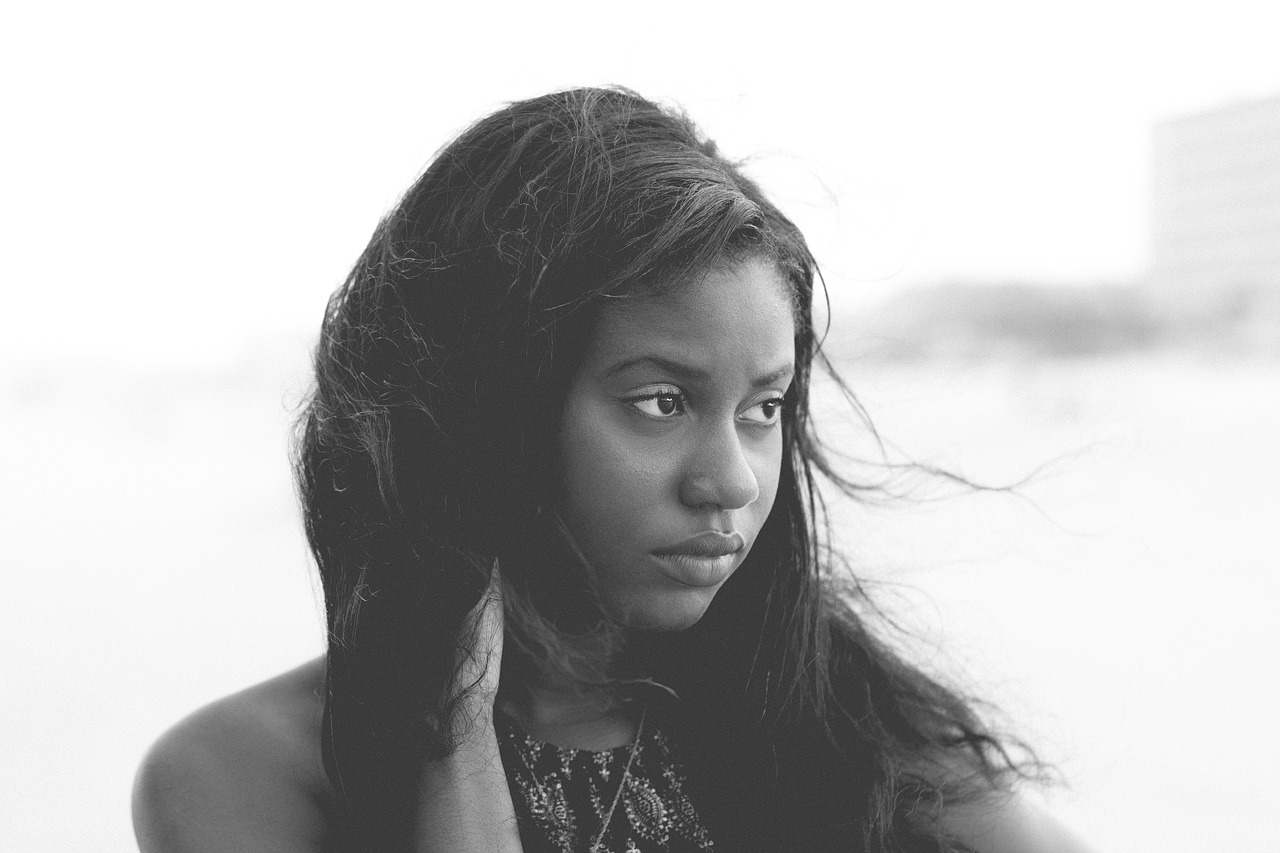
For instance, a wider face can by narrowed by shadowing the side of the face angled towards the camera:
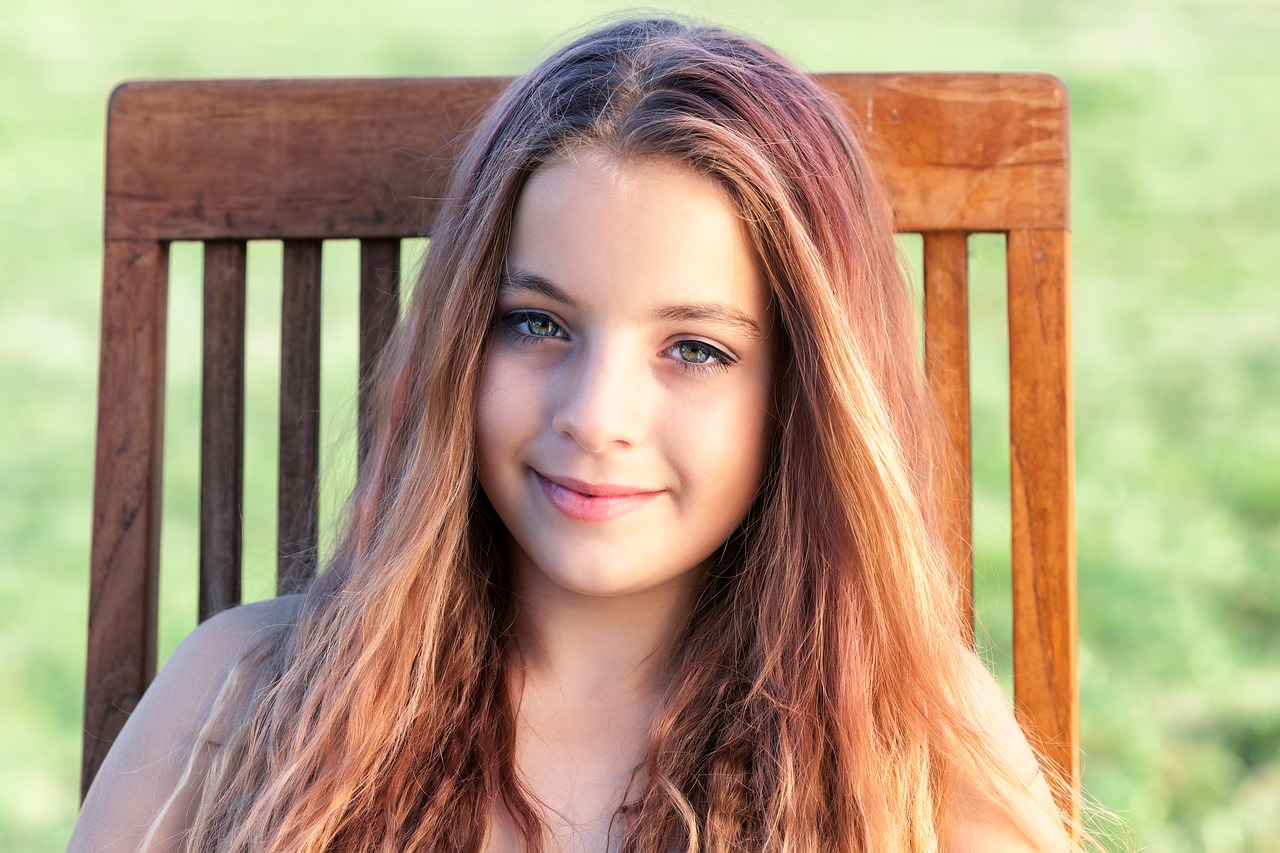
The reverse is true as well. A narrow face can be widened by lighting the side of the face angled towards the camera:
Research different lighting methods and techniques before you begin the shoot, and make notes of what to experiment with based on what kind of shot you’re going for.
Make Sure Your Model Knows the Basics
Take a minute to see what your model knows about moving her own face in the shoot. While looking through your camera, ask her to shift her angle and expression slowly. Pay attention to the following, and work with her until she is comfortable with these basics:
- How far she can turn her head before her nose breaks the line of her cheek in profile;
- To follow her nose with her eyes so that the whites are not showing too much;
- To angle her chin out and slightly down for a well-defined jawline, but to do so without looking strained;
- To express the appropriate emotion with her eyes;
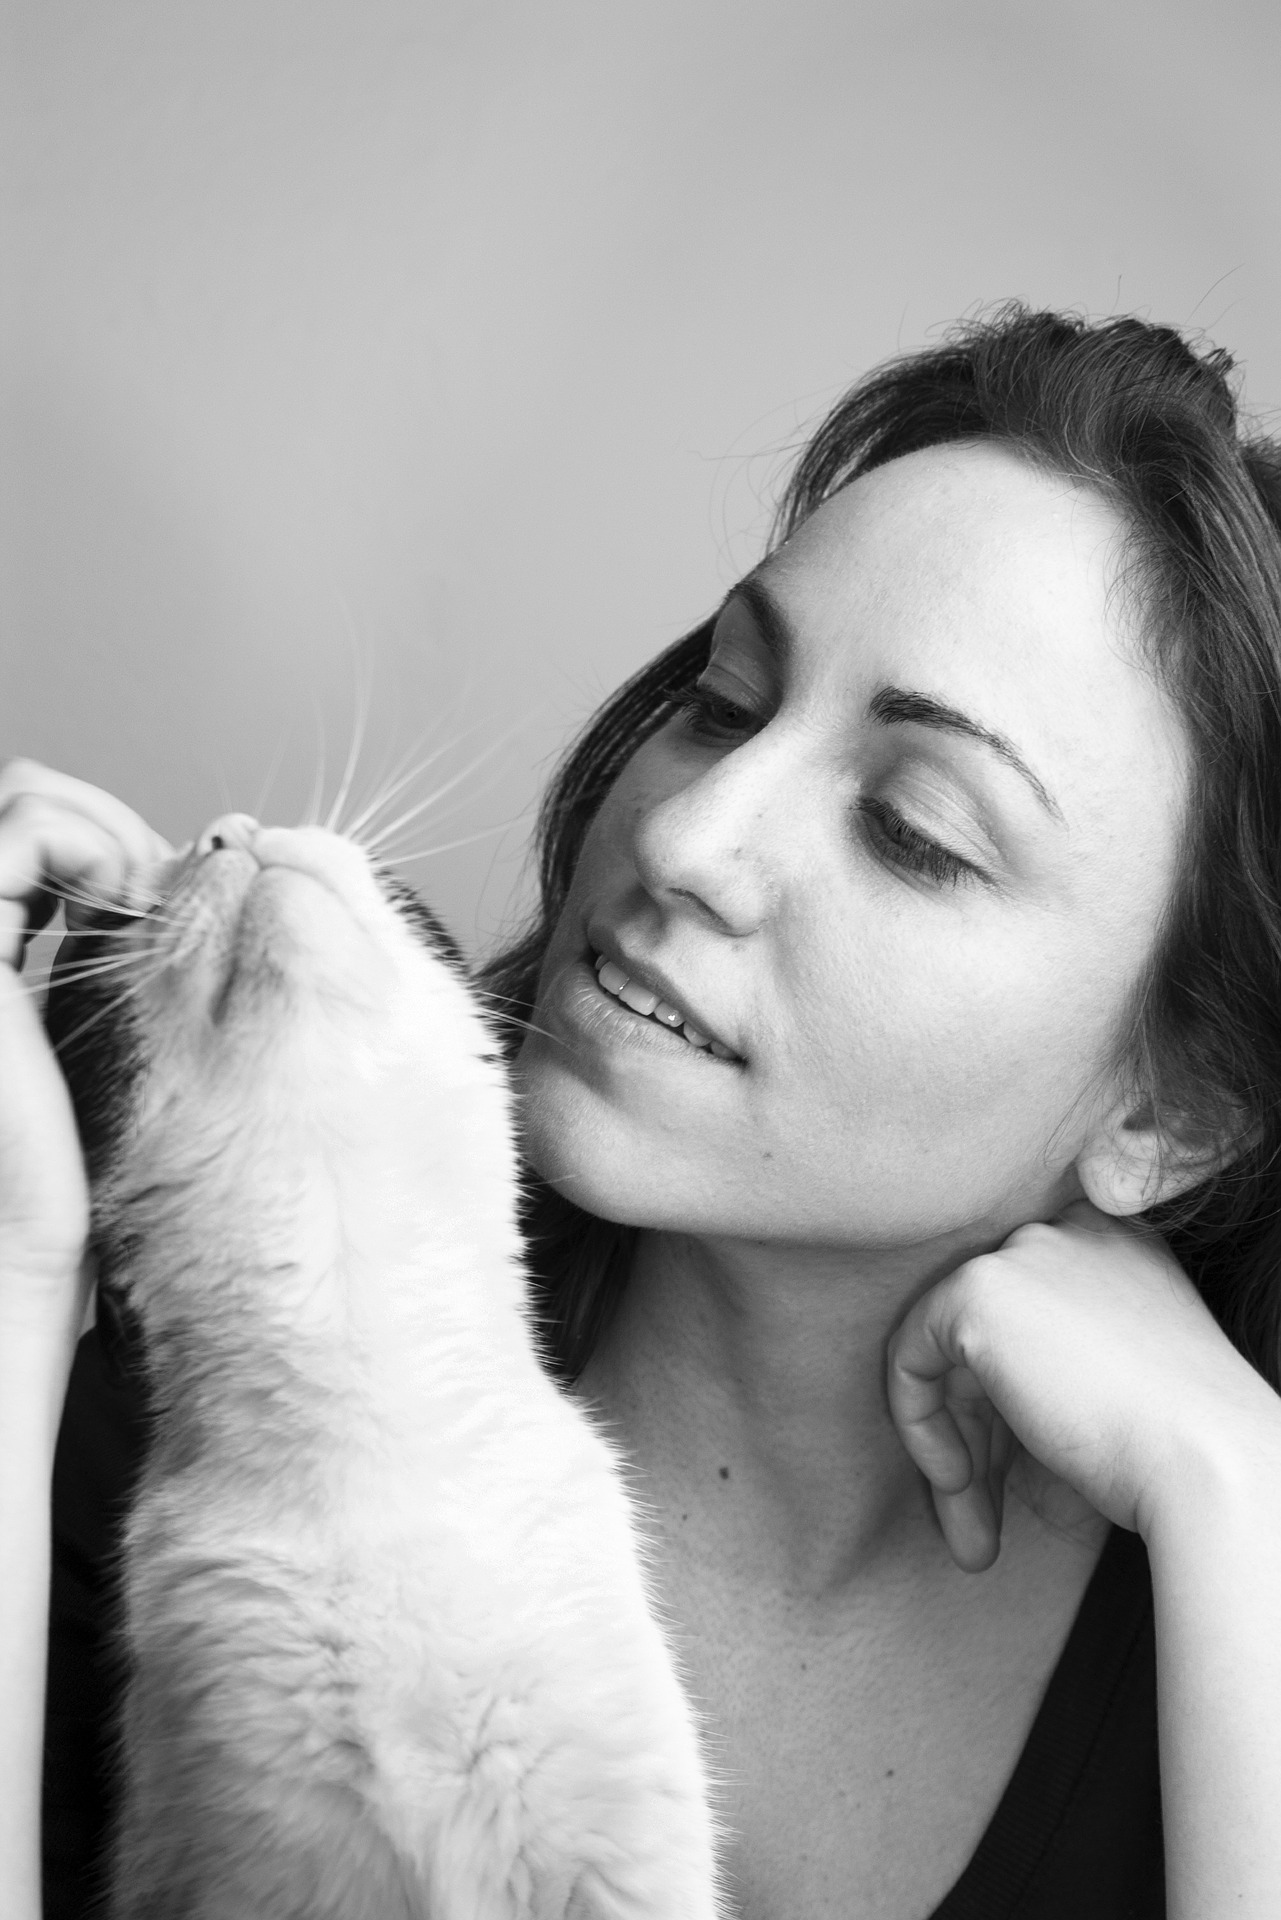
- To keep the lips slightly parted to create a relaxed jawline—especially true for fashion;
- More than anything, make sure your model is comfortable!
Once you’ve spent a few minutes ascertaining how well your model understands the basics of getting a good close-up, coach them as you see fit. Instruct them to turn their head by degrees until you see an angle that works for them, ask them to hold it. Tell them why it works. Continue to do this throughout the shoot and you’ll see increasingly better photographs as you progress.
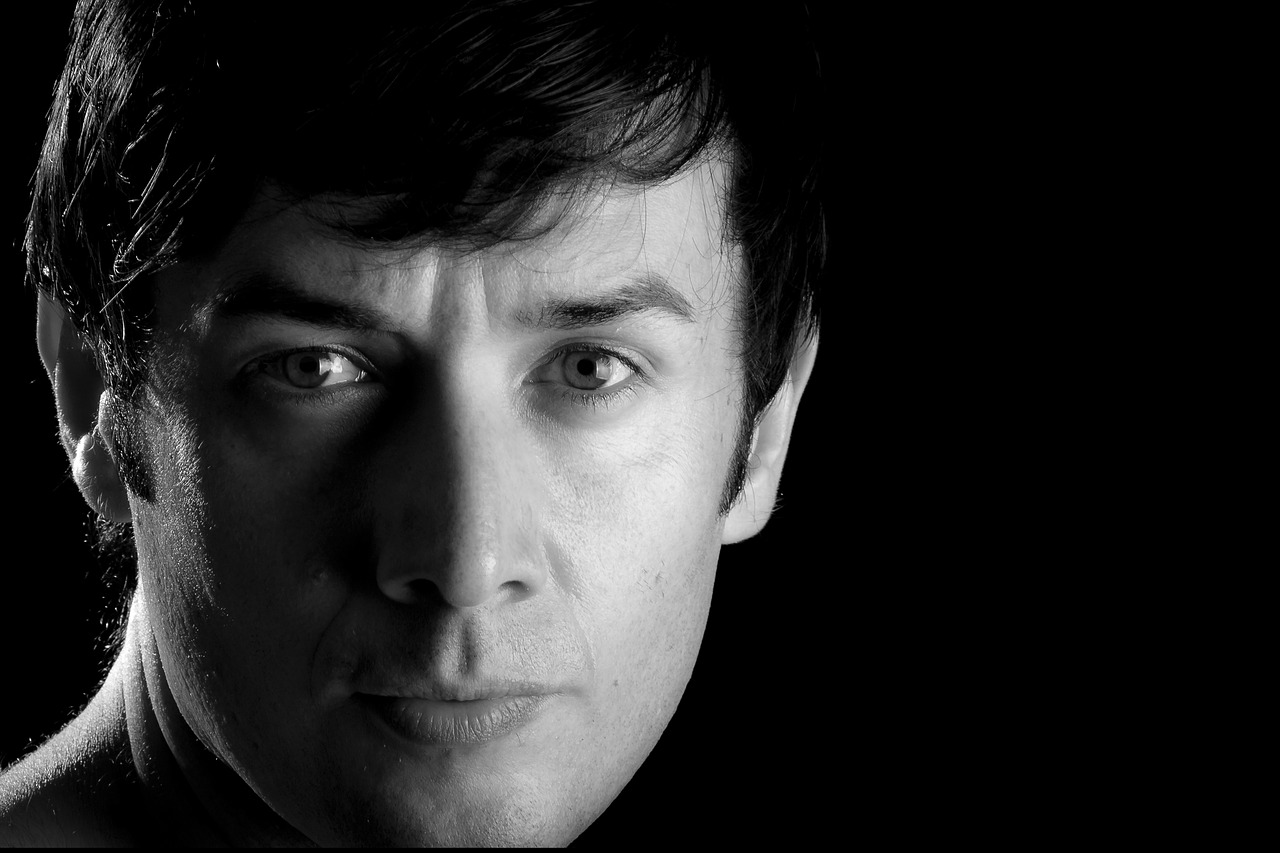
A Handy Trick to Avoid Dead Eyes
Sometimes a picture still falls flat, even though the model had the perfect expression! How does that happen? Something goes wrong with the eyes. Even if the feeling reaches them, without enough light they will simply look dead. There a simple trick that will help you correct this: make sure the angle of the camera and the face work together with the angle of the lighting, allowing you to capture a reflection of a foreground light in the eye of your subject. This will add a little sparkle to an otherwise dark eye, enhancing the feeling behind any type of mood.
Experiment, Experiment, Experiment
It bears repeating: the only way to learn to take truly stunning close-ups is to practice. That’s how you’ll learn when to use butterfly lighting, or go for a standard loop lighting. Butterfly lighting is created by placing the main light source above and slightly behind the subject, resulting in a butterfly-shaped shadowing effect on the face. Loop lighting requires the light to be eye level, angled at 30 to 45 degrees from the camera depending on the subject. The only way to learn what kind of lighting will work for what kind of face, and what style of shot, is through experimentation.
Next time your friend needs a new professional photograph, why not bust out a light and your camera? With the above tips, and little experimenting, you’ll probably be able to make them look gorgeous! But first, check out the other tips in our posing series. They are full of advice that will help you make your friends and family look better than runway ready! The practice will have you well on your way to landing perfect studio shots with ease.


 Facebook
 Google +