Hello everybody, hope you are all well out there today.
In this lesson we’re going to be taking a look at how to clean up your Backdrops using Photoshop.
This is a very common problem when doing a photo shoot, as the day goes on and people are walking about your backdrop tends to get a little messed up over time and when you upload your images you will see all the nasty little footprints and grubby marks all over your images.
So for today I’m going to be showing you how to clean these up with ease and get your image all looking prim and proper.
Lets get cracking.

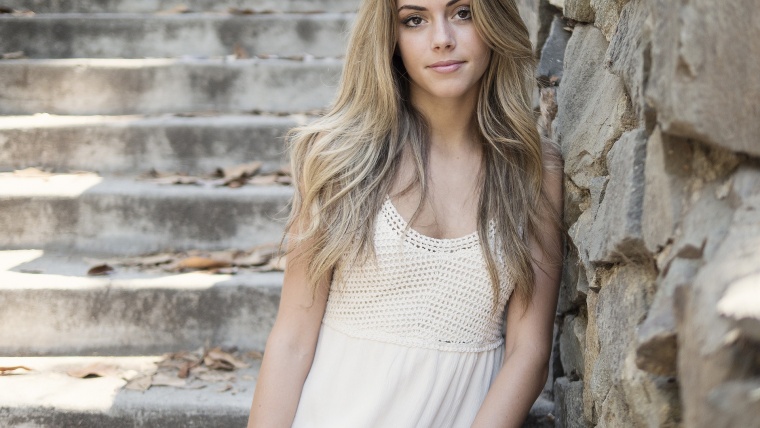
As we look at my image you might think that it looks all good and whats the problem here, well it does until you zoom in to the feet.
It might be fine at a small size but image I had to use this image for a huge poster for a marketing campaign!!
So when we zoom in we start to see the dirt that has accumulated over the day with all the movement.

Not looking great is it.
The first thing I want you to do is to hit Ctrl J
This will duplicate your layer, I talk about this in all of my tutorials, and that’s the importance of protecting your original image, so that if you ever need a back up, it’s there ready to catch you if you fall so to speak.

Normally you would probably think of using Tools like Clone Stamp or maybe even the Brush Tool in combination with the Add Noise Filter but no there is an easier way and it’s not a very public one at that.
Where you need to go is to Filter – Noise – Median.
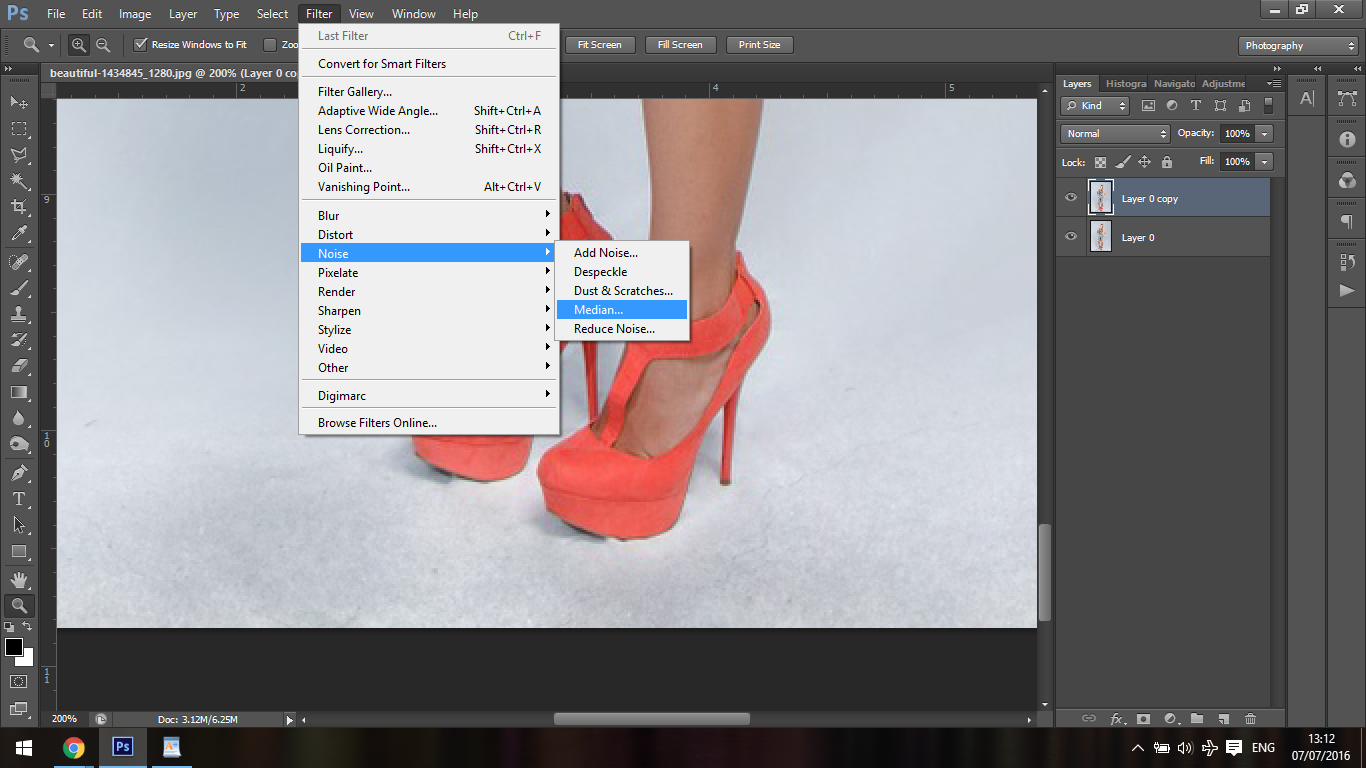
So what this does is it picks out the areas on the image that has Photoshop Textures, and then it merges them together nicely.
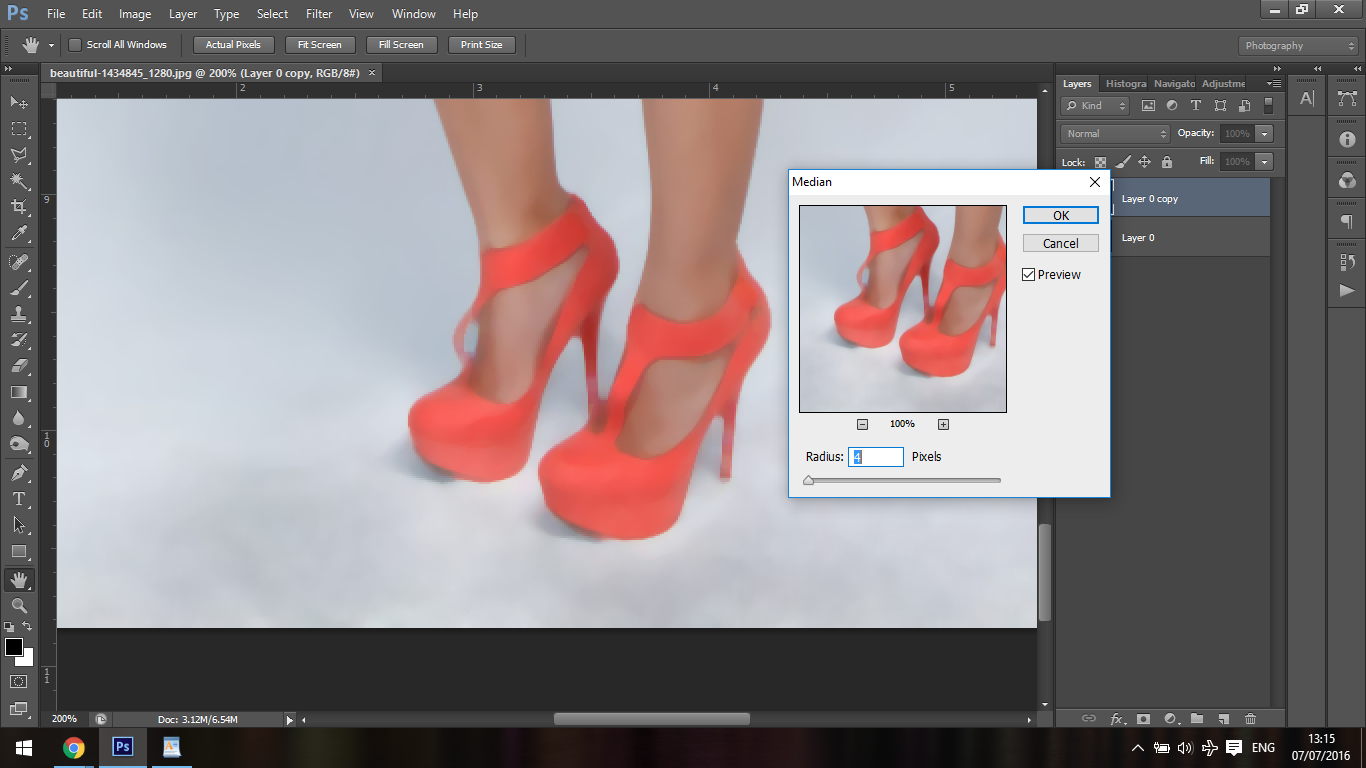
As I increase the slider you will see the backdrop start to blend together, but it will also blend the rest of the picture unfortunately but not to worry I’m going to show you how to fix that so ignore that for now.
For this image all I needed to go to was a Radius of 4, sometimes you will have to increase the Radius and sometimes you will have to decrease it really depends on the photo at the time so keep that in mind, you don’t have to dogmatically follow whats on my screen, use our own eye and do what you think is correct.
Whats good about Median is it generally keeps the forms, were as something like Gaussian Blur would blend the whole thing together into a huge unusable mess.
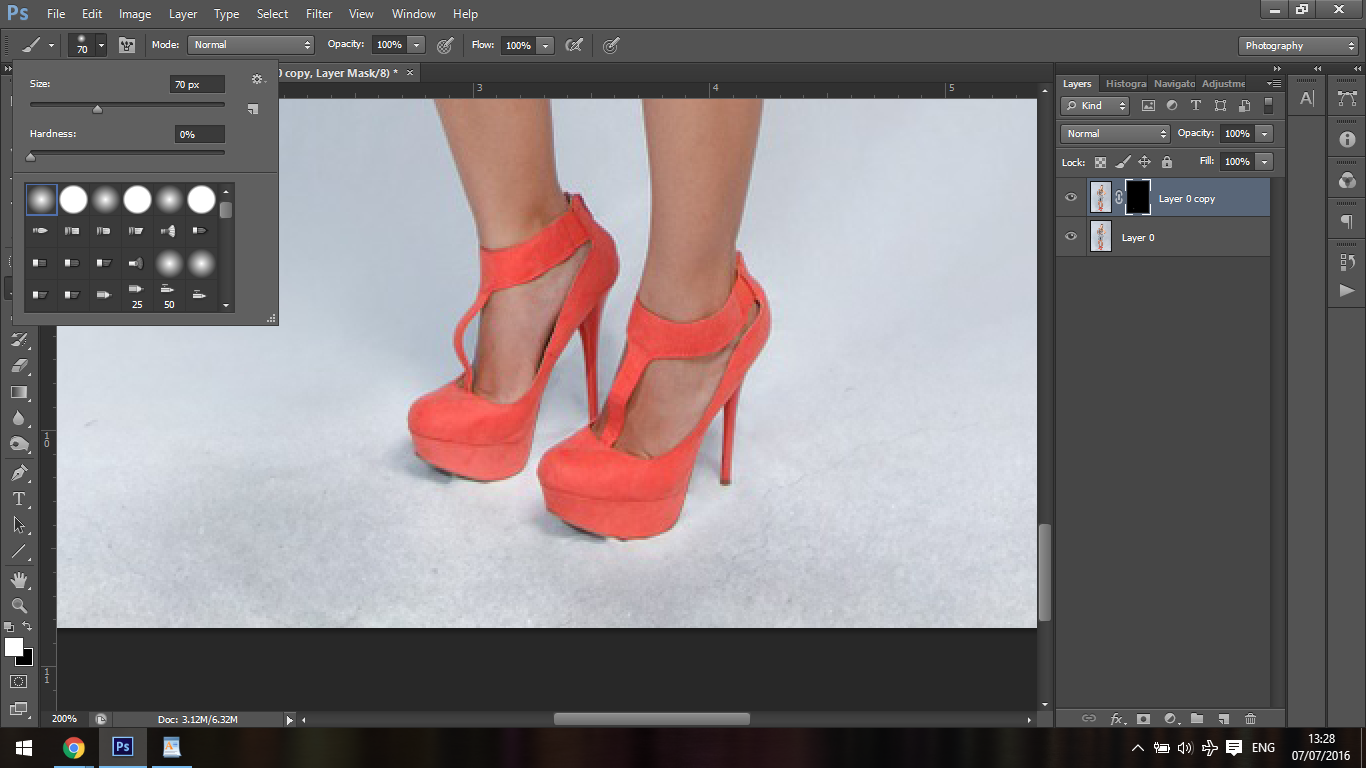
Next we are going to be creating a Layer Mask, so click where I have indicated below.

Then hit (Ctrl + I) to invert your layer mask.
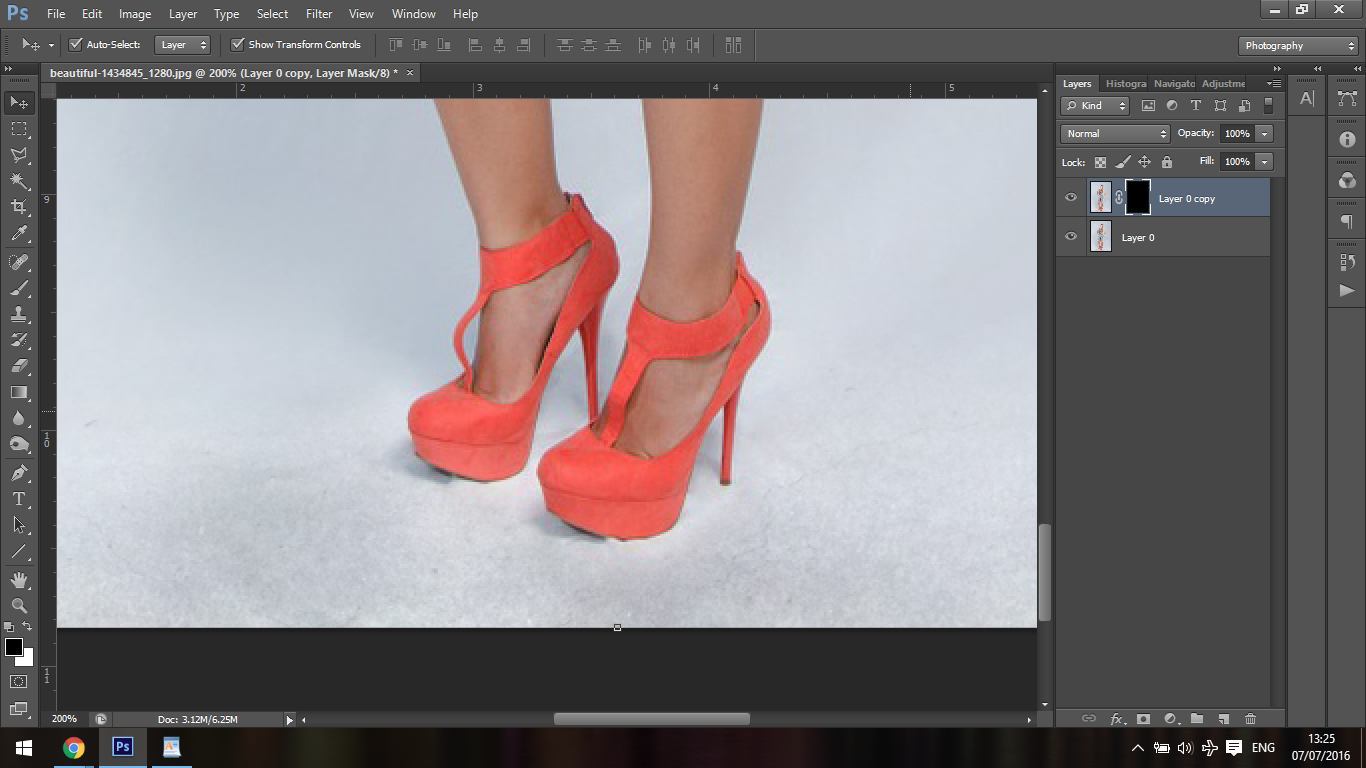
Next Step is to Grab your Brush Tool, with White and a Soft Edged brush on 100%
And then you start to paint onto the Layer Mask, this means you paint onto your normal image but you must have your Mask box checked, that’s the Black Box on “Layer 0 Copy” on your layers panel.
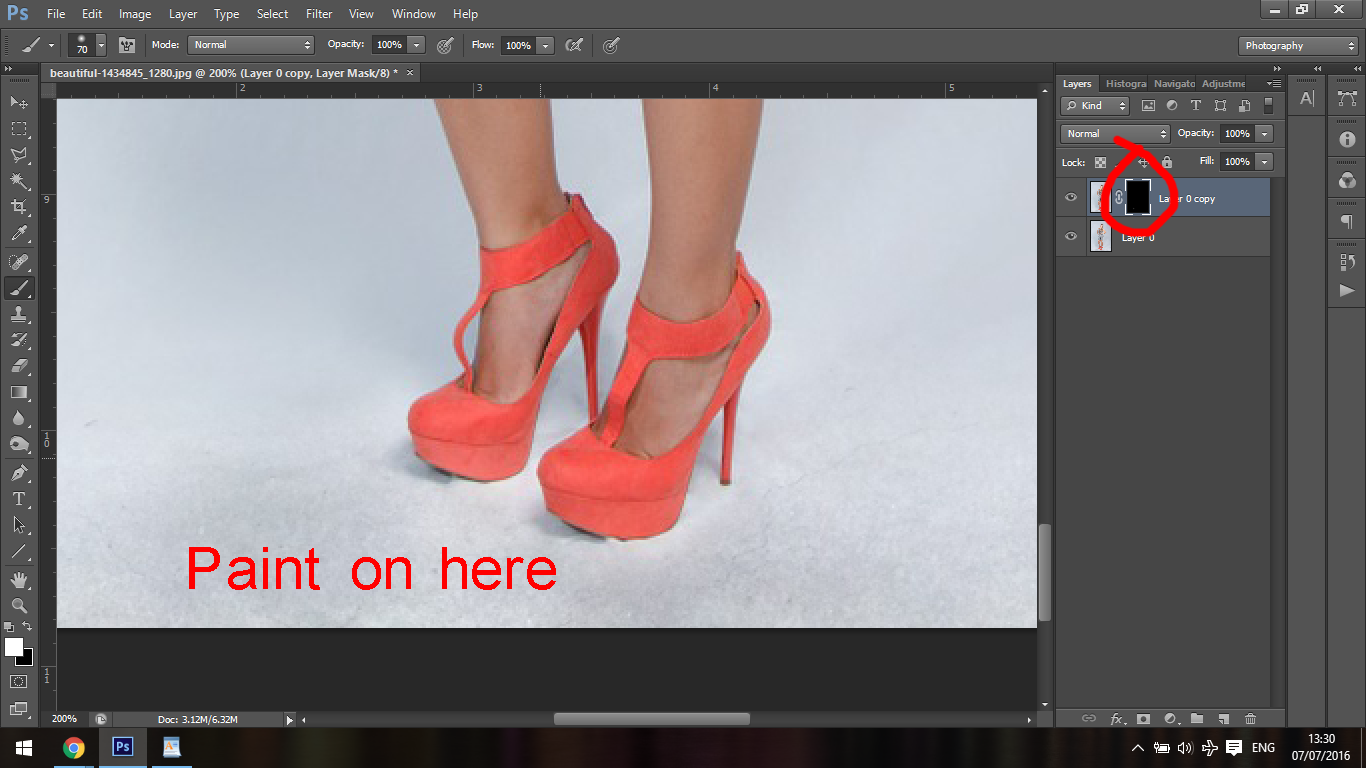
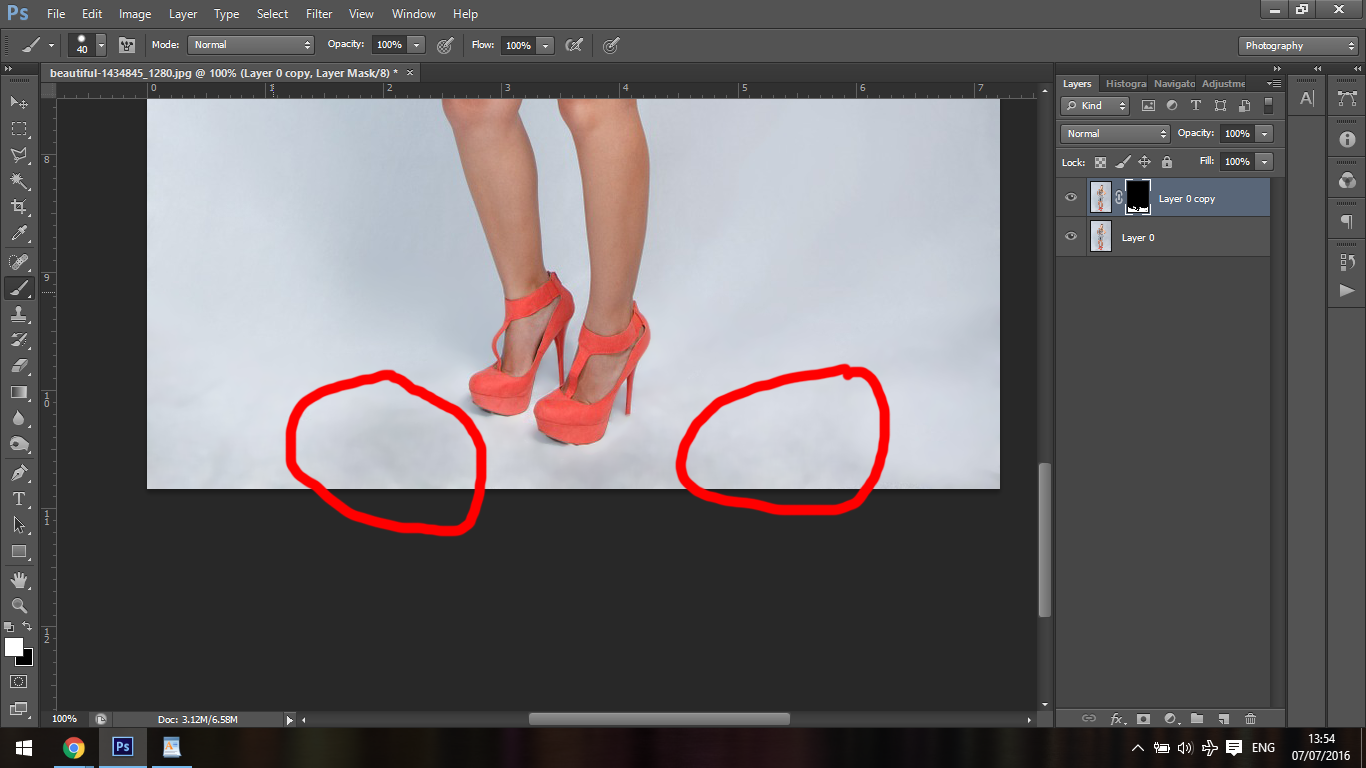
Be sure to only paint on the ground and to avoid the feet as much as possible, you don’t have to be totally accurate because the Filter underneath will help out a great deal and keep the edges intact, but just be conscious of the changes, if you have to fix the back to how you had it change your brush from white to Black and paint over it again and the back to White again to retry.
You can read and watch the difference between Lightroom and Photoshop.
You will at times have to change the size of your Brush you can easily do this by hitting the bracket keys [ & ] on your keyboard to reduce and increase as needed.
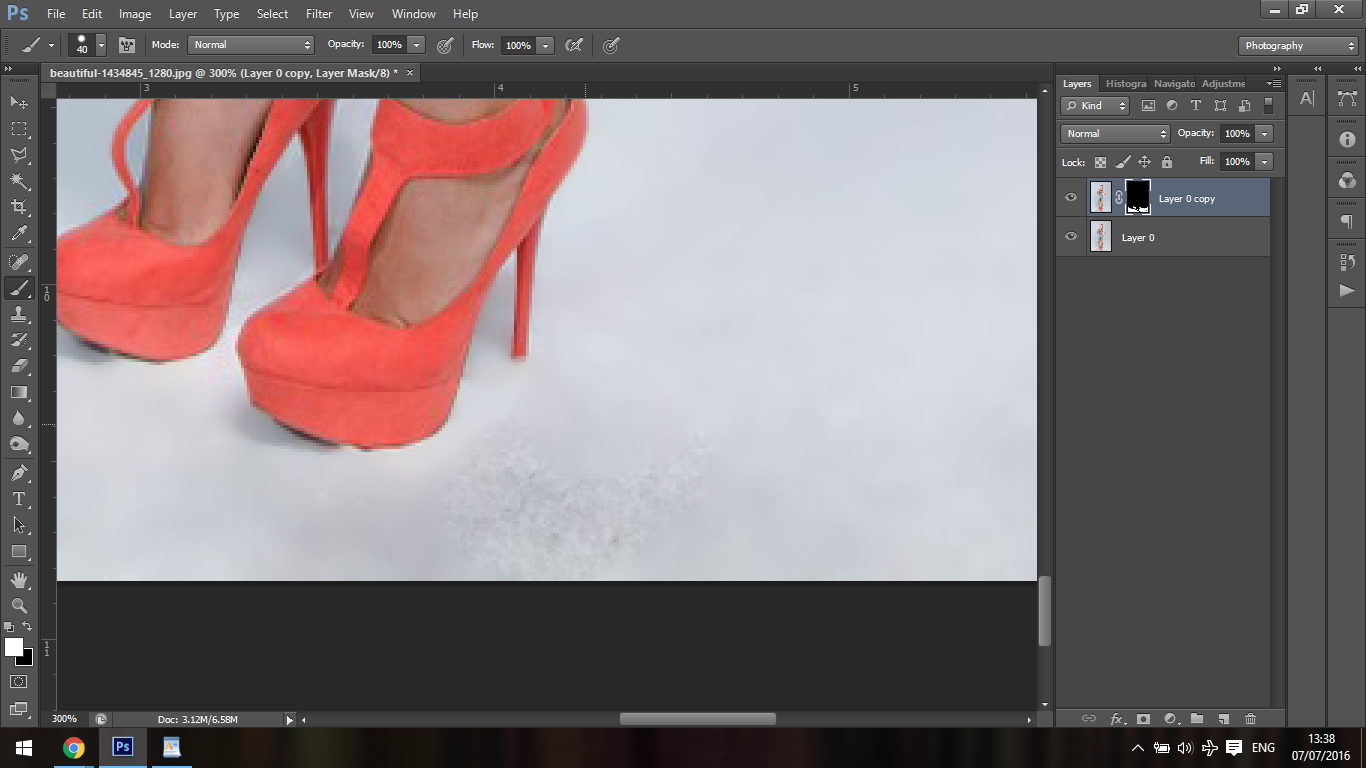
And now you will see that your image is just about perfect, but there is one more step that you can follow just to finish it off, it’s not always necessary but if you look at my image now you can see that it still looks a little grubby.
So what I can do here is to grab my Brush Tool Hold down Alt and click on the colour beside it.
Then I drop the opacity of my Brush to about 25% and just start painting over these areas just to soften them up a little more.
In the end you will have a very clean image.


Please verify your software version before proceeding.
 I’ve verified my software version


 Facebook
 Google +
Comments (0)
There are no comments yet.