How to Photograph Drinks in Studiowww.sleeklens.com
The food and beverage industry is always looking for good photographers to capture the essence of their brand through amazing product photos. Do you have what it takes to capture impactful image of drinks? Can you capture those little droplets of water as they condense on the edge of the glass?
As it turns out, you don’t have to. Many beverage photographers use a spray of glycerin mixed with water to create the effect of condensation on the outside of the glass. Throw in a few fake ice cubes, and you’ve got yourself a pretty picture. Okay, so it takes a little more than that! Here’s some advice to get you started.
Table of Contents
Typical Lighting Rules Do Not Apply
Normally, you would light your subject from the front. This allows your camera to capture the light that’s bouncing off the subject. The combination of glass, ice, and liquid can create a strange glowing effect when you use the traditional methods.
Instead, when shooting drinks, your primary lighting should come from the back of the shot. The light should pass through the liquid. This will prevent the glow effect while perfectly illuminating the contents of the glass. Obviously, you’re still going to need additional lighting. You’ll end up with dark image otherwise.
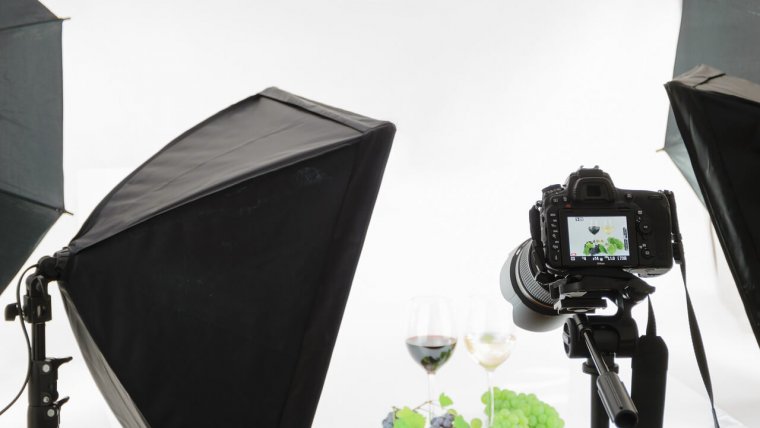
You don’t want to completely neglect illuminating the foreground. If you want a stronger light, use a strobe with a softbox. For a softer light, use two strobes in the background and place a reflector at the front. Use your strobes in combination with the natural lighting of the room.
It’s Time for the Snoot
A snoot is a simple piece of equipment that you can place over the strobe to make strong directional light. You can make one out of a thick, dark piece of fabric. Simply drape it over the strobe in the background so that it frames the bulb and directs a strong beam of light through the drink.
Since you’ll be using two lights, and possibly a reflector, be sure to watch for double shadows. You can prevent this when you’re using a light in the foreground by ensuring the backlight is brighter.
Don’t Be Afraid to Play Around with Settings and Lighting
You’re probably going to be making a lot of little adjustments to the lighting angle and intensity throughout the shoot. This will help you capture different moods and angles. If you want to save yourself some time, use a tripod for your camera. That way, you don’t have to reframe the shot every time you tweak the lighting.
A handy way to balance out the shot, especially when you’re lighting from the front and the back, is to adjust each one individually. Get your initial shot set up, then turn off your foreground light. Snap a couple of test shots, play with your camera settings so they pick up the background light just right. Then switch to the foreground and use test shots to make sure the light is falling properly. Turn your background back on and you’re ready to go.
Timing is Everything
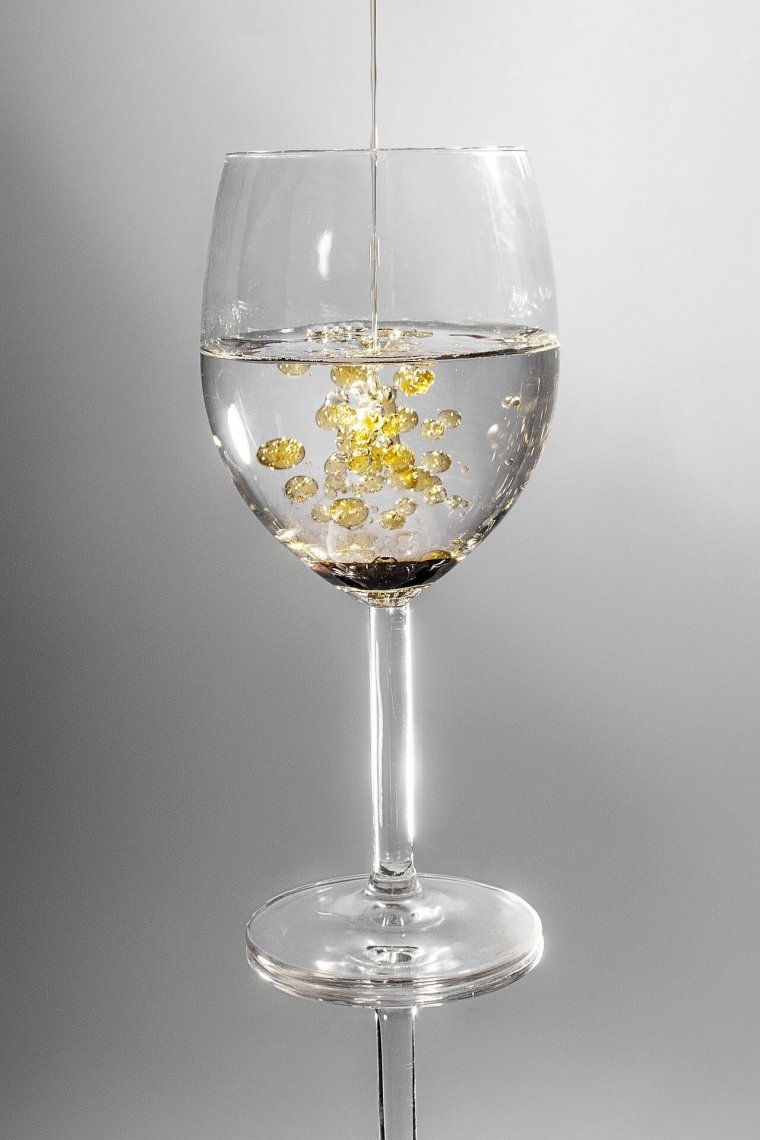
Working with drinks can be more difficult than working with food, especially if you decide to work with real ice or condensation. Okay, so not everyone uses glycerin! It is a good trick, especially since there are some complications to shooting with real condensation. You will only have a small window of time to snap pictures before the condensation begins to drip. While this may work for your shot, most photographers prefer the rounded beads of liquid on the glass.
If you’re using real ice, but you don’t want condensation formed on the glass, then you should wait to put ice in the beverage until right before you’re ready. Fake ice in a room temperature beverage would be better. That way, you can take shots from multiple angles without worrying about condensation.
Don’t Forget About Mood
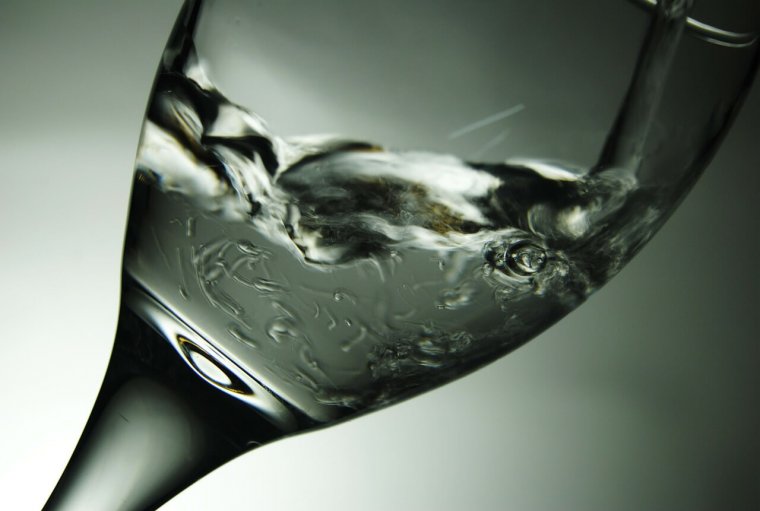
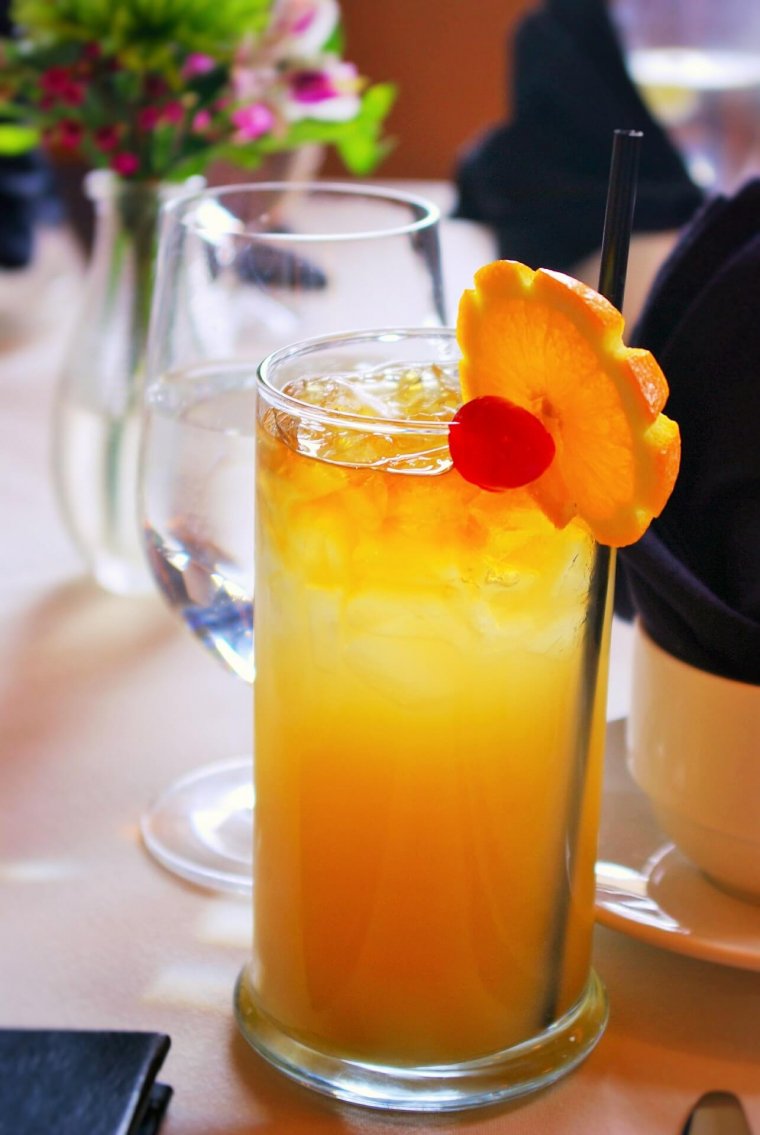
Like any promotional photography, you want to capture what the company wishes to convey. You’ll need to play around with form and composition to create different moods. For instance, lighting an image from the back without a strong foreground light will create a dark and moody composition. Colorful liquid splashing out of the glass against a white background would look cheerful and fun. Remember the aim of the shoot when you’re setting up your props and your lighting. Take the images above and below this paragraph into consideration. They feature similar subjects, but a change in scene and lighting renders a completely different mood.
One Last Thing
The last bit of advice for photographing drinks may seem simple, but it’s very important:
Don’t touch the glass.
No one wants to get that perfect shot only to find that they left a big smudge on their subject. Try using gloves, especially if you have to move the drink around during the shoot. No matter what, remember to have fun! Drink photos are usually bright and happy, so why not have a good time while you’re taking them?
Before I became Editor-in-Chief of PHLEARN Magazine, I spent over five years specializing in Photography Writing and contributed articles regularly to sites like PictureCorrect, Sleeklens, and PhotoWorkout. Photography has always been a huge passion of mine; I may not be professionally trained in the art, but the knowledge and experience I have gained writing about photography techniques, interviewing some of the biggest and most inspiring photographers out there, and covering industry events has been invaluable!


 Facebook
 Google +
Comments (0)
There are no comments yet.