
Table of Contents
Let’s say you’re working on an image for a client, and you want to present them with an original color copy, a B&W copy and one with your creative effects on them. How do you go back to select the file that you finalize? Do you retrace your steps all the way back to reach the first version of the image? No. This is where virtual copies come in. Virtual copies literally mean creating copies of a particular image to choose from at a later stage. You get to make a copy of every new instruction that you create for the image without affecting the original file. Creating a virtual copy allows you to have fun experimenting and not worry that you won’t be able to find your way back to the image edit that you loved before. Didn’t you know virtual copies existed? And you want to create multiple versions of the same image to fuel your creative experiments? Well, what might keep you from doing that is having to duplicate a high-resolution file each time you wanted to try a different look because it would eat up most of your hard drive space and RAM. But, guess what? Virtual Copies don’t take up any disk space. Okay, maybe some space, but very, very, little. Far less than what an entirely new image would take up. The reason is that they are virtual. Technically speaking, all they really are is another preview of the image and some metadata determining the edit. They don’t really come to life until you export them. That’s when the file is actually created.
You create a virtual copy by just Right-clicking on the original photo and then choosing Create Virtual Copy from the pop-up menu, or using the keyboard shortcut Command
+ ‘ on the Mac and Ctrl + ‘ on a windows system. These virtual copies look and act the same as your original photo, and you can edit them just as you would your original, but here’s the difference: it’s not a real file, it’s just a set of instructions. A virtual copy doesn’t copy the original file rather only the instructions from the original file and displays the visual changes being made. Hence, it doesn’t occupy any hardware space. The instruction files are merely in Kilo Bytes. This way, you can have as many of these virtual copies as you want, and experiment to your heart’s content without filling up your hard disk.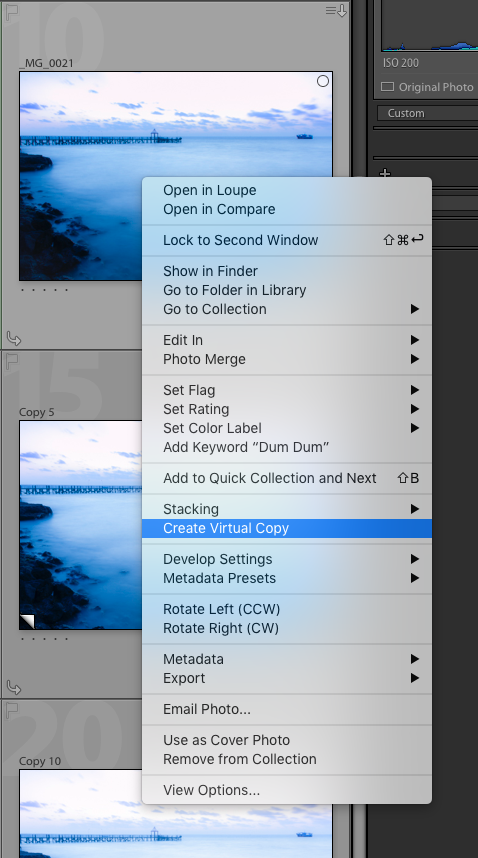
How to create a virtual copy.
That’s a good question. So you’ve created a number of virtual copies and you rearranged the order of your images on the filmstrip, and now you don’t know which one is the original file and which one is the virtual copy that you made? Here’s a tip – your virtual copies will have a little icon on the bottom left of the image. Something that looks like a folded page.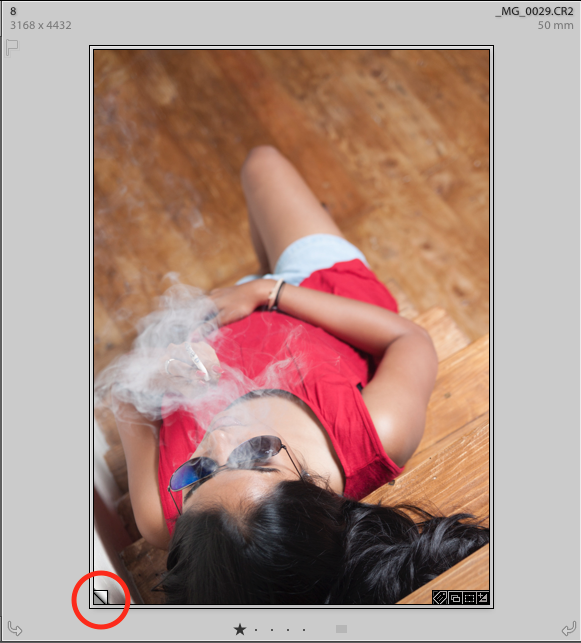
So how do you get rid of them? Very easy. Right click (or hold the Control key on a Mac and click) on the Virtual Copy and select Remove Photo. This will bring up an option to remove the virtual copy. Select remove, and it’s gone. OR, Just select the photograph you don’t need and hit “Delete” on your keyboard. While you can remove Virtual Copies in basically any order, you can not remove Master photograph and keep the Copies. Master photograph refers to the original imported image. If you remove it, all associated Virtual Copies will be removed as well. But, you can change which Virtual Copy acts as the Master photograph. Go to your Library module, select the Virtual Copy you want to set as Master, choose “Set Copy as Master” from the “Photo” drop-down menu. Upon removal of Master photography, Lightroom will ask whether you want to remove it from Lightroom catalog only or delete it altogether from your hard drive.So there, you have now successfully deleted the image you didn’t like.
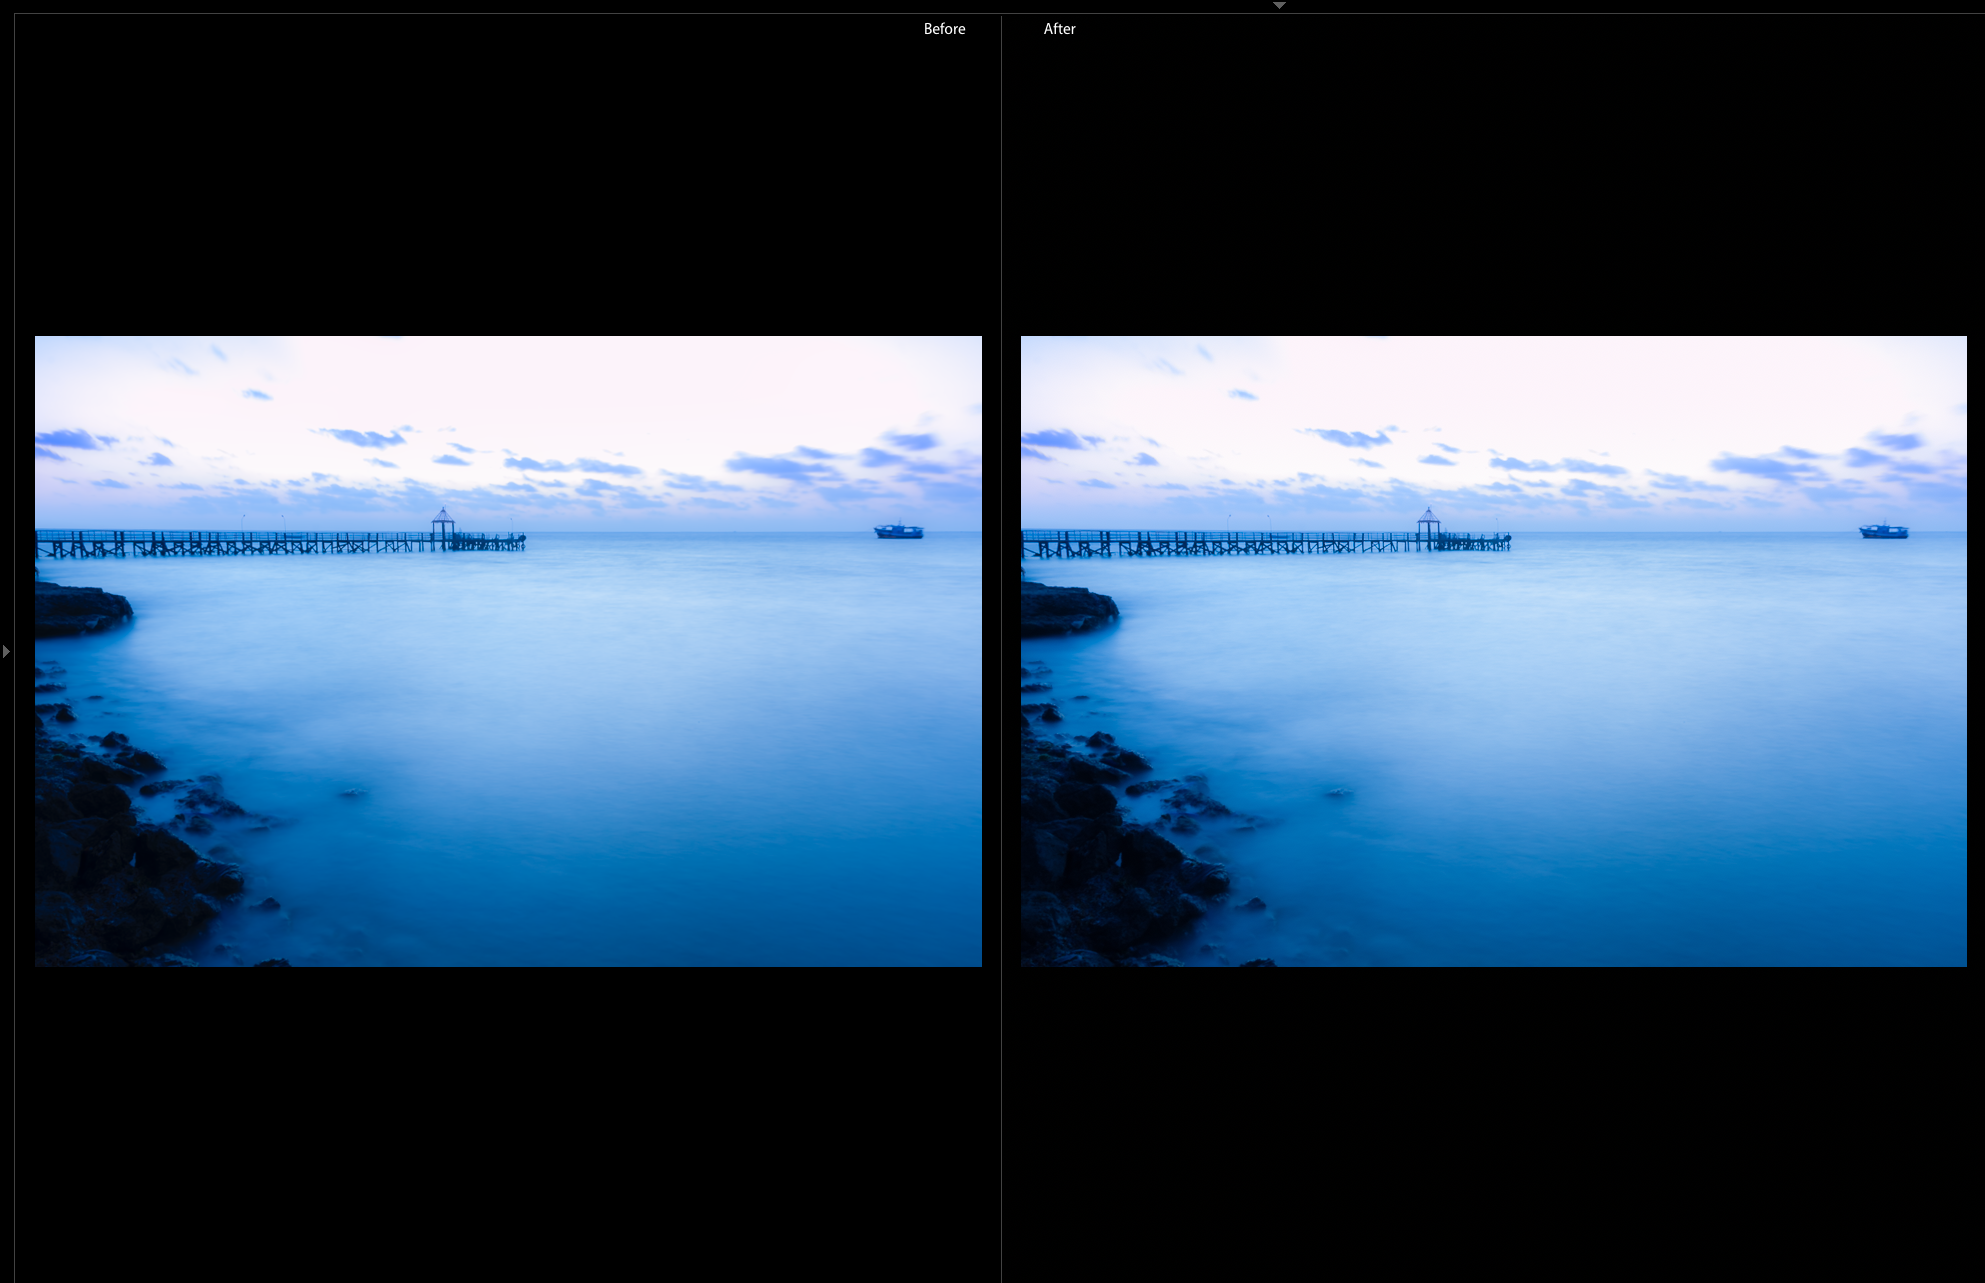
Yes, you can. Lightroom allows you to compare various images in order for you to decide better. If you created a Virtual Copy using an already edited image as a starting point, and now you want to compare the two versions before finalising on one, simply press the key “Y” on your keyboard and it’ll take you to a Before/After window. The image on the left is the Before picture – either an image with the previous edit or the raw, unedited one- and the image on the right is your After image – the image with the latest edits and adjustments. Moreover, pressing “Y” with Master photograph selected will show how an image looked like upon Import in comparison to how it looks with current adjustments.Kindly note that these shortcuts work only when you’re in the Develop module.
But the above shortcut works only when you want to compare two images.
What if you have ten versions of the same image and you want to compare all them? Don’t worry. Lightroom has a feature for that as well. Go back to the Grid view, select your original photo and all the virtual copies, then press the letter “N” on your keyboard to enter Survey view. This allows you to view all your virtual copies at once, so now you can just pick the one you like the most and get rid of the rest.

Virtual copies are an excellent way to create, edit, and crop an image without affecting what you have already done to the image. It is one of the most flexible and easy ways of comparing and/or exporting different image looks within Lightroom. They are also highly useful when working on new presets, because you get to see subtle changes to the image and compare them without having to cancel out any settings. It makes your job that much easier.


Please verify your software version before proceeding.
 I’ve verified my software version


 Facebook
 Google +
Comments (1)
Hi. Do you know of a way to Set Copy as Master to multiple images at once instead of just one at a time? Selecting All and then choosing Set Copy as Master still only changes the one. Thanks!