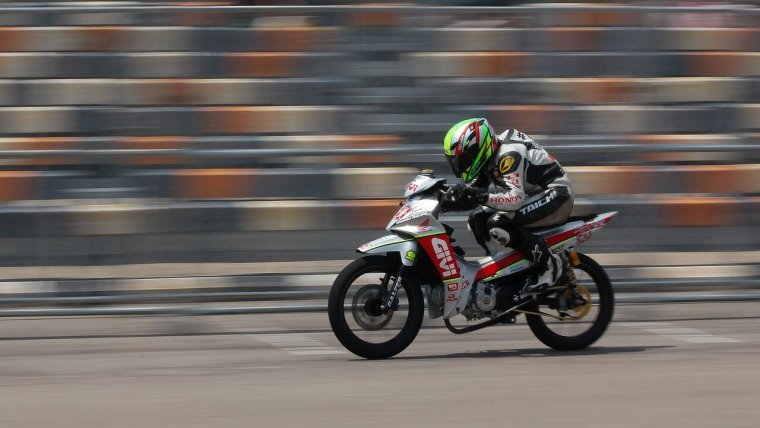
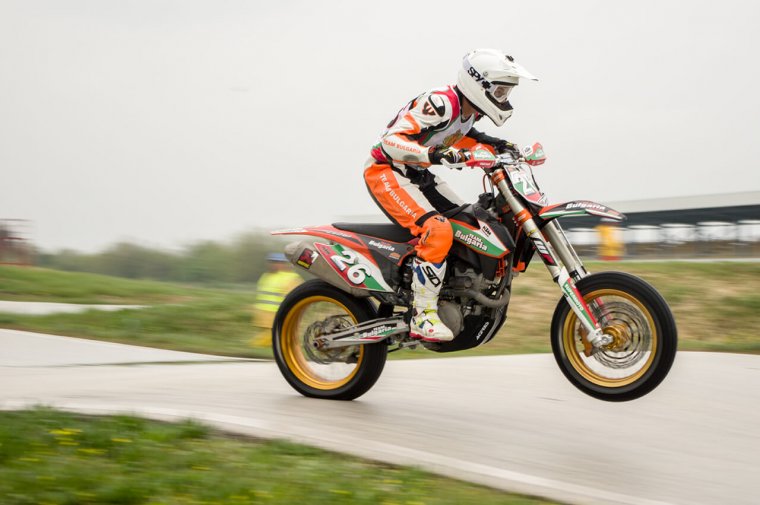
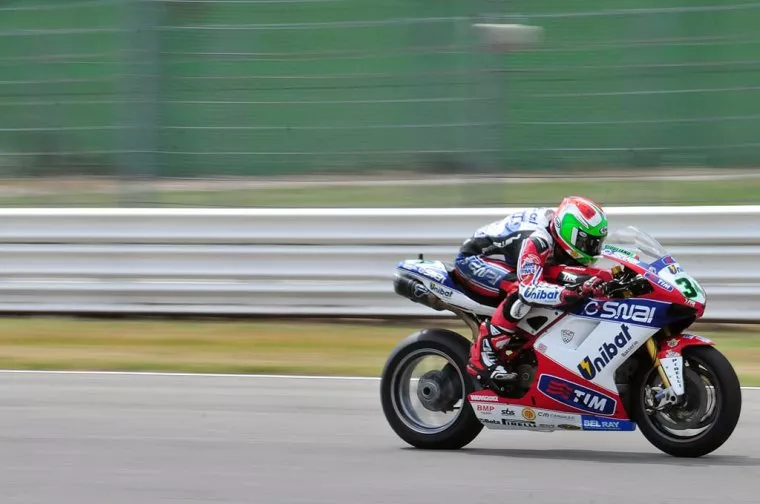
I’ve you have ever opened motorsports magazine you’ve seen them everywhere – the panning shots. It’s the technique when the photographer manages to make a speeding vehicle look perfectly still, whilst successfully catching the feel of motion by making the background a blur of color.
Even thou, it’s a technique mainly used for motorsports, it has wide application in other types of photography, it can help make your wildlife and nature shots look out of this world. It can be used even for people, basically, everywhere you need to show the motion of the subject.
The best part is that you don’t need expensive lenses or equipment specifically for this purpose. You can do it with any DSLR camera and kit lenses (yes, 18-55).
The main catch is the shutter speed. You will most likely be using shutter speeds much slower than you usually do. How does 1/100 sound? Or even 1/30? Sometimes slower, sometimes faster, this will depend on the subject you are shooting. For example, in motorsports you can pan fast motorcycle even with a shutter speed of 1/250, on the other hand, to catch panning image of a person on a bicycle you should set the shutter to 1/50 or less. The light has plenty to do with it, so you will have to play with the shutter speed a bit.
Don’t forget that you need to be positioned against the moving subject, and not to have any objects between your camera and the subject. Panning trough smaller subjects like street signs can sometimes be interesting if it’s before or after the subject, but usually, it will get in the way so try always to have clear sight.
Switch the dial to Manual mode, set the shutter speed to 1/100 and then play around with slower or faster settings depending on the subject. The speed of the subject is important, so you can set a fixed shutter speed for let’s say car. If it’s a slow-moving car you will need 1/30, if it’s fast moving the car, set it to 1/160. Big difference, but you will have to find what will work for you.
Since we are setting slow shutter speeds, we need to raise the aperture. I’m talking about f10 or something in that range. On some cloudy days, I’ve done panning images even with f/25. So again, you will have to check and see what will work best for you and your camera. ISO settings can be totally up to you, start with 200, then go up/down depending on the light conditions.
Go out on the street, start with the moving cars as a test subject, that way you have a never-ending supply of subjects. Panning for the first time can be quite fun, but sometimes can be really frustrating. Approach it with a clear mind, this is a new technique for you so no need to lose nerves if you don’t succeed the first time you try it.
Stand still (using monopod or tripod might help you) and point the camera to the moving subject, follow it through the viewfinder as it comes and goes by you. Do this several times, just to get the feeling what will you be doing. It’s important to follow the movement of the object with your camera, left to right or right to left, you need to follow it as it passes you. As soon as you are comfortable with it, start focusing on the subject, push the shutter half way and stay with the moving object.
It’s important to set the focus on your camera to Continuous Focus or Tracking (Servo) depending on the DSLR model you have. If you use camera which doesn’t have the continuous focus option, you will need to pre-focus first, then to start shooting. Also, it’s a good idea to switch from single frame to multi-frame or continuous mode for shooting. You will get more images to choose from, and you will increase your chance of getting decent panning image.
When the moving object approaches you, focus on it and press the shutter, but continue with the movement of the camera, don’t stand up to check the image. Press the shutter and follow the object all the way, when you hear the click don’t stop, just follow the object with your camera exactly as you were practicing before.
When the moving object is gone of sight check the images, you should have your first panning images. Again, don’t be frustrated if you fail to do it from the first try, it takes practice to make it perfect. It’s all about the correct settings and the movement. Be smooth, follow the line of movement and match the speed of the object, very soon you will have amazing panning shots.
If you’ve already succeeded, drop a line in the comments, we would love to see what you did.


Please verify your software version before proceeding.
 I’ve verified my software version


 Facebook
 Google +
Comments (1)
Yeap, done this lot of times on cars. Have plenty of nice photos.
https://www.flickr.com/photos/60252571@N04/albums/72157671798291482