When people think that they want to get really amazing and unique photos, they usually think they need the best equipment and the best software to get those photos. While that does help and it can help turn a basic picture into something dynamic, you can get the same amazing impact with proper lens movement. When you know how to move our lens to create unique pictures, you will be able to get photos that stand out and make a viewer look at things in a different way.
Follow these tips to create some truly stunning creative effects with intentional lens movement.
The Equipment
The first thing you need to do is get the right equipment to make these lens movement photos a success. You don’t need super-high end items for this to work, but having good equipment is always important. A good DSLR with a 24-70mm lens will work best. You should also have a good speedlight flash as well.
With your equipment, you should have a setting similar to a small aperture of f/13, with a shutter speed of about 1/6 of a second. It is very important that you use a slow shutter speed because you need that extra bit of time to adjust the lens to get that unique effects.
How to Do It
When you have your subject in front of you, you will need to do the following to get the right look with the picture.
First, you want to set your timing of the flash to rear curtain. This means that the flash will go off when the exposure is over, rather than at the beginning.
Second, you need to start zooming in after you have triggered the shutter. When you have it set for one-sixth of a second, you need to be very fast when you do this. Zoom in as quickly as you can to get that look on the picture. In addition, squeeze the shutter as you are starting to zoom in.
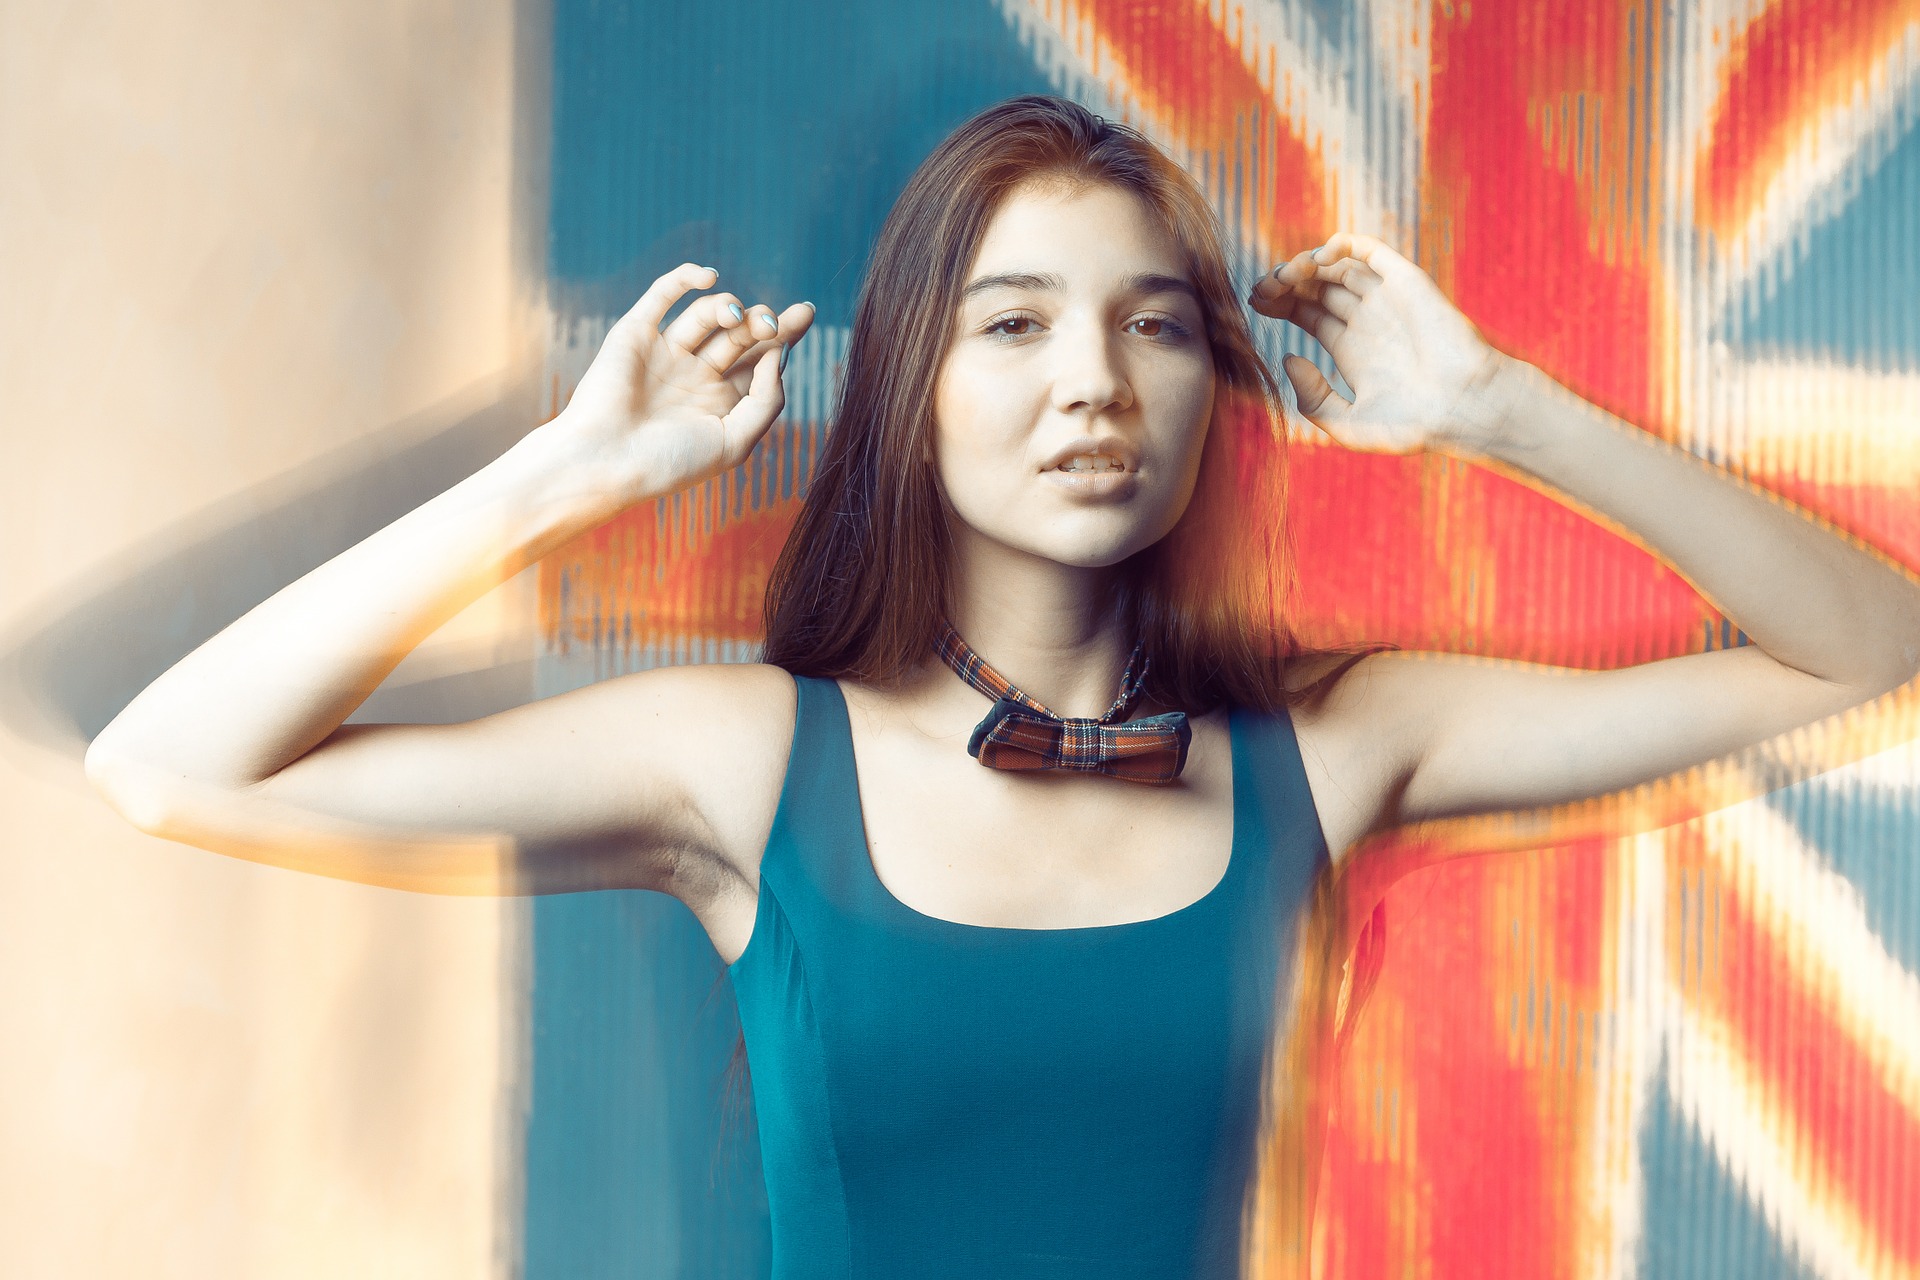
The Flash and Stash
Another really cool tip for creating unique effects with lens movement is to use the flash and slash technique. This technique can actually create some really energetic images that dramatize the movement but allow the subject to stay sharp in the photo. With this technique, there is motion in the background, so the subject has the feeling of movement through the still image.

With your camera, you will want to have the aperture set at f/22, with an ISO of 200 and an exposure of one-third of a second.
In order to use this technique, you need to do the following:
- Set your camera so that the flash will happen at the end of the exposure. This is done by setting it to the Rear Curtain Sync.
- You can have your ISO higher than 200, but it should be no higher than 800. A lower ISO is going to be better for creating that blur effect.
- As you take the picture, begin to move the camera in a rotating fashion to get the blur of the subject centered but everything moving around the subject in a blur.
Your subject generally should be still as you move the camera in a counter or clockwise fashion while you stand in one place in front of the subject. This is what creates the look of motion, and the flash firing at the end helps to give sharpness to the subject.
This technique is actually really great for shooting in a low-light situation with a long exposure, when the showing of activity is very important.
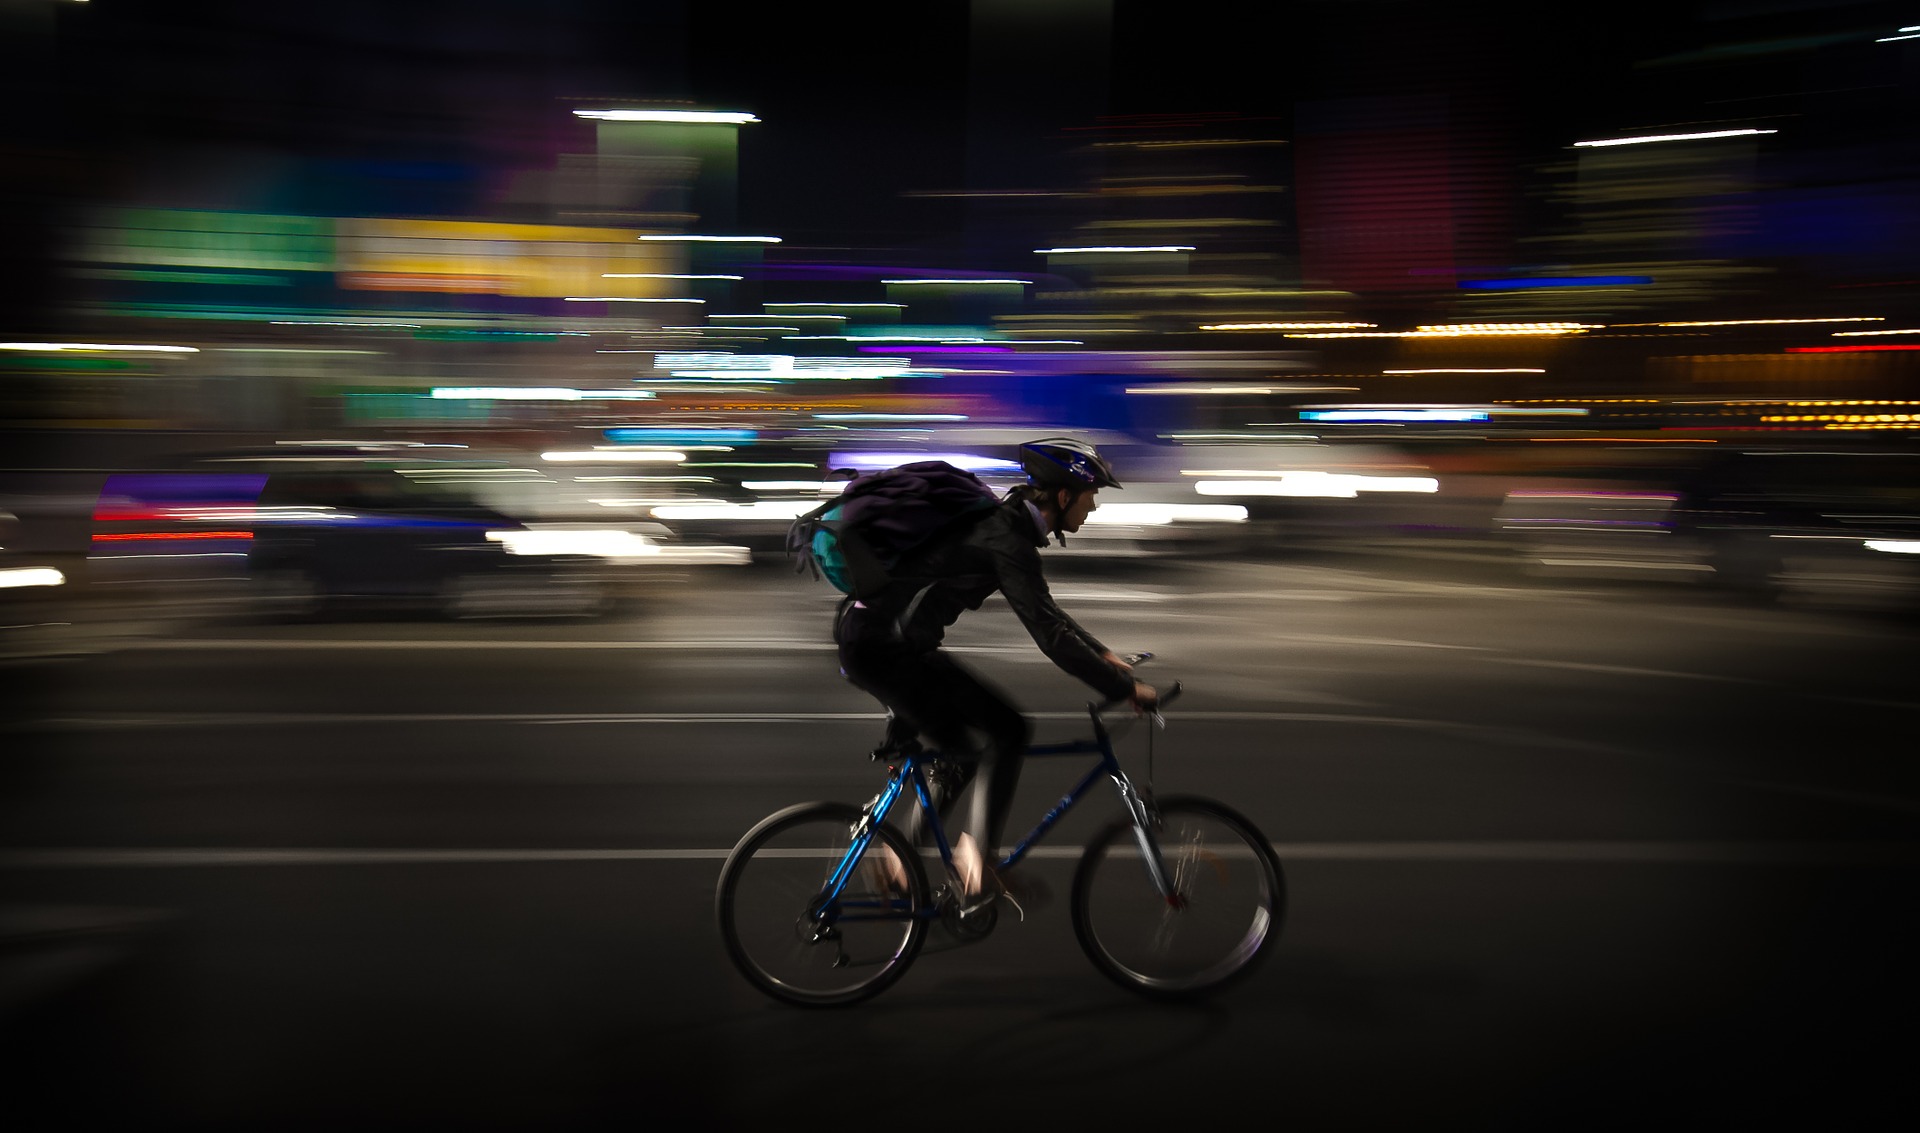
Panning
There are several other techniques you can use including panning while you take the picture. With panning, you are imitating the movement of the subject and this gives the image of a clear subject moving over a blurry background. You typically have the camera set at one-quarter of a second. If you want to have less blur, you could set it at 1/30 of a second.
Getting the right kind of movement can give your pictures a very surreal and wonderful look to them. Don’t be afraid to try things out to create the photo effect that you want.

 Facebook
 Google +