Content
- Introduction
- Before you get started
- Planning – Location and time
- Technique – Camera settings (HDR, depth of field etc) and composition etc
- Post-processing
- Publishing
Introduction
Four years ago my passion for photography started and the main reason for this was that I explored the beauty of landscape photography. I wanted to get some wonderful wallpapers for my desktop but found myself astounded by the art that is landscape photography instead, I could browse landscape wallpapers for hours. My interest in landscape photography grew and getting my first camera I started doing it myself, today my landscape photography have progressed a lot and I hope to share some tips that will help anyone getting started with landscape photography.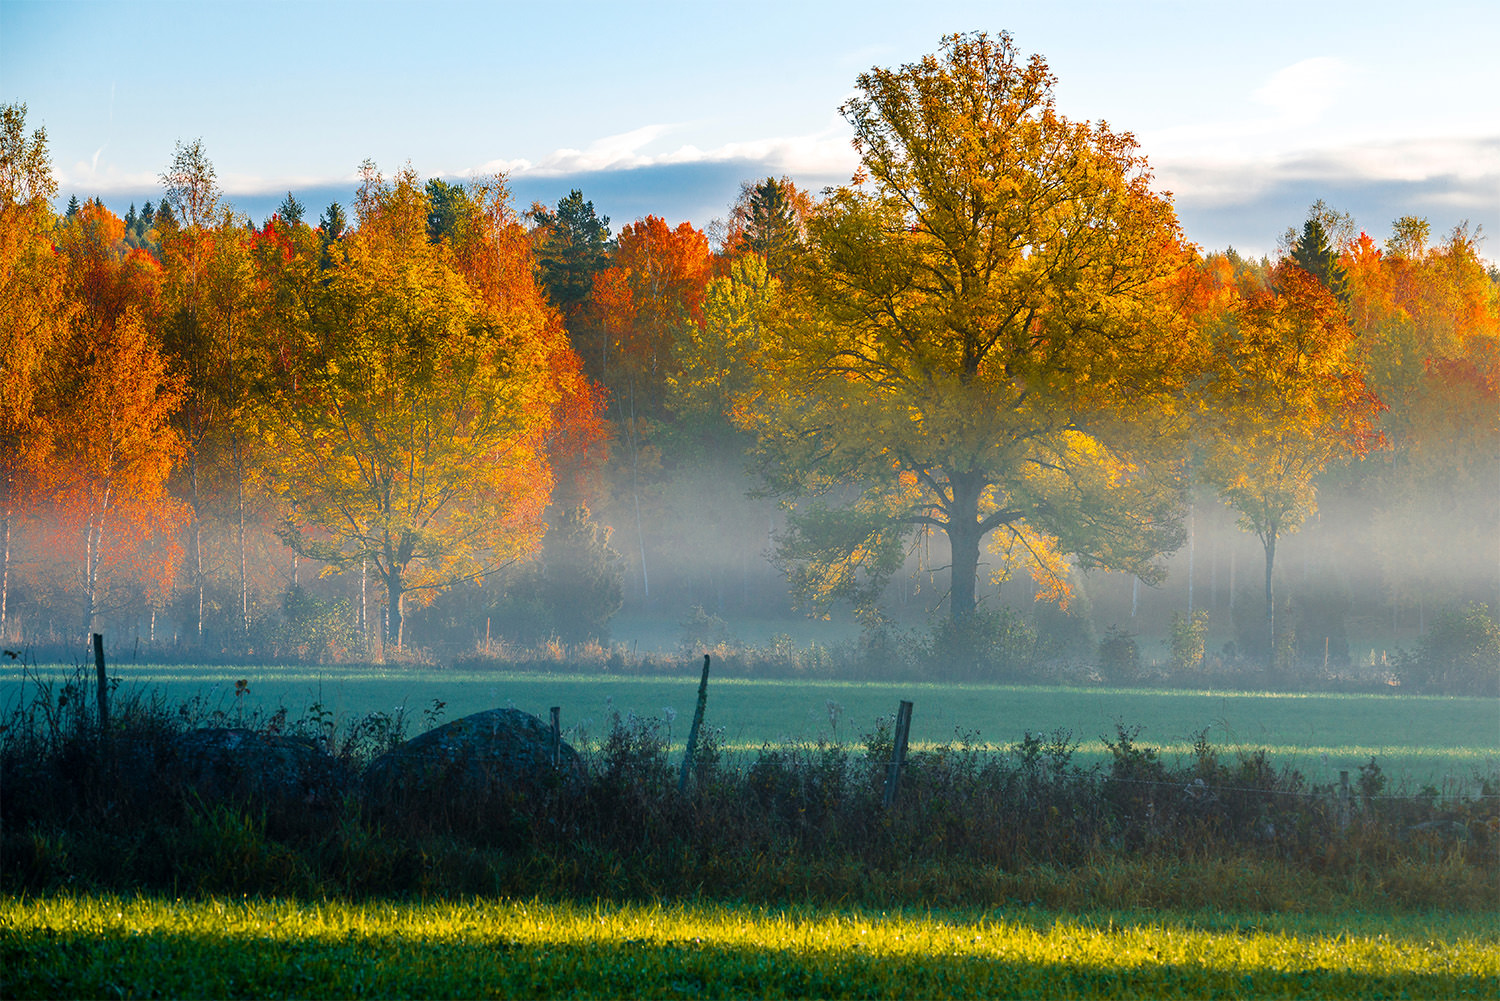
Before You Get Started
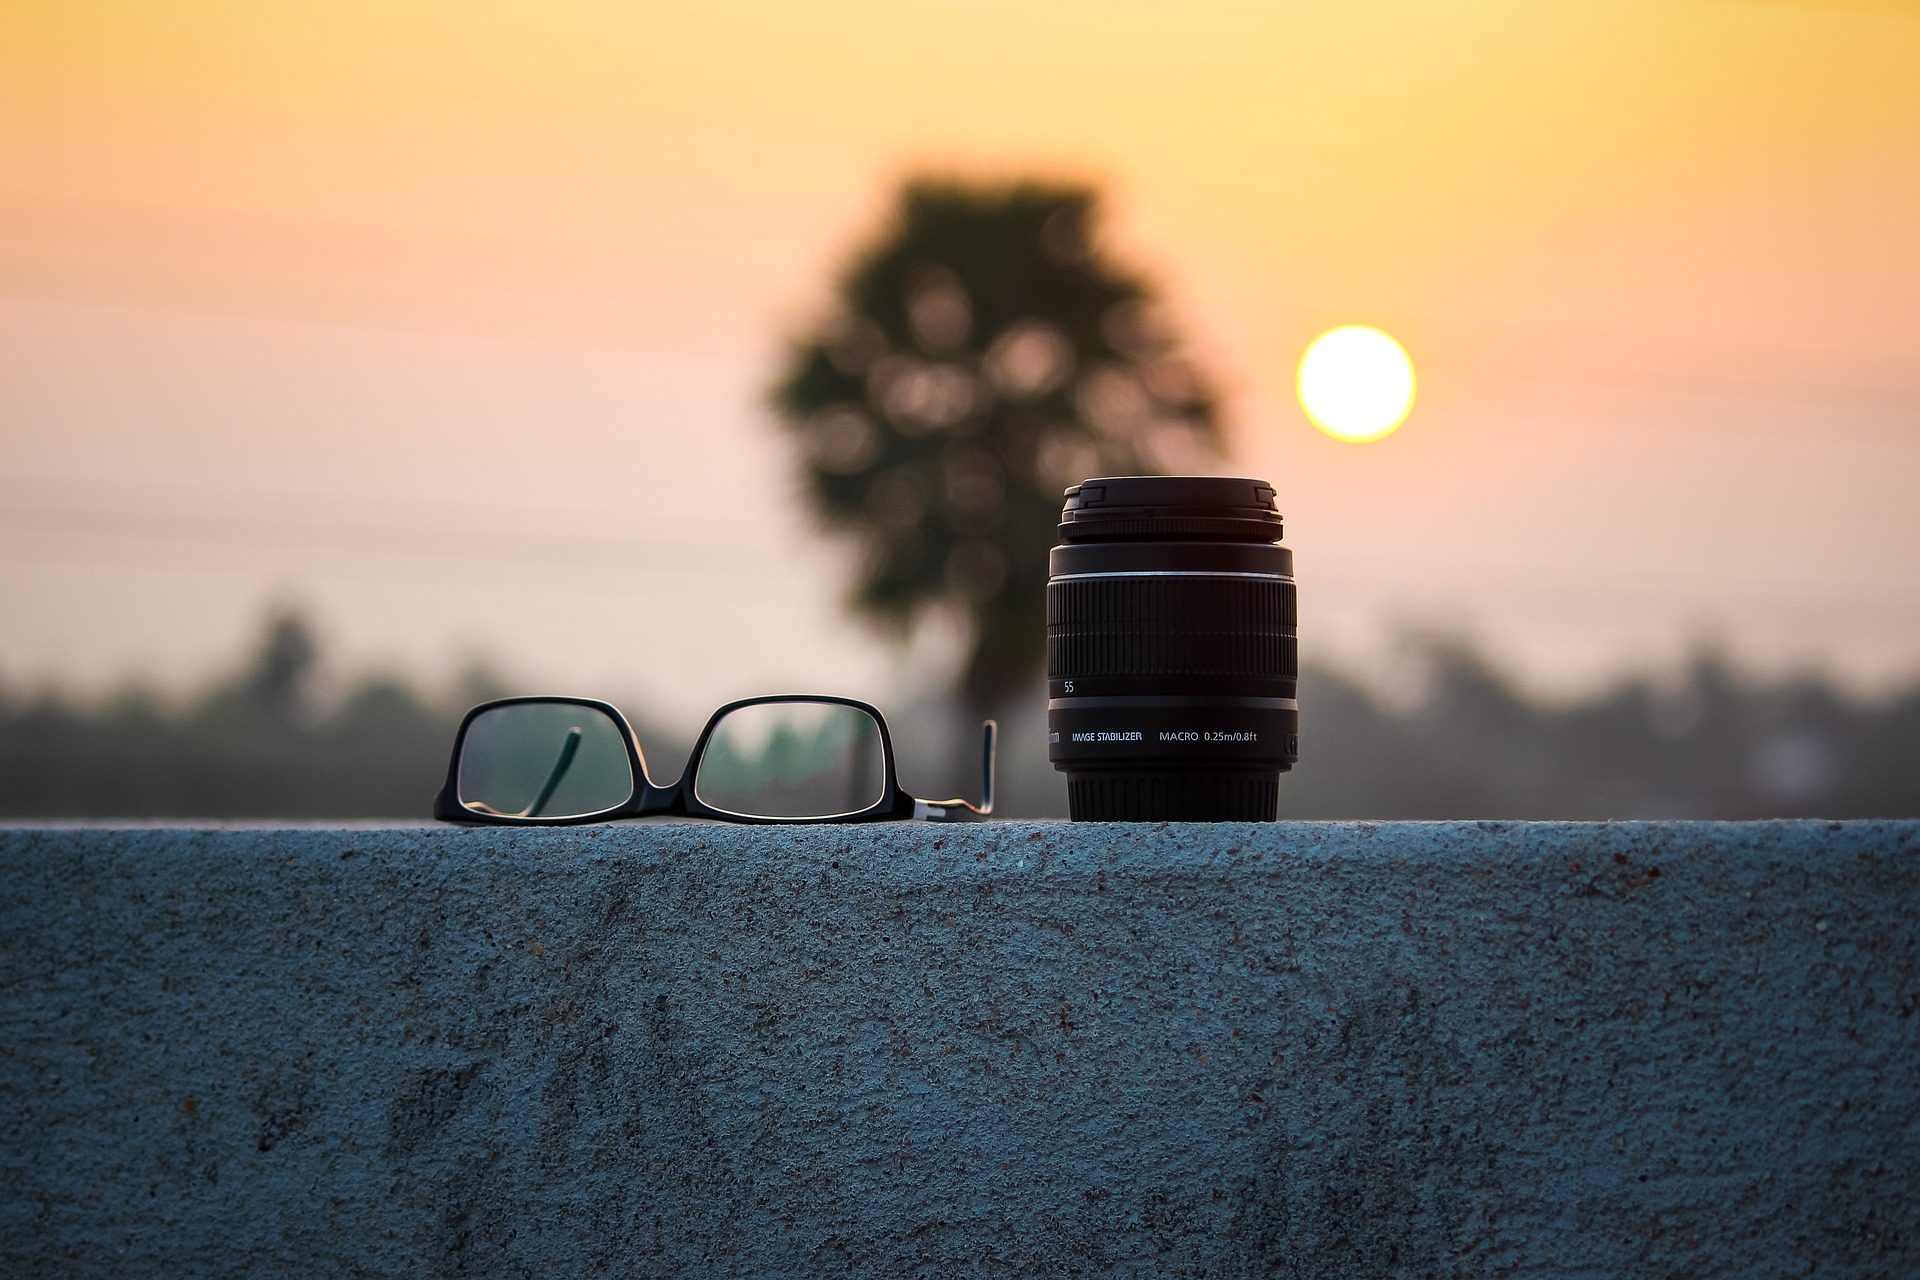
There are of course no definite rules of what you need before you get started but there are some things that I recommend you have and some basic knowledge of photography. In terms of equipment, I recommend that you at least have a camera, lens(es), tripod and a computer with photo editing software (preferably Lightroom and/or Photoshop). That you need a camera is obvious, but what kind of camera? First of all, it needs to take good photos, but there are some other capabilities that are more or less a must. This includes the capability for interchangeable lenses, manual settings, and RAW-format. I recommend having a DSLR from one of the bigger brands since this will give you a wide array of lenses to choose from and a greater possibility to upgrade your equipment within the brand (so that you don’t need to buy new lenses when/if you decide to get a camera upgrade). Any newer DSLR will do just fine, but if you can afford it a full frame camera that is great (don’t be afraid to buy used cameras and lenses), there are also mirrorless cameras that would be suitable, but unless size and weight are important issues I would stick to a DSLR. 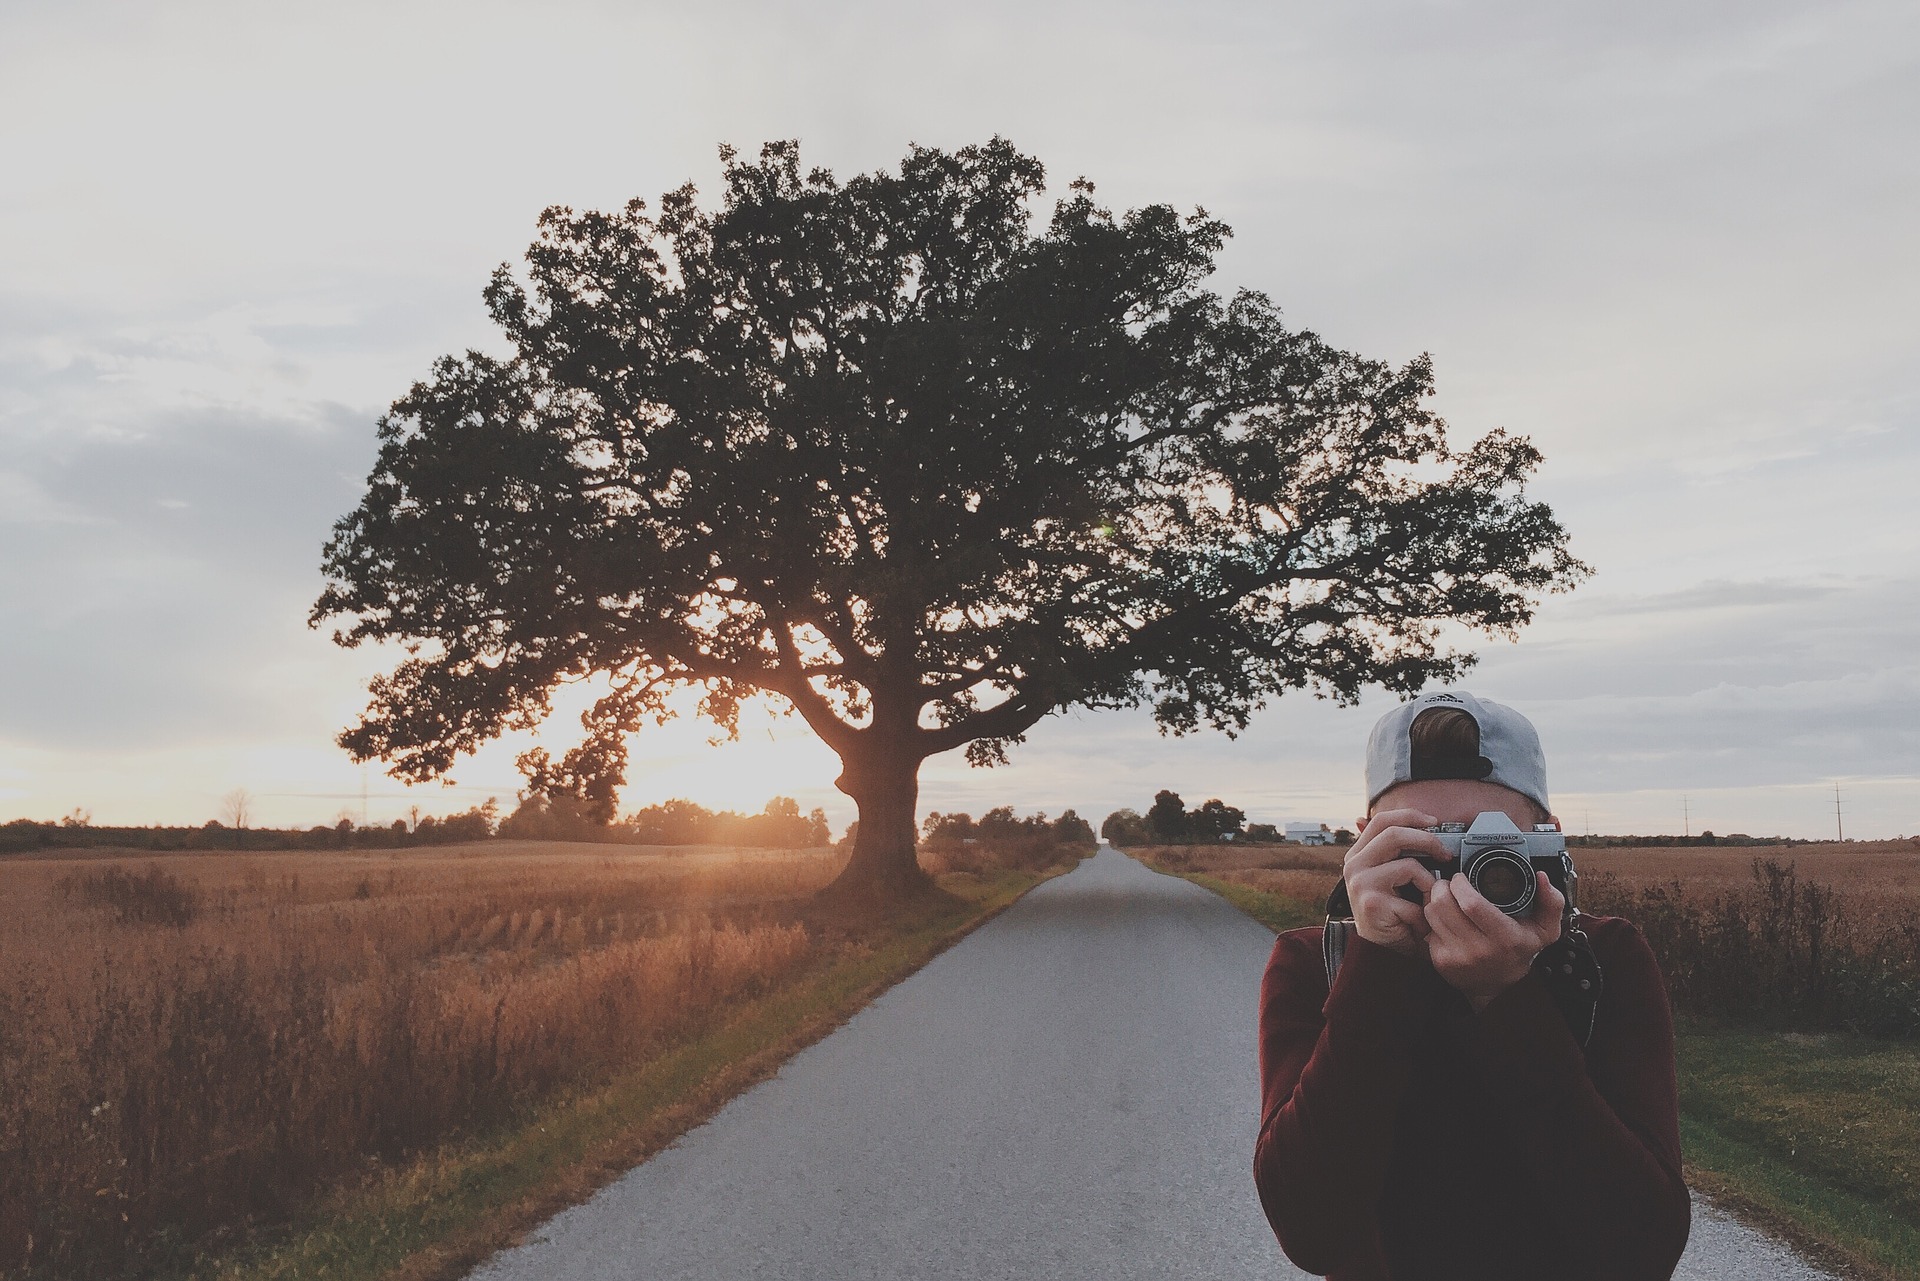 As with any type of photography the lenses are of great importance in landscape photography, and there are three types of lenses that will fill all your needs, these are the normal zoom lens (usually somewhere around 24-70mm equivalent to a full frame sensor, 18-55 on a cropped sensor), the ultra wide angle zoom lens (usually somewhere around 12-35mm equivalent) and the telephoto zoom lens (usually somewhere around 70-300mm). If you have all of these lenses you will be able to capture all types of landscape photography. I recommend that you buy lenses with a big aperture like f/2,8 if you can afford it, but there are cheaper alternatives that work great as well. Depending on your style of photography you will use different lenses more than others, personally, I use my normal zoom lens (24-70mm f/2,8) the most since I find it to be plenty wide for most situations and I also have the possibility to capture tighter images as well.
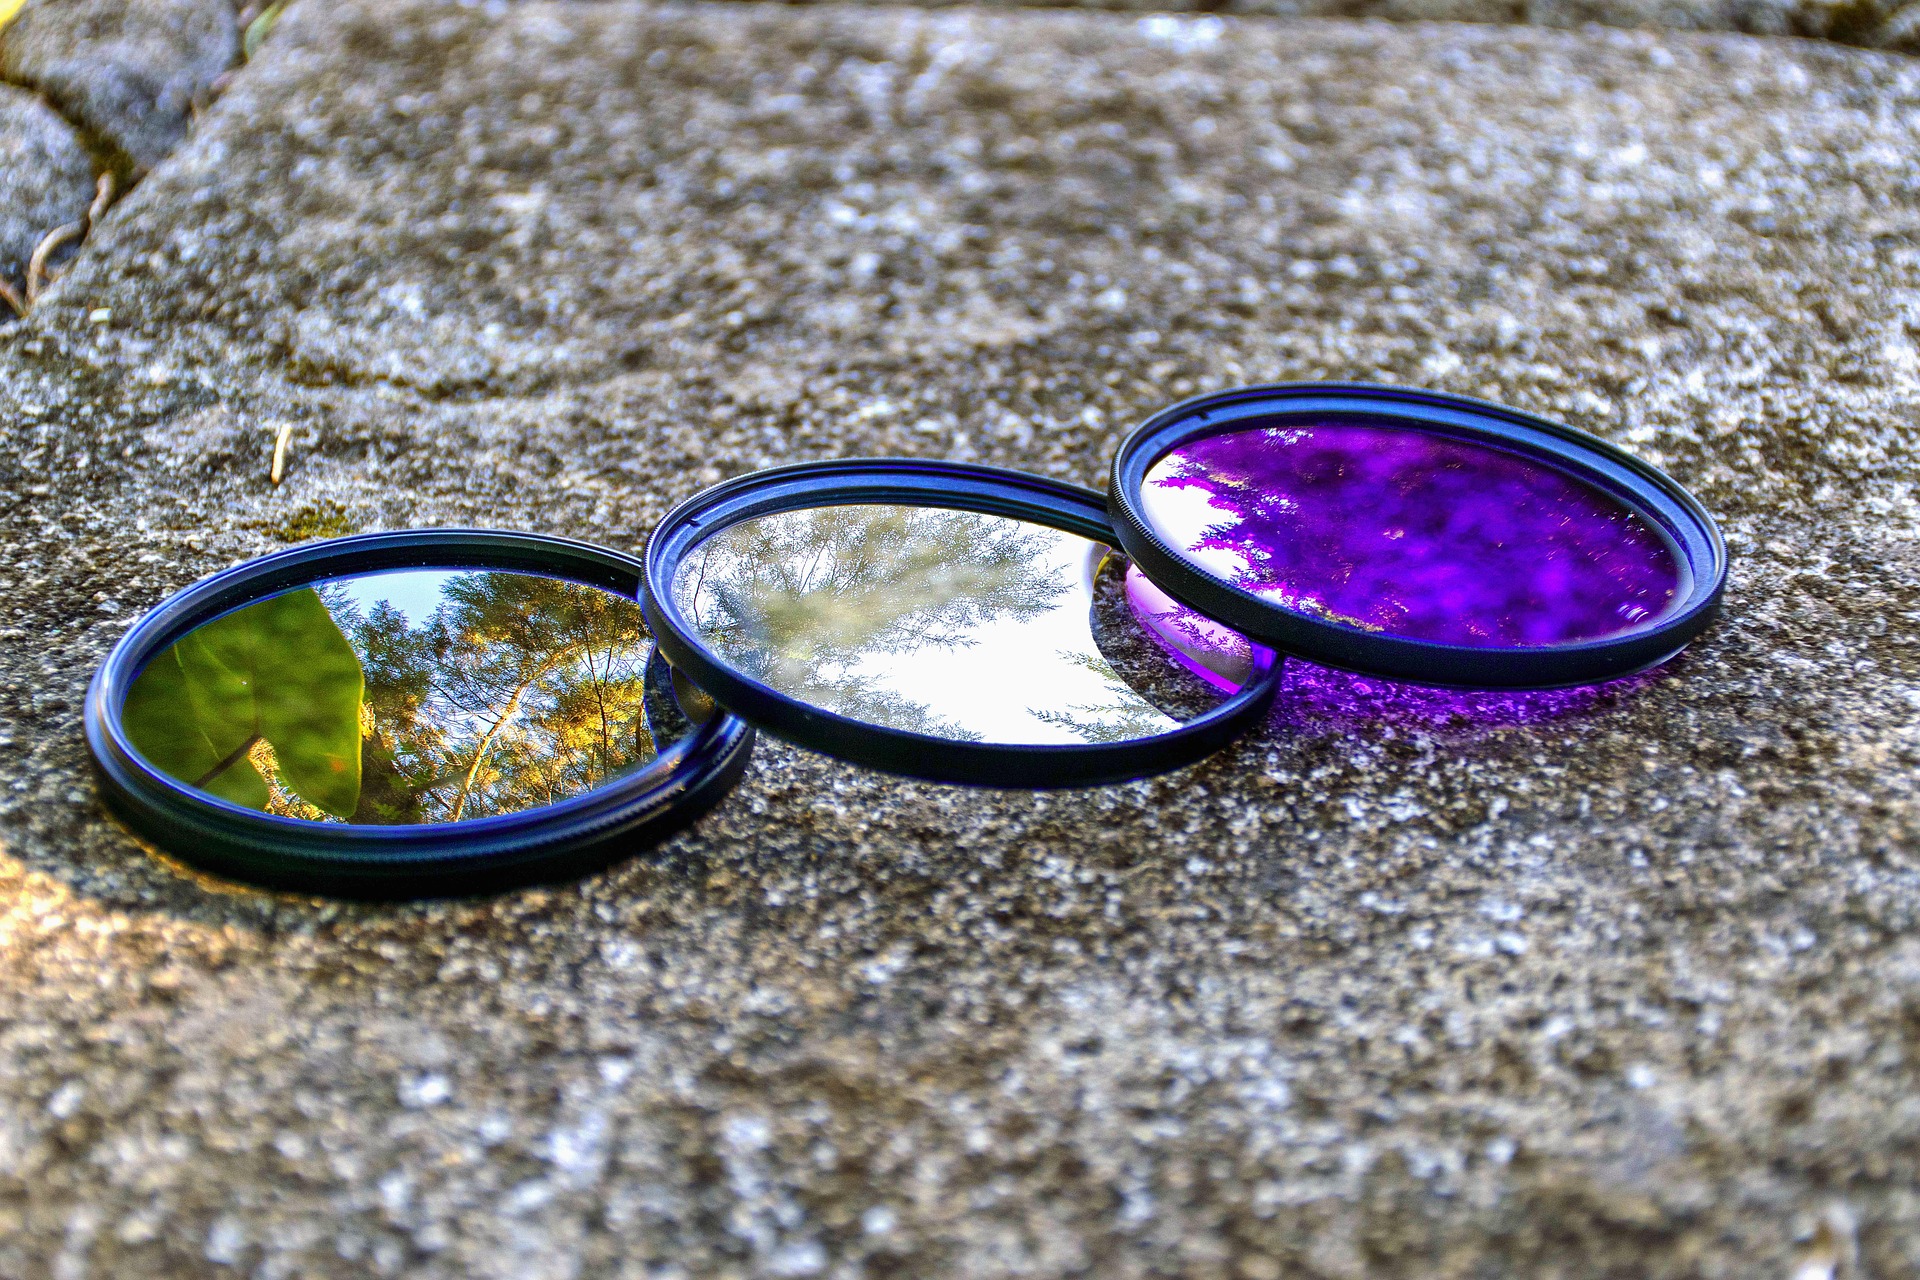
 I would also recommend that you use a tripod for landscape photography, and while it isn’t completely necessary I find that it makes you slow down and think more about the process, such as composition. A tripod will also help you eliminate blurry photos and is a must if you plan to take long exposures. Be sure to use a sturdy tripod that won’t wobble around too much. Another tip for when using a tripod is to also use a cable release so you won’t have to touch your camera, and in that way producing slightly blurred photos. You could also set a timer to eliminate this risk. There is various other equipment that you can use, primarily filters. If you want to achieve long exposures in the daytime you have to use a strong ND-filter, and a circular polarizer is great to have at hand to reduce glare and increase vibrance in photos.
 For post-processing, you can use whatever software you like, but for some more advanced features, Adobe Photoshop is the way to go. I really like working with Lightroom as well, as it is easy to manage and very powerful.This guide will not be going over how the technical aspects of your camera work, like shutter speed, aperture, and ISO, so if you are not yet comfortable with these aspects of photography I recommend that you read about it. I would say it is essential to know these things if you want to achieve great landscape photography.
Planning a Landscape Shoot
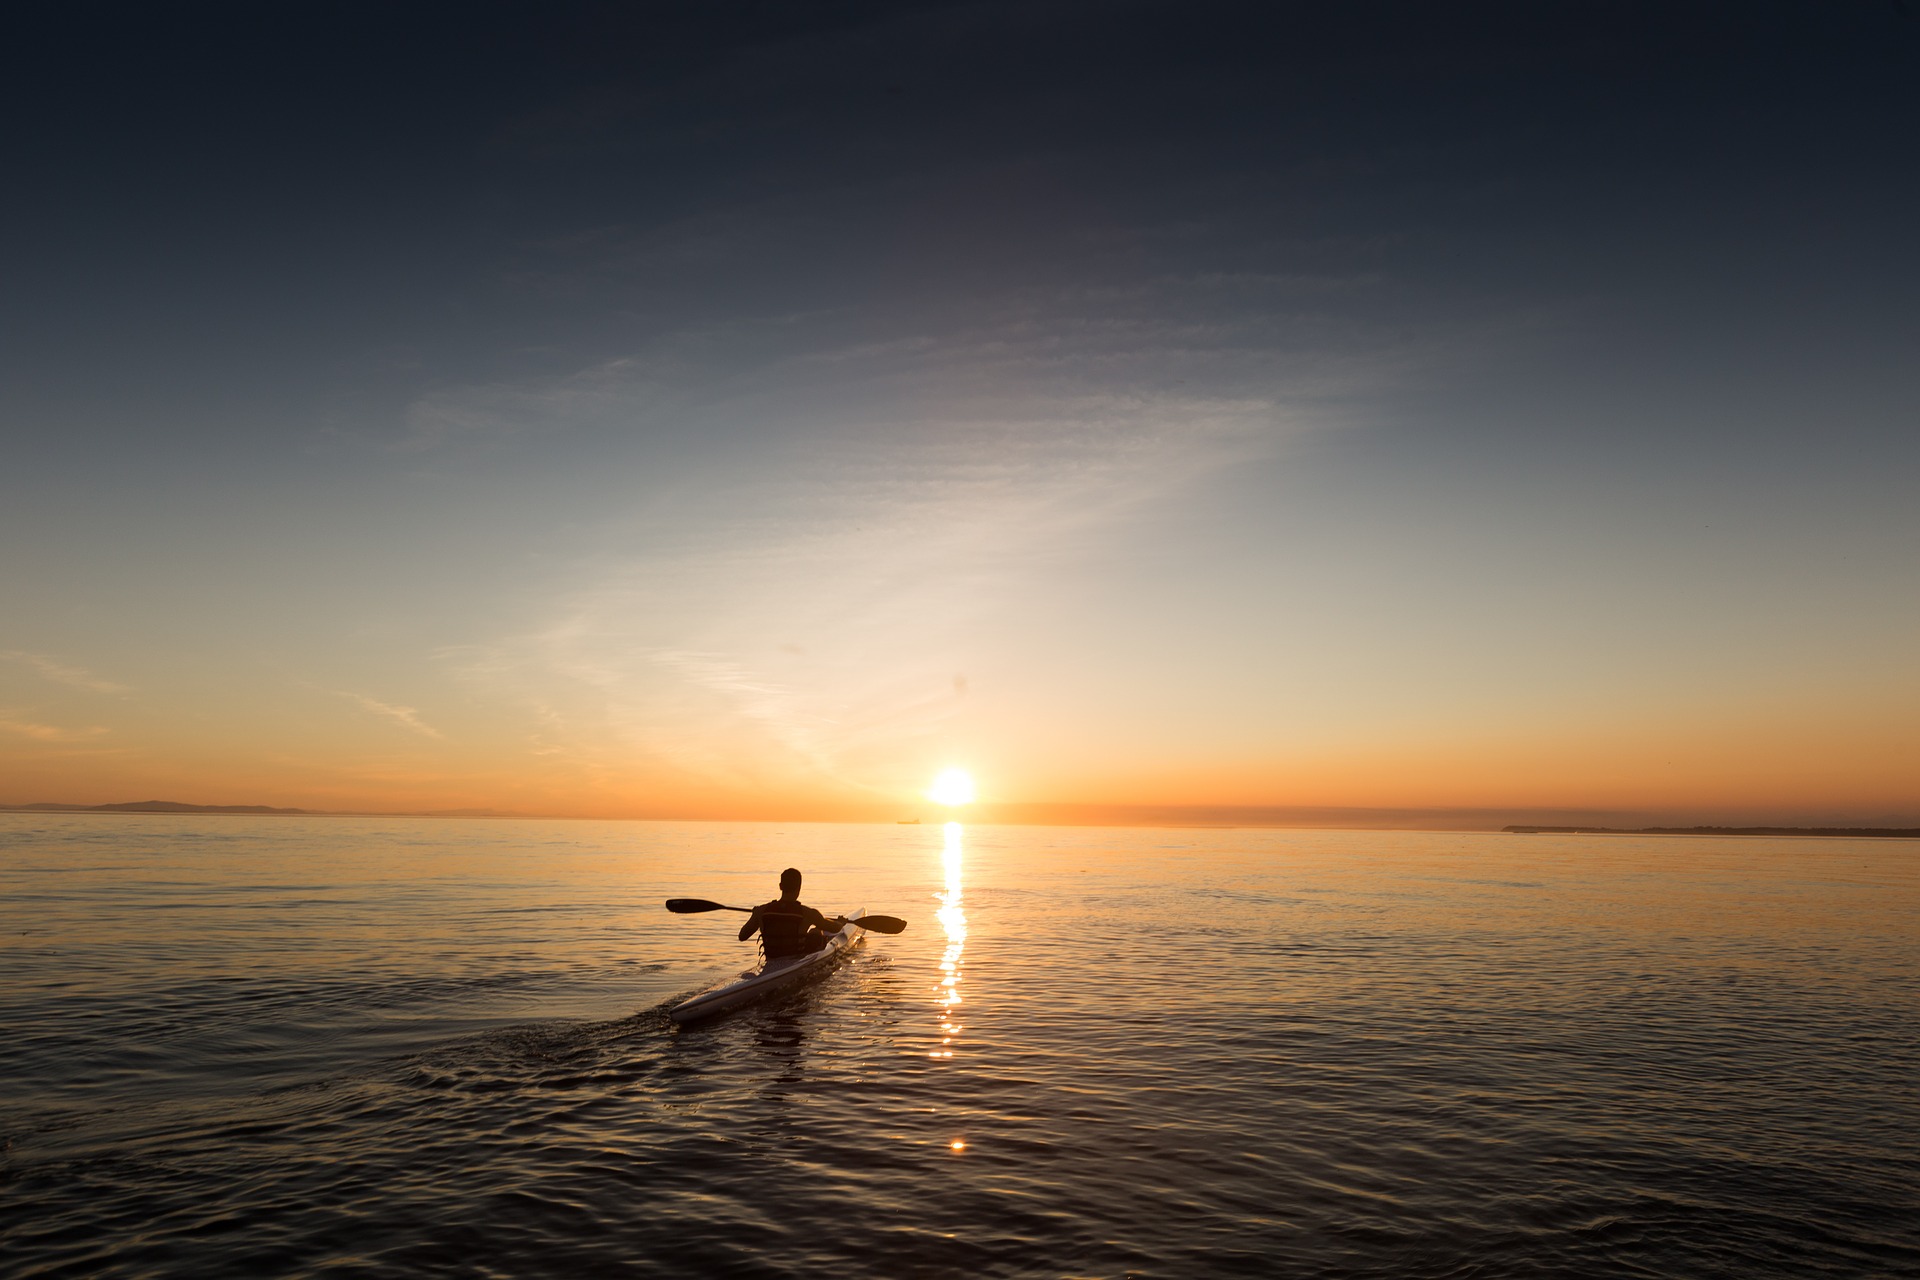
Before you head out to capture amazing landscape photos you need to make some sort of plan, it can be very detailed but it is often good enough to make a general plan. There are three basics in planning a landscape shoot, these are location, time of day and look at the photo/composition. Before you go you should, of course, know the location you are heading to, maybe you have scouted the location the day before or earlier the same day, or maybe you have just found a certain spot through other photographers photos on the internet. Often you will be taking photos in locations that you have never been to before and if you don’t have time to come back to a location several times it can be a good idea to research the place beforehand through sites like 500px. By doing this you will get some inspiration for what photos you want to capture when you arrive at the location. If you are staying in the same place for a longer period I would recommend that you spend a bit more time on scouting locations that you can go to when the time is right, for example during golden hour.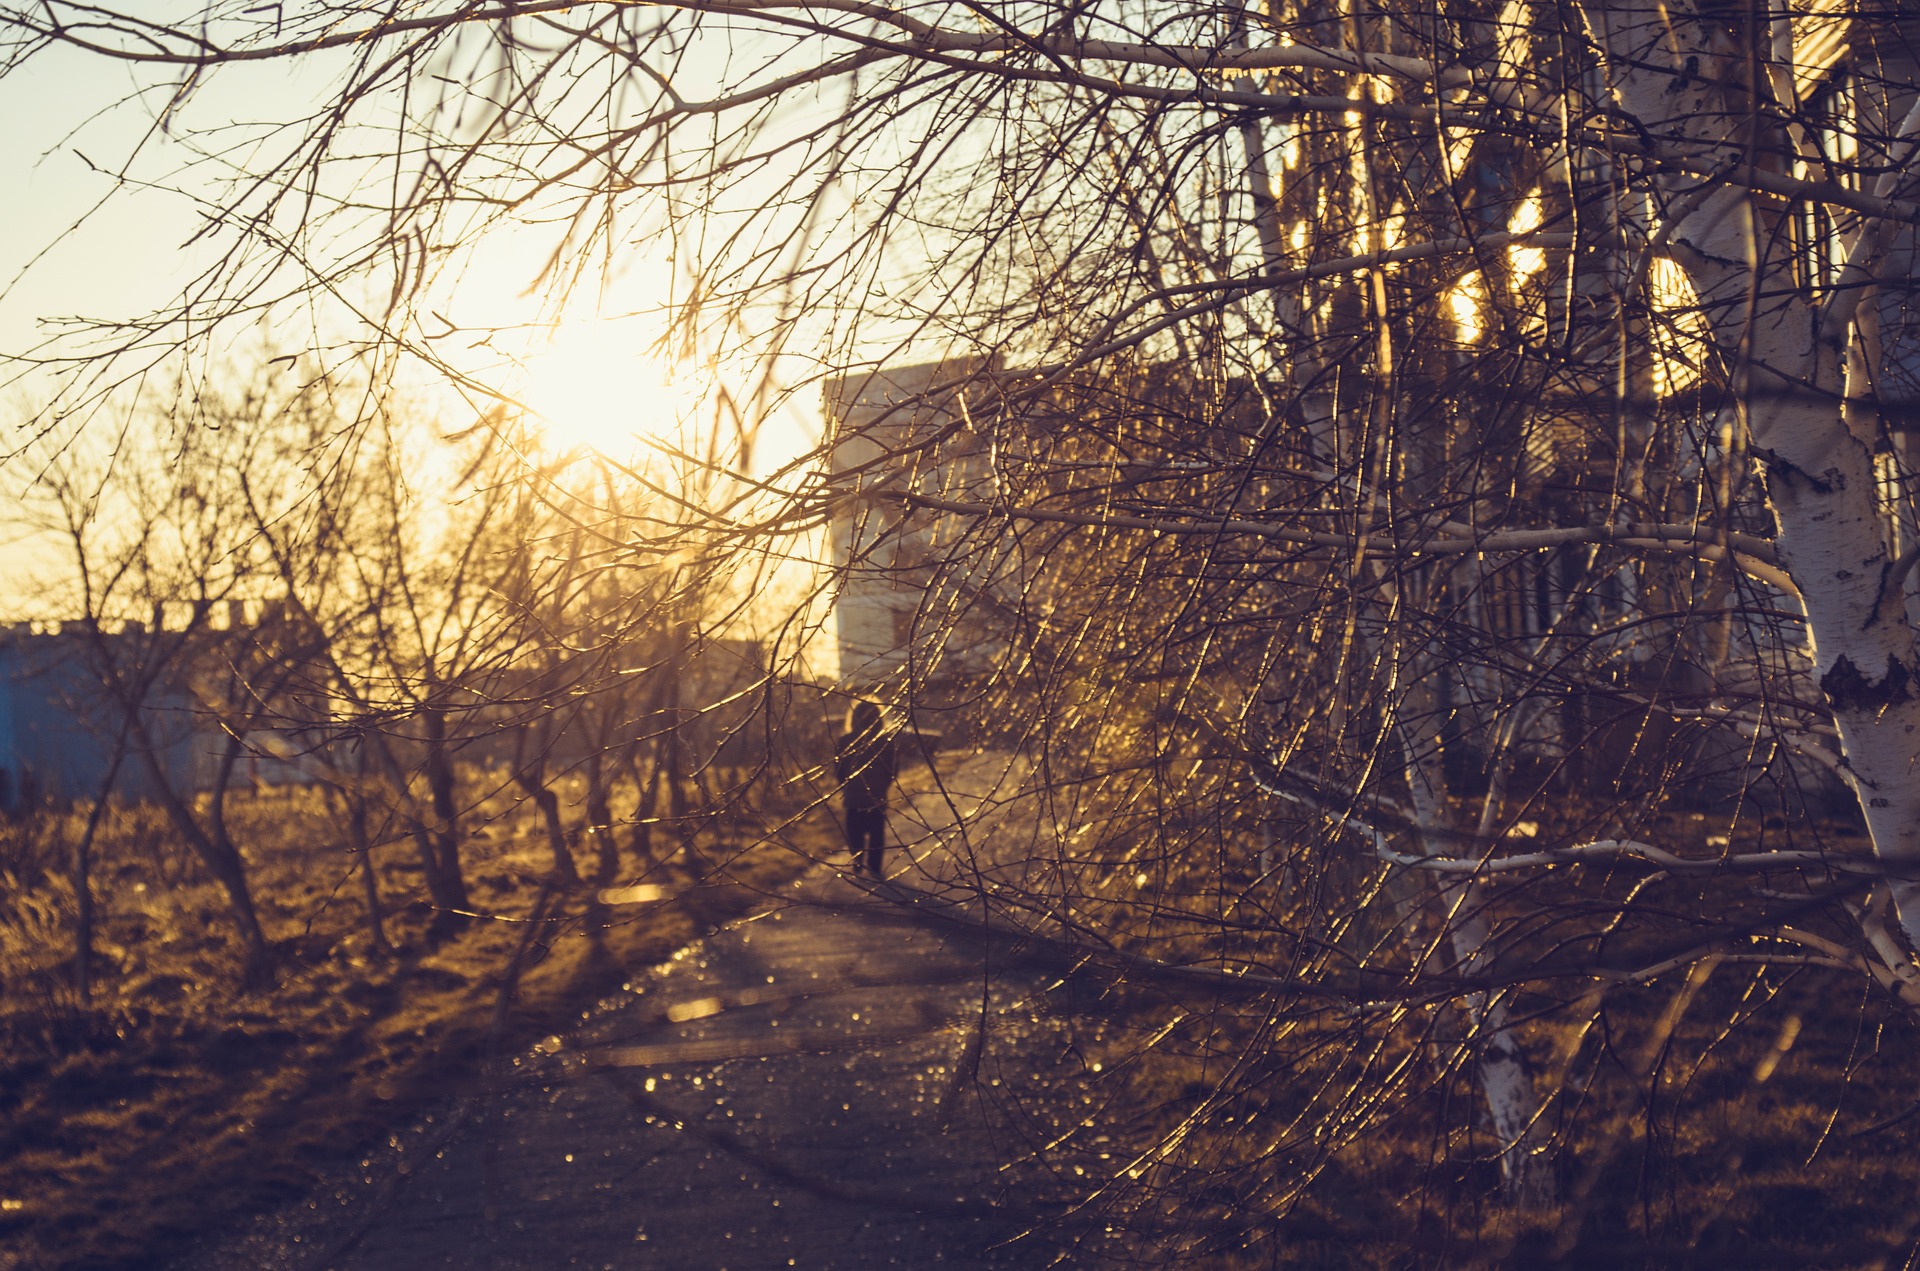 Time of day is crucial when it comes to landscape photography since we are dependent on the weather and light gave to us by mother nature. We simply have to adapt to mother nature. As a rule of thumb, you should try to capture landscapes during golden hour. That is the hour (give and take) during sunset and sunrise. At this time the light cast by the sun is the most beautiful, and since we are usually trying to take beautiful photos this is the best time for landscape photographers. But of course, you can capture landscapes at different times as well, for example, long exposures during the night or on cloudy days. At least you want to avoid broad daylight since it makes everything very flat and boring. Lastly, you have to plan how you want the photo to look, this is, of course, dependent on the time of day and location but it is good to have an idea about composition and subjects among other things before you arrive at the location.
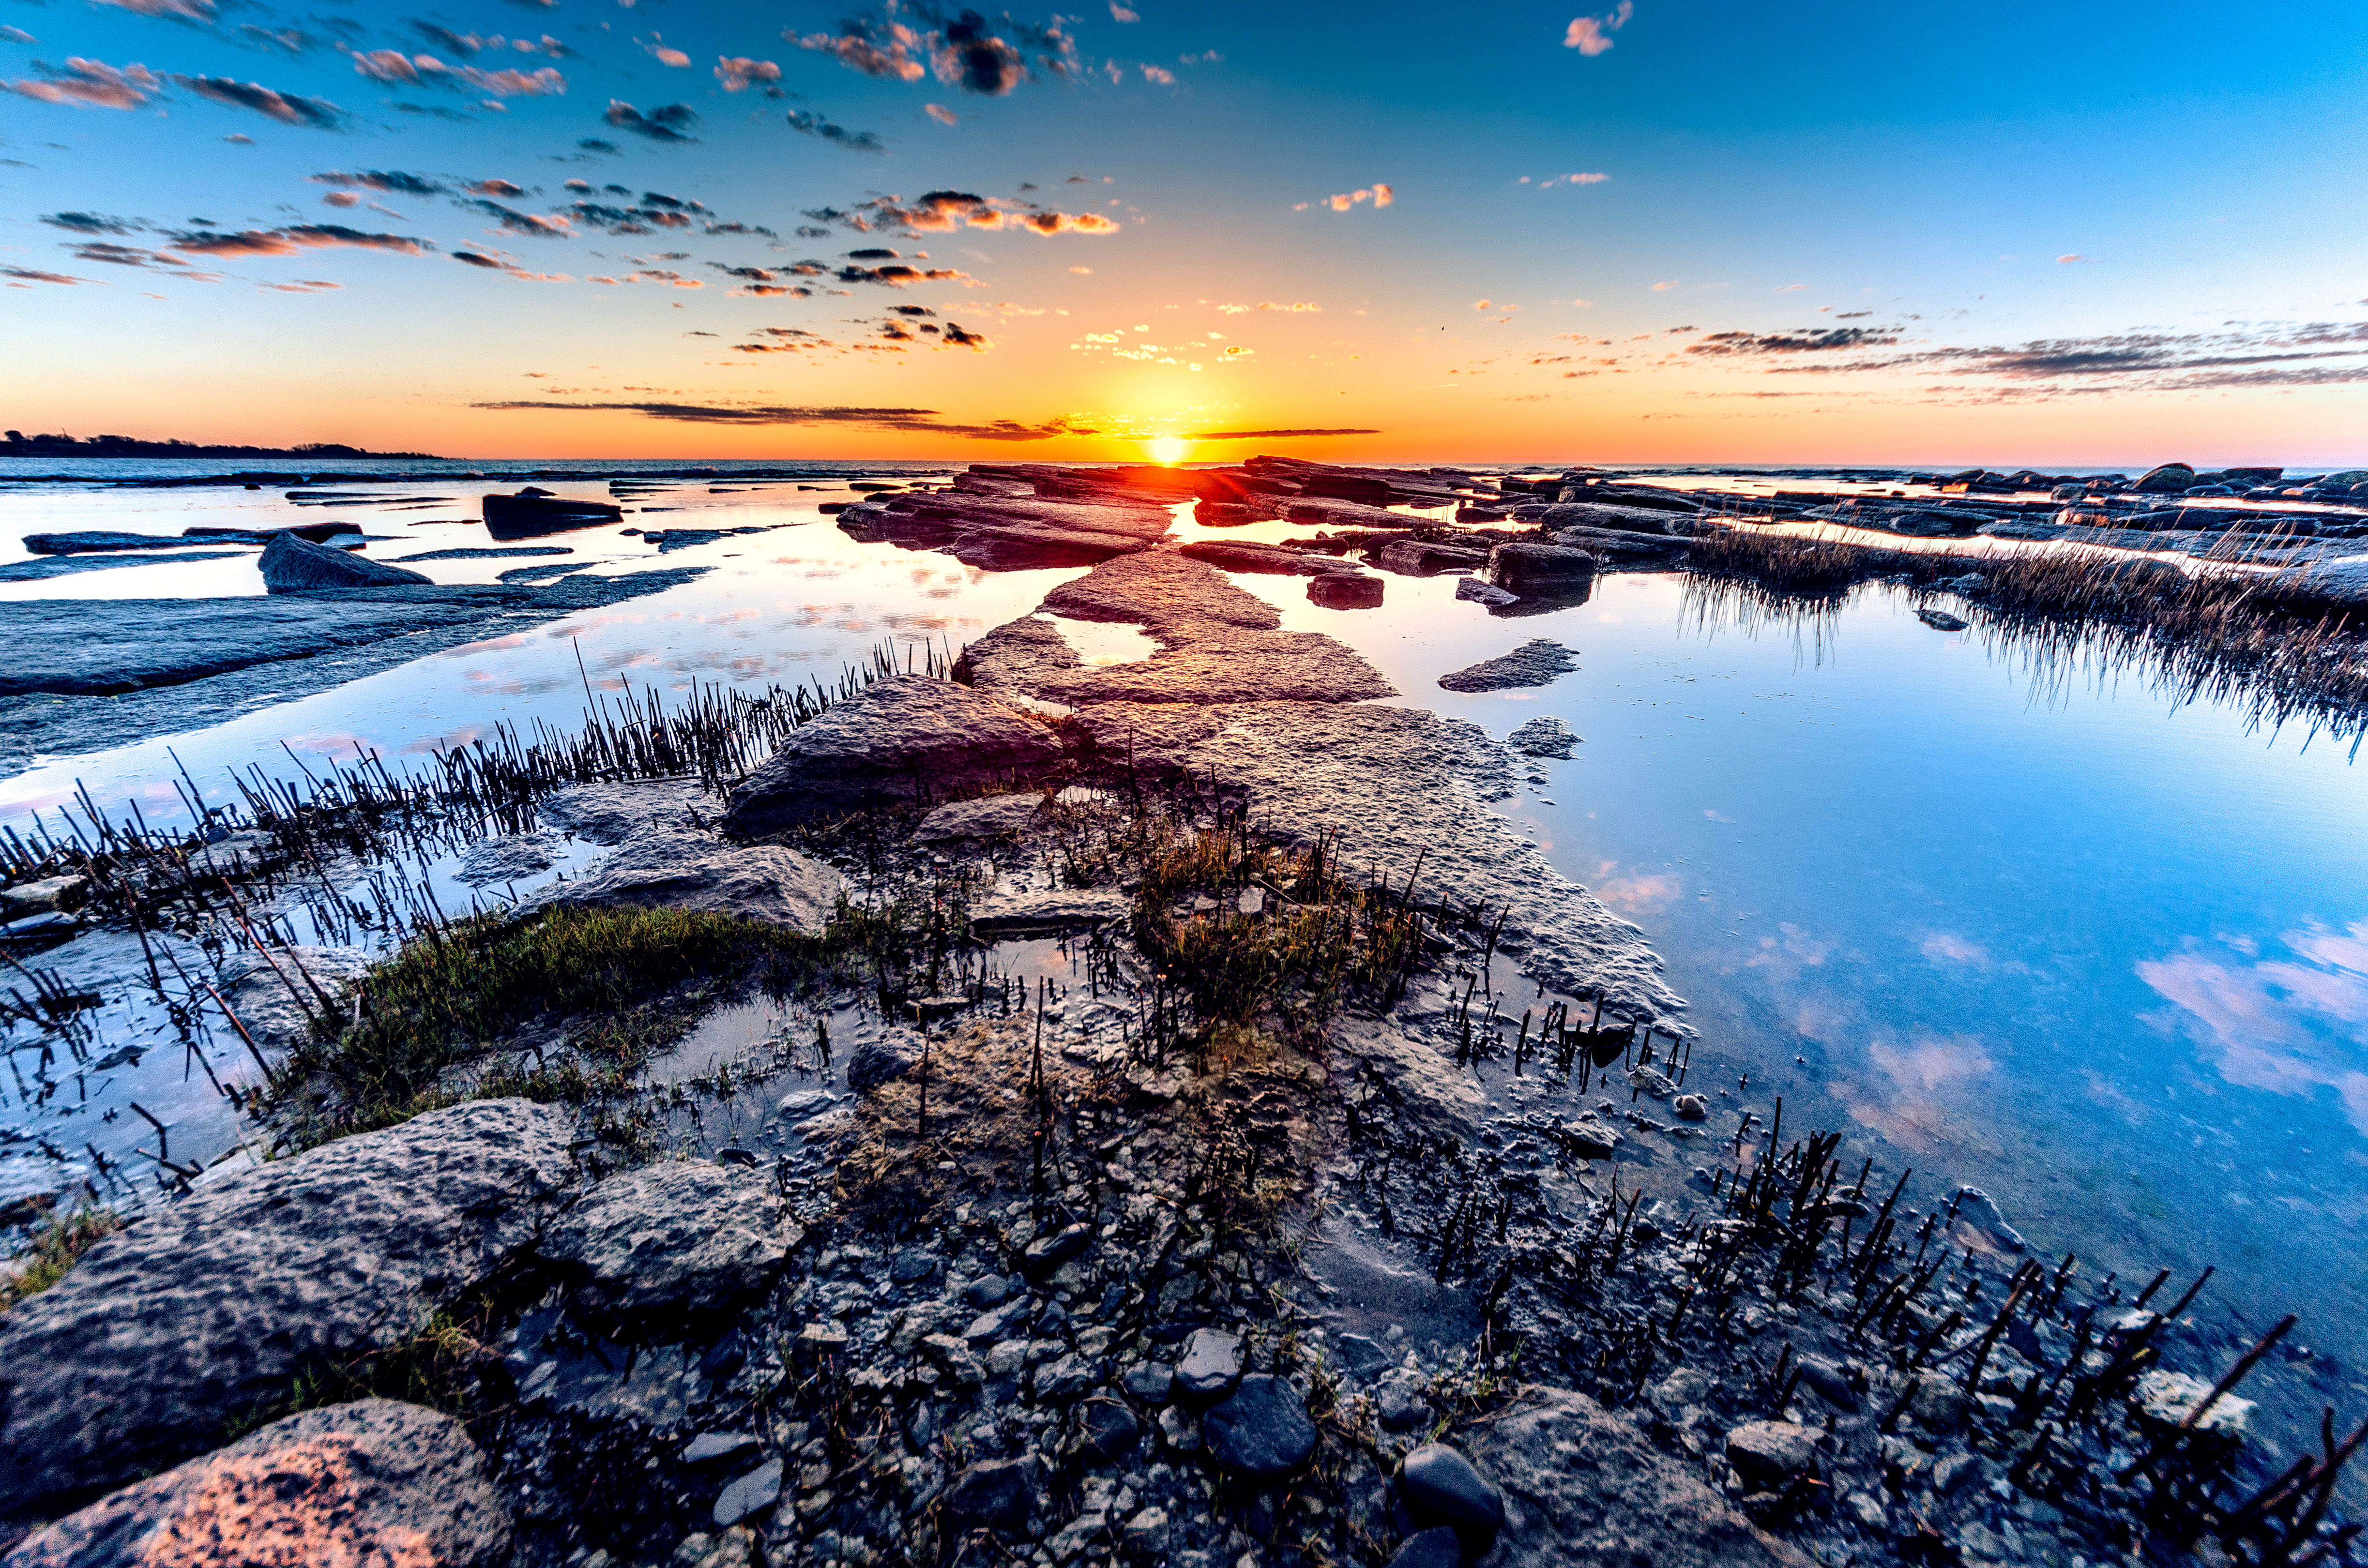
  When I took the photo you can see below I was staying with some acquaintances for two nights, in a beautiful small village at Österlen, Sweden. When I first arrived in the evening I went down to the sea to scout for a location (I didn’t bother taking the photos I wanted at this time since I knew it would be much better at sunrise the next day) and I found two spots that I really liked. I used an app to find out in what direction the sun would rise the next day and decided to try to capture an image where the lines formed by the rocks in the foreground were leading the eye of the viewer towards the rising sun. So the next morning I woke up at about 04.00 (4 AM) to capture the photo I had envisioned the previous day. The sun rose approximately 04.30, but the things you do for great photos… My plan worked out great and I got this photo that I am very happy about.
Technique
A big part of photography is technique since we must know how to use our cameras and how to compose a photo to get the best results. I won’t go over in detail how to set up you camera and how the technical aspects of your camera work but rather focusing on the specifics for landscape photography. Some keywords in landscape photography are sharpness and correct exposure. To achieve sharpness you have to use the appropriate aperture, make sure you have focused your lens at the right distance and that there is no risk for blur. Since we want the entire landscape in focus most of the time we should use a smaller aperture. This will also depend on your focal length since the depth of field is smaller on lenses with longer focal lengths. I usually never go below f/8 for my landscape photos, unless it is very dark or I’m using a super wide angle lens (like 16mm equivalent or below). The aim is to have as much of the scene in focus as possible, without having a too small aperture (since that might lead to softer photos). Somewhere around f/8 to F/16 is usually suitable for landscape photography. You also want to make sure that you focus your lens somewhere a third into the frame, which usually is the foreground. If you focus too far back the foreground will be out of focus, but if you focus on the foreground the background will most likely be in focus if you are using a fairly small aperture. It is also important that you eliminate any risks of camera shake, by using either a shorter shutter speed (the shutter speed should be no less than the focal length of your lens, so if you are using a 24mm lens the shutter speed should at least be 1/24th of a second) or a tripod. If you are shooting hand-held it is recommended that you use vibration reduction if your lens (or camera) has it (keep in mind that it is called different names depending on the brand). Additionally, It is very important that you have a correct exposure, no matter if you are shooting JPEG or RAW (recommended). Something that really can ruin landscape photos is overexposure, usually meaning that there is no possibility to recover blown highlights in the sky. It is also horrible to have such underexposure that the colors are destroyed by noise when you try to recover the shadows. You should aim for an exposure were highlights are bright (but not blown) and shadows bright enough to increase them a little bit in post-process (if needed). You should rather have a bit darker shadows than to bright highlights. Another option is to use the technique HDR (High Dynamic Range) where you take several photos with different exposures and combine in post-processing, leading to an image with both no blown highlights and bright shadows.
 Another very important technical aspect of landscape photography is composition. This is such an important part that is impossible to cover thoroughly but there are some basic tips for landscape composition that you need to know.One important part of composing landscape photos is the rule of thirds. According to this rule, the horizon should be placed either at the top or bottom third, but absolutely not in the middle. This is to create a balanced photo, but of course, there are some exceptions, for example when there is reflection, then it can be nice to place the middle of the reflection in the middle of the frame.

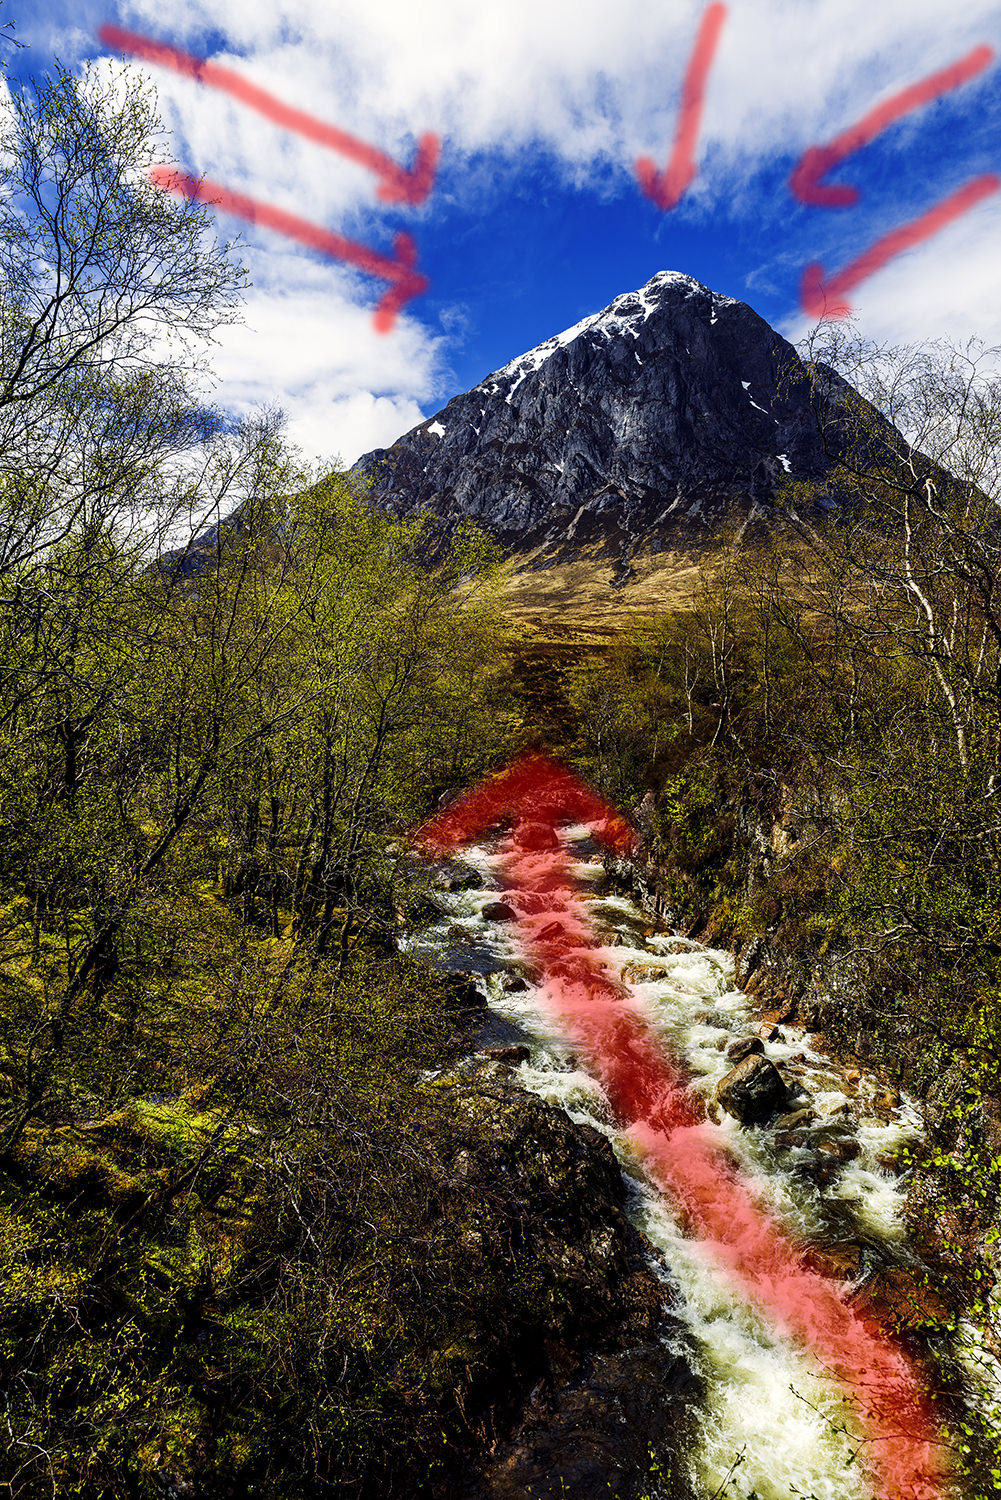
Another tip is to take advantage of leading lines. You can use lines in photos to lead the viewer to where you want them to look. Lines should be leading into the frame and not out from it since you want the viewer to look at the photo and not be distracted. For example, you can use a stream leading towards a mountain or a path leading the viewer from the foreground to the main subject as leading lines.
Post-Processing
When you are back after a landscape shoot the work is not done yet. What you do with the pictures after they have been taken is crucial to creating a fantastic image. I would almost say that it is in post-processing you turn the photograph from an image file to a piece of art. If you decide to shoot in RAW-format you will have much greater artistic freedom when you edit the photos, since RAW files have much more data in them, meaning you can change exposure and color to a greater extent. I use Lightroom for most of my editing and they use Photoshop for more advanced edits of my favorite photos.When I edit photos I usually try to enhance elements that are already in the picture. But first I create a base edit where I make sure that the exposure and contrast are what I want and then I go on to more in-depth editing, like modifying tones and details of the image.  I highly recommend that you check out the different bundles for landscape photography that Sleeklens has to offer, they are a great and easy way to make your images look fantastic, and by combining different presets you can create completely unique looks.
Photoshop: Landscape Adventure Collection
Lightroom: Landscape Essentials Workflow
Conclusion
I hope you have found this short guide useful and that you will be comfortable to start exploring the wonderful field of landscape photography. This guide has just scratched on the top of an extensive subject and I recommend that you continue reading other guides that can help you get a better understanding for each part of the process, like the composition. Good luck with your landscape photography!
