How to Buy Used Camera Gear: Tips for Finding a Good Dealwww.sleeklens.com
When I decided to venture into the world of photography, a friend once warned me that it’s an expensive hobby. Of course, me being stubborn, I am didn’t believe them until I wanted to upgrade my old gear and decided to research new photo equipment. After scrolling through a few options, it finally sunk in that, as a photo hobbyist, maybe new gear is a bit out of my budget. The next best thing for me to do if I couldn’t afford the new equipment was to look into getting used gear in reasonable or like new condition.
I was mindful of the risk this came with, of course, but regardless I decided to give it a try and visited a camera shop and browsed a few websites. Happy to say I wasn’t scammed, but in this article, I’ll be giving you just a few tips on what a photographer should look out for when purchasing pre owned gear.
When shopping for used camera gear, it’s important to have reasonable expectations, because even though the pre owned gear may be functional, that doesn’t mean it’ll be as pretty as a brand new camera or lens.
Table of Contents
How to Buy Used Camera Equipment
Camera Body
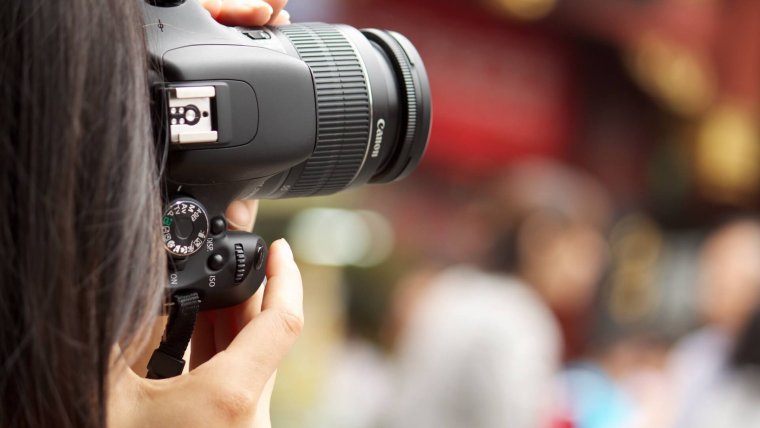
DSLR cameras are complex machines, so when purchasing a used camera body, there are a few key things to look out for. The first thing you should do is take a good around the perimeter of the camera for signs of dents or scratches. These usually indicate if the camera has been dropped, and oftentimes can show the severity of the damage. Camera bodies are built to withstand some hardship, but nonetheless it doesn’t hurt to inspect it, because you don’t want a camera that looks like it’s been through a hard life.
The second thing to be considered when purchasing a used camera body is the shutter count. What is the shutter count? It is basically the number of photos the camera has taken. Similar to when you’re buying a used car, you need to consider how many miles the camera has been used. This is important when estimating the life expectancy of a camera before you start to run into problems.
Checking the shutter count will also determine if the camera was heavily used or just brought out on occasion. For example, a camera with a shutter count of about 10,000 on a camera that is about two to five years old would be considered very low, which indicates that the person hardly used the camera. However, if the count was between 30-55,000, that could be considered normal use and was probably owned by a beginner photographer.
When the shutter count exceeds 100,000, then it’s best to avoid buying that camera body and continue to look at others because the life expectancy on a camera with more than 100,000 photos taken is very low. The shutter count is often revealed when the camera is bought second hand, but if you run into a shady seller and want to know the shutter count, there are a few different softwares for determining it. For Canon users, I would recommend using EOS Info. It’s a neat little program that is free to use and should be very helpful in revealing the camera’s shutter count. For the Nikon and Pentax users, I recommend using “My Shutter Count,” where you simply upload a raw or JPEG file and the software does the rest for you.
When given the opportunity to inspect used gear in a camera shop, there are a few other things that will indicate whether it is in good condition. You should remove the lens or body cap, depending on which one is on the camera body, and inspect around the mirror, focusing screen, and lens contacts. These are very fragile areas that can be easily be contaminated or damaged if not taken care of properly, and will pose problems in the future when taking shots. Keep an eye out for damage in the form of oil or gunk that has built up in these areas. If you see oil, that can indicate that the internal parts of the digital camera are not functioning properly, or it sustained a serious hit. Perform your examination in a space with good lighting. It’s also a good idea to use a small flashlight, such as the one on your phone, to conduct the inspection so you don’t bypass anything that may be important. Try not to hold the camera facing up too much to prevent further contamination to the mirror or the sensors.
Once you’ve finished your inspection of the mirrors, focusing screen, and lens contacts, I would recommend running a quick test by putting a lens on the camera and inserting your own memory card. Speaking from the point of view of a past victim, it is very helpful to do test shoot to see if there are any issues with the sensor. Mount a lens onto the front of the body and then adjust the aperture to about f/16-22 and point it at a bright subject, having preferably a white wall or the sky in the frame. After you’ve taken a few shots, play back the image and zoom in on your LCD screen to examine the picture quality and look for any scratches or marks on the photo. Try to look closely because they can easily be overlooked due to how small they can be. If you see anything that might look like dust particles, there’s no need to panic, but if you see anything that looks like a line or scratch fragment, then it is best to avoid purchasing that particular camera body.
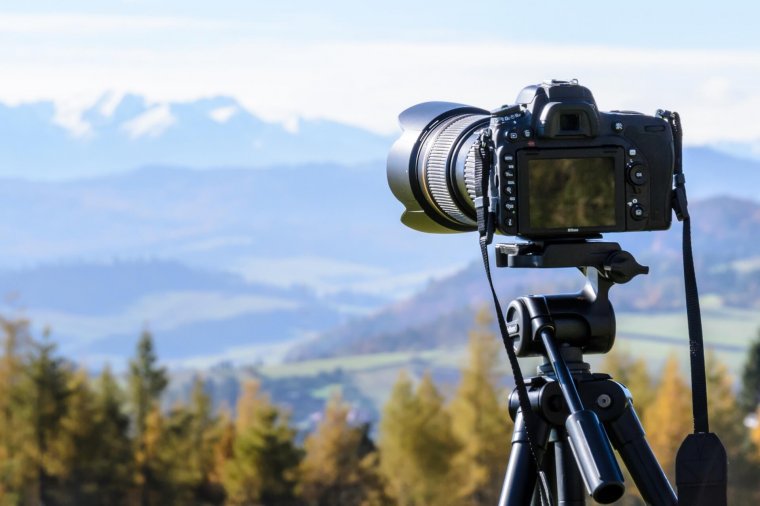
Camera Lens
I personally think the most expensive part of photography is purchasing the lenses you need for a particular job—or better yet, finding the ideal camera lens for your specialty in photography. Some new lenses sometimes cost a thousand dollars or more—it’s not uncommon for them to cost more than the camera body, but that’s the price you have to pay for the image quality you want.
Like your camera body, the camera lens is very important part in day-to-day photography, and should equally be inspected like the camera body. Depending on the manufacturer, lenses can be durable or fragile based on the material used to make them. So, it’s important to consider that before purchasing any photo equipment.
When taking the time to inspect lenses, you want to keep an eye out for external and internal damages. Externally, try to look for any chips or dents that may affect the performance of the lens. During your inspection try and tilt the lens towards the light to give you a better observation of the optics, and make sure they are in excellent condition. Zoom lenses often tend to show wear and tear on the zoom ring and external barrel. This is normal and should not affect the performance of the lens. However, as you move closer to the mechanics of the lens, you should inspect it internally for any signs of dust or mold. Dust particles are quite common when it comes to most lenses, but look out for any large patches or smeared areas, as these will indicate if the lens has any internal fogging or other issues.
Aperture Blades
On the end of the lens that mounts to the camera body, you will see a small lever that can be pushed to open the aperture blades. Inspect them carefully to see if they are snappy without any signs of stickiness. If you observe that they are sticky, then that could be a possibility of oil that has begun to collect within the lens. All of these things together can affect the performance of the lens, and also determine if you’ve just wasted your money or not.
When looking to purchase used camera bodies, used lenses, or used photo accessories, pretend as if you’re buying a used car. It’s important to run your checks on the engine and front end before taking it off the lot. These checks will determine whether or not you’re getting a good deal on used gear.
I hope the tips and tricks I have given has helped you find your perfect used photography gear and to a further extent made your bank accounts happy. Until next time, thank you for reading!


 Facebook
 Google +
Comments (0)
There are no comments yet.