Tag: retouching

Five Editing Mistakes Beginning Photographers Make

When you’re first starting out in photography, it’s easy to fall victim to a few common mistakes. When I look back at my work from seven years ago, it’s apparent to me (and probably any other photographer) that I fell into many of the same traps as a lot of other beginners. Things that draw attention to your subject don’t necessarily improve the photo–they can simply be distracting.

In this list below we’re going to get in touch with the five most common mistakes beginners tend to make during their journey towards becoming professional photographers:

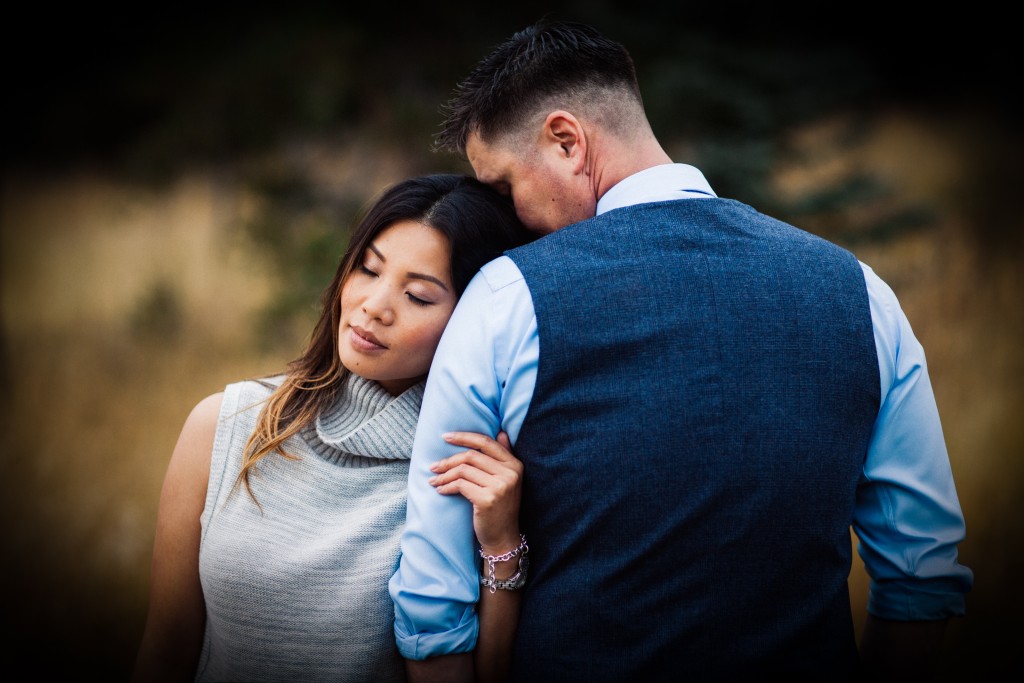
Heavy Vignetting

2_vinette-1

Exaggerated vignettes are a tell-tale sign of an amateur photographer. Beginners like them because they draw attention to the center of the frame where they are most likely to compose their focus. What they’re effectively doing, though, is underexposing the sides of the image and detracting from their talent. A good photographer ought to use the whole shot, utilizing natural elements to frame the subject. Amateur photographers also like to use vignettes in an attempt to add some drama to the photo. Luckily, there are natural ways to do this–mastering the sun flare technique can really enhance an otherwise lifeless image.

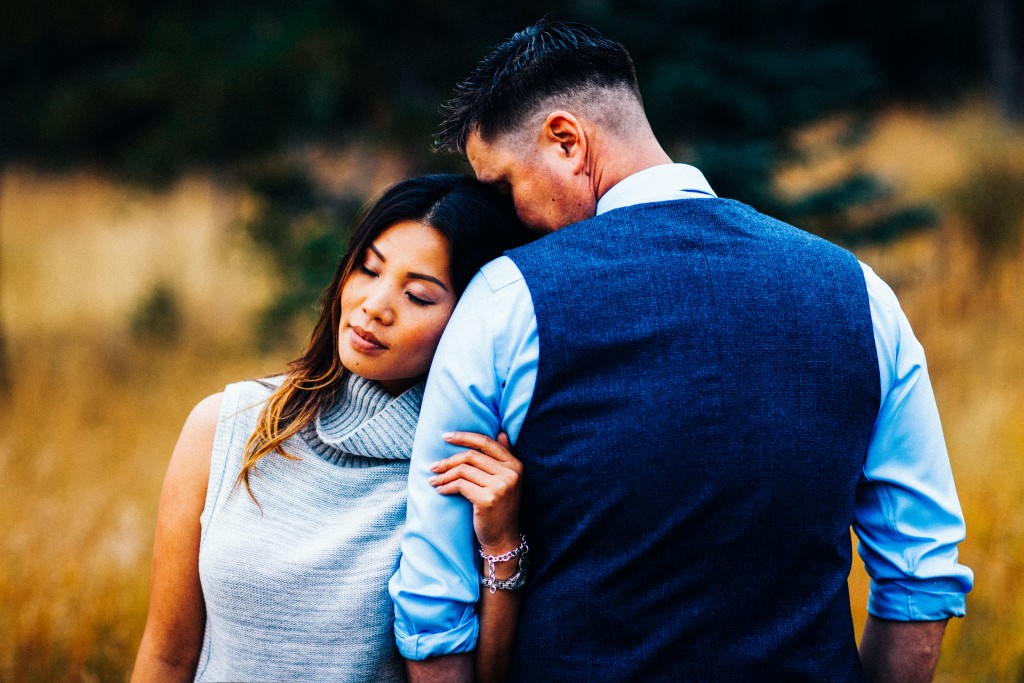
Overusing Presets

3_Going over the top with presets-1

It’s easy to go overboard with presets. Overuse can make a photo look unnatural and unflattering. If you suspect you’ve done too much, you’re probably right. Keep it simple. Instead of over-editing the entire photo, use local adjustments to accentuate specific areas.

Histogram tool can be your best friend under situations like this, as you’re constantly checking over clipped values (mostly at highlights or shadows), but also Lightroom’s before/after mode can be extremely handy for checking where things went wrong.

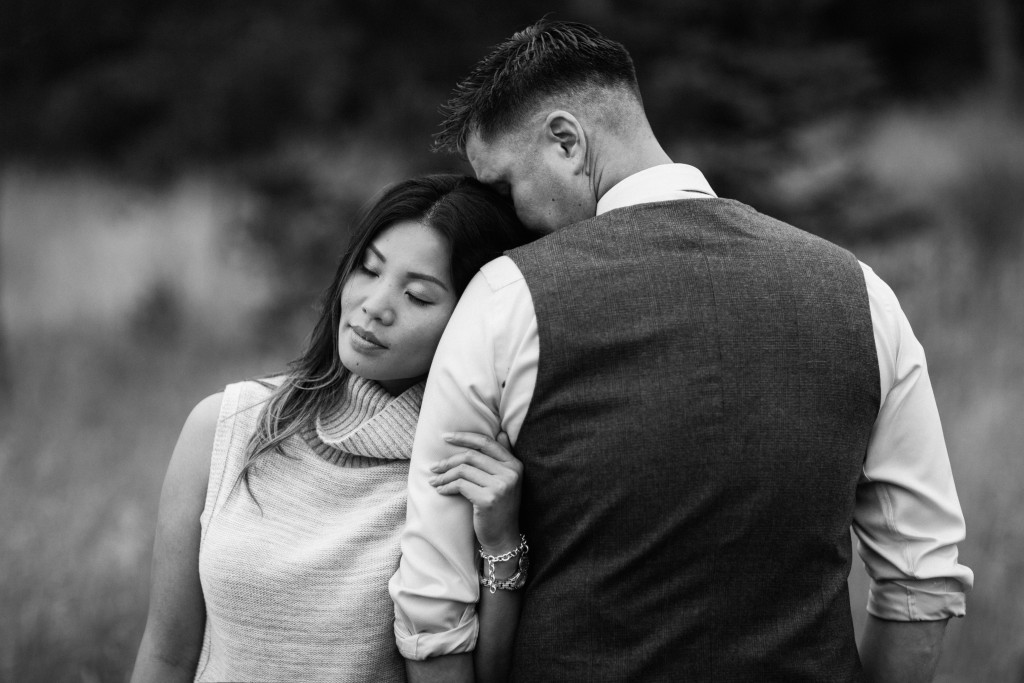
Overdoing Black and White

4_Only editing in black and white-1

This is the mistake I’m most guilty of in my early work. Converting an image to black and white does not generally make it more artistic. Of course, there are ways to use black and white to effectively enhance a photo, but many new photographers end up using this style as a crutch. The number of variables that color adds to the editing process can be intimidating. Be sure to learn about complementary colors and incorporate them into your photos. However, do try to avoid photographing bright and heavily saturated colors because camera sensors don’t tend to register these colors well. If you’re unsure which way to go, this post can help you decide whether to edit your photo in color or black and white, but also keep in mind that not only black and white effects count as the only range of monochromatic effects – sepia or cyanotype effects also looks appealing for most clients.

Heavily Retouching Skin

5_Over Retouching-1

Most photographers fear that their clients won’t like their photos because of the way they themselves look (by no fault of the photographer). It’s tempting to heavily retouch skin in an attempt to flatter your client, however, it’s best to edit only what is necessary. A good rule of thumb is to touch up or remove only imperfections that are impermanent, such as acne or bruises – try, also, to find flattering angles and accentuate those.

Overdoing such adjustments will end up in unnatural results, mostly if you don’t happen to ace post production tools such as Lightroom Presets & Brushes or Photoshop Actions. In the end, you’re prone to ruin all your hard work by just trying to make it look better.

HDR Processing

6_Going crazy with the clairity slider-1-1

Every photographer wants to learn new techniques; more often than not, though, HDR processing looks a bit over the top. While it can be tempting to bracket exposures, it’s best to avoid it until you’ve mastered basic photography skills first. Instead, if you don’t have enough dynamic range in a shot, bracket the exposure and brush locally in the post.

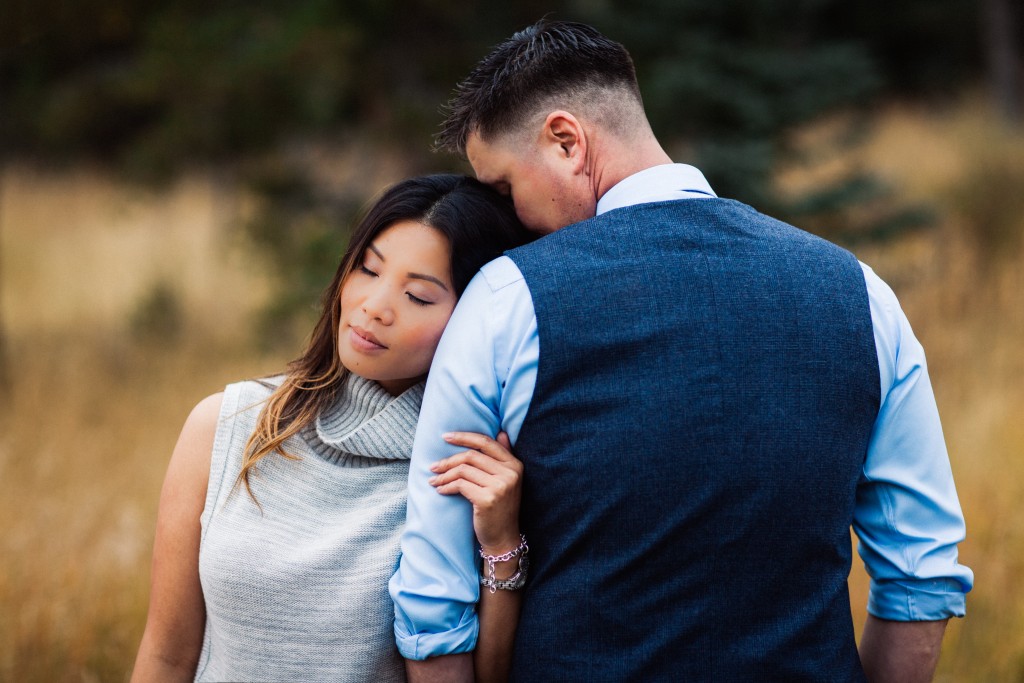
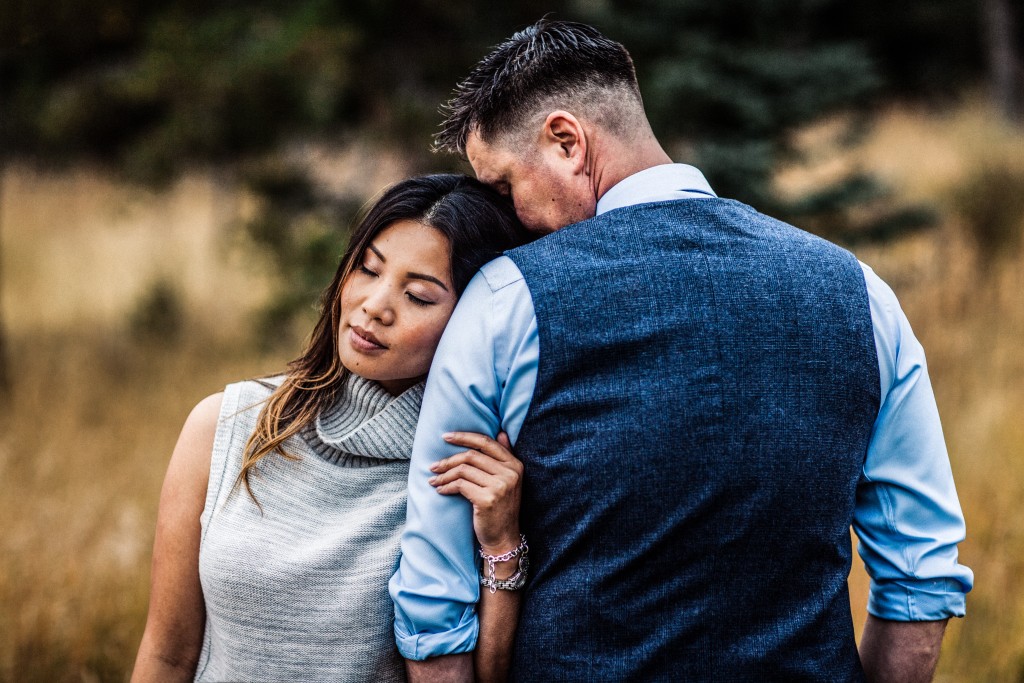
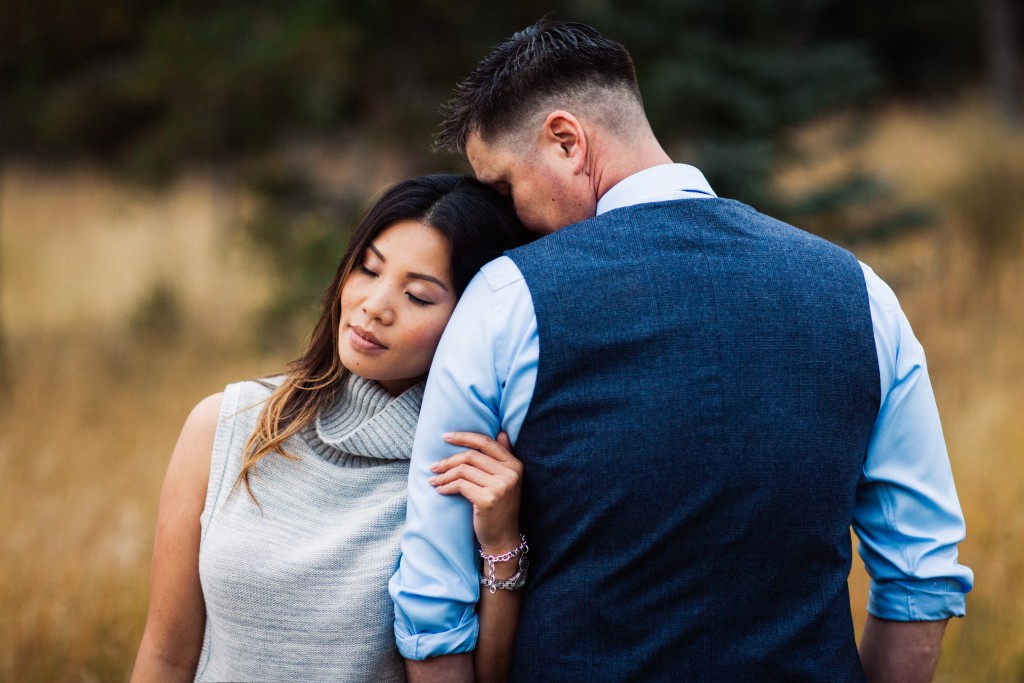
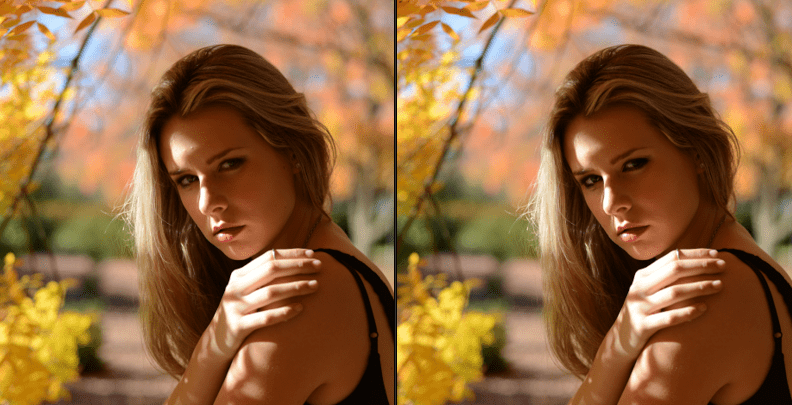
A quality image ought to appear natural, polished, and simple:

1_original-1

Now that you’re familiar with these common mistakes, you can easily avoid them by mastering photography techniques that surely will take your photographs to the next level! Don’t feel disappointed by making mistakes during your first attempts – everybody had a starting point and a goal to reach, therefore it’s your right to learn from bad experiences and add all that knowledge to your future work.

Hope this guide was useful and keep shooting!

Using Lightroom to Make your Underexposed Images POP!

Shooting on a whim can be fun and produce awesome results, but you may not always have what you need in terms of lighting. You may often times shoot an image where you get a great moment but your lighting and exposure are not the best, so you have to do a lot in post production to fix the image. In the photo we are about to work on, I’m going to show you a nice way to bring attention to the face and make the eyes pop by using and installing the Lightroom presets.

1 – Starting Point

This is our starting point. We notice that in the histogram everything is pushed to the left thus giving us a very under exposed image. There is almost nothing in the highlights, so what we end up with is this flat exposure. If we look at my settings, we see that I have everything at optimal settings to be able to get as much light into my lens.. well everything but the ISO. I could have bumped the ISO up higher (my camera is very capable of handling it) but for whatever reason, that did not happen. So what todo? Well, I know that there is info in the RAW file and that all I need to do is bring it out the best I can. Our goal will be to expose the face and eyes to make the image more interesting.

Using Lighroom to make your eyes POP!

2 – Global Exposure

To start things off you will notice that I have cropped and adjusted the angle of the photo. I also did some light retouching on some of the forehead to take out some of the hair and smudges that were on the lens. If you want more of an explanation on how to retouch portraits then check out our more in-depth article.  Our main concern here is the histogram and all of our exposure settings. I turned down the temperature knowing that I want my end result to have a cooler feel to it. I bumped the exposure up quite a bit to get some detail back in the overall image. I then went into the Blacks/Shadows and boosted them so that I can get some of that information from the RAW file. The eyes and the hair are one of my main concerns. I can boost the black/shadows even more, but I do not want that on the whole image, I want a more precise way to target where I brighten up the image. In the next step, we do this specific thing.

Using Lighroom to make your eyes POP!

3 – Adjustment Brush

These next few images will show you the exact changes I made on all of the individual sections of the image using the adjustment brush. The way it works is that wherever you paint (the red color), is where the changes you make will take place. In case you are not familiar: The circle with a smaller black circle inside of it is the current adjustment we are looking at.  This first adjustment we see below is on the whole face, hands and part of the neck. It was important to me that the eyes, face, and sweater are the focus points and that they pop out at the viewer. So, all I did in this step was to boost the shadows on just the face and push up the exposure up just a hair.

Using Lighroom to make your eyes POP!

Here I boosted the temperature on the hands up a bit. I warmed up the hands because later when I do color adjustments to the whole image, they become very blue and cold looking. So this is one of those things that I would have done later in the process originally, but it makes more sense to show it to you at this stage.

Using Lighroom to make your eyes POP!

The way the light was hitting her face, she was not getting a lot of light in her eyes, especially under her eyes. To combat what appeared to be dark circles, I lightened up the shadows under her eyes only very slightly.

Using Lighroom to make your eyes POP!

This step too is a move to brighten up the eyes and remove the shadows that were cast in her eyes. This adjustment is a little stronger than the previous one and effects the whole eye area.

Using Lighroom to make your eyes POP!

If you notice in this part I focused on the iris of the eye. I boosted it and warmed it up quite a bit. In the image that follows, you will notice that I did almost the same adjustment. The reason that I did pretty much the same adjustment twice, is because I wanted the shadows to be boosted even more than I could achieve with one adjustment, so I stacked it.

Using Lighroom to make your eyes POP!

Here is that adjustment, similar to the one above that I doubled up on mainly because of the shadows not going up as much as I wanted it to with one adjustment layer.

Using Lighroom to make your eyes POP!

4 – Before the Color Adjustments

Here is where we stand after all of those precise and targeted edits we made to the eyes and face using the adjustment brush. It allowed us to warm up the hands, brighten the iris, lighten up the whole eye socket and turn up the brightness on the face as a whole. If we look at the histogram now it has come a long way, compared to the original settings we started with. We now have detail in the blacks/shadows which are ideal especially when printing for the look I’m going for. The other thing we can notice is that the eyes pop out a lot more and you can see color in them, as opposed us having black dots for eyes, like when we started. If you come to this point and wanted to pull back a little on the eyes then you can do that by going back into the guide on how to use adjustment brush and make changes as needed.

Using Lighroom to make your eyes POP!

5 – Color Adjustments

I am not going into the specifics of the color adjustments I did, that will be covered in another Lightroom tutorial coming soon. I will say that I generally start out with an end feeling that I want the photo to have. If I am using presets, I then choose a preset that gets me started and make my adjustments as needed. If you do want some presets to get started with, check out some Lightroom presets from Sleeklens. At this point, we can look at the histogram and notice that there is information in most of the range. This does not always have to be the case especially for high key or low key images. I do have to say that if I was doing more retouching, I would go into Photoshop. In this image, I would maybe go in and remove some of the lines under the eyes but that is a different work flow and tutorial.

Using Lighroom to make your eyes POP!

6 – Conclusion

It is not ideal to start off with an image which you have to fix a lot to get it to look great. Always keep in mind when shooting, that it’s better to get it right in camera than to say, “oh I’ll fix it later”. Remember though, that not all is lost. Always shoot RAW and if you run into liking a photo, but it isn’t perfect, you have options for makink it look better, using tools like Lightroom and Photoshop. If you enjoyed the tutorial be on the look out for more and check out my personal website and info below.

How to Retouch your Portraits with Lightroom

Hi Everyone, in this tutorial we’re going to be taking a look at how to retouch your portraits.

This one is for all you budding Fashionista Portraitists out there.

Normally I would use Photoshop for this task, but I’m going to show how to do it in Lightroom also, if you’re a lightroom purest.

So hopefully you’ll get a lot out of this tutorial 🙂

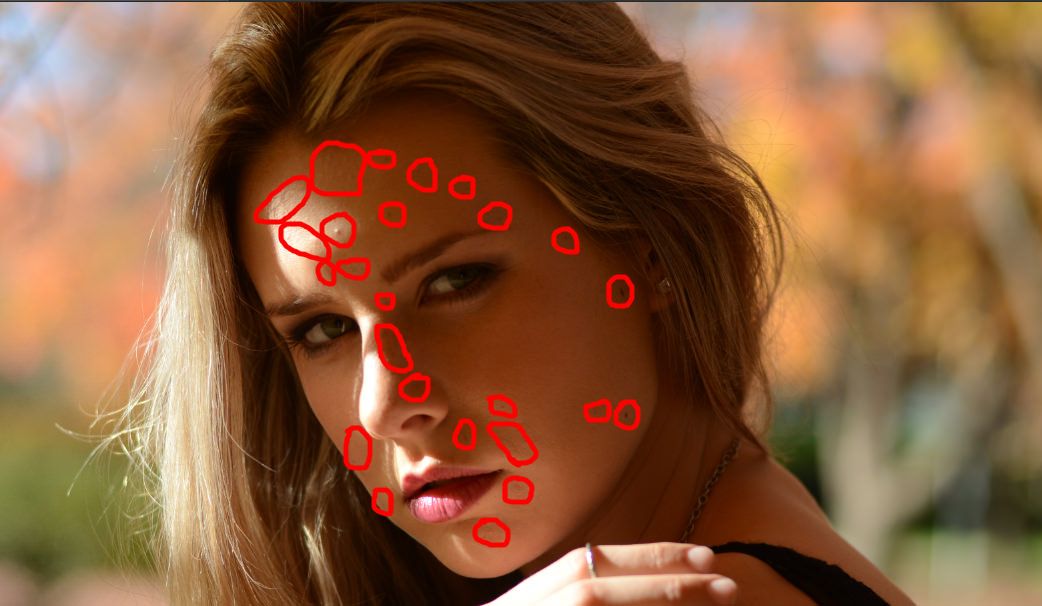
So, the first thing I would look for are any Moles, Spots or Wrinkles on my portraits face and make a list on a piece of paper of what I want to retouch, in the image below you will see examples circled.

Retouch1

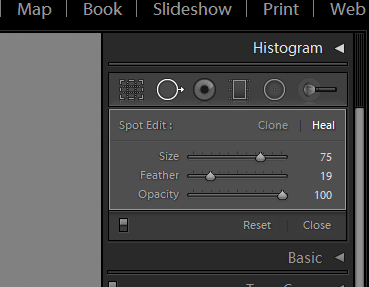
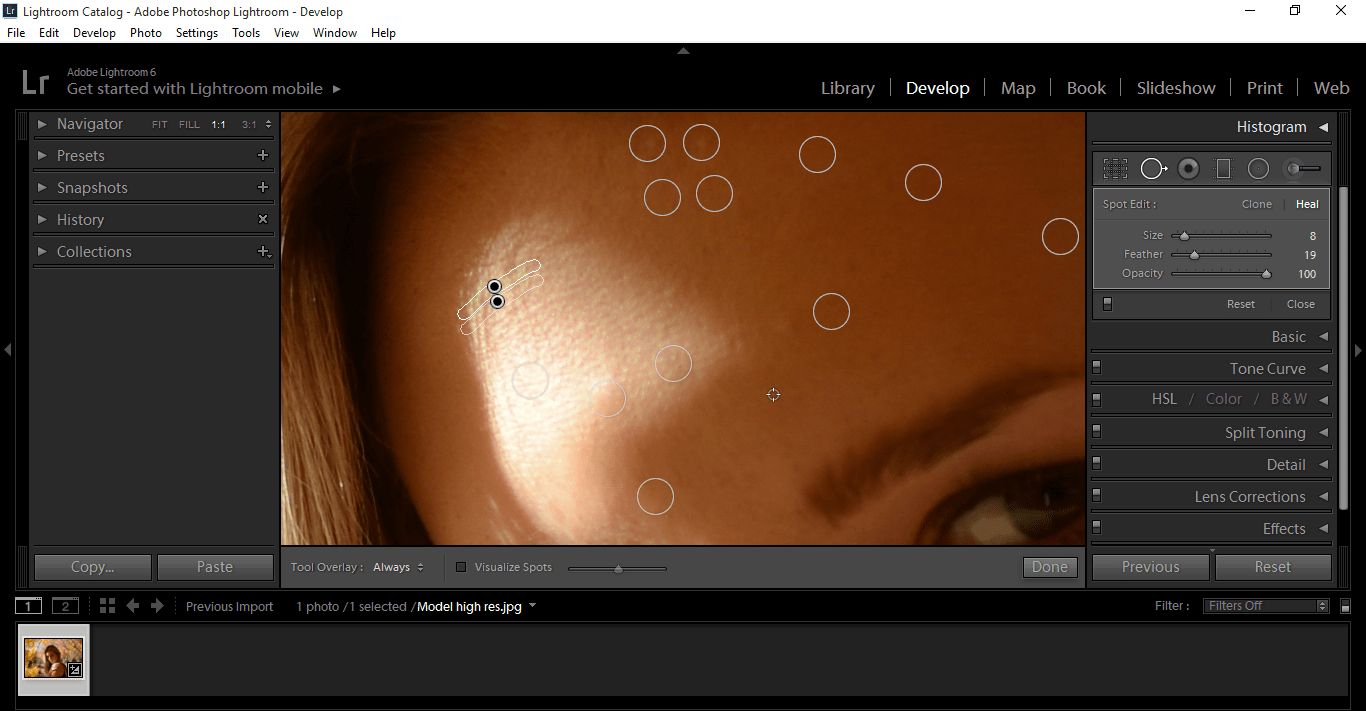
Press (Q) and this will take you directly to your Spot Removal Tool.

Add a little feather, make sure your Opacity is up around 70-100% and remember you can click on [ or ] to change the size of your brush back and forth.

Retouch3

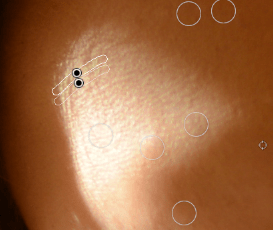
(Ctrl +) will Zoom in on your image and then we just start to remove the little Spots and Blemishes one by one.

Retouch4

You can move your image around by pressing SPACE BAR, then you will see a little hang, you use that to click and drag to different areas around your Portrait.

Clicking and dragging your Spot Healing Tool around will help you erase any wrinkles that the subject may have, make sure with that, you decrease the size of your brush more.

retouch5

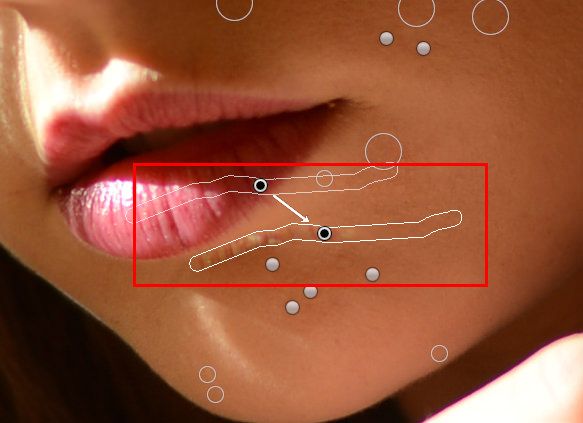
Lightroom samples a spot where it thinks it is similar, though sometimes the spot it chooses is not good to say the least, as in the image shown below.

badtouch1

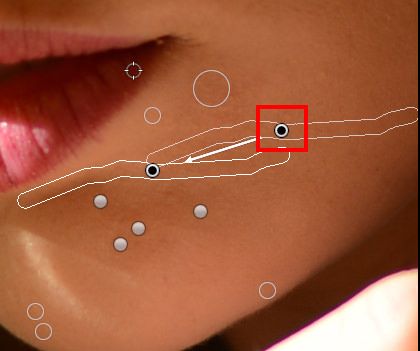
So, you then click and drag the second circle indicated below to an area that suits much better.

Retouch6

Ok, so now we got that done and hopefully you are happy with your results. I would suggest taking your time and going over the face a few times until you are completely happy, though in saying that don’t go overboard, you still want your portrait to look realistic at the end.

I would say a 70-80% Retouch is better than a 100%, you still want some character to remain, but that’s my opinion.

Anyway…

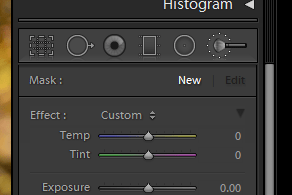
Next up, let’s Soften the skin a little, so click on (K) to bring up your Brush Tool.

So just in case, reset your brush, where it says Effect you can double click on that or hold the Alt key and press Reset.

Retouch8

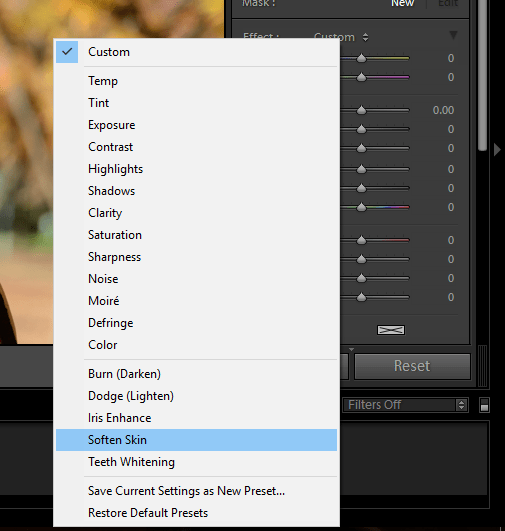
In the dropdown where it says Custom you will have some settings.

Retouch9

And we’re going to click on Soften Skin, you can also see other settings in there such as Teeth Whitening all I can say is that they do exactly as they say. So, if your model is after a bit of Teeth Whitening, you use that tool, if you want to Enhance their eyes, you use Iris Enhance and so on.

Easy 🙂

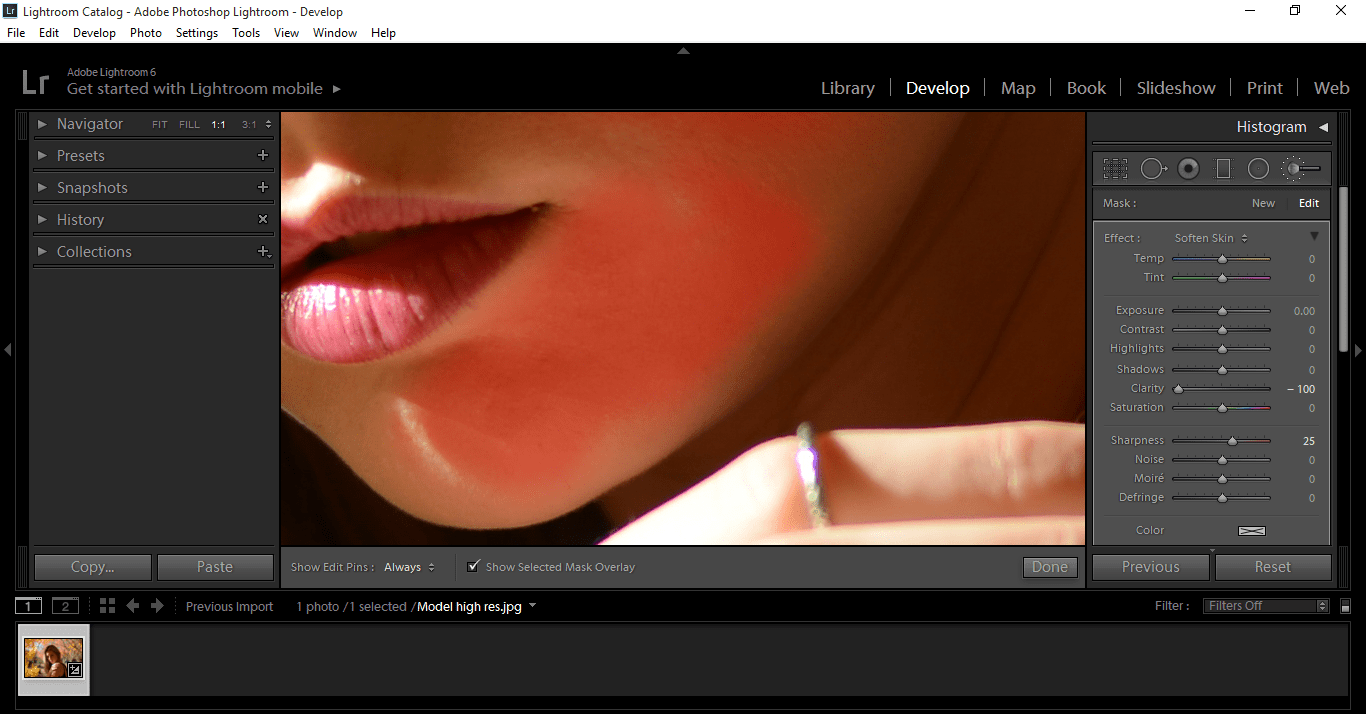
Now you just paint onto the skin.

Pressing (O) will show an overlay as to where you have been painting, so that helps as a good guide. Make sure to leave areas that you want to remain sharp such as the Eyes and Mouth etc.


Retouch10

At any stage while painting, you can press Alt and it will open your brushes minus options, then you can paint back and erase any mistakes or overlaps.

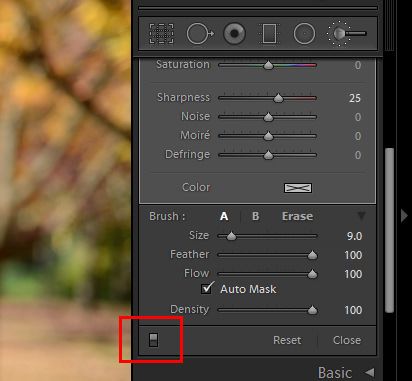
Clicking this little icon shown below will change back and forth from your original to what you have been working on, make sure you disable the overlay by pressing (O) for a best view.

retouch 12

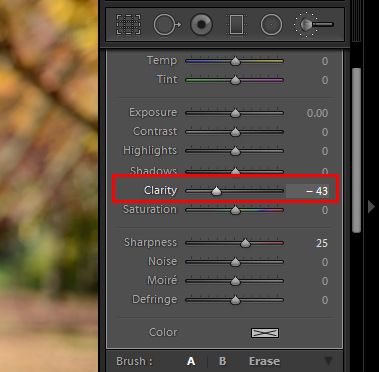
If it’s a little strong, you can work with your clarity slider to bring it back a little.

Retouch13

When you’re happy with your results press Done.

Now we will repeat the steps above, but this time instead of clicking on Smooth Skin, we’re going to be Enhancing her eyes.

So make sure you reset your brush (double clicking on effect)

Zoom in on her eyes and paint over her Iris.

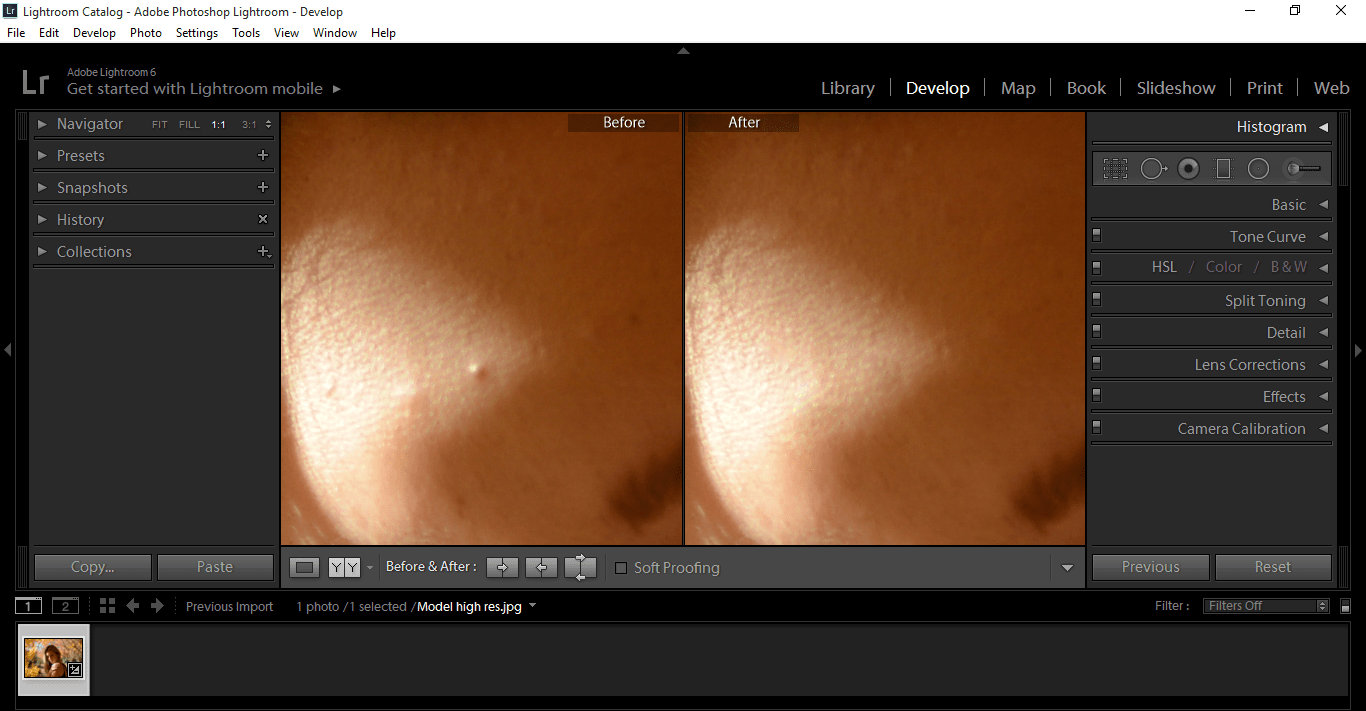
Pressing (Y) will take you to a split view mode where you can look at the differences from the before and after, then you can zoom in and out as normal.

retouch15

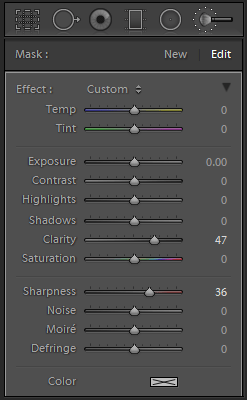
Other retouches that you may want to do is to sharpen up her eyes a little, for example. So for that, reset your brush, increase you Clarity and Sharpness and paint on to the areas you want, changing the size of your brush and pressing Ctrl Z to erase as you go along. If your settings are too strong, then decrease Clarity and Sharpness and try again until you reach the result you are most happy with.

retouch16

And we’re done 🙂

This is a very basic introduction into retouching, my retouches are very subtle and my picture was pretty good to start with so I didn’t have to do a lot. Sometimes you may get pictures that need a lot of work to go into them, but this will give you a great start.

retouch17

Some Presets that will really enhance and help your portraits are:

Chasing Light Workflow Presets

Strike a Pose Portrait Workflow

Newborn Delights

These are all excellent additions to any Portraits.