Tag: black&white

Five Editing Mistakes Beginning Photographers Make

When you’re first starting out in photography, it’s easy to fall victim to a few common mistakes. When I look back at my work from seven years ago, it’s apparent to me (and probably any other photographer) that I fell into many of the same traps as a lot of other beginners. Things that draw attention to your subject don’t necessarily improve the photo–they can simply be distracting.

In this list below we’re going to get in touch with the five most common mistakes beginners tend to make during their journey towards becoming professional photographers:

Heavy Vignetting

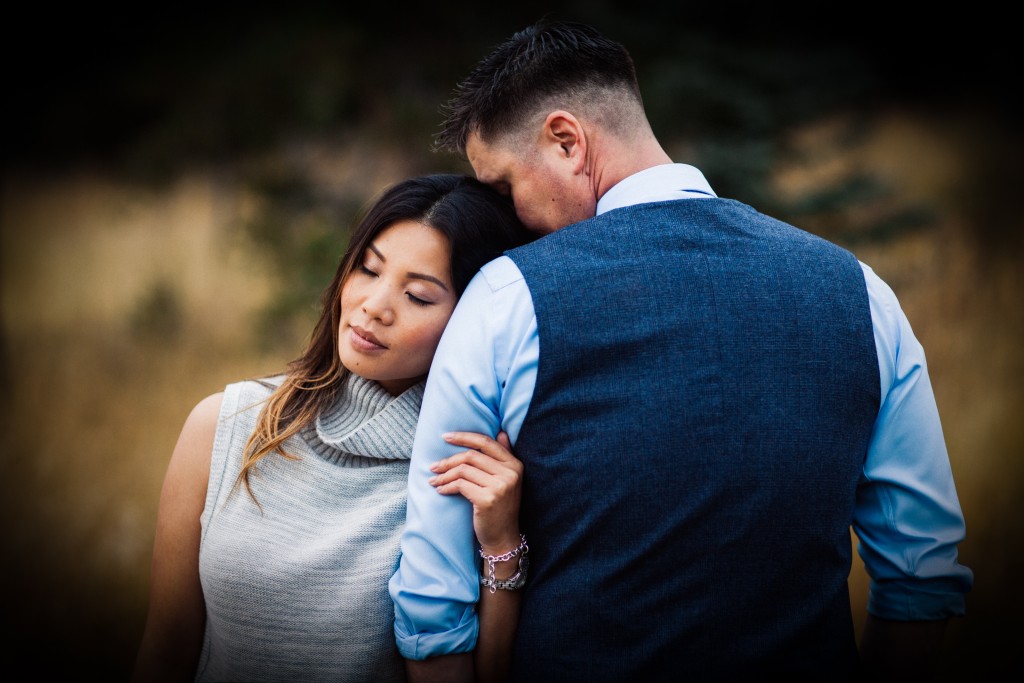
2_vinette-1

Exaggerated vignettes are a tell-tale sign of an amateur photographer. Beginners like them because they draw attention to the center of the frame where they are most likely to compose their focus. What they’re effectively doing, though, is underexposing the sides of the image and detracting from their talent. A good photographer ought to use the whole shot, utilizing natural elements to frame the subject. Amateur photographers also like to use vignettes in an attempt to add some drama to the photo. Luckily, there are natural ways to do this–mastering the sun flare technique can really enhance an otherwise lifeless image.

Overusing Presets

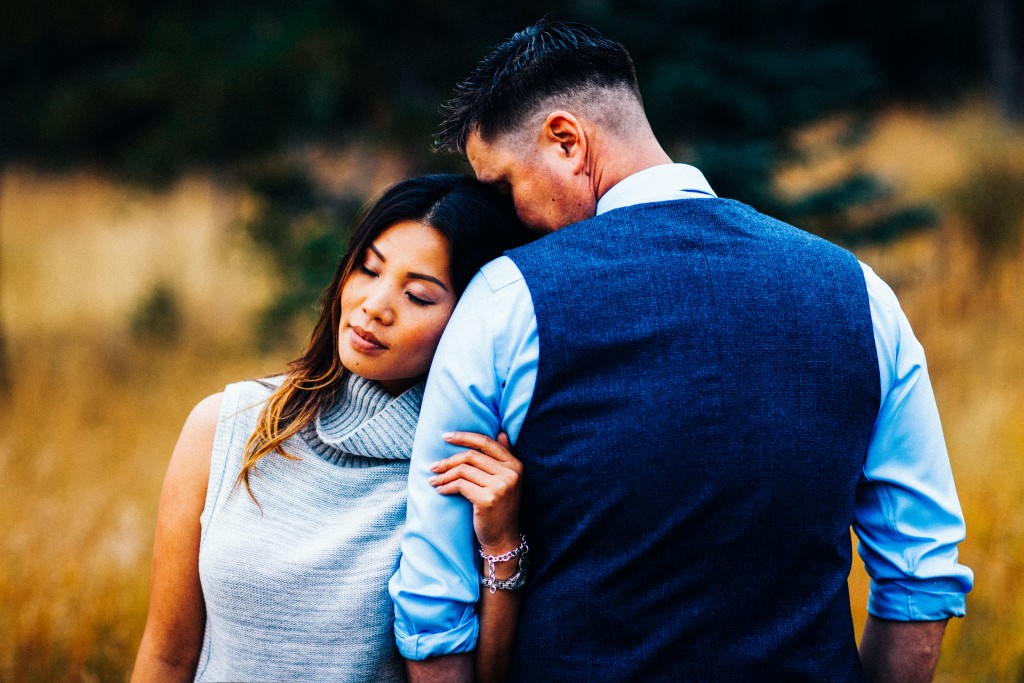
3_Going over the top with presets-1

It’s easy to go overboard with presets. Overuse can make a photo look unnatural and unflattering. If you suspect you’ve done too much, you’re probably right. Keep it simple. Instead of over-editing the entire photo, use local adjustments to accentuate specific areas.

Histogram tool can be your best friend under situations like this, as you’re constantly checking over clipped values (mostly at highlights or shadows), but also Lightroom’s before/after mode can be extremely handy for checking where things went wrong.

Overdoing Black and White

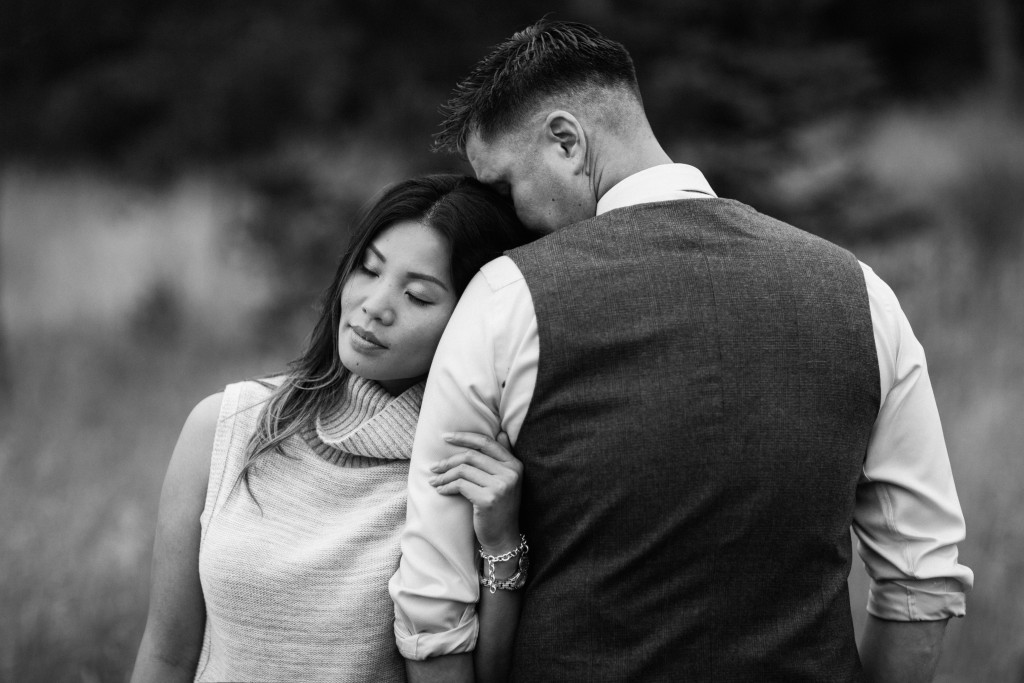
4_Only editing in black and white-1

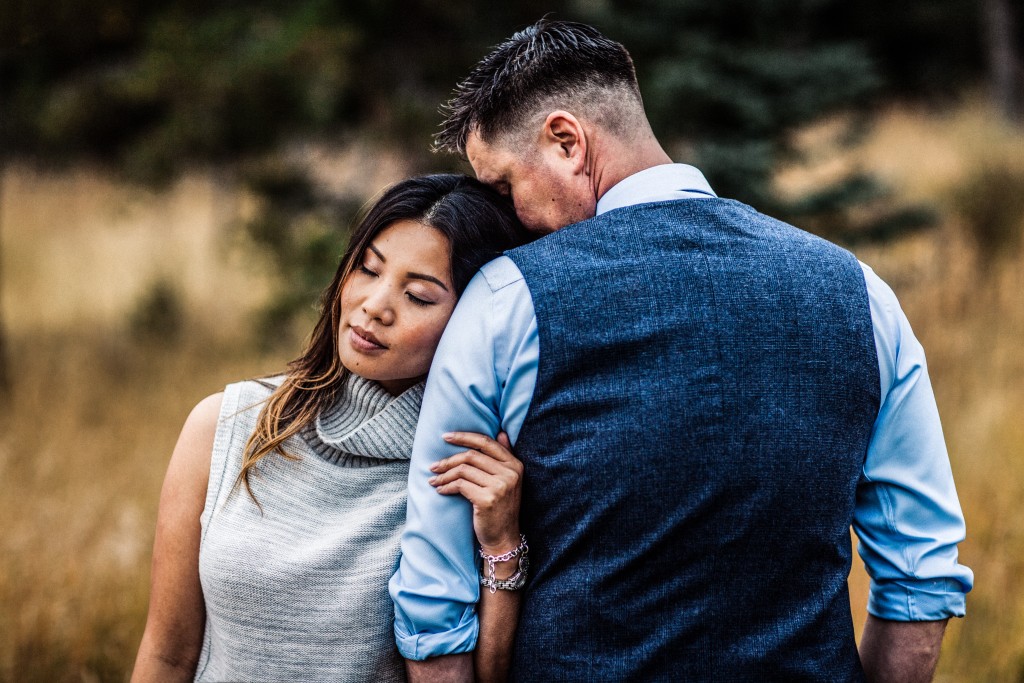
This is the mistake I’m most guilty of in my early work. Converting an image to black and white does not generally make it more artistic. Of course, there are ways to use black and white to effectively enhance a photo, but many new photographers end up using this style as a crutch. The number of variables that color adds to the editing process can be intimidating. Be sure to learn about complementary colors and incorporate them into your photos. However, do try to avoid photographing bright and heavily saturated colors because camera sensors don’t tend to register these colors well. If you’re unsure which way to go, this post can help you decide whether to edit your photo in color or black and white, but also keep in mind that not only black and white effects count as the only range of monochromatic effects – sepia or cyanotype effects also looks appealing for most clients.

Heavily Retouching Skin

5_Over Retouching-1

Most photographers fear that their clients won’t like their photos because of the way they themselves look (by no fault of the photographer). It’s tempting to heavily retouch skin in an attempt to flatter your client, however, it’s best to edit only what is necessary. A good rule of thumb is to touch up or remove only imperfections that are impermanent, such as acne or bruises – try, also, to find flattering angles and accentuate those.

Overdoing such adjustments will end up in unnatural results, mostly if you don’t happen to ace post production tools such as Lightroom Presets & Brushes or Photoshop Actions. In the end, you’re prone to ruin all your hard work by just trying to make it look better.

HDR Processing

6_Going crazy with the clairity slider-1-1

Every photographer wants to learn new techniques; more often than not, though, HDR processing looks a bit over the top. While it can be tempting to bracket exposures, it’s best to avoid it until you’ve mastered basic photography skills first. Instead, if you don’t have enough dynamic range in a shot, bracket the exposure and brush locally in the post.

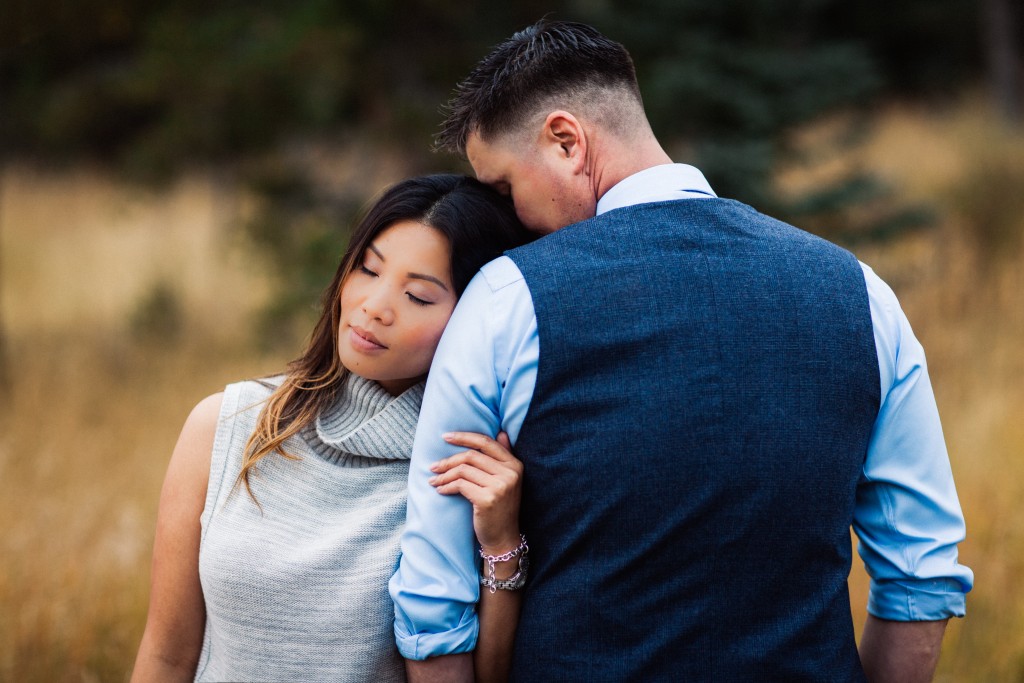
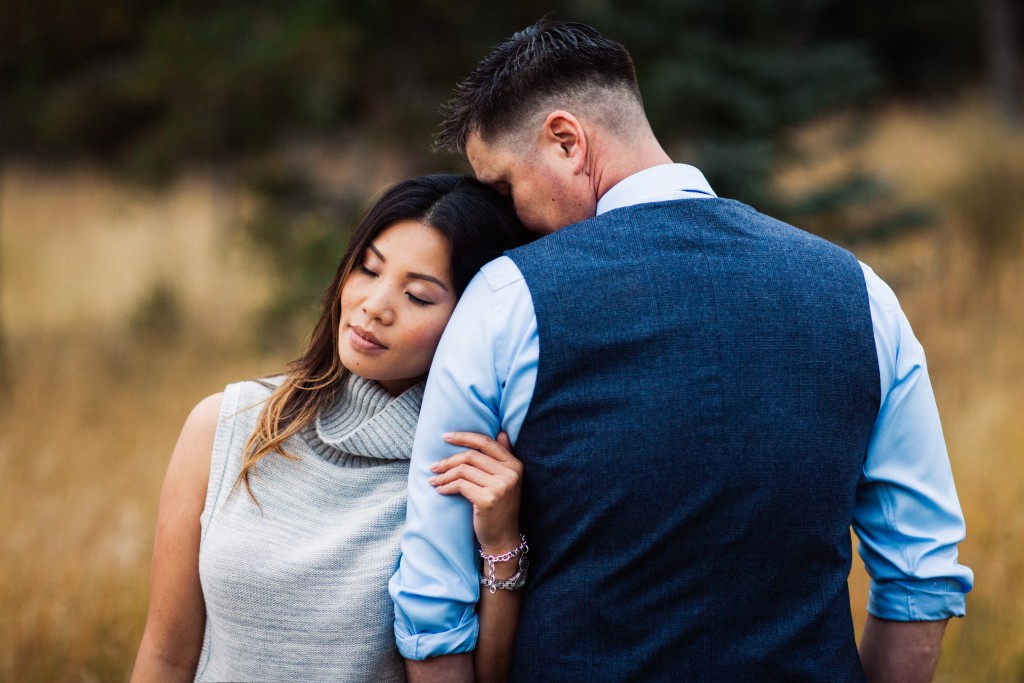
A quality image ought to appear natural, polished, and simple:

1_original-1

Now that you’re familiar with these common mistakes, you can easily avoid them by mastering photography techniques that surely will take your photographs to the next level! Don’t feel disappointed by making mistakes during your first attempts – everybody had a starting point and a goal to reach, therefore it’s your right to learn from bad experiences and add all that knowledge to your future work.

Hope this guide was useful and keep shooting!

How to work with Grayscale Essentials: Creating Vintage Photographs

Hello all! Today we have another tutorial on how to work with the “Grayscale Essentials” workflow by Sleeklens. Specifically, We’ll be talking about creating vintage photographs using the Matte, Sepia and Film Grain presets that are included with this workflow.

So, let’s get right into it. For my first photograph, I have a picture up of a boy sitting in front of what appears to be a wood paneled building.

Getting started, the first thing that I’m going to do is go into the “Grayscale Essentials” Tone/Tint presets. We are going to use the Tone/Tint – Sepia preset.

Once that has been applied, we will go over to our Basic panel and make some adjustments to that preset, turning the Contrast and Exposure up just a little bit.

Now let’s go back over to the presets, this time we’ll go with the Effects – Film Grain 3 preset, to give the photo an even more vintage feel. This preset will give the photograph kind of a grainy texture.

The last thing that we’ll do to this photograph is use a vignette. Going back into our “Grayscale Essentials” presets, we will scroll down and select Film Grain Vignette 5. When applied, we will get a white vignette, however I want it to be black. We can change this by going over to the panel on the right and going into Effects, then Highlight Priority. From there we will move the Amount Slider back until the vignette is as dark as we want it to be.

What you may find with older photographs is that if they aren’t in black & white or not completely tone sepia, you’ll often find the colors more muted. For that, we can go into the Colors tab and make adjustments. In this photo we are going to turn down the saturation of the colors, to get more muted tones. Next in the Colors tab, we’ll go to Luminance and turn up the Yellow and Aqua.

So, that’s one way to do it. What we have done mutes the colors a bit and given its an old, used photograph feel.

Now let’s move on to our next photograph. We’ll start with this photo by converting it to black & white. To do this, we will scroll down through our “Grayscale Essentials” presets, until we get into Film – Black & White Contrast 3. Once we’ve applied that preset we will scroll back up through our presets and select Exposure – Matte Finish, giving the photograph that vintage matte finish that we often see with older pictures.

Next we will go ahead and tone it with the Tone/Tint – Sepia 3 preset.

Then, like the previous photo, we are going to use a vignette again, but instead of using the vignette preset, this time we are going to go into Effects and make our own.

So, go over to the panel on the right, then go into the Effects and move the Amount slider to lighten it up a bit.

Go back over to the “Grayscale Essentials” presets and find the Base preset. This time we’ll go with Base – Classic, just to add a little bit of a darker tone. After applied, I am going to open up the Basic tab and make adjustments by bringing the Contrast, Highlights and Shadows down just a bit.

Now we want to add that grain back in. To do that, we will go to our Effects presets and select Film Grain 4, really adding a grainy vintage feel to the picture.

That is all we are going to do with this one. We started with a highly saturated, modern photograph and gave it a really nice vintage feel.

Now we will move to our third photograph. For this one, I am going to start with an All in One preset.

Let’s go into our “Grayscale Essentials” presets and click on the All in One – Yogi Bear preset. I like this preset because it does convert the photo to a grayscale, but it also adds a sepia tone to it, which give this photo a nice dark brown tone.

Next we will go to the Base – Clean preset, to bring a little bit of light back into the picture. Then to get that grainy effect, we will use the Effects – Film Grain 3 preset.

Before we finish I want to also add a vignette, so for that I am going to use Film Grain Vignette 3, but like earlier, I would prefer it not to be white. So to fix that, like with the previous photo, we will go into our Effects, the Highlight Priority and move the Amount slider down to give the vignette a much darker tone.

Next, we will go into our “Grayscale Essentials” brushes, then scroll down and select Light – Brighten. I’m going to run this brush all over the subjects, increasing the Exposure some, just to add a little more light and help them stand out a bit.

In the after effect of this photo, you’ll see that we have added the matte effect, the grain and the sepia, all coming together nicely to give this photograph that old fashioned, vintage look.

I hope you all enjoyed this short tutorial and found it helpful. Hopefully you can try it for yourself and create some beautiful images soon !

How to Work with Grayscale Essentials: Working with Tone and Tint

Today we have a short tutorial about how to work with the “Grayscale Essentials” workflow from Sleeklens, specifically, adding tone and tint to your black & white photographs.

Now that I have my photo up that I will be working with, the first thing that we will do is is apply an All in One preset.

First, I’ll apply the All in One – Matted preset, then scroll down through the many other “Grayscale Essentials” presets and apply Tone/Tint – Violet.

Now let’s move over to the Split Toning, this is where I will be able to make the changes that I want. As I look down in the Shadows, it shows that I have a kind of blue tone. Here I can go in and change that, moving it up to a more of a dark purple tone by just dragging the little dropper around to where I want it, then I’ll turn the Saturation all the way up.

For the Highlights we have a light reddish pink color, so we will change that to an actual pink, but way down to the bottom for a pale tone. As we play with the Saturation, you’ll see that it gets really, really pink or back down to a very subtle color. I will also lower the Balance Slider, located in the middle, making the photograph turn more purple. To fix that, we will just decrease the Saturation a bit under Shadows, and slightly increase the Saturation under Highlights.

So, now we have gone through and changed the tone of this photograph. We started with color photographs and changed it to black & white, then we applied a violet tone to it. Remember that, you can use the settings to change your photo any way that you like. Sometimes it’s nice to have a slight color tone to your black & white photographs, they don’t always just have to be grey, black and white.

Now, we will move on the our next photograph of a little girl sitting on a rock, with what appears to be some farmland in the background.

For this one, we will start out by applying the All in One – White Castle preset to convert the photo to black & white.

Then we’ll scroll down and apply POLISH – Sharp as a Tack, then we will also apply the FILM – B&W Contrast 4.

With those presets applied, I have added a lot of contrast and kind of blown out the highlights just a little bit. To fix that, we will go over to our Basic tab and turn down the Highlights some.

Next we’ll go back over to our “Grayscale Essentials” presets, this time scrolling down through the many Tone and Tint presets. For this photo we are going to go with the Green/Red preset, which isn’t really my favorite, but as mentioned before, we can go into the Split Toning and change it to how we like it.

Green and red are opposite each other, but can sometimes be complimentary colors, however we will go ahead and change the Shadows to more of a blue color and lower the Saturation quite a bit.

For the Highlights, I will change the color to a brighter green and decrease the Saturation quite a bit here as well.

So, let’s now move on to our “Grayscale Essentials” brushes and select the Light – Darken brush. We’ll turn the Exposure down and apply this brush to the girl’s white shirt, because it is extremely white and kind of distracting from the rest of the photograph. While applying this brush, I will also turn the Contrast up a little, then the Shadows, Highlights and Whites down.

When it comes to the tone and tint, you can really use whatever color that you like, it’s up to you. For my photo I went with a greenish blue color and added a little detail. This just changes the picture a little and gives a bit more of an artistic feel to it.

So that’s it for this one. I hope this was helpful and that you can go try it for yourself soon.