Tag: studio

Getting the Perfect Family Portrait

One of the most profitable occupations a photographer can have is shooting portraits. Everyone wants to get beautiful portraits to keep around for memories. Specifically, professional family photography is in high demand. However, working with families can be difficult. Trying to find the right setting and mood for each family takes a bit of time and understanding. Working with younger families and their children can be especially tiring. But, creating a lasting memory doesn’t have to be a bad day at the ‘office’. By following these tips, you can capture the beauty and individuality of each family in a picture that will last generations.

12 Tips for Getting the Perfect Family Portrait

  1. Plan Your Aesthetic in Advance
  2. Pick the Right
  3. Outside or Inside
  4. Get to Know the Kids
  5. Use a Tripod
  6. Lens of Choice
  7. Set Manual Exposure
  8. Keep the Focus Steady
  9. High Shutter Speed
  10. Props are Important
  11. Work from the Top Down
  12. Don’t Get Frustrated

Family portraits are pictures that tend to be cherished for a lifetime. Additionally, the significance of why the family is all together should also be taken into consideration and captured through the images taken.

There are a few things that create a distinguishing difference between a good family portrait session and a great one, This includes:

How to Capture the Perfect Family Portrait

1. Plan Your Aesthetic in Advance

If you’re working with professional models, you’ll likely be providing the props and wardrobe from the company you’re working with. However, if you are not supplying the wardrobe, you need to make sure the subjects of your shot have a dress code. You don’t want to take a group shot where everyone is wearing bold and clashing colors! It would be hard to keep the focus of your final image on the subjects. Know what you’re going for, and make sure everyone involved in the shoot has a thorough understanding of the dress code.
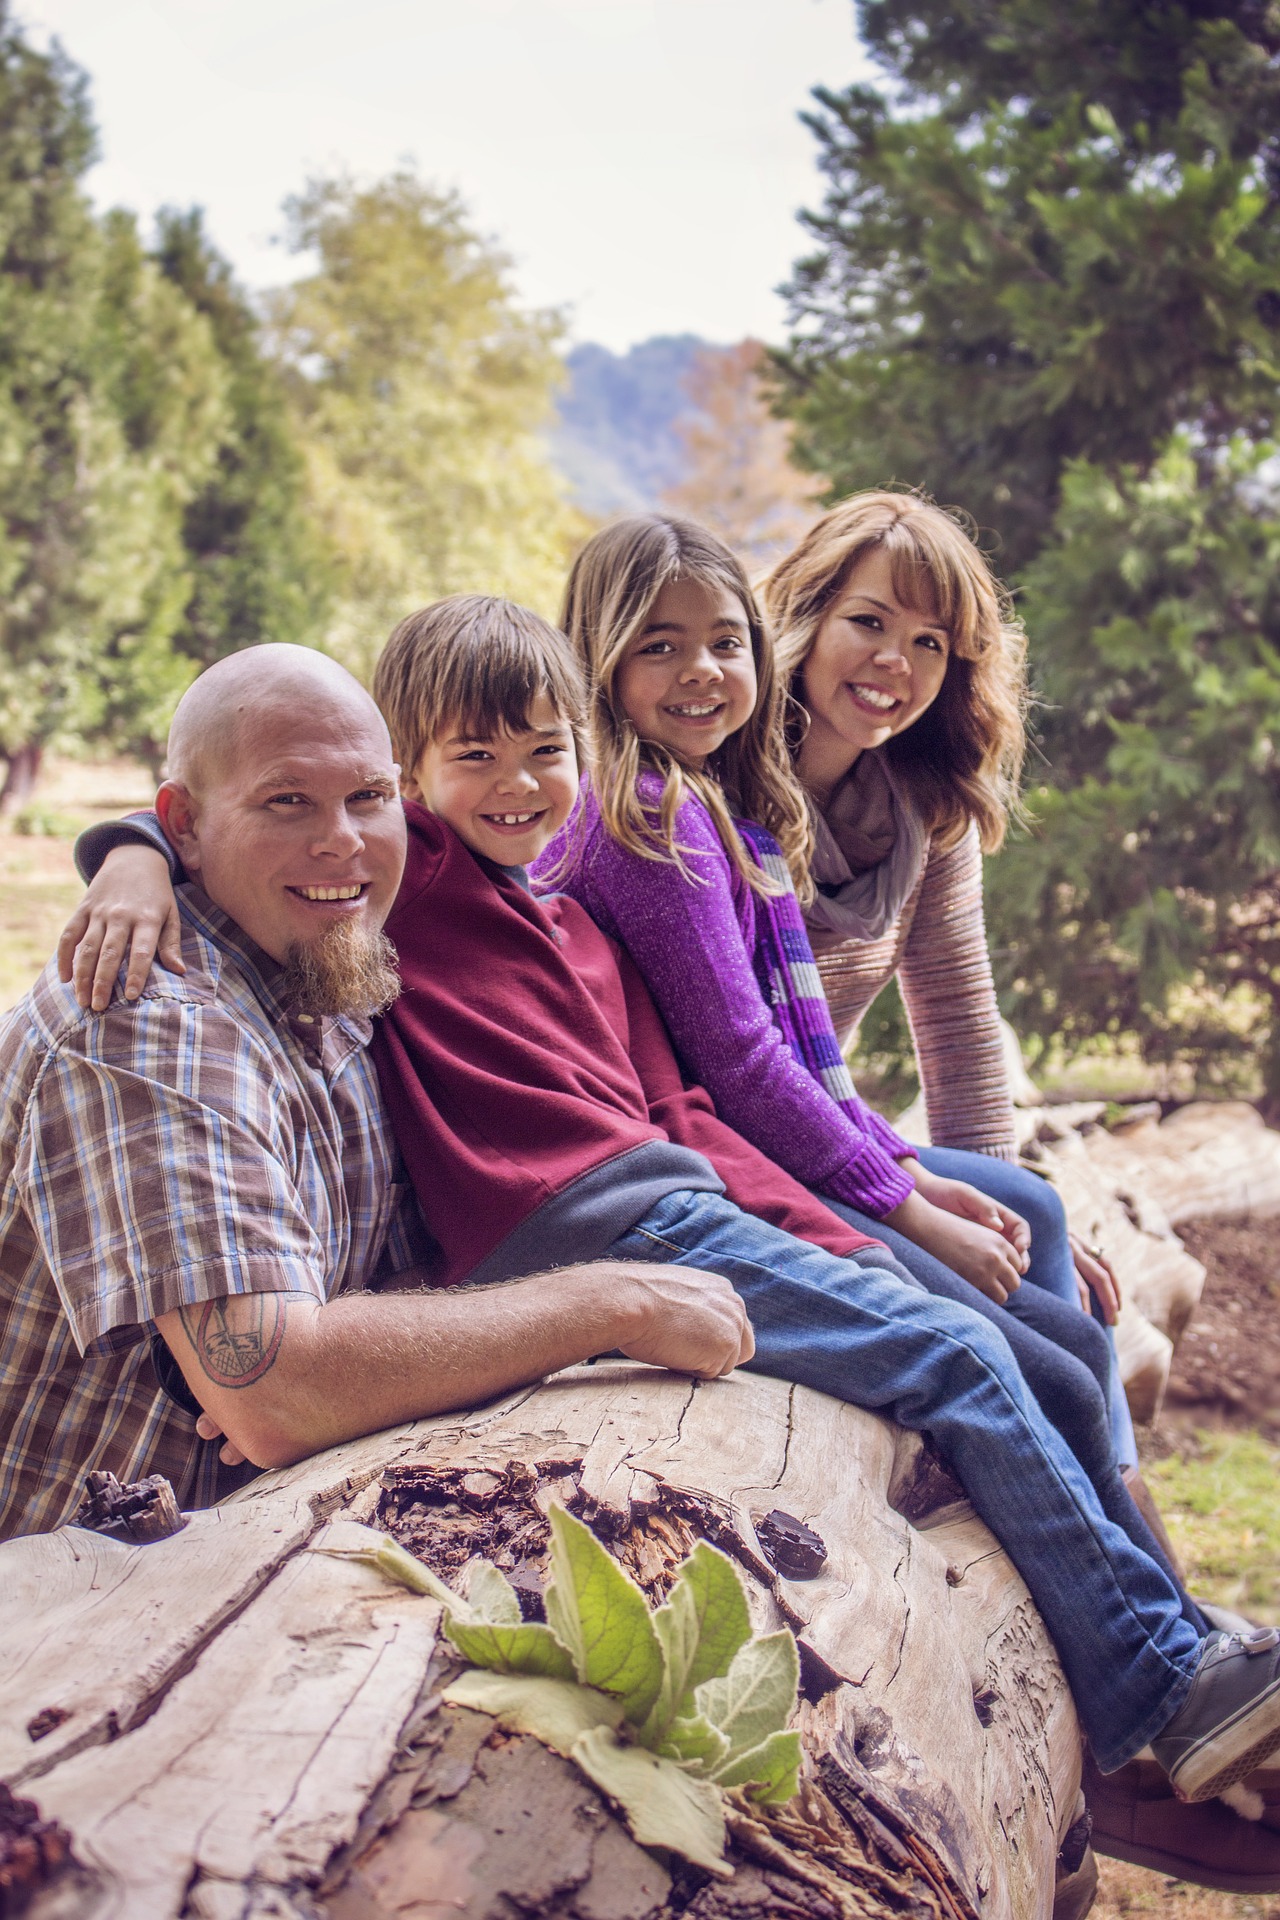
outdoor family portrait

2. Pick the Right Setting

Are you planning a wedding portrait session? Get to the venue early and scout out the right places for good framing and lighting. Are you working in the studio? Set up your lights according to the nature of the group shots. Is it a still photo session, are your subjects going to be moving? What time of day are you creating with your lighting? Know these things going in, that way you can focus on posing and minor corrections the day of the shoot.
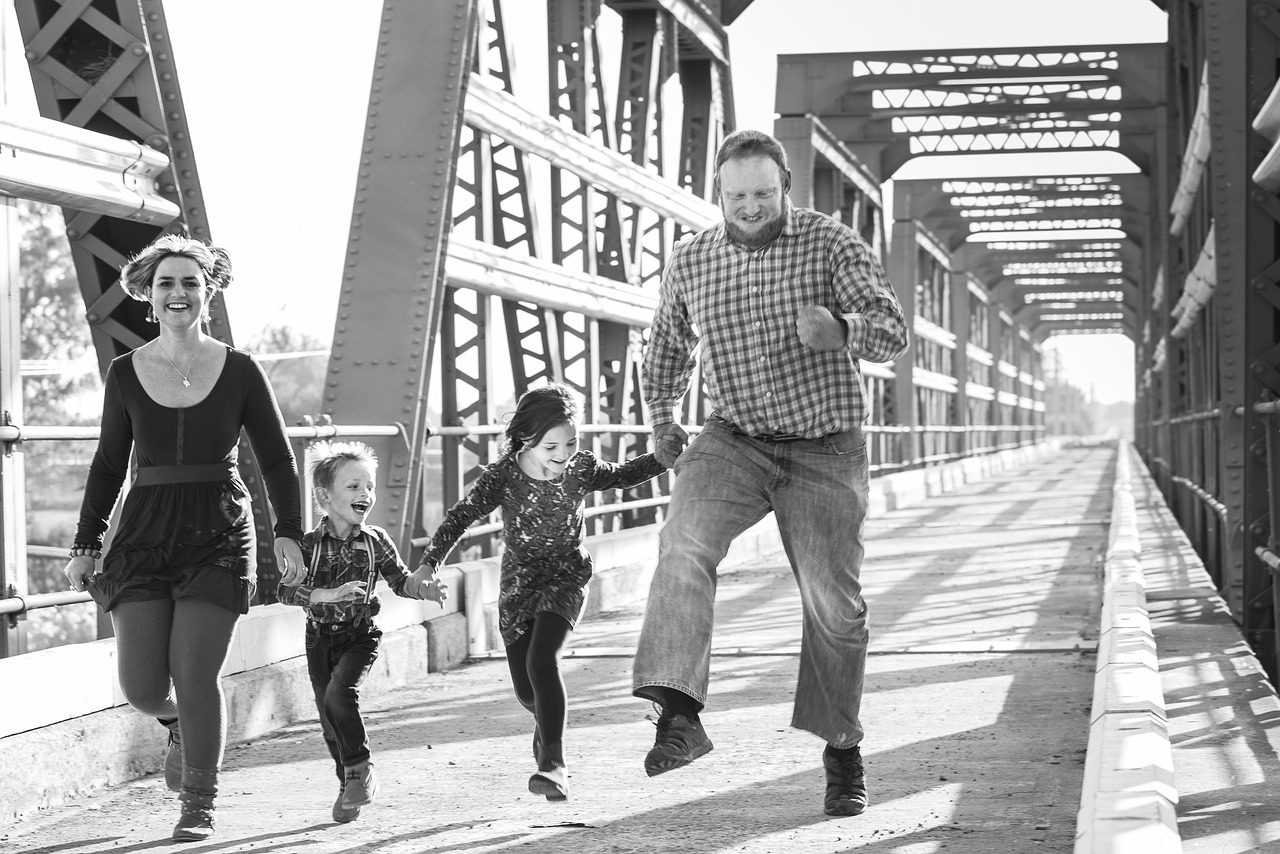
natural family portrait

3. Outside or Inside

If you’re working in a portrait studio, you may not have a choice in this matter. But if you’re freelancing or have a studio that has outdoor space, you need to decide which is better. Sometimes you can let the family decide, but a lot of clients can be indecisive about their photos. This is where you need to come in and show them the way. Decide beforehand if you’re going to shoot indoors or outdoors and have everything set up and ready to go.
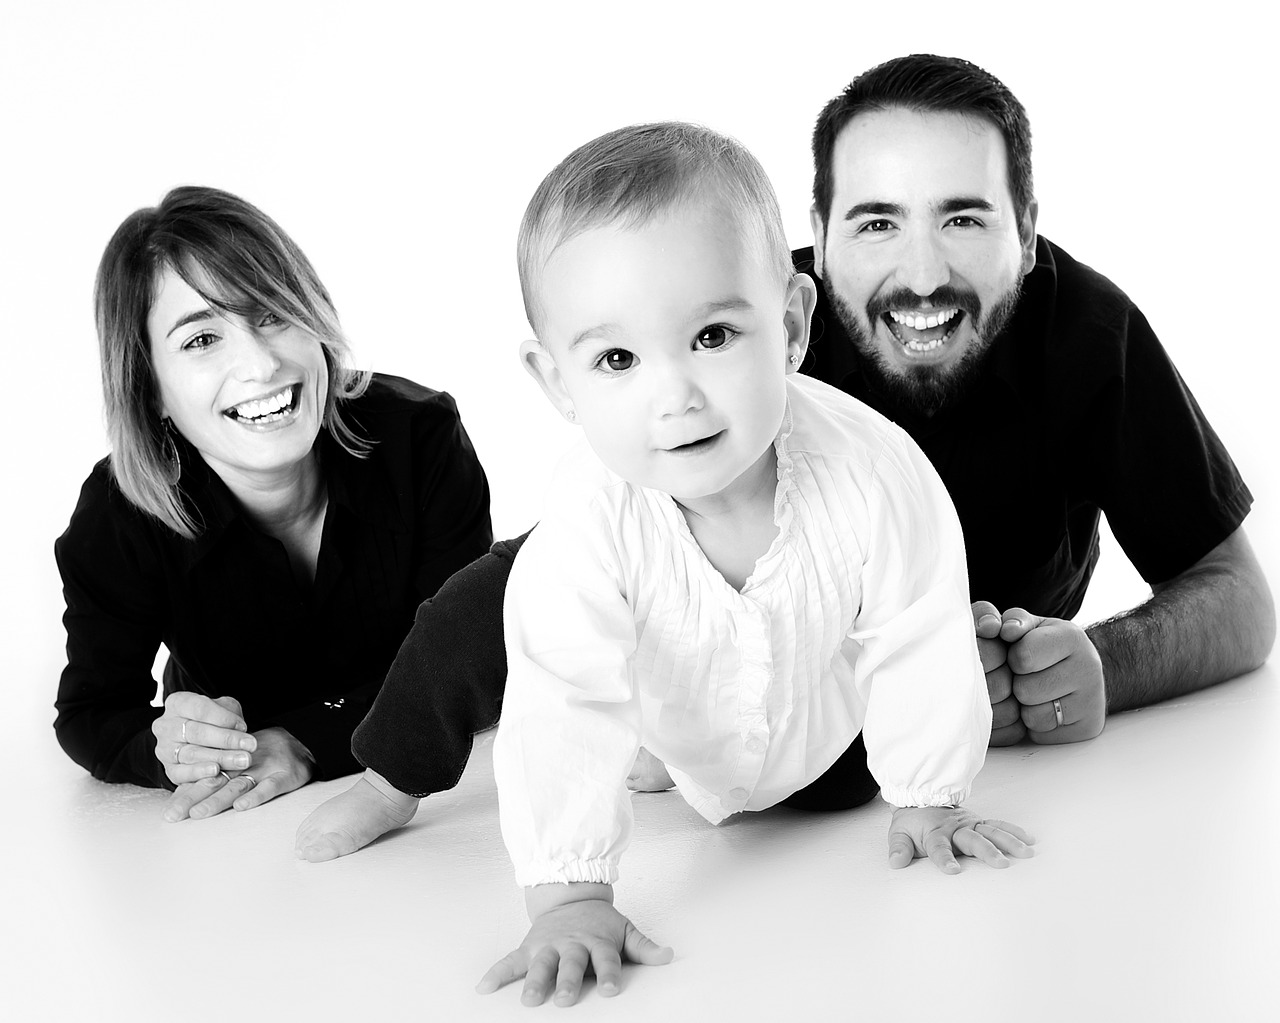
family portrait in-studio

In-studio portraits are actually perfect for younger families with small children. They are also great for families with grandparents. The confining space allows you and the parents to keep track of the youngsters. You won’t have to worry about anyone falling in dangerous terrain. Keeping everyone happy and safe is easy to do in your indoor studio.

Shooting outside can also be a great advantage. Generally, an older family with children who are 10+ years old do great outdoors. The natural sunlight can give your pictures a beautiful glow and enhance the portrait. Taking a family portrait outdoors is especially great for unique shots. Get creative here when posing your models. These are the kinds of photos that families will be able to enjoy long into the future.
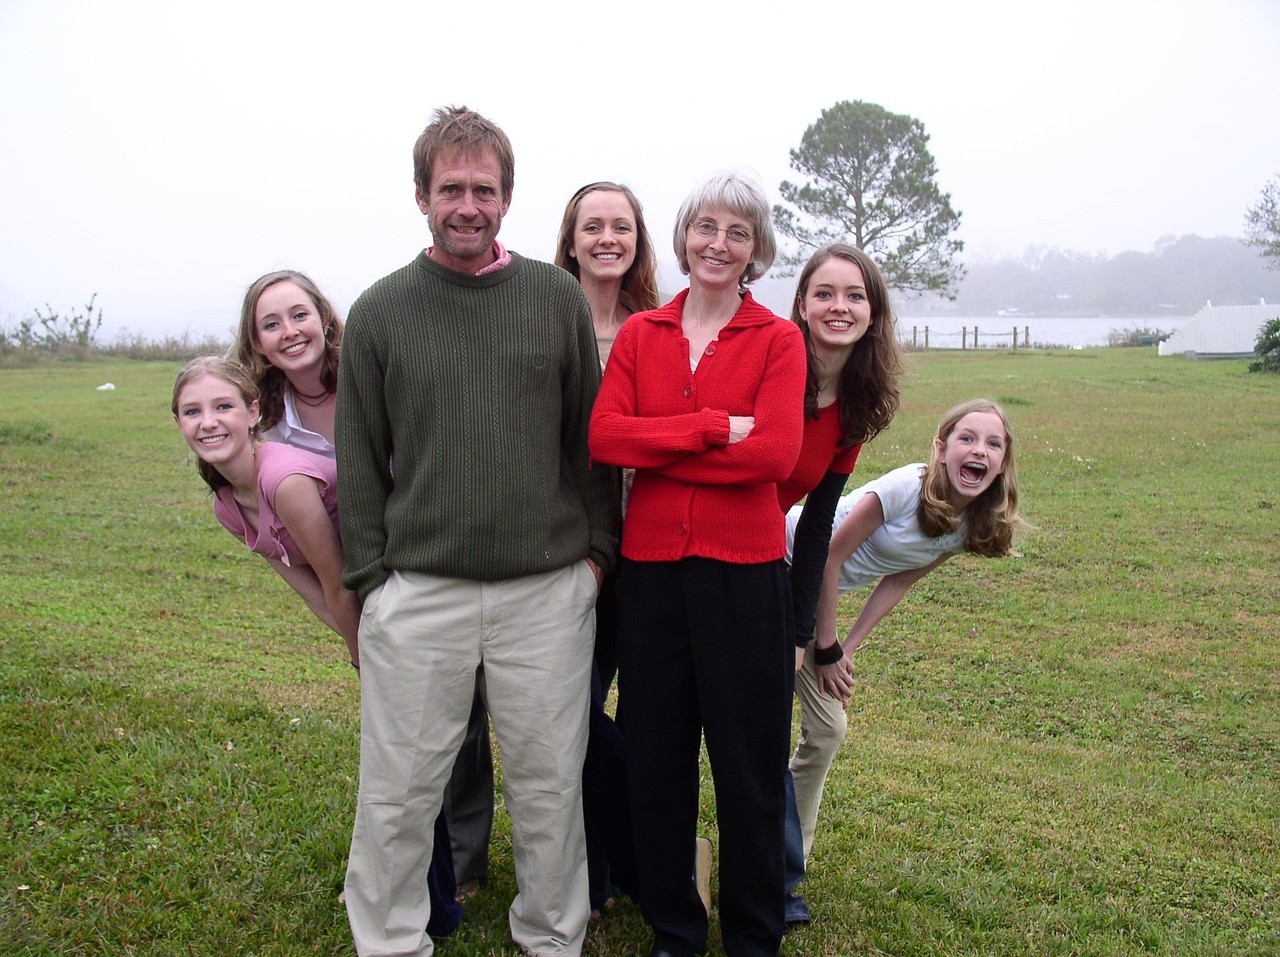
outdoor family portrait

4. Get To Know The Kids

If there are kids involved, you should make it your duty to learn something about each of them before you take your camera out. Once the little ones are comfortable being around you, then everything after that tends to be smooth sailing for the most part. It often helps when I carry prize or prop I can give away to each kid so I can get their attention. If this little prize fits into the theme of the shoot, then that would be a plus as well, but always keep in mind that kids are a bit tricky and not all the same. Do your best to gain some knowledge from the parents, as well as interact with the child, and watch your shoot become a lot easier.
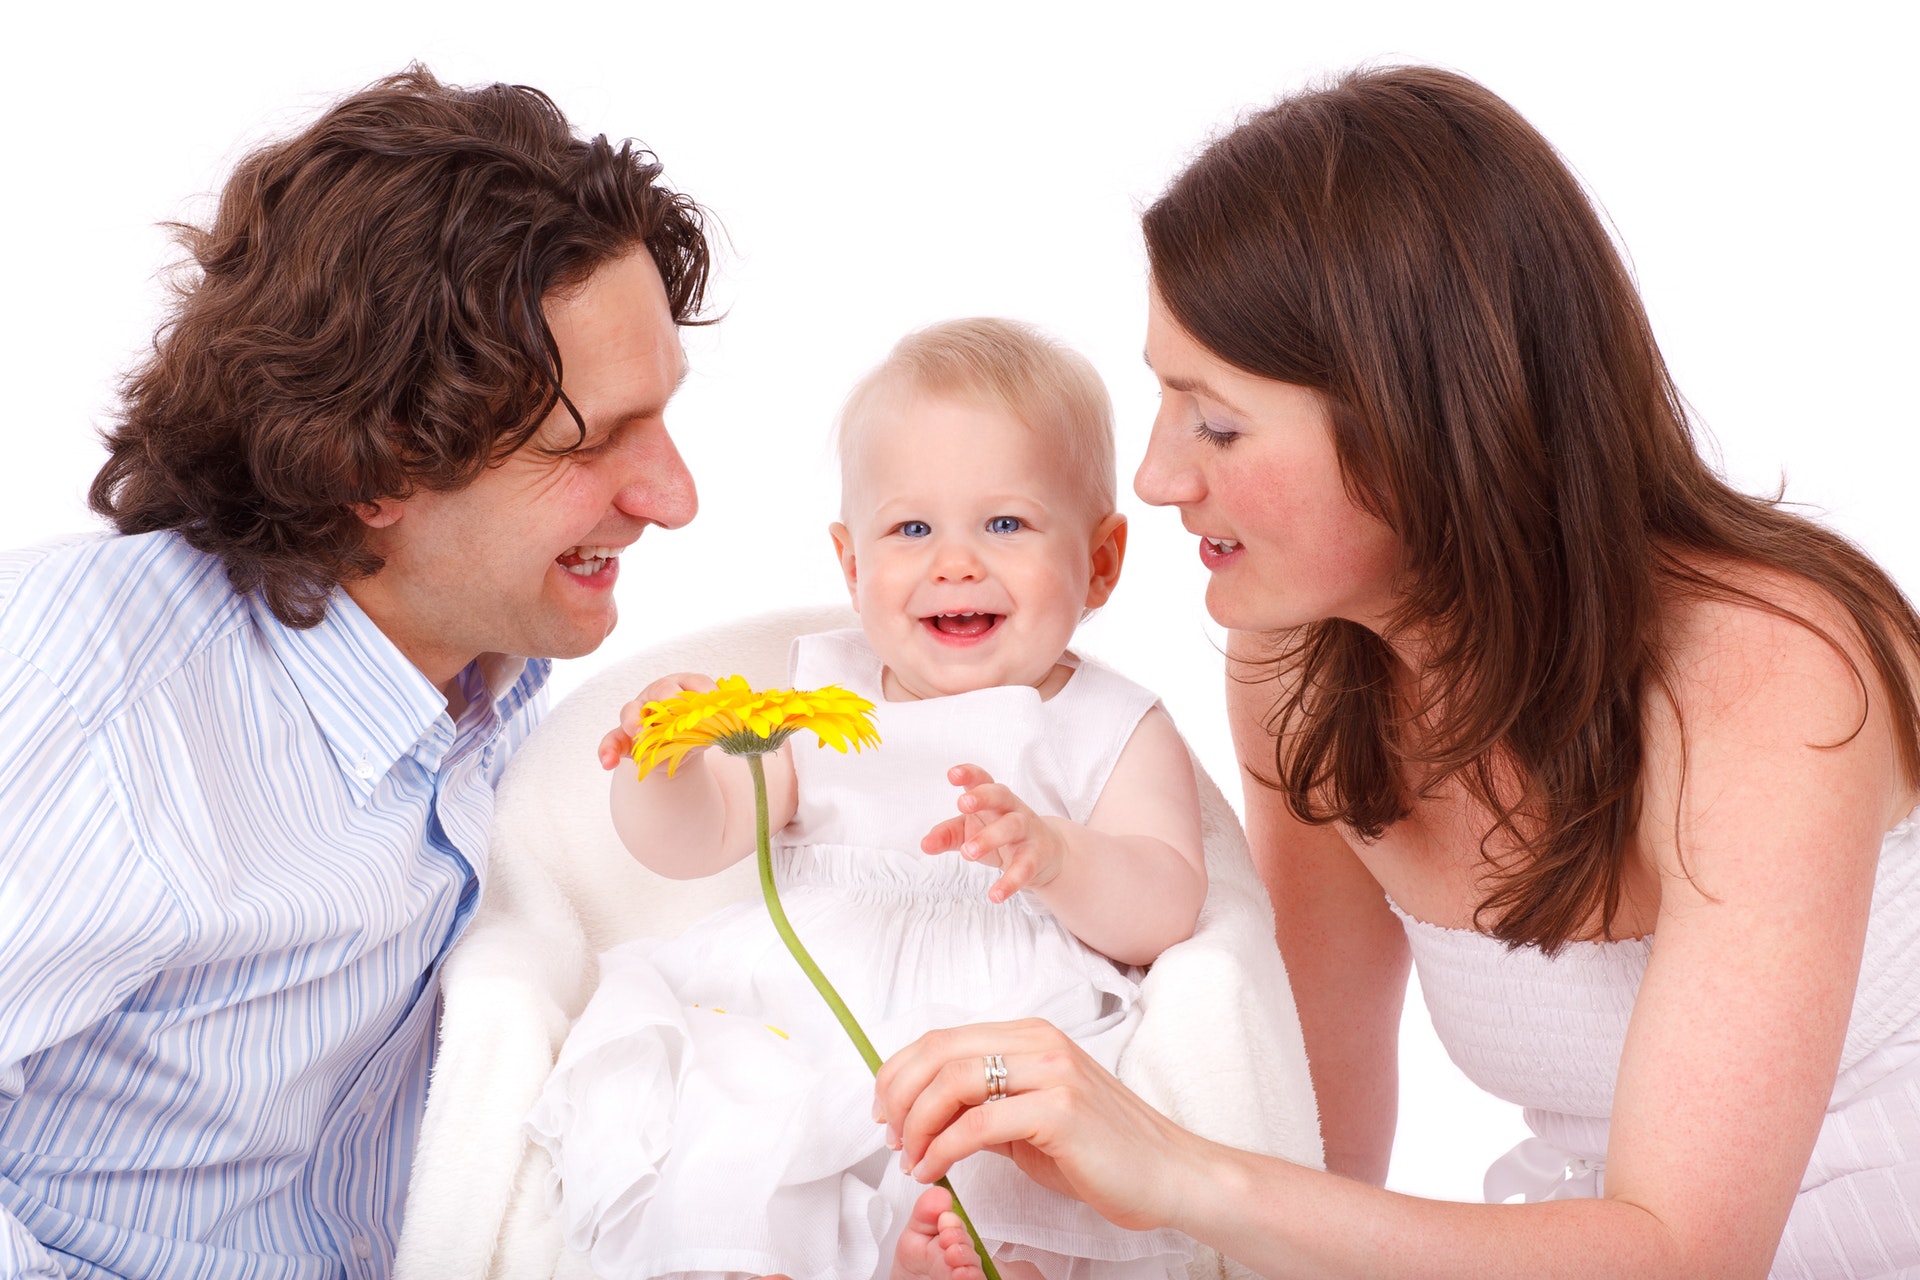
family

5. Use a Tripod

The desire to be on the move with your camera is hard to overcome. This is especially true if you are shooting outside or trying to capture natural moments or movement in the portrait. But there are a lot of advantages to keeping still and using a tripod to shoot your portraits. First of all, it allows for more open communication between you and your client. When you always have your camera to your eye it’s hard to be aware of anything else. By making eye contact with your clients and talking to them, you’ll find out more things about the family that you can incorporate into your shoot. By not being constantly on the move, you also ensure that you have the time to check your settings before each shot. There’s nothing like getting the perfectly framed picture on the wrong settings to ruin a whole photo shoot.

6. Lens of Choice

I personally don’t recommend traveling with too many lenses for various reasons. The first of all these reasons are you don’t want to be swapping out your lenses too often on a family portrait session. Swapping out lenses is great and all but always keep in mind that the time spent doing that at various intervals can often lead to you missing amazing shots as well as take a huge chunk out of your time to get creative. A second reason that can also be considered is, are you going use all of the lenses you decided to pack your camera bag with? For the most part as photographers, we sometimes end up carrying a lot of excess loads we don’t really need. Pick the perfect lens for your shoot beforehand and save time as well as having a load on your back.

7. Use Manual Exposure

This is something that is true for all kinds of portrait shots, not just the family portrait. When shooting a consistent subject in a consistent location, it only makes sense to keep your settings consistent. After you get your settings settled, you don’t want them to change. Having different exposures for each photo will make processing and editing a whole lot more difficult. When you set your camera on the shutter or aperture modes it can change the settings without your knowledge. Be sure to shoot on manual to keep all of the settings consistent.
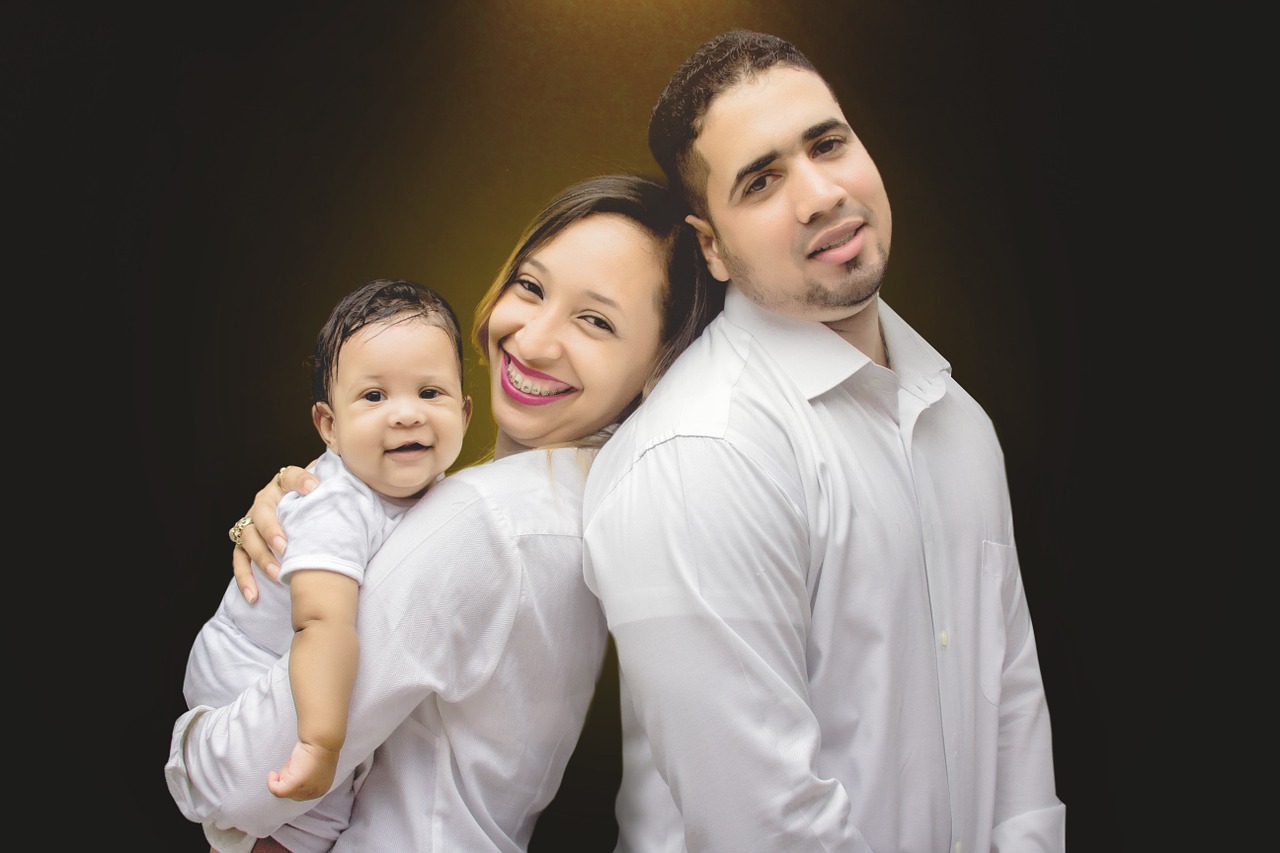
manual settings portrait

8. Keep the Focus Steady

Another consistency issue can be the focus. If you don’t lock in the focus or have it on the manual setting, it can shift during the shoot. For example, if your focus is set to the shutter setting and someone moves, the focus could fix on the background instead of the family’s faces. Sometimes a picture that was perfectly framed and posed can come out looking fuzzy and blurred. By keeping your focus setting locked or on manual mode you can make sure that your family is always the focal point of the picture.
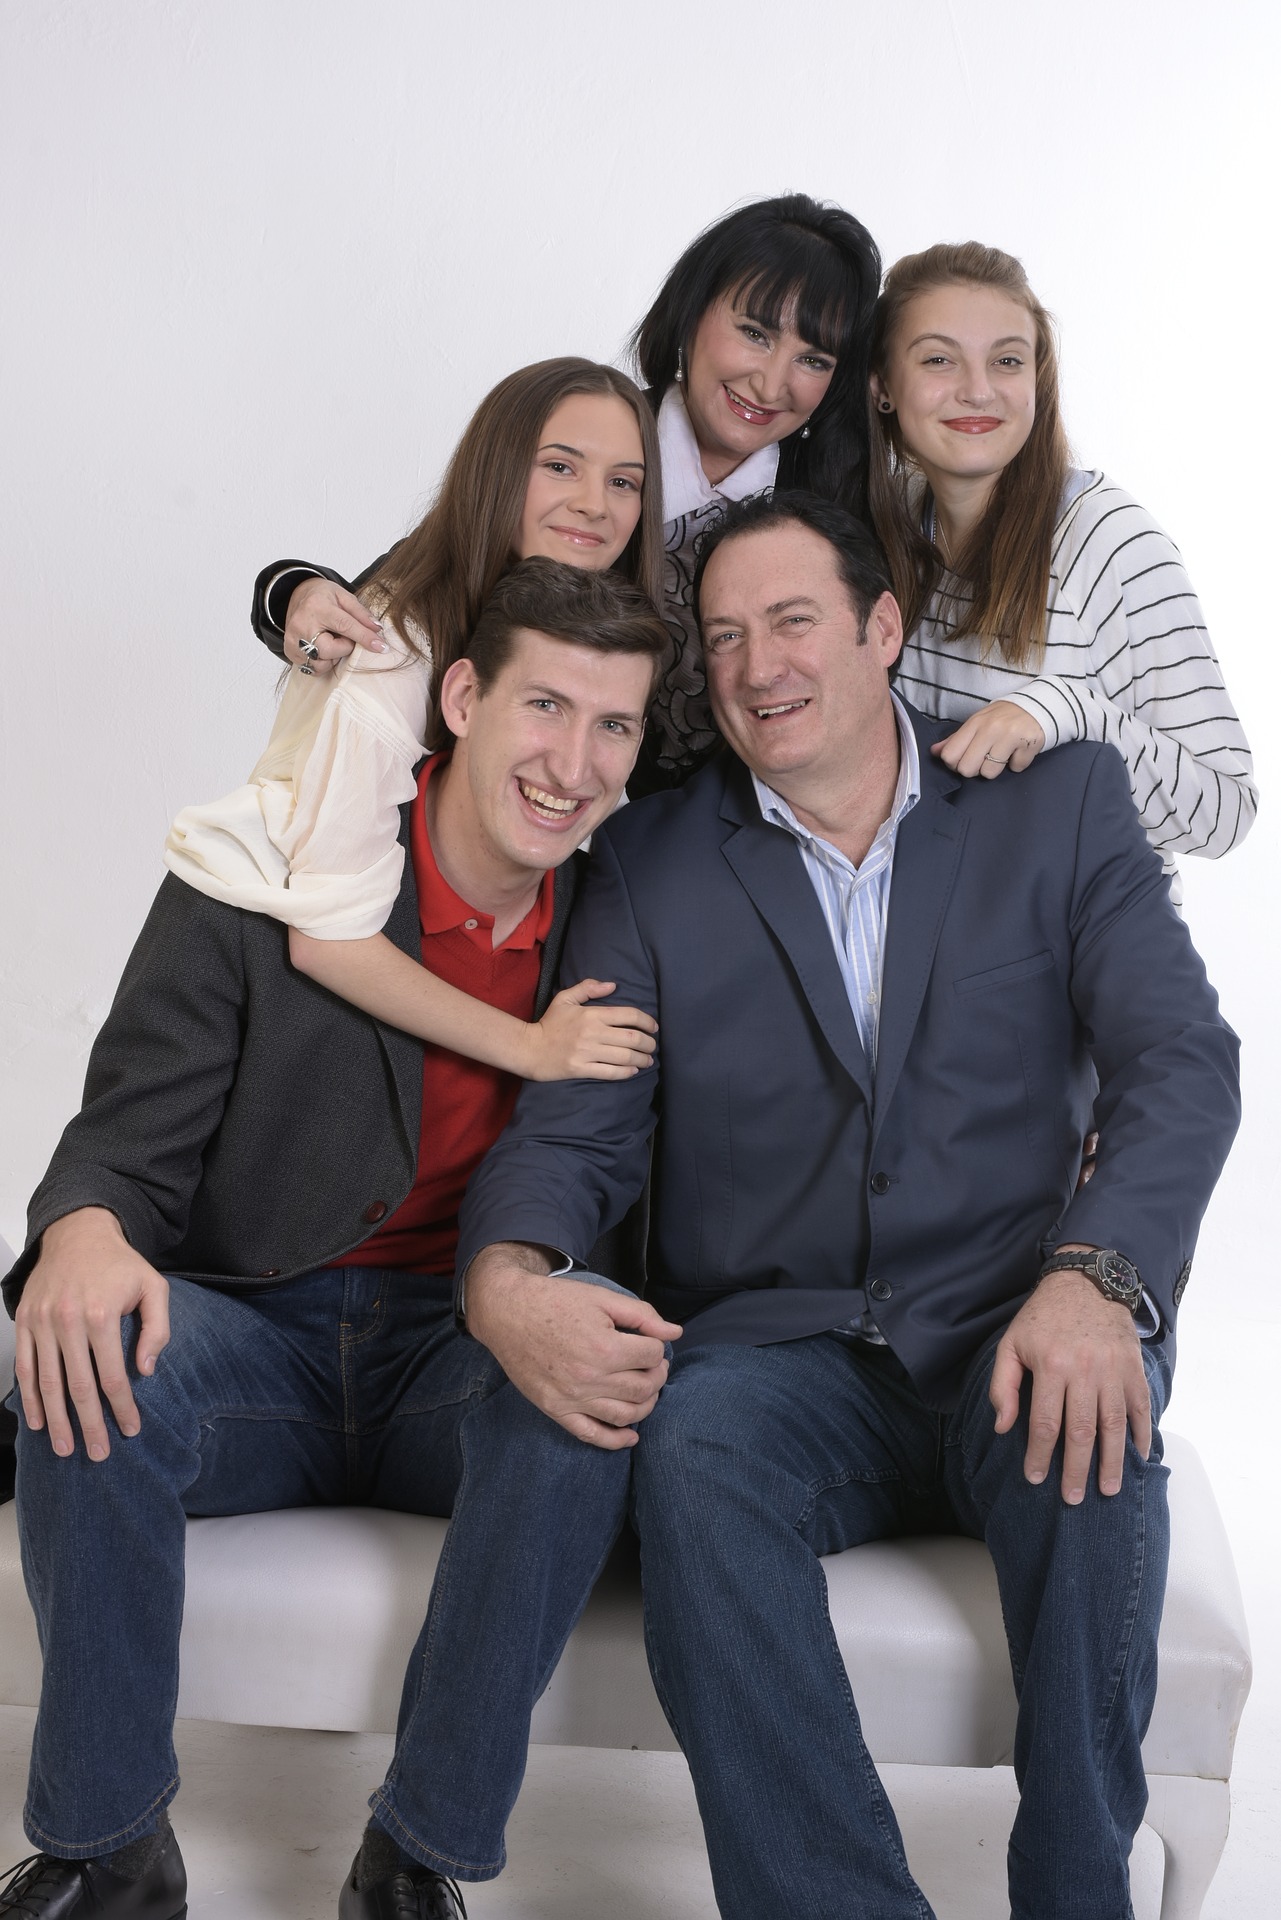
fun family portrait

9. High Shutter Speed

You will more than likely be doing continuous shooting and as a result of that, it might be best to have your shutter count at least 1/250 if not more. If there is room to go higher on your shutter speed they do so to avoid any possible blurred shots. Kids are always moving pretty fast and as I mentioned earlier, you need to shoot continuously to catch them in their pure actions. If you find that the kids are moving faster than expected, for exampling running or jumping then 1/800 might end up being a more suitable shutter speed.

10. Props are Important

Try to travel with props fitting for the theme or holiday if possible. A lot of photographers overlook the importance of having good props and the impact it has on your photos. For example, a few empty wrapped gifts or even some Christmas tree decorations go a far way toward creating the perfect family holiday card photo.

11. Work from the Top Down

Once you have everyone at the shoot, dressed and ready to go, begin by organizing where everyone should be situated within the shot. You want to work with the heights and body shapes of your subjects to create an image that is visually appealing overall. Make sure everyone understands the parameters they can move within while staying in the frame of the shot. You can even mark the outlying boundary of this with tape so that it doesn’t appear in your photographs, but it does let people know not to step outside of those lines!
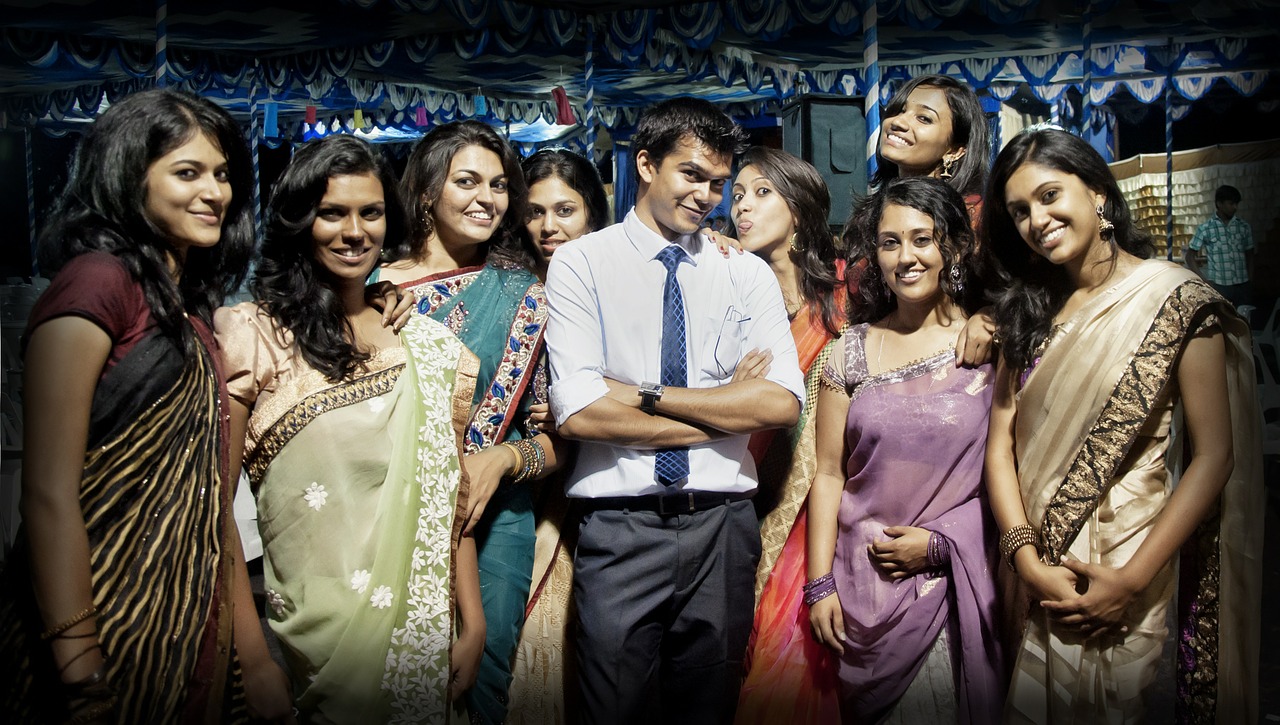
big group shot

From there, work with each person on their individual poses. Remember to adhere to the final tone. If you want joyful and energetic, people should either be moving or creating the illusion of movement with their poses. If you want a standard professional portrait, everyone should be looking towards the camera. If you are selling a product, the focus should be on the product. For a family portrait, you have to make sure everyone is equally represented.

First, you set the basic structure by determining where people are going to stand within the picture. Then you work with each individual on how to pose. The individual poses should work together so that the subjects are not fighting for attention within the image. If you’re shooting for fashion, your group portraits should tell a story and focus on the product. If you’re shooting for family portraiture, your final shot should capture a moment in time while focusing on the subjects.

12. Don’t Get Frustrated

Obviously, it can take a lot to organize a group shot. If you become frustrated, your subjects will mirror this in their facial expressions. If you have to walk away for a minute, do it. If you’re having trouble, just tell everyone to have fun and experiment with their posing. While they do this, snapshots off quickly.
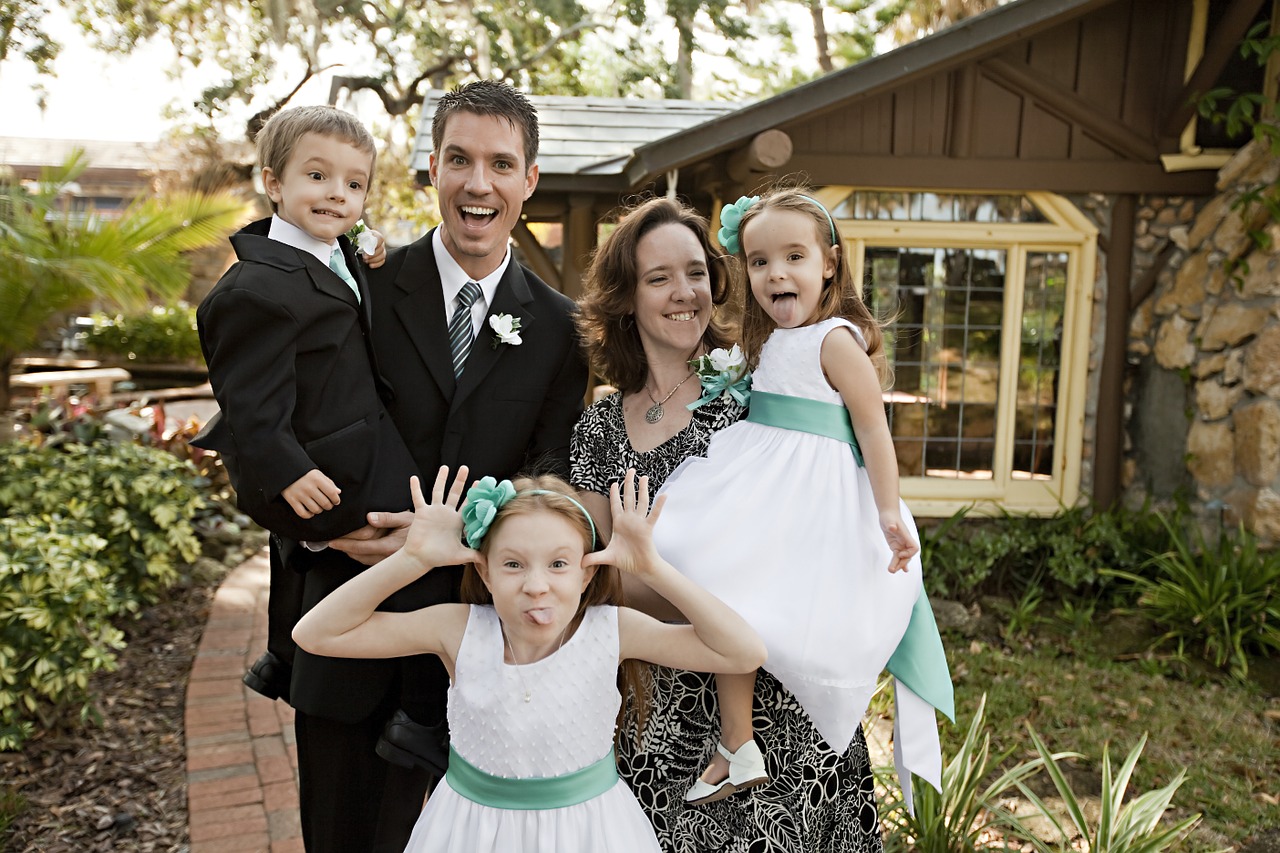
family wedding photo

Family Portrait Pose Tips & Tricks

Sometimes when a family, especially one with young children, goes into a studio, there’s an air of nervousness and stiffness, and that creates some unnatural and forced pictures. No one wants to look back at their pictures and see strained smiles and stiff poses. Getting natural family photos is all about having fun and capturing emotion.

Top 10 Family Portrait Pose Tips

  1. Bend It
  2. Capture the Reaction
  3. Get the Lighting Right
  4. Break Out the Props
  5. Use Flattering Poses
  6. Sit Close
  7. Tell Someone a Secret
  8. Hold Hands
  9. Have Fun
  10. Embrace

Poses themselves often intimidate unprofessional models. People want to look like themselves in their family albums. Individuals of all kinds want to own heartwarming photographs that their children will treasure in the future, not awkward snapshots of their parents looking out of place. Similarly, couples want photographs that they can proudly share with their friends on social media.

Fortunately, poses don’t have to be awkward. They can make your subjects feel comfortable in your presence. Certain poses can actually strengthen the client-photographer bond.

1. Bend It

A good way to remove the stiffness of any pose is to get the family to move and bend. Sitting or standing perfectly straight is not natural. Make good use of a person’s joints and have them bend at the elbows, knees, and hips. People can hook fingers in their belts or pockets to loosen up their arms. Have the family turn slightly with one knee bent and hips pushed out toward the camera. If they’re sitting down, let them lean forward a bit, or turn to their side and extend one leg while the other stays bent.
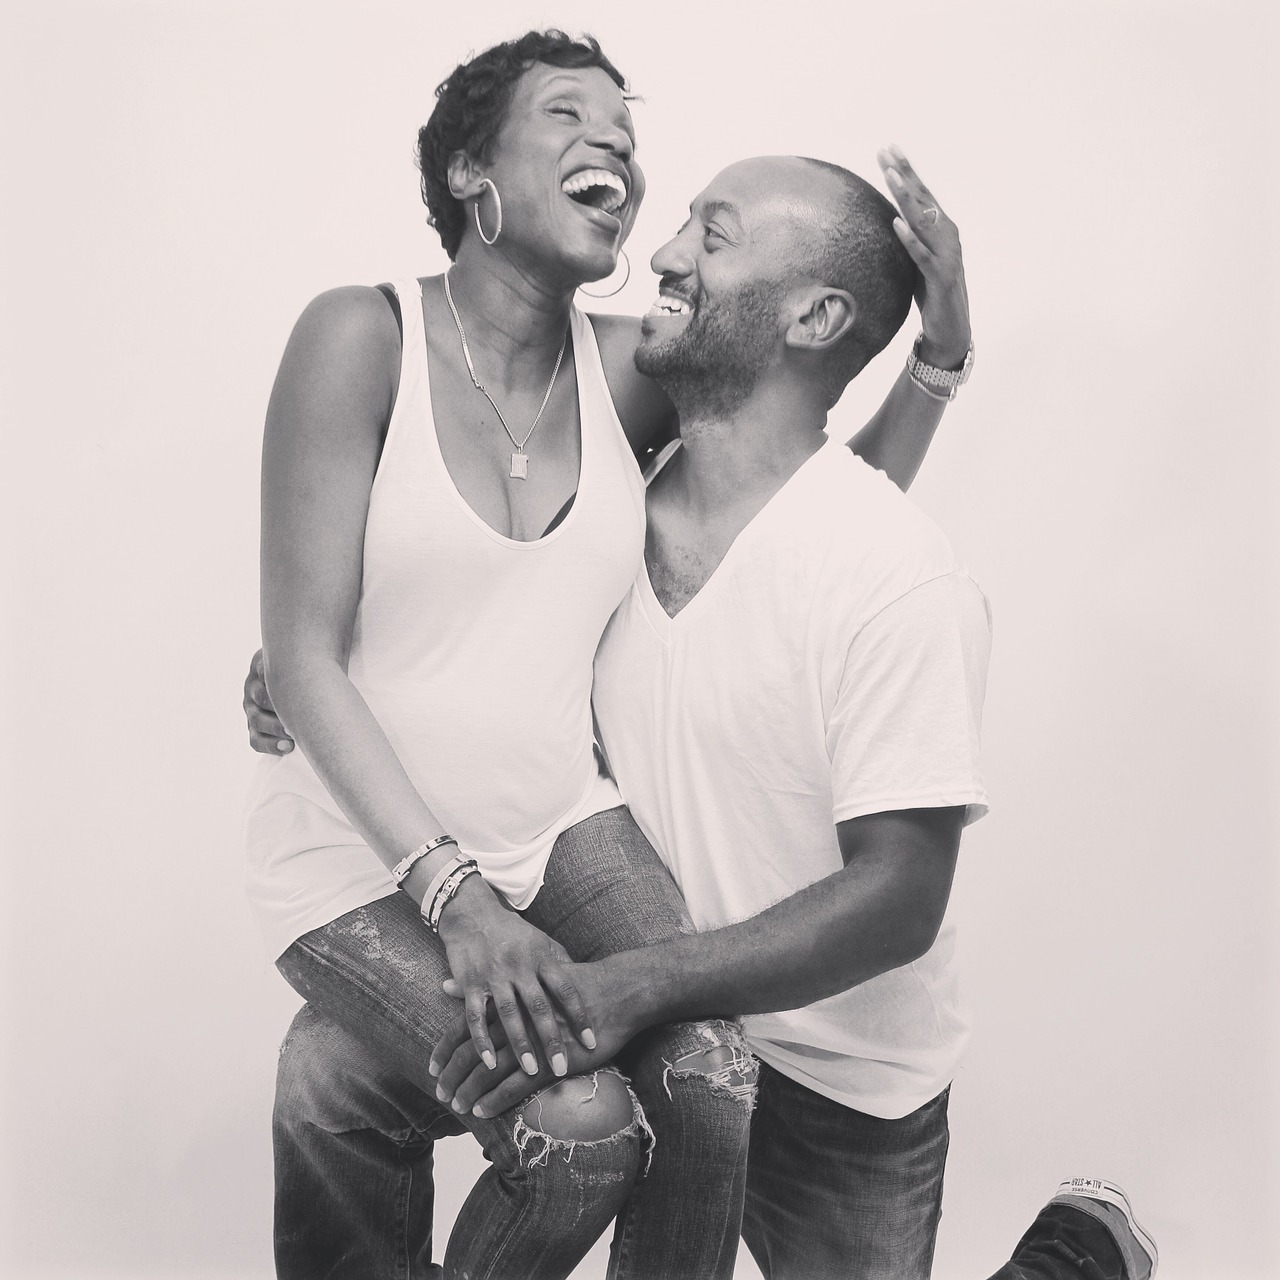
natural-family-photos-1

2. Capture the Reaction

Most of the time when you’re shooting a family photo you won’t be capturing the action, but rather the reaction. If you want natural family photos, tell the family to do something, and wait for the moment after it happens. Have one person whisper a secret in the other’s ear and capture the two of them laughing afterward. Get the kids to surprise attack the parents and capture the family dissolving into laughter after. Whatever you ask the family to do, you want to shoot the aftermath, when the family is having fun and their smiles are real. Capture a true happy family moment.
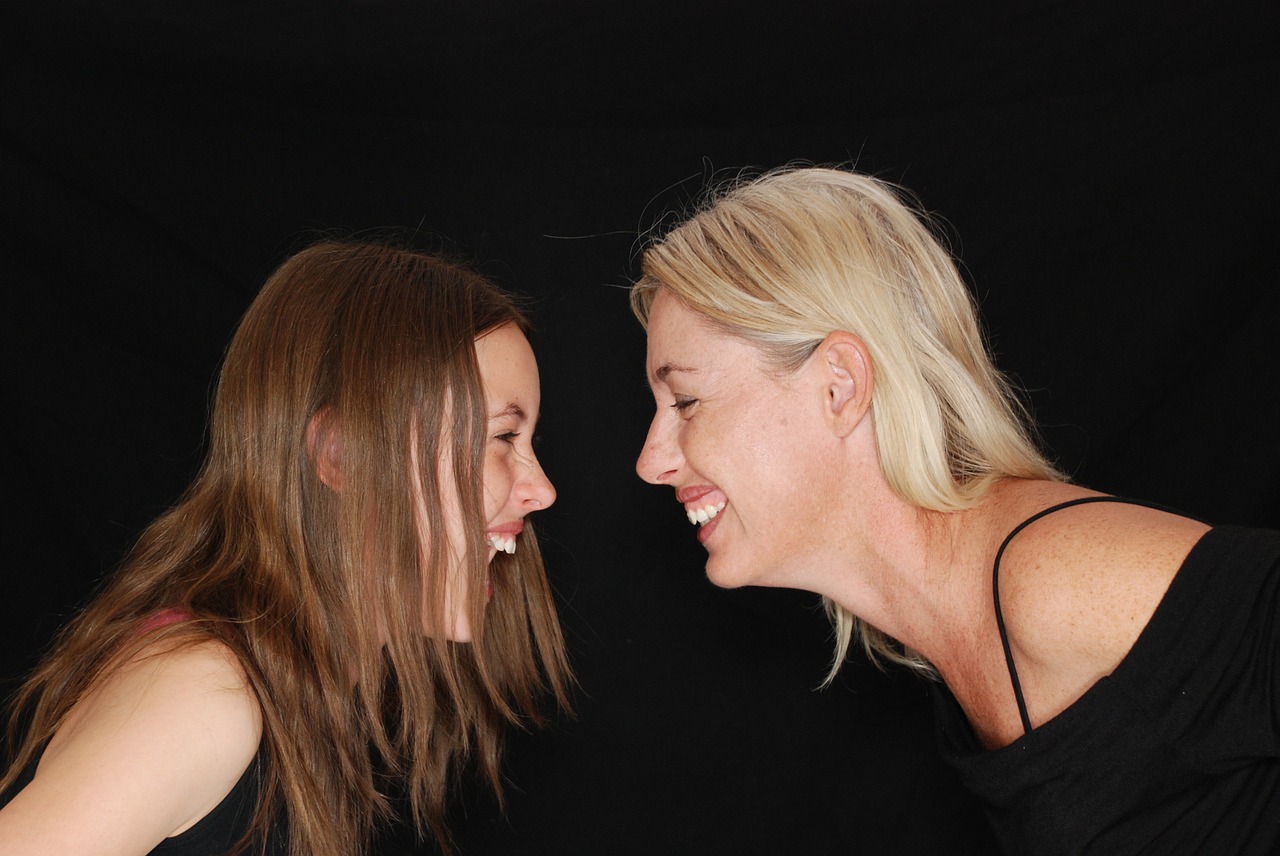
natural-family-photos-2

3. Get the Lighting Right

Unlike shooting an intense fashion shot or a light and airy nature shoot, you want to get the family in a soft and fun light. Use a light colored background, white is best, and use either a large window with natural light or just one light. Make sure that the light isn’t pointed directly at them or coming from directly overhead. It’s best to have a very bright studio and to use a flash to help add contrast. Set the flash up at a 45-degree angle to avoid odd shadows.

4. Break out the Props

Especially when it comes to photographing toddlers or young children, you want to give the family something to help focus their attention on. Not every photo has to be the family in a straight line staring into the camera. It’s okay for them to let their attention wander to an object, and sometimes even creates the family’s favorite picture. Ask the parents to bring one of the children’s favorite toys or books. Encourage the family to simply play with the child and capture their reactions. If you have your own props, let the children choose what they want to play with, and shoot their play time. Let the kids be kids and have fun.
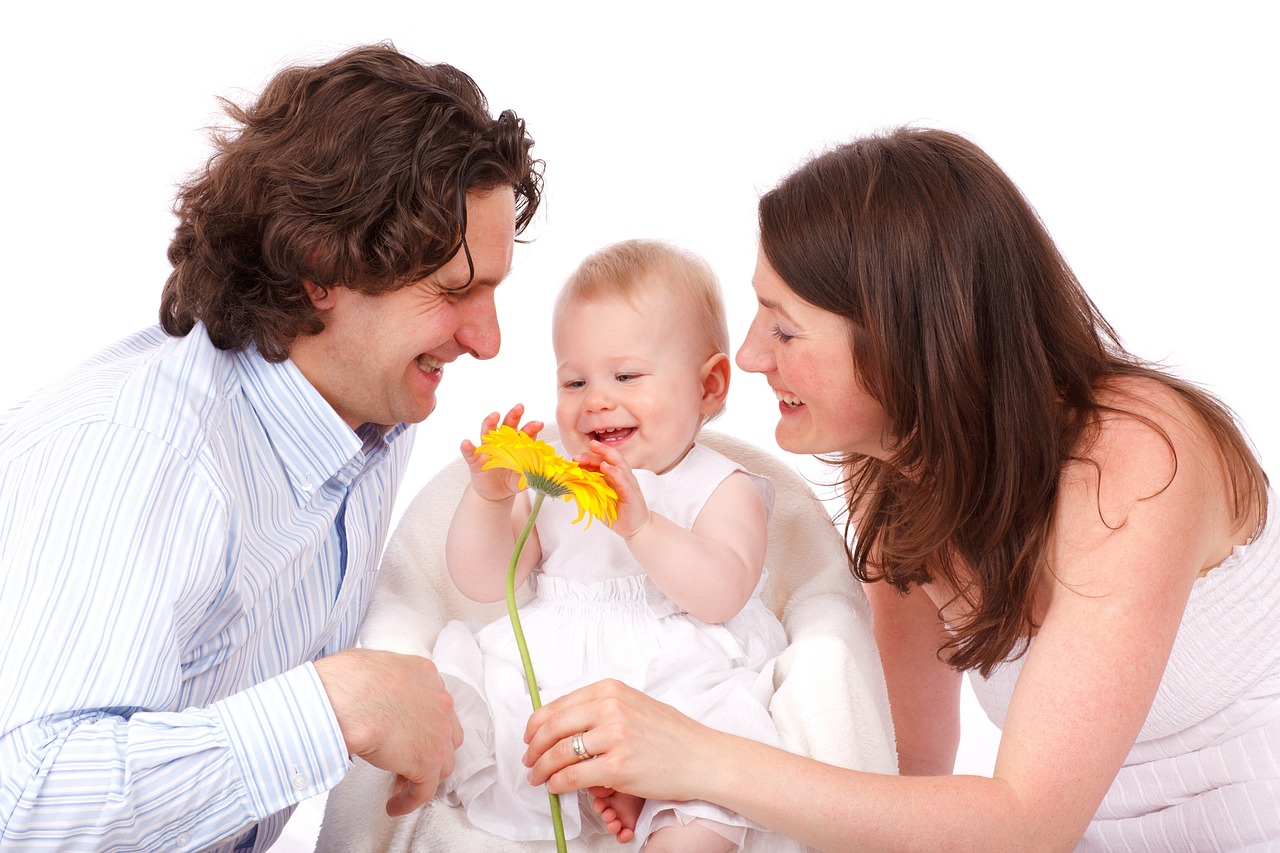
natural-family-photos-3

5. Use Flattering Poses

People tend to be self-conscious about their body. Maybe someone is concerned about their weight, or someone else has a large birthmark they can’t cover up with makeup. It’s easy to pose people in ways that flatter them and make them comfortable with the end result. Study your family as they are in the studio and notice blemishes or anything they are uncomfortable with. Then change your poses to match.

If a family member is worried about their weight, have them lie down on the ground facing the camera. Having the kids climb on top of them creates a natural pose and helps hide their body. Also, in other poses, try to angle the camera so it looks slightly down on them, this will hide any double chins and help slim the body.
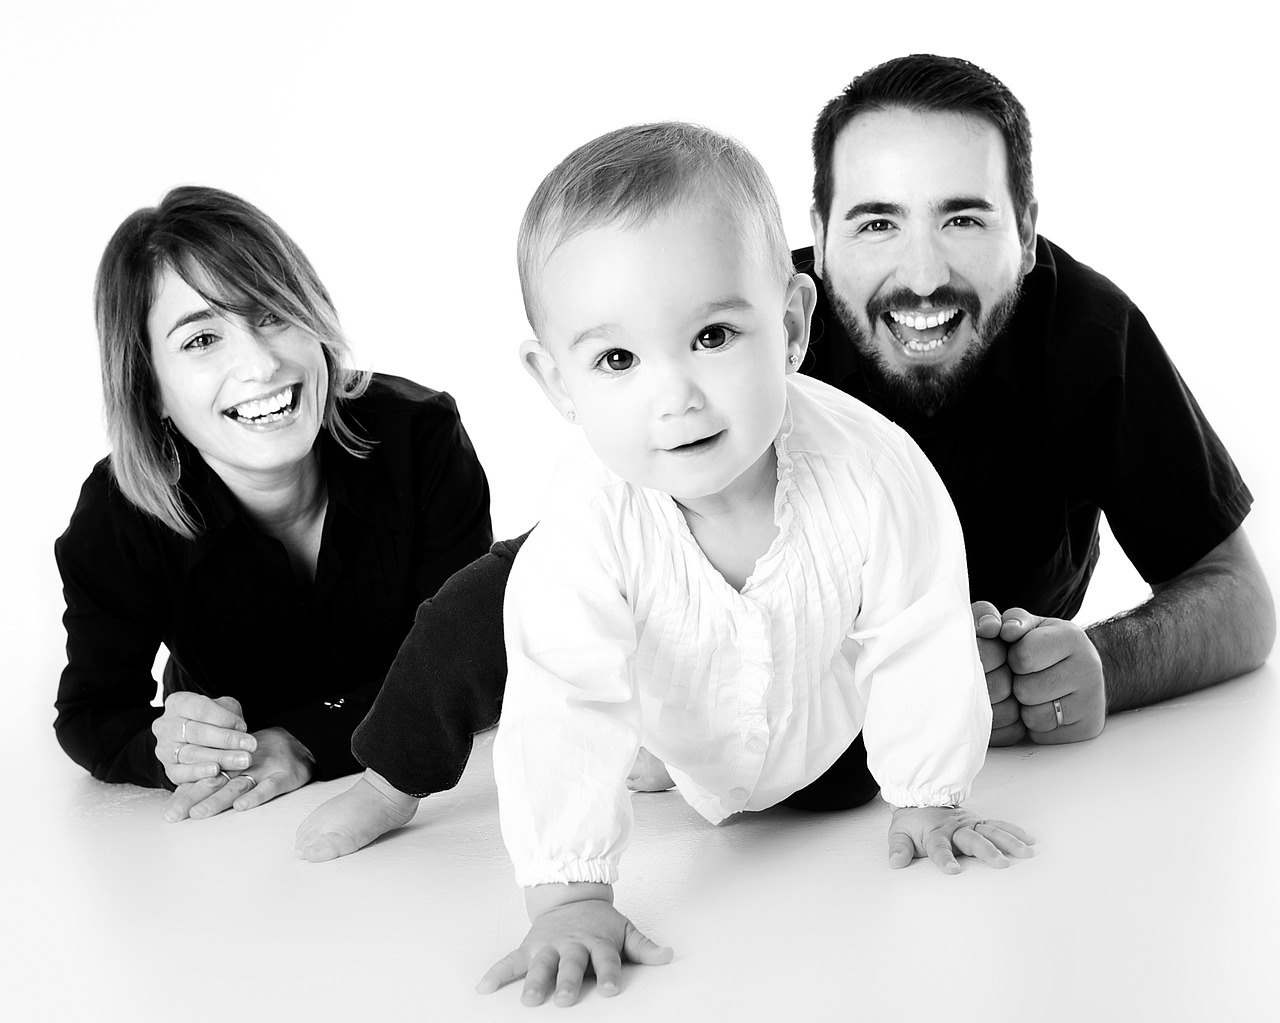
natural-family-photos-4

For any blemishes, have that person’s face or turn a specific direction. If they’ve got a pimple on their chin, for example, simply have them turn their head slightly so that that side of the face is always facing away from the camera.

If you’re working with a couple where there is a huge height difference, have the couple sit down. In standing poses, get the taller of the two to stand with their legs apart a bit to help bring them down.

When shooting a single parent and young children, encourage the parent to lift the children into their arms. You can also get great natural family pictures by having the parent kneel on the ground and hug the children from behind.

6. Sit Close

At the beginning of your photoshoot, take simple photographs. This way, you’ll have a good variety of photos to share with your clients, and you’ll get to know what kind of posing style they’re most comfortable with. You’ll also have a chance to make them feel at home in your presence without immediately diving into complicated instructions.

If your clients sit close to one another, you’ll have lots of opportunities to take spontaneous photographs that accurately represent their relationship. Encourage them to sit somewhere picturesque and interact with one another. You’ll get lots of great photos of smiles, hugs, and silliness.

As the photo above suggests, you can take photos from any angle. If some of your clients feel shy at first, take photos of their backs. Even faceless portraits can be joyful!
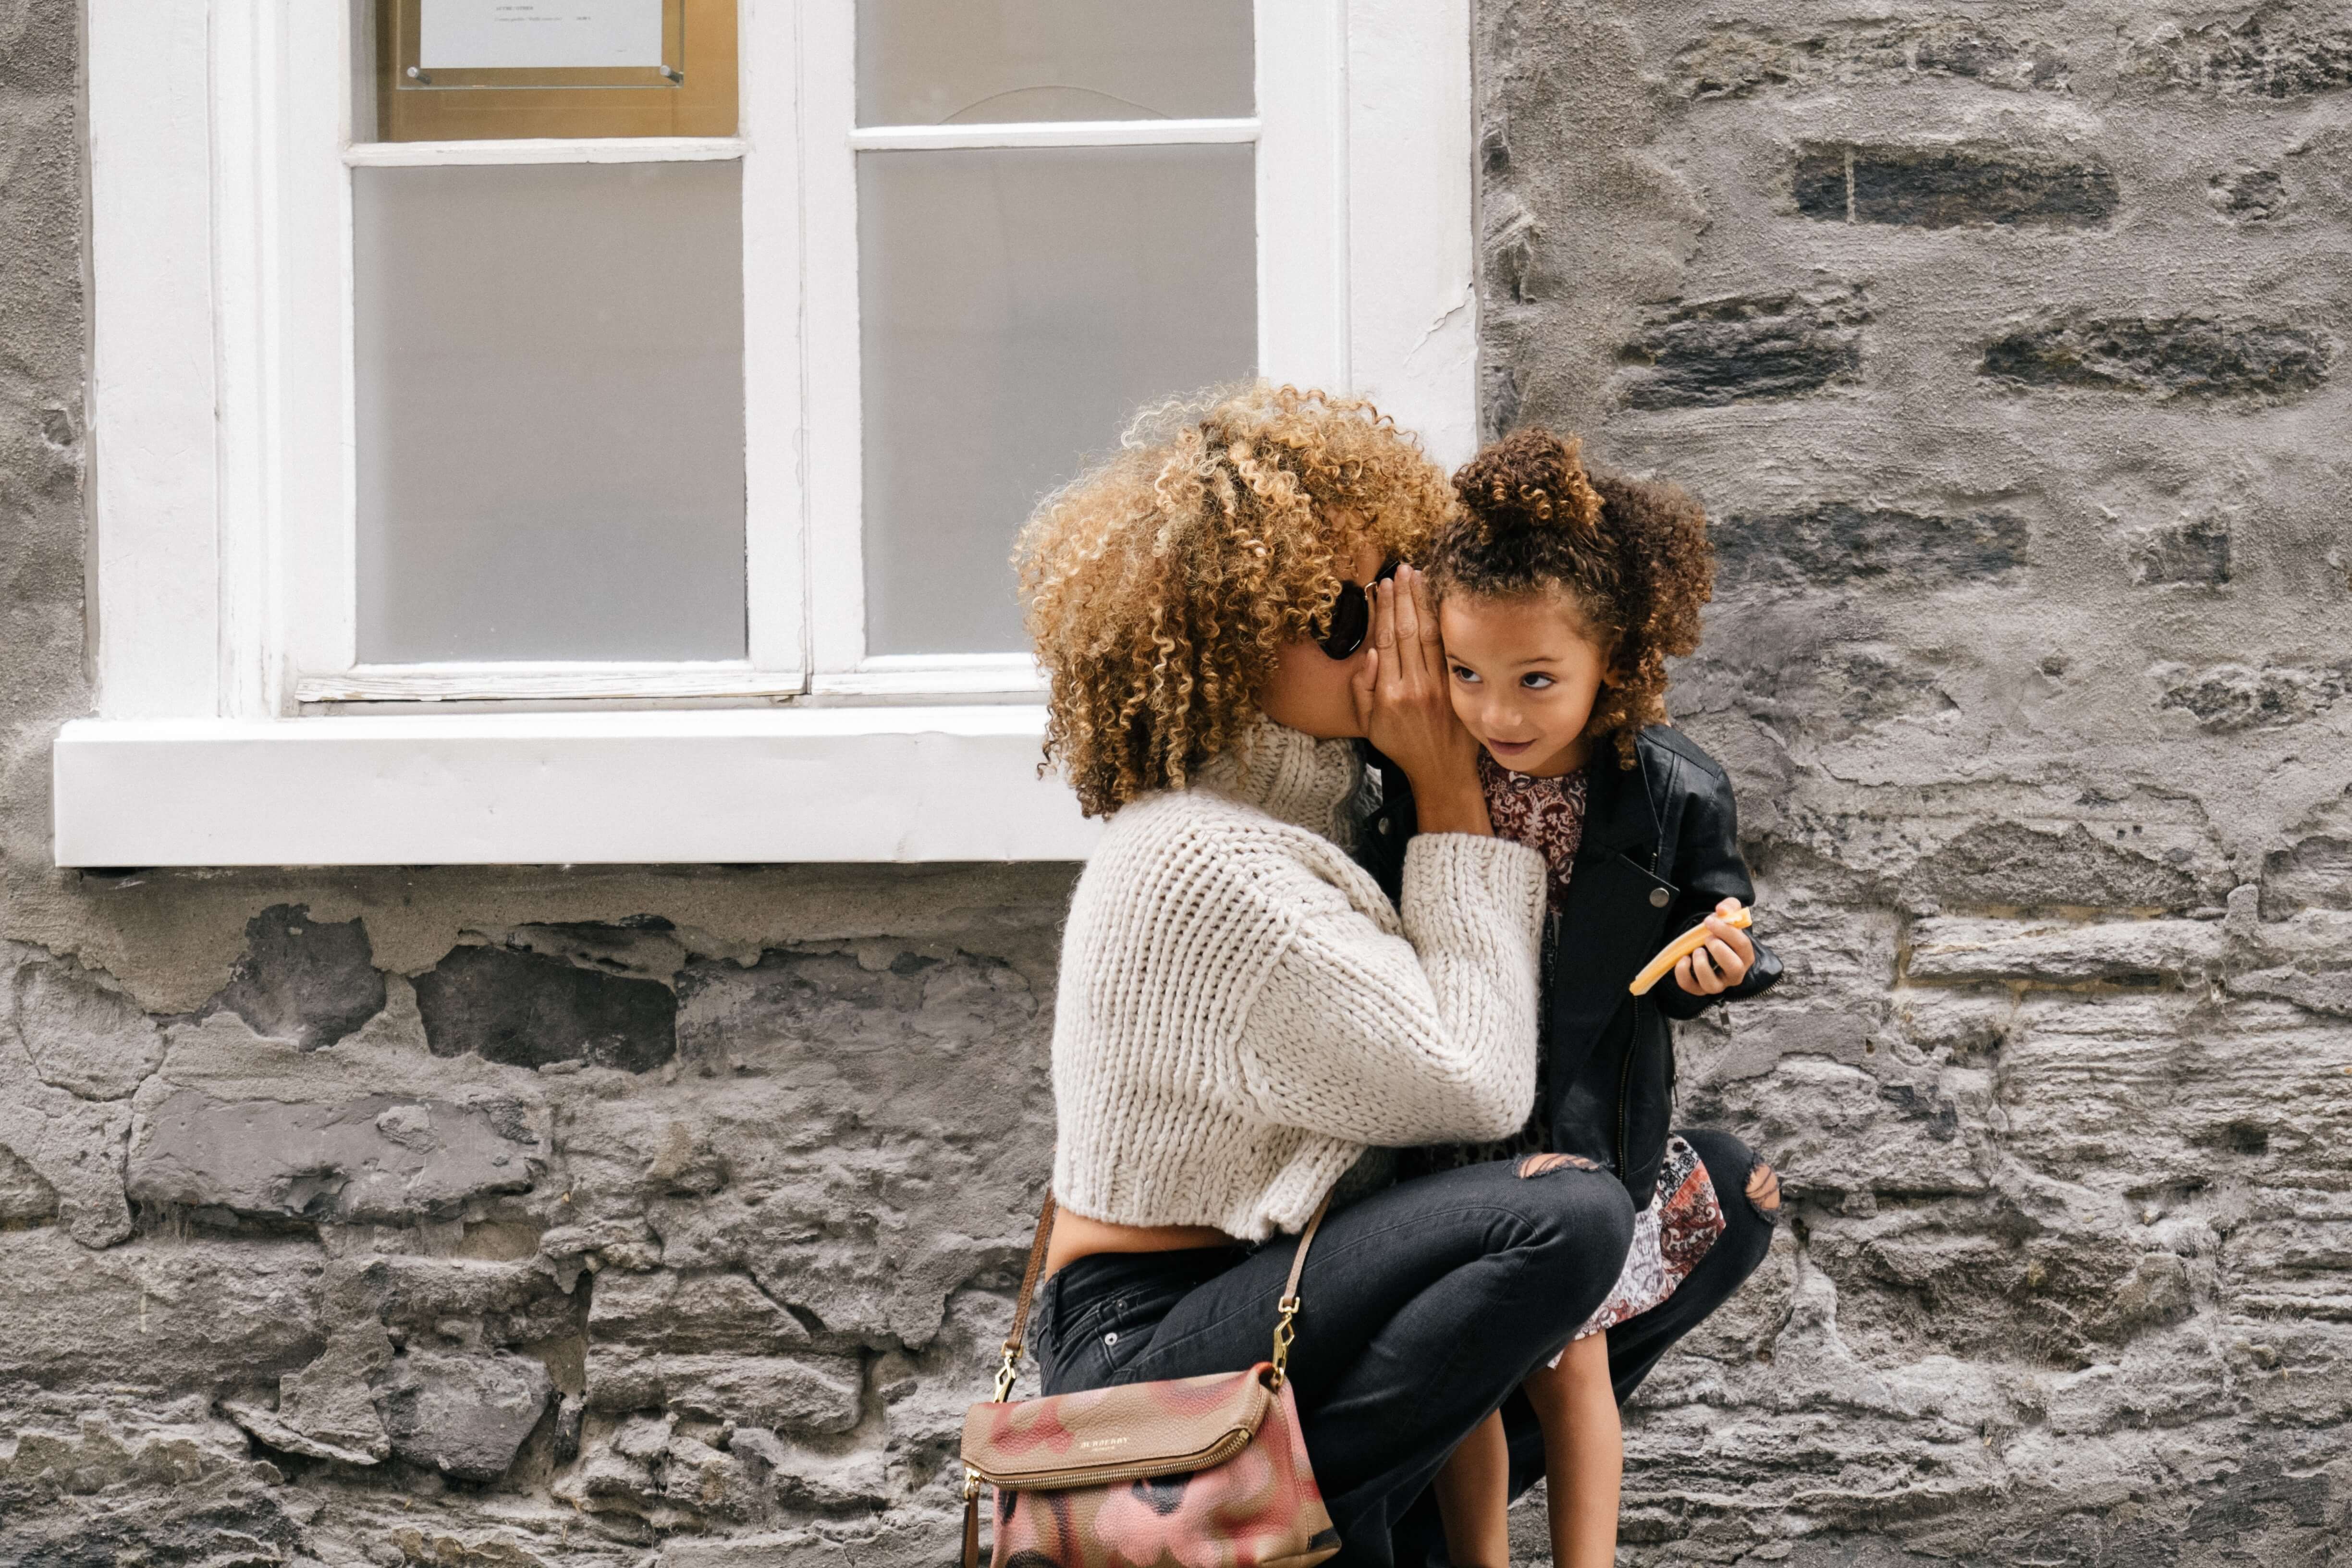
mom & daughter telling secrets

7. Tell Someone a Secret

An effective way to highlight a family’s bond is to photograph them trusting each other with secrets.

Ask your clients to tell their family member a secret, joke, or story. They don’t have to be real, but they should be entertaining. This will inevitably lead to funny reactions, great poses, and photogenic expressions.
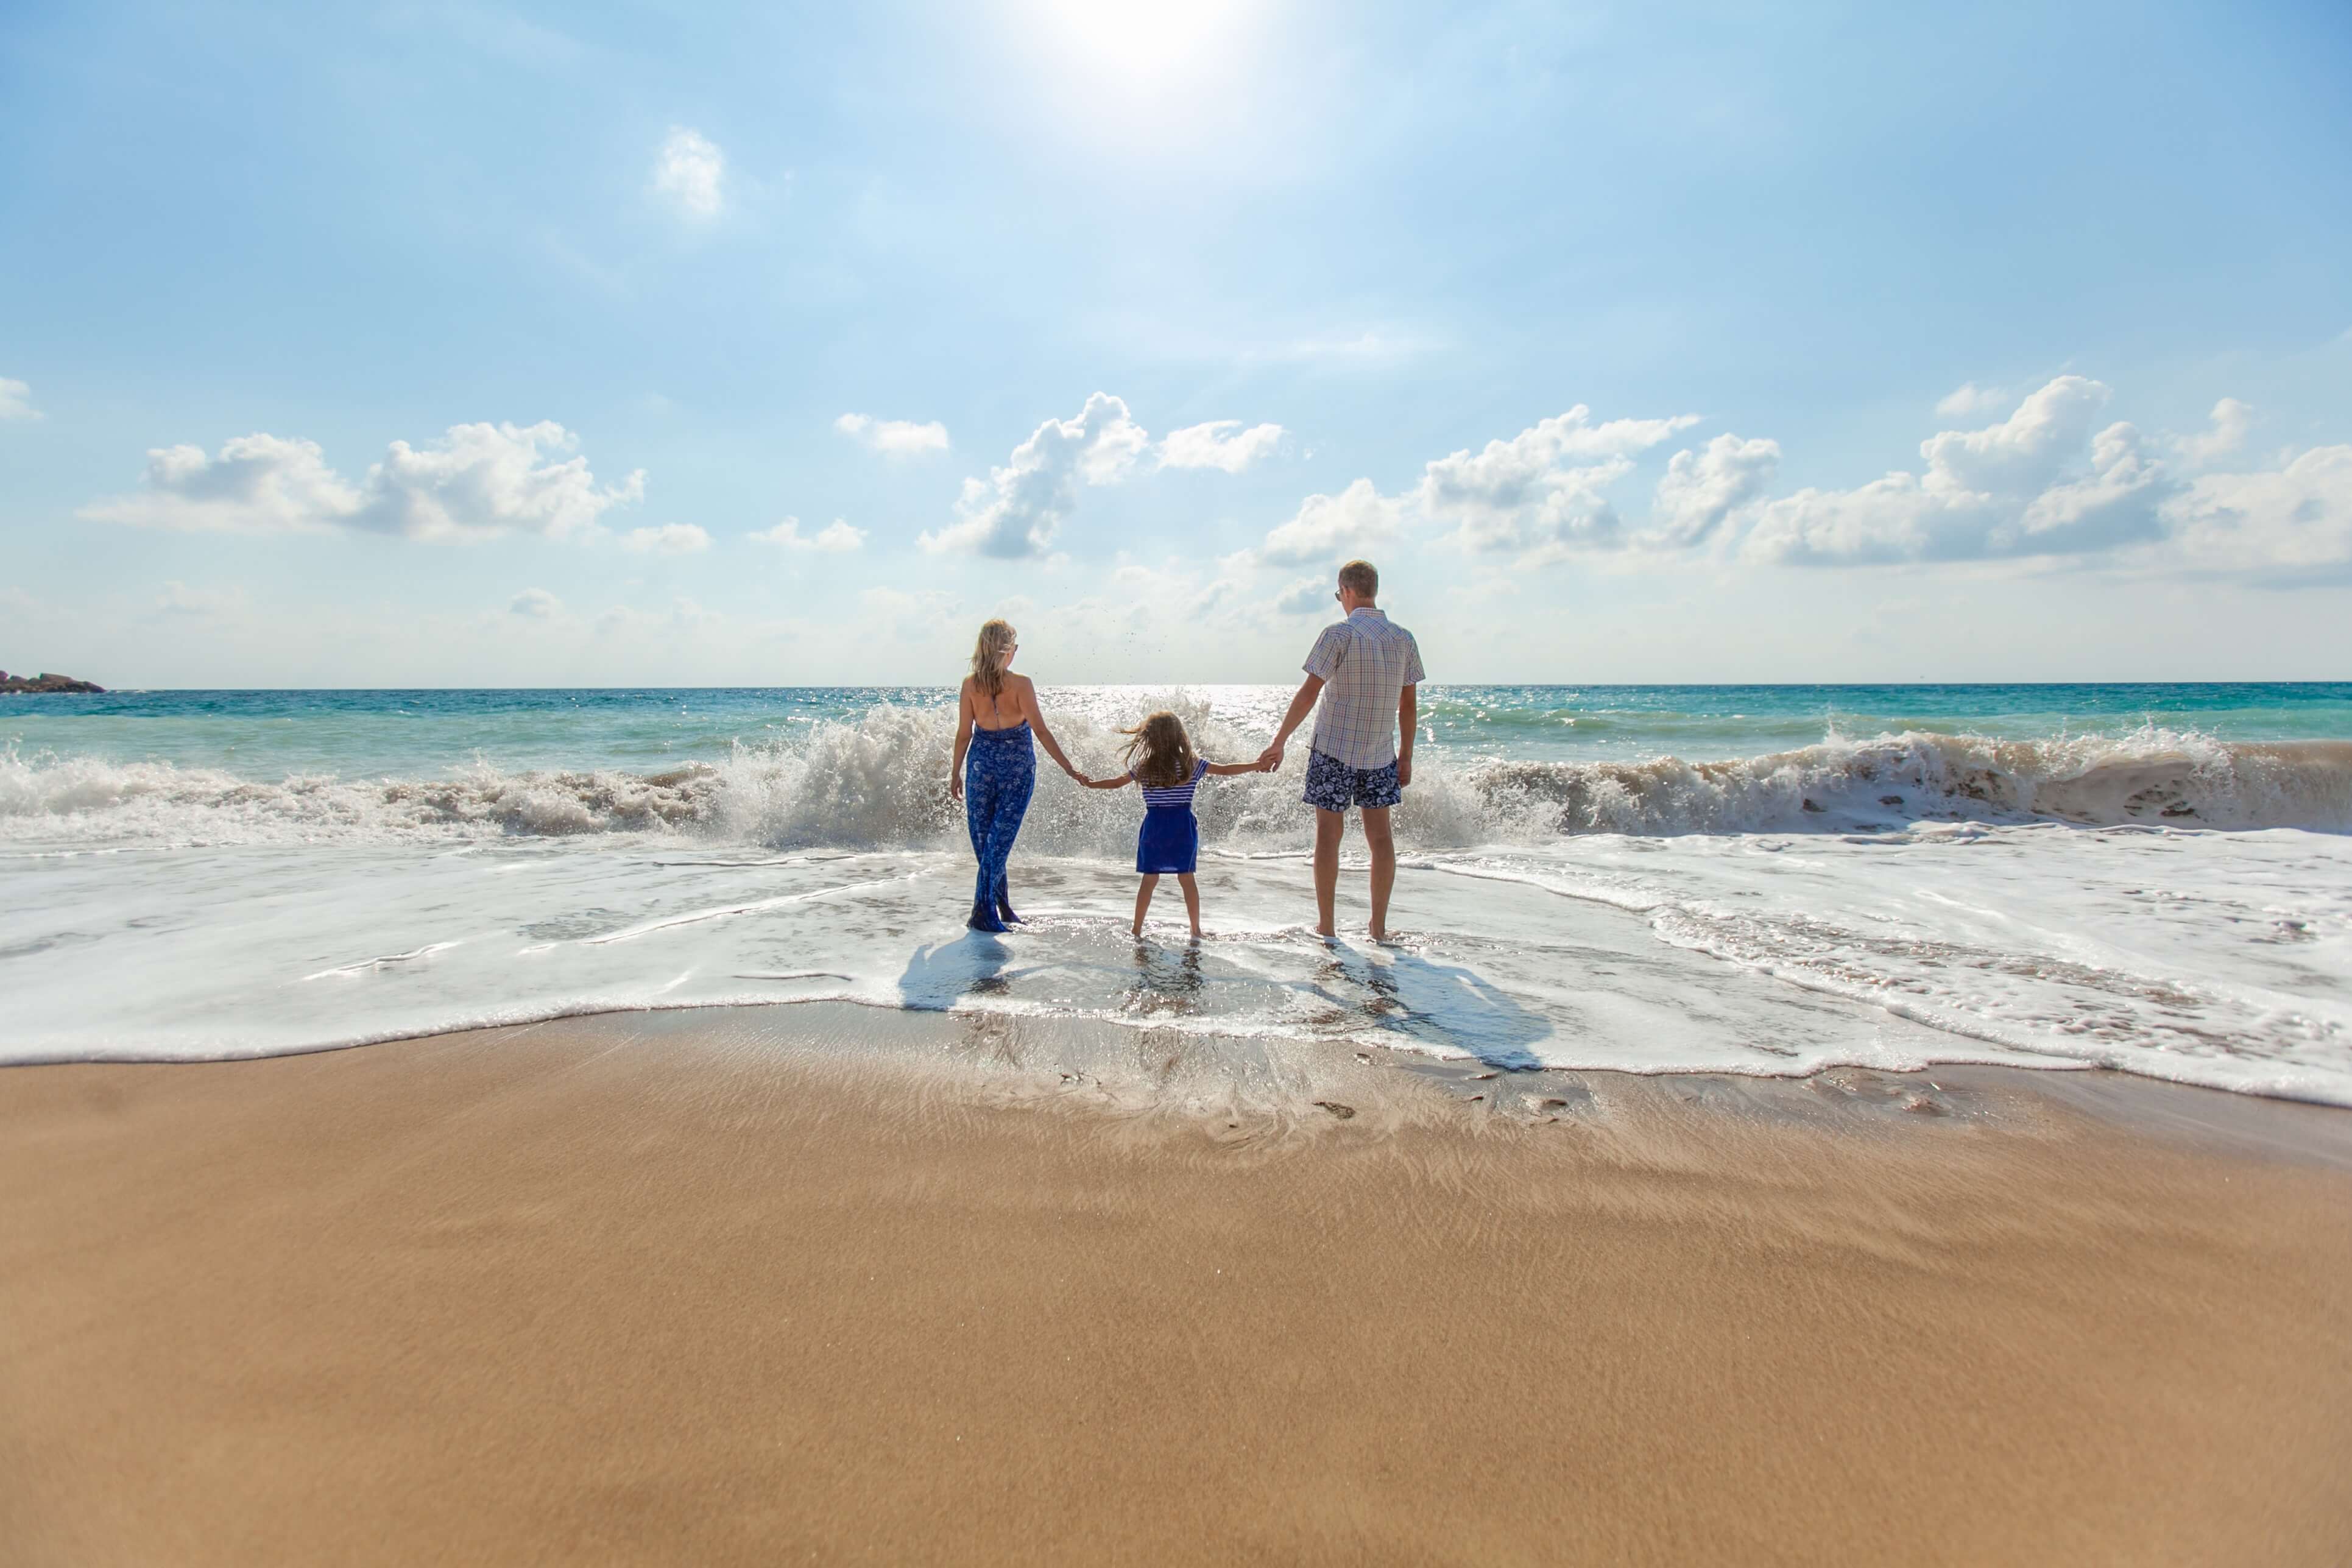
family holding hands on the beach

8. Hold Hands

Photos of loved ones holding hands may be very common, but that shouldn’t stop you from experimenting with them. Hands are a great way to express bonds, friendships, and familial strength. Here are ways you can use them in your photographs:

  • Take photos of your clients walking somewhere while holding hands. This will give your photos an air of spontaneity and warmth.
  • Take photos of your clients’ hands only. This could be while they’re passing something to each other, playing a game, or simply comforting each other.
  • Ask your subjects to stand in a line or circle and hold hands. If this feels unnatural, play a game such as Holding Hands: players have to pass peanuts to each other without breaking the hand-holding chain. An activity like this will distract your clients, allow them to have fun, and give you lots of time to take great photos.
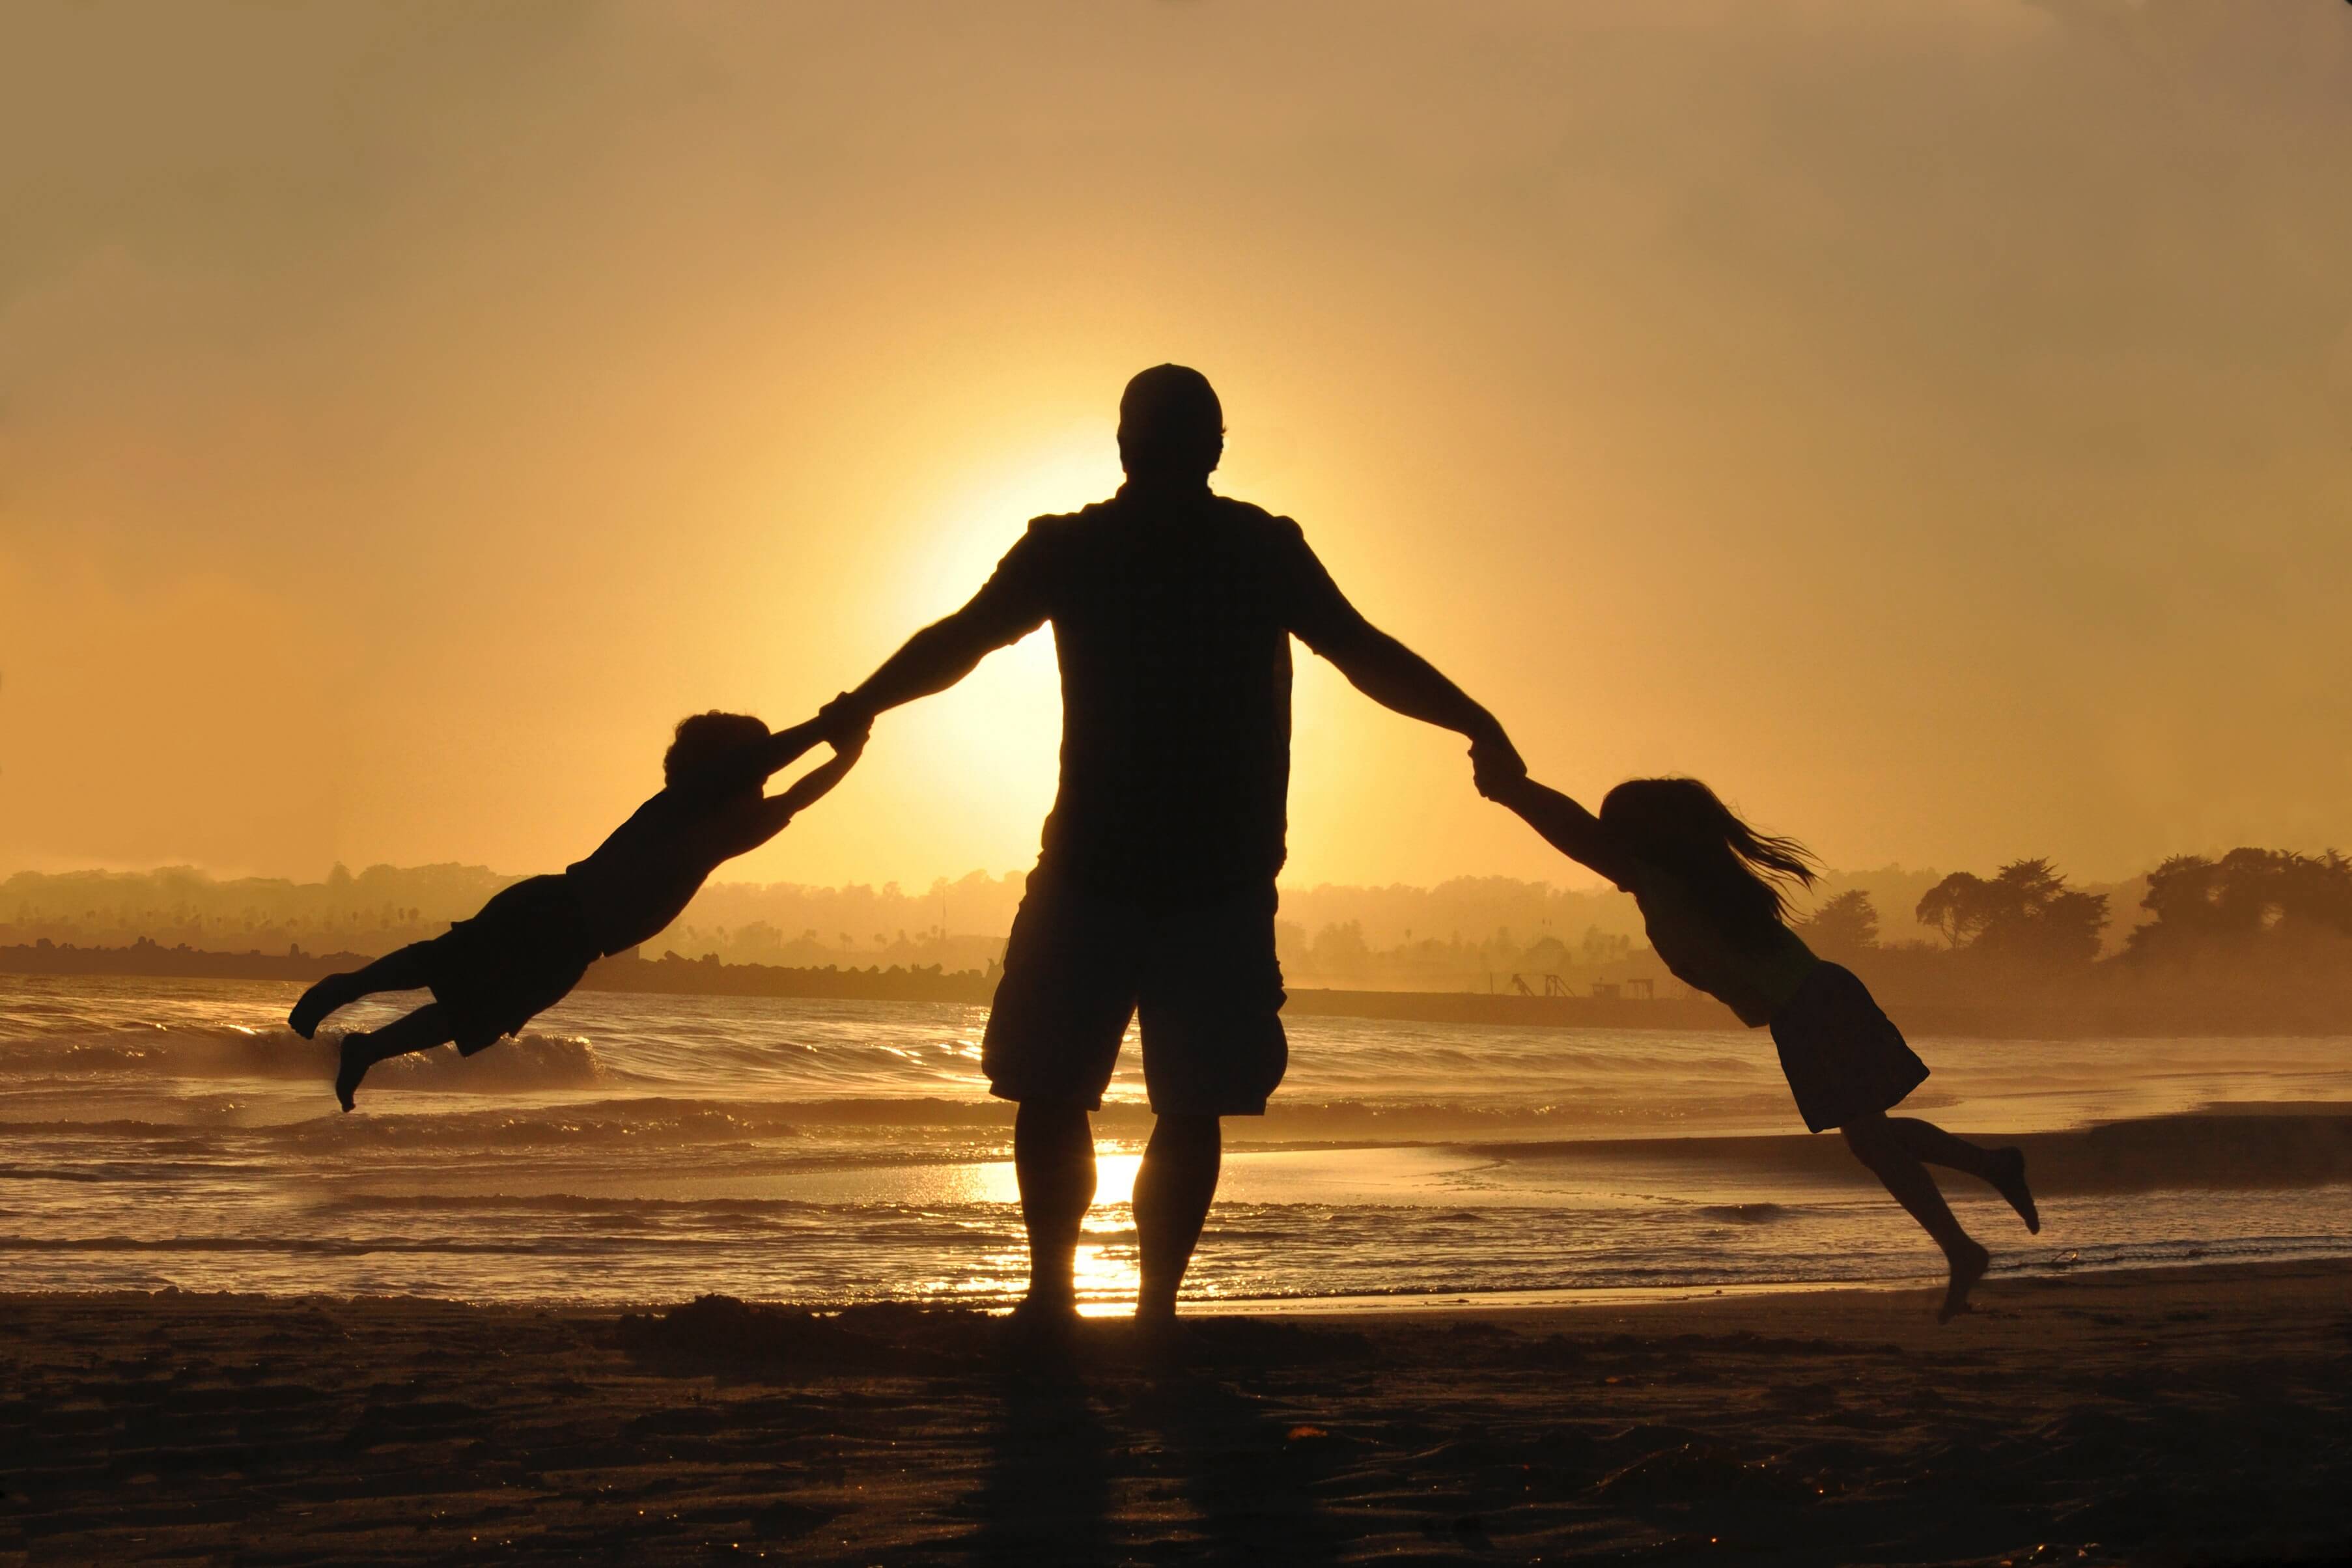
having fun at sunset

9. Have Fun

This is probably the most exciting instruction your clients will get. Though having fun isn’t a pose, it’s an opportunity for many posing ideas to emerge.

Bring a few toys that your group could play with. Come up with a game similar to Holding Hands that could entertain, excite, and distract subjects. Alternatively, simply tell your models to have fun on their own. Children are experts at games; the more comfortable they are with you, the easier it will be for them to have fun together.
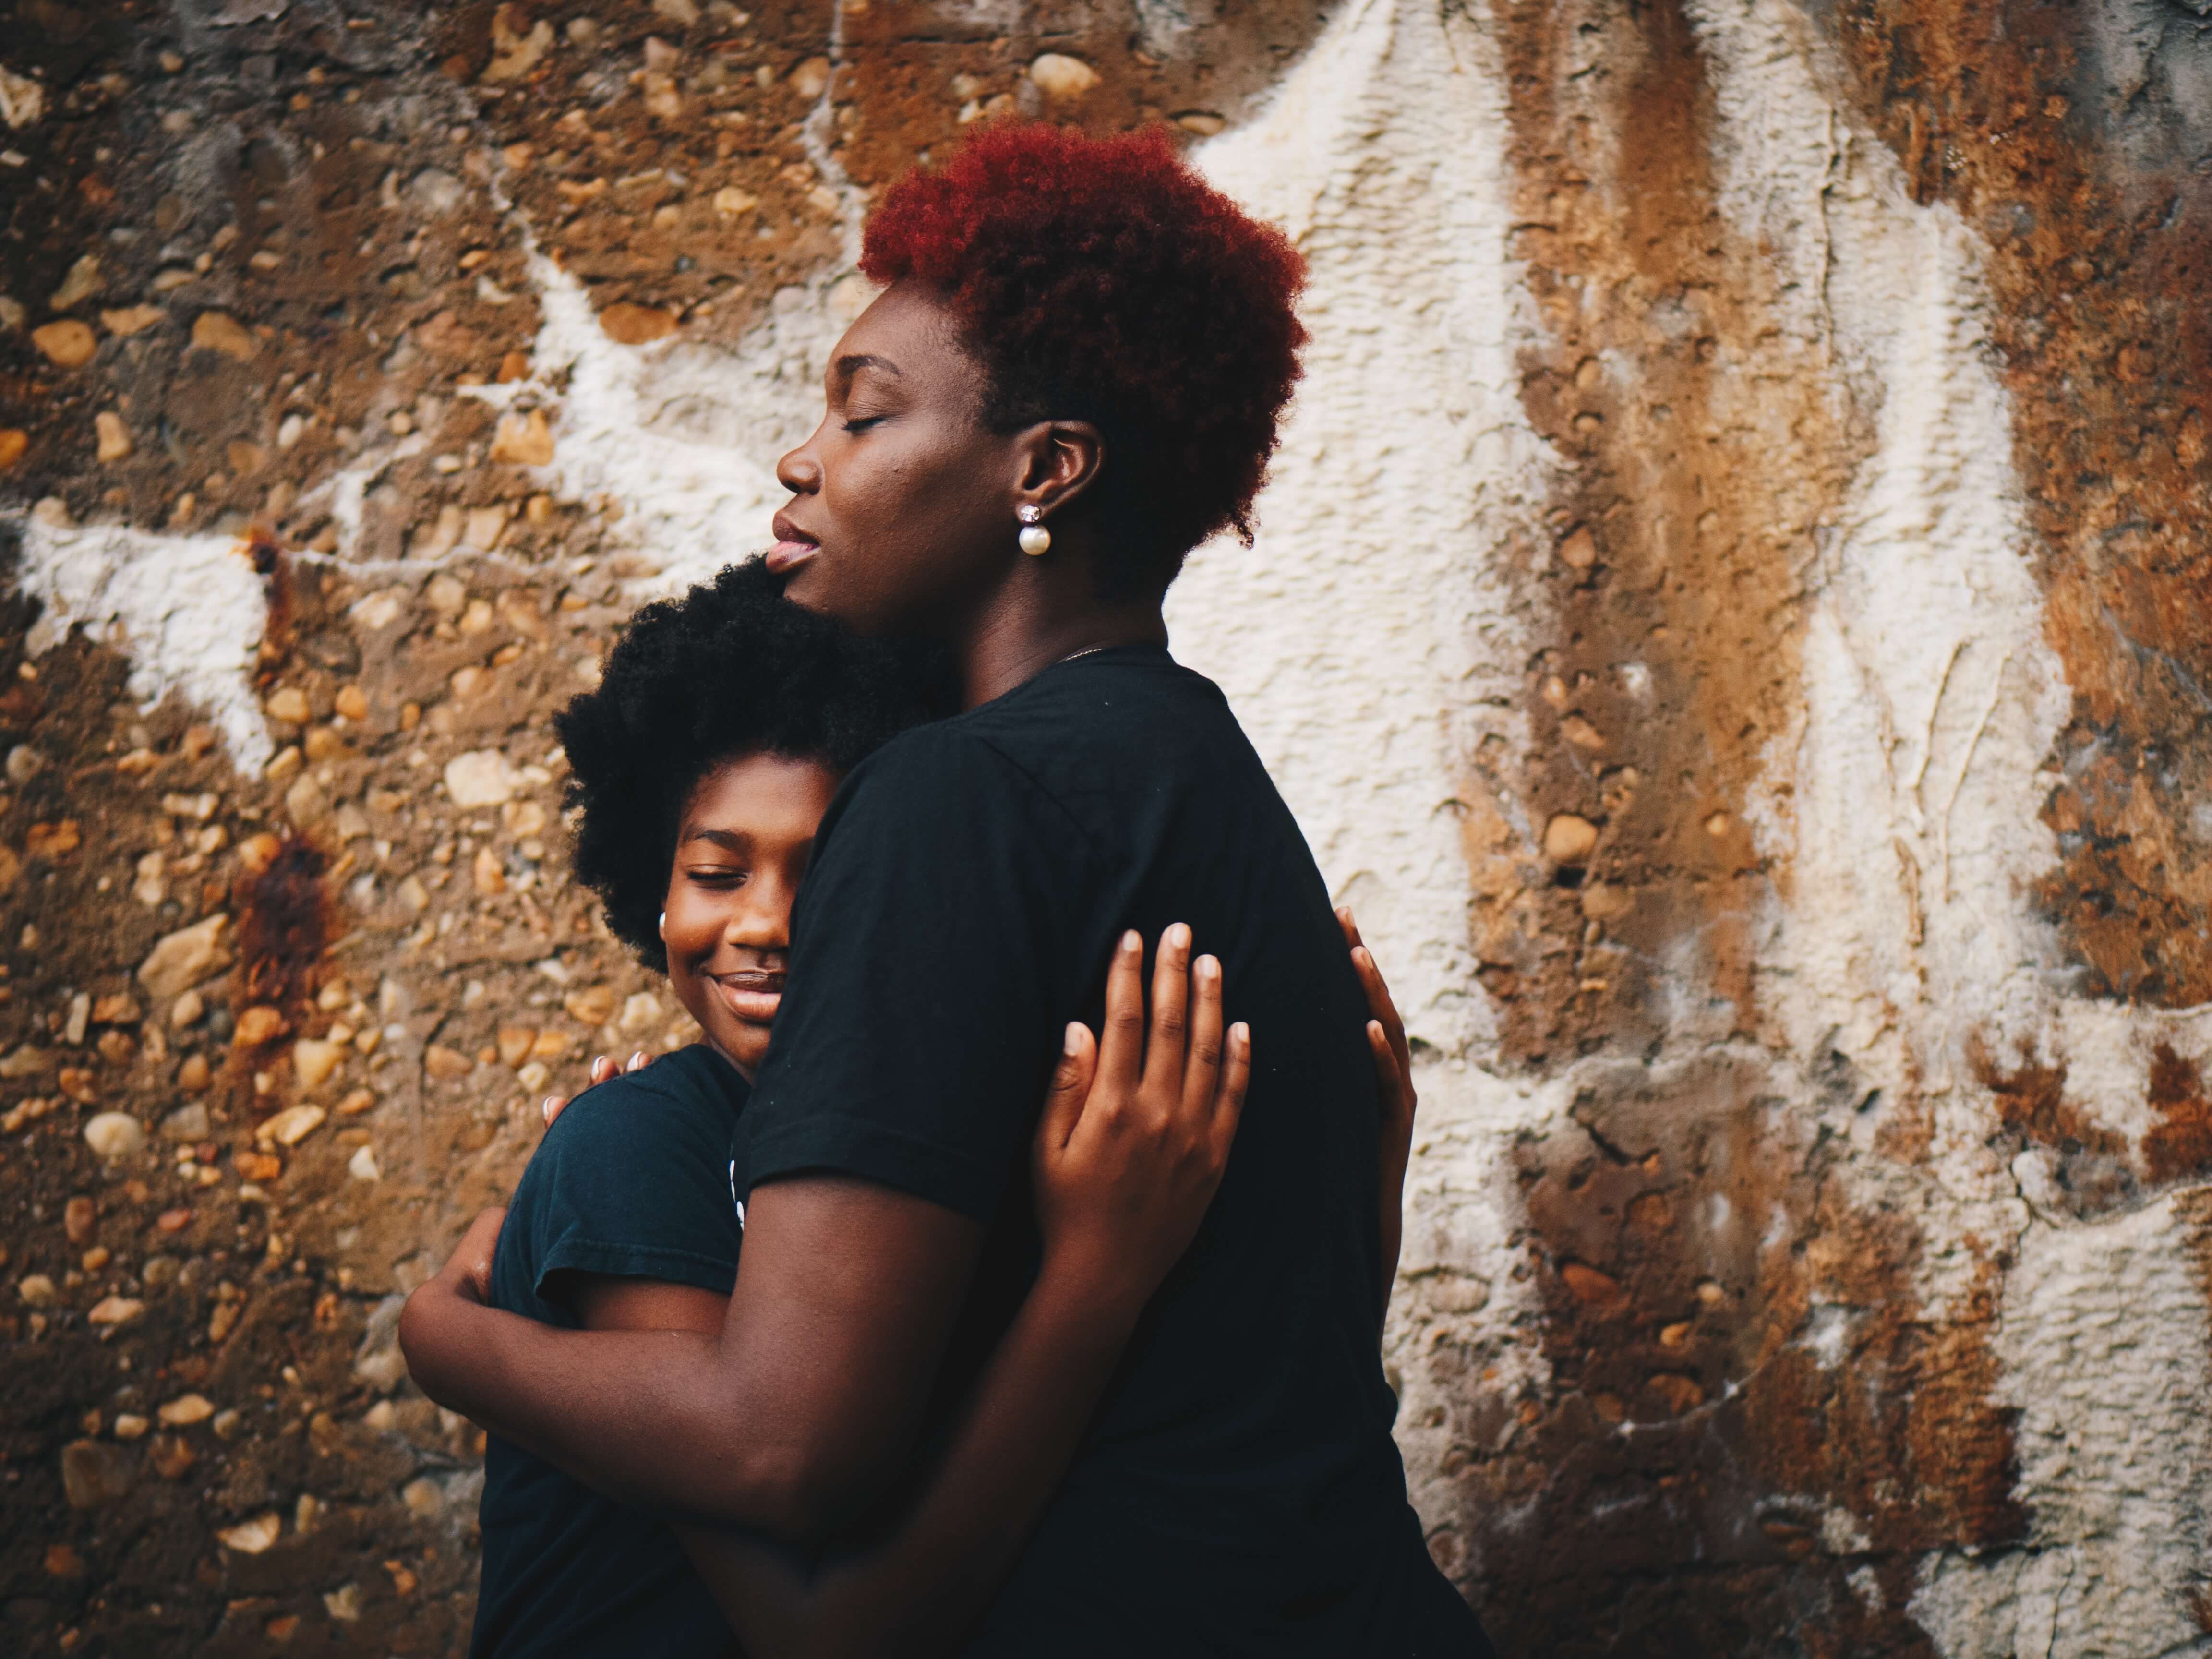
mother and daughter embracing

10. Embrace

Photos of the group hugging will beautifully emphasize their bond. They’ll also make for gorgeous album photos.

Since hugs are often very personal, you have to make sure your subjects want to embrace one another in front of you. Once they feel more comfortable in your presence, gently ask them for permission.

If you don’t want to ask, notice how open they are to public displays of affection. Observe them as they pose for you. Do they enjoy hugging each other, or are they more reserved?

If this doesn’t feel right to either you or your clients, don’t worry. The aforementioned poses will give you lots of interesting results.

Creating Family Portraits that Last a Lifetime

Families are always on the lookout for a great photographer to make lasting memories for them. Once you’ve made a name for yourself a family portrait photographer, there will be no end of clients wanting to work with you. You can create a beautiful family portrait by getting the proper camera settings and encouraging the family to have fun and act natural.

Keeping a steady hand and using a tripod will help your photos come out looking solid. But most importantly, remember to help your family have fun. By following these tips you’ll create amazing family portraits.

The Reasons Behind Green Screen in Studio Photography

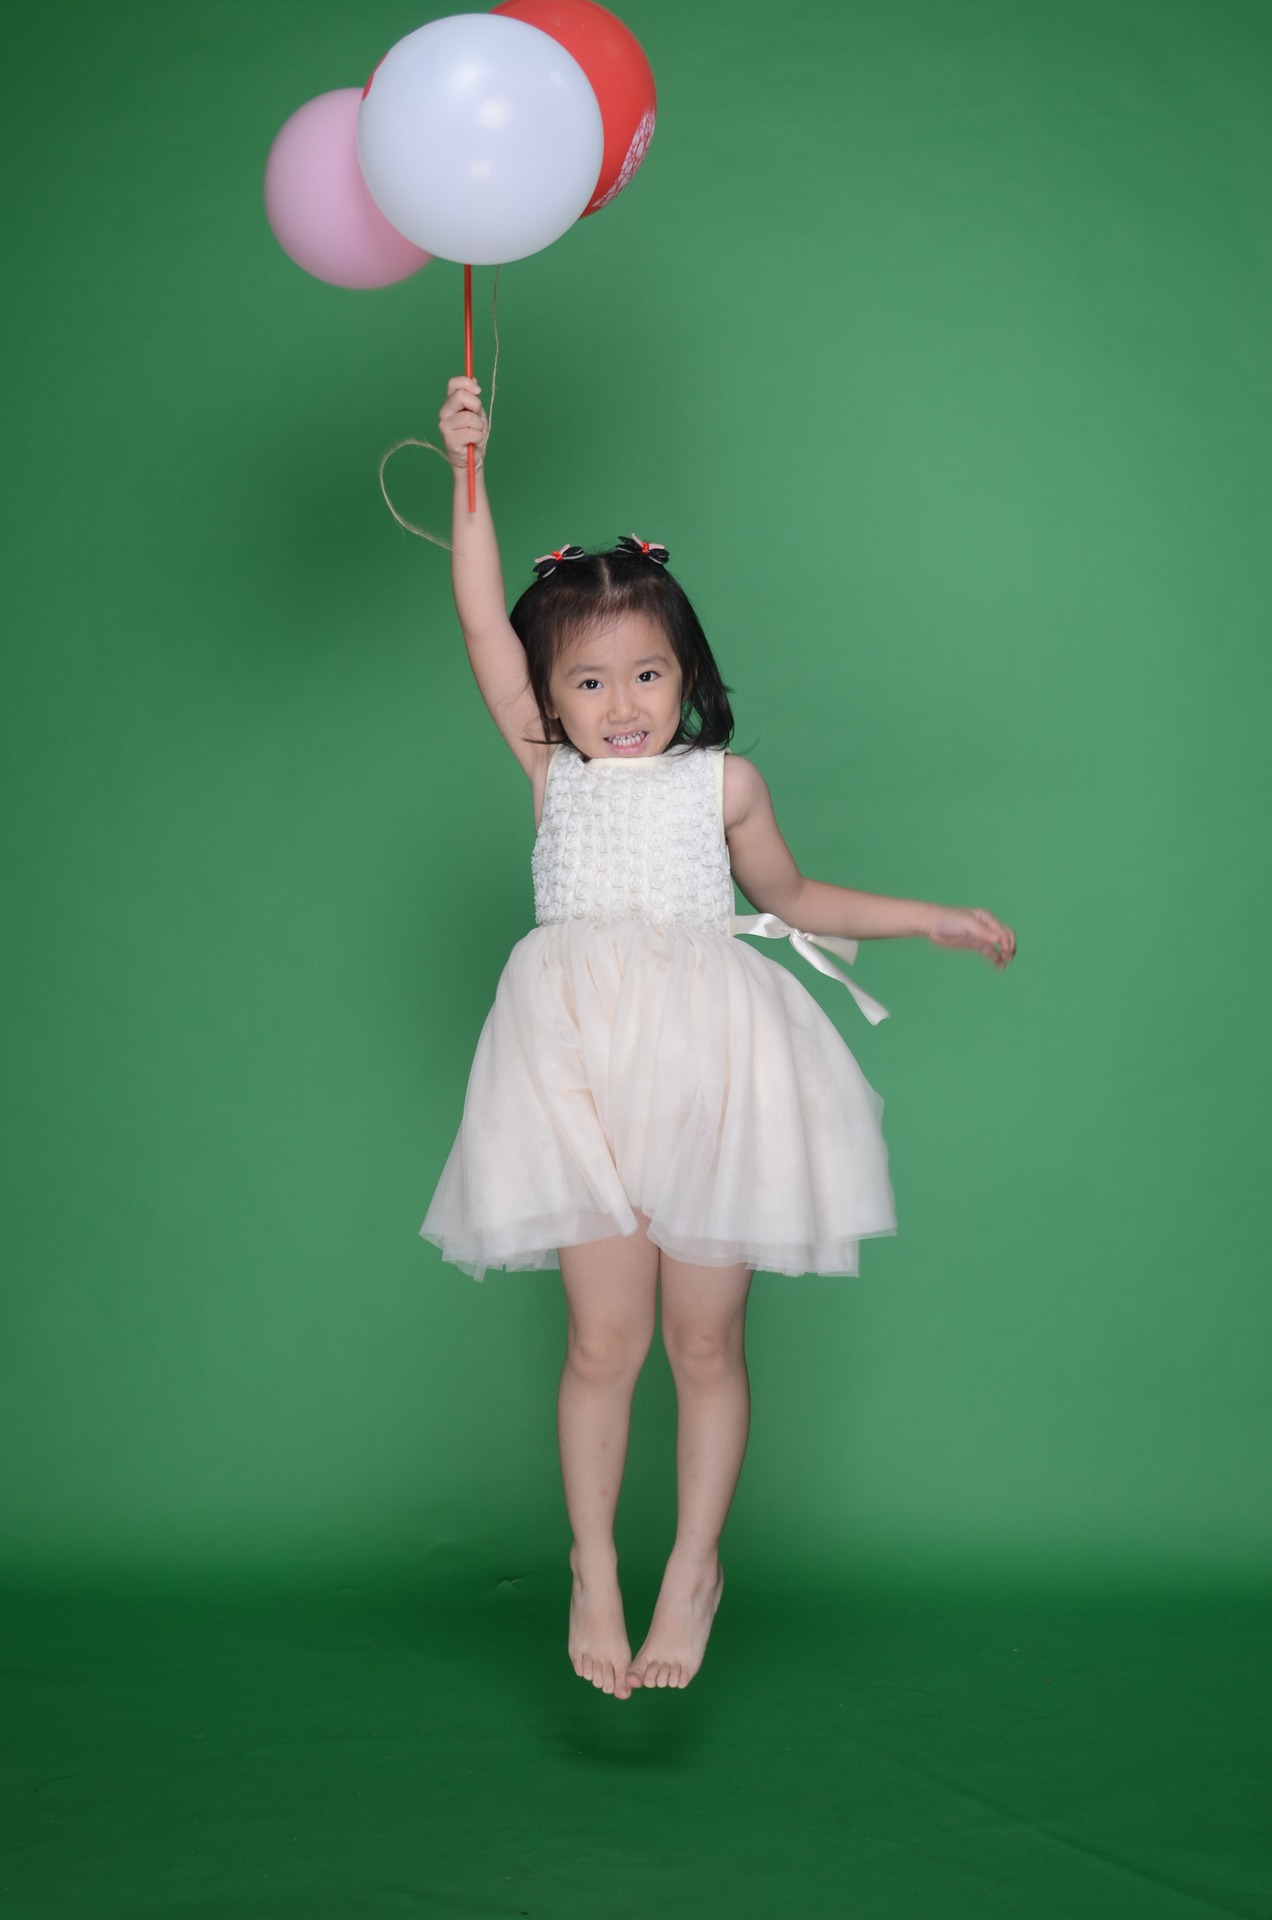
Green screens have a mixed reputation in the world of photography. On the one hand, if they’re used improperly, the final image looks fake. On the other, green screens allow studio photographers to create surreal images or put their models in exotic settings. A green screen is a fantastic tool, and there are plenty of reasons you should utilize it in your own studio photography.

Green Screens Give You the World

If you have a dedicated studio, you’ve already invested quite a bit in your photography. Even if that studio is in your home, setting aside an entire space and bringing in all the equipment you need is costly. You know what else is costly? Finding and shooting on location.

A green screen gives photographers the opportunity to place their subjects anywhere they want. In the age of digital art, having a collection of green screen portraits is a vital tool for many artists. Have you ever noticed how stock photography almost always utilizes a clearly defined subject with a white, blurred, or simply distant background? Most of those images feature subjects that were taken in front of a green screen.

green screen studio background

With a green screen, your subjects can be flying, added into old family photos, or simply given a beautiful, but the unrealistic background. You can also use pre-collected images of locations and add those backgrounds to portraits in post-production. It takes practice to edit such images well, but if you use the same background multiple times for graduation, engagement, or glamor photos, you can master the art of adjusting your studio lighting to reflect the conditions of the artificial background.

This looks much better than simply pulling down various backdrops, which never look truly three-dimensional. It’s the same principle, though. It simply takes advantage of newer techniques and hardware. Naturally, this approach also saves the photographer money. A single green screen is much cheaper than a set of different backdrops.

They Make Editing a Breeze

green screen editing

If you hate editing basic portraits, the green screen could be your new best friend. While traditional white backgrounds are prone to smudges, wrinkles, and other eyesores, green screens literally disappear in editing. You can add in a pristine white background with very little work. It’s a shortcut to perfection.

Conversely, if editing is one of your favorite parts of photography, or you use your photos as part of elaborate manipulations, a green screen can help make your final images better. After all, cutting out a person’s hair in Photoshop will never be anything but a chore. It rarely looks exactly right, either. Green screen keeps everything about the subject but features nothing, not even a white backdrop, that you would need to edit out. This gives you more time to focus on the art of your project.

green screen fireworks background

The Gear is Simple

Chances are, you already work with a digital camera. The only expensive equipment you really need for green screen work is your digital camera and the computer you use for editing. If you already have both of those, your major investments have already been made.

green screen equipment

Green screens themselves are usually very cheap. Depending on the material, you can get a fabric backdrop for under $20. More expensive options are available, of course, and provide arguably better results. Higher quality materials, such as muslin, cost more. Rigid pop-up backgrounds, like FancierStudio’s Collapsible Backdrop, cost nearly twice as much as your cheapest options, and they’re fairly small. However, they’re free of the drapes and wrinkles that may cast shadows that will make editing more difficult.

If you go with a traditional fabric backdrop, you can either mount it to your wall or purchase a stand. These run anywhere from $30 to $100 depending on size, materials, and additional features. A basic stand, like LimoStudio’s 10 ft. Adjustable Backdrop System should cover nearly all studio photography needs.

Eventually, you’ll need digital backgrounds. You may not need to buy them, though. Plenty is available for free through online creative collaborations, and you should always work on developing some of your own. After all, no other photographer has your eye or style, so it’s good to have digital backdrops that compliment the style of photography you use in your studio.

digital background

Finally, IT’S FUN!

All technicalities aside, working with a green screen is simply fun. It’s a brilliant editing shortcut for simple portraits, and it allows photographers on just about any budget to expand their range. It brings nature into the studio through pre-shot digital backdrops, and it opens the door to some truly creative projects. The gear is simple, and you probably already have the most expensive equipment on hand. Whether you’re looking to reduce your work, find the perfect background, or give your sitters superpowers, a green screen and some editing can deliver your dreams.

How to Photograph Drinks in Studio

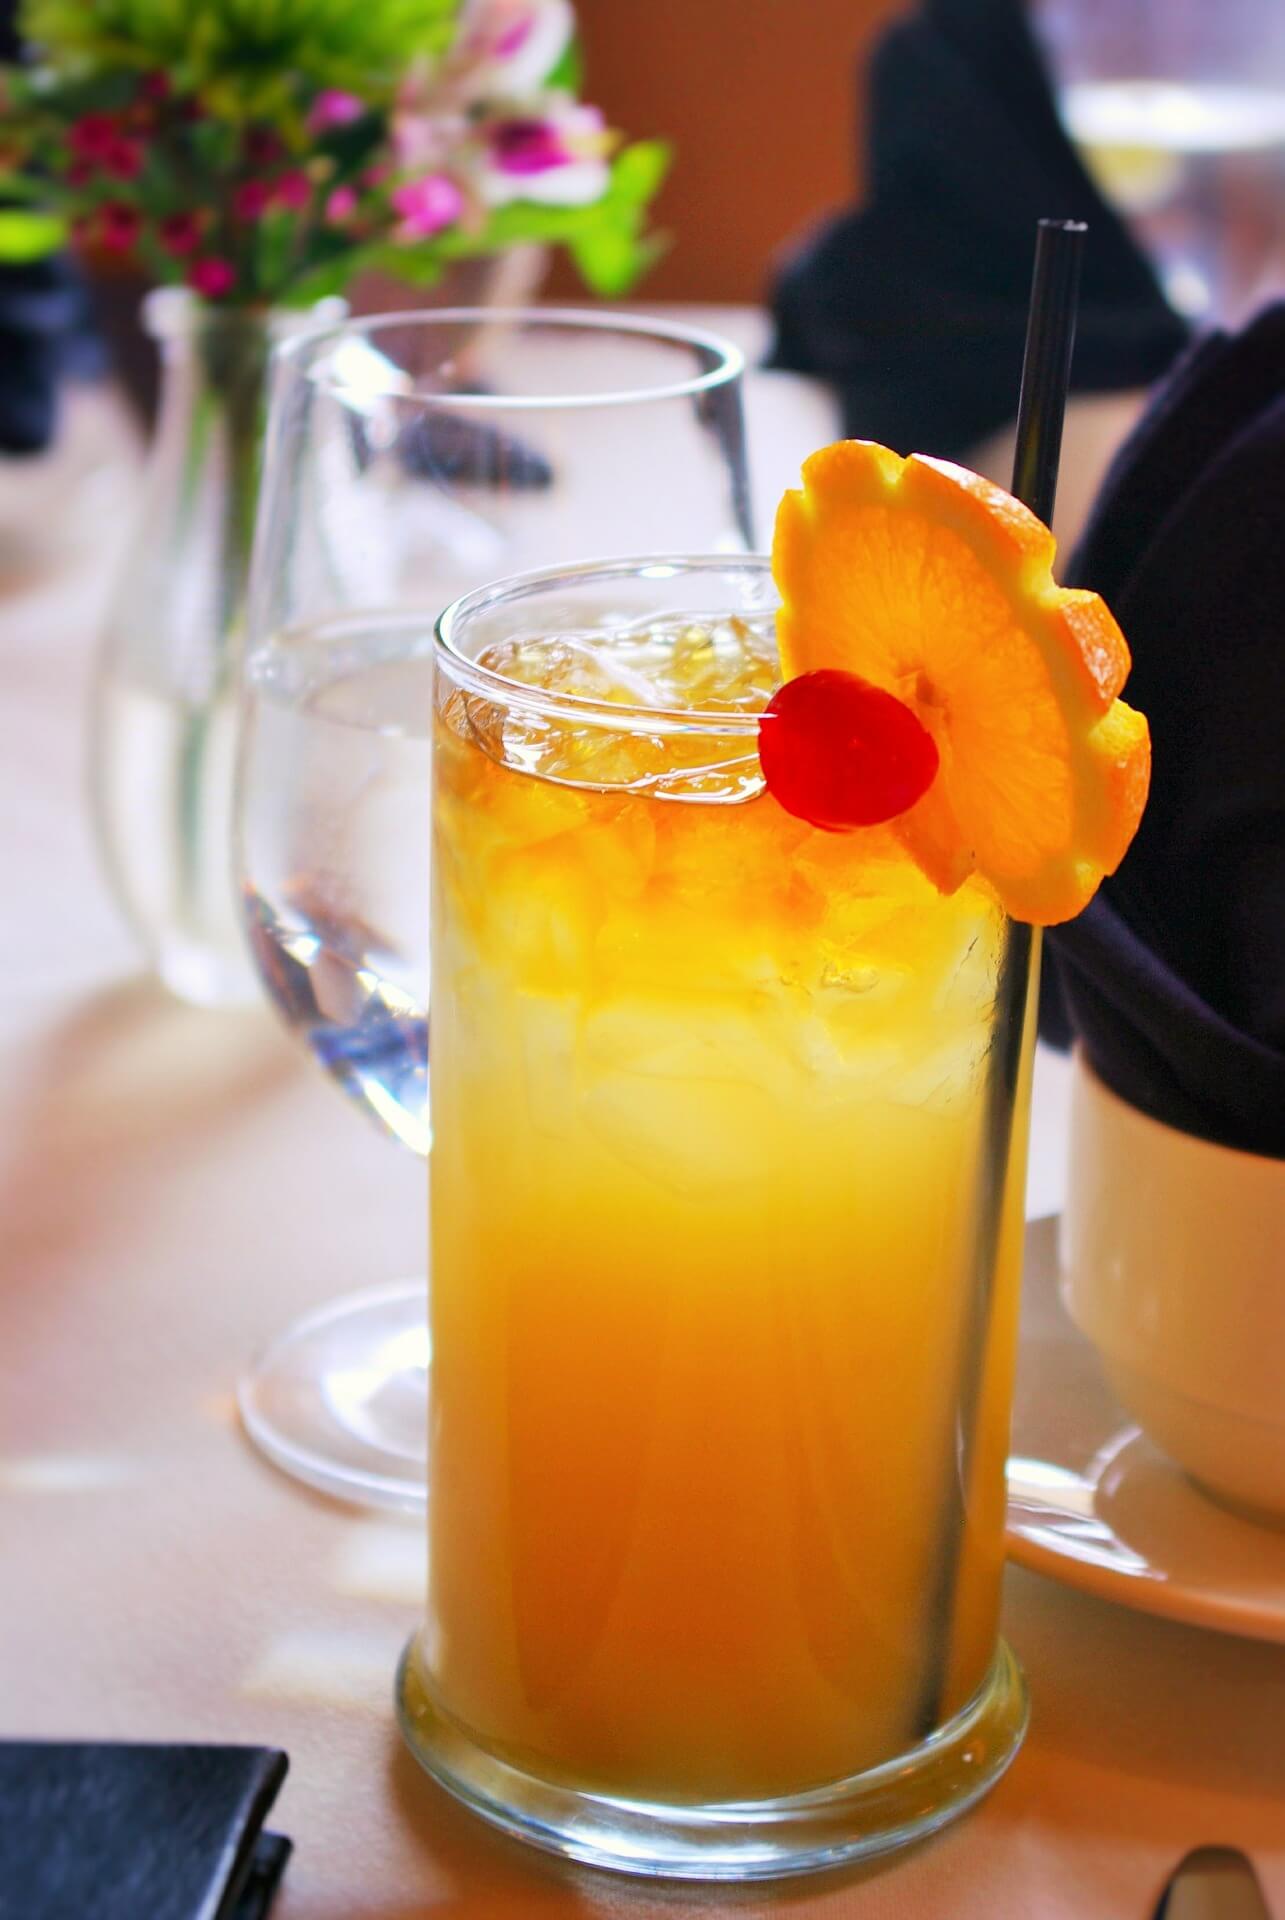
The food and beverage industry is always looking for good photographers to capture the essence of their brand through amazing product photos. Do you have what it takes to capture impactful image of drinks? Can you capture those little droplets of water as they condense on the edge of the glass?

As it turns out, you don’t have to. Many beverage photographers use a spray of glycerin mixed with water to create the effect of condensation on the outside of the glass. Throw in a few fake ice cubes, and you’ve got yourself a pretty picture. Okay, so it takes a little more than that! Here’s some advice to get you started.

Typical Lighting Rules Do Not Apply

Normally, you would light your subject from the front. This allows your camera to capture the light that’s bouncing off the subject. The combination of glass, ice, and liquid can create a strange glowing effect when you use the traditional methods.

drinks photo 1

Instead, when shooting drinks, your primary lighting should come from the back of the shot. The light should pass through the liquid. This will prevent the glow effect while perfectly illuminating the contents of the glass. Obviously, you’re still going to need additional lighting. You’ll end up with dark image otherwise.

You don’t want to completely neglect illuminating the foreground. If you want a stronger light, use a strobe with a softbox. For a softer light, use two strobes in the background and place a reflector at the front. Use your strobes in combination with the natural lighting of the room.

It’s Time for the Snoot

A snoot is a simple piece of equipment that you can place over the strobe to make strong directional light. You can make one out of a thick, dark piece of fabric. Simply drape it over the strobe in the background so that it frames the bulb and directs a strong beam of light through the drink.

Since you’ll be using two lights, and possibly a reflector, be sure to watch for double shadows. You can prevent this when you’re using a light in the foreground by ensuring the backlight is brighter.

Don’t Be Afraid to Play Around with Settings and Lighting

You’re probably going to be making a lot of little adjustments to the lighting angle and intensity throughout the shoot. This will help you capture different moods and angles. If you want to save yourself some time, use a tripod for your camera. That way, you don’t have to reframe the shot every time you tweak the lighting.

drinks photo 2


A handy way to balance out the shot, especially when you’re lighting from the front and the back, is to adjust each one individually. Get your initial shot set up, then turn off your foreground light. Snap a couple of test shots, play with your camera settings so they pick up the background light just right. Then switch to the foreground and use test shots to make sure the light is falling properly. Turn your background back on and you’re ready to go.

Timing is Everything

Working with drinks can be more difficult than working with food, especially if you decide to work with real ice or condensation. Okay, so not everyone uses glycerin! It is a good trick, especially since there are some complications to shooting with real condensation. You will only have a small window of time to snap pictures before the condensation begins to drip. While this may work for your shot, most photographers prefer the rounded beads of liquid on the glass.

drinks photo 3

If you’re using real ice, but you don’t want condensation formed on the glass, then you should wait to put ice in the beverage until right before you’re ready. Fake ice in a room temperature beverage would be better. That way, you can take shots from multiple angles without worrying about condensation.

Don’t Forget About Mood

Like any promotional photography, you want to capture what the company wishes to convey. You’ll need to play around with form and composition to create different moods. For instance, lighting an image from the back without a strong foreground light will create a dark and moody composition. Colorful liquid splashing out of the glass against a white background would look cheerful and fun. Remember the aim of the shoot when you’re setting up your props and your lighting. Take the images above and below this paragraph into consideration. They feature similar subjects, but a change in scene and lighting renders a completely different mood.

drinks photo 4

One Last Thing

The last bit of advice for photographing drinks may seem simple, but it’s very important:

Don’t touch the glass.

No one wants to get that perfect shot only to find that they left a big smudge on their subject. Try using gloves, especially if you have to move the drink around during the shoot. No matter what, remember to have fun! Drink photos are usually bright and happy, so why not have a good time while you’re taking them?

5 Tips for Shooting Natural Family Photos

Doing portrait photography is a great way to have a career as a photographer and have fun at your job. Unlike shooting professional models, when working with a family you have the opportunity to not only be silly in the studio but also create lasting memories for said family.

Sometimes when a family, especially one with young children, goes into a studio, there’s an air of nervousness and stiffness, and that creates some unnatural and forced pictures. No one wants to look back at their pictures and see strained smiles and stiff poses. Getting natural family photos is all about having fun, and getting the right kind of reactions.

1. Bend It

A good way to remove the stiffness of any pose is to get the family to move and bend. Sitting or standing perfectly straight is not natural. Make good use of a person’s joints and have them bend at the elbows, knees, and hips. People can hook fingers in their belts or pockets to loosen up their arms. Have the family turn slightly with one knee bent and their hip pushing out toward the camera. If they’re sitting down, let them lean forward a bit, or turn to their side and extend one leg while the other stays bent.

natural-family-photos-1

2. Capture the Reaction

Most of the time when you’re shooting a family portrait you won’t be capturing the action, but rather the reaction. If youwant natural family photos, tell the family to do something, and wait for the moment after it happens. Have one person whisper a secret in the other’s ear and capture the two of them laughing afterward. Get the kids to surprise attack the parents and capture the family dissolving into laughter after. Whatever you ask the family to do, you want to shoot the aftermath, when the family is having fun and their smiles are real. Capture a true natural family moment.

natural-family-photos-2

3. Get the Lighting Right

Unlike shooting an intense fashion shot or a light and airy nature shoot, you want to get the family in a soft and fun light. Use a light colored background, white is best, and use either a large window with natural light or just one light. Make sure that the light isn’t pointed directly at them or coming from directly overhead. It’s best to have a very bright studio and to use a flash to help add contrast. Set the flash up at a 45-degree angle to avoid odd shadows.

4. Break out the Props

Especially when it comes to photographing toddlers or young children, you want to give the family something to help focus their attention on. Not every photo has to be the family in a straight line staring into the camera. It’s okay for them to let their attention wander to an object, and sometimes even creates the family’s favorite picture. Ask the parents to bring one of the children’s favorite toys or books. Encourage the family to simply play with the child and capture their reactions. If you have your own props, let the children choose what they want to play with, and shoot their play time. Let the kids be kids and have fun.

natural-family-photos-3

5. Use Flattering Poses

People tend to be self-conscious about their body. Maybe someone is concerned about their weight, or someone else has a large birthmark they can’t cover up with makeup. It’s easy to pose people in ways that flatter them and make them comfortable with the end result. Study your family as they are in the studio and notice blemishes or anything they are uncomfortable with. Then change your poses to match.

If someone is worried about their weight, have them lie down on the ground facing the camera. Having the kids climb on top of them creates a natural pose and helps hide their body. Also, in other poses, try to angle the camera so it looks slightly down on them, this will hide any double chins and help slim the body.

natural-family-photos-4

For any blemishes, have that person’s face or turn a specific direction. If they’ve got a pimple on their chin, for example, simply have them turn their head slightly so that that side of the face is always facing away from the camera.

If you’re working with a couple where there is a huge height difference, have the couple sit down. In standing poses, get the taller of the two to stand with their legs apart a bit to help bring them down. When shooting a single parent and young children, encourage the parent to lift the children into their arms. You can also get great natural family pictures by having the parent kneel on the ground and hug the children from behind.

Shooting families can seem a bit scary; you don’t want to mess up precious memories. But forcing the family to stand still and smile at the camera creates memories that family may not want to remember. Just let the family be natural and have fun. Make sure they don’t stand or sit too stiff and always try to bring the family’s original personality to the pictures.

Faking Golden Hour: How to Create Believable Sunset Lighting Indoors

Golden hour, whether it’s early morning or evening, can be a photographer’s best friend. The natural, golden lighting of the setting sun creates an ethereal effect that can really make an image pop.

What do you do if you need that ethereal effect, but you don’t have the option of lugging everything outside at just the right time to capture the shot? The following tips and techniques will help you set up your studio to capture believable sunset lighting effects from the comfort of the great indoors.

Use Flash Lighting Sources and Gels

You can use an array of varying strength flashes and gels to effectively render sunset lighting inside. This technique works well if you’re shooting an image that is meant to look as though it was taken indoors with sunset lighting coming through a window.

sunset-lighting-1

To start with, set up a strong flash in the background of the image. You can cover the light with a gold gel, or use a combination of yellow and orange placed side-by-side over the light source. This will provide a strong directional glow in the background of the image that looks like the setting sun as it crests over the horizon. Place the flash outside the window or directly in front of it, if possible, using the glass to further refract the light.

Next, you should set up a weaker flash in the foreground – try using an for this one. Place a gold, yellow, or orange gel over the flash. Use light diffusion to create a soft glow by aiming it away from the foreground, casting the light on a gold reflector or reflective wall. The other option is to aim it at the foreground while using a softbox which will create a more directional light. Be careful with this as you can accidentally make it look as though the sun is shining from two different directions.

Fill in the Shadows

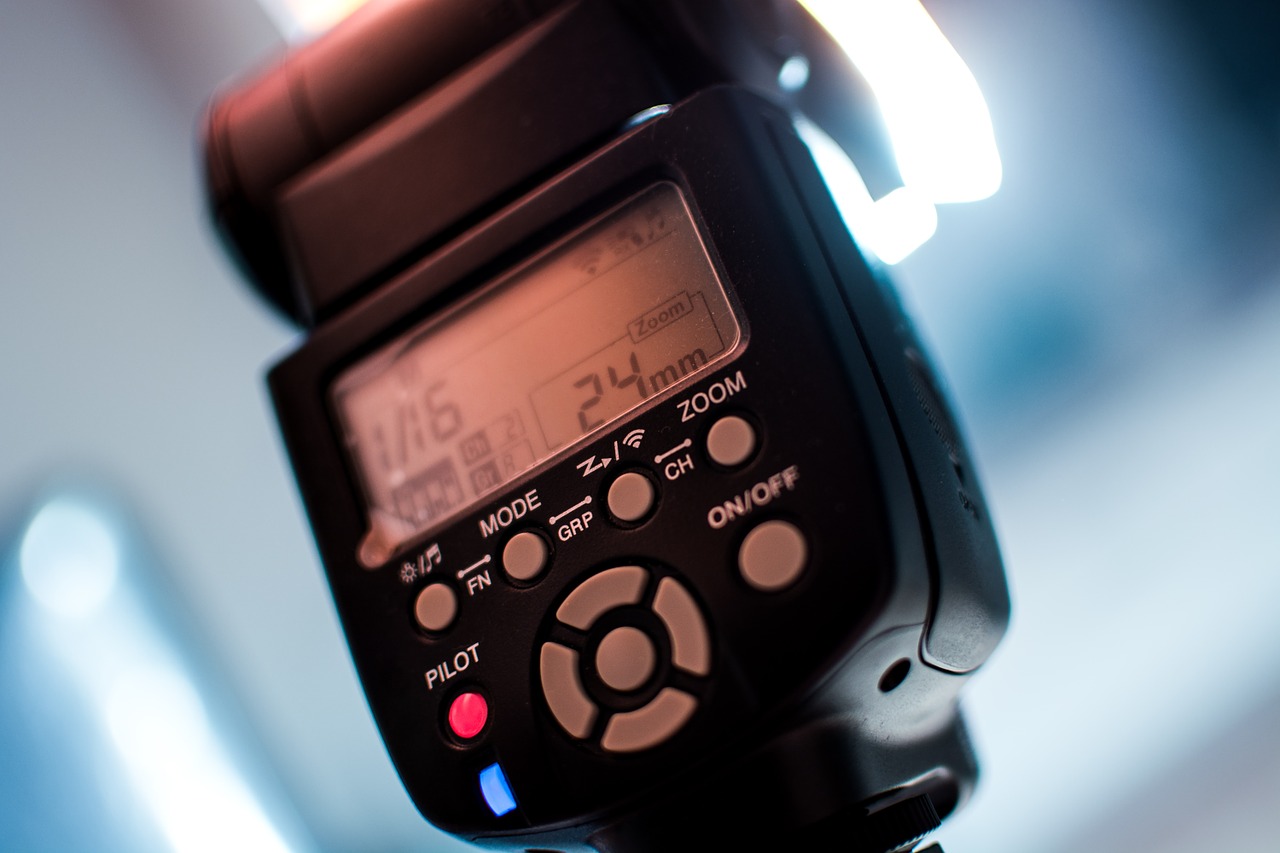
You may need to use additional SB600 or other speedlight, and reflectors to fill in the shadows and create just the right glow. You’ll need to experiment with your space and your camera to get the type of sunset effects you’re looking for.

sunset-lighting-2

If you don’t want to use a window to create the effect of having the setting sun in the background of the shot, then angle your backlight so that it is not causing such direct illumination. Instead of a flash, you can also use bare-bulb lighting for this. Either way, remember that the lighting will create deeper shadows when it is placed further away from the foreground.

You should also remember that sunset lighting often creates unique directional shadowing. You will need to play with your light positioning and reflectors to create proper shadowing in the image.

The Right Camera Settings

You’ll need to control the exposure of the image by playing with the shutter speed, ISO, and aperture settings on your camera. You can try out different combinations to create different effects. Let’s take a look at two basic ways to create a different type of sunset image using these settings.

Crisp Images with a Sunset Glow

If you want the entire image to appear crisp and in focus, try the following settings: Use a low shutter speed and a tripod. The low speed will help you capture more light, and the tripod will keep the image from appearing blurry.

sunset-lighting-3

Next, you’ll want to use a high aperture setting. This will produce a lower-level of light, but this should be balanced by the shutter speed. The aperture setting, when combined with the right lighting, will ensure that the image appears crisp instead of soft and nuanced.

The last thing to do is play with your camera’s ISO settings. High-quality equipment can use ISO setting above 400, but low-quality equipment may produce a grainy effect at higher settings. Low ISO lets in less light, high ISO lets in more. Use the ISO to better balance the lighting captured by the camera’s shutter speed and aperture settings.

Soft Images with an Ethereal Background

If you want the light in your image to appear more glowing, with only the foreground appearing in crisp focus, then try out the exact opposite of the above. Set a higher shutter speed with a lower aperture setting, then use the ISO to create just the right balance of lighting.

sunset-lighting-4

Recreate the Effects of Nature

If you want to take an indoor sunset shot that looks like it was taken outdoors, you’ll need to play around with some additional equipment. You can place vellums with holes in front of lights to create cloud shadowing or use a softbox cover with a hole in the center over your foreground light to create the glowing directional light of the setting sun.

While these tips and tricks will help you to get started, experimentation is the only real way to get things set up just right. Have fun working it out in your studio, and please feel free to share any tips you discover along the way!

Setting up the Studio Before the Model Arrives

Nothing screams unprofessional like having a client waiting around for you to finish setting up your studio. Whether you’re indoors or out, you want to have everything ready to go before your model arrives. But how do you set everything up around a person who isn’t even there? There’s more to setting up a photo shoot than just putting up some lights and setting your camera on a tripod. You have to think through different stages of the photo shoot, like how you’re going to shape the light, or what props you need. Once you do this, you’ll come off looking professional and your pictures will come out looking amazing.

Backgrounds and Props

The first thing you’ll want to think about is the setup of your space. Do you want to be next to a window, are you outside against a specific setting? Once you determine where you want your model to be posed, you should think about how the photo shoot will go. Is the shoot going to be a quick take against one solid background, or will you want to spice things up a bit and move the model around? It’s important to consider this and set up accordingly. If you’re indoors, make sure you have different background sheets ready to be changed in and out as needed. If you’re outside, scope out different locations and suggest them to your client as you go.

studio-setup-1

It’s also important to think about props. If you’re doing a quick or serious shoot, you probably won’t use them, so it’s best to store them away. However, if you’re doing a long playful shoot, or you’re working with a young model, it’s a good idea to set aside a handful of props you’ll want to introduce into some photos. Try and pick things that match your client’s personality. And be sure to ask if there’s anything they might be bringing along or want (such as an author promoting a book or an athlete who might want a symbol of their sport).

Lighting

Lighting can make or break any picture. Depending on if you’re in an outdoor or an indoor setting, you’ll need to do a different setup to get the lighting to work just right. It’s easy enough to measure the light, even without your model there to test. You can use a mannequin (or just the head of one) to see how the light will reflect on someone. Using a light meter, you can see what you need to set your aperture to, and adjust the lights accordingly. Not only will this make you look professional but it also reduces waiting time at the start of the shoot so you can get more images of your model in at a time.

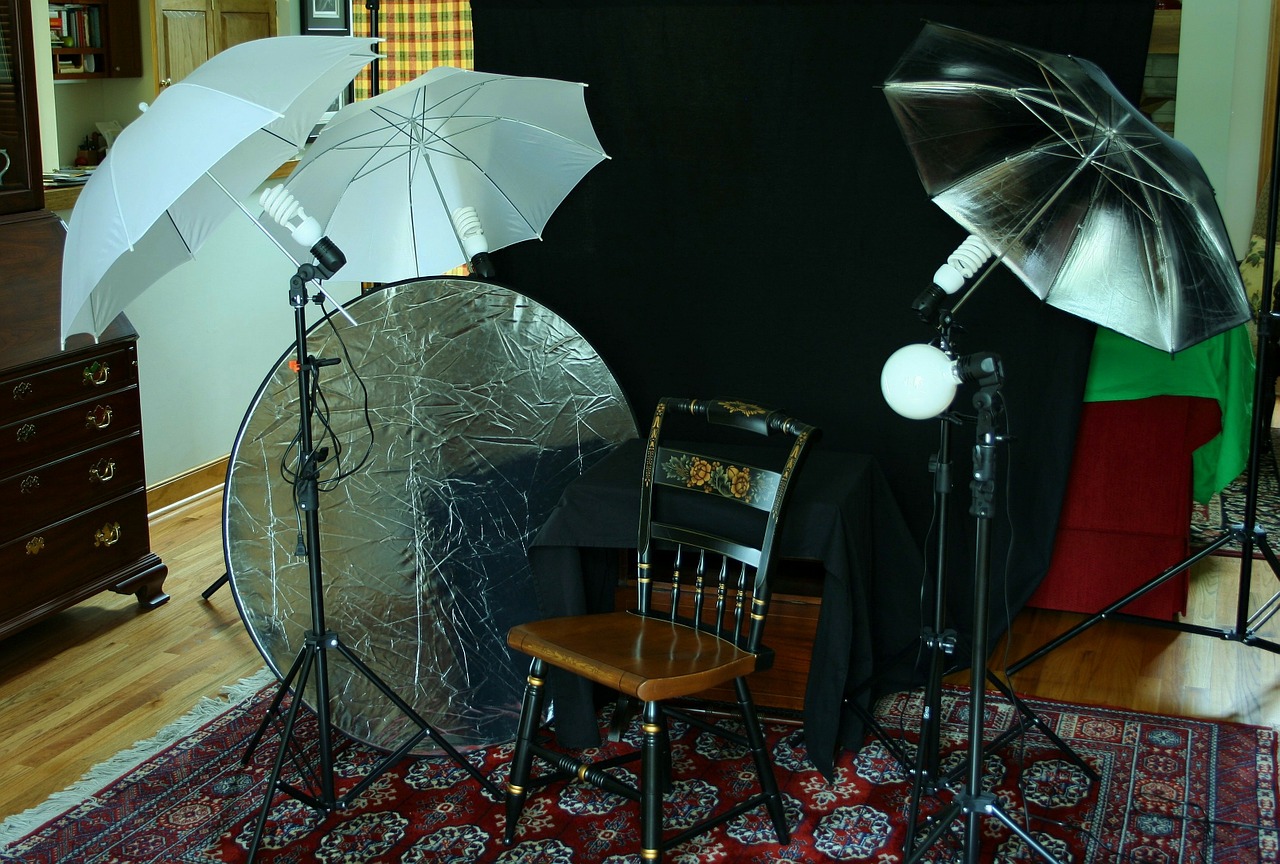
There are a lot of different tools you can use to help set up your studio and some tricks to getting things ready for multiple locations. Light diffusers and umbrellas are perfect for changing the light without having to add and remove large spot lights or flashes. If you don’t have an assistant who can hold them up as you go, invest in some simply stands that you can attach these to.

studio-setup-2

Now that you have one space ready to shoot, you might decide you’d also like to shoot next to the window, or in the corner of the room. If you don’t have enough equipment to have different sections set-up ahead of time, go through the same process with your mannequin and use tape to mark where your lights and diffusers should go. This way, while your model fixes their outfit and/or makeup to get ready for a new location, you can quickly move your equipment over and be ready and waiting for them.

Once the Model Arrives

Once the model does arrive, there’s very little to do either than shoot away. However, it is best to make sure you check your readings with the person there in case there needs to be any smaller adjustments. Keep an open communication with your model while you do this, ask them about props or background, or any specific poses they want. This not only helps the mood feel more relaxed, but it also allows you to make small adjustments without looking unprofessional as you go along.

studio-setup-3

When working with clients, or even just friends and family, you want to come off looking professional. You want the model to feel at ease that you know how to work your equipment. The only decisions they should have to make are background colors and use of props, the rest needs to be up to you. Getting everything set up before your model arrives is not only professional, it helps extend the time of your shoot, allowing you to get more pictures to help please your client.

Soft Light and Shadows: How to Effectively Shape Lighting in Studio

The core fundamental behind any great photo is the interplay between light and shadow. When you get it just right, the two will work together to create an image that emphasizes the foreground without completely losing the background.

This is especially true when the subject of your photograph is a person because, as any artist knows, the shape of a face is determined by the interplay of light and shadow. Sketch artists know that a big part of their craft is understanding how to use shadowing to give depth to an image.

The same is true for photographers, and the way you shape light in the studio will determine whether your image is more two-dimensional or three-dimensional. Working with soft lights in a studio allows the photographer to capture the right balance between light and shadow to create an image that is not harsh while also appropriately emphasizing the foreground of the shot.

soft-light-1

Methods for Shaping Soft Light in Studio

There are multiple ways to shape soft lighting, and they will produce different styles. A common tactic is to use a softbox. Place the softbox over your light source, then aim it directly at the subject of the photograph.

This will effectively illuminate the foreground of the image, but it can also create deep shadows that one would normally associate with a harder light while also losing clarity in the background. Deep shadows give more form to an image, whereas soft lighting should result in a less-defined form. So, what can you do if you’re looking for a softer image that has less of a contrast between light and shadow?

Think about the physical properties of light. Light travels as waves and particles and shadows are composed of particles that rush in to fill an area where there is an absence of light. So, anywhere that light does not travel, you will end up with a harsh shadow.

soft-light-2

Different Angles of Light Produce Different Shadowing

This is why hard lighting uses a narrow-angle and soft lighting uses a wide angle. A narrow-angle for lighting focuses on the subject, creating a deep shadow that has the little gradient between the shadow and illumination. The wider the angle of the light source, the higher the gradient. This produces a soft effect, blending shadow and illumination in such a way that the foreground is emphasized without creating harsh shadows.

With this in mind, the question becomes how to create soft lighting without getting hard shadows from the direct light source. The answer is simple, and it may go against everything you’ve learned as a photographer so far.

To start with, instead of aiming the light source at the subject, you’ll be aiming it at the walls. That’s right, the walls.

soft-light-3

How to Position the Lights to Create Diffusion

The point of diffusion is to cause the light to bounce around, refracting off of the walls, floor, and ceiling to effectively fill the entire area with an even light. It helps if the area you’re working in is bright white as light refracts more evenly off of a white surface.

You can use a photo cube, paint a section of your studio in an ultra-white hue, or even use large sections of Styrofoam to put together your own little studio box. No matter what size space you’re using, aim the lights at the walls of the area.

Move your lights around until you strike a nice, even illumination. As the light is evenly filling the area, you will end up with smoother shadowing that doesn’t stand out as starkly in the image.

soft-light-4

You’ll also notice that the light itself takes on a different hue. Instead of having a foreground image with a high white-balance where the directional lighting is focused, the subject appears softer with a better balance of coloring. This actually gives a more accurate portrayal of the subject, especially if it is a person, as hard shadows can change the shape of the image.

Position the Model

When you use directional lighting with a softbox, the position of your subject has more of an effect on the image. Too close to the background and you end up with hard shadows behind the model, too close to the foreground and you’ll wash out the subject. You’ll also end up needing to use additional lighting techniques in the background to counteract some of the shadowing effects.

With diffusional soft lighting, positioning is still important, but you won’t have to play around with as many secondary light sources to eliminate noise from the shadows.

If you’re feeling experimental, take off your softbox and give this method a try. Take the same photograph with directional soft light and diffusional soft light to really get an idea of the difference between the two methods. Let us know how your experimentation works out in the studio!

Shooting a portrait in 15 minutes – Gear Overview

A new beginning

The wonderful people at Sleeklens have invited me to share my thoughts and experiences as a freelance photographer working in London. I will endeavor to do this several times a month, and for my first correspondence, I thought I would introduce myself so you will hopefully get an idea of what I love about photography and how my life as a working photographer unfolds.

My name is Matt Writtle and I’ve been working professionally for over twenty years. I have been seen quite a lot of changes, from bulk loading Ilford HP5 film and shooting with an old Nikon FM2, to shooting most of my work now on a Leica M (240) digital. I prefer digital now, controversial I know, but I have never been the most patient of people and the majority of my work is to shoot portraits and features for newspapers such as the Daily Telegraph and London Evening Standard.

To describe my work succinctly: I have to produce a studio quality portrait on location, in a venue I have never been to before, in less than thirty minutes.

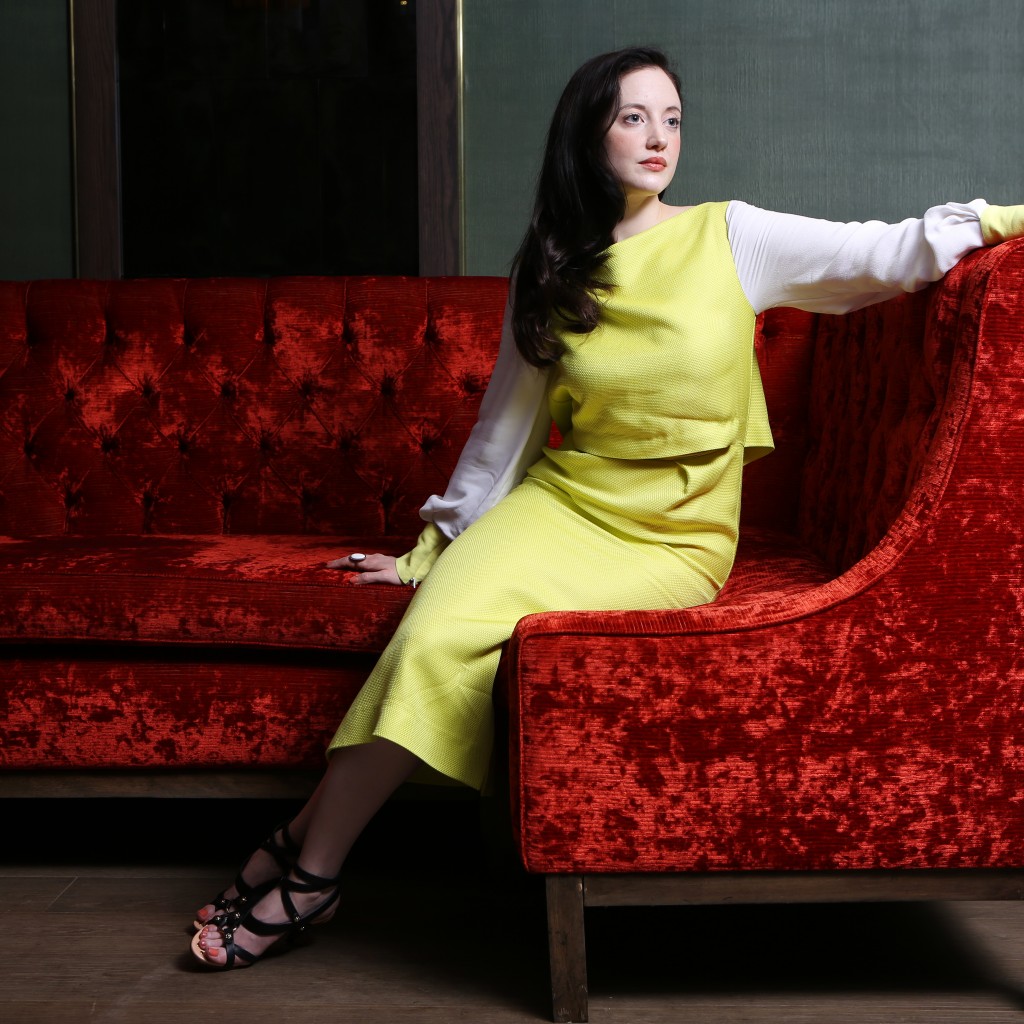
Portrait of actress Andrea Risborough at the Mayfair Hotel, Piccadilly, London. PHOTO MATT WRITTLE Picture commissioned exclusively for the London Evening Standard. Use in another publication will require a fee.

Ninja Turtle

Nearly all portrait shots are time allocated and controlled by the public relations officer or “PR” for the subject. Consequently, time is tight and closely monitored. I normally get fifteen minutes, thirty if I’m lucky, so preparation is key. The best way to prepare is to correspond with the PR in advance of the shoot, and then arrive early. Thirty to forty-five minutes before the shoot is a good amount of time to recce the venue, mostly hotel rooms, lobbies or a theater, and ascertain how much available light there is and what set up to use.

Budgets are tight, photographic assistants on newspaper shoots are rare, and as technology has advanced so has the demise of manpower, so, I have to travel alone with all my equipment on my back. I wheel it all around in Think Tank Airport Security V2.0 and additionally, I now carry a 22inch beauty dish in an extra large drum cymbals case on my back, very useful case and vastly cheaper than photographic equivalents. I look like a Teenage Mutant Ninja Turtle going on holiday!

My two main light attachments are the dish and a Photek Softlighter II 46 inch. Presently, I use the dish as my key light, and should I need any shadow fill I use the Softlighter II (brolly box). I have to be mindful not to have too much darkness and contrast in the image as newsprint doesn’t reproduce blacks very well. I also have to consider house style: newspapers don’t want their images to be too moody and gloomy.

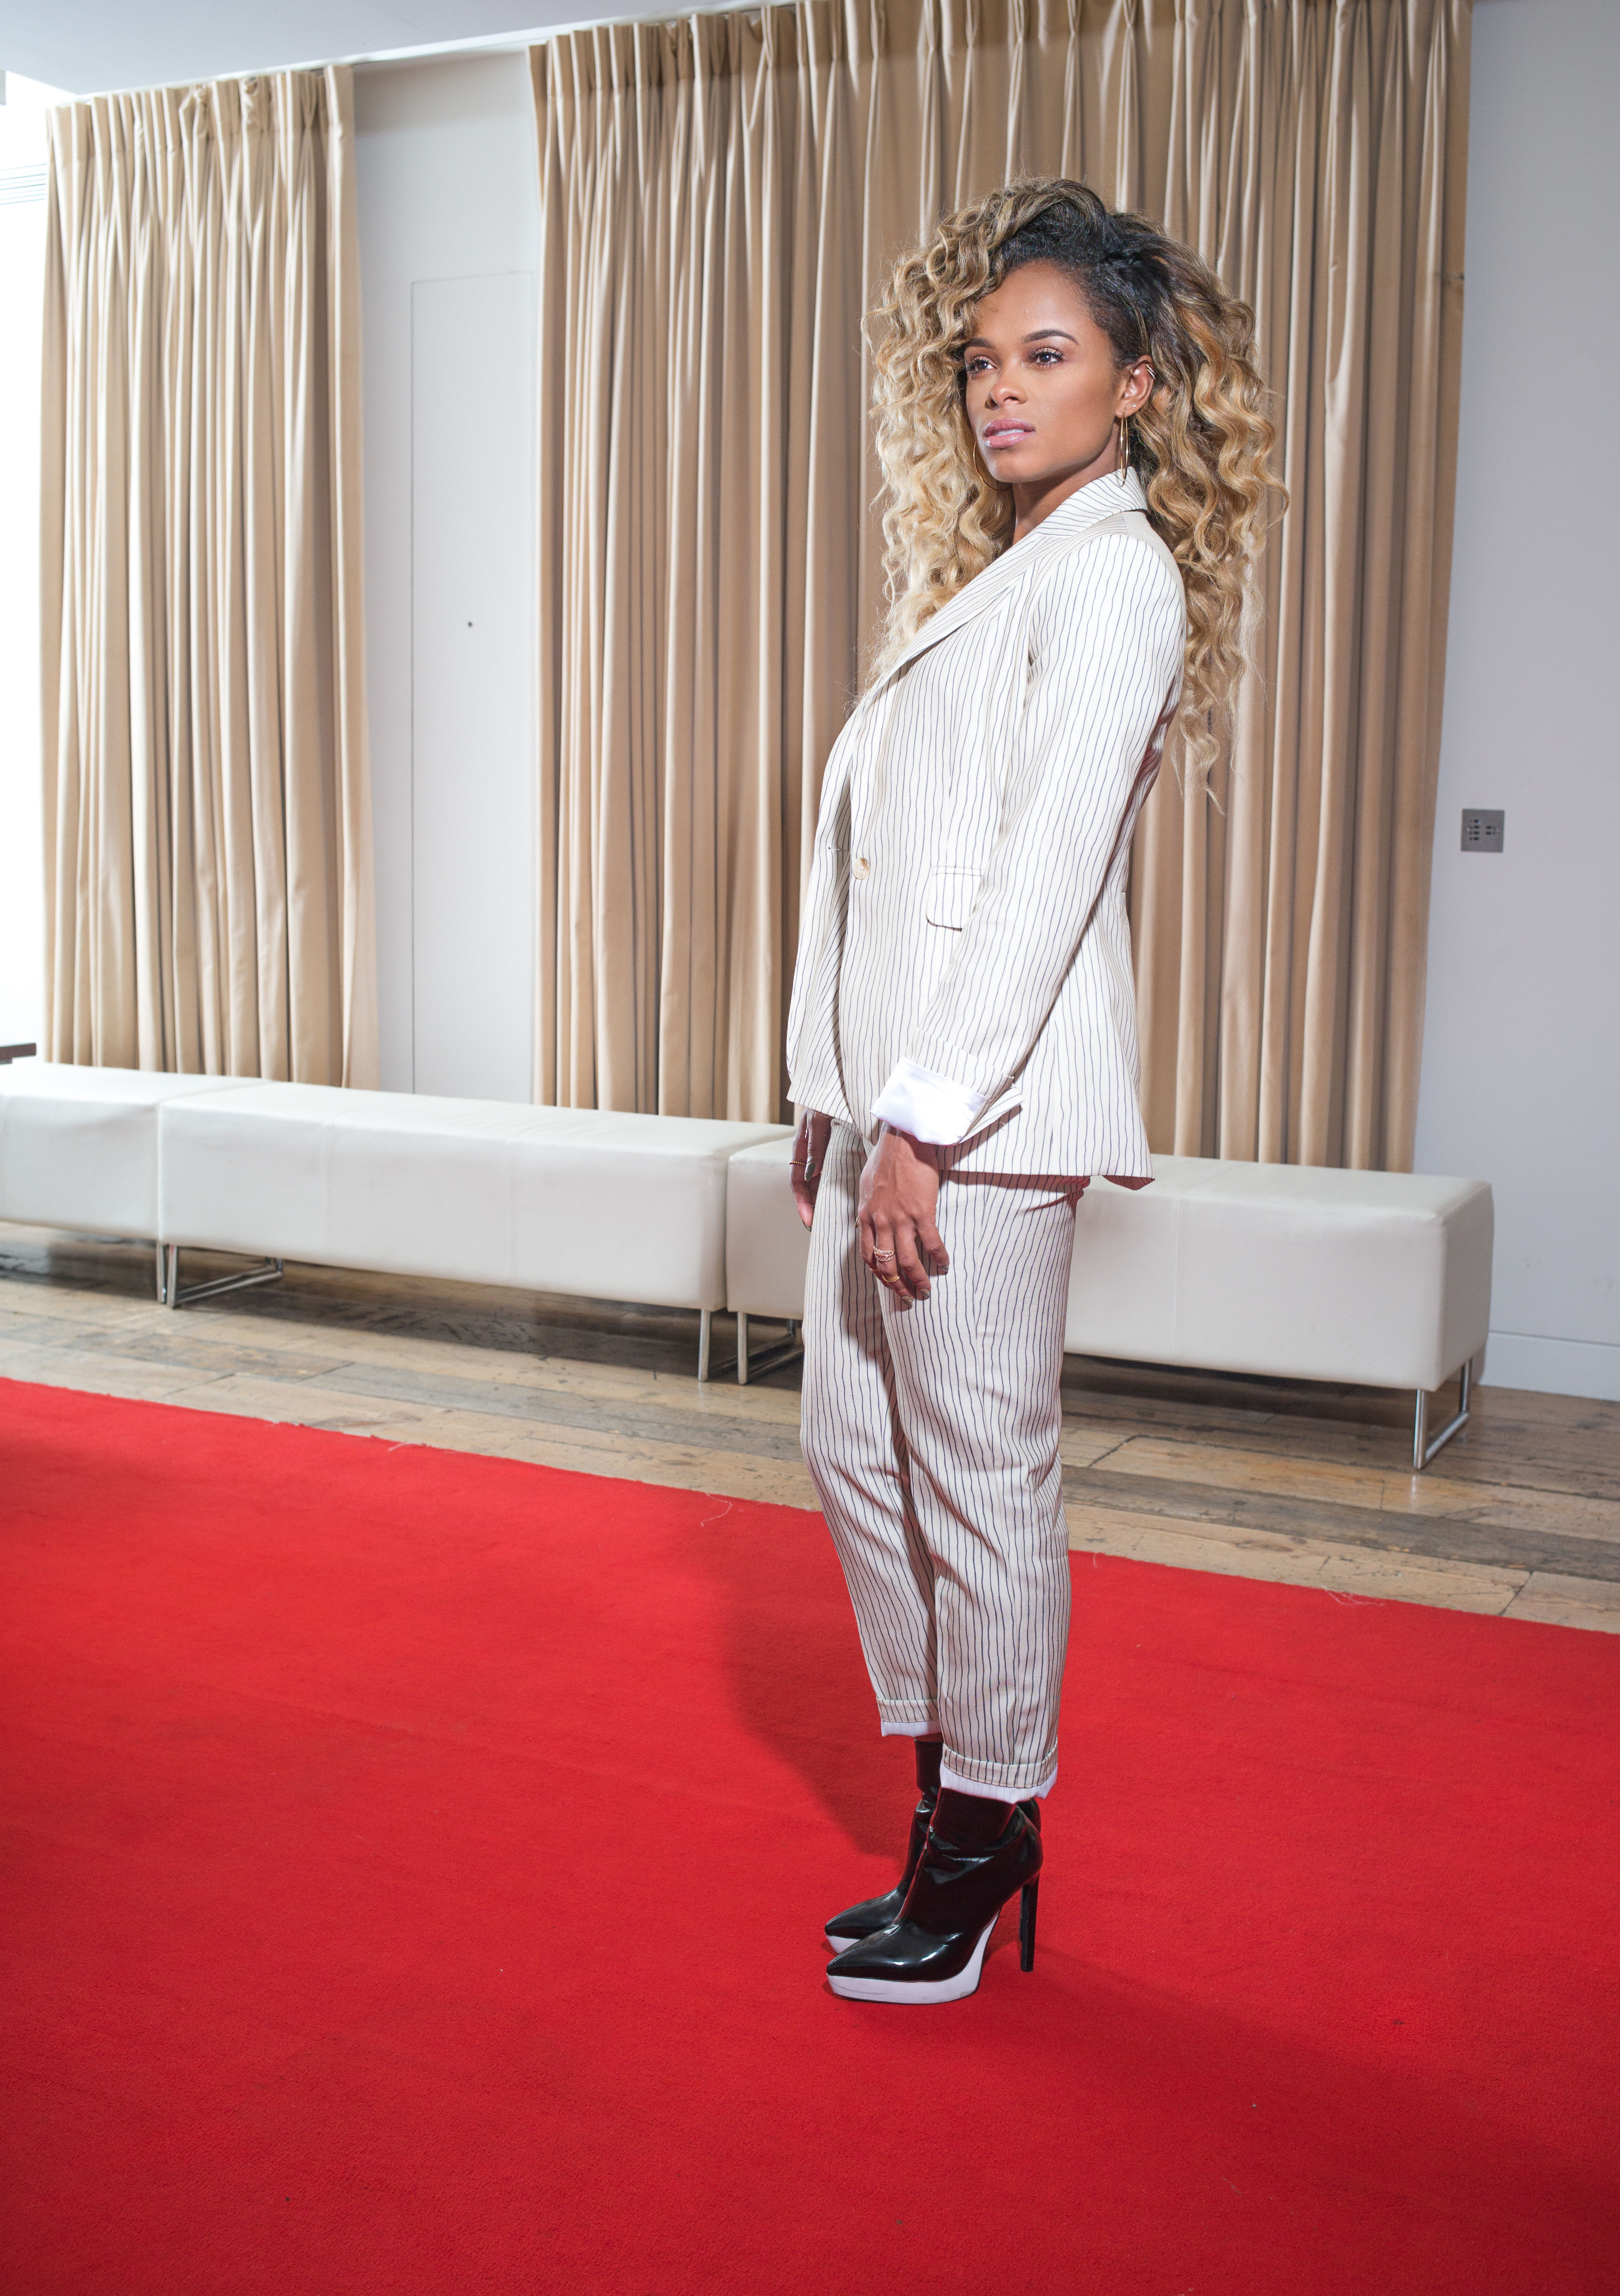
Commission May0066291 Assigned Portrait of former X-Factor contestant and pop star Fleur East at Sony BMG, High Street Kensington, west London. MUST CREDIT PHOTO MATT WRITTLE © copyright Matt Writtle 2015. Picture commissioned exclusively by the Telegraph Media Group. Use in another publication will require a fee.

War and Peace

On most shoots, I walk around the location and try to imagine how the subject will look in a scenario befitting of the angle of the interview. I tend to ask the PR to stand in for a light test. Exposure and mood created, I wait. Many people don’t consider how different each individual will look in the same light, and often, I have to modify the light to accommodate the star.

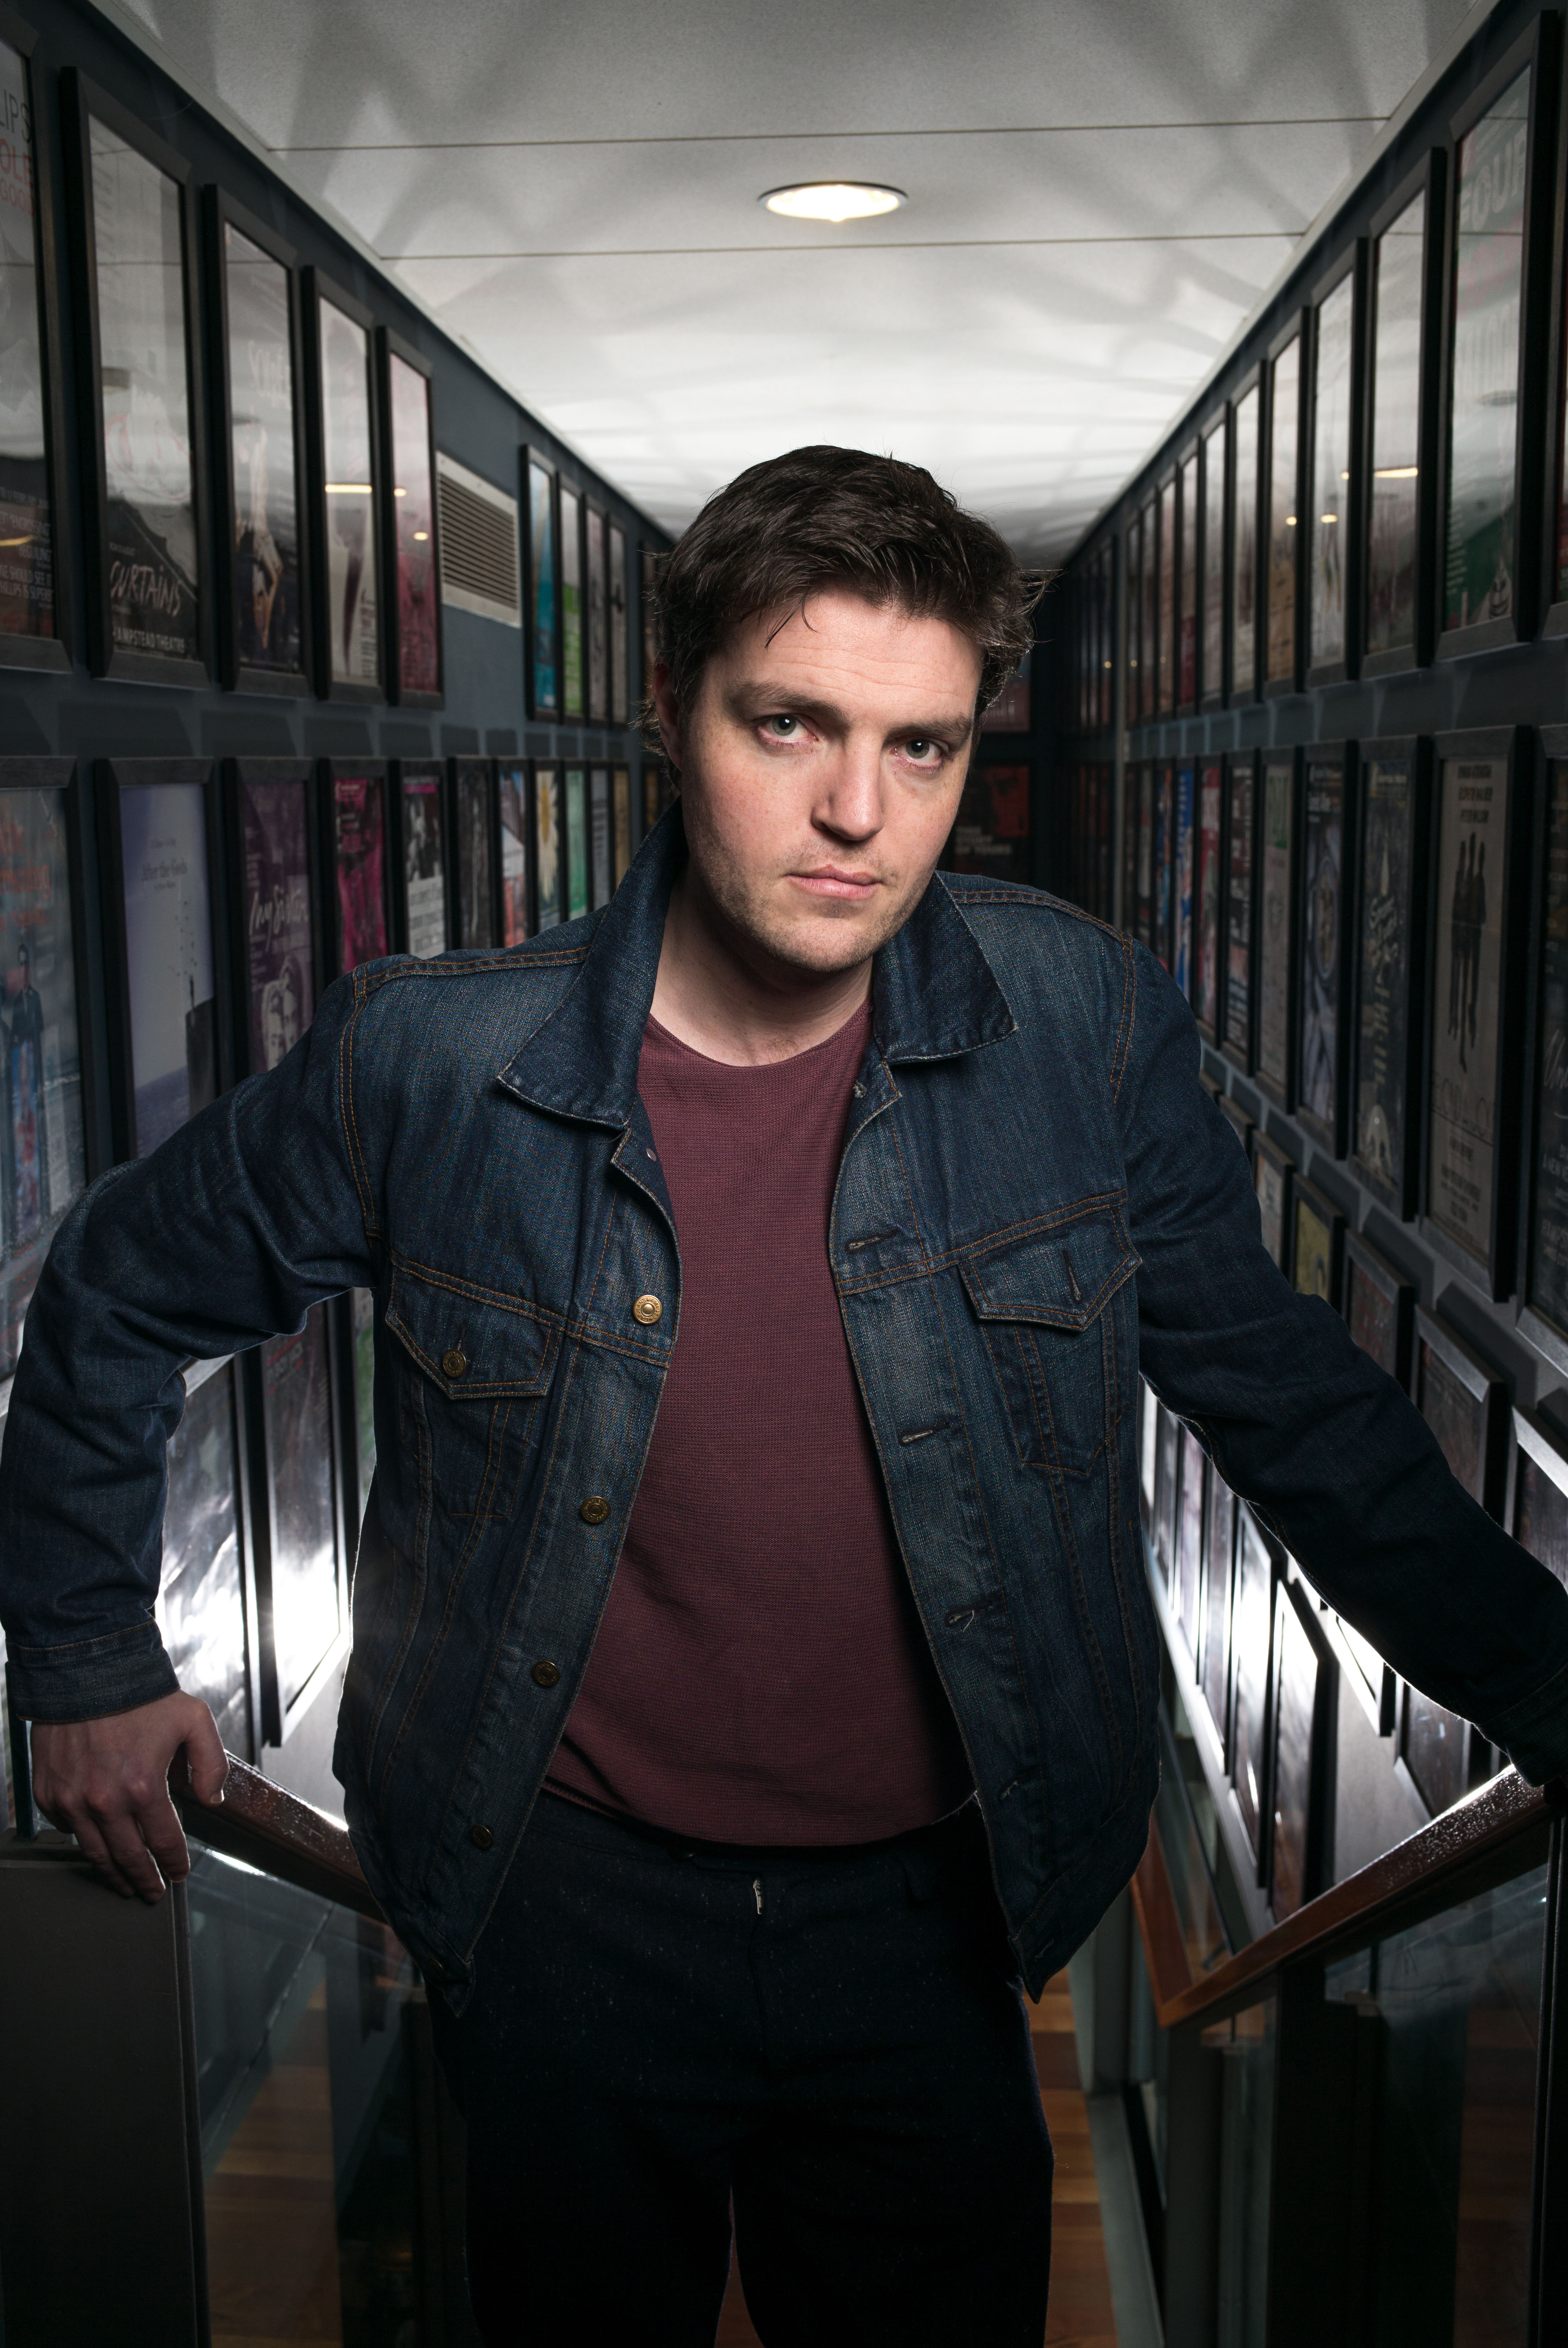
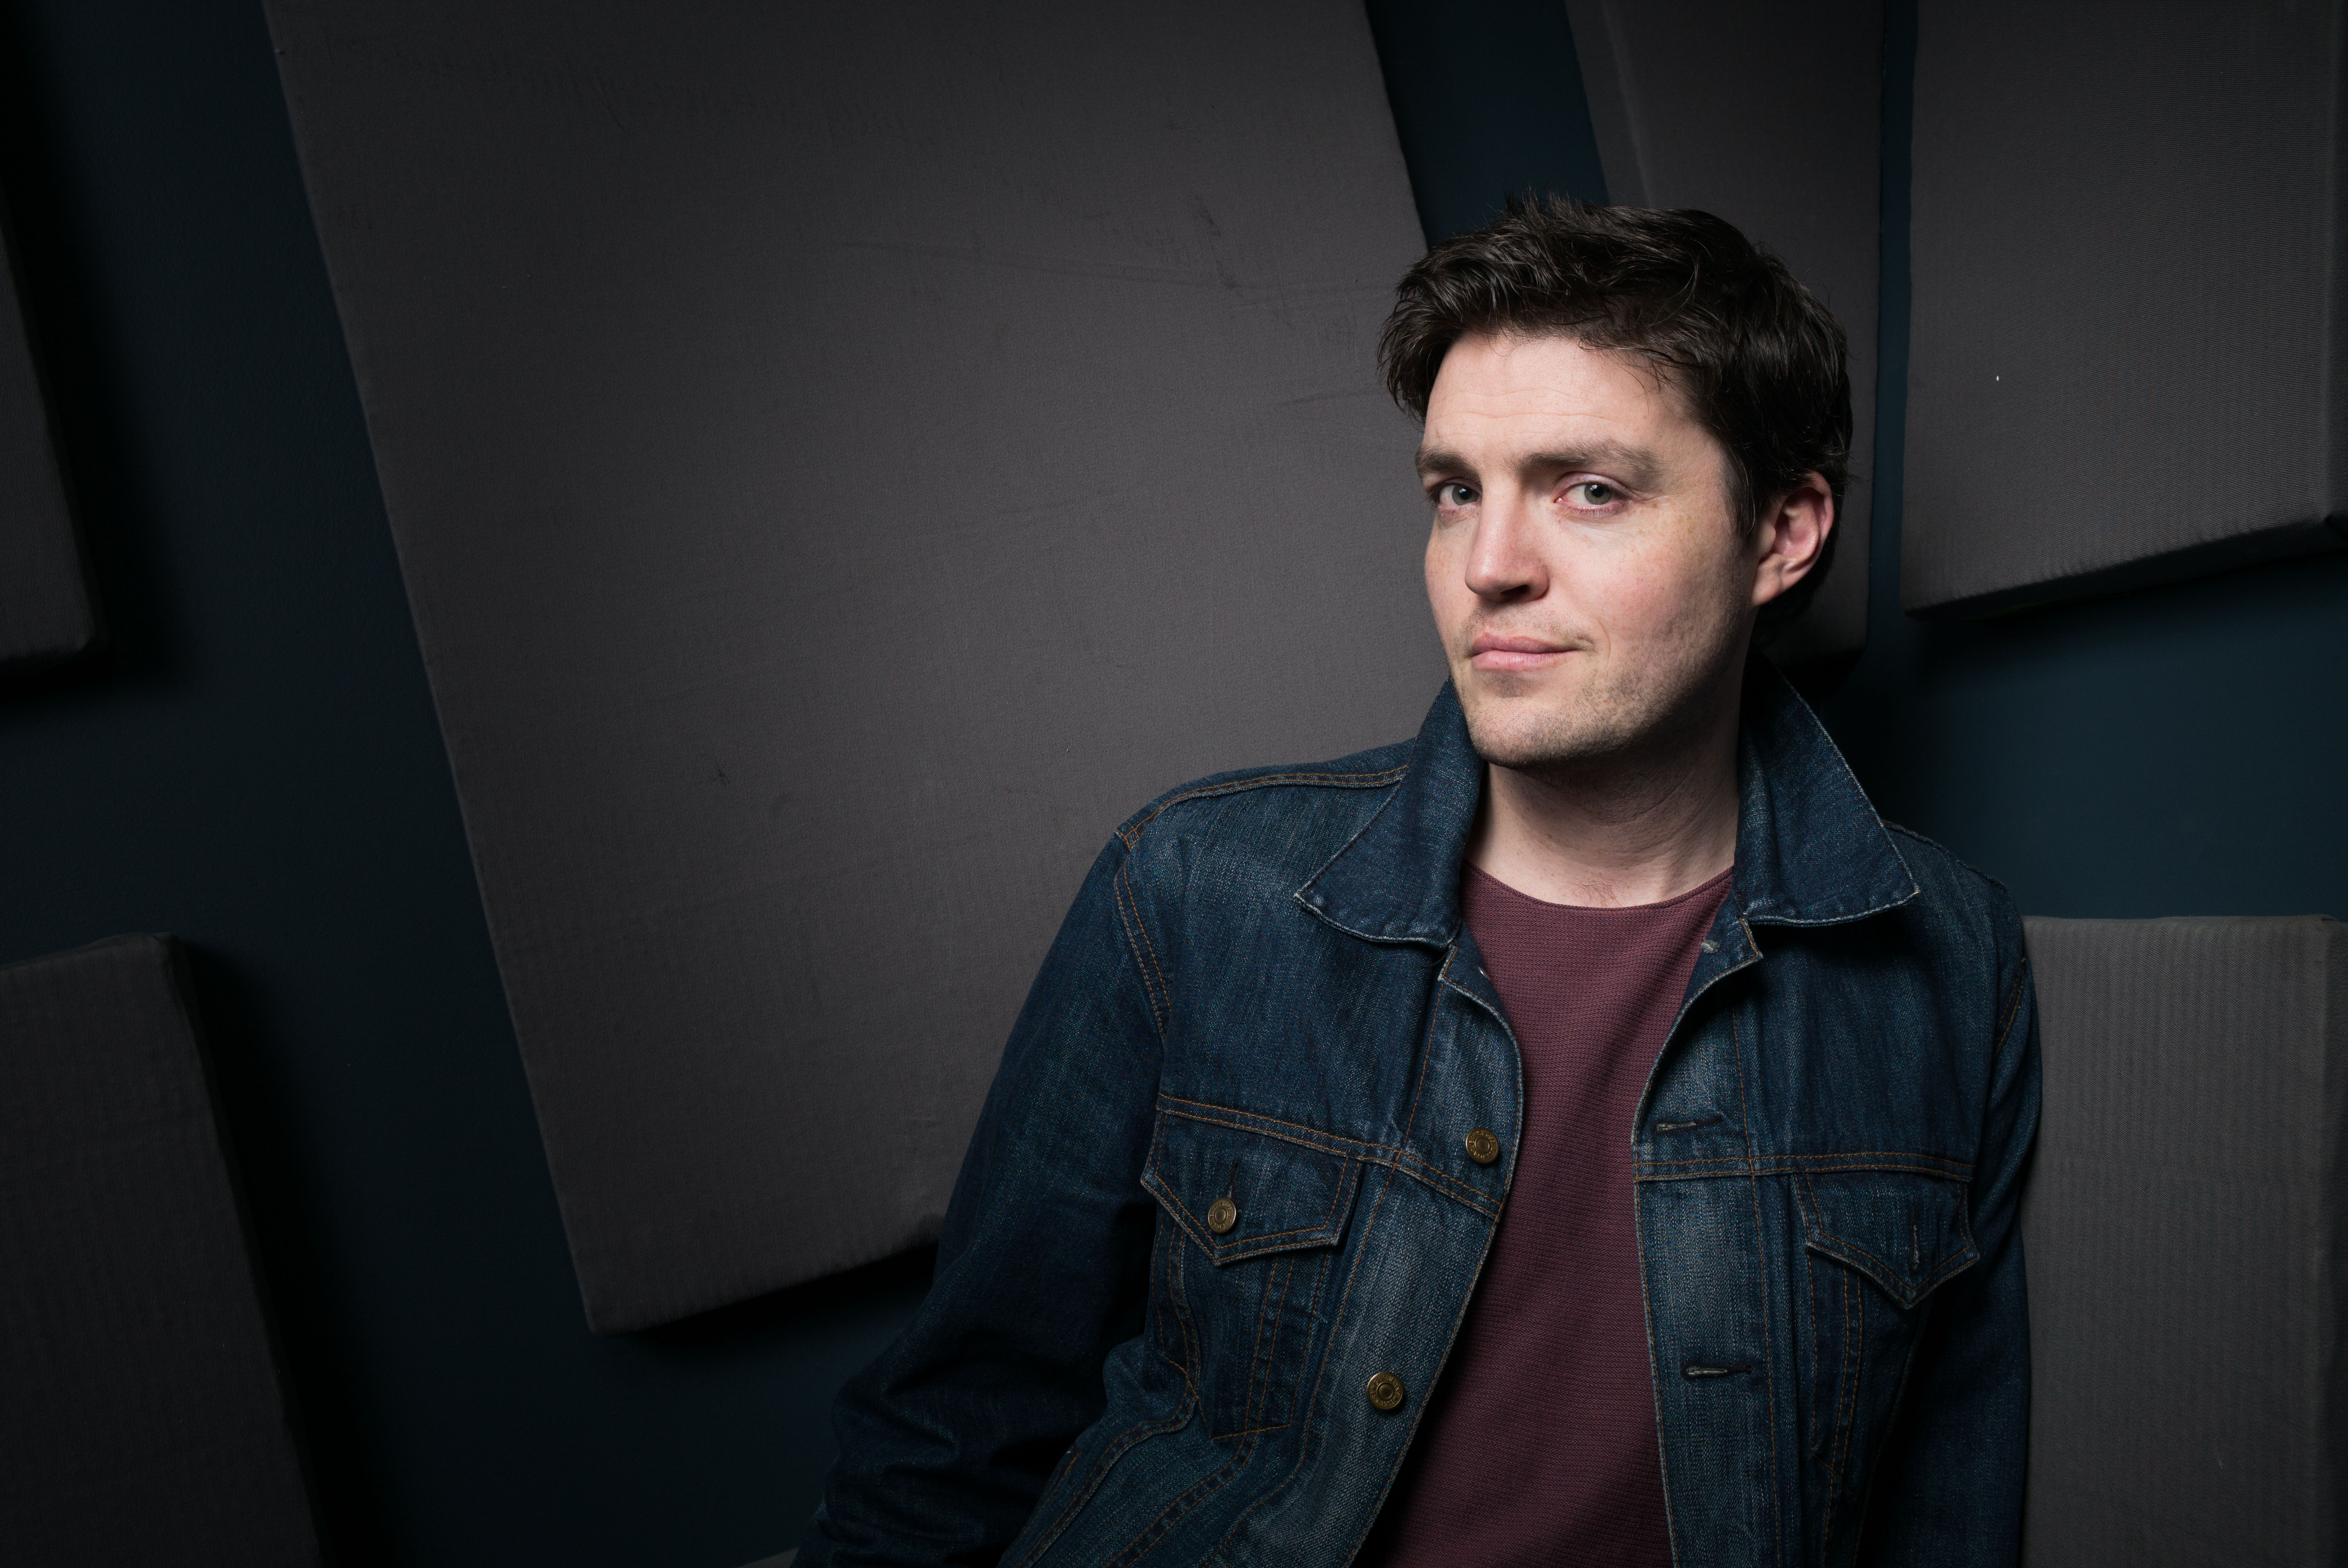
This was the case when I photographed actor Tom Burke (BBC’s War and Peace) recently for the Daily Telegraph. The shoot was at London’s Hampstead Theatre he was performing in, so, stairwell and lift lobbies were my backdrops. Ten minutes recce and he appeared. I keep things simple. The more complicated you try to make things, the more time you waste.

Set up one was at the top of some stairs with framed posters of previous actors who’ve starred at the theatre. I was thinking hall of fame and he was being inducted. Beauty dish key light, with a basic backlight to add mood and light the framed pictures.

Commission May0068723 Assigned Portrait of Actor Tom Burke who is appearing in Reasons To Be Happy at Hampstead Theatre, Swiss Cottage, north London. MUST CREDIT PHOTO MATT WRITTLE © copyright Matt Writtle 2016. Picture commissioned exclusively by the Telegraph Media Group. Use in another publication will require a fee.

Set up two was in a darkened lift lobby, but as Tom Burke is known for his brooding characters, I thought this quite fitting. Again, beauty dish key light, with a gentle amount of fill for shadows with the brolley box, all of which shot on my Leica M (240) with a 35mm f1.4 and 50mm f1.4 aspherical.

Commission May0068723 Assigned Portrait of Actor Tom Burke who is appearing in Reasons To Be Happy at Hampstead Theatre, Swiss Cottage, north London. MUST CREDIT PHOTO MATT WRITTLE © copyright Matt Writtle 2016. Picture commissioned exclusively by the Telegraph Media Group. Use in another publication will require a fee.

‘Goodnight Mommy’

In addition to the technical, you have to get a famous or notorious person inside to produce the image you want. I would say it’s a challenging and tense situation. For those fifteen minutes, I channel my adrenaline, whilst being friendly and keeping the subject happy. At the same time, I make sure the image is focused, composed, exposed and the lighting suits the mood of the character, all while a PR is standing behind you counting down how much time you have left.

It can be frustrating, but only because you have unique access and often not enough time to do it justice. But when there is a connection, the shoot sparks into life and that’s when the magic happens.

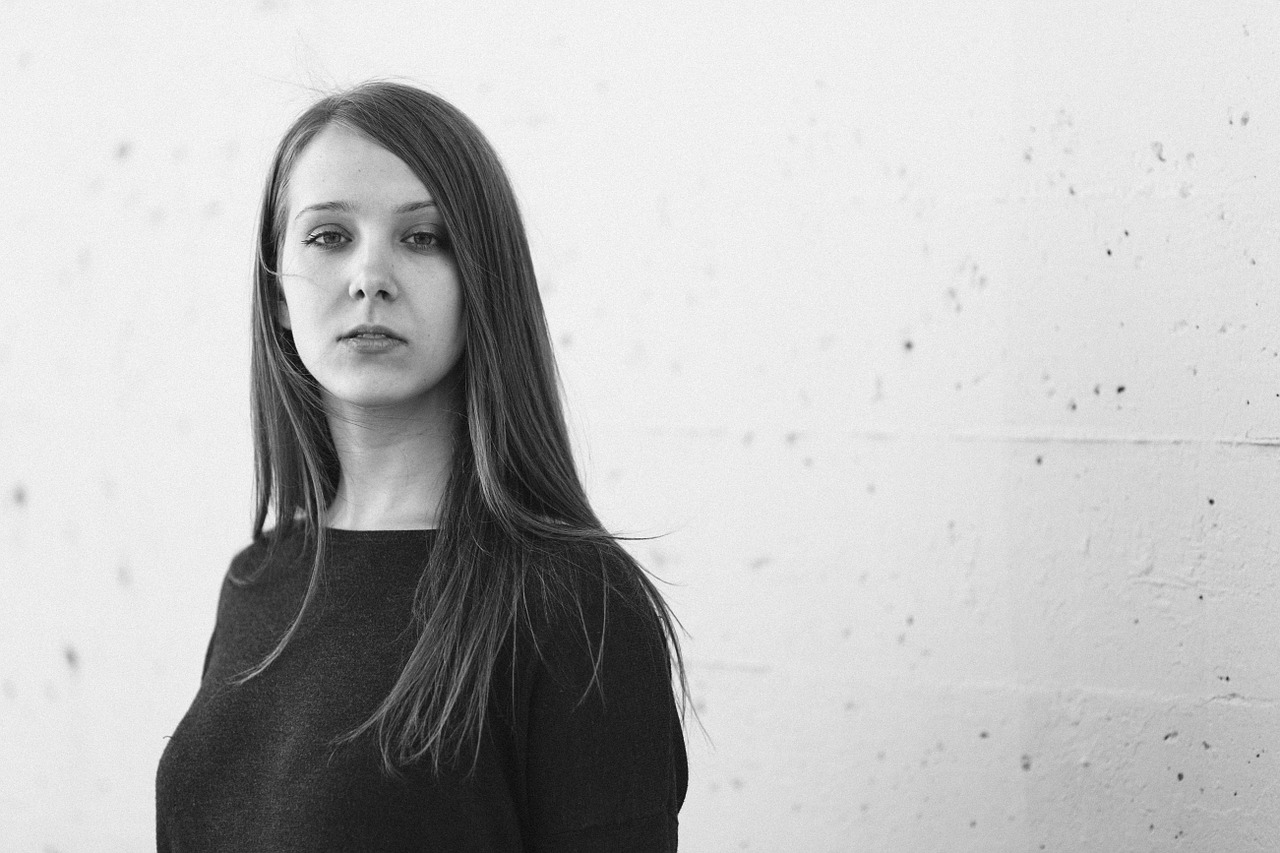
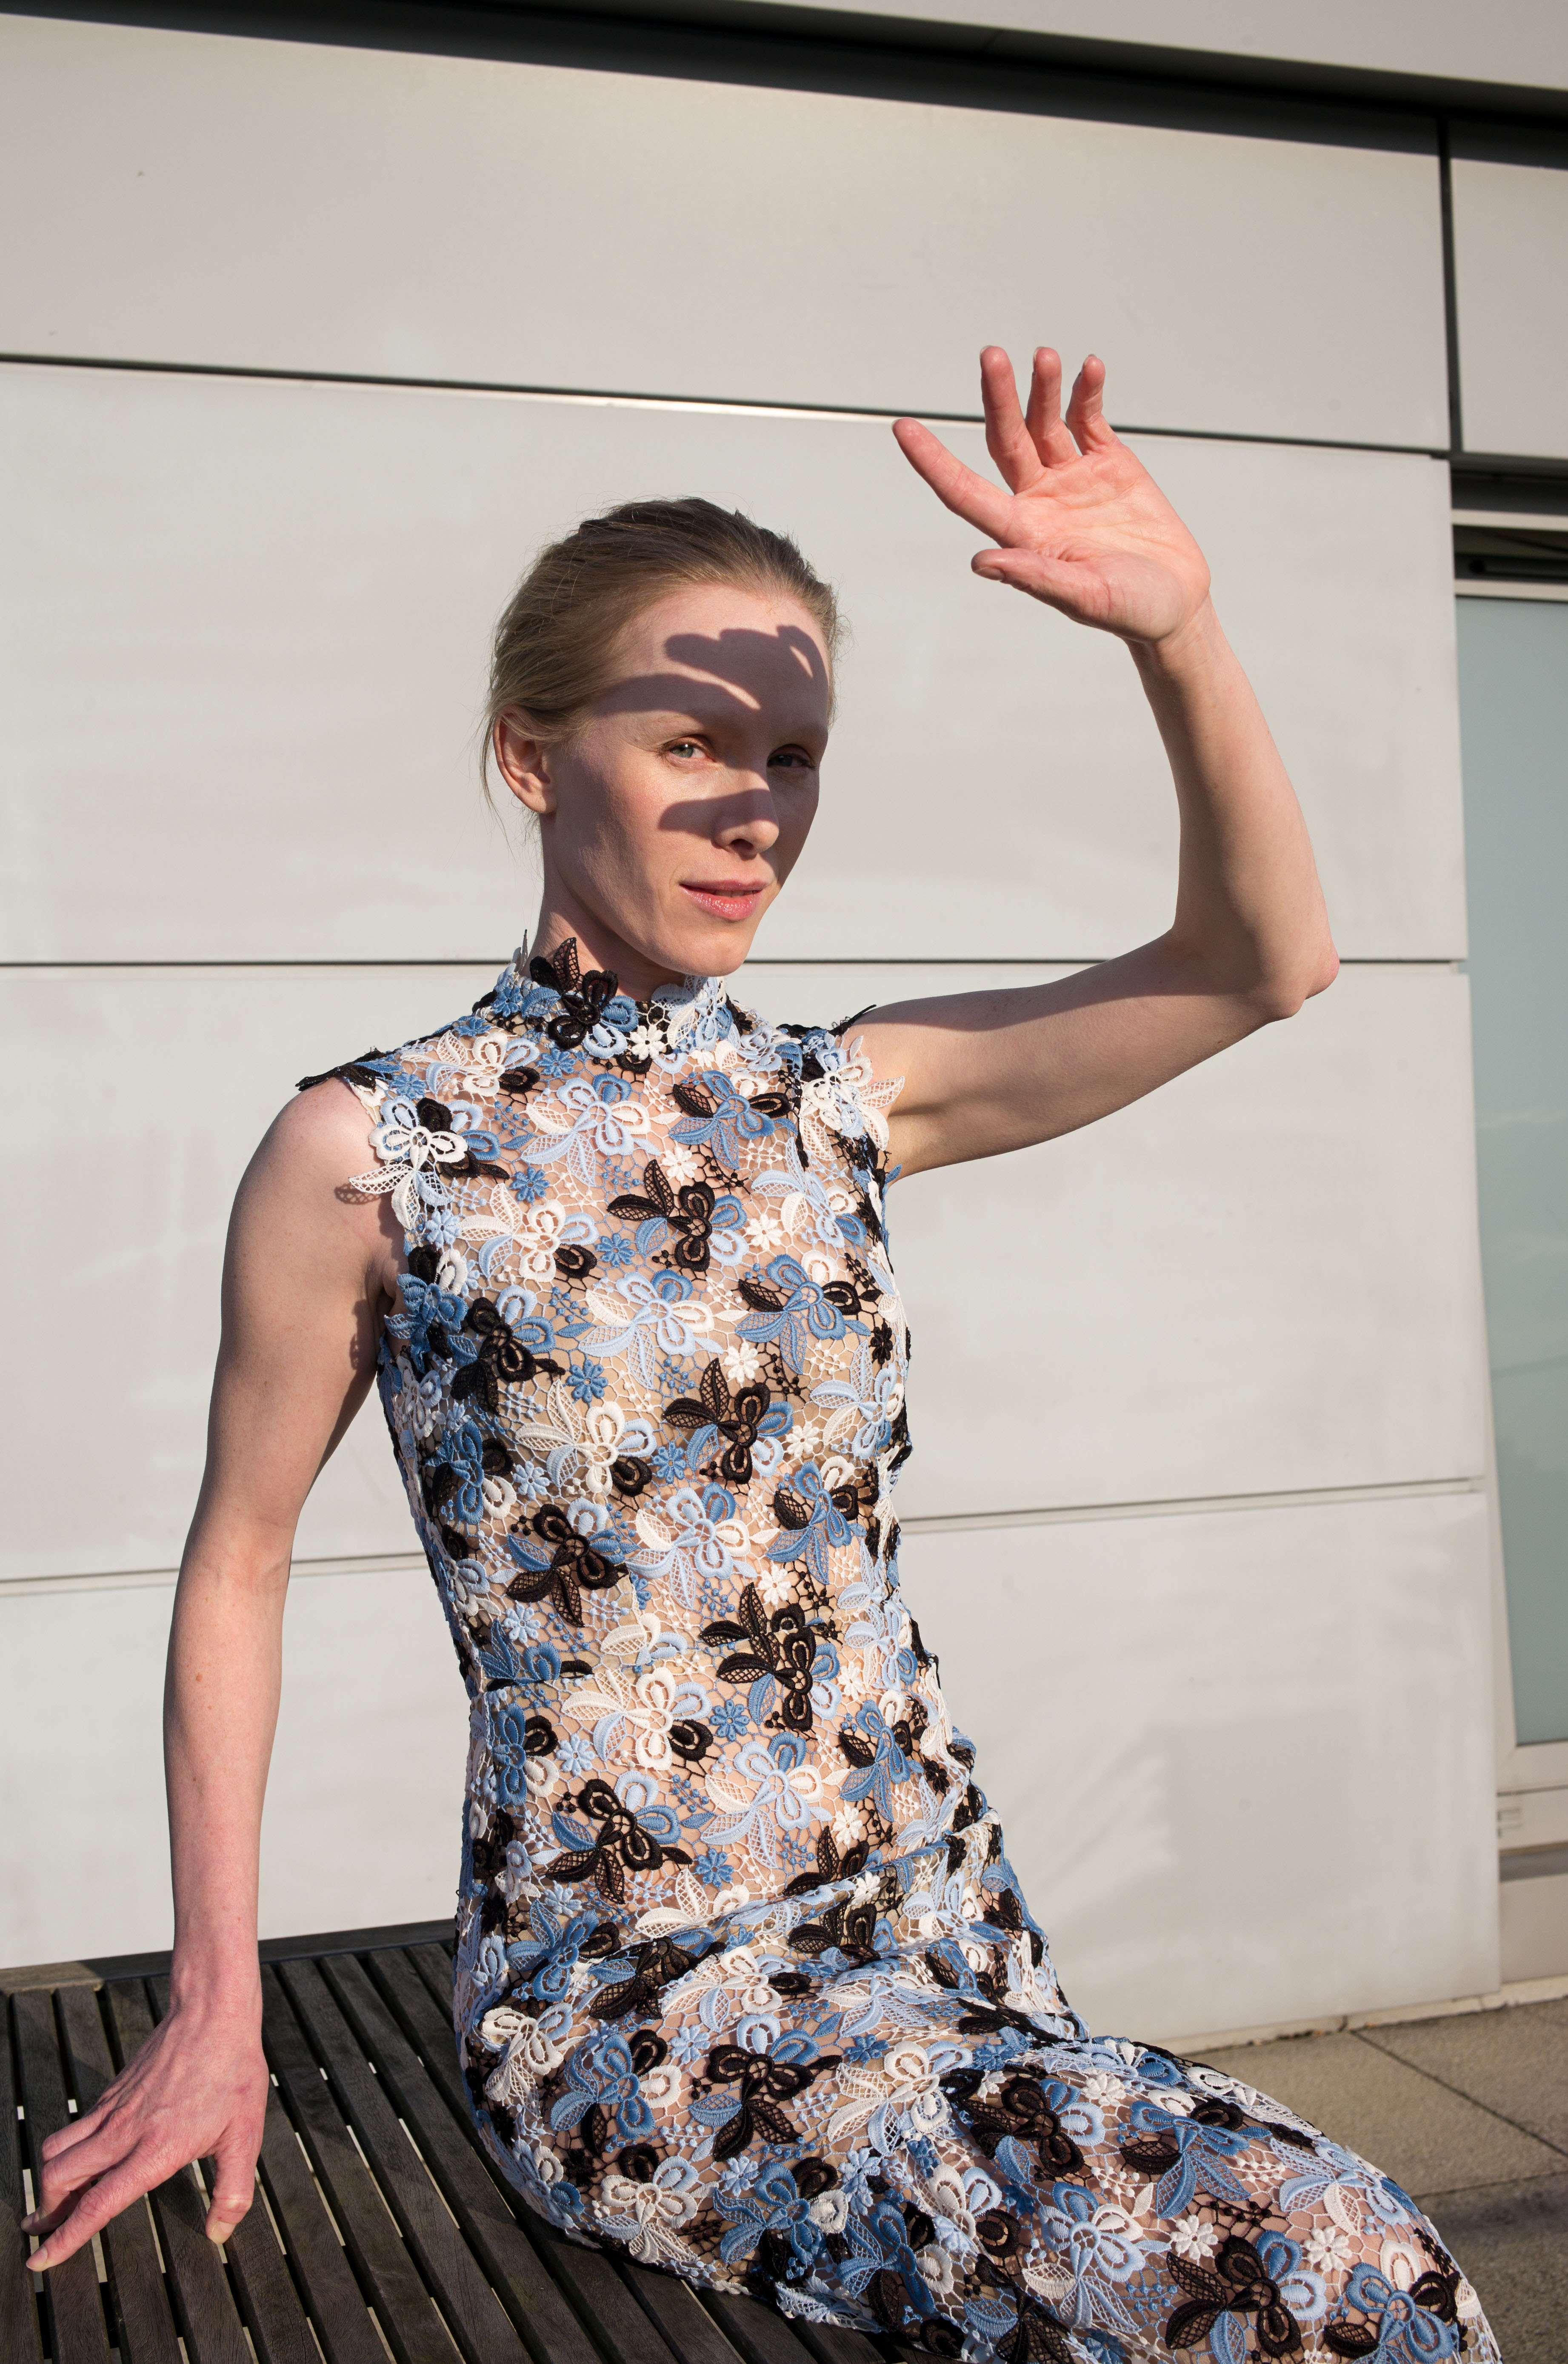
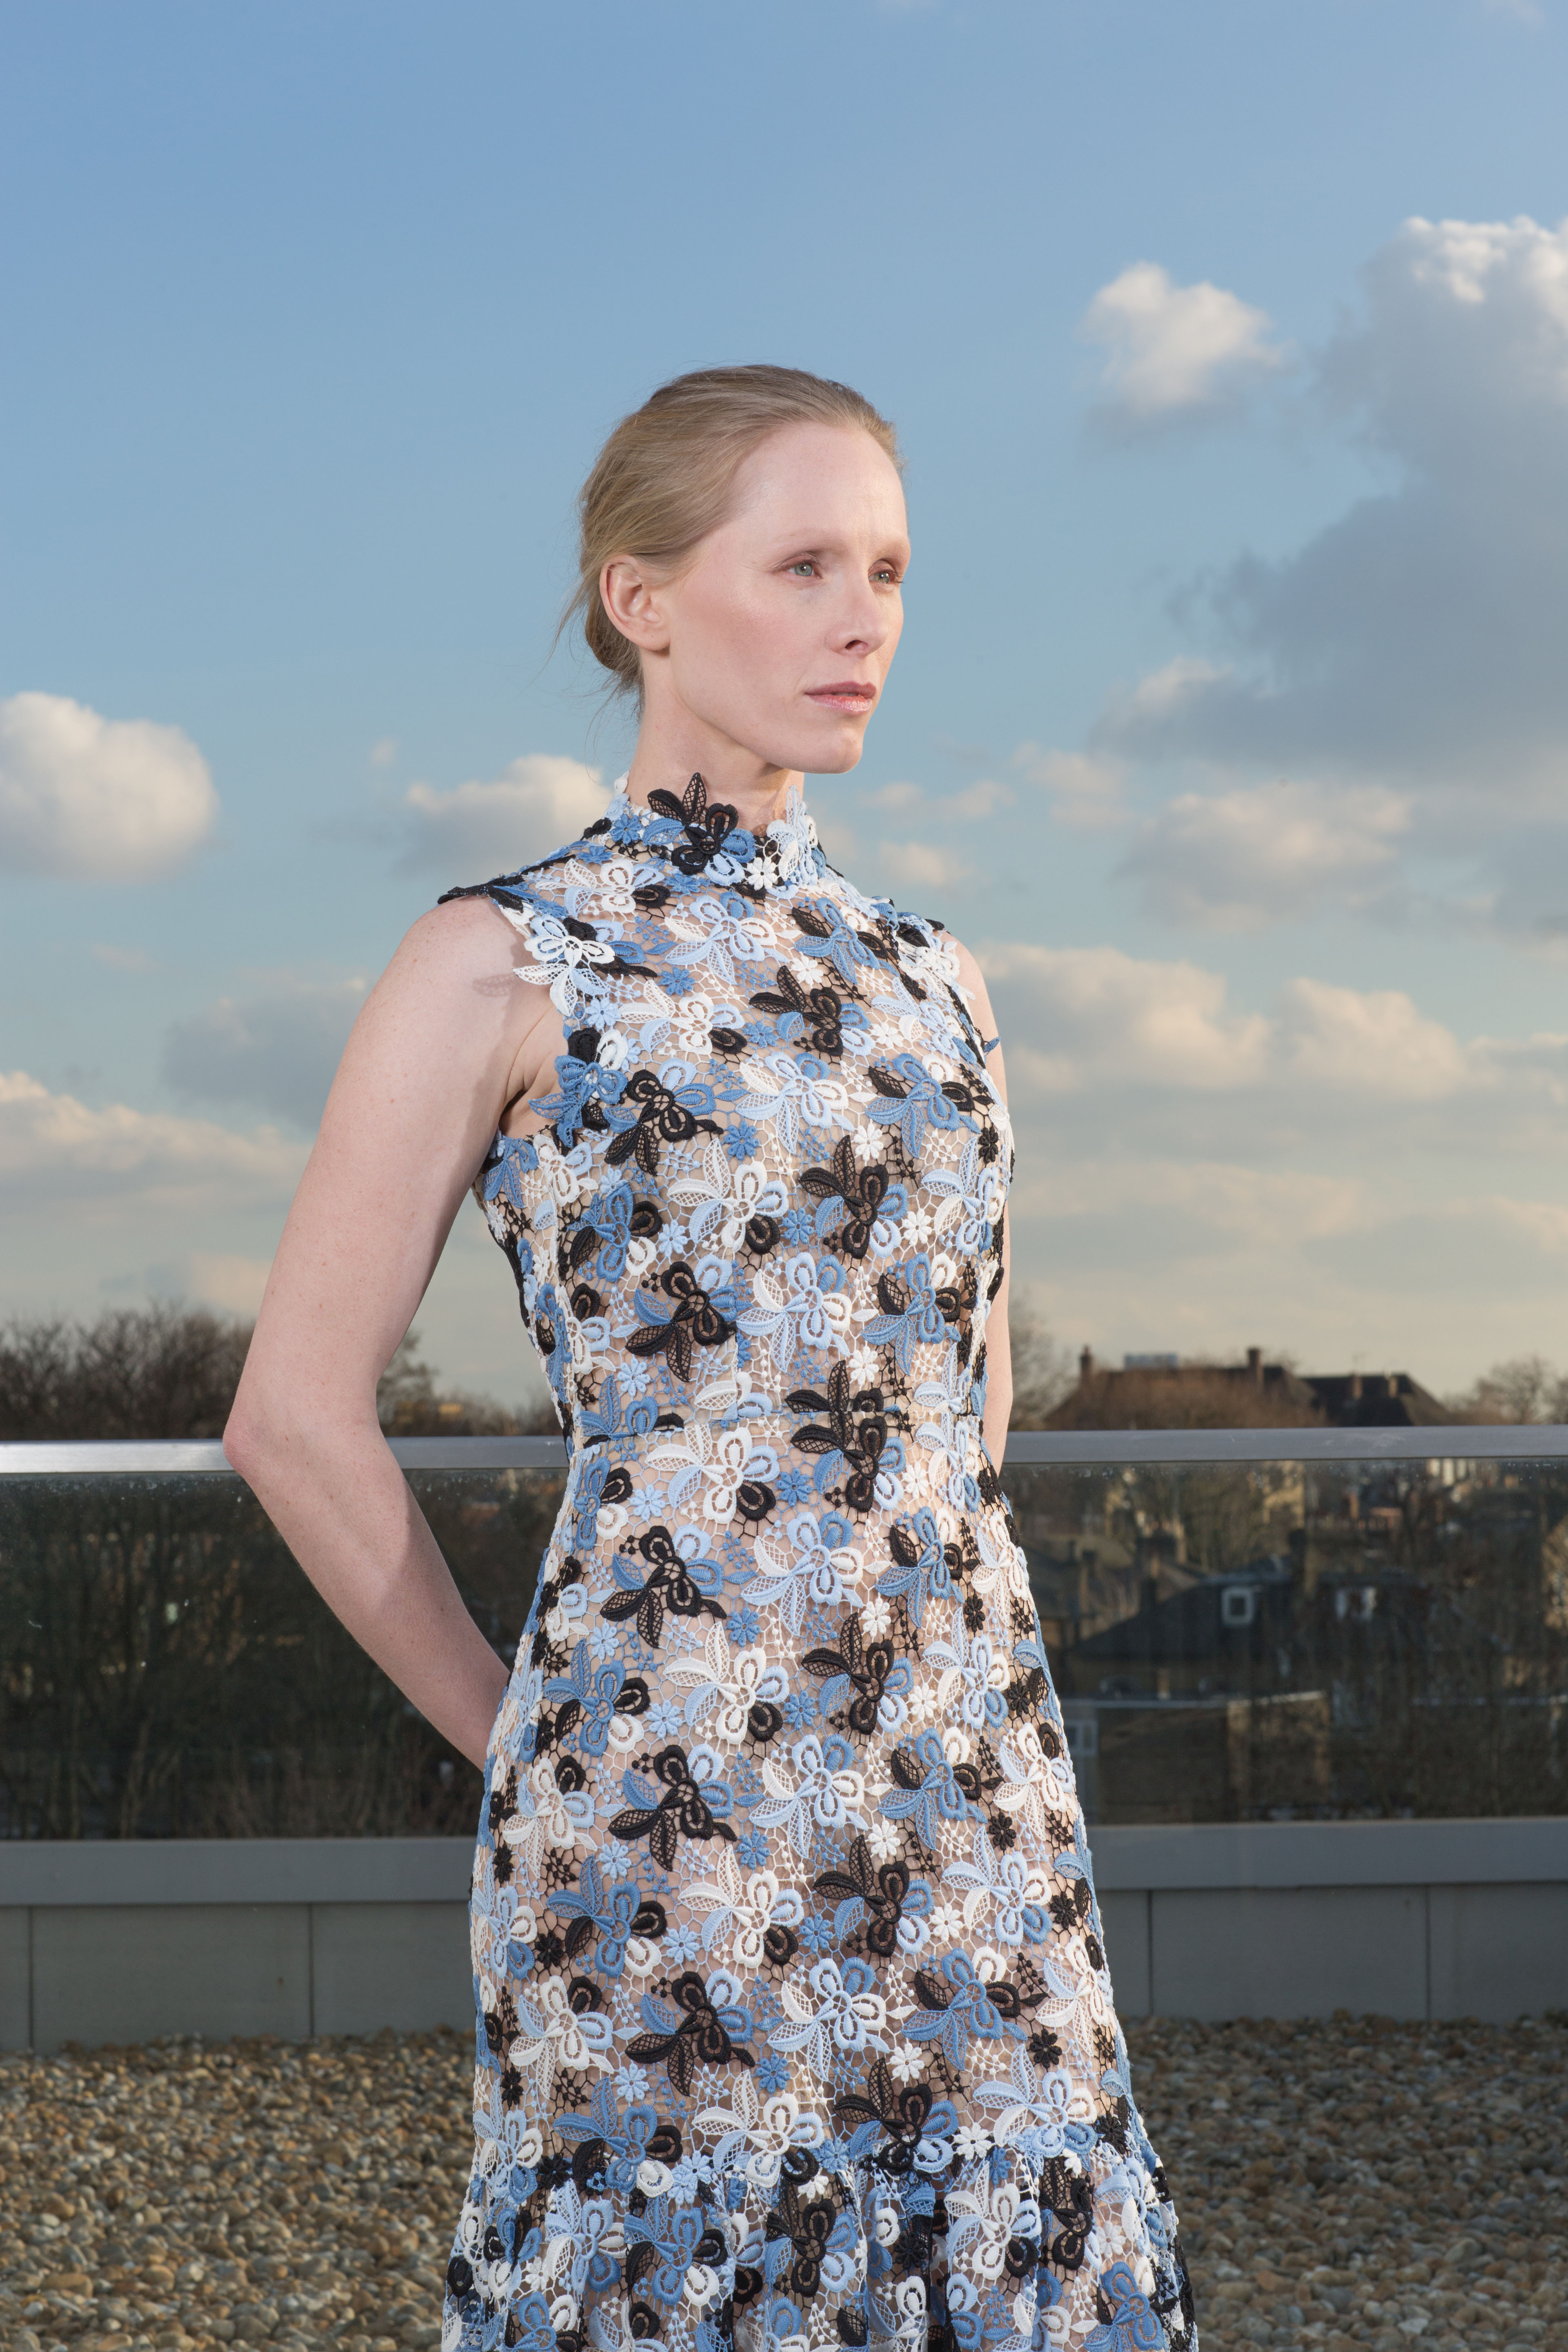
This was apparent when I photographed the Austrian actress Susanne Wuest who starred in a horror film “Goodnight Mommy’ which has received critical acclaim. We met at her penthouse apartment at the old Arsenal FC football stadium, now flats. Having modelled before, I was optimistic the shoot would be successful. She was as enthusiastic as I and we connected on what we both wanted to achieve, which took place on her terrace against a beautiful blue early spring sky.

Set up one was just natural light shot on my Leica with a 35mm.

Portrait of Austrian actor Susanne Wuest at her apartment in Highbury, north London. MUST CREDIT PHOTO MATT WRITTLE © copyright Matt Writtle 2016. Picture commissioned exclusively by the London Evening Standard and ESL. Use in another publication will require a fee.

Set up two was on my Canon 5d mark III with a 24mm-70mm zoom. I metered for the natural light and then placed two Elinchrom Quadra heads, one with the beauty dish, one naked, at 45° angles to her and boom! I got my favourite shot.

Portrait of Austrian actor Susanne Wuest at her apartment in Highbury, north London. MUST CREDIT PHOTO MATT WRITTLE © copyright Matt Writtle 2016. Picture commissioned exclusively by the London Evening Standard and ESL. Use in another publication will require a fee.

Hope this guide has been useful for you as a brief panorama of how do we photographers suit our gear to match the different scenarios we may come across during our daily job. See you next time!