Wildlife photography is no doubt one of the most difficult genres of photography. Not only do you need certain knowledge of the animal’s behavior in order to stand out from the masses, but
you need to show stunning, eye-catching and breathtaking shots of animals. You can say that there are no rules for photography because beauty lies in the eye of the beholder, but I’ve been a wildlife photographer for 6 years now and have learned a lot about this photography genre, so let me just give you some advice that will help your wildlife photos stand out more.
Table of Contents
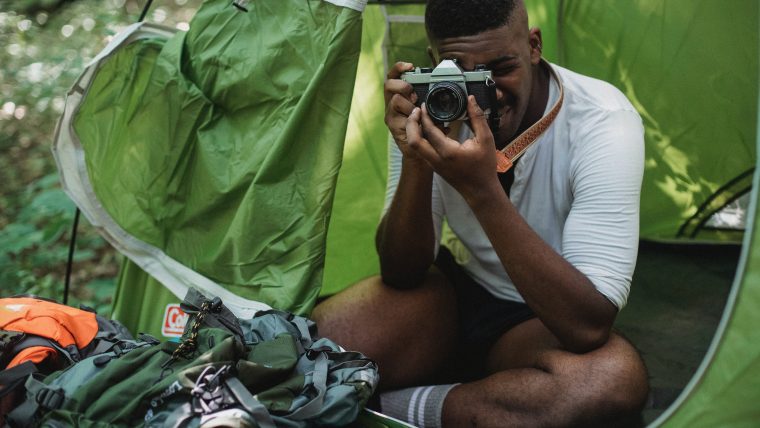
Our first wildlife photography tip is to hide from the animals as much as you can, especially if you are photographing wildlife that is a very timid. I would definitely recommend a camo tent or at least a camouflage net in order to be less visible to certain species. Camo tents are usually not that expensive, they are available under $70 and furthermore usually come with carrying bag. You will also want to invest in a zoom lens or even a telephoto lens, so you can stand back farther.
Being invisible to wild animals will automatically mean that you will have better chances to get better shots, as the animals will feel much safer and relaxed when there are no humans are around.
Camera Body: Canon 60D, Lens: Sigma 120-300, Shutter Speed: 1/2000, Aperture: f 2.8, Focal Length: 300 mm, ISO: 640
Study the animal you want to photograph. Different wild animals show different behaviors. There are animals that are only active in the night while others are active during the day. For example, if you want to photograph a badger, you will probably only have success when you shoot during the night, as they are night active animals, whereas bird photography will require you to get up in the early morning hours.
Camera Body: Canon 550D, Lens: Canon 100-400, Shutter Speed: 1/3200, Aperture: f 5.6, Focal Length: 310 mm, ISO: 1000
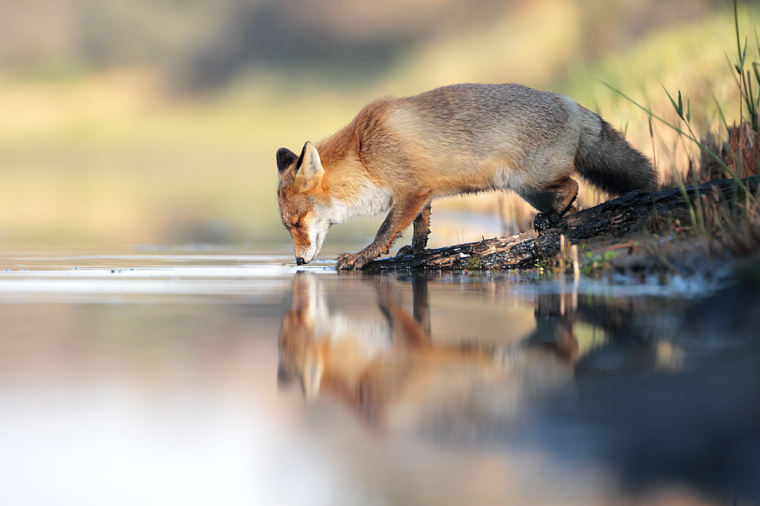
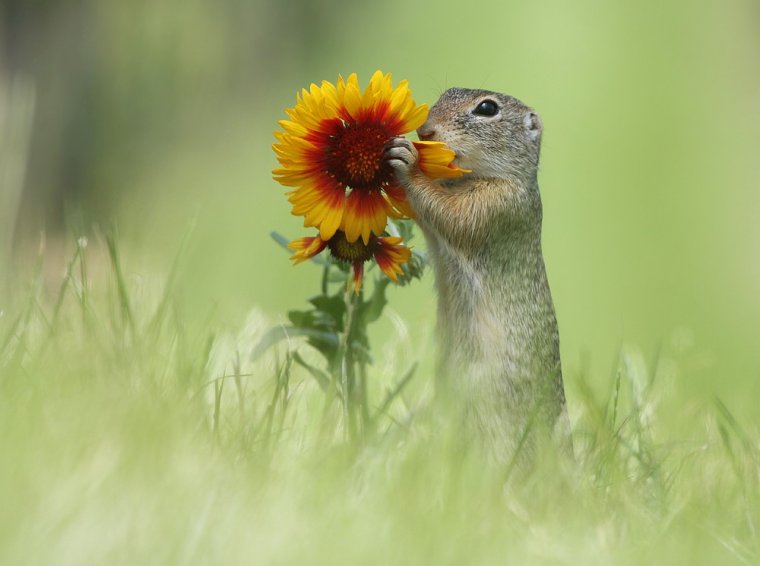
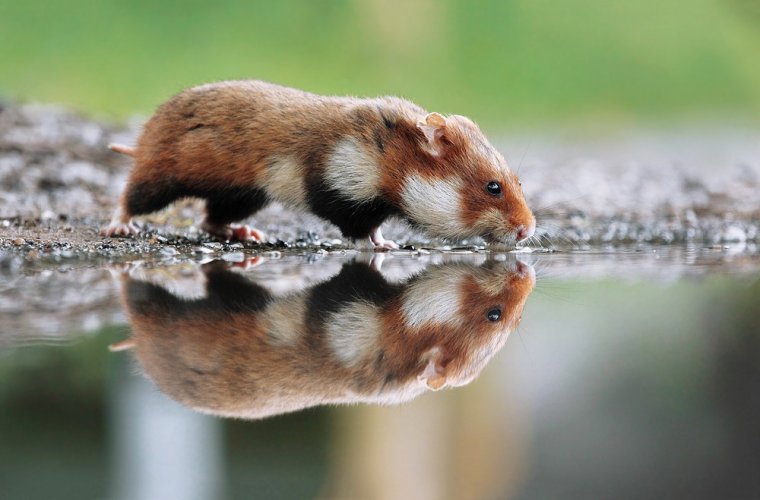
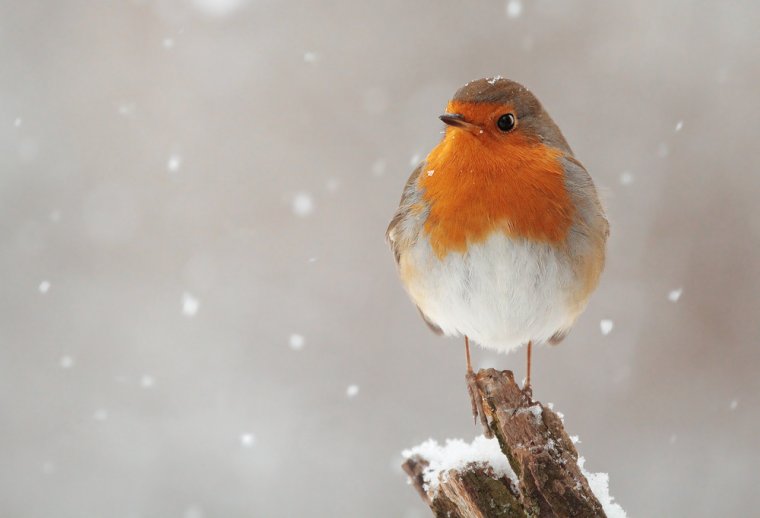
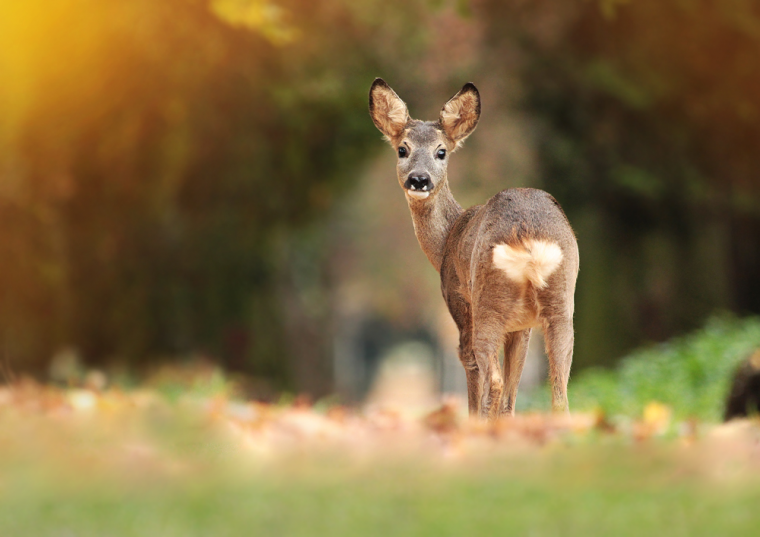
A smooth and clear background often looks much better in nature photography because a busy and noisy background can destroy the whole look and feel of an image. Consider using an open aperture to get the background as blurry as possible and also to be able to use a fast shutter speed to get more sharpness.
Your subject will just stand out more when it is completely isolated from the background.

Camera Body: Canon 550D, Lens: Tamron 180, Shutter Speed: 1/500, Aperture: f 3.5, Focal Length: 180 mm, ISO: 100
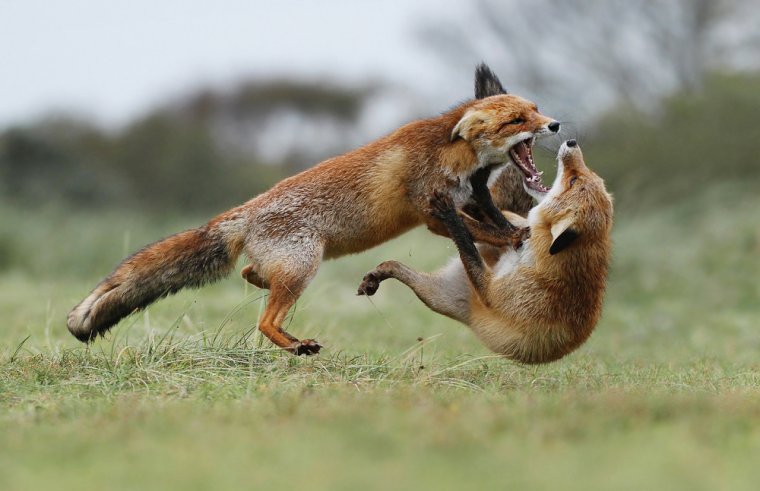
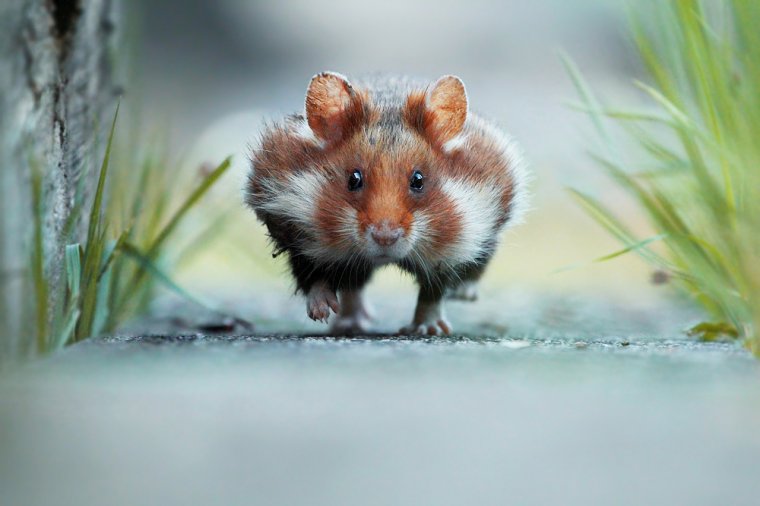
When you are about to take action shots of wild animals, there is no way around to set a fast shutter speed value. I would recommend setting the shutter speed value to at least 1/500s in order to freeze the action. The faster the shutter speed value the better, but always be sure to set the lowest ISO value possible to avoid grain and noise in your images. Also, choose a camera which can provide a high rate of frames per second to capture fast movements of animals and get out the most of an action sequence.
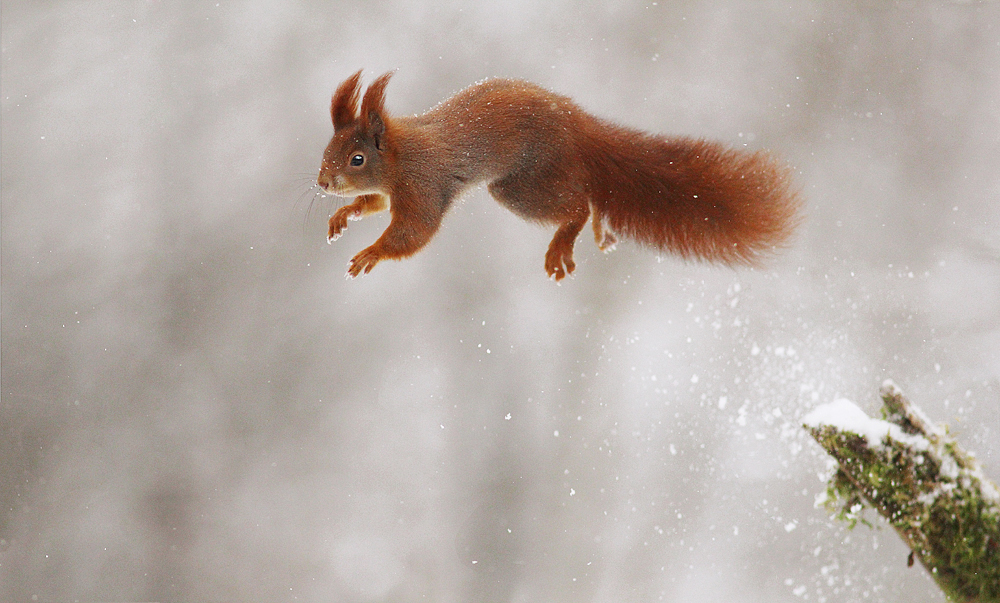
Camera Body: Canon 60D, Lens: Sigma 120-300, Shutter Speed: 1/8000, Aperture: f 2.8, Focal Length: 300 mm, ISO: 1250
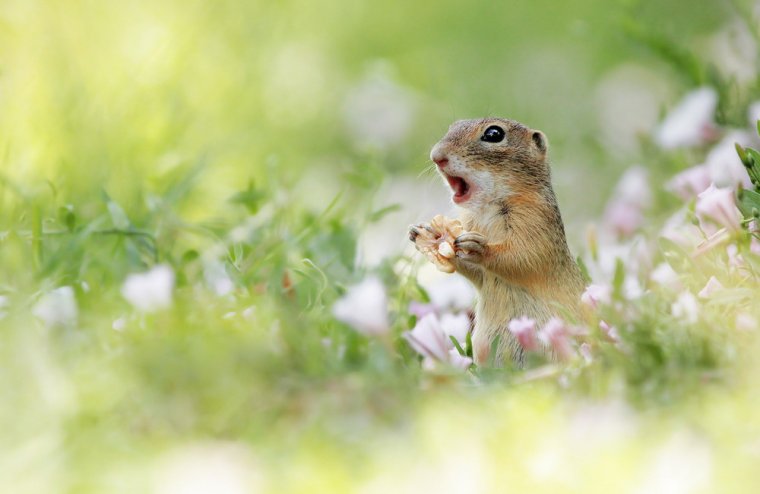
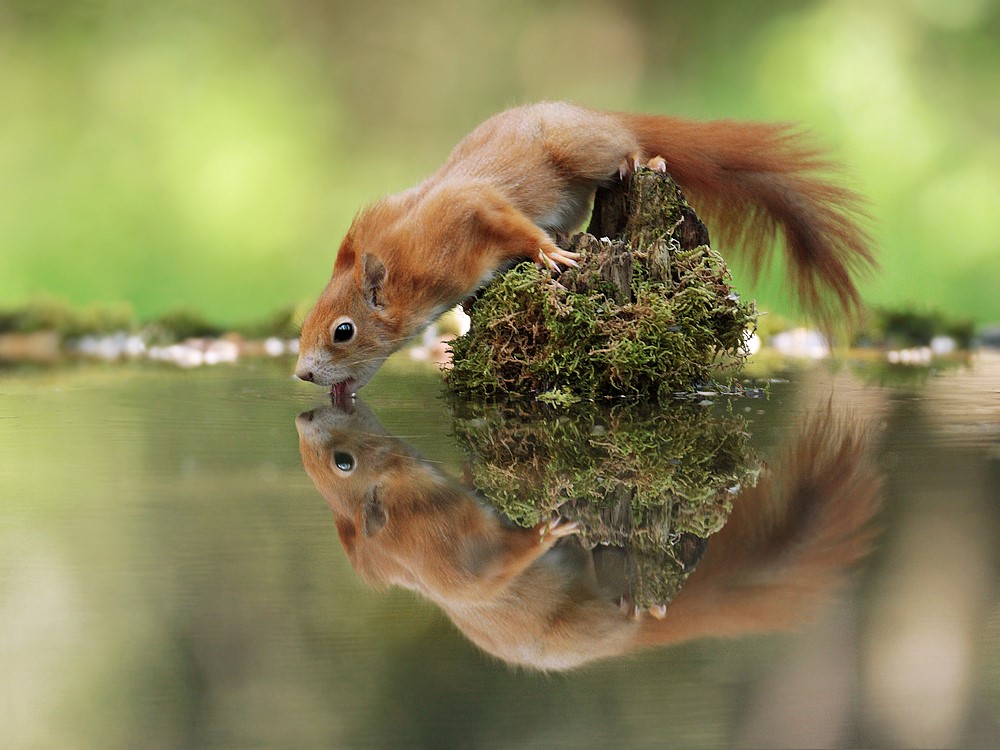
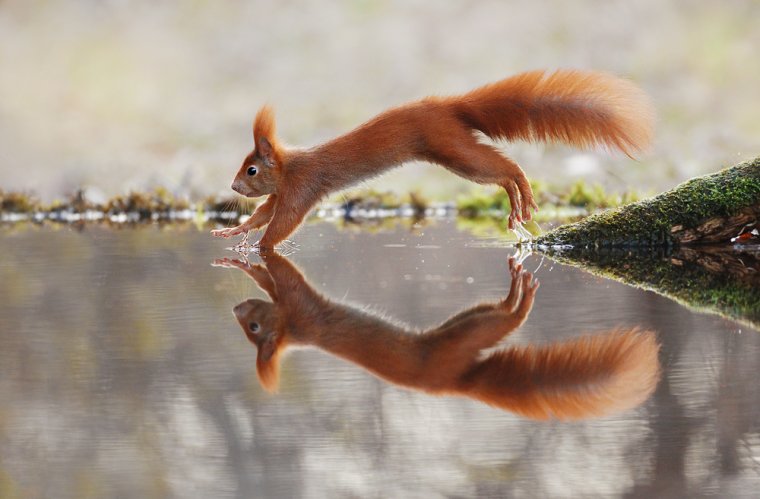
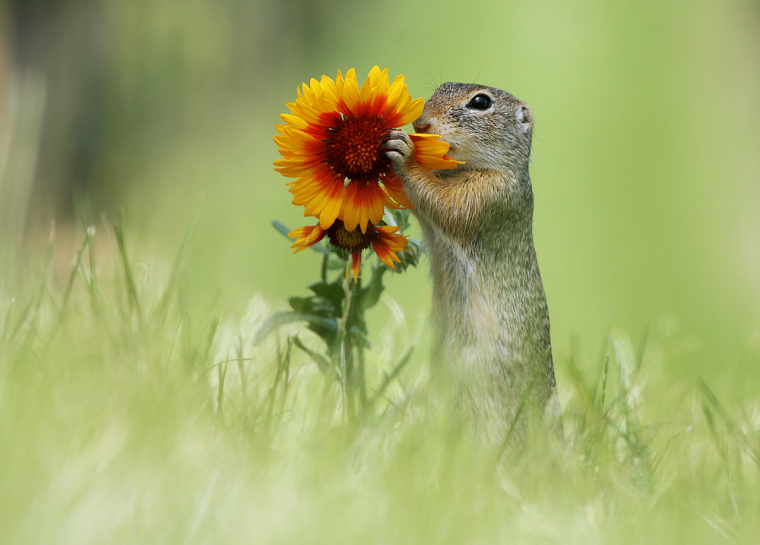
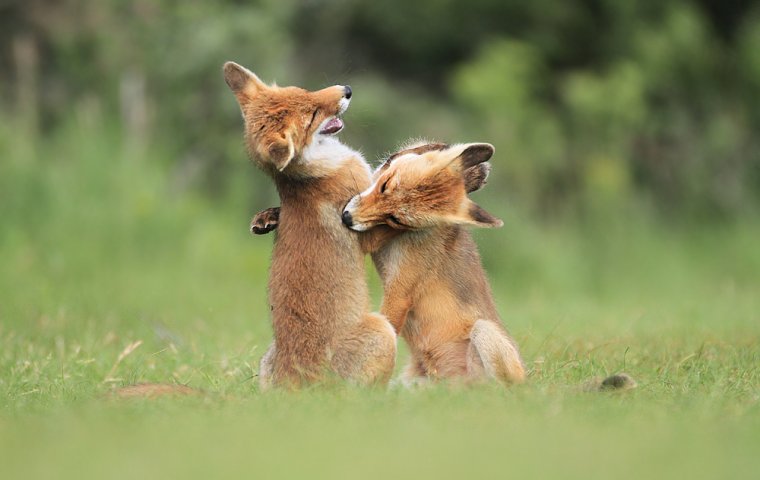
A lovely scene of a wild animal couple will automatically awake emotions in humans, but also funny images are more likely to go viral on social media. Try to capture emotional scenes and you will see people will just love it!!
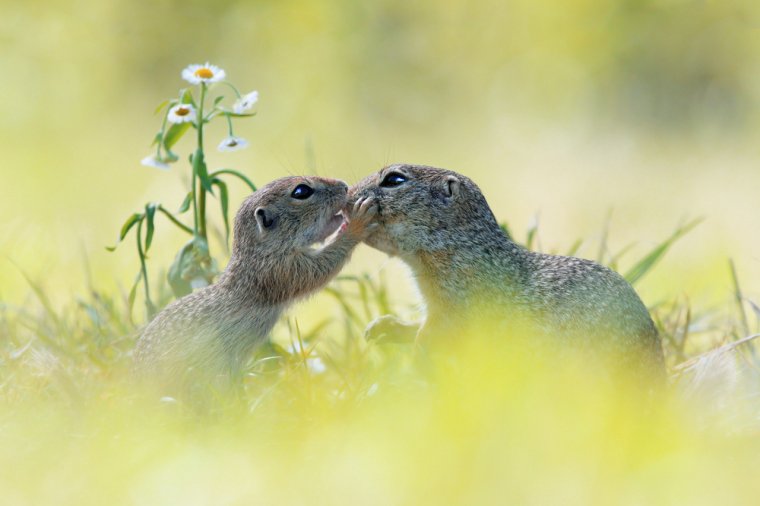
Camera Body: Canon 60D, Lens: Canon 100-400, Shutter Speed: 1/1250, Aperture: f 7.1, Focal Length: 310 mm, ISO: 1000
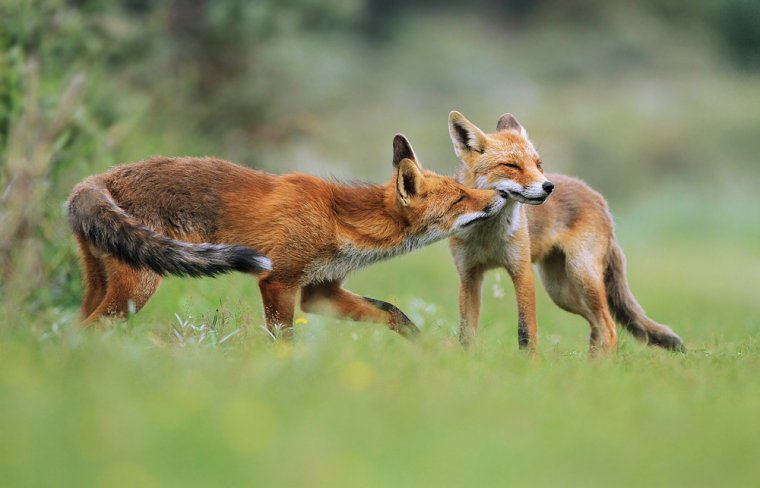
Camera Body: Canon 60D, Lens: Sigma 120-300, Shutter Speed: 1/2000, Aperture: f 2.8, Focal Length: 300 mm, ISO: 800
The more wildlife photos you take, the more images you have to choose from and the higher the chances are to receive an eye-appealing wildlife photograph in the end. So palways be sure to bring along as much memory cards as possible, especially if this is a one-in-a-lifetime travel photography trip. You’d hate to miss that shot of a moose at Yellowstone National Park, a whale off the coast of Alaska, or a toucan in Costa Rica.
In my opinion staying in the shadow is just the best solution while waiting or taking images of wild animals, as the temperature in the shade is usually lower than the temperature in the direct sun.
So always try to avoid direct sun and find a nice shady place in order to have a more comfortable photo session. If there is no shade you could use an umbrella or a parasol to create a shade, this can help a lot!
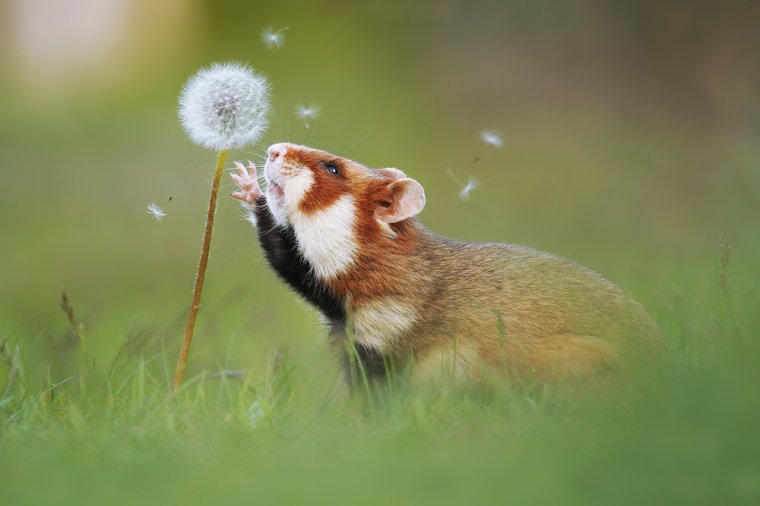
In the morning when the sun is just about to rise you will have low temperatures, which can be a great way to have a more relaxed shooting during the hot summer months. The temperatures are much lower than during the day and shooting in the morning is an absolutely great way to avoid the blistering heat. Another great advantage of photographing insects in the morning is that you will have a much softer and even light than during daytime.
This may seem like an unusual wildlife photography tip, but it’s one of the most important things to do when you are out in the fields photographing wild animals. Always bring water with you, because you won’t find any drinkable water when you are out in the field or in the forest, so better bring along enough water for your photo session. This is important to stay hydrated, as the body needs water to work properly. You can say that water is the fuel for the human body. When shooting during high temperatures you will probably sweat a lot, which means that your body loses a lot of water and in order to compensate that just drink enough water.
Not only the morning offers low temperatures, also afternoon and evening, when the sun starts to set, will help you to stay cool on a hot summer day. Furthermore shooting in the evening will give you a great photo with rich colors and beautiful light. Also, certain animals are more active in the afternoon during summer as they also escape the heat, so taking images in the evening would be just a win-win situation.

If you don’t protect your camera equipment during rain, it could damage the electronics of your digital camera, therefore I would strongly recommend protecting your camera with a waterproof rain cover.
There are tons of camera rain covers that can be purchased online and they are quite cheap, as they cost around $10-$20. When you invest hundreds or even thousands of dollars on a camera, the smallest water drop may cause damage. So spend another $20 to be on the safe side when taking images under rainy weather conditions.
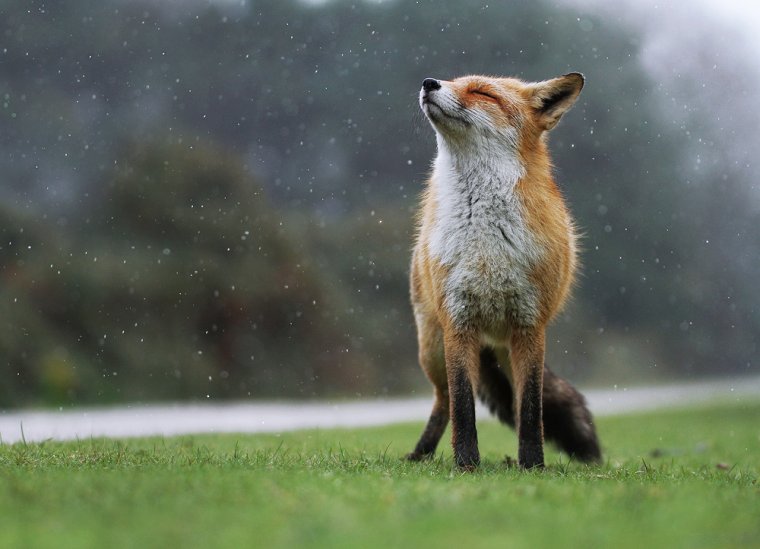
Camera Body: Canon 7D, Lens: Sigma 120-300 mm, Shutter Speed: 1/500, Aperture: f 2.8, Focal Length: 300 mm, ISO: 400
Not every lens has an inbuilt image stabilizer, but if your lens features this extra and you are shooting under very bad light conditions, you should definitely turn it on, because the chances are much higher to get shake-free images while the image stabilizer is activated. If you use a tripod, it’s not necessary to activate the image stabilizer, as your camera is already stabilized when it’s mounted on a tripod, so the image stabilizer should be mainly used if you shoot with your camera handheld.

Fast aperture lenses are the perfect solution for taking wildlife images under bad light conditions because they will let in more light and therefore you will be able to use a much faster shutter speed.
Here are my personal top low-light lenses for wildlife photography:
– Sigma 120-300mm F2.8 Sports DG APO OS HSM
– Canon EF 70-200mm f/2.8L IS USM II
– Canon EF 300mm f/2.8L IS USM II
– Canon EF 400mm f/2.8L IS USM II
Camera Body: Canon 7D, Lens: Sigma 120-300 mm, Shutter Speed: 1/8000, Aperture: f 2.8, Focal Length: 300 mm, ISO: 800
A tripod is just a must when shooting under low light conditions, as it is almost impossible to get a sharp image when you take an image at slow shutter speed without a tripod. A tripod will avoid camera shake and when your camera shutter speed is low, even the slightest bit of camera movement will result in a blurred picture. There are some really great tripods under $100 which are really steady.
Camera Body: Canon 550D, Lens: Canon 100-400 mm, Shutter Speed: 1/500, Aperture: f 5.6, Focal Length: 400 mm, ISO: 1600
Increasing the ISO value would be the emergency solution because increasing your ISO value will automatically cause digital noise and grain in your images. Modern cameras can are able to provide a good image quality up to ISO 3200, but I would suggest setting your ISO number not higher than 1600 if you don’t want to have a noisy background. If you don’t have the option to decrease your ISO there is always the possibility to remove the ISO noise afterward, within few steps you are able to remove the noise in Photoshop.
Camera Body: Canon 60D, Lens: Canon 100-400 mm, Shutter Speed: 1/500, Aperture: f 5.6, Focal Length: 320 mm, ISO: 3200
Every nature photographer knows that the worst time to shoot animals is around midday because your images will just be unspectacular and you won’t have the intense colors like you would have in the morning or in the evening. Furthermore, most animals won’t be active and will rest around midday in summer when it’s too hot, the best time to encounter wild animals is in the morning or in the evening when the temperature is lower. Besides, in the morning you will have the best light of the day and the softest colors. In the late afternoon just before sunset, you will again have magical light and smooth colors.
Camera Body: Canon 7D, Lens: Canon 100-400, Shutter Speed: 1/2000, Aperture: f 5,6, Focal Length: 400 mm, ISO: 800
Camera Body: Canon 60D, Lens: Canon 100-400, Shutter Speed: 1/500, Aperture: f5.6, Focal Length: 360mm, ISO: 500
Be patient and do not chase the animals, let them come to you. It’s important to keep wildlife service happy and respect the natural world around you.
As mentioned before, I would definitely recommend to buy yourself a hiding tent if you want to photograph timid wild animal species. A hiding tent maximizes the chance to get really good wildlife shots, because while you are sitting in a hiding tent you will be invisible for the animals and that’s a big bonus.
Try to focus on an animal species which you can find near around you, maybe you can find some roe deer in a field, a fox den or some squirrels in the forest. The more you know about a certain animal species the better your images will be. Studying wild animals will probably require a lot of patience, but trust me it will pay off in the end.
Camera Body: Canon 60D, Lens: Canon 100-400, Shutter Speed: 1/800, Aperture: f 5.6, Focal Length: 400mm, ISO: 400
Camera Body: Canon 550D, Lens: Sigma 120-300, Shutter Speed: 1/1000, Aperture: f 2.8, Focal Length: 300 mm, ISO: 800
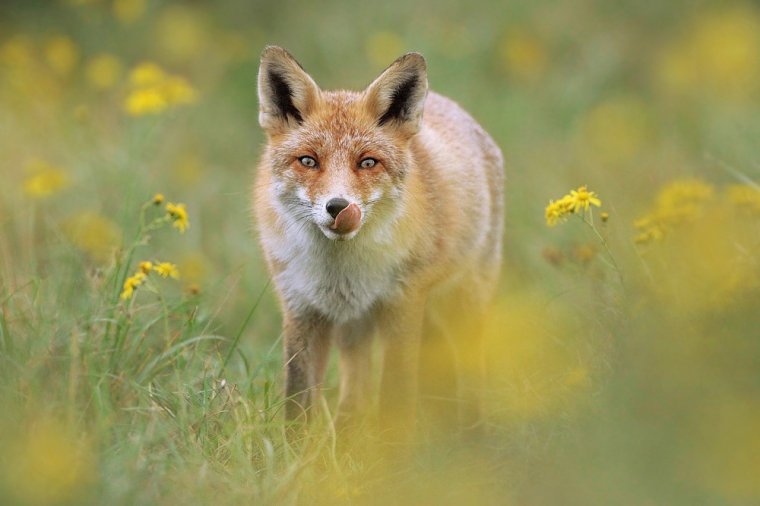
If you photograph wild animals always mind to leave enough space for the subject to look into. Your shot will look much more professional and interesting. A professional wildlife photographer strives to get at eye level with the animals to get into their fascinating world. So move the subject away from the center to give a calm feel to the wildlife photographs.
Camera Body: Canon 7D, Lens: Canon 100-400, Shutter Speed: 1/500, Aperture: f 5.6, Focal Length: 400 mm, ISO: 400
A messy background can just ruin your wildlife image, I always try to get my background as clean and smooth as possible, because if your background is blurred your subject will just stand out more.
Isolating your subject from its surrounding can be achieved by using the minimum aperture value your lens can provide.


Please verify your software version before proceeding.
 I’ve verified my software version


 Facebook
 Google +