If you’re looking to improve the appearance of skin texture and color in your photos, Photoshop is a great tool to use. In this tutorial, we’ll show you how to do skin retouching in Photoshop. In this Photoshop tutorial, e’ll cover the basics of fixing red, blotchy skin, matching skin tones, and smooth skin wrinkles.
Table of Contents
Red skin can happen when you are taking photographs outside in the cold, or surprisingly if people are embarrassed in photographs.
This is one you would not really think of. However, in public events, such as weddings and birthday parties, this actually happens often in portrait photography.
I remember my friend’s wedding, the photographer had some very novel ways to embarrass us while taking photographs—I think I had a little bit of a red complexion myself in a few of those shots, if I remember correctly.
Thankfully, the steps to fix this in Adobe Photoshop are very simple.
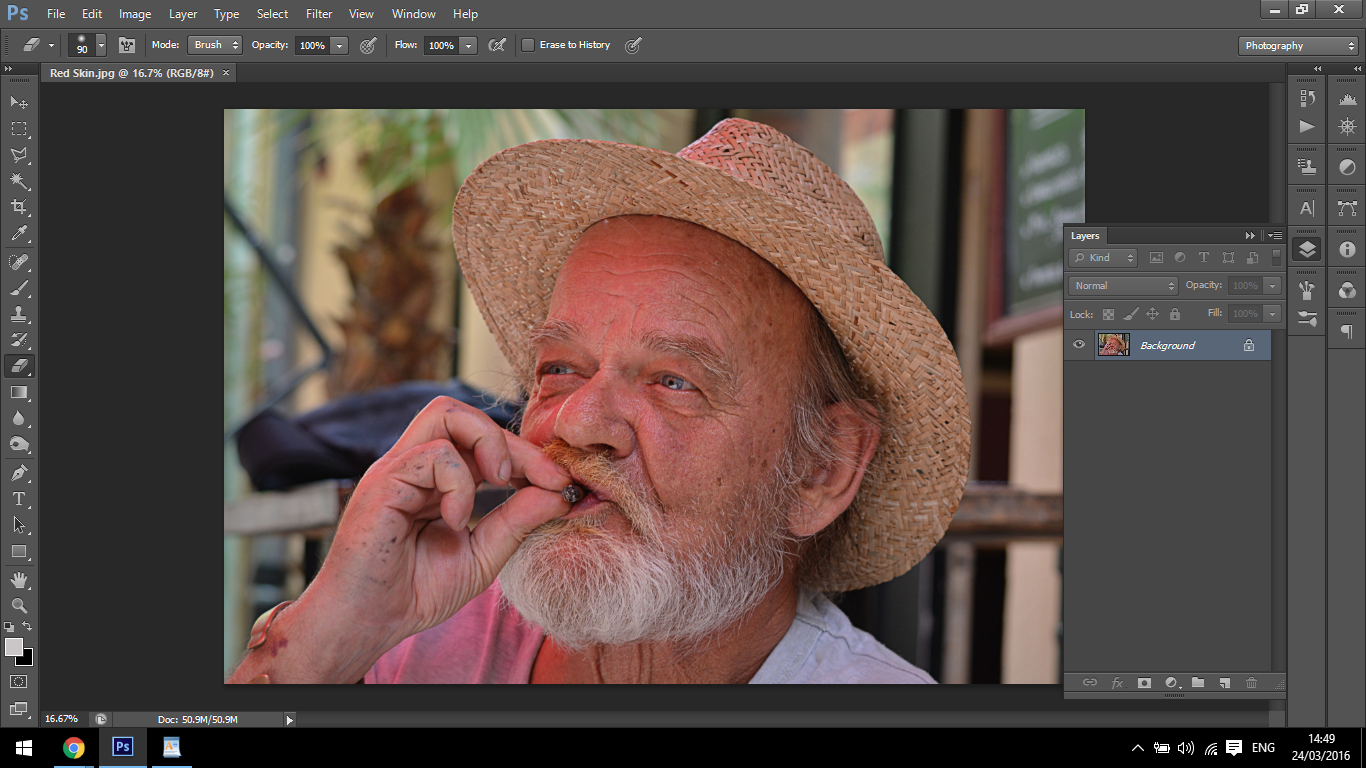
With all that being said let’s take a look at what we can do for our image here:
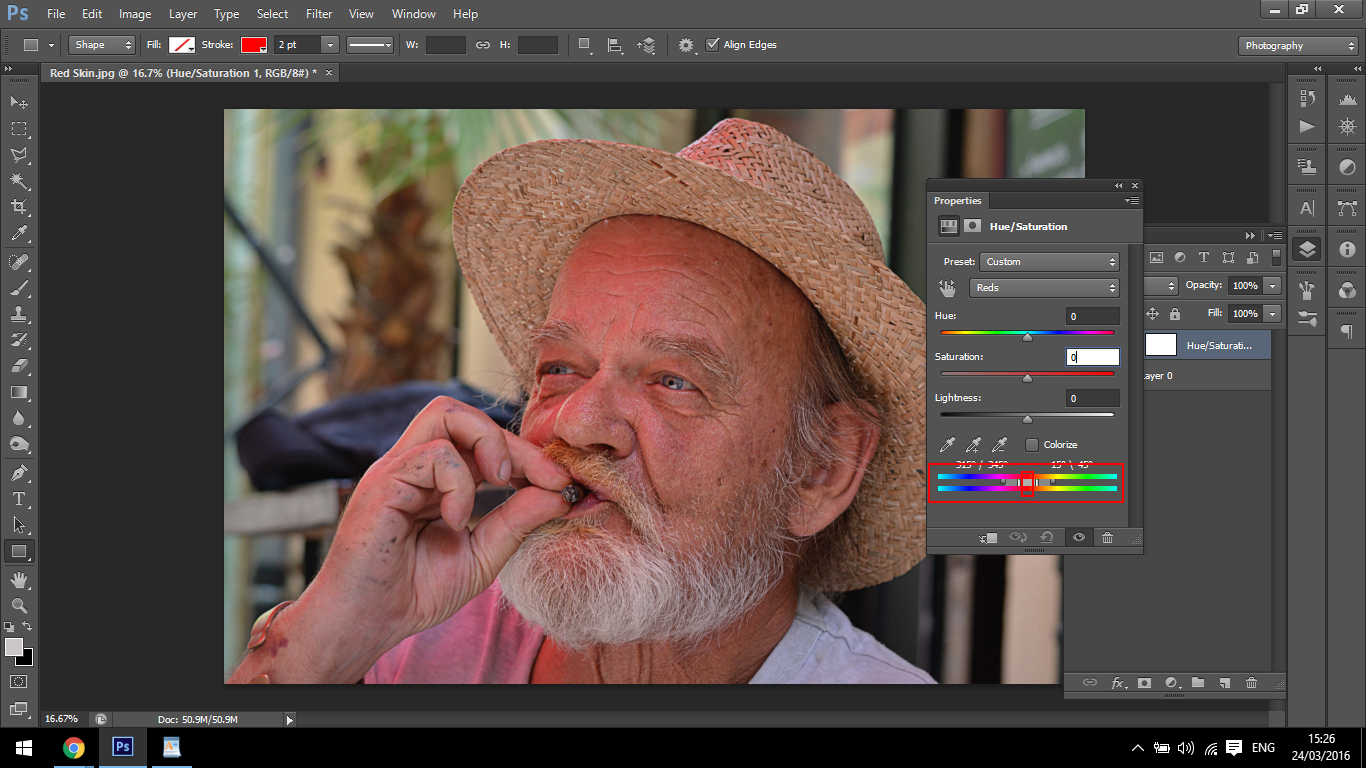
First open up a hue saturation layer. You will find this were I have indicated below—it’s the fourth option in your Layers palette, and nine down.

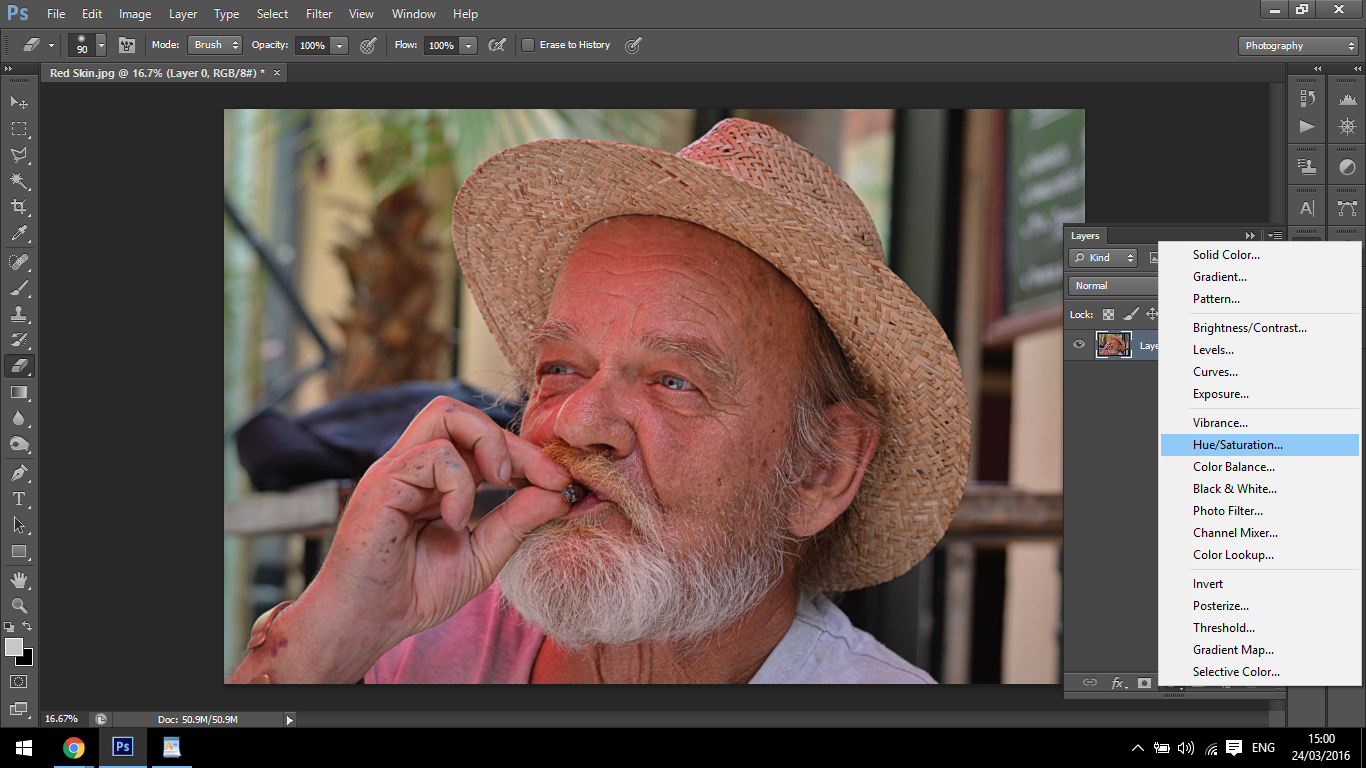

Click, and it will appear above your initial layer panel with the image on it.
If you move the hue slider, you will see that it affects your entire image, which not good in this particular case, but take note of what that slider does.
Set it back to zero.
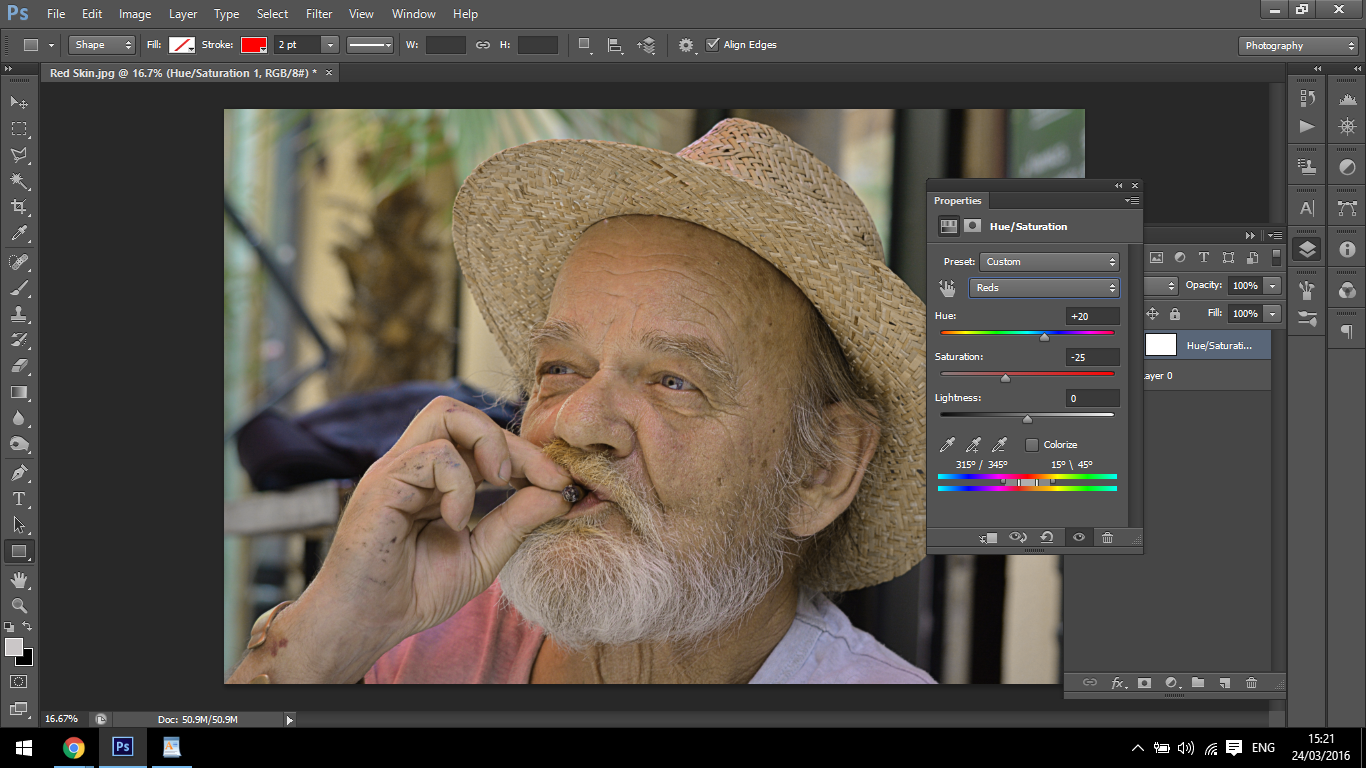
One way you can quickly smooth skin is to click where it says master (shown below), then select your red channel (Shortcut – Alt 3).
You can move the hue slider around to decrease the red, then lower your saturation slider, which is just below that.
This technique can work well at times, but it is not a guarantee. However, as usual with Photoshop, there is always another way!
Take a few minutes just to experiment with this solution and see what it does for you. It may be good enough for your image, it really just depends on individual circumstances. If the red in the image is all over, then it is probably best to employ this technique, as it covers a broad range. However, if there are other red areas in the image and you only want to target the skin, this is probably not the best choice, as you will loose reds elsewhere.
This next technique is far more targeted—much better for high end skin retouching
If you look at the bottom of your Hue and Saturation panel, you will see two bars with the color spectrum.
In between these, there is a slider that you can use by clicking in the middle by moving it left and right.
To use this, increase the saturation on that red channel to its maximum, so you can see the areas that are being affected.
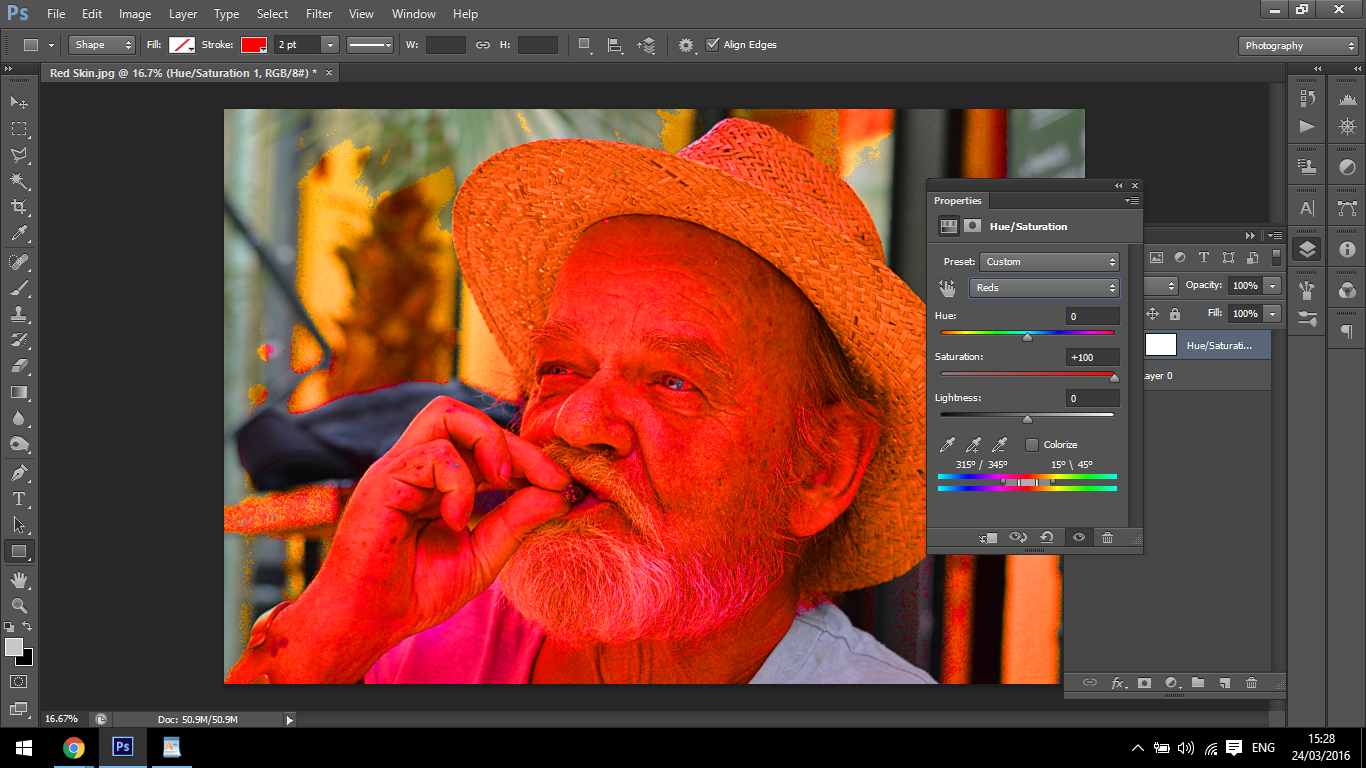
As you slide it to the left, you will see it start to highlight the areas that are red on your image.
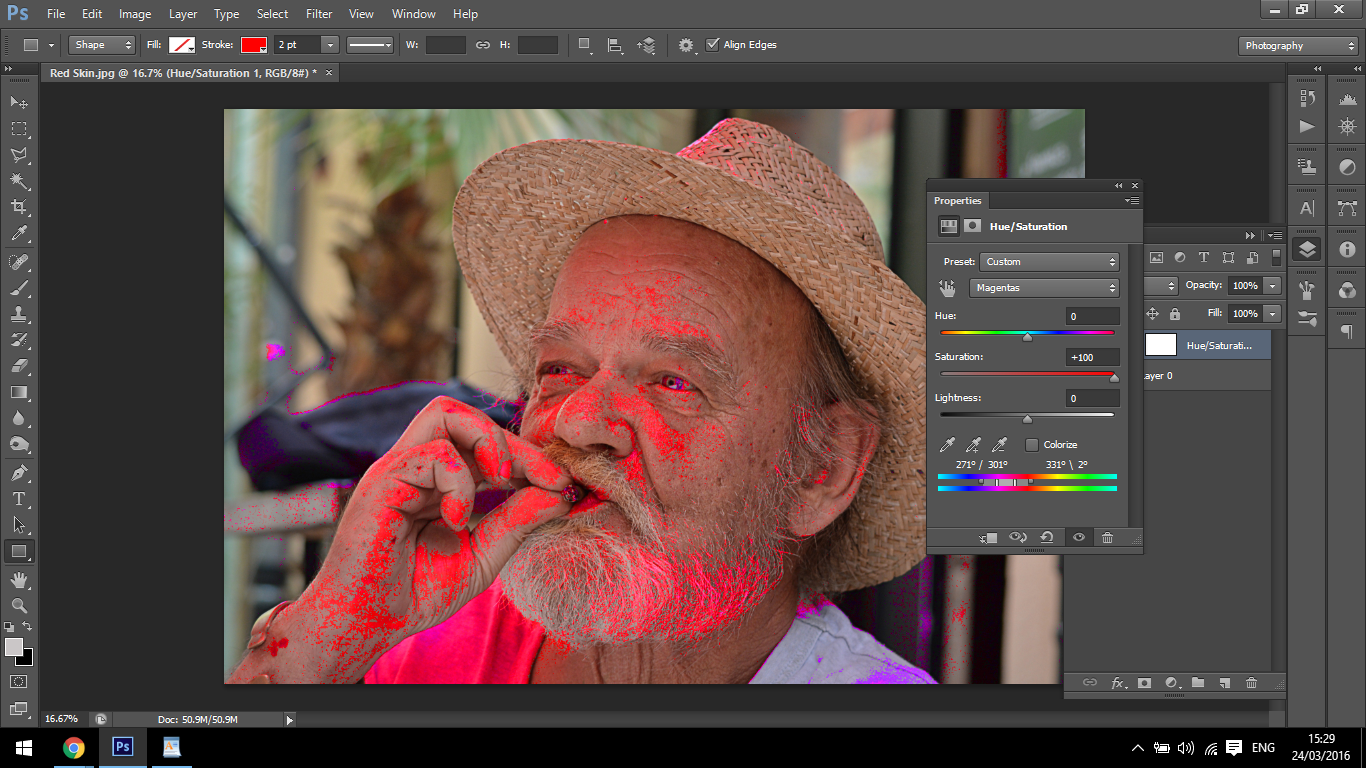
Then, you can go back to your saturation slider and decrease the saturation. As you do this you will see the red colour drain out of the skin, giving you a much clearer complexion.

You probably shouldn’t move the saturation slider past zero, but as always, it really does depend on your image. I would perhaps nudge it a little past that, but the real magic will happen when you use the Hue slider.
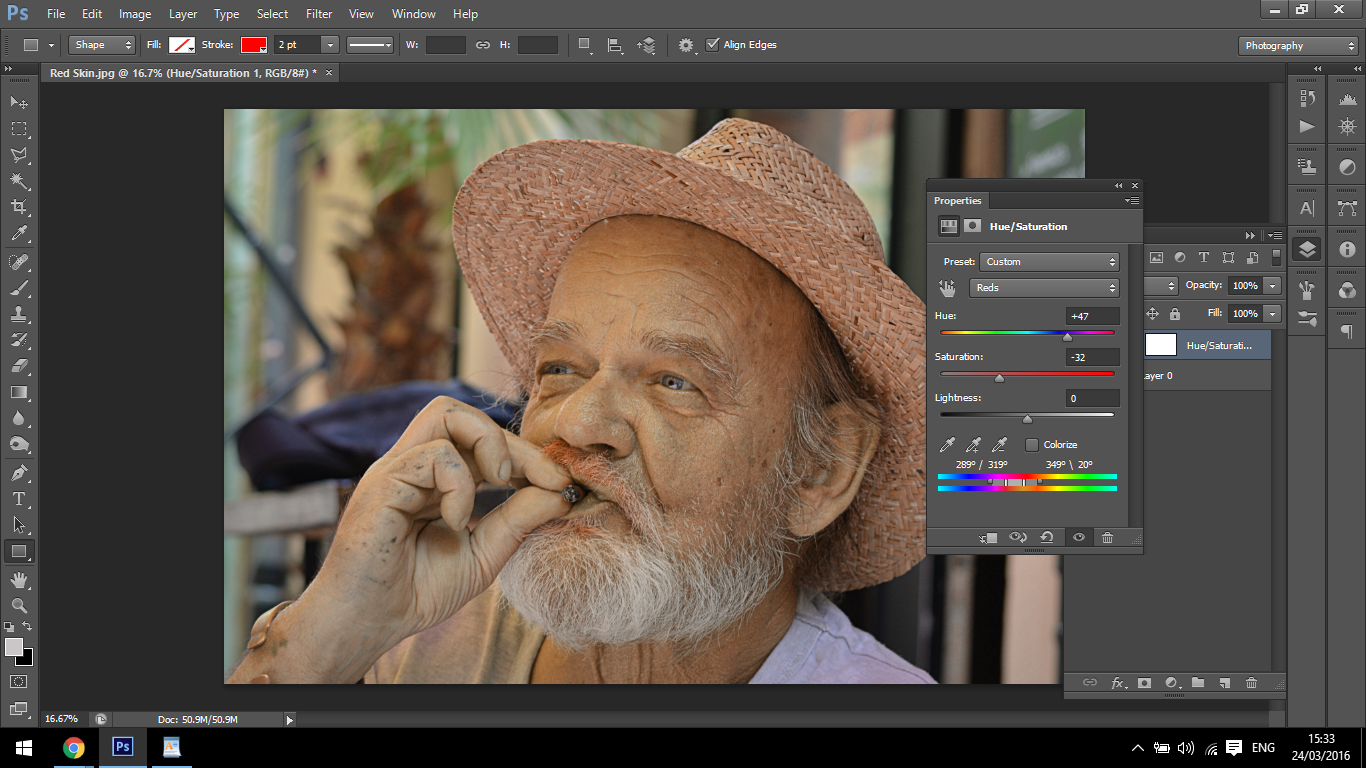
This will change and match the color properly while still retaining the color stretch, as the saturation tool grays some colors.
Now, let’s take a look at how to match skin tones. With my freelance work, I get a lot of requests to have people added to photos from older photos and things like that. The problem with that is that the skin tones do not match because the people are photographed in different locations under different lighting or exposure settings.
So, since this has came up recently in my own work, I thought it would be a great idea to share a few tips with you, since it’s such a common request and without a doubt you will at some stage come across it if you are doing photo retouching to make money.
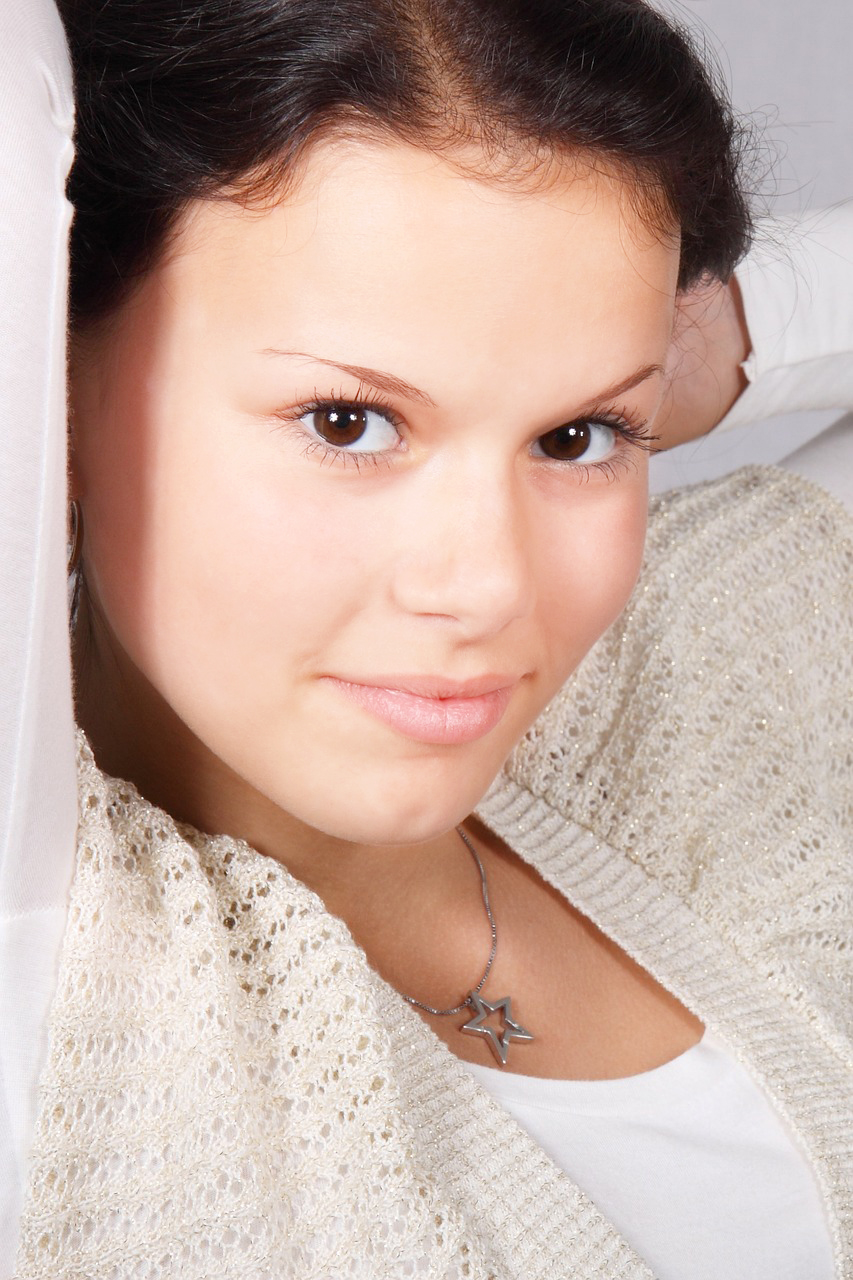
What I’ll show you today is a single image, but you will see that the skin tones on the face and the chest are different because of lighting in the studio.
Create a new layer by holding Shift Ctrl and hitting N on your keyboard, then press B after you’ve created the new layer to activate the brush tool.
By holding Alt and clicking on your photo, you will be able to sample a color range of skin tones and paint them into the new layer one by one so you have two gradient scales, from darks to lights, like I have below in my example image.

Then, you take skin tones these from the two different areas—in other words one color from the face and the other from the chest.
If you were to do this when adding a new person to a photo, you would have one scale for the people in the original photograph, and one scale for the new person.
Looking at your scales, you can then look at the two ranges and decide if it needs, for example, more blue if the skin tone looks cooler or if it looks darker or lighter.
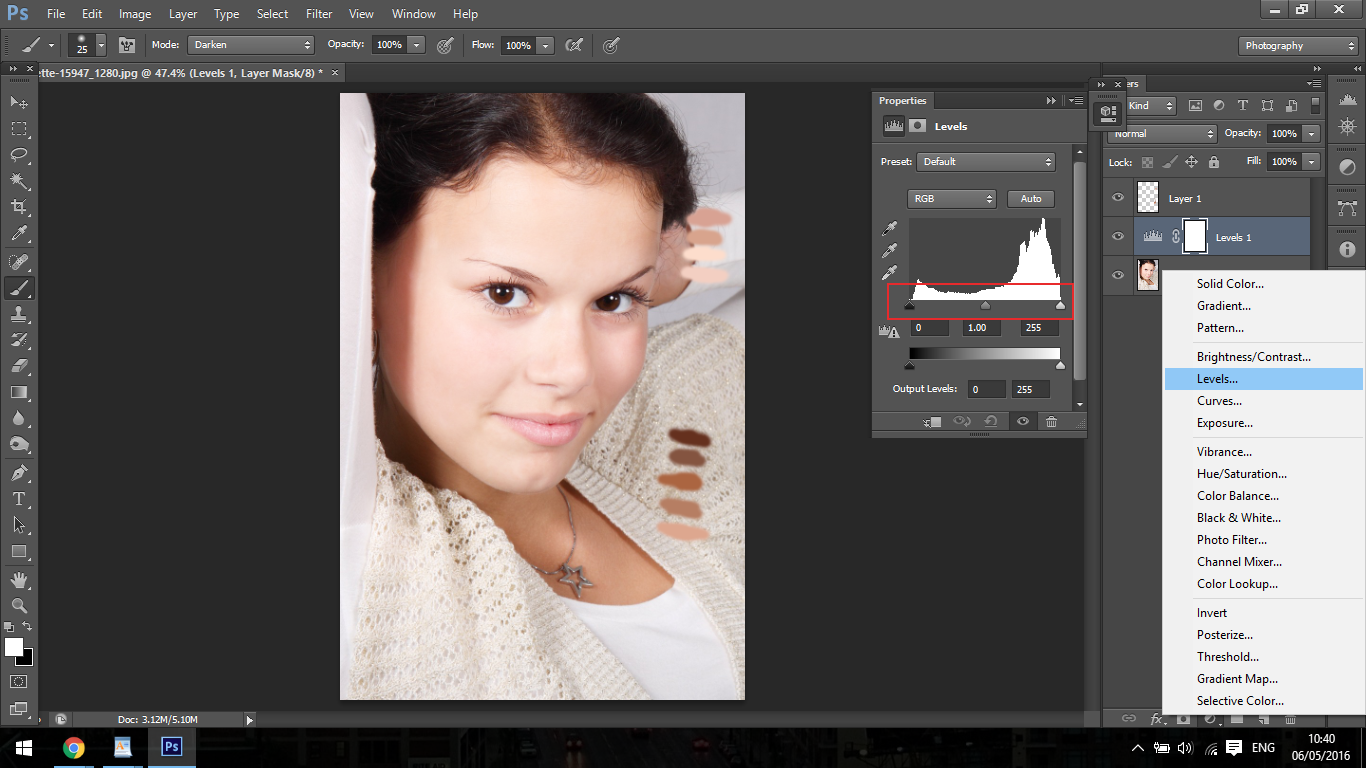
The tool we’re going to be using to adjust this is our Levels Tool, and we’ll be using it on an adjustment layer. Click where I have shown below to create a Levels Adjustment Layer.

As you can see, there are three sliders on the histogram: black, gray, and white. These represent your shadows, mid tones, and highlights.
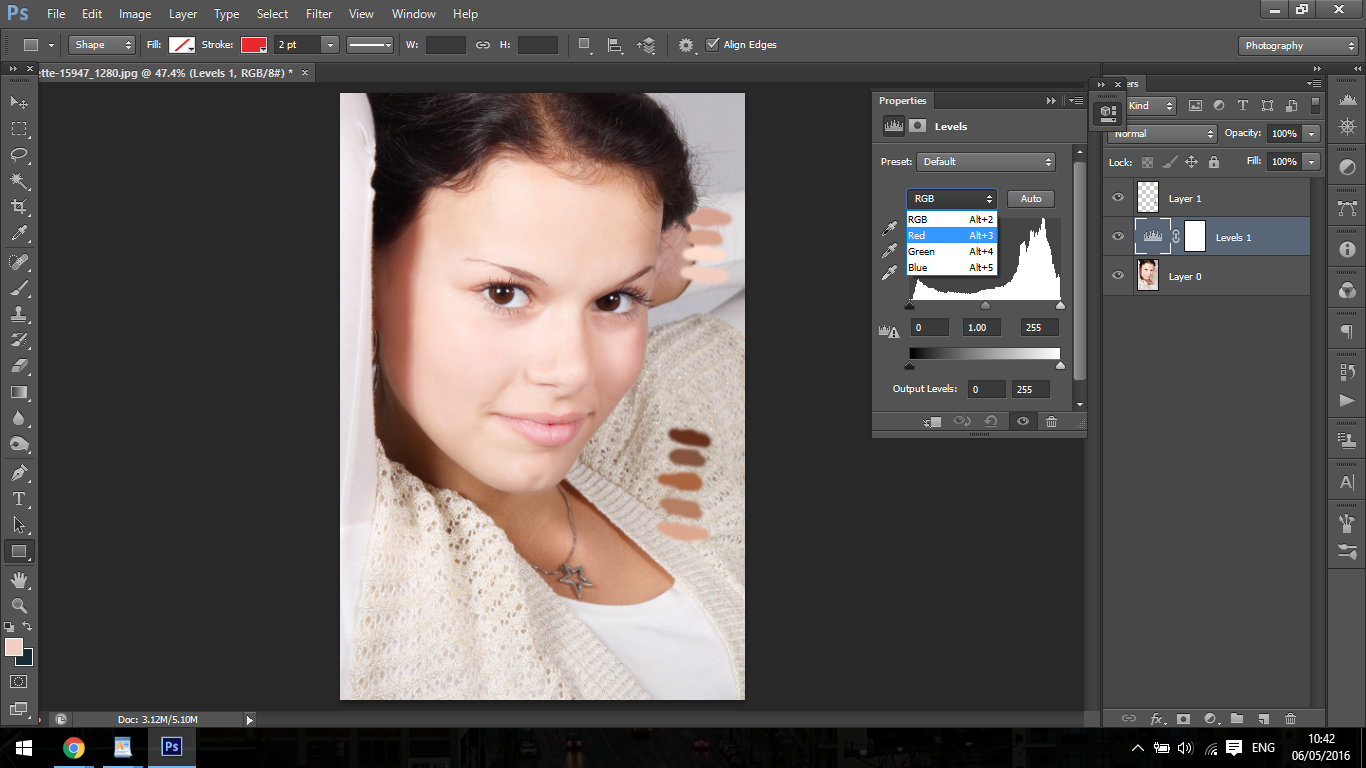
Move those around a little to familiarize yourself with the tool. You will see that they darken and lighten according to the slider. There is another slider just below that, but this one only has two sliders. This works in the opposite way, but it covers all the darks and all the lights, so you have a little less control over the mid tones. You will also be able to click on the individual channels as shown below. These channels are known as your RGB color range.
So what I’ll do now is to create a copy of our bottom layer, then right click on the Levels layer and click on Create Clipping Mask; that way the adjustments on your layer will be confined to the top image layer with the model on it.
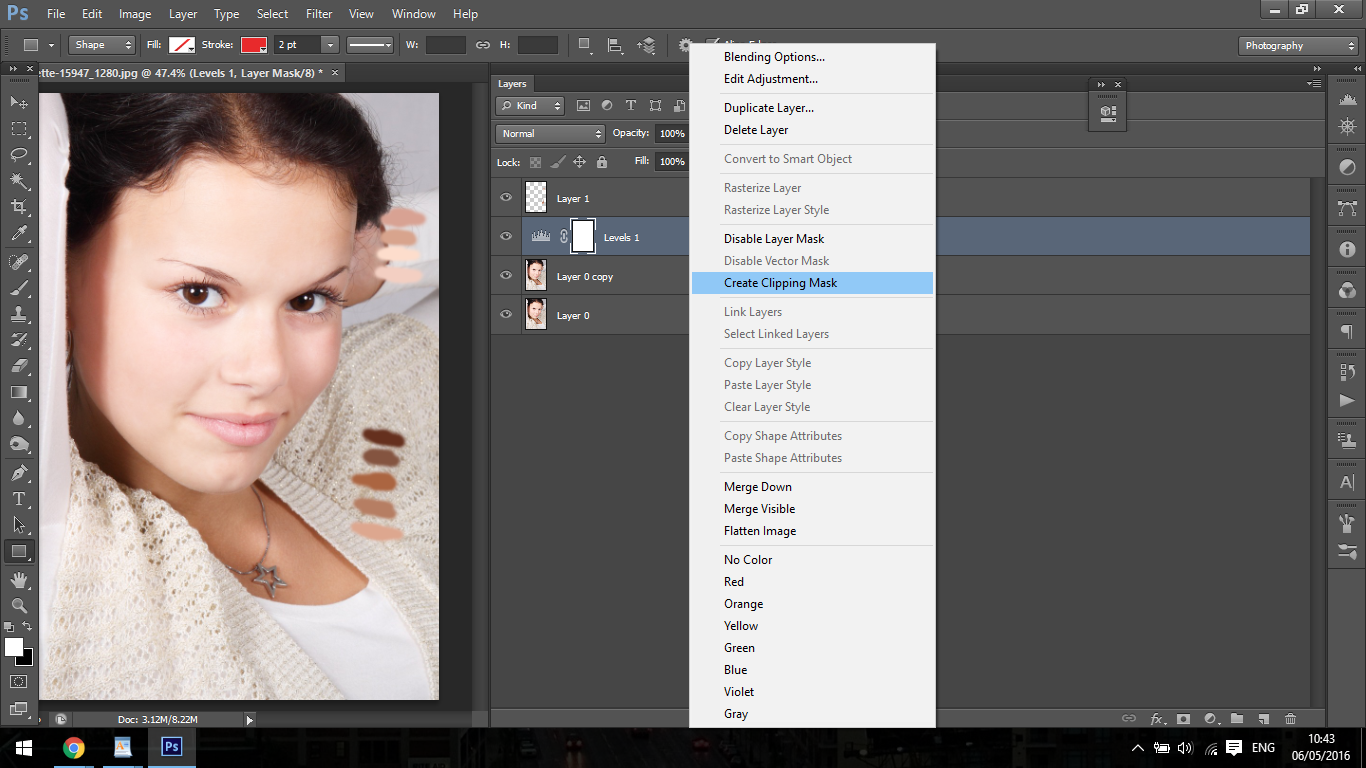
Now, what we will have to do is use the layer mask on the levels layer to remove everything but the models face, so only the under laying layer will be visible.
The layer mask is the white box on the right hand side. To do this, use a Brush (B) and paint on the white box with black.
A quick explanation of a layer mask is that it uses white and black. Black covers the picture like you’re erasing it, but you can always paint back over it with white and it will reappear.
You just want to paint over the face or the skin areas where you want to change the color. Once you do this, you’ll want to go back into your levels layer and tweak the colors until you have the correct balance using the histogram layers and the bottom dark and light sliders.
This will take a bit of trail and error, so look at the image and try to see if it needs more red or less, and so on with the other colors.
You will have to go through each color and adjust the sliders until you get a feel for colors, so this could take a little bit of time—but the more you practice, the easier it will be to intuitively adjust the skin tones.
Now, we’re going to be taking a look at how to retouch the skin on a middle-aged man to add a bit of glow and youth to his skin.
We’ll be taking a look at working with dark shadows, reviving a little color back in, as well as using our spot healing Brush Tool—which is the fountain of youth when it comes to Adobe Photoshop.
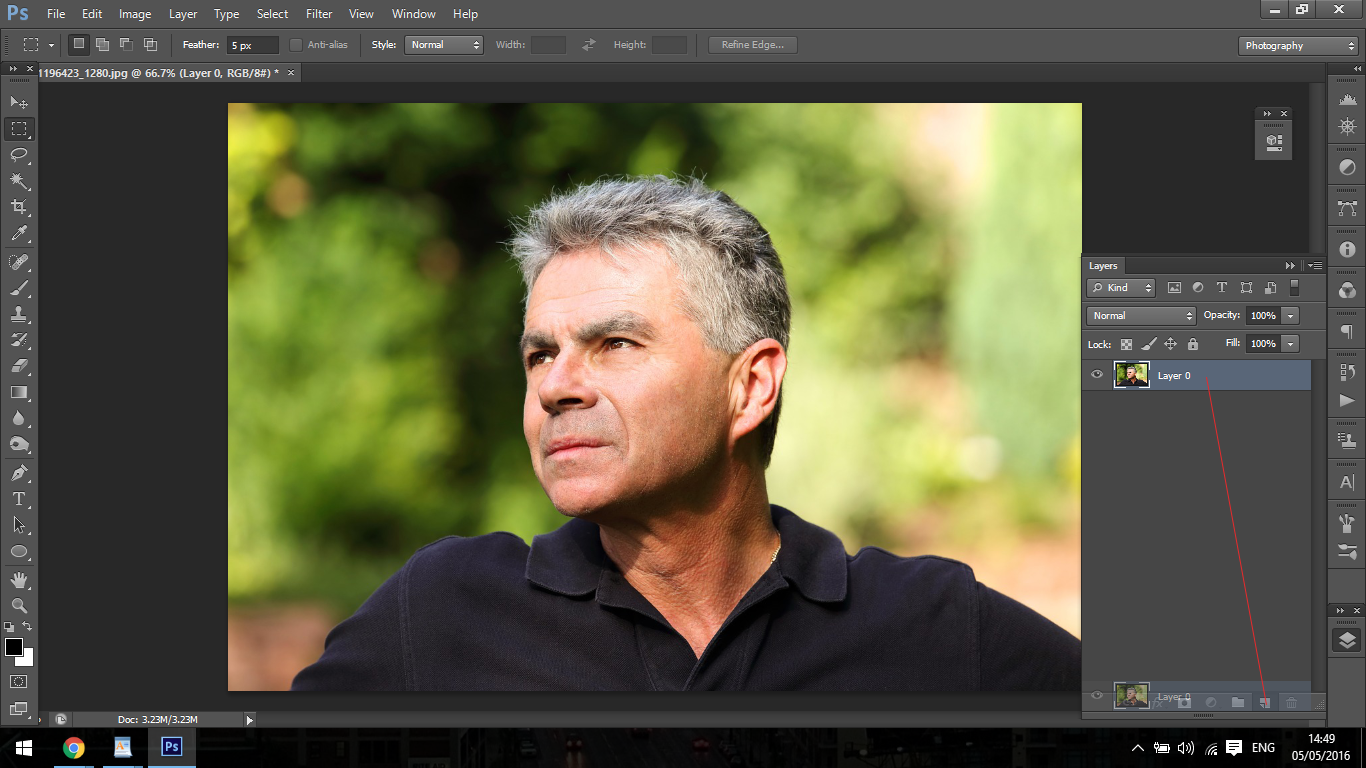
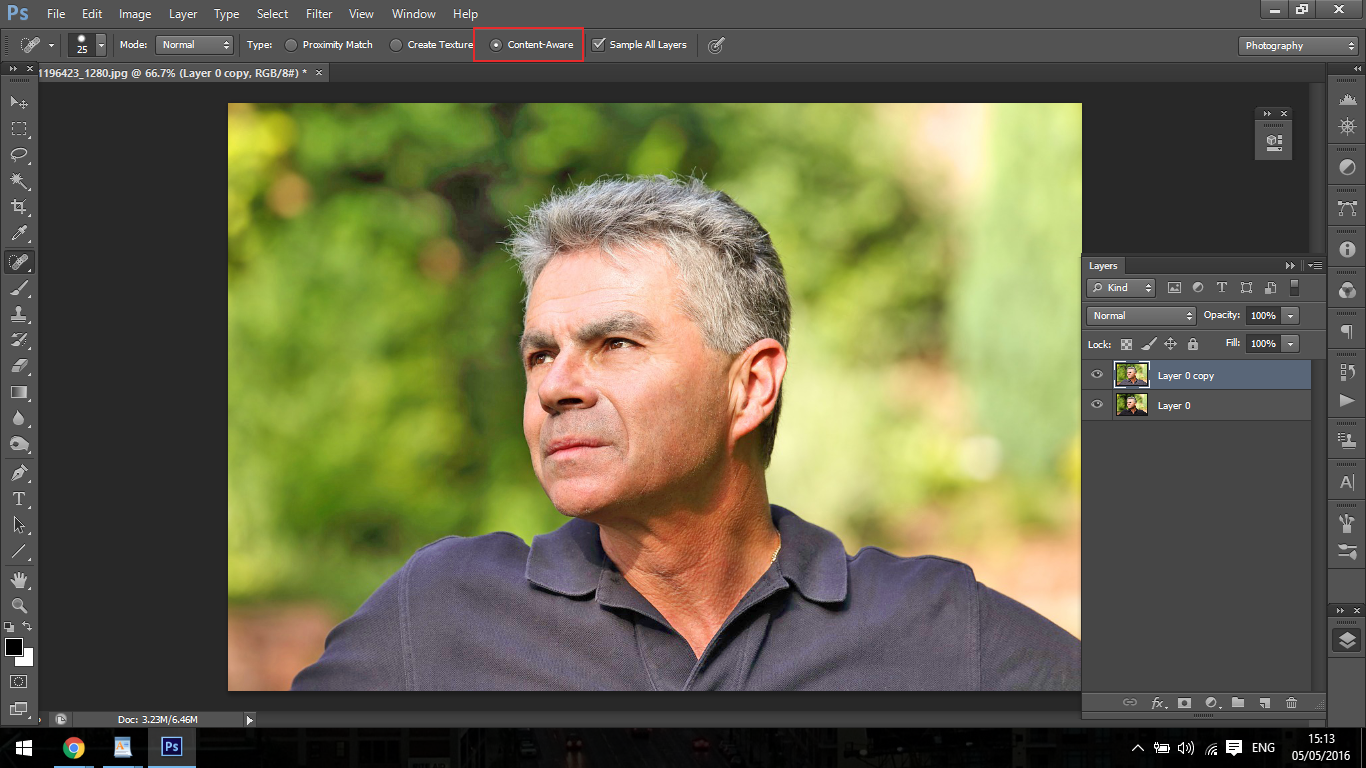
Here we have our subject that we’ll be working with today.

First thing to do it duplicate our layer by clicking and dragging your layer to the area highlighted below. Now release it. You will now have two layers with the same picture. It’s always a good idea to do this so that you will have the original in the background if something goes wrong. You can also use the shortcut Ctrl + J. I always try to add shortcuts as it’s more professional and faster in the long run.
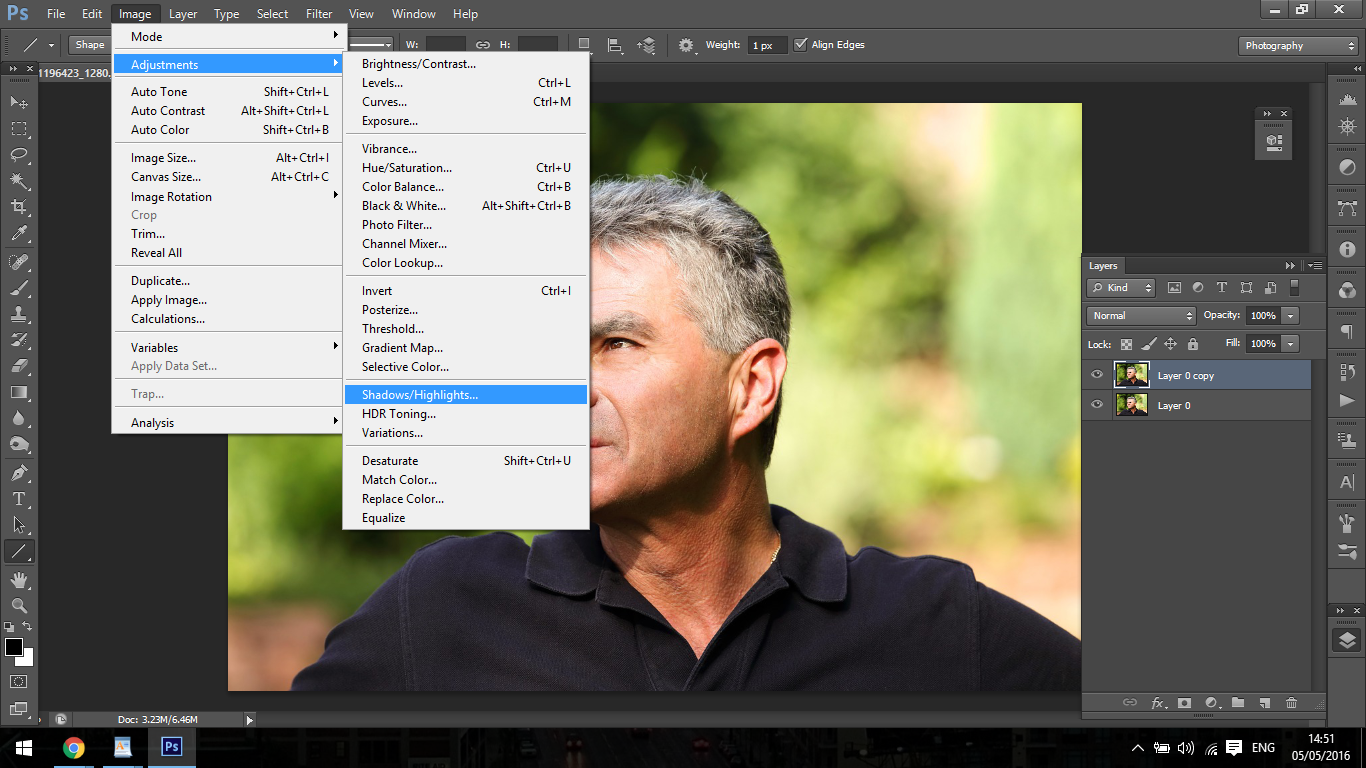
First, we’re going to fix the shadows. So, click on Image – Adjustments – Shadows and Highlights
Now, let’s adjust the Shadows and Highlights to zero, as shown below, and I will explain this tool more in depth. Make sure that you have Show More Options clicked so your panel looks like mine below.
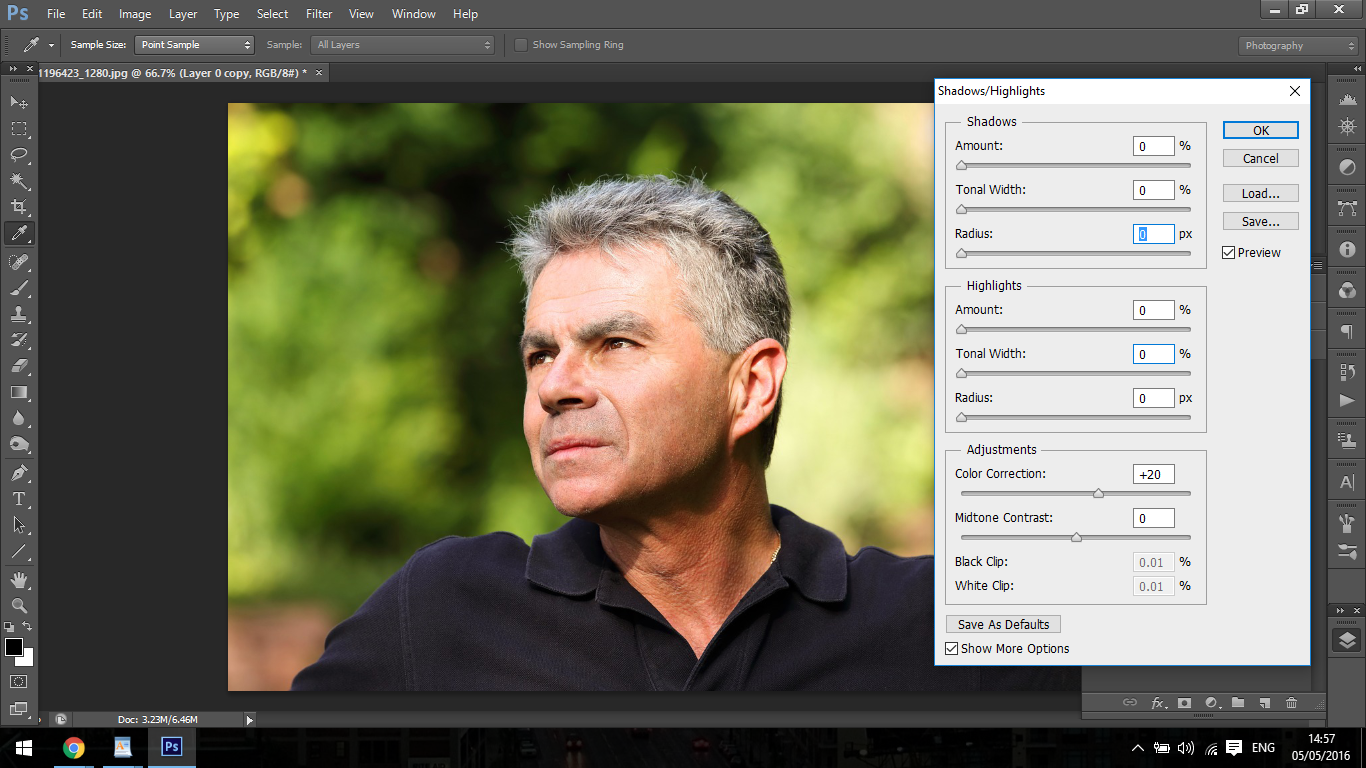
In the first section under shadows, if you move the slider to the right, it will start to add more details, and if you do the same with Tone and Radius, it will add to it further.
Similar results can be done by adjusting the highlights. The only problem is that increasing this will add to the wrinkles; not improve them. In general I wouldn’t touch the highlights, so we’ll leave them as is.
For the Shadows, bring everything up to around 40 (or whatever works for you).
Next, we’ll go to the bottom of our panel to where it says Adjustments and bring our Color Correction up, just a little bit at a time until we get to where we feel it looks right. If you go too far, it will look too saturated, so try to make it look as natural as you can.
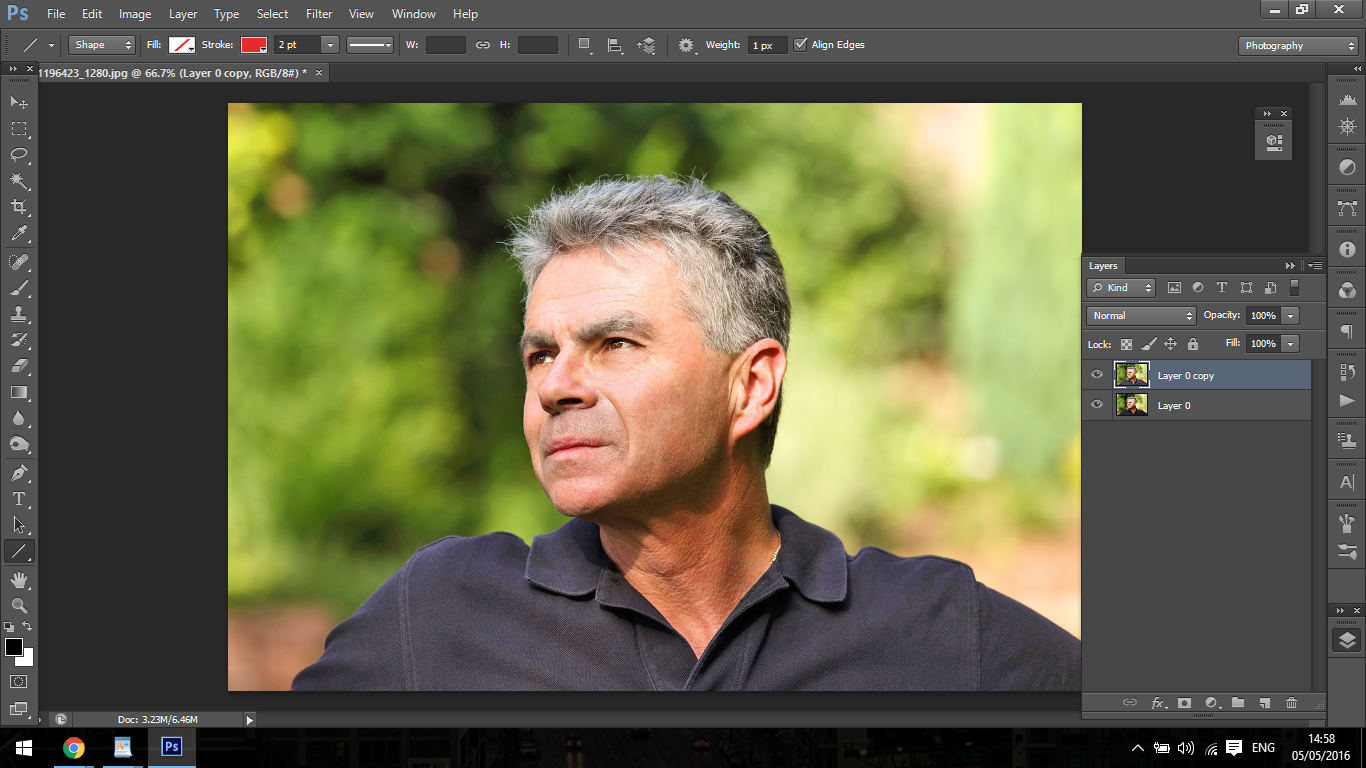
By now, we will have adjusted our image so that the shadows are not too strong and the color added back in gives it a little more life.
Now, onto the skin smoothing portion of our tutorial. Click on the Spot Healing Brush indicated below.

If you are unaware of what the Spot Healing Tool can do, hold tight, because this is a great little tool and I use it A LOT! It’s one of my main photo retouch weapons when it comes to fixing skin blemishes and wrinkles.
But just before we jump right in, click Ctrl + J to create a new copy of our second layer.
Be sure to have content aware checked, if it is not already.
Then, start clicking and drawing over the wrinkles and blemishes. For this, I make sure to have a soft brush because we want everything to blend in. With a hard brush you will see the hard edges.
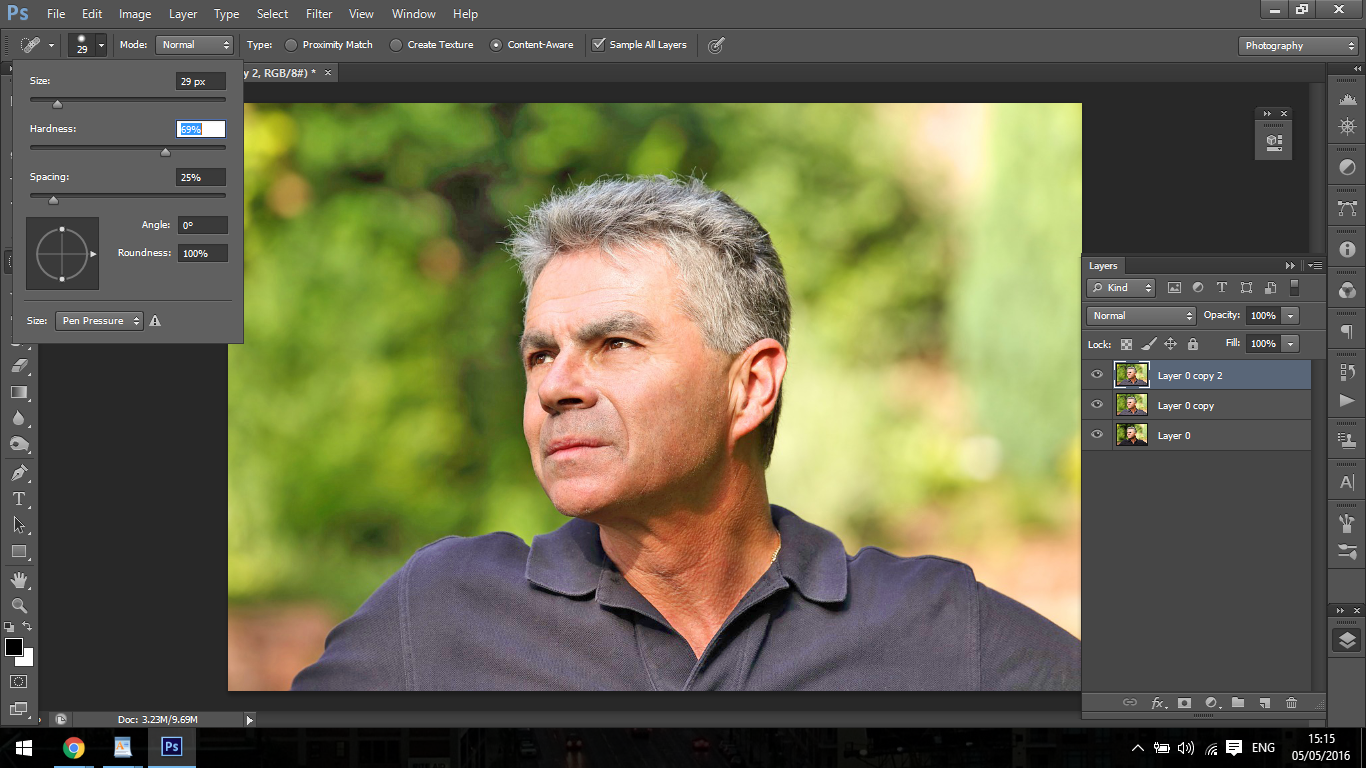
While doing this, you can use your bracket keys to increase or decrease the size of your brush. You want the brush to be a little but bigger than the area you are drawing over.
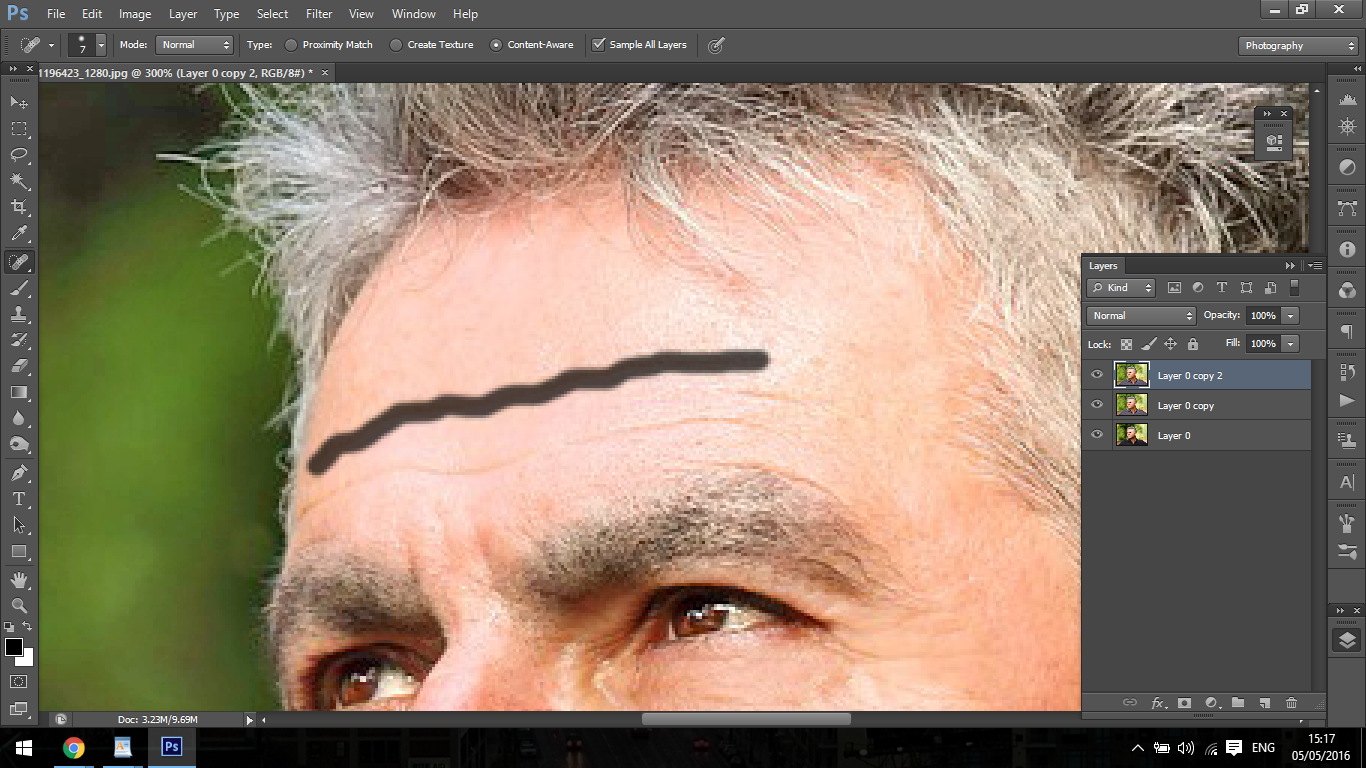
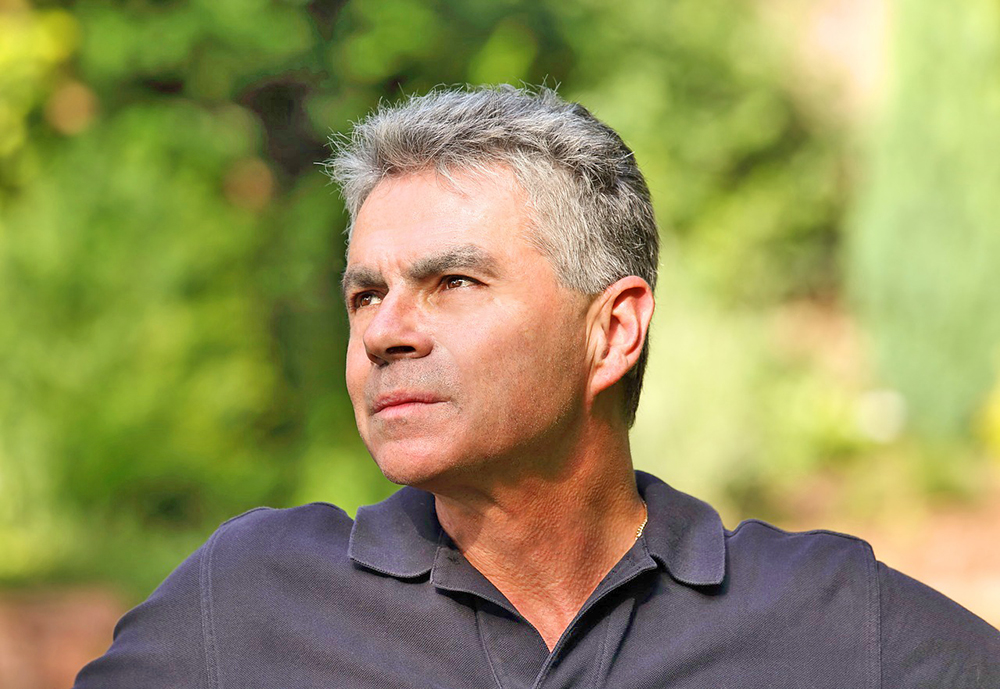
Now, don’t go too crazy with this tool—we still want the subject to look like themselves. I’ve talked about this before in previous tutorials, and it’s a major point a lot of photography editors seem to miss. You still want the subject to look real—don’t go to the point where the skin looks ridiculous and plastic. That’s an amateur move, unless the AI Android look is what you’re going for. Check our my before and after for reference on what you want your finished picture to look like.
One last thing I did was lower the opacity of my top layer to blend better with the one below. That helps give it a bit more realism.

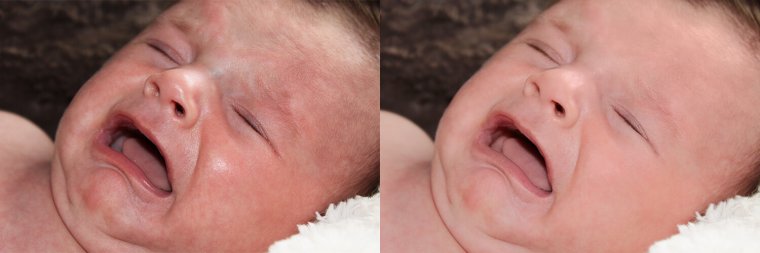
Now, I’m going to show you my process for doing a skin retouch on newborns.
When it comes to a portrait retouch, there is a general overall process that you can follow to start off with. Everybody gets a bit of blotchy skin from time to time, but newborns especially have a lot of skin blotching. This Photoshop tutorial will be helpful for both cases.
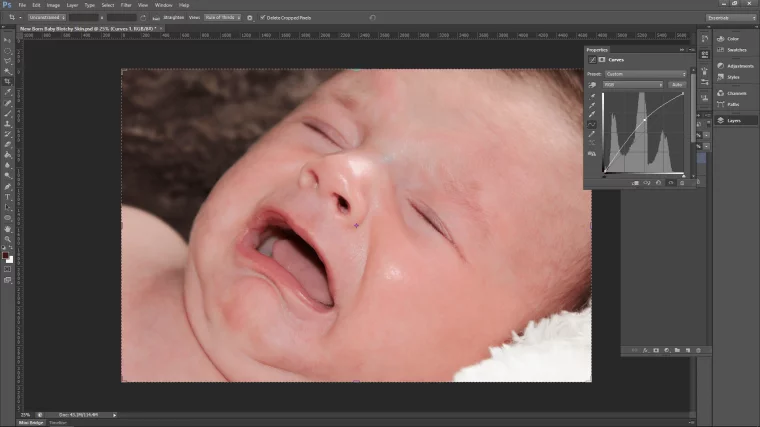
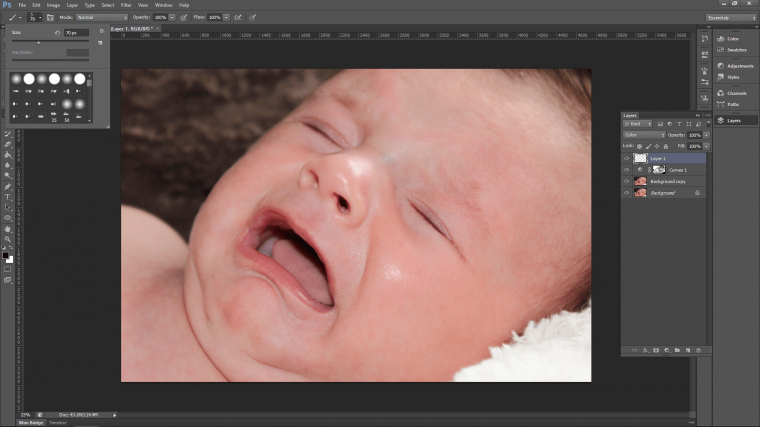
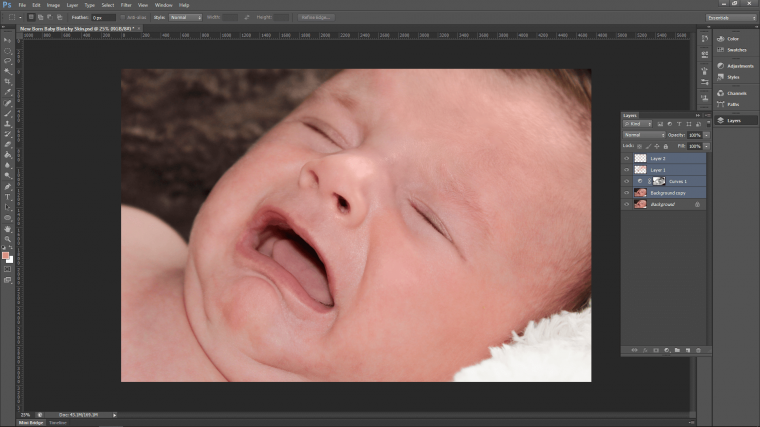
Ok, so check out this little one!
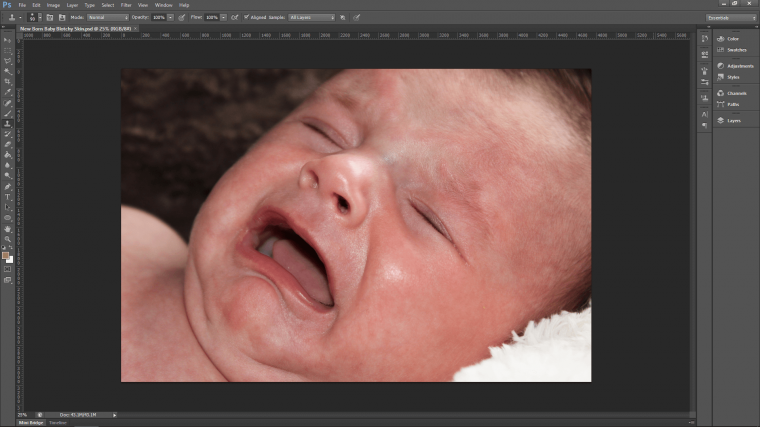
This newborn is angry and annoyed because he’s had his photo taken, so now he has blotchy skin! Let’s fix that so that the baby has beautiful skin.
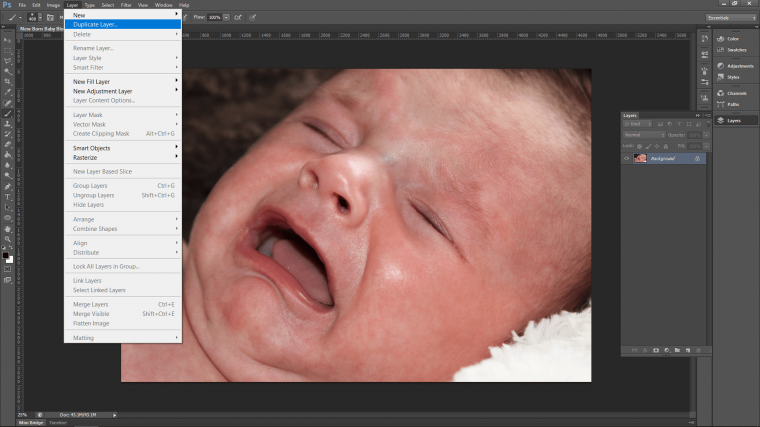
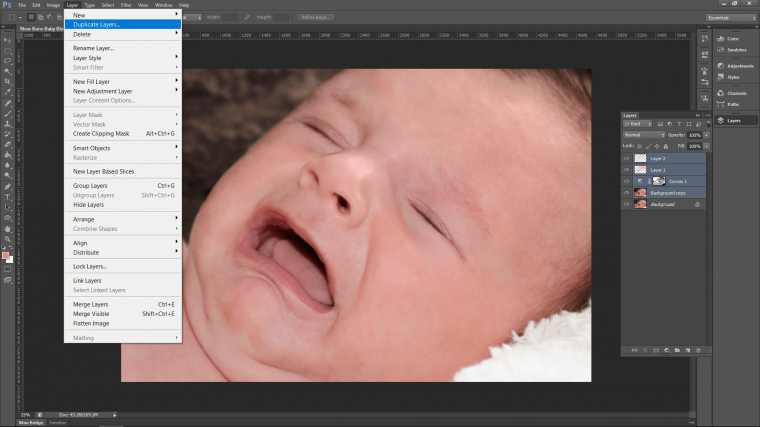
Open your image in Adobe Photoshop and create a duplicate layer.
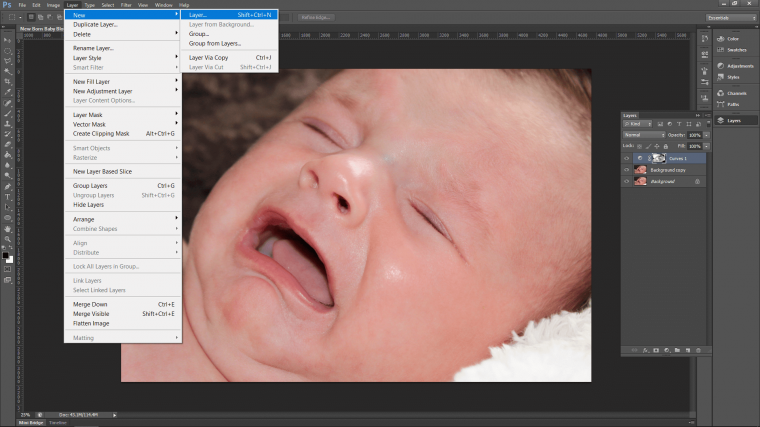
You do this by going to ‘Layer – Duplicate Layer’
We do this even though it’s not technically required. But it’s always good to have a spare original layer and it’s cool at the end when I group all my edited layers together because you can flick between the two to see the difference. This helps a good deal when editing because it can help you see things you may have missed. For that reason alone, it’s worth taking two seconds to create a duplicate.
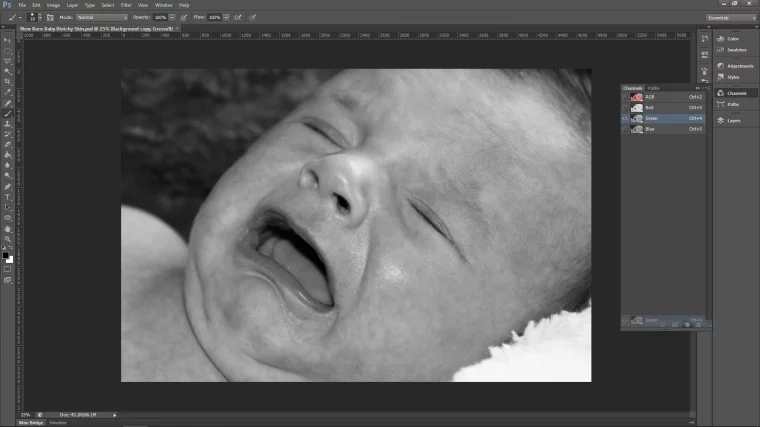
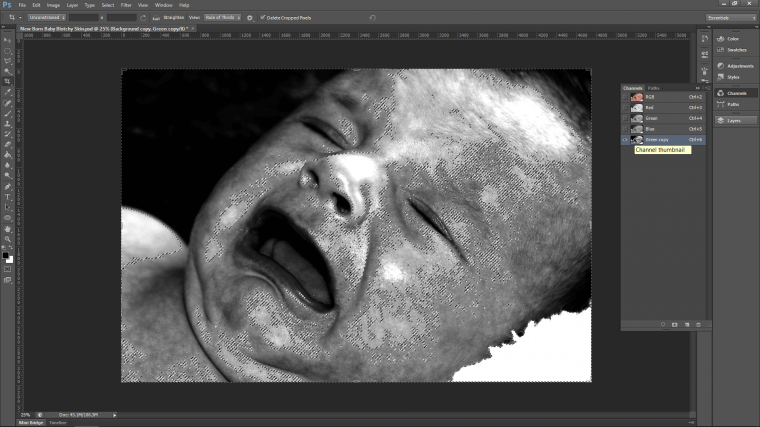
Now that we are all set up, let’s open up ‘Channels.’ You do this by going to ‘Window – Channels’
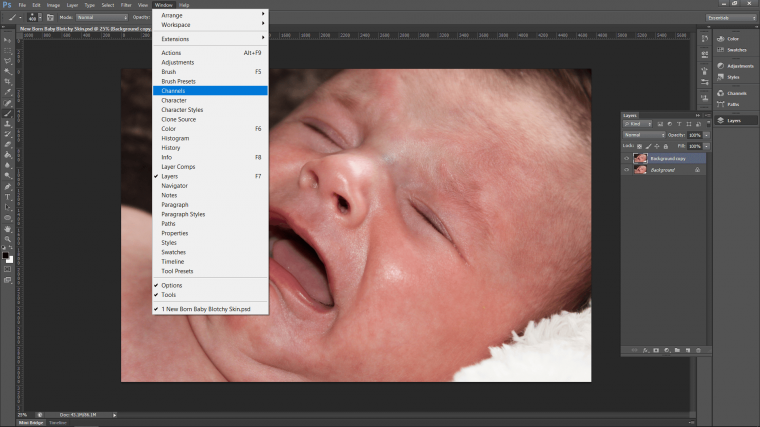
On the right-hand side, you will see that the panel opened. If not then you may be already had it opened and by hitting channels it closed it. Don’t panic, just repeat.
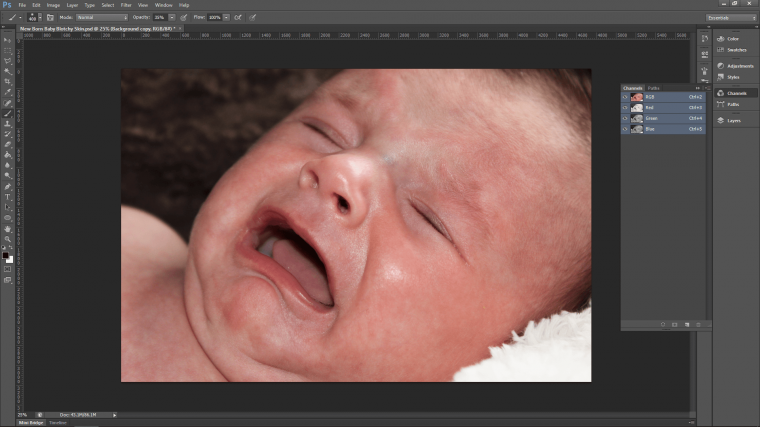
Channels are the image colors being split up into base colors. Most images are in RGB format, which is optimized for the web, unless you choose to switch to CMYK, which is set up for print. We’re not going to use CYMK in this tutorial, let’s just talk about what RGB is. RGB stands for Red, Green, Blue. This means that by using just these three colors, the computer create any color. Channels enable you to work with each color independently. Handy, right?
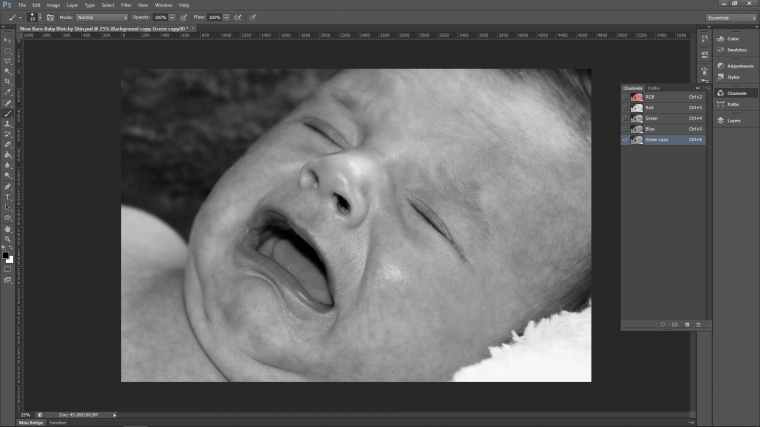
To correct the blotchy areas, let’s grab the green layer and drag it down to the little icon. It’s just beside the recycling bin in at the bottom of your channels panel.When you are over it, release the mouse button.
You will now see that there is a new green layer at the bottom called “Green Copy”.
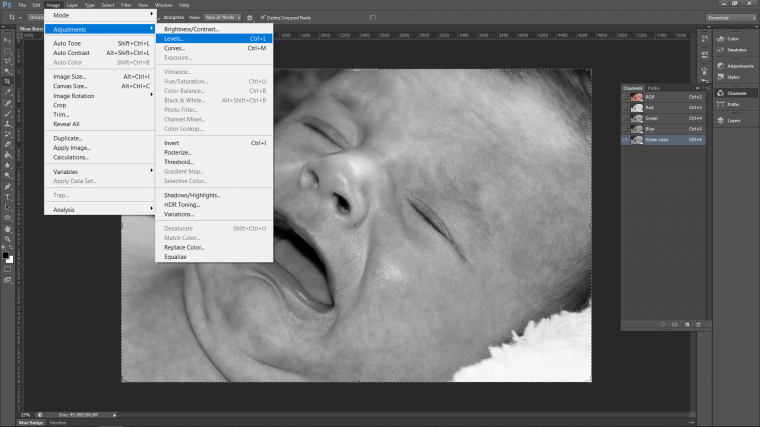
The next step that we are going to do is to open up levels. Go to Image – Adjustments – Levels.
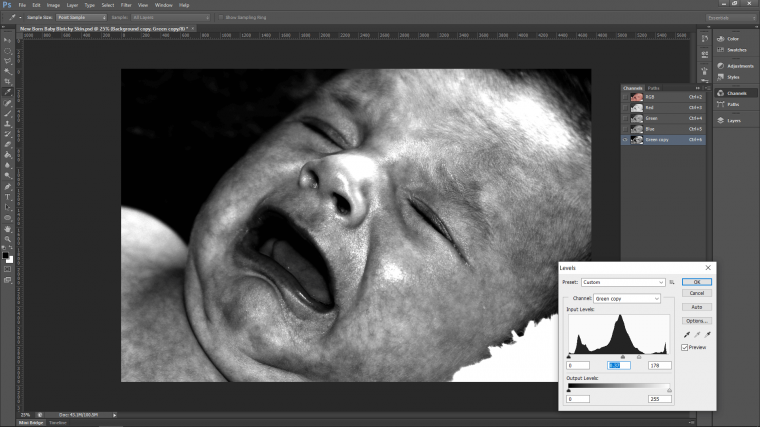
Our goal here is to increase the contrast of the darker areas. To do this, I will first drag the tab on the Input Levels portion of the panel that popped up.That’s the tab on the right—the white one. Drag that towards the center, until you start to see highlighted areas get blown out a little. Then, drag the middle tab towards the right to darken the image down. Don’t go too far with this—what you see in my image below is something similar to what you should be after. Now press ‘Ok’
Now we have to make a selection of that layer. To do this, hold Ctrl on your keyboard and click the thumbnail of the green copy layer. The thumbnail is the little box with a mini version of the image in it that’s black and white. You will now see the marching ants (as they’re affectionately called) all around your image.
Click back into your Layers Panel (if you need to find it you can find it in the same way we got Channels, in that ‘Window’ drop down). Then go to Layer – New Adjustment Layer – Curves.
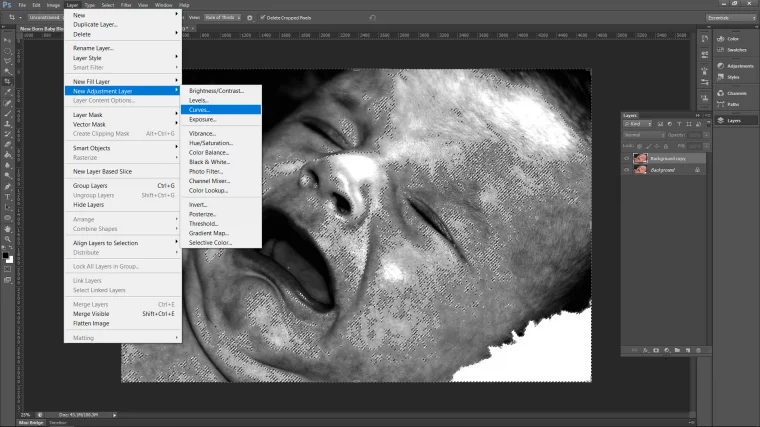
A pop up will now appear and your screen will go Red.
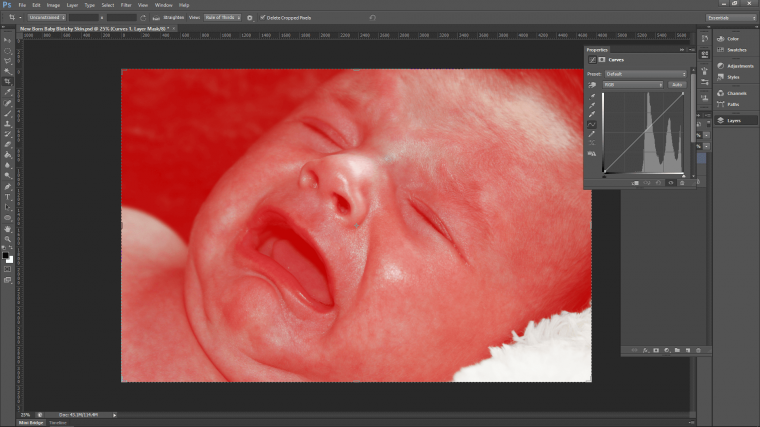
To get rid of the red just click on the thumbnail of the layer. We need to click it anyway so that we can invert the selection. Right now, it is set for lights, but we want to target the dark areas.

Click on your Curves Adjustment layer thumbnail and hold Ctrl, then press I on your keyboard.
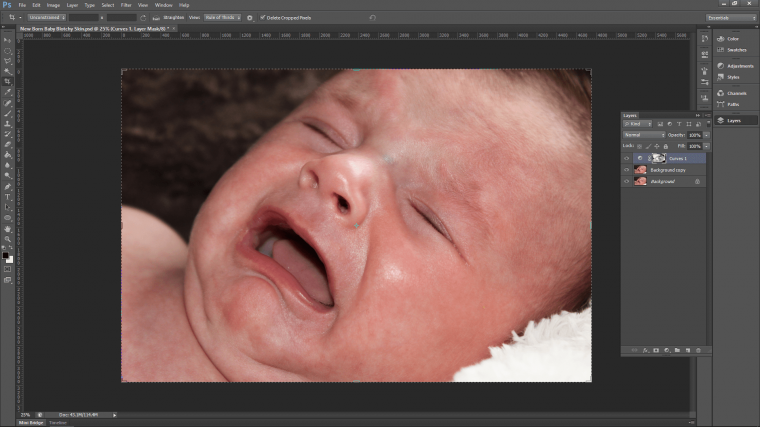
Now we are going to activate the Curves Adjustment again by double clicking on the half black, half white circle icon beside our thumbnail. When the panel appears, click the center, hold and drag it directly up. (then you can go to either side depending on your image if needs be). Do this until the skin starts to look balanced out, but be aware that there will still be some blue areas due to the veins.
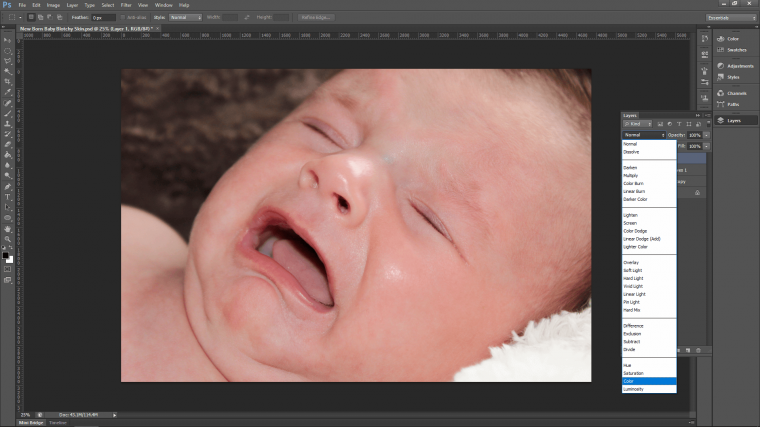
To deal with these other little areas we will first create a new layer.
When you have your layer, then look at the layers panel, there you will see a drop down box with the word ‘Normal.’ This is known as your blend modes. Click into that and have a look at the bottom and you will see ‘Color.’ Click it, and your layer will now be that blend mode.
Now, select the brush tool.
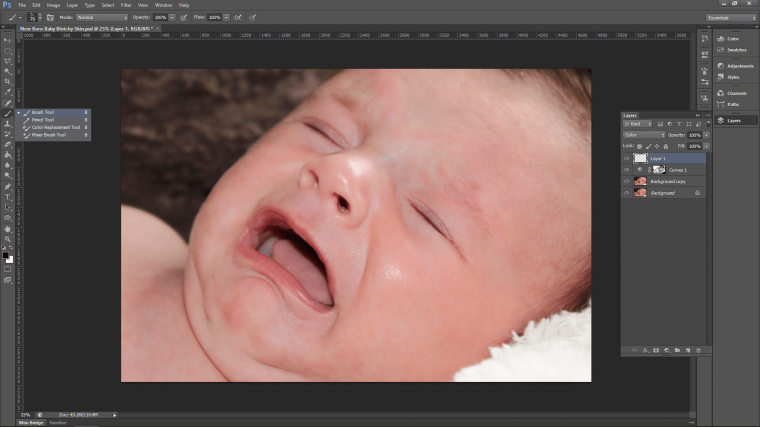
Be sure it is on the soft brush setting, which is first in the list. I basically use this 99% of the time, unless I’m using a very specific brush. You can find this option at the top left hand corner, just under the word ‘Edit.’
Change the opacity to 50%—you’ll see that option to the right of the menu bar.
Now all you have to do is identify the areas that you want to fix—like the veins we talked about.
Hold Alt and click on an area close to that area, a nice pink area. You have now sampled that color.Paint over the area you want to cover, and you will see the color being replaced!
If you feel that you may have went overboard with the colors, don’t worry because you always have the option of lowering the opacity of the actual layer on the right to soften that down a little.
Below you can see in my example image I have the opacity lowered to 80%.

Create another new layer. We are now going to run a Spot Healing Tool session on our image to remove any odd areas we don’t like. Grab the tool from the right-hand side panel, as shown below.
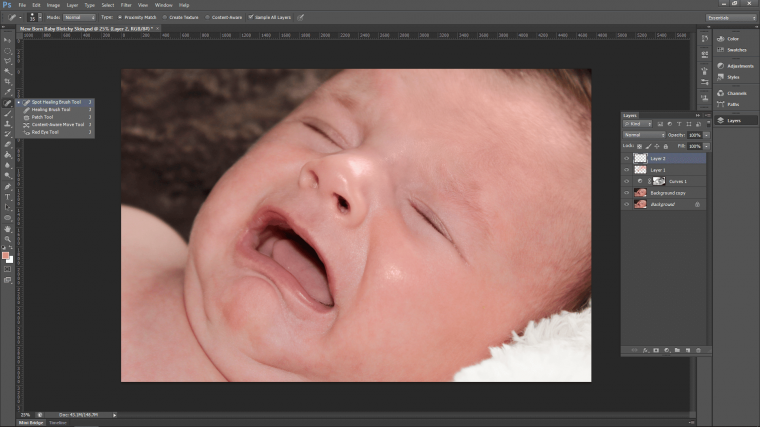
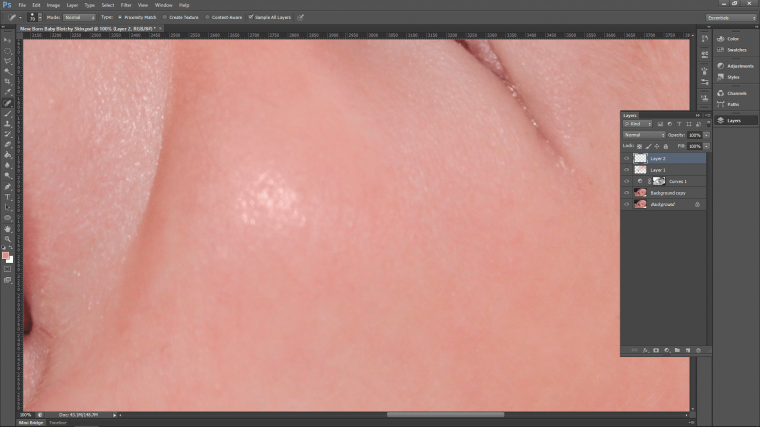
Once our new layer is created and selected, all we have to do is zoom in and get to work. To zoom in, I use the plus and minus keys on my keyboard while holding Ctrl. I hold down the space bar to click and move around my image. Then I target any little scratches or blemishes, like little beads of sweat or wrinkles.
Sometimes the results isn’t as great as you had hoped for. In that case, just hold Ctrl + Alt and hit Z to go back a step and try again. You may to adjust the brush size smaller.
Do a good once over on your image for five minutes or so. It shouldn’t take too much longer than this, otherwise you risk over-editing.
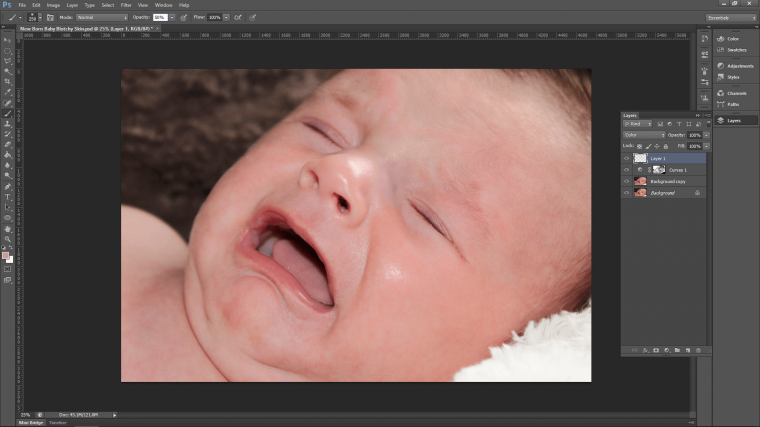
We are nearly done, there’s just one more little thing that I want to do, and that’s to add a slight blur.
Click on your top layer, then hold shift. Now click on your bottom layer above the Background layer.
This has highlighted all the layers so that you can create a duplicate layer of all of them.
Right click on the new layer and select merge layers.

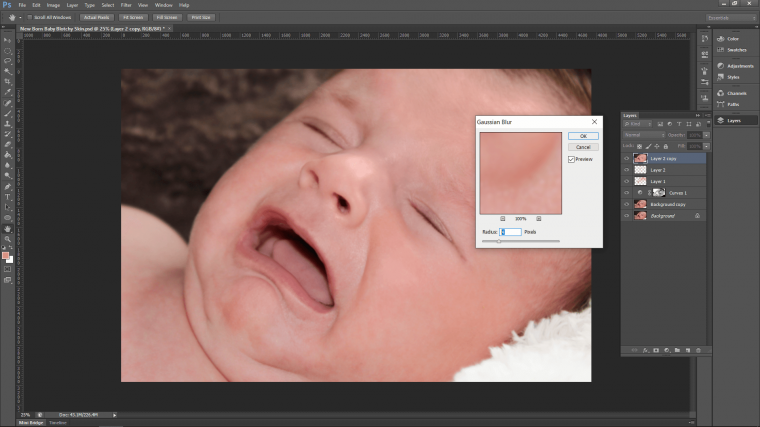
Now let’s add a Gaussian blur.

A radius of 3-4 should do the trick, just to get rid of little fine hairs etc.
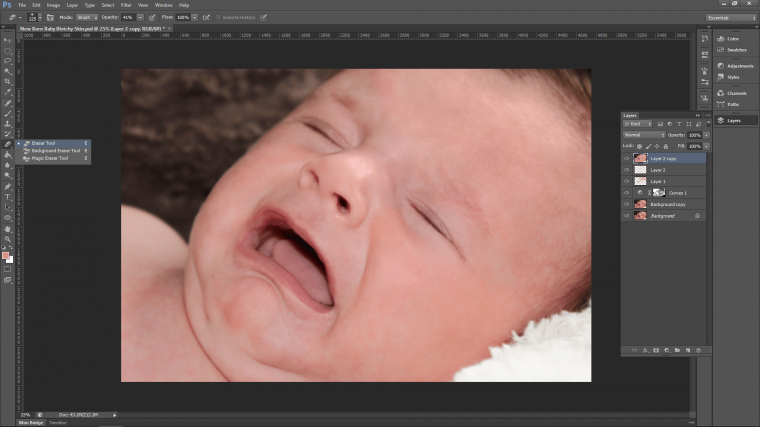
Then, with an opacity of about 50% on your eraser tool, just rub out, doing multiple mouse clicks on areas of interest. That’s the mouth, eyes, ears, checks, hair and chin—ears too if you wish.
Let’s look at the difference below.
Now that you know how to Photoshop skin, it’s time to put your skills to the test. Start by practicing on some images of yourself or friends and family. Once you feel comfortable with the process, try editing some professional photos. Remember to take your time and be patient; it may take a few tries before you’re able to get the results you want. With a little practice, you’ll be able to make everyone look their best in all of their photos!


Please verify your software version before proceeding.
 I’ve verified my software version


 Facebook
 Google +