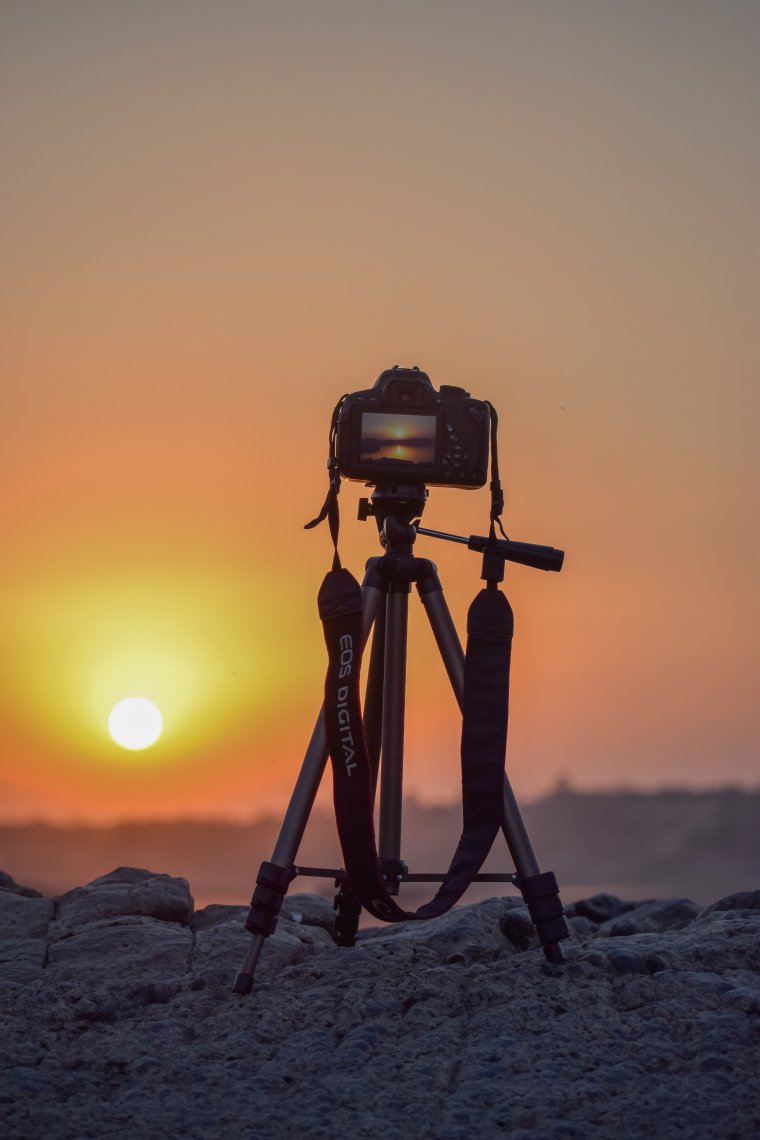
Are you a new and excited photographer ready to invest in all the tools you think you need to excel in your photography work? It’s fair to say that a tripod is one of the most common tools used by professional photographers. And while it may not be applicable to every photography situation, when you need one, you’ll be glad you have it.
In this guide, we’ll talk about the pros and cons of using a tripod, what to look for in a tripod, as well as how to clean and maintain a tripod.
Table of Contents
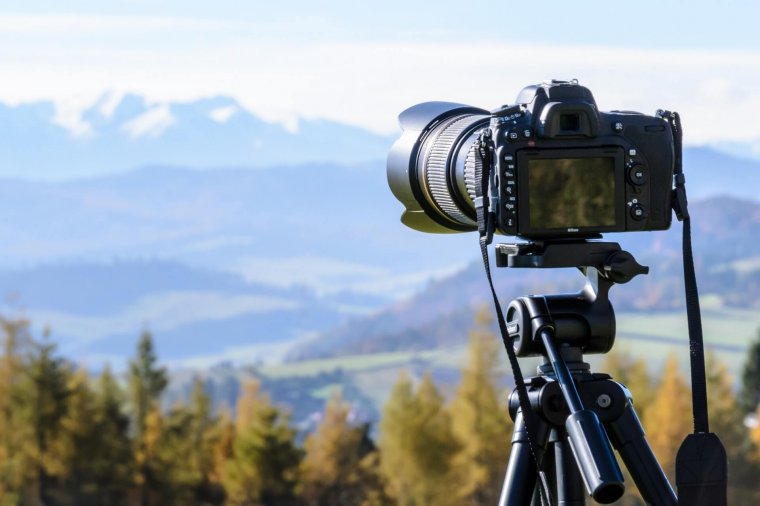
A tripod’s biggest benefit is that it enhances the stability of your camera, so it prevents camera movement. This is helpful if you’re taking video, using a slow shutter speed, are on uneven terrain, or have a shaky hand. Camera shake can often be annoying and cause motion blur in images and ruin what could have been a good shot. Not to mention when watching a video, it can be pretty obvious obvious how unsteady and shaky the camera is in the hands of the videographer.
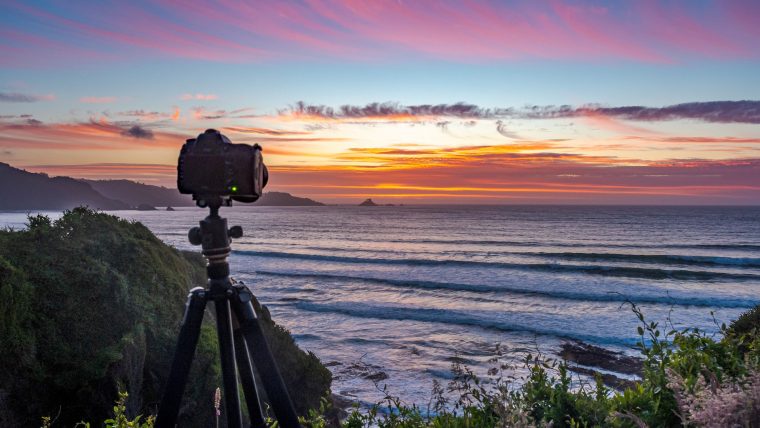
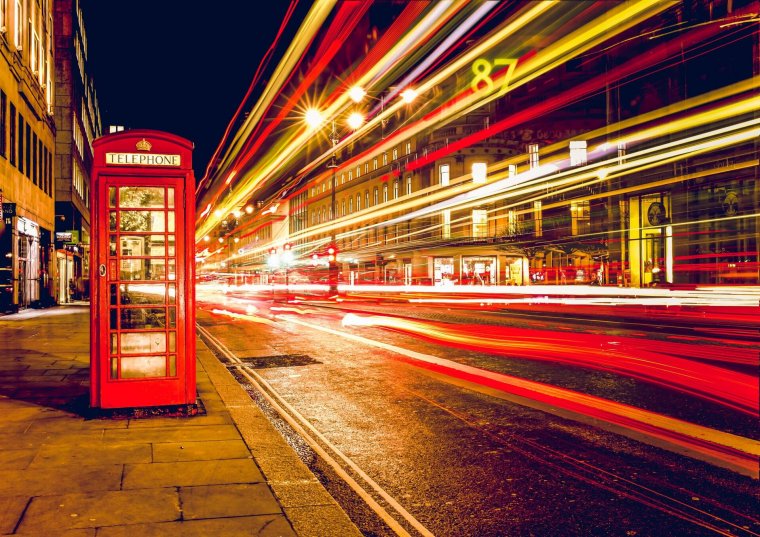
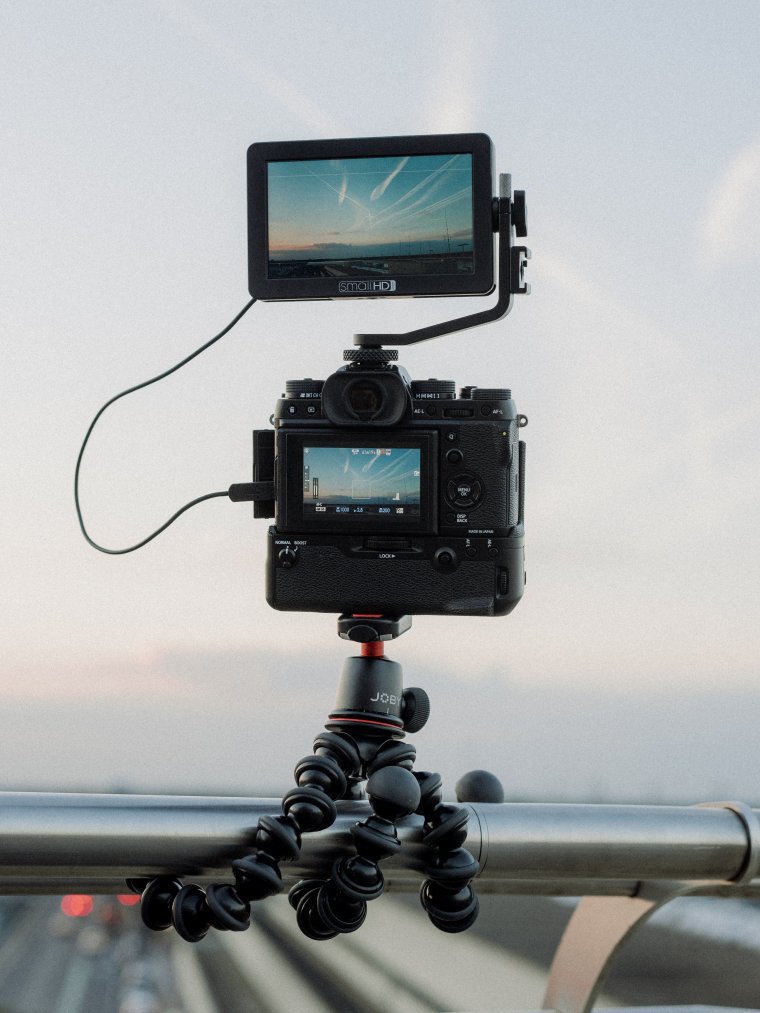
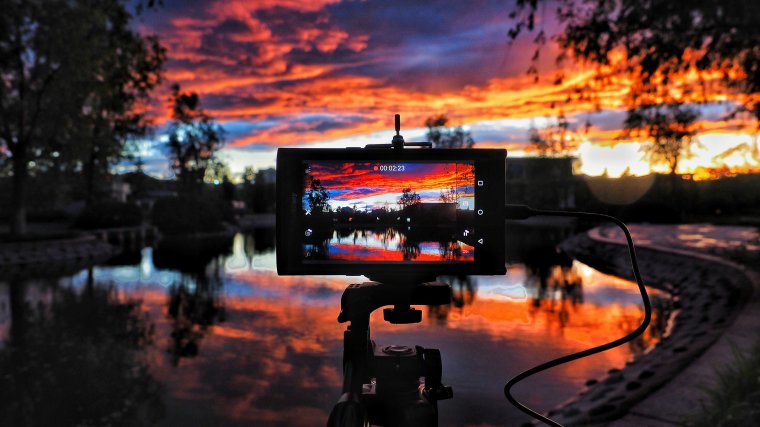
If you’re looking to capture shots that require a long exposure or slow shutter speed, then you’ll definitely need to pack a tripod in your camera bag. Images taken with a long exposure usually need the camera to be as steady as possible—to the point that you may even have to use an off camera shutter release trigger or timer to begin capturing the shot. Any form of movement from the camera usually shows clearly at the end of the shot, and that’s not something you want to see when experimenting with long exposure photography.
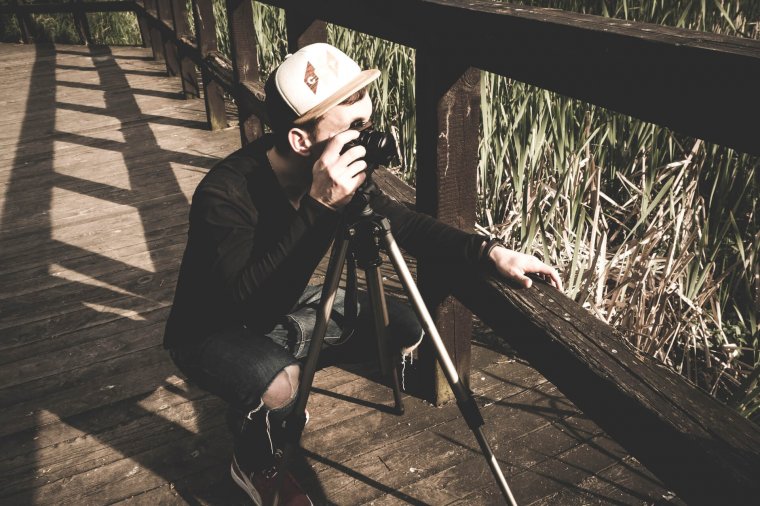
We’ve already touched on this, but one of the annoying parts of watching a video shot without a tripod is the camera shake. It just doesn’t look very professional. Unless you’re doing a live reality series where constant movement with a camera is a given, you’ll want to make sure you pack a tripod before shooting any type of video. 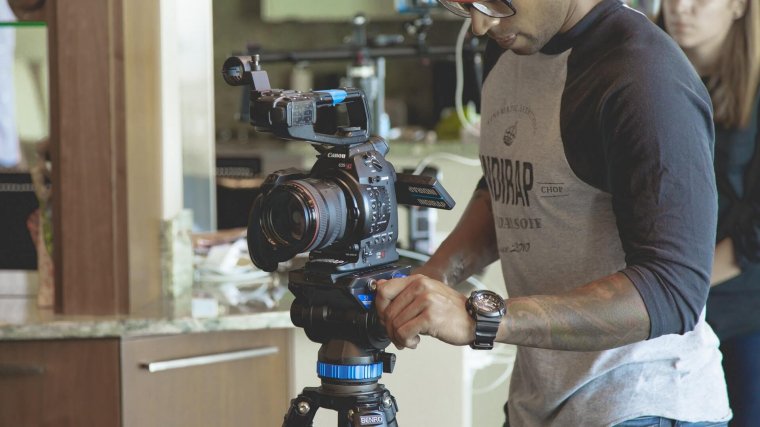
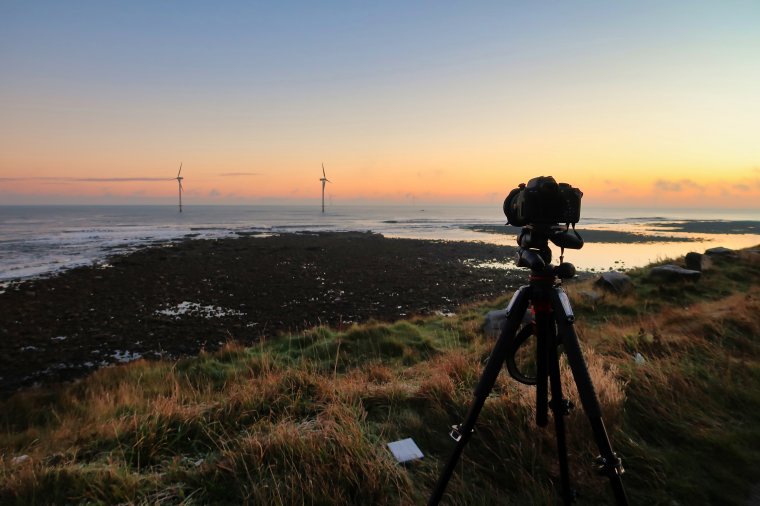
Want to get a photo from up high, or from down low, without having to contort yourself? That’s where a tripod is going to come in handy. It will get those extra levels for you. It will allow for some really great photos from some really great angles. For dynamic photos, angles really are a great way to make ordinary things look amazing.
Most heavy duty tripods give you the option of varying the height of your camera, allowing you extend the height or be keep it low and steady to the ground. This may be helpful you when shooting subjects that are out of reach or if you want to change perspectives during your photo shoot.
Tripods aren’t always the safest tools to have, and can cost you a very expensive accident if you’re not careful. I have experienced first hand where a professional photographer had his camera sitting high on a tripod under the impression that it was safe. Well, it’s safe to say that was a mistake because the tripod bounced and the camera tumbled over, damaging the lens and camera body on impact. My heart cried, and even though it wasn’t my camera, I could almost feel the pain he was feeling.
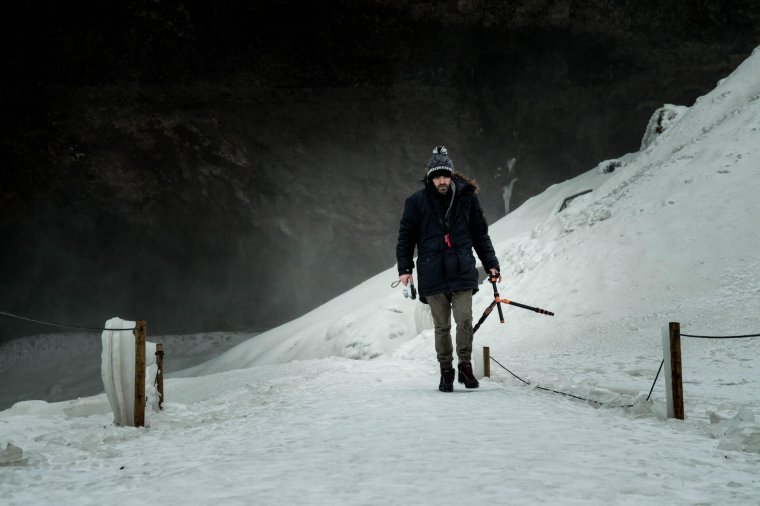
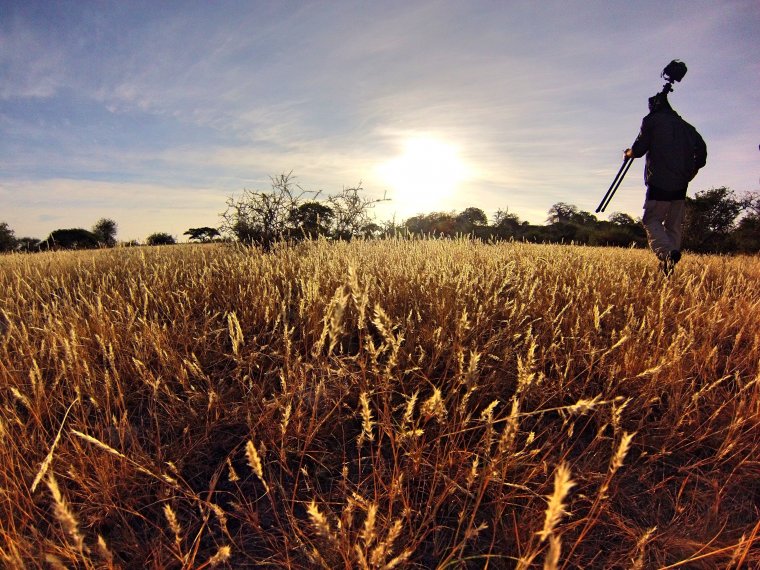
If you’re an active shooter like me and like to maneuver yourself into positions on a shoot to change your perspective, then hauling a tripod around can be pretty annoying. Additionally, it can take a long time to set up a tripod and get it balanced before shooting. You may think you can just pull out the tripod legs and start shooting, but if the tripod isn’t completely level, you may find yourself with a bunch of leaning shots that you didn’t plan for.
With camera lenses already being so heavy, it can also be a hassle to then walk around with extra pounds inside or on your camera backpack on your way to a photo session. There have been so many times that I’ve looked at my tripod and considered the extra weight I’m going to be traveling with and get discouraged from taking it with me. If you don’t need it, save yourself the hassle and back pain, because sometimes it’s just not worth it.
Carrying a camera around is one thing, and most people don’t care about that, but if you are photographing a crowded place, or in a tourist attraction with a lot of people, the tripod may get in the way. People will bump into it and it will become a hassle. Some places don’t even allow tripods because of the tripping hazard that they create.
Tripods are imperative to many genres of photography and can be a great creative tool. Tripods are probably one of the first things you purchase as a photographer. They help you to achieve sharper shots while decreasing the chance of camera shake and motion blur. Tripods also lend a helping hand when doing creative techniques in low light photography as well as when you want to get in front of the camera and get some photos of yourself.
Purchasing a tripod can be a major investment, so not only should you investigate what the best tripods on the market are, but you also need to have a very clear idea of what your personal photographic needs are. While the old adage ‘you get what you pay for’ is perhaps truer for tripods than for any other piece of photography equipment (beyond the camera and lens), the right solution for your requirements may not be as simple as just buying the most expensive tripod you can afford. With that said, here are a few things to keep in mind when deciding which is the best tripod for your needs.
The first thing to consider before buying a tripod is establish how much of a dent you want to put in your bank account or pocket. Photography equipment is not always the cheapest, so you need to have a price in mind of how much you want to spend. This also gives you the chance to question if you need the most expensive tripod or if a more affordable one can get the job done for your needs.
![]()
Most tripods start from at least $15 and can go up to as much as $1,000. This is not to say that the tripod with the biggest price tag is the best, because it may not actually be the right on for you, so I encourage you to explore your options. You may only need to spend $50 on a tripod that will last you years and get the job done just perfectly. The chances of you finding an adequate tripod between $50-$200 is pretty high.
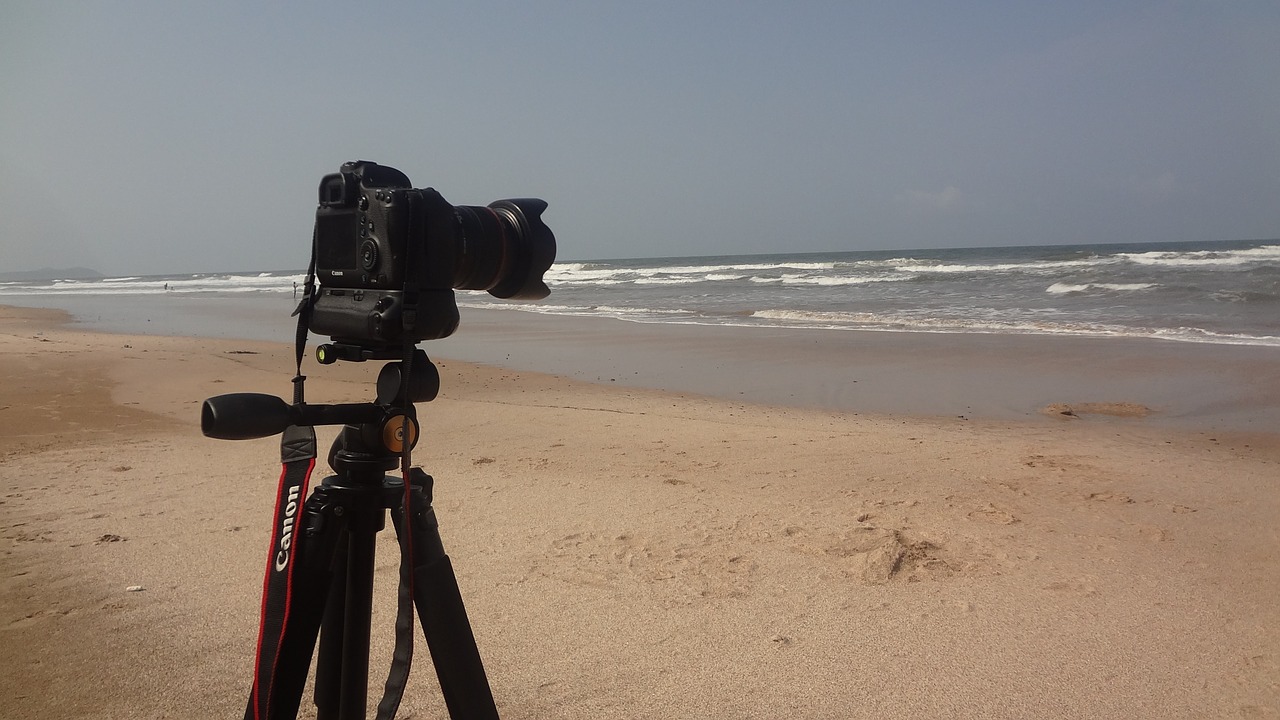
The next thing to consider before making a tripod purchase is to take into account the weight limitations of the tripod and the weight of the tripod itself. Some tripods can be really heavy and a burden to carry around, especially if you’re a traveling photographer and always on the go. Having added weight on a camera bag that already has two camera bodies, lenses, and other equipment inside does not sound fun.
Some tripods can be unnecessarily heavy and make your life that much difficult, so make sure to pay attention to the weight of the tripod before purchasing. Taking this into consideration will save you a lot of back, neck, and shoulder aches in the long run—trust me.
In addition to taking weight of the tripod into consideration, also think about the weight limitations of the tripod itself. A DSLR camera can be pretty heavy sometimes, depending on the additional weight from the lens. You will need to make sure the tripod of your choice can handle the weight of your camera and more.
The reason why this is important is that you don’t want to end up in situations where your camera easily tumbles over and gets damaged due to lack of support. A Tripod tumbling over with your equipment can turn into a very expensive problem within a few seconds.
In addition to the weight of your tripod and the weight limitations of it, you want to take into account the other specs on this piece of equipment, such as the max height and flexibility . If you’re tall like me, then a short a tripod will not be helpful and will only give you back problems from having to bend so much. On the other hand, if you’re a short or average height person, then you probably don’t have to worry about this too much. Take into account how tall the tripod can get, as well as how wide its legs can spread and the other capabilities attached.
I need a lightweight tripod that I plan to use with my compact camera, and I plan to use it mostly to shoot group family photos. What do you suggest I should get?
Well, there’s certainly no lack of different options on the market that could satisfy your needs, the SLIK Sprint Mini II GM definitely sounds like it should fulfill all of your needs. It’s a little more expensive than some of the cheaper tripods out there, but in exchange, it offers decent build quality, low weight, and compact size. Its main focus is to be as portable as possible, but without hurting the overall usability too much, so it’s ideal for use with small DSLRs or compact cameras. It features a compact ball head top and legs that can be locked in three different positions. There’s also a foam covered upper leg section to make it easier to use in harsh weather conditions. It weighs only 780 grams, with a maximum height of 109 centimeters and a minimum of 15 centimeters.
I’m looking for the best travel tripod and I prefer it to be as light as possible, but also made up to the highest standards. What are your recommendations?
If we had to pick one for you, it would definitely be the Manfrotto MKBFRA4 tripod. It’s an aluminum tripod, meaning it’s as durable as a compact travel tripod can be and at around 1.4 kg it’s certainly not too heavy and should be easy to carry around with you. It can support up to 4 kg of weight, which means that you can, for example, put a bulky full frame DSLR and large wide aperture lens with no problems at all. It comes with a traditional ball head on top, has a maximum height of 144 cm, and can be collapsed to a pretty manageable 40 cm.
What’s the most durable tripod on your list? I’m currently using a very heavy set up and I need something that can hold all that weight and not break easily. Price is not an issue.
That has to be the MeFOTO Carbon Fiber Globetrotter. It’s a 1.6 kg tripod that’s able to hold a maximum weight of around 9 kg, which is simply outstanding. It has a graduated panning scale that gives you an easy way to take panoramas, and flexible legs that can be adjusted in two different angles. It comes with a Q series ball head, which is made up to the highest standards and comes with an Arca-Swiss style compatible quick release plate. There are five different colors available, which is nice to see as they give an otherwise regular looking piece of gear a little more style. You can also detach all of its legs and turn it into a monopod if the need arises.
I’m still not quite sure what to look in for when buying a tripod, but I want to purchase one that offers the best bang for the back? Is there a tripod for me on your list?
Well, there are a lot of tripods that could fit into the best buy category, but our first choice would be the Dolica LX650B502. It’s made out of aluminum alloy and weighs around 2.35 kg, which makes it feel extremely tough and less of a real premium vibe. One of the main reasons why this is the case is that it’s almost entirely made out of a single block of aluminum with the use of CNC (computer numerical controlled) machine. It can also be raised as high as 165 cm and it supports a maximum weight of around 9 kg. Lastly, it comes with a standard ball head tripod head type and a really compelling price point, just what you asked for in a tripod.
I’m currently searching for the best tripod on the market and I’m having a hard time deciding which one to get. I’m prepared to make a large investment, but I want to be sure that I’m not wasting any money while doing so. Which tripod should I get?
The Gitzo GT1544T Traveler Tripod would certainly be our number one pick. You may be surprised that it’s not made out of aluminum like other durable tripods, but it achieves the same impressive durability by using a special Gitzo 6X carbon fiber tubing while also keeping the weight down as low as possible. This enables it to only weight 1.1 Kg, but at the same time be able to support a load of around 8 kg, which is quite astonishing for such a lightweight tripod. It also more compact than a traditional tripod when folded, but can also reach a pretty respectable height of 116 cm when fully extended. It also comes with G-Lock rings, which enable you to quickly lock the legs in your desired position and also sports magnesium castings that enable it to keep its weight down as much as possible.
Some photographers tend to throw their tripods around and can treat them pretty harsh (don’t worry, I’m just as guilty of this). You may not think about cleaning your tripod often, but given how much they support our valuable photography equipment, it would behoove you to give your tripod a bit of care every so often.
Some of these tips may be subjective to the size or material your tripod is made out of, but most of the principles are pretty much the same.
To properly clean your tripod you will need a few things that can usually be found around your house. These things include:
Once you find these supplies, you’re pretty much ready to go and start the process of taking care of your tripod and giving it a well-deserved clean.
Once you’ve got your trusty tools together and cleared a space to work, then it’s time to start. The first step towards cleaning your tripod is to disassemble the legs. Some, if not most tripods, come equipped with the tools to disassemble it, but if you’re not certain, then take a quick a look at the owner manual to make sure you’re doing it correctly.
If you got your tripod second hand, then you can type in the name or model of the tripod and usually find an online manual. Remember, the internet is your friend. If there’s anything you’re not completely sure about, don’t be afraid to take a moment to do your research before moving forward.
This second step is pretty easy, as most tripods use the method to pull the legs apart. Simply twist the lowest part or sections of the leg as if you’re trying to extend it and keep twisting until it eventually comes off. Once you’ve successfully done that, you should be able to slide the leg out of the tube. Be very careful while doing this—you don’t want the plastic parts to fall out of place as they are crucial to the functionality of the tripod leg lock itself.
If your tripod consists of a series of screws or nuts to do a complete removal of the legs, then you should carefully remove those as well and put them into the small bowl we mentioned earlier. Once you’ve successfully removed the legs from your tripod, then it’s time to start the cleaning process.

You want to start by grabbing the canned or pressurized air and using it to blow off any dust or particles that may be in the grooves or threads of the legs parts. You can then take your old toothbrush and dip it into the soapy water and brush any areas that are dirty—or better yet, brush everywhere regardless. Just to make sure we don’t miss any spots that we will end up regretting. Once you’ve successfully brushed these areas and they seem clean enough, you can use your cotton or microfiber cloth to dry off the areas.
The feet of your tripod is probably the most used and abused part, as it is often placed in many undesirable places, such as mud, dirty water, and snow. It is important to clean and maintain the feet of your tripod as often as possible because that’s the part you relying on most when using the tripod.
The possibility that you will get the feet dirty again tomorrow is probably high, but it’s important to clean them regardless. Give the feet a proper brush with the soapy water and make sure to get into every little nook and cranny because it is very possible to have a build-up of dirt in these areas. Once you’ve cleaned it properly, then you can get your cotton or microfiber cloth again and dry the area.
This is another heavily used area of your tripod that will require some attention as well. The pan head is the area where your camera sits when the tripod is in use. Cleaning your tripod pan head might be a bit tricky, as most tripod heads are not designed or meant to be disassembled by their users. Some tripod heads are actually sealed by the factory, and any attempt to remove this seal may result in your tripod becoming useless. To be safe, only remove the parts that are easily accessible or feel like they are capable of being removed. Once you’ve accessed the head of your tripod and carefully removed the parts that are able to be removed, grab the old toothbrush again. Repeat the same thing you did with the tripod feet and brush everywhere until satisfied, then dry off with your cotton or microfiber cloth.
Some tripods may have a few extra bells and whistles for your benefit, so don’t be afraid to detach those as well and give them a quick clean. It’s important you get as much clean as possible to ensure you get the best use out of your tripod.
Once you’ve completed all the steps above, then it’s time to put everything back together again. Before you do so, remember to add a bit of waterproof grease on any threads that are meant to tighten or loosen the parts on your tripod. After you’ve done this, then you can gradually put all the screws and bolts back in their place.
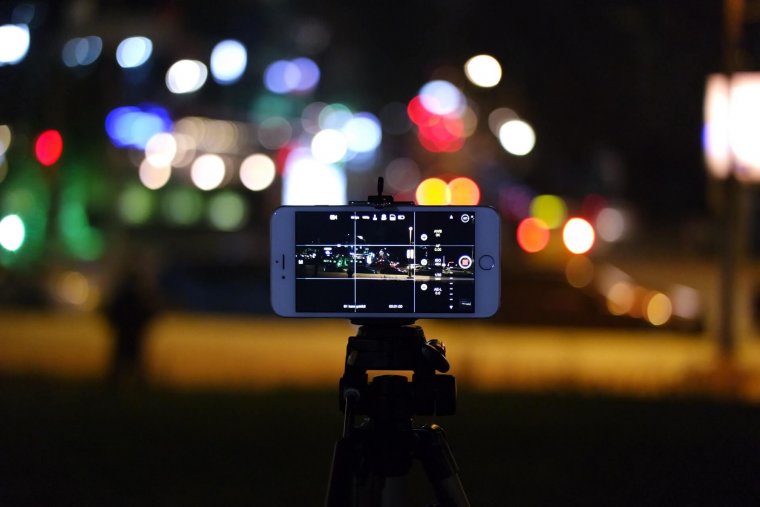
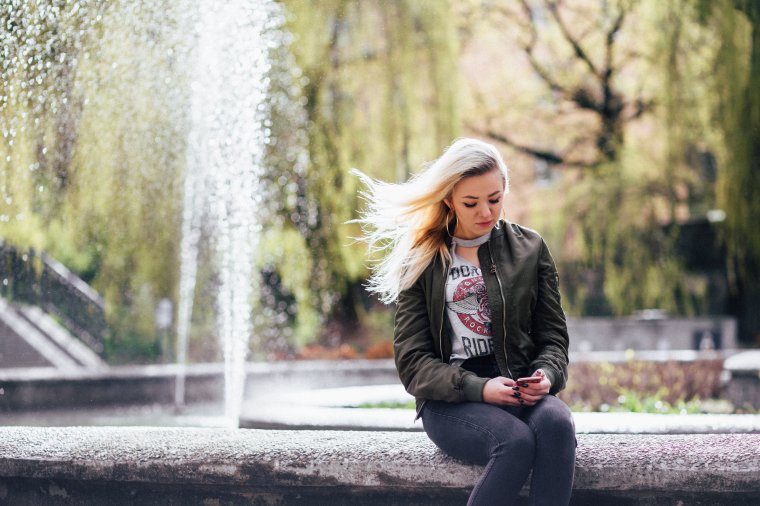
In a world where almost everyone owns a smartphone, taking photographs is more accessible than ever. You can photograph your surroundings, other people, and yourself. Selfies are exceedingly popular at the moment — and many of you might associate this term with an extended arm and a flattering pose. However, artistic self portraiture doesn’t always have to involve your phone’s front camera. If you don’t own a DSLR,or if you simply wish to experiment with phone photography, a mini tripod for smartphones or good selfie stick are exactly what you’re looking for.
Tripods for smartphones are typically much smaller than DSLR tripods. These handy little tools will safely hold your phone anywhere, allowing you to take fantastic and unique self-portraits. Smartphone tripods can be simple—they can look like a small, tabletop tripod or they can be completely original, like the flexible Gorillapod, which can be wrapped around anything—even trees!
The smartphone tripod that’s perfect for you depends on your creative vision. If you just want to familiarize yourself with new equipment, a simple tripod will do. If you wish to challenge yourself, a flexible tripod will provide you with an abundance of obstacles which will strengthen your creativity and test your patience. Of course, tripods aren’t just flexible or simple; there’s a plethora of complicated equipment you can experiment with. As long as you don’t forget to be open to new ways of working, you’ll find yourself thriving with your new purchase.
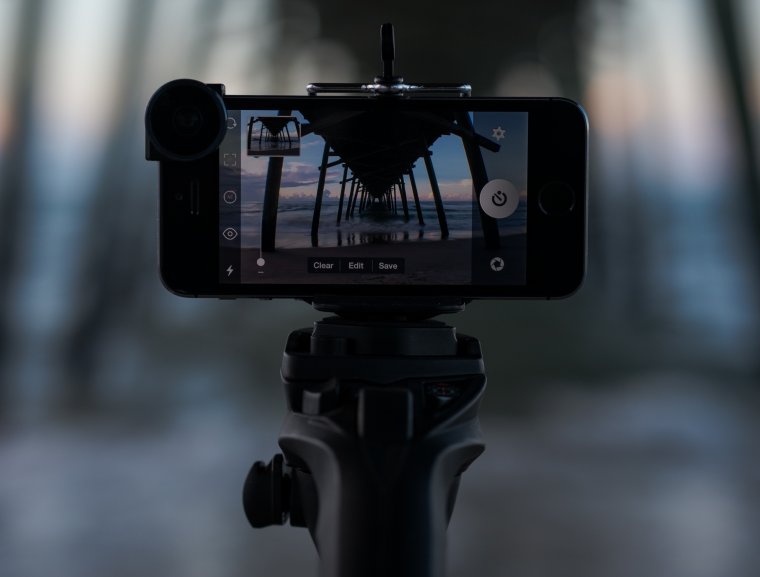
Once you obtain your tripod, don’t throw the instructions away. Most smartphone tripods come with a mount for the camera. This must be attached safely to your phone to avoid any accidents. If you don’t attach your phone properly, it might fall off unexpectedly. Be sure the tripod is sturdy and without any faults—upon attaching your phone to it, take a few photos of your surroundings without a timer and see how it works. If the results are satisfying, you can move on to the best part: taking self-portraits with your new tripod.
You’re probably quite familiar with your phone’s basic camera features, so keep this in mind as you learn new things. Though phones differ when it comes to camera settings, they follow a general pattern. If you want to control your photographs’ exposure, shutter speed, focus, etc., you need a special camera app. Chances are that your built-in camera app isn’t making the most of your phone. Fortunately, there’s an abundance of options for iPhone, Android, and other smartphone users. A few examples are VSCO (iPhone and Android) and Camera360 (Android), both of which are free. These apps allow you to have full control over your images, letting you take impressive photographs that don’t even look like posed self-portraits!
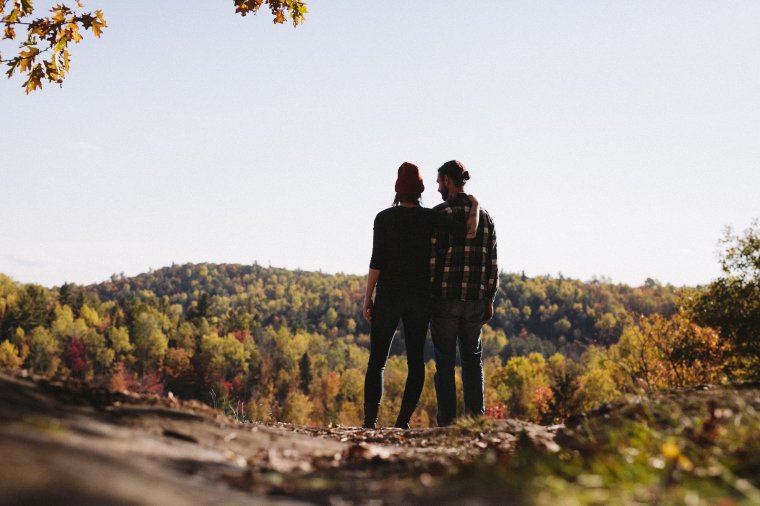
Once you’re happy with both your tripod and your camera app, go to your desired location. If you’re an absolute beginner, experiment in a calm and safe place first. If DSLR photography is something you’re familiar with, you can be more imaginative at this stage. Be sure the place where you’re going to shoot is well lit. If a spot looks too dark or bright, change the exposure (thanks to your camera app, such changes are possible to make.) Once you’re more confident in your tripod, you’ll be able to deal with more challenging lighting conditions. But for now, a beautifully lit location will give you a chance to take stunning self-portraits and allow you to understand your smartphone’s strengths and limits.
A sturdy tripod, a handy camera app, and a great shooting location: if you said yes to all those, you can prepare yourself for the best stage: taking self-portraits. Make sure your phone isn’t on mute so you can be aware of when your phone starts taking photographs. Set your timer to the longest possible amount of seconds and go to your desired spot. As your smartphone counts down, consider your pose, the way the light hits your face, and the feeling you want your result to give out. Do you want a faceless, lonely portrait or a more optimistic one? What’s your photograph’s story? Consider all of these questions throughout your shoot.
A note on self-portraits: if you want a conventional portrait, your camera should be at eye level. For this, flexible tripods will come in handy. If your tripod is too short, attaching it to a tall object will remove any height issues. If your tripod isn’t flexible, putting it on flat surfaces, like tables and wardrobes, will get rid of the problem. Again, this depends on how creative and experimental you want your self-portraits to be. Since smartphone tripods are sturdy, small, and flexible, they can be used in very original ways. Experiment with various angles and you’ll get incredibly fascinating results.
Understanding smartphone tripods will allow you to get into professional photography. Your unique results will enhance your creativity and give you more shooting opportunities. If you’re into stock photography, you might consider selling your shots, too. The more you experiment, the closer you’ll get to becoming a great self-portrait photographer.
The tripod is a great tool for the photographer, especially in a studio setting, but you don’t want to use one if you don’t need to. Choose to use one sparingly, and only when you know that it is going to help you. Don’t complicate things for yourself any more than you need to by having a tripod you don’t need.


Please verify your software version before proceeding.
 I’ve verified my software version


 Facebook
 Google +