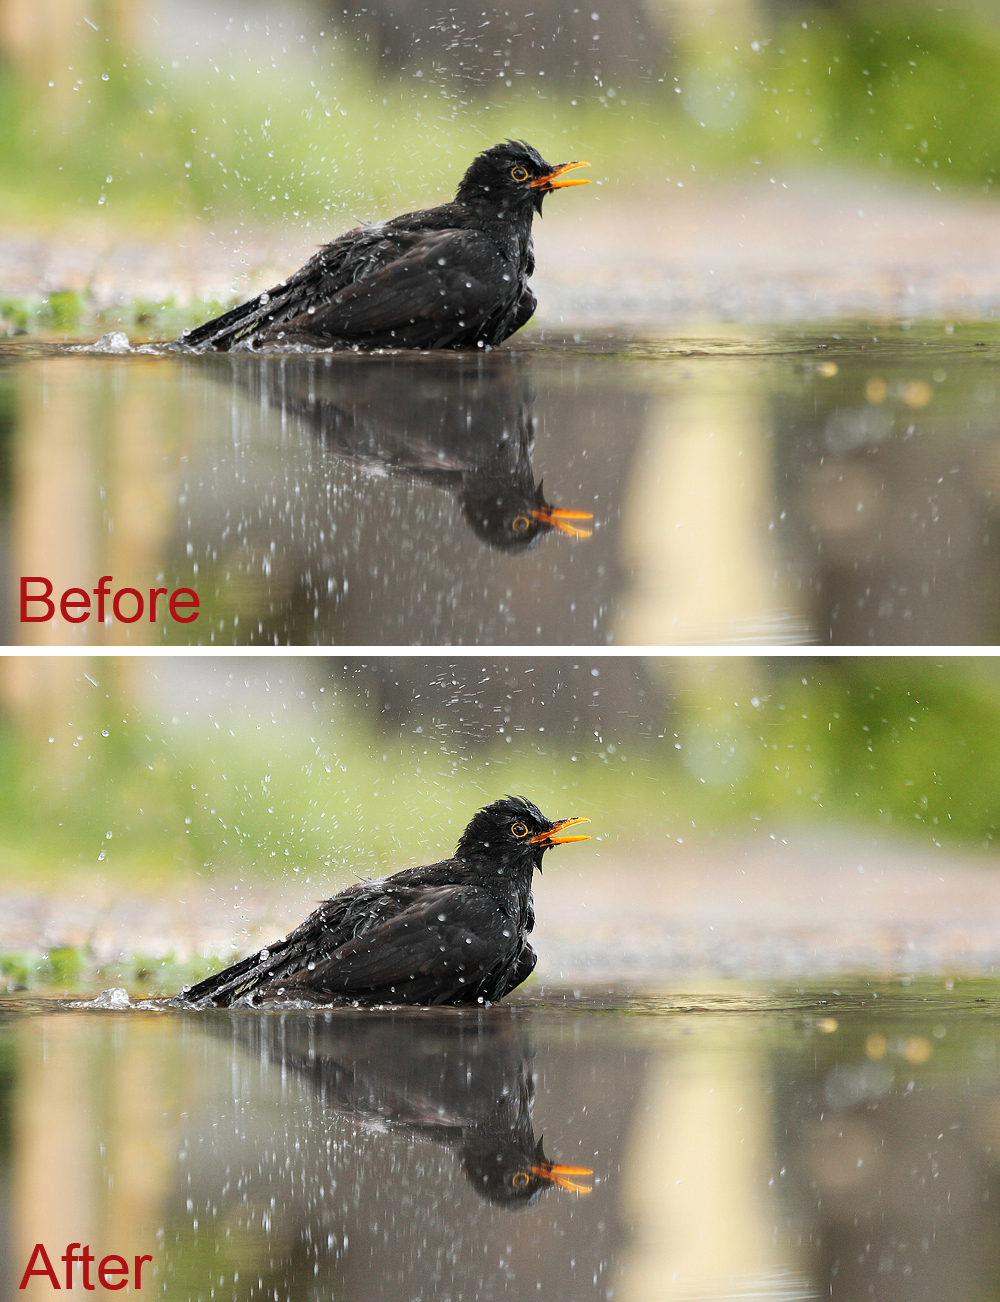
There is nothing worse than blurry and unsharp images and getting sharp images is probably the most important element of photography.
Let me give your some tips on how you can increase the sharpness of your images.
Table of Contents
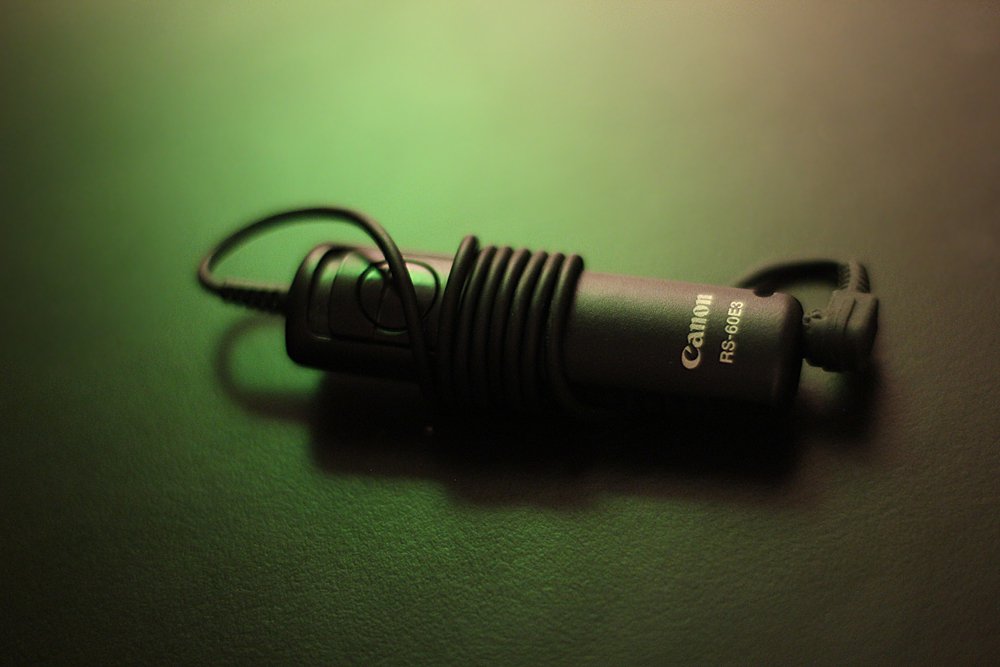
A camera remote shutter release is used to trigger your camera shutter without having to touch the camera, it avoids camera motion and will therefore increase the sharpness of your image. Despite, a remote shutter release is actually not very expensive, you will pay about $5 – $20, depending on which camera system you are using and there are also wireless remote shutter releases which will be more expensive than a standard remote shutter release.
The higher the ISO, the more noise you will have in your image and the less sharper your image will be. The idea behind setting your ISO high is to get a faster shutter speed and therefore to get sharper images. But don’t set your ISO number too high, because this will automatically cause digital noise and grain in your images and this digital noise will reduce your image sharpness. If you shoot in automatic mode, I would suggest setting the maximum ISO sensitivity to 1600. Nowadays most DSLRs are able to provide good quality images at ISOs up to 1600. But remember: The lower the ISO number, the more light will be required. It’s kind of a balancing act photographers are doing nowadays, because on the one hand they want to keep their ISO as low as possible for sharp & high quality images and on the other hand they also need a fast shutter speed to receive sharp images. If you don’t have the option to decrease your ISO there is always the possibility to remove the ISO noise afterwards, within few steps you are able to remove the noise in Photoshop.
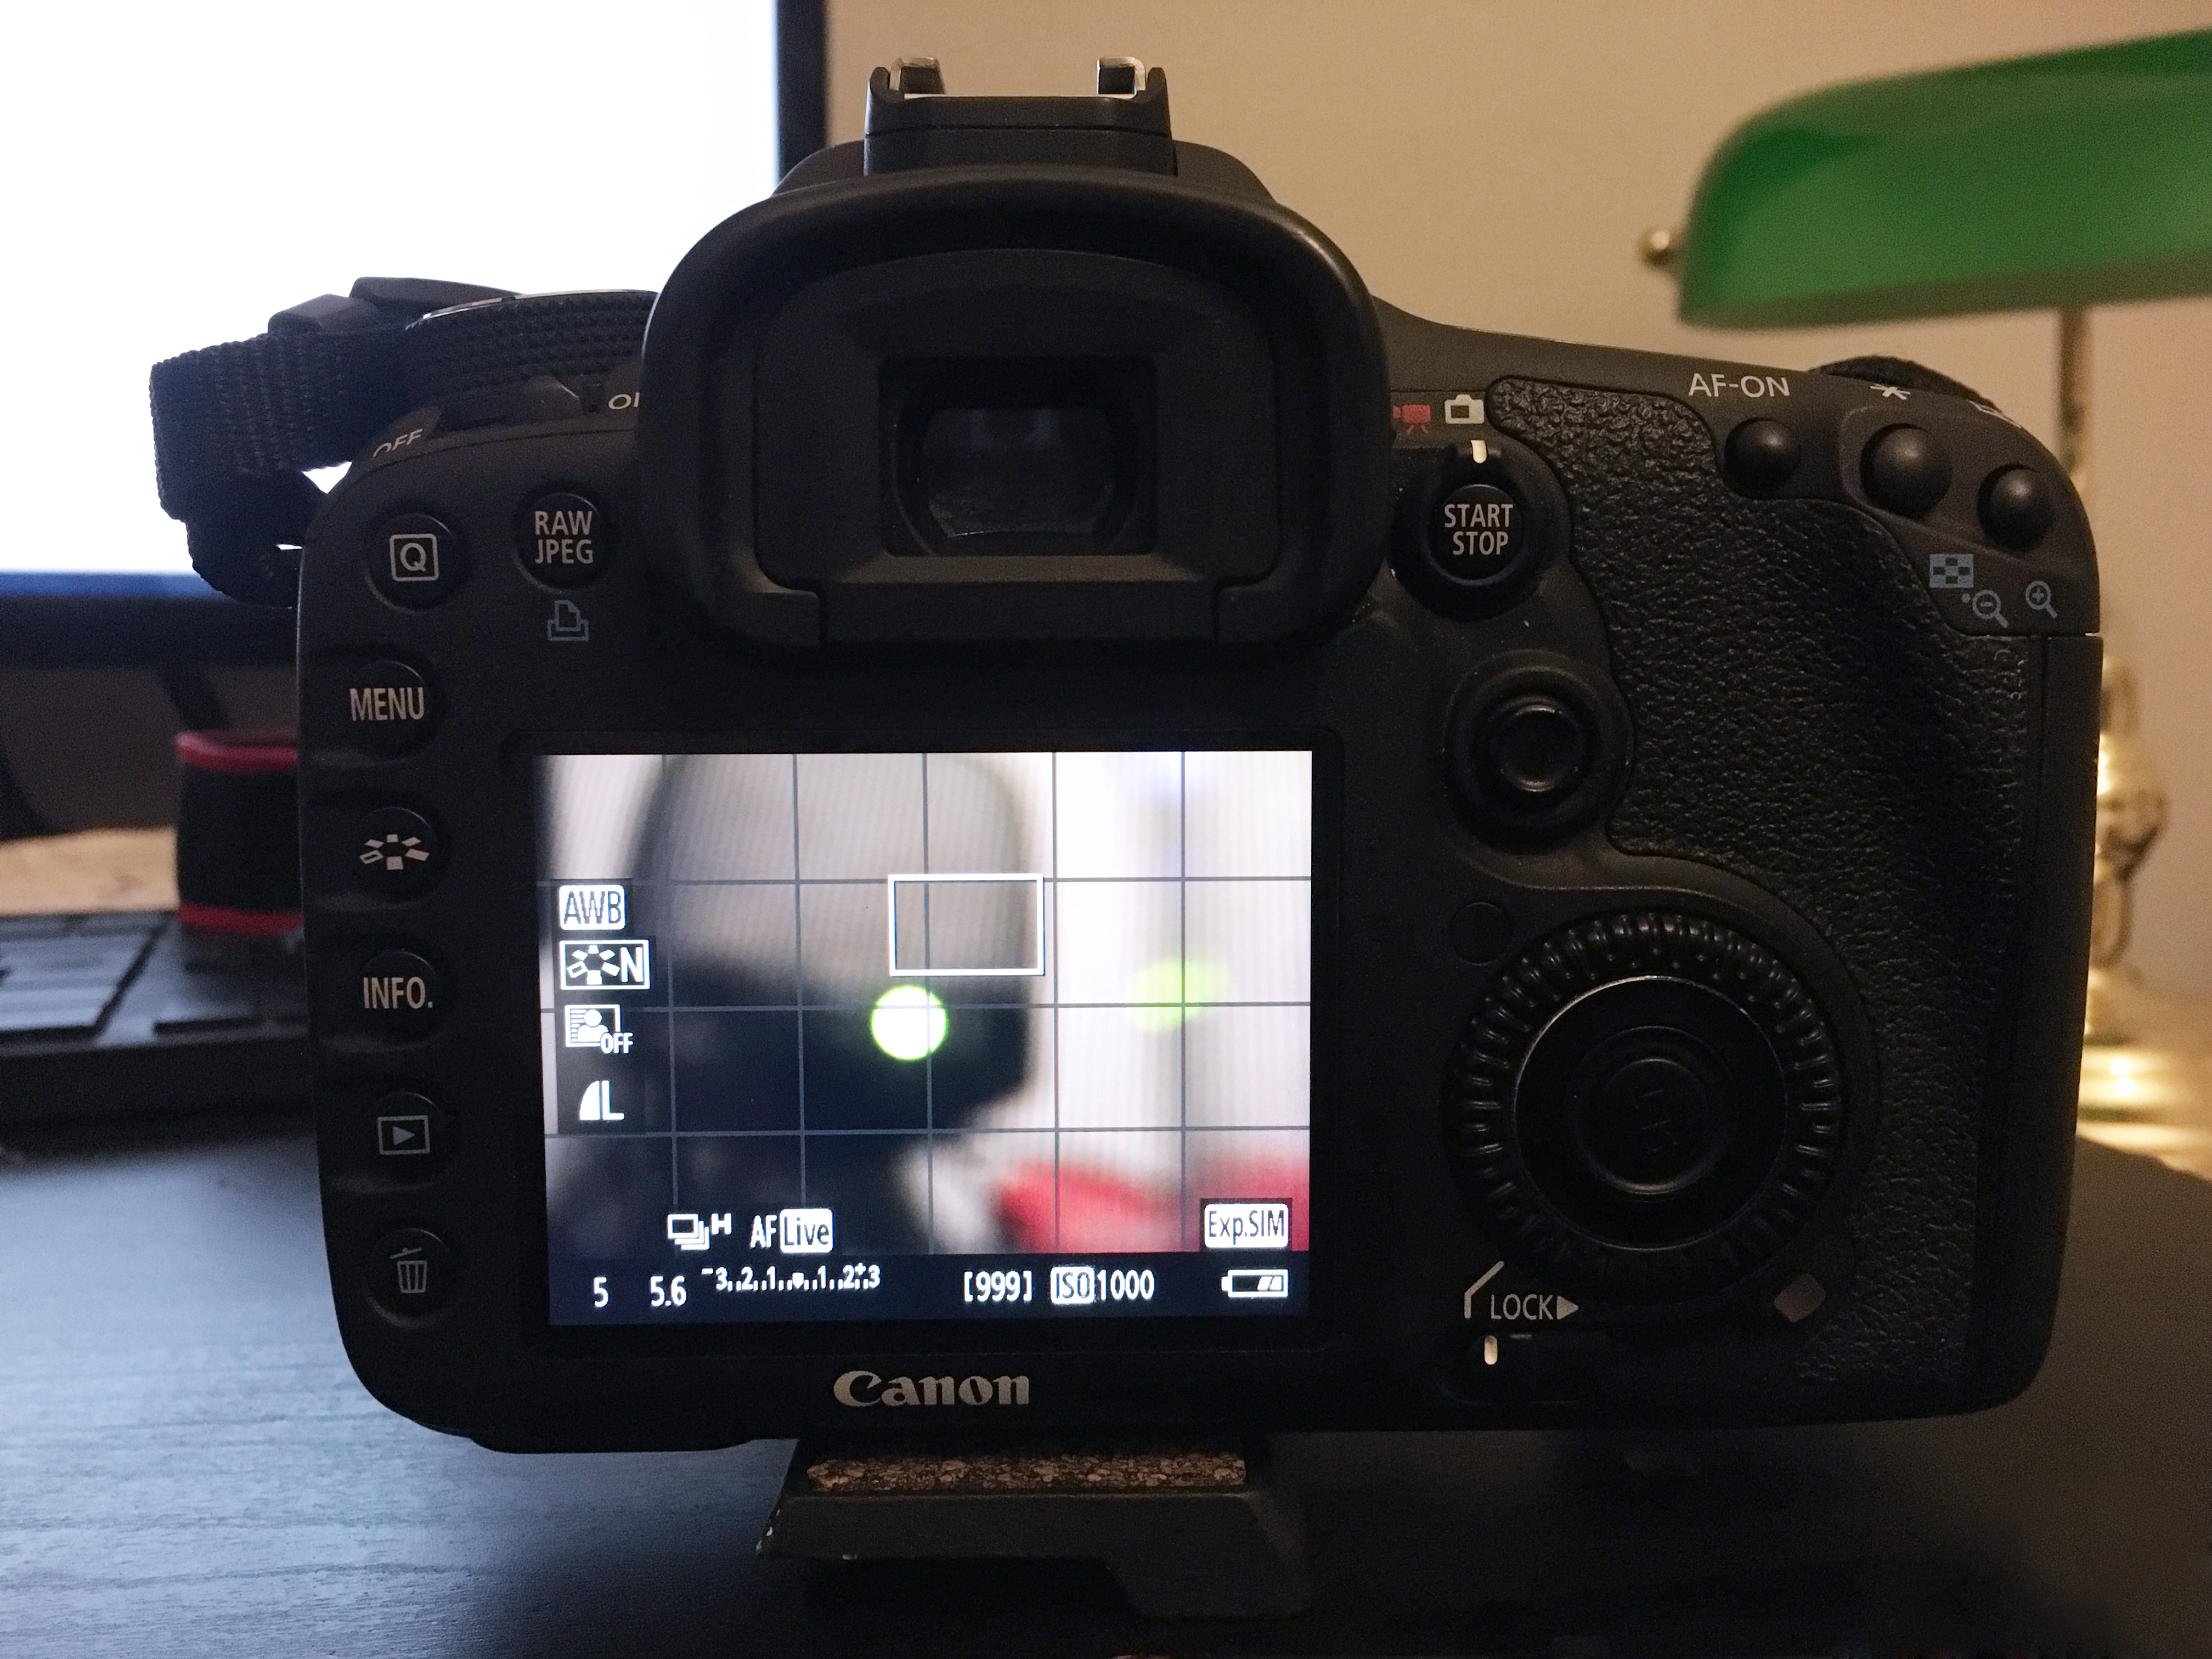
If your camera supports the live view function, you should turn it on, because live view can be a really useful tool. It will help you to get more control over focus because you can easily zoom in to test your image sharpness and to see where your focus-point is. So in the live view mode you can adjust your focus point precisely while using the manual focus ring of the lens. Besides it’s really important to set your focus on the eyes when photographing people or animals and using live view will help you to focus exactly on the eyes of your subject.
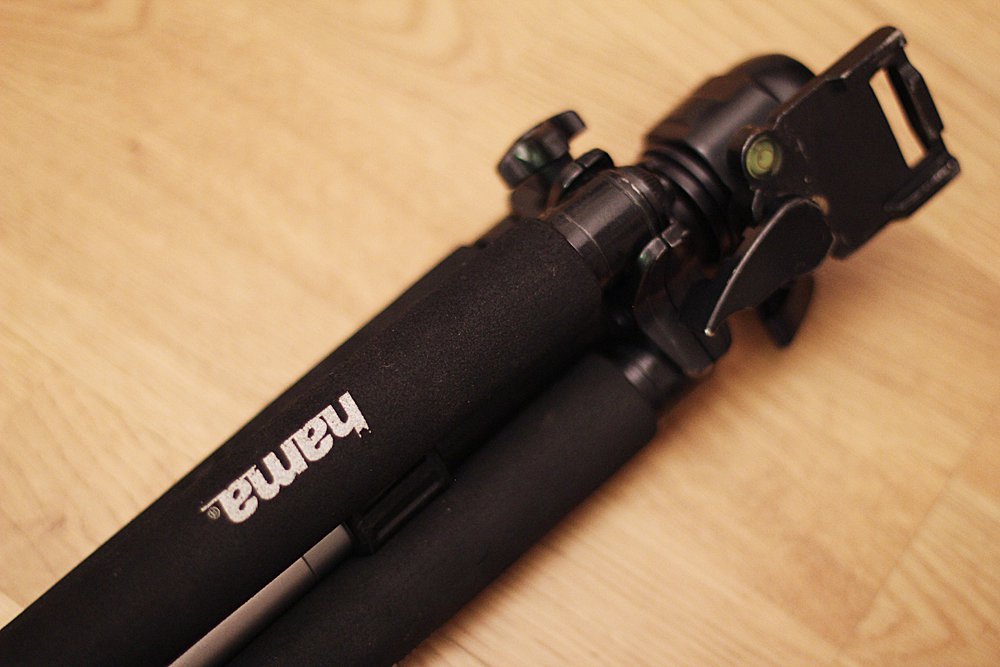
It can be said that almost every photographer owns a tripod, no matter if you are a landscape photographer, a wildlife photographer, a fashion photographer, or a wedding photographer. It doesn’t matter they all have used a tripod at least once in their lifetime. Look for a steady and robust tripod and forget all those cheap plastic tripods, because they can break easily and don’t forget to buy a tripod that can hold all your stuff. There are some really great tripods under $100 which are really steady. It is almost impossible to get a sharp image when you take an image at slow shutter speed without a tripod. A tripod will avoid camera shake and when your camera shutter speed is low, even the slightest bit of camera movement will result in a blurred picture. If you, for any kind of reason have no tripod with you, just place your camera on a steady surface in order to take a sharp image, but this is not recommended, so make sure to bring along a tripod for your next photo session.
The shorter the amount of time that the shutter is open, the less movement can happen during the capture of the image. Set the fastest shutter speed possible to maximize sharpness.
There is nothing worse for a photographer than an unsharp image. Nowadays, modern photo-editing programs like Photoshop allow us to improve any photo tremendously by spending even just a few minutes post-processing them and in conclusion to get professional quality results. Every digital image needs at least a little bit of sharpening and me personally always sharpen my images in Photoshop to get most out of my image. While sharpening tools can do a great job, it is often helpful to sharpen your images selectively without degrading the quality of the background. It’s not necessary to sharpen clouds or water because they should remain to be soft. Just within few steps, you can sharpen your images, make sure you check out how to sharpen your image in Photoshop, there are tonnes of tutorials on the internet. If for some reasons your image seems to be noisy or grainy, you can easily remove the ISO noise in Photoshop within few steps. Just as a reminder: try to keep your ISO number as low as possible for sharp & high-quality images.
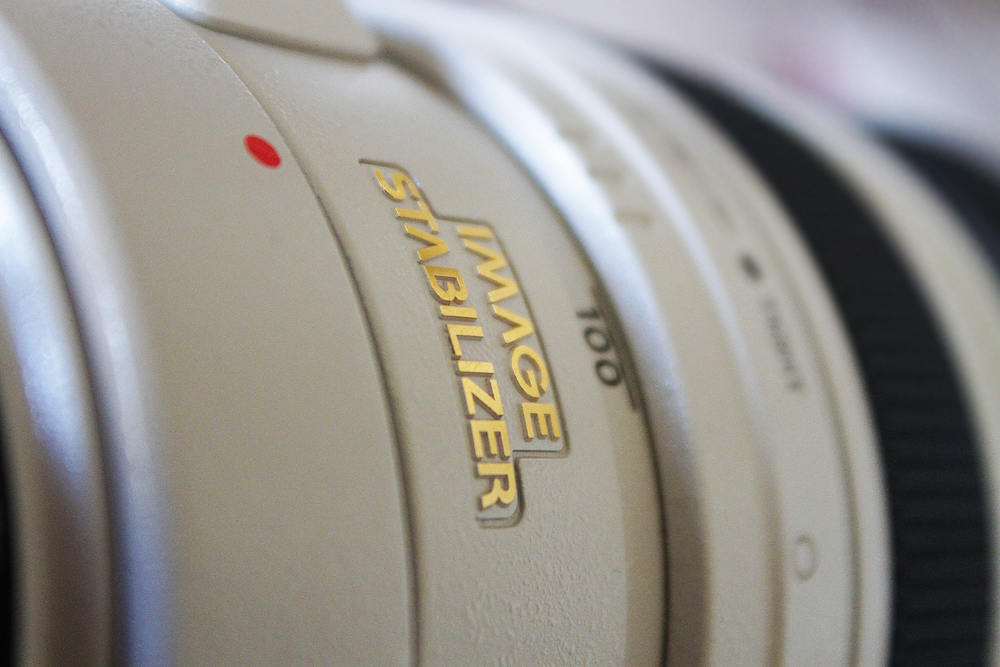
Camera shake can cause blurry images, and almost nothing will ruin an image more than being blurry and unsharp. Especially when the camera is used handheld the image stabilisation system (which is built into some lenses) will help to produce shake-free images. So if you primarily use your camera handheld make sure your image stabilisation (IS on Canon and VR on Nikon) is set to “On” on your lens. Your images will be blur free and much clearer when your image stabilisation is turned on. Especially zoom lenses often have an image stabilisation system in them; this allows you to capture sharp pictures at low shutter speed number. But it’s recommended to turn off your optical image stabiliser when the camera is mounted on a tripod because it will create a sort of feedback loop which would cause more blurriness than sharpness. Also, if your stabilisation system is turn on it will decrease the battery life of your camera.
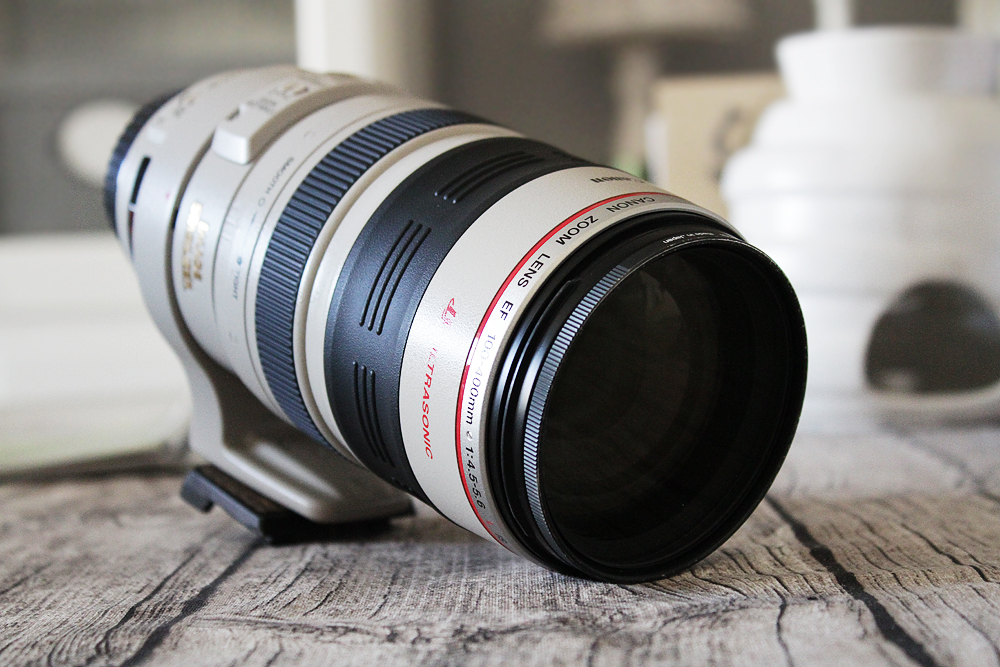
There are many different lenses on the market with different performance characteristics. With a good quality lens you will get sharp and high-quality images, it’s really worth the money to invest in an expensive lens, and you will be surprised how sharper your images will be. Your images will just gain more quality. If you want to update to a high-class lens, you will pay a lot, but quality has its price as we know. I personally tend to buy expensive second-hand lenses because you will save a lot of money and you will not lose much money when you resell them. So if you want to save money, you can try to buy used lenses.
Within time your camera’s sensor will become dirty and work with a camera sensor which is full of dust can really be frustrating, because the sensor dust will show up in your images and will affect your image quality. Every time you mount a different lens to your camera body, particles of dust will directly land on the camera’s sensor, and once the dust is on your sensor, it will barely move. So, to get rid of all the dirt and dust you have to clean your sensor, you can either do this by yourself, or you also have the possibility to hand your camera body to a professional. Honestly, a clean and dust free sensor will improve your image quality, so be sure to clean your camera’s sensor now and then.
I hope you enjoyed this guide, thanks for reading & see you next time!!


Please verify your software version before proceeding.
 I’ve verified my software version


 Facebook
 Google +
Comments (0)
There are no comments yet.