Retouching Master Class, How to Remove Spots in Photoshopwww.sleeklens.com
Hi all
So, if you are taking the photographs prior to this tutorial you may want to check out our excellent post on getting the most out of your camera,before you move on to Retouching. If you have looked at that one, we’ll now move on to learning how to remove spots, using the retouching power of Photoshop and giving blemished skin a new lease refined appearance in your photos.
This tutorial is a continuation on from our previous retouching Master Class on how to Whiten Teeth.
Now, lets get down to it.
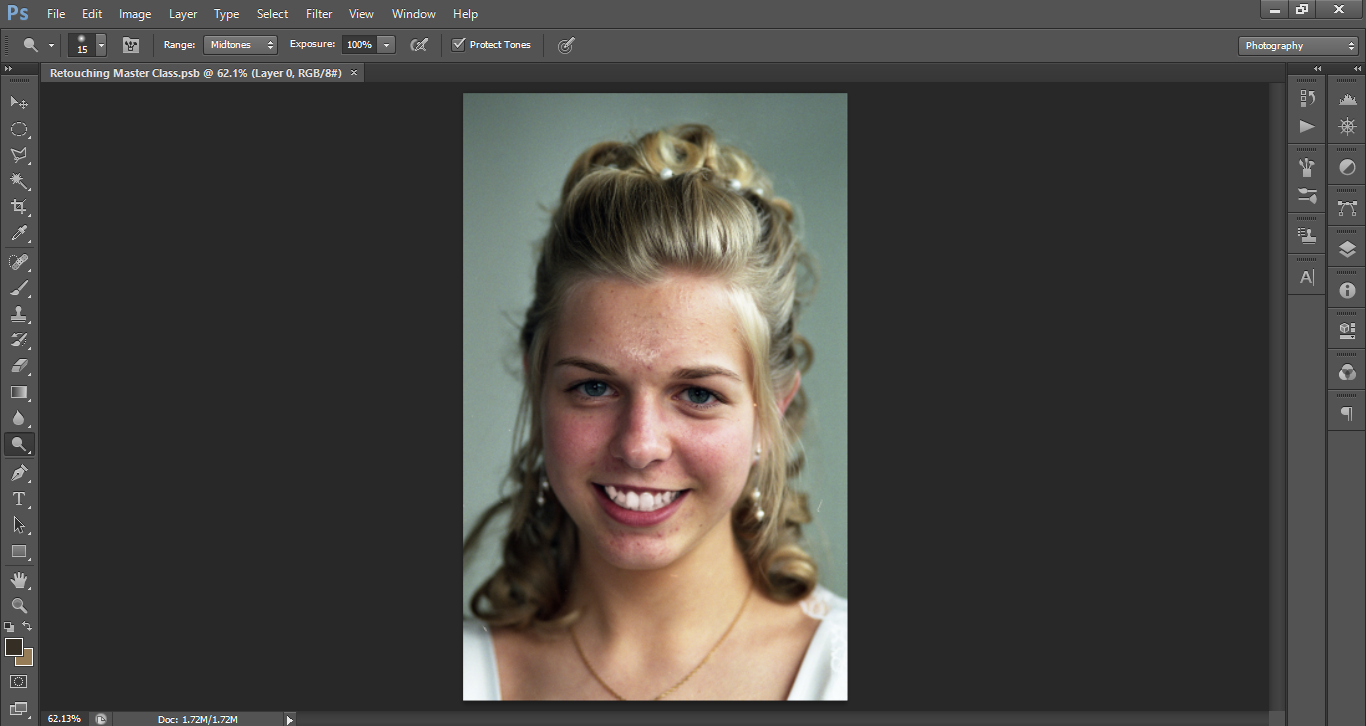
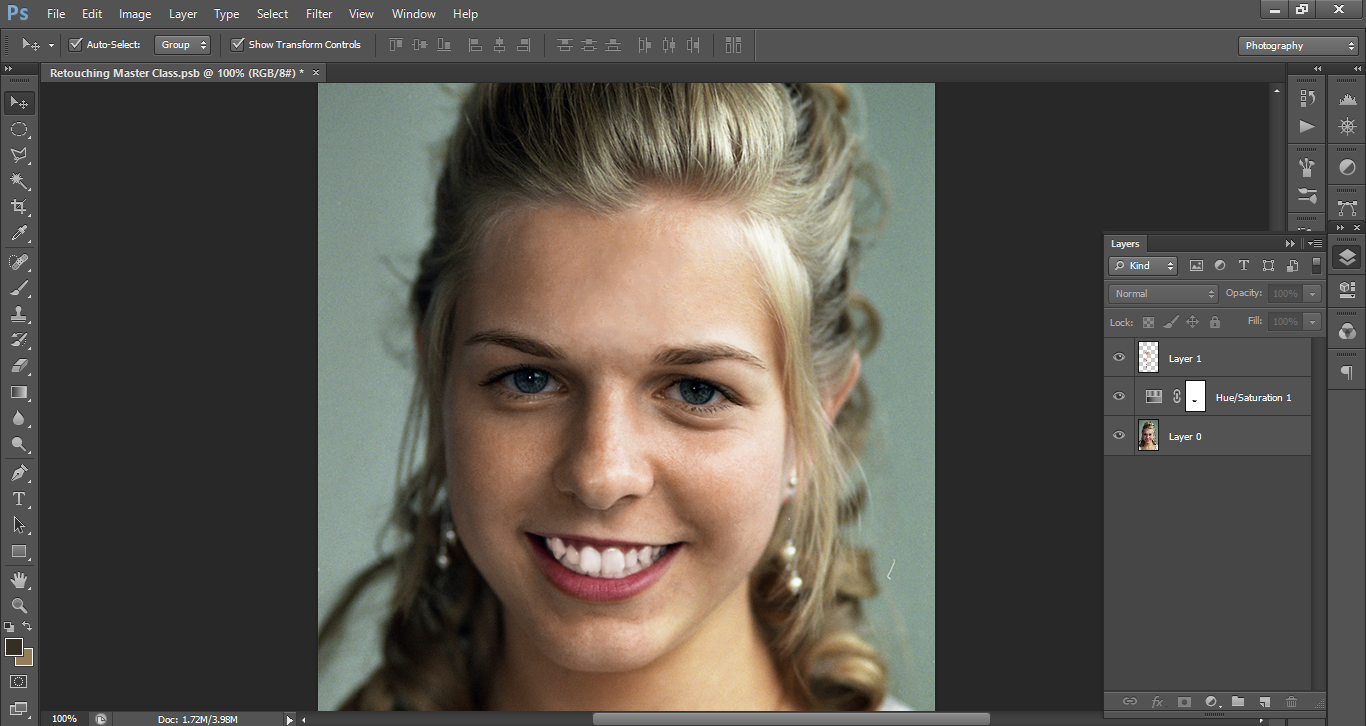
We’re starting off our image where we left off. The teeth have been sorted out and are looking good, I must point out that for this I am going for a natural look, so the photo is believable. I think sometimes people get a little carried away with retouching, causing models to end up looking like porcelain dolls and totally unbelievable.
The idea of retouching is to clean up photos to the point of perfection, but still to keep them believable and natural.
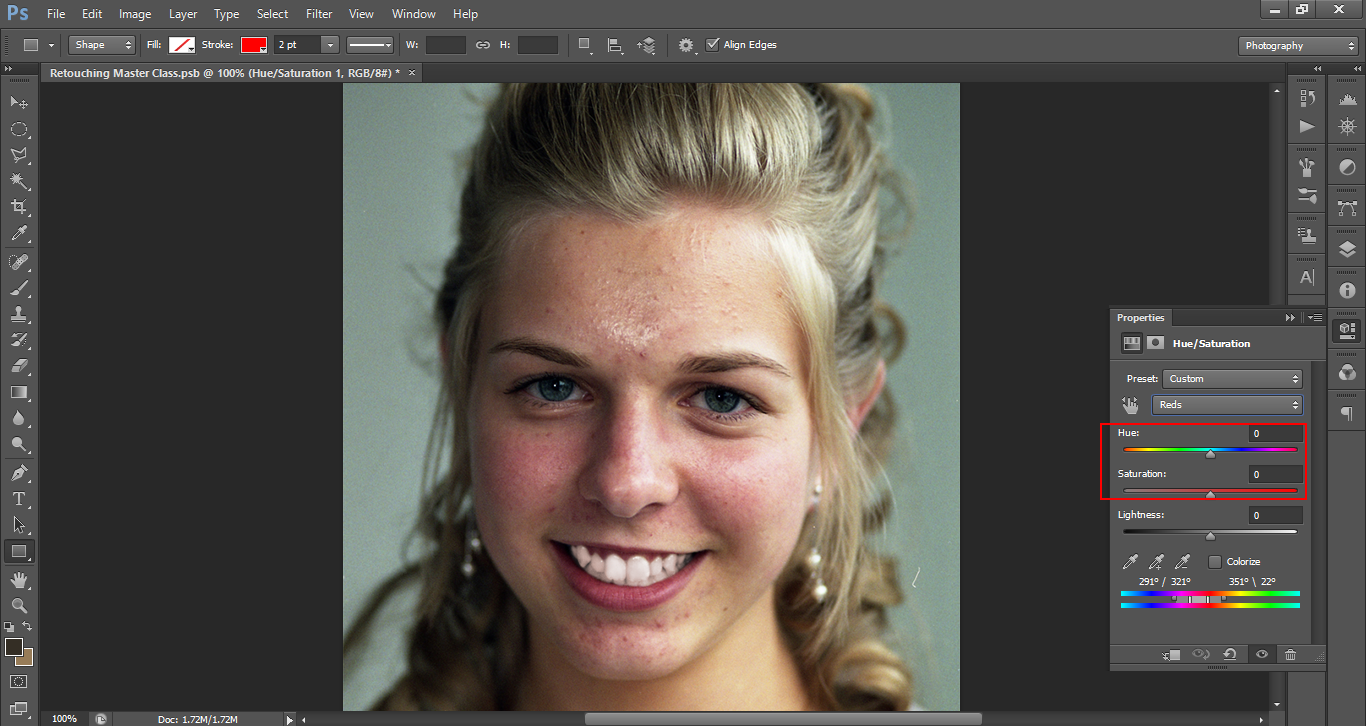
To start, first we have to get rid of the redness that comes with acne or inflammation of the skin.
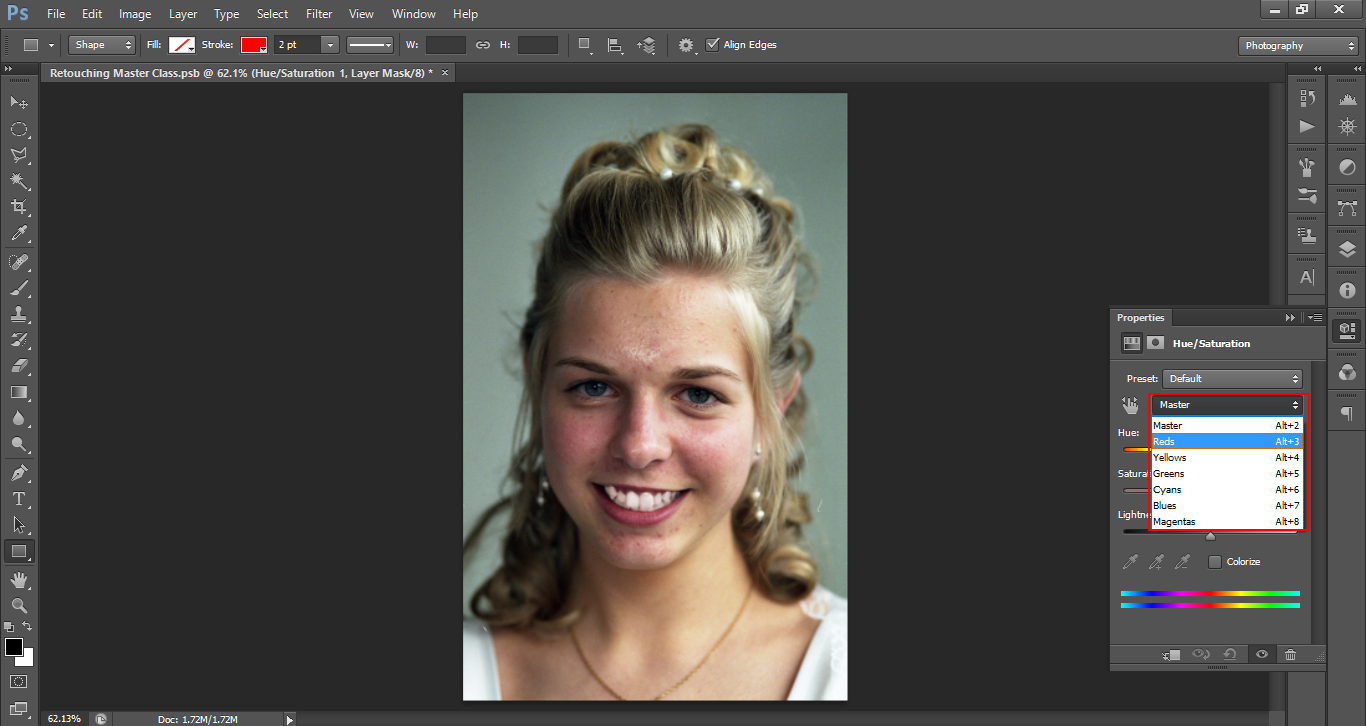
When the Hue Adjustment panel appears, you will see some sliders that you can move around to adjust, but what we really want to do is to go into the Master Drop down, then click on Reds, so we can target just that specific area.
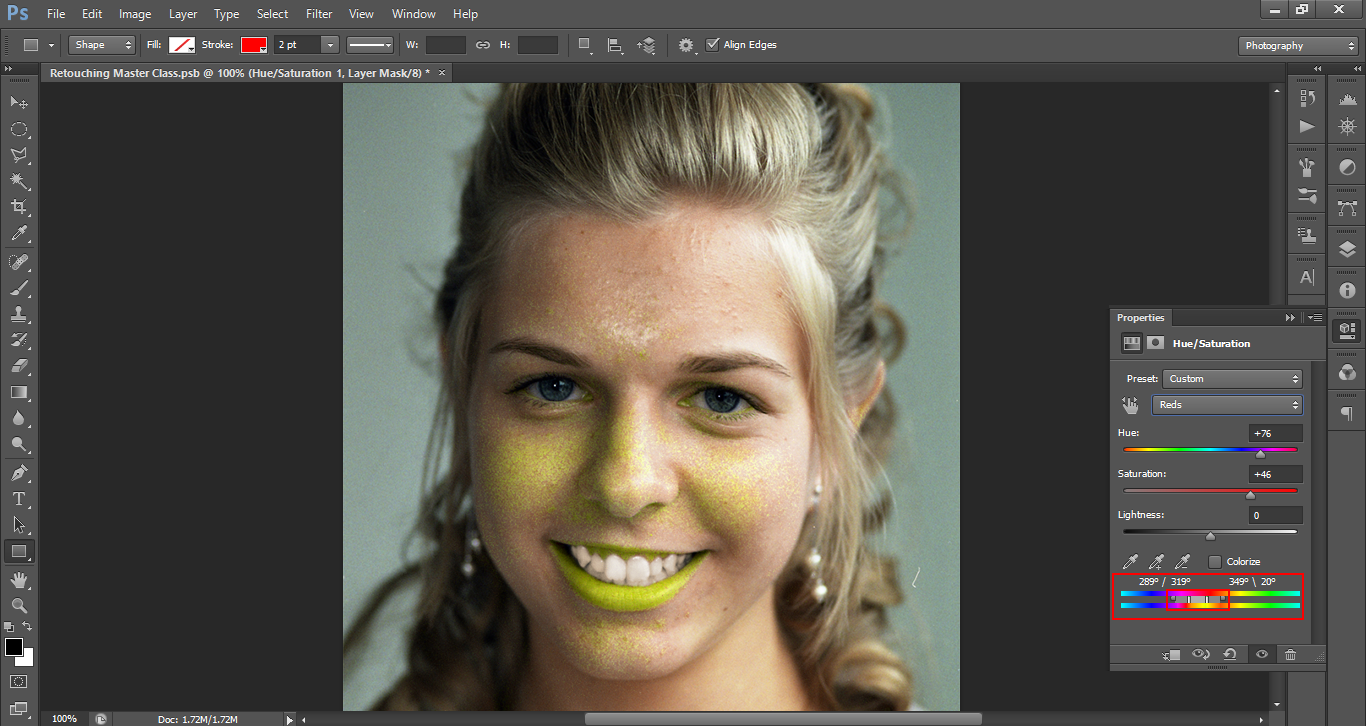
Making sure you are in the Red channel, slide your Hue and Saturation slider to the right, roughly where I have them. Don’t worry, all will be revealed.
Now, at the bottom of that same panel you will see the two bars with all the colours of the rainbow on them, between those is a slider, move it to the left.
The point here is to have the red areas all show up in green, so you can target the reds.
Then, reset your Hue and Saturation Sliders back to Zero and everything should look normal again.
The next step will be to slide your Hue to the Right again to match the normal skin tone. You can also do the same with the Lightness and Saturation Sliders, in that order.
Our Models skin tone should now be looking consistent, and without inflammation.
Take a little time with this, it’s not super important that you get it 100% correct on the first go, because you are using an adjustment layer, which means you can go back to it at anytime, though make sure you are in that red channel if you do.
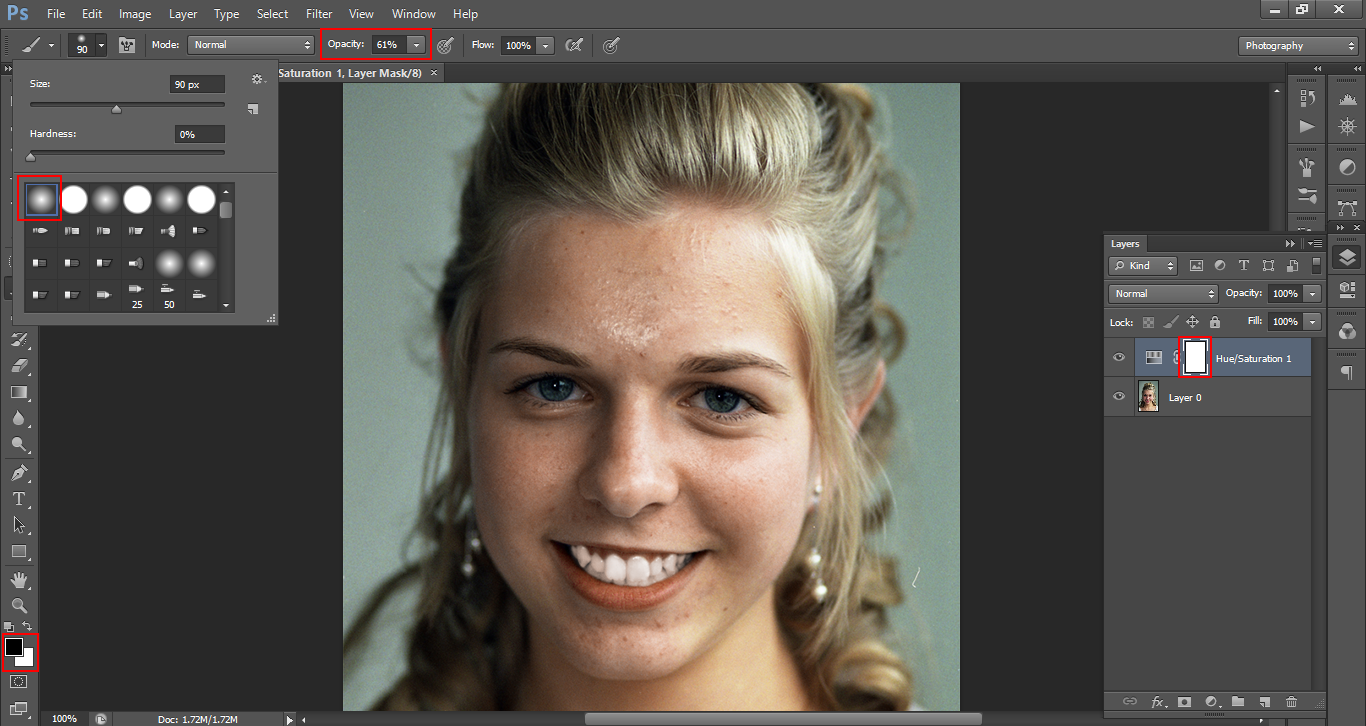
You will have lost a little colour on the lips, the way to get this back is to click on your layer mask (the white block located to the left, in the image below)
Choose a soft edge brush (keyboard shortcut – B)
Drop the Opacity a little and make sure you have Black selected, then paint over the lips teeth and gums to get the colours back.
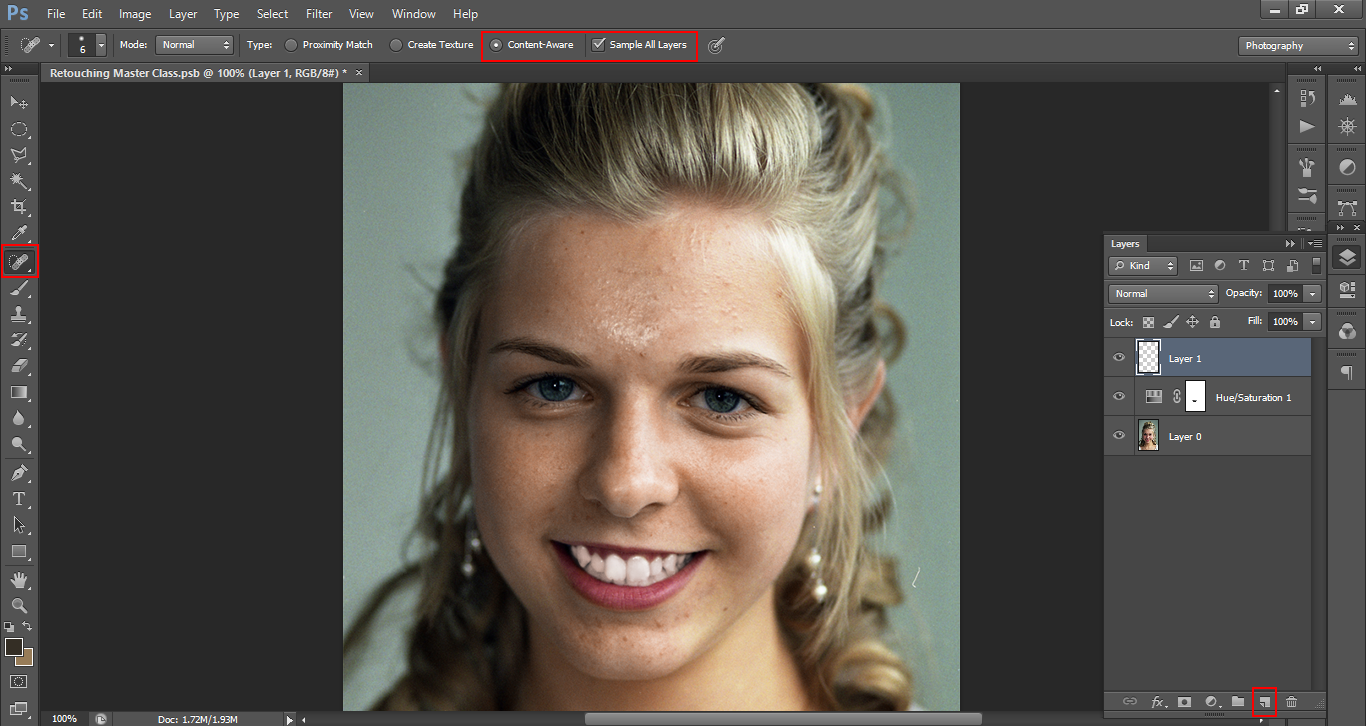
Open up a new layer (6th across, at the bottom of the Layers panel).
Click and choose the mighty Spot Healing Brush.
Click on Content aware + Sample all Layers.
As before, I also recommend you use this with a soft brush.
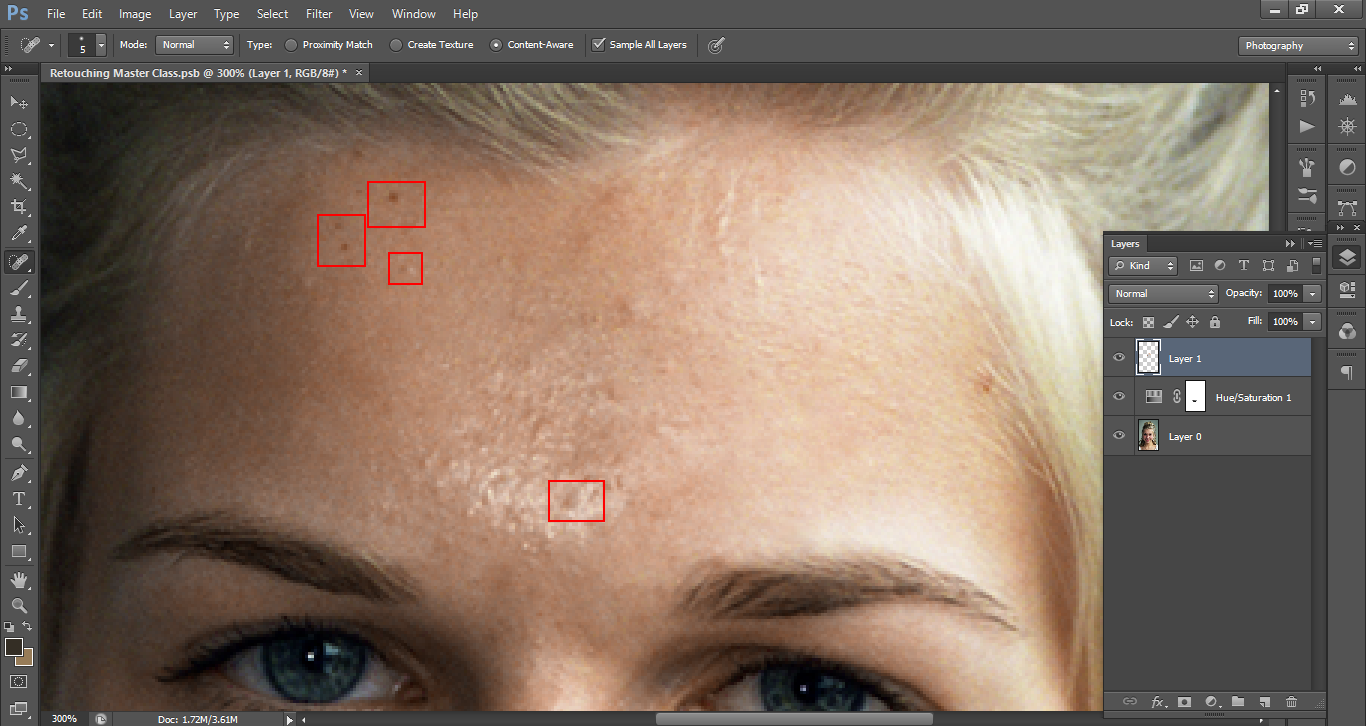
To get rid of the blemishes, all you have to do now is paint over them. I would say zoom in and change your brush size by using the bracket keys [ and ] as you go along.
Remember to be precise and take your time, if you make a mistake hold down Ctrl and Alt, then press Z to go back by one change. Press Z several times to go back further, I’m sure you get the idea.
I would recommend you go over this a few times, first by starting with the actual spots then moving on to other things like blotches.
So, now you will be seeing that the skin is starting to look pretty good as you go through this process.
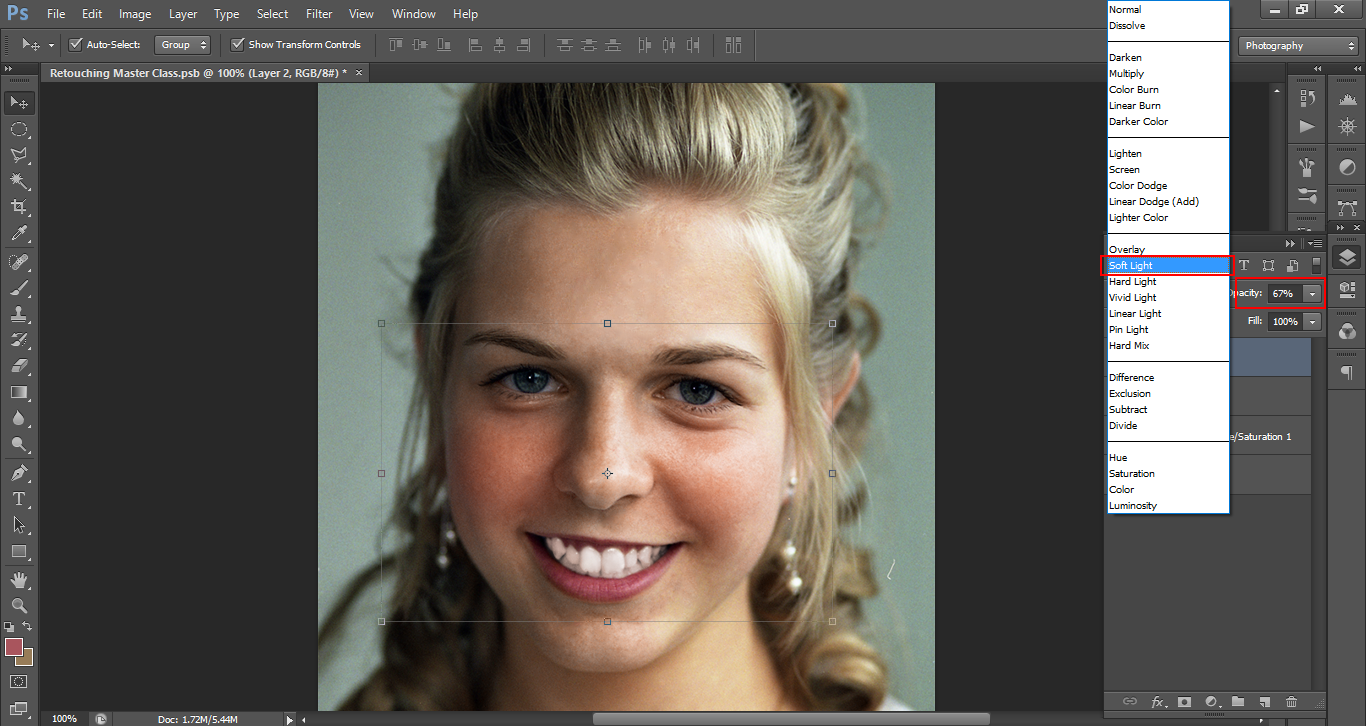
The last little step I would do, but is not totally necessary is to open a new layer. Open your brush tool (same soft brush rules as before)and sample the colour from the lips using the eye dropper by pressing Alt and clicking on the lips.
Then, paint over the cheeks.
Change the blend mode to soft light as indicated below, then drop the opacity to where you feel that it looks the best.
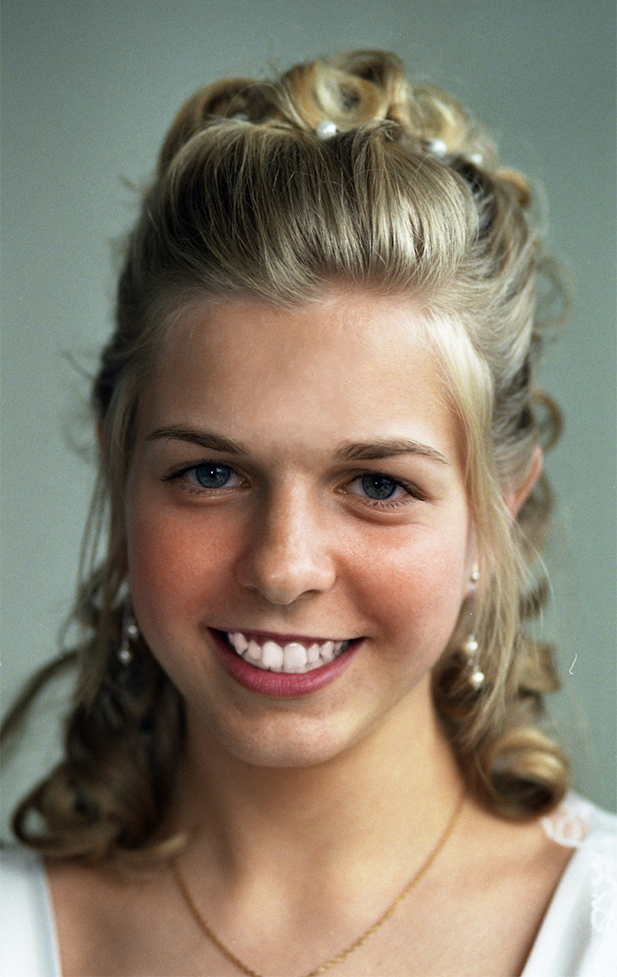
And, we are done! our model has now been retouched and our photograph is looking great.
Graduated from college in 2002 with a degree in Art & Design, I started exploring my way in Graphic Design and Professional Post Production. Full-time freelancer since 2011.


 Facebook
 Google +
Comments (0)
There are no comments yet.