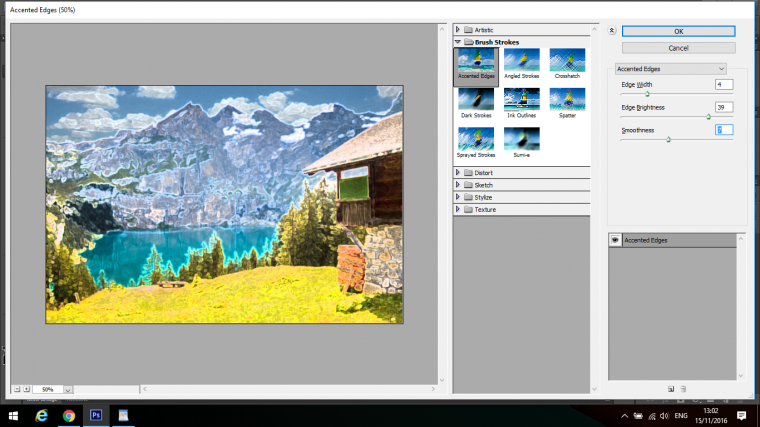
This Filter blows out all the edges of your images and brightens them all, this I guess is another one that I have never used, with ones that like if you want to check them out use it as an overlay over your original image drop the opacity and see what happens.
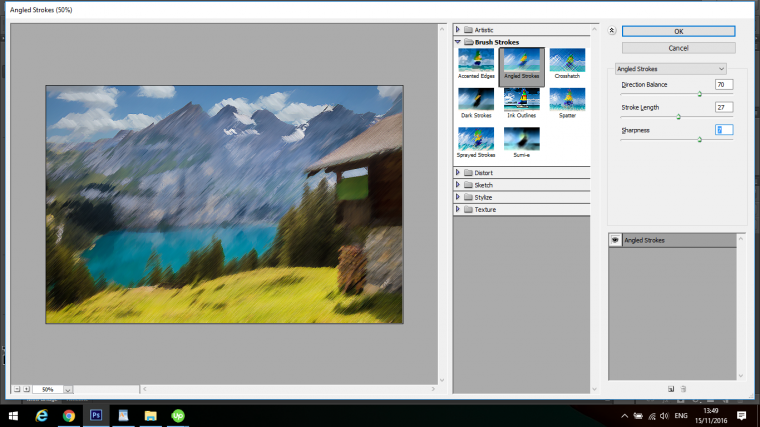
Angled Strokes
This is a Pastel styled criss-cross option, with this one you can increase the Sharpness or Blur it, depending on how you would like the image to look you can also make it look very Oil Painting like.
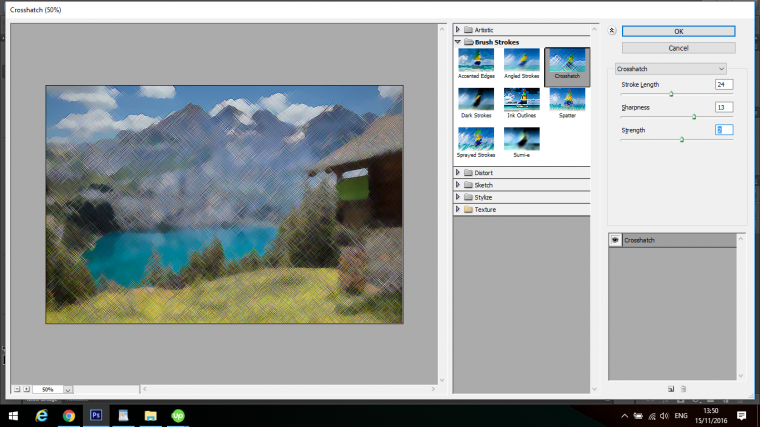
Crosshatch
Crosshatch is very similar to the effect above (Angled Strokes) The only real difference is that Crosshatch can get a little crazier when it comes to the Sharpness side of things, but you can achieve more or less the same effects as an Angled Strokes on Crosshatch so I would just use Crosshatch for sharpness.
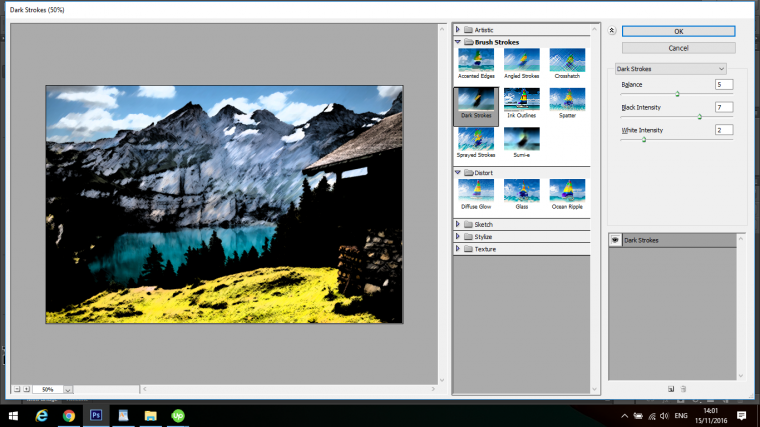
Dark Strokes
If you want a little bit of drama and Darkness then this is the effect for you, you can also increase the Whiteness but I think it is much better used as a Contrast overlay then you can drop the opacity, it can be a very effective way to increase shadows so bare that in mind before you start messing with curves and levels etc.
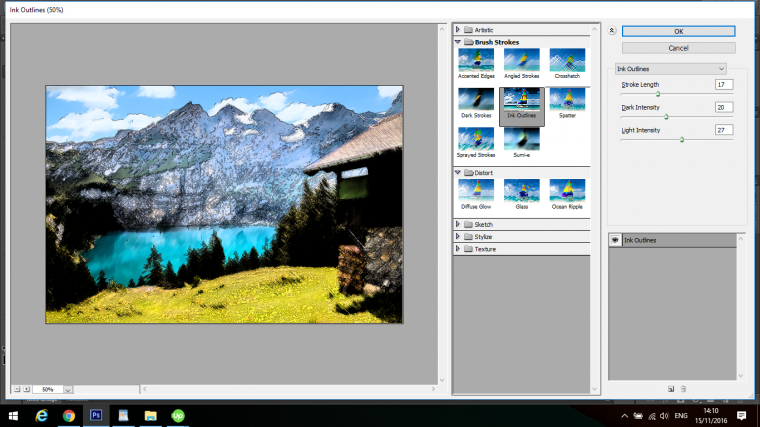
Ink Outlines
So this one is very similar to the Effect above, same kind of rules apply but the with this one you now get outlines like you had gone over it with a Pen as the title suggests.
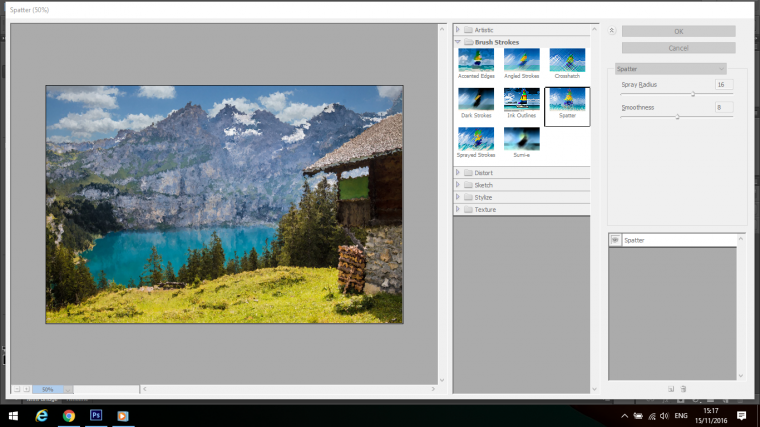
Spatter
I guess the tried to make this Effect like it was spattered with paint or something along those lines, but I don’t think they quite pulled it off, really what it is, in my opinion, is more of a Distort option, like the image has a lot of vibrations running through it with rough edges.
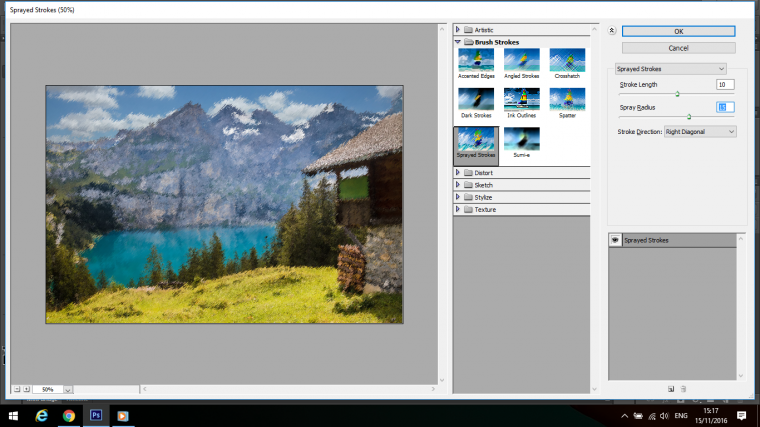
Sprayed Strokes
This Effect is something similar to the above Effect, only it has more of a Sharp feel to it, but it still has the same sort of jittery pattern to it.
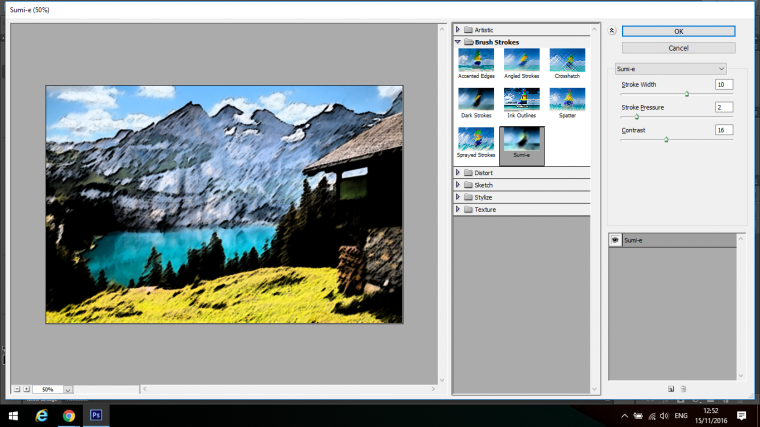
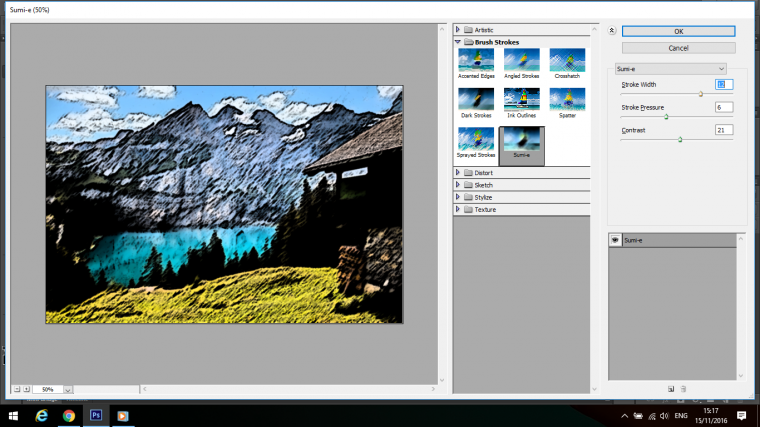
Sumi-e
This option is another Contrast option Effect, the contrast in this is very strong so use it with ease, yet again it’s another Effect that would work well with darkening down images and strengthening shadows using the overlay technique I have talked about.
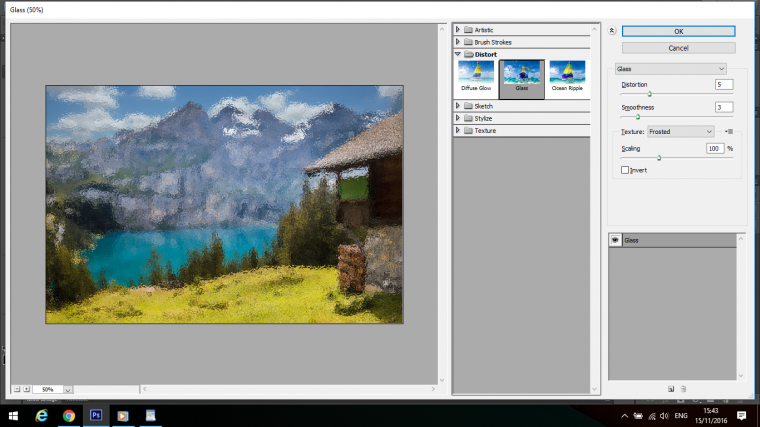
Now we are going to move on to the Distortion Effects, I want to talk about these in a collective as it’s such a small Effects folder.
In these options you get two that are extremely similar, they are
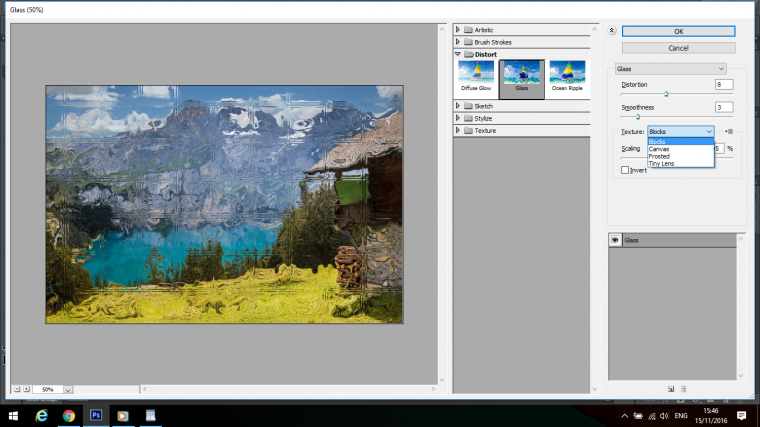
The Glass Effect
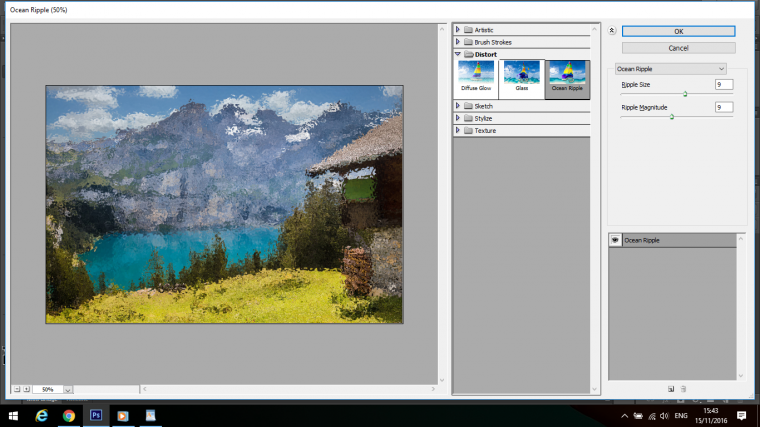
Ocean Ripple
With the Glass Effect the Frosted option give you more or less the same options as the Ocean Ripple with a few very minor difference that are hardly able to recognize so I wouldn’t worry about that, you can choose to use either or.
But the Glass effect give you 4 options of how the Glass Effect looks.
The options they Give is,
Blocks
Canvas
Frosted
Tiny Lens
So take a few minutes out now to have a look over these and we’ll move on to the last for this Part of the Tutorial.
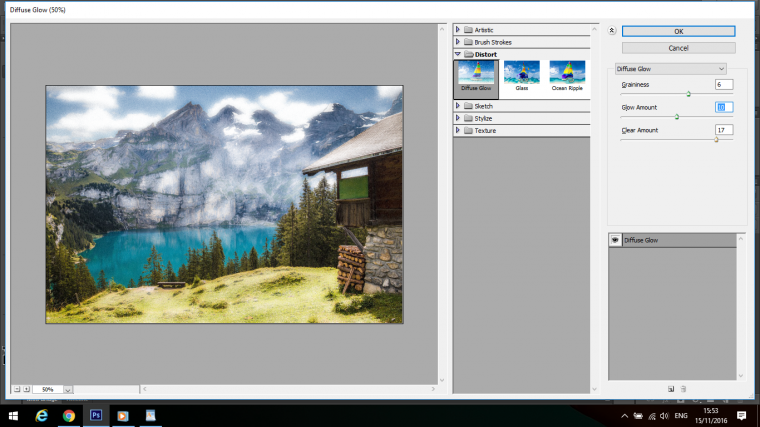
Diffuse Glow
This is one of the only Effect that I would actually use, it give you a nice Glow to your image but you can also add some Grain to your image as well, I think if you experiment with this option you can create some pretty nice Effects with it.
So that’s it for today, hope you join us for the final part of this series on the Photoshop Filter Gallery.
Graduated from college in 2002 with a degree in Art & Design, I started exploring my way in Graphic Design and Professional Post Production. Full-time freelancer since 2011.


 Facebook
 Google +
Comments (0)
There are no comments yet.