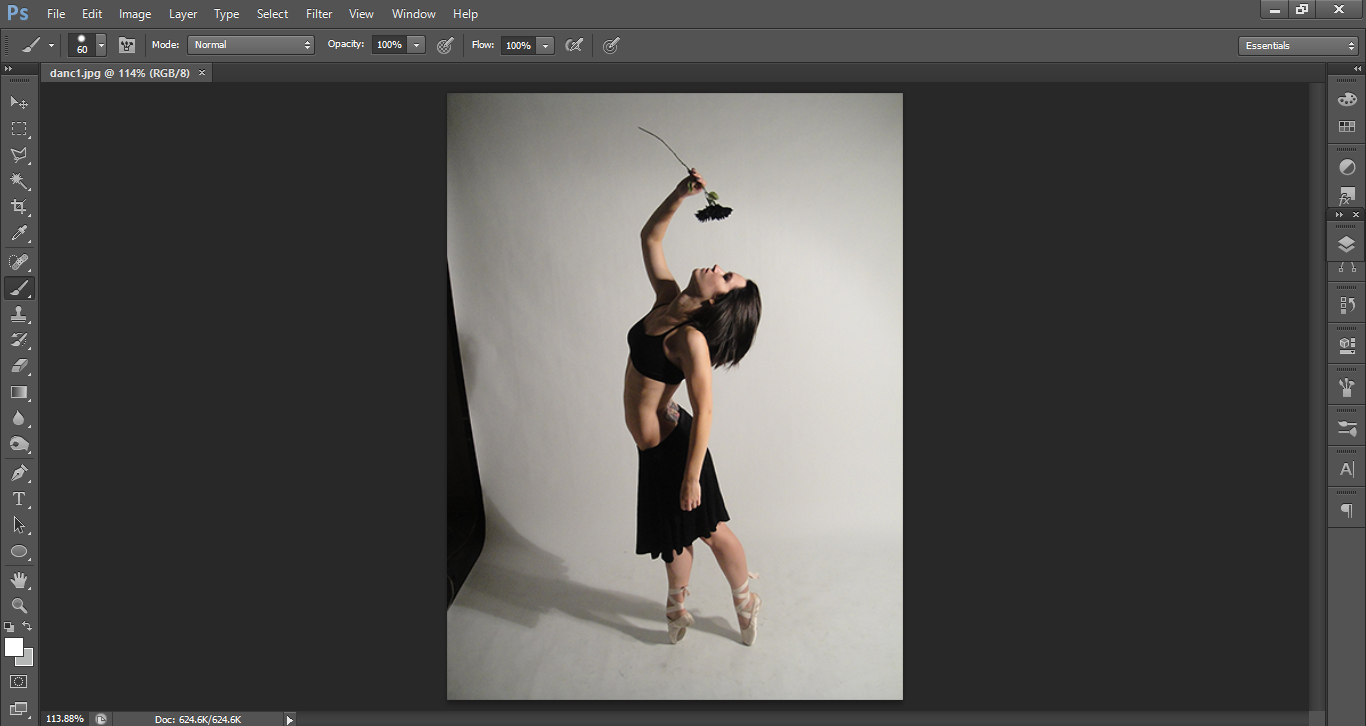
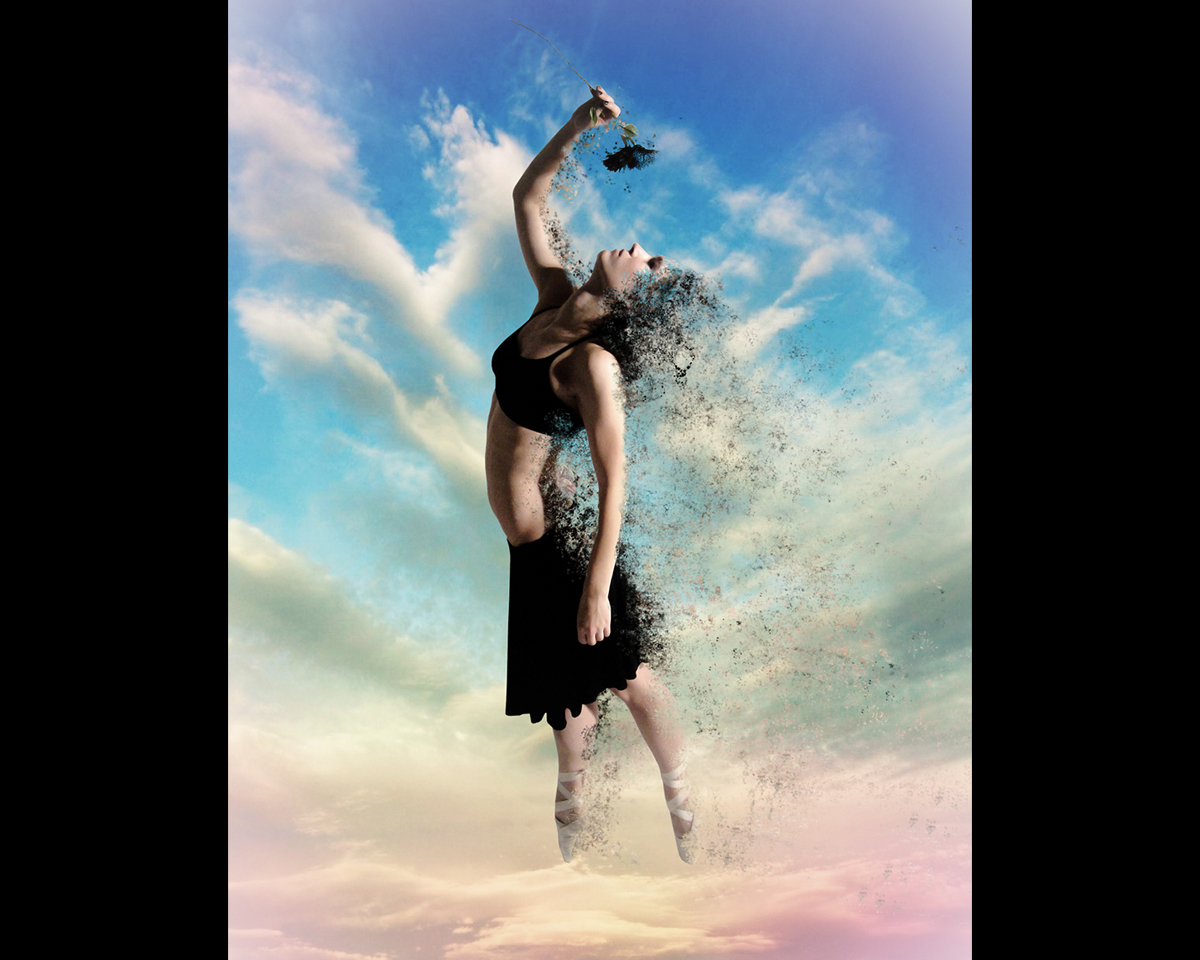
So today using Photoshop were going to be working with this image, courtesy of FallenFairyFantasy on deviantart, so thanks for that.
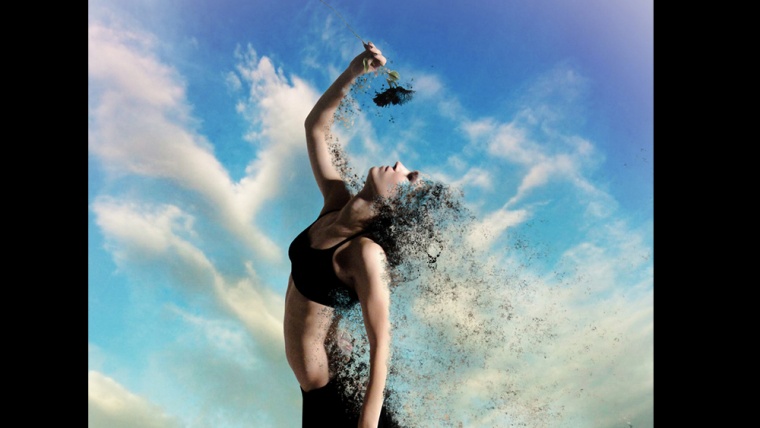
We’ll apply some awesome effects to it, turning a standard stock image into a dramatic piece that could be used for advertising or form of Graphic Art.
The first things that I need to do with this image are as follows:
I’ll have to remove some of the noise (grain) from the photo first, when I zoom in I notice it is pretty grainy.
Then I’ll enhance the photo before I cut the image out, which I plan on adding to a simple white background.
From there, we’ll then add the Disintegration effect. I’ll talk you through that part, so you’ll be a master by the end of this tutorial 🙂
Then to finish up, I’m going to be adding one of our Sleeklens Lightroom Presets to lift our image right out and give it that final professional look.
Table of Contents
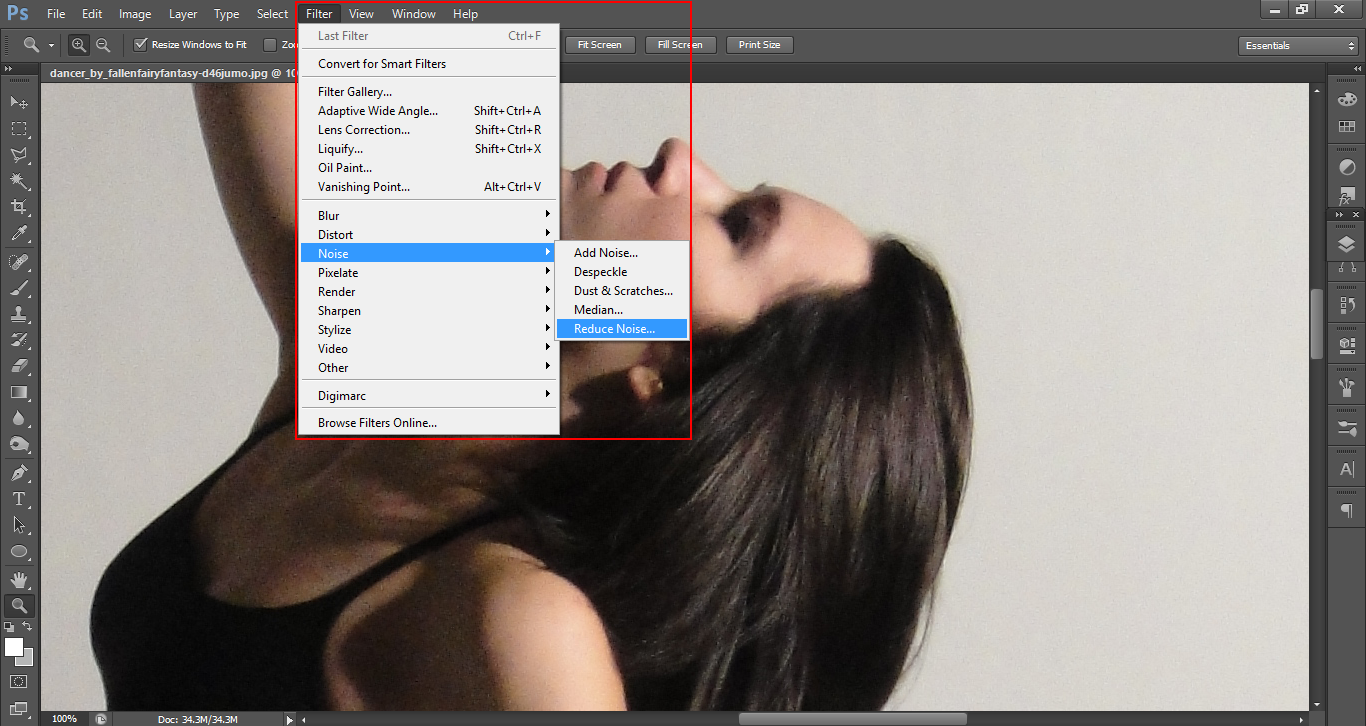
To remove noise, click on Filter as indicated in the image below, highlighted in blue you can see Noise. Click that and an additional panel will appear to the right, click the bottom one Reduce Noise.
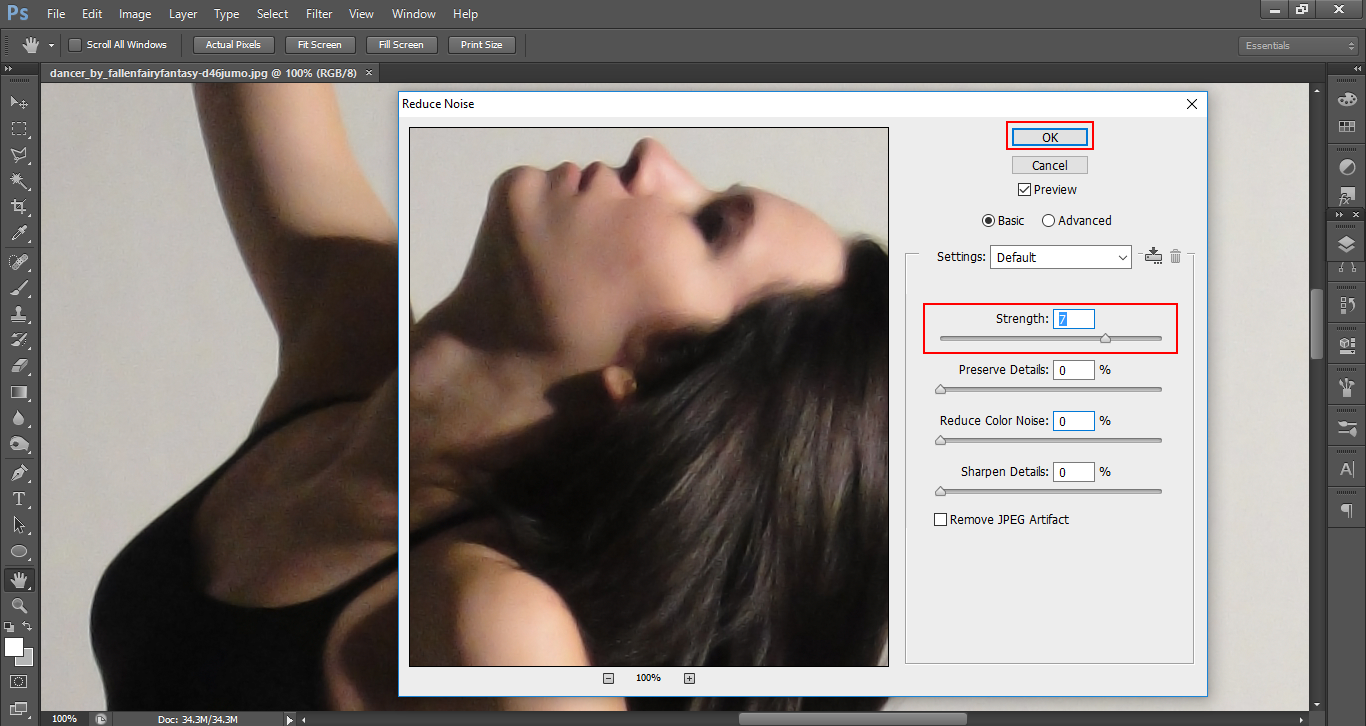
When you click on that the Reduce Noise Panel will appear, you will be able to zoom in using the Zoom options at the bottom, and to the right you will see the Strength Slider.
When you click and slide that to the Right, you will start to reduce the Noise. You will want to get to a point where the grain is disappearing and a smooth complexion is just starting to show. With this, you will want to get to a point that is like a happy medium, because if you reduce the noise too much the image will start to look painterly and fake, we don’t want this!! So, try to find that middle ground.
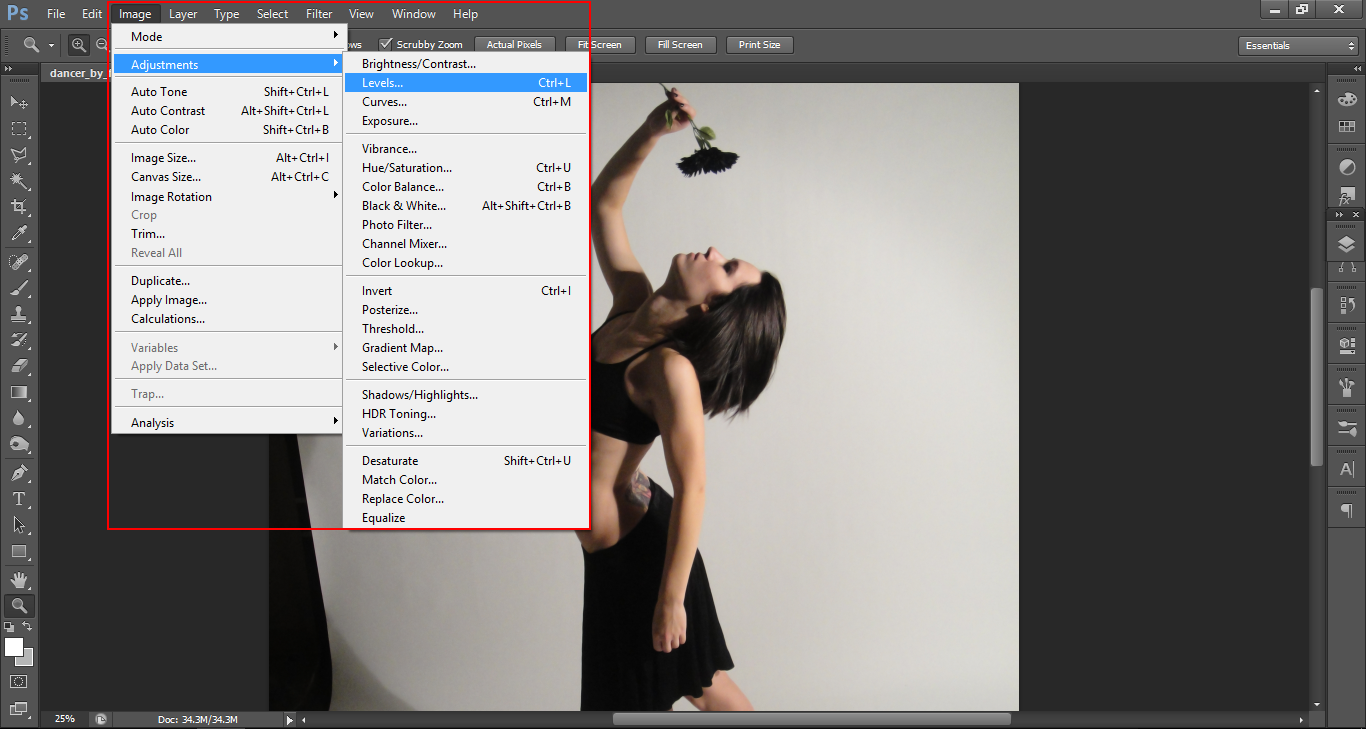
This is a basic Enhancement, I’m not going to do too much with it, as I want my Presets to do the main work here. However, I do want to mess with my levels a little, so I’ll do that by clicking on Image – Adjustments – Levels.
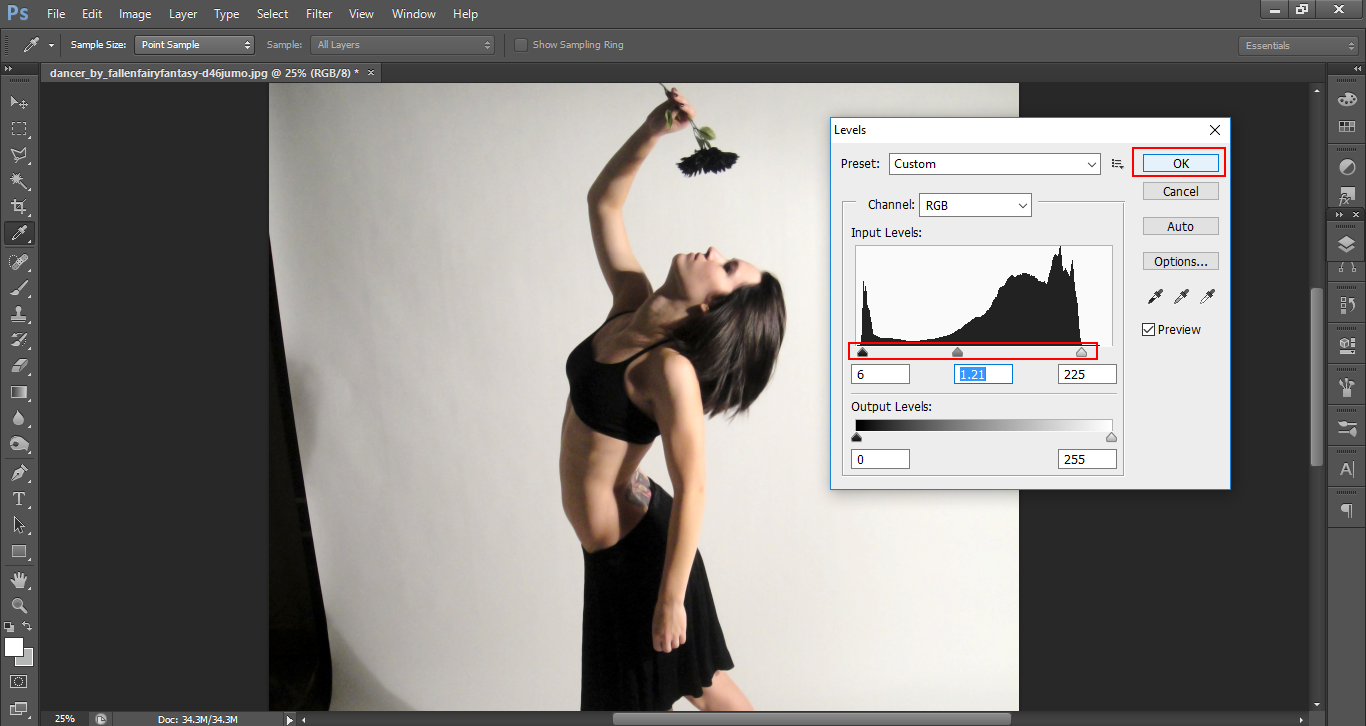
Your panel will now be visible with the histogram.
You will see 3 indicators at the bottom that you will use to slide by clicking on them.

I’ll start with the Darkest first on the left and slide it across to meet the main body of the dark side of the histogram.
Then, I’ll the do the exact same with the Lightest on the Right.
With the middle one, I dragged it over to the left, depending on the image this may vary.
I just wanted to improve the skin a little and make it lighter without losing any details.
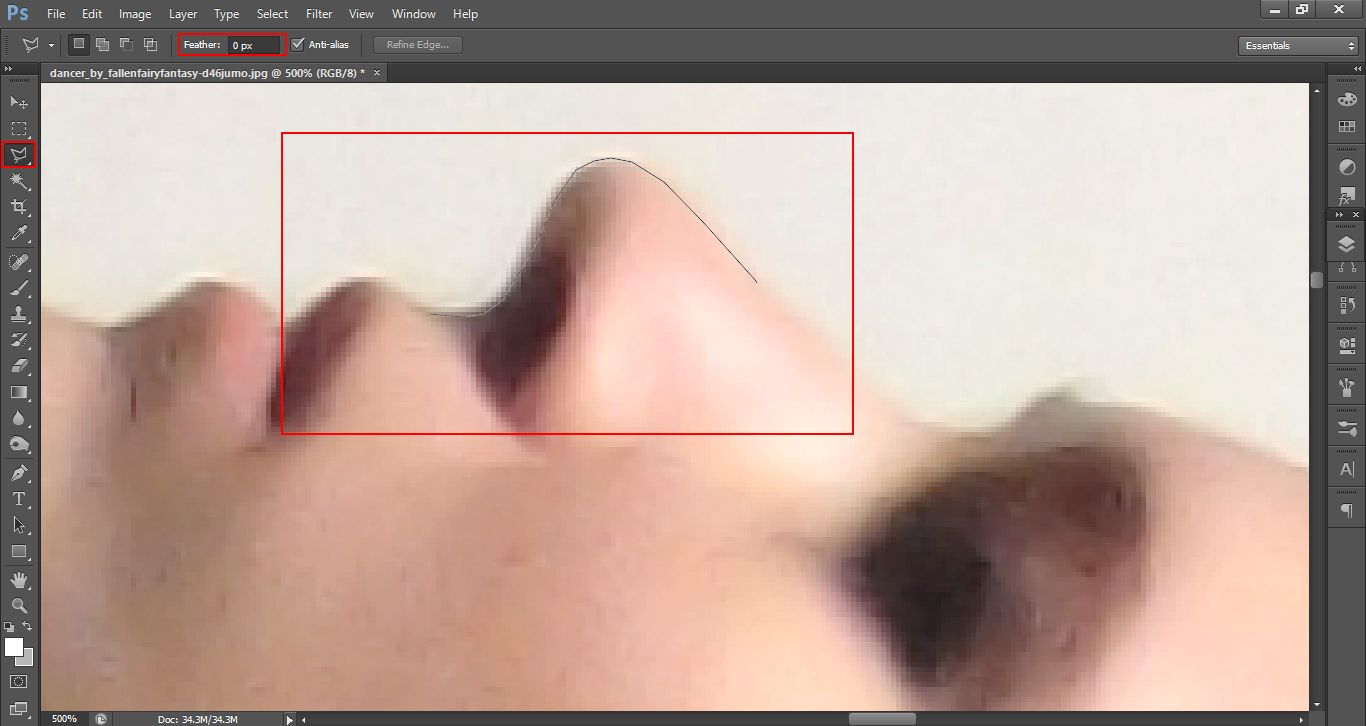
I will use the Polygonal Tool for this indicated in the Tool bar on the image below. There are other ways, such as the Pen Tool, which most people swear by, but to be honest I don’t really like the Pen Tool, I far prefer the Polygonal as I started out using it and I guess I’m just stuck in my ways…and it’s faster.
For this, I made sure that I had zero feathering, I don’t believe in using it when you start out with a large sized image.
So how I go about this, is I follow the blur line as I call it, its the line that’s directly in the center, between the model and the background.
I zoom right in up close for this, and then use the Space bar to move the image around. When you click on the space bar you will see a hand appear, by holding on the space bar and clicking and dragging, you will be able to move the image around.
And don’t forget to do the inside areas as well.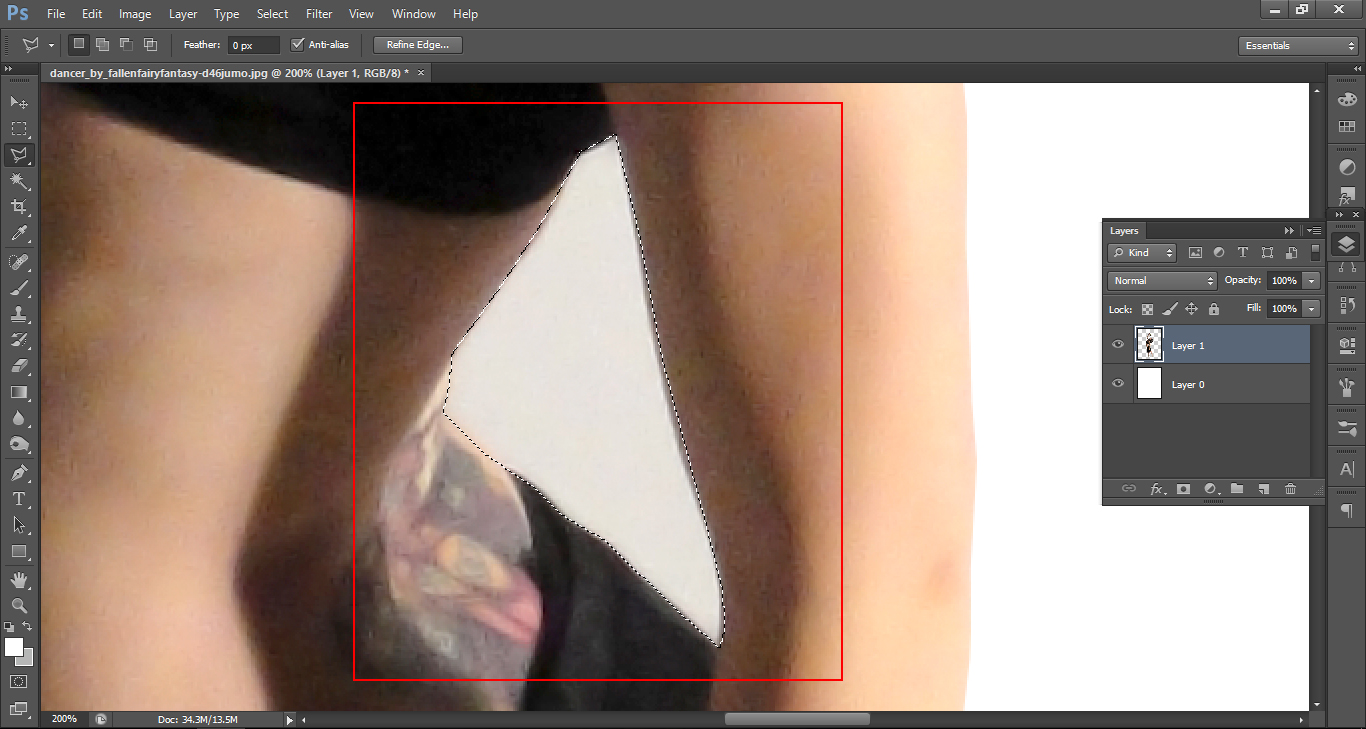 more
more
Once you have made your full selection, which could and should take a little time! Go to Edit – Cut – Paste and the selected image will appear in a new layer.
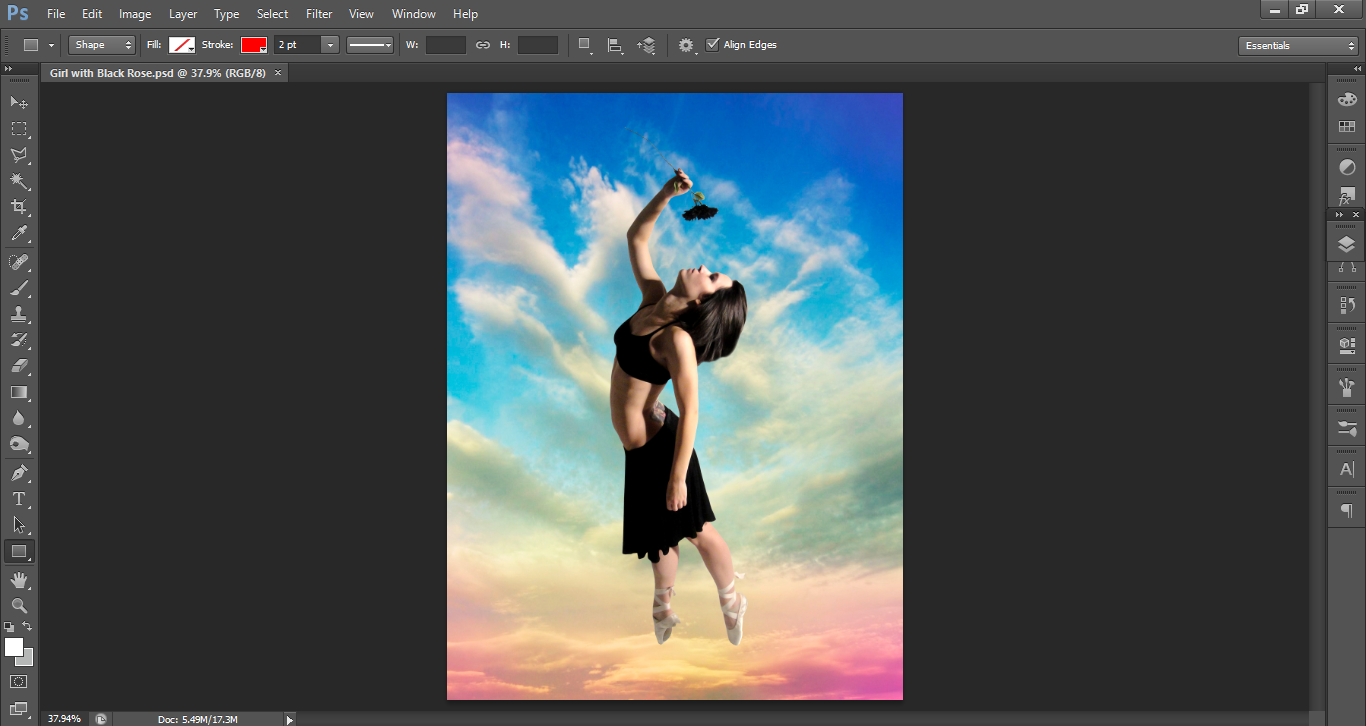
I then use the old layer to paint over with the Brush tool using white, which is what I first wanted to do, but then…I decided to add some sky by just copying and pasting the image in.
Much Better!
Ok cool, so now with our prep done we’re ready to add our effects.
First you’ll have to Duplicate the Layer which has the Girl on it. In the layers panel at the top right, you will see a drop down and in that you’ll see Duplicate Layer, click that.
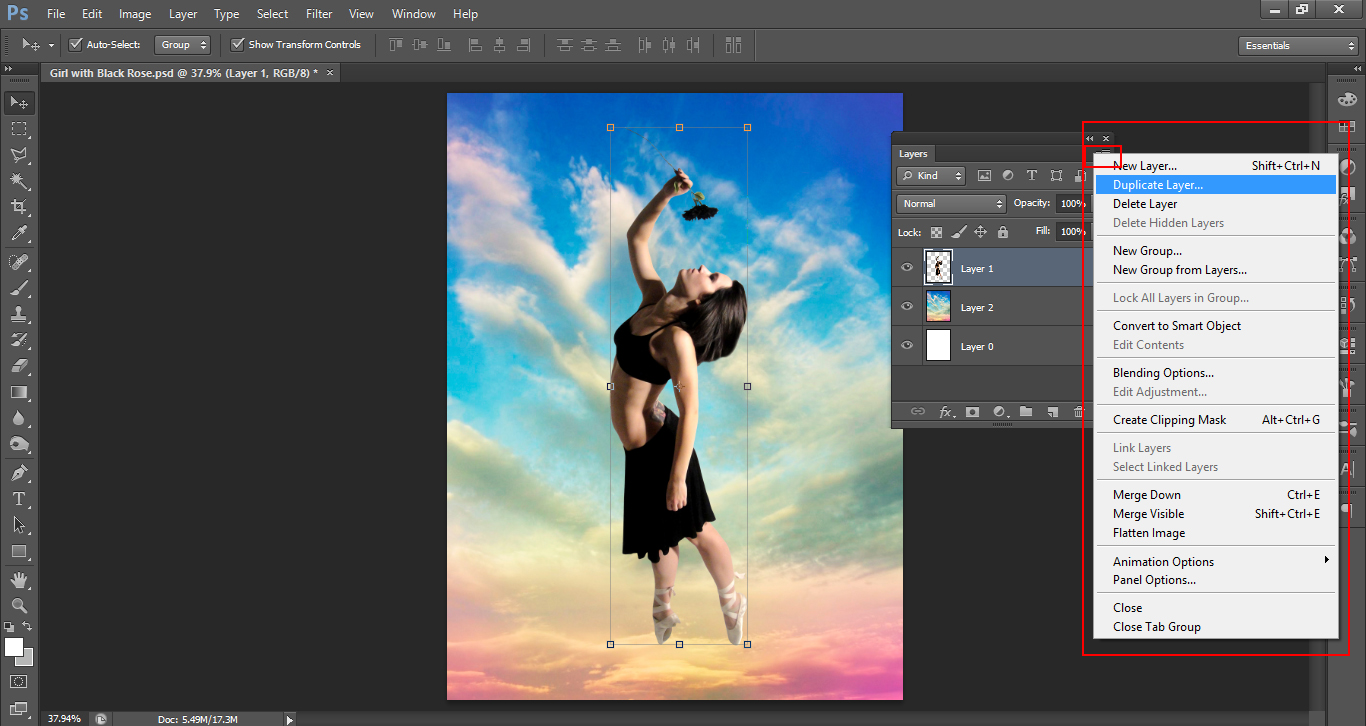
So with the new Layer we’ll go to Filter then Liquify.
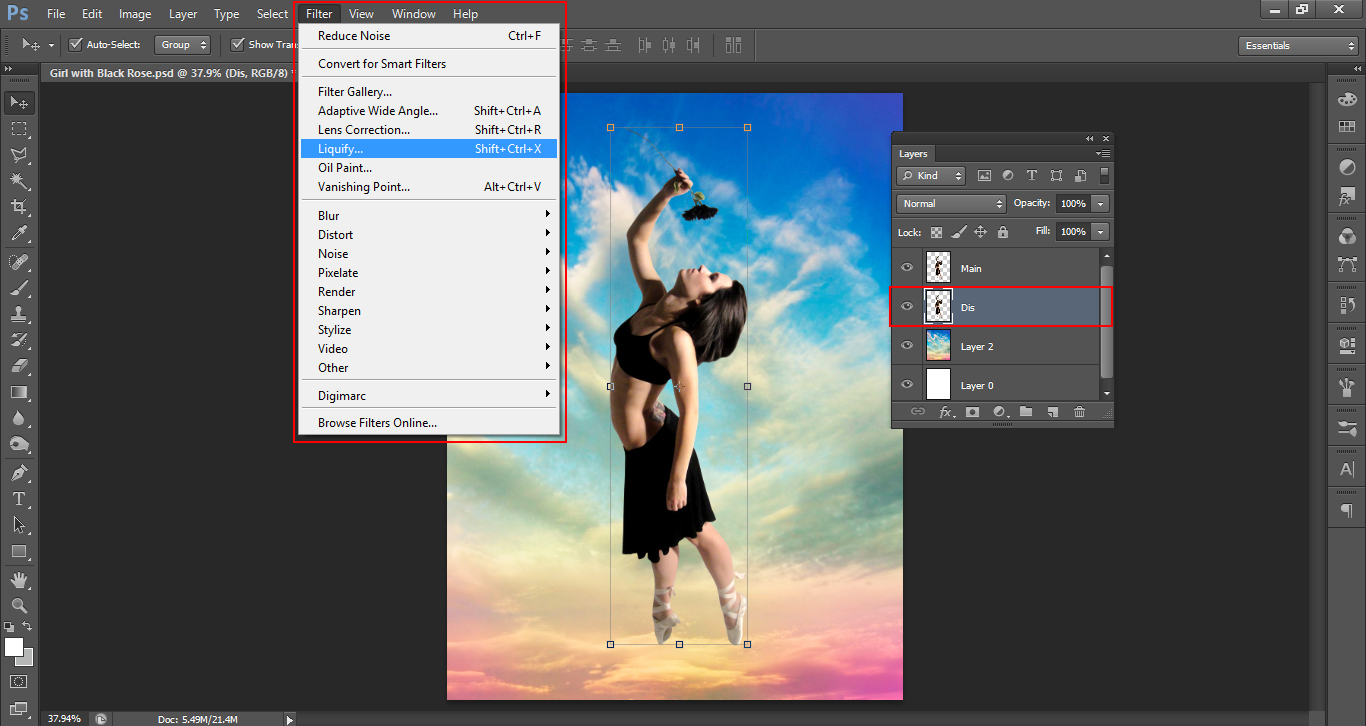
You’ll want to use the Liquify brush to pull the image over to the side that you want your particles to be on.
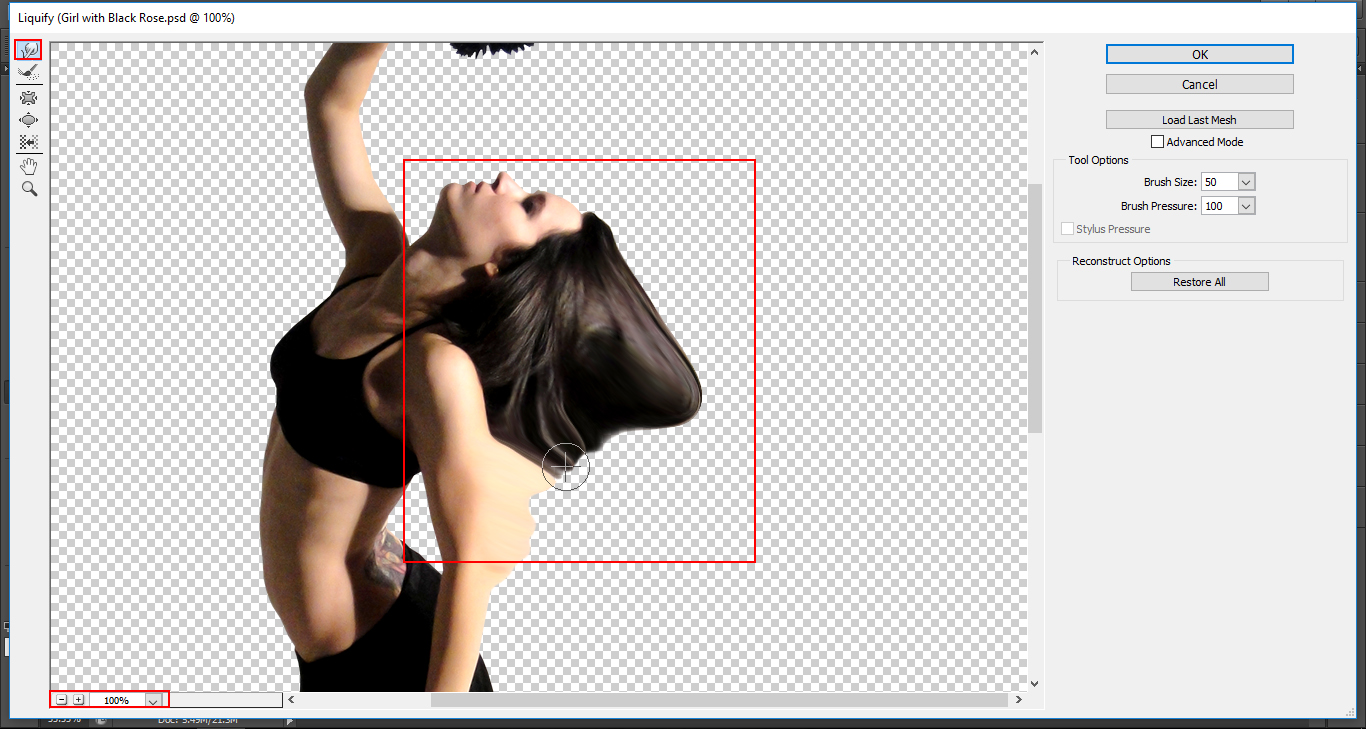
Click ok when you’re done and you should have something closely resembling my image.
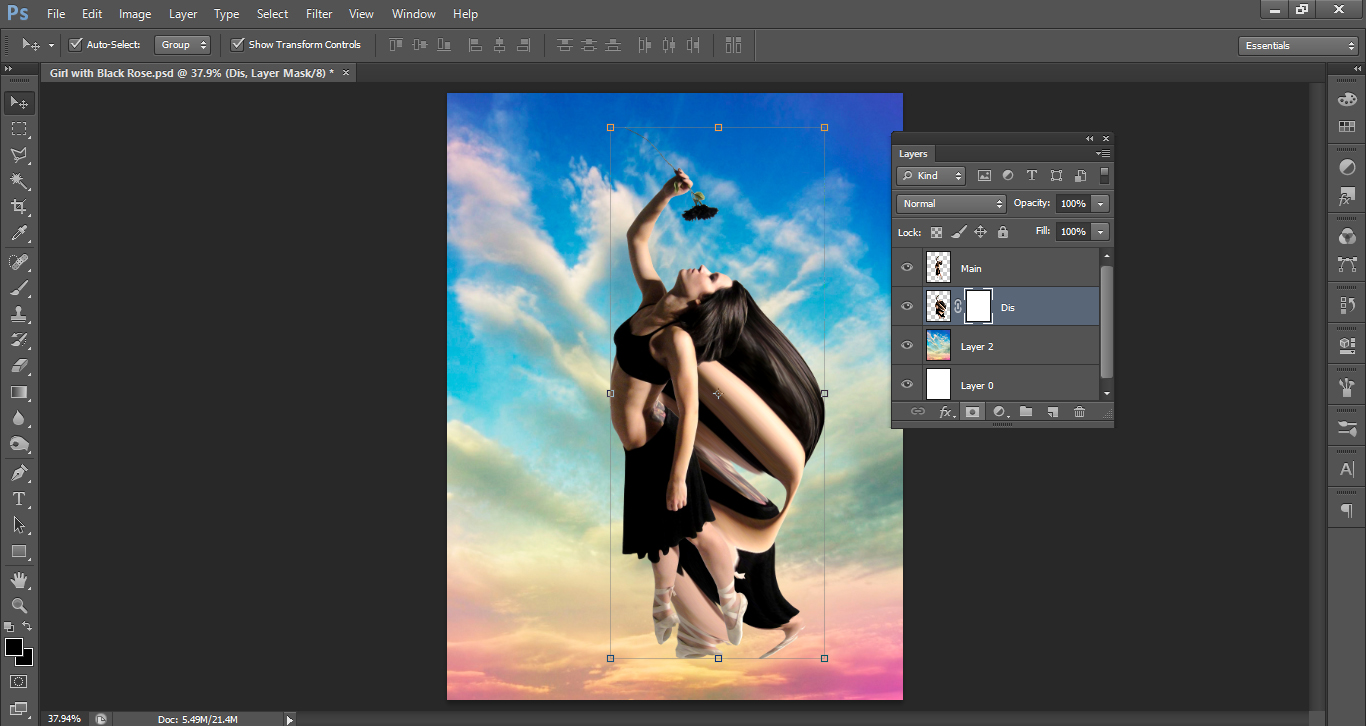
Next, you have to make a Layer Mask for both Layers with the Girl on it.
The layer mask button is indicated with a square inside a circle.
The Top one has to be White, and the Bottom filled with Black.
You can do this simply by clicking on the mask itself and painting, using a paintbrush.
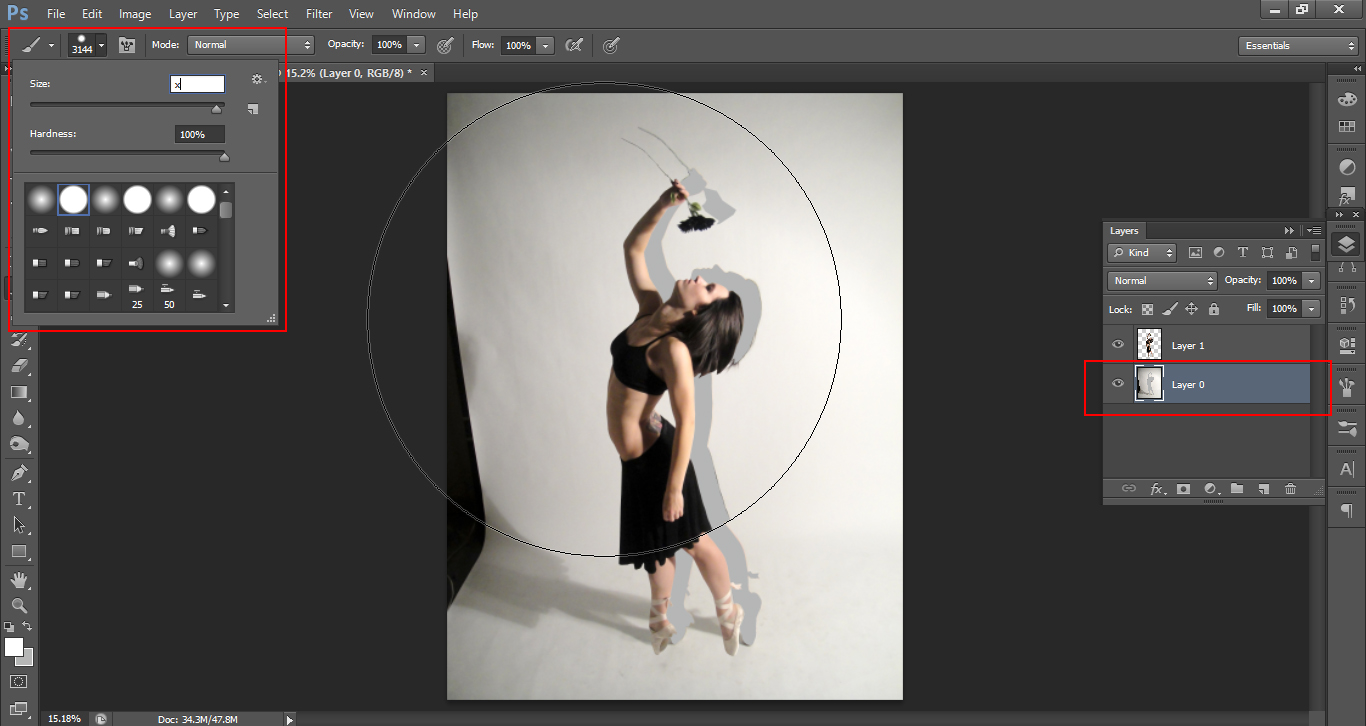
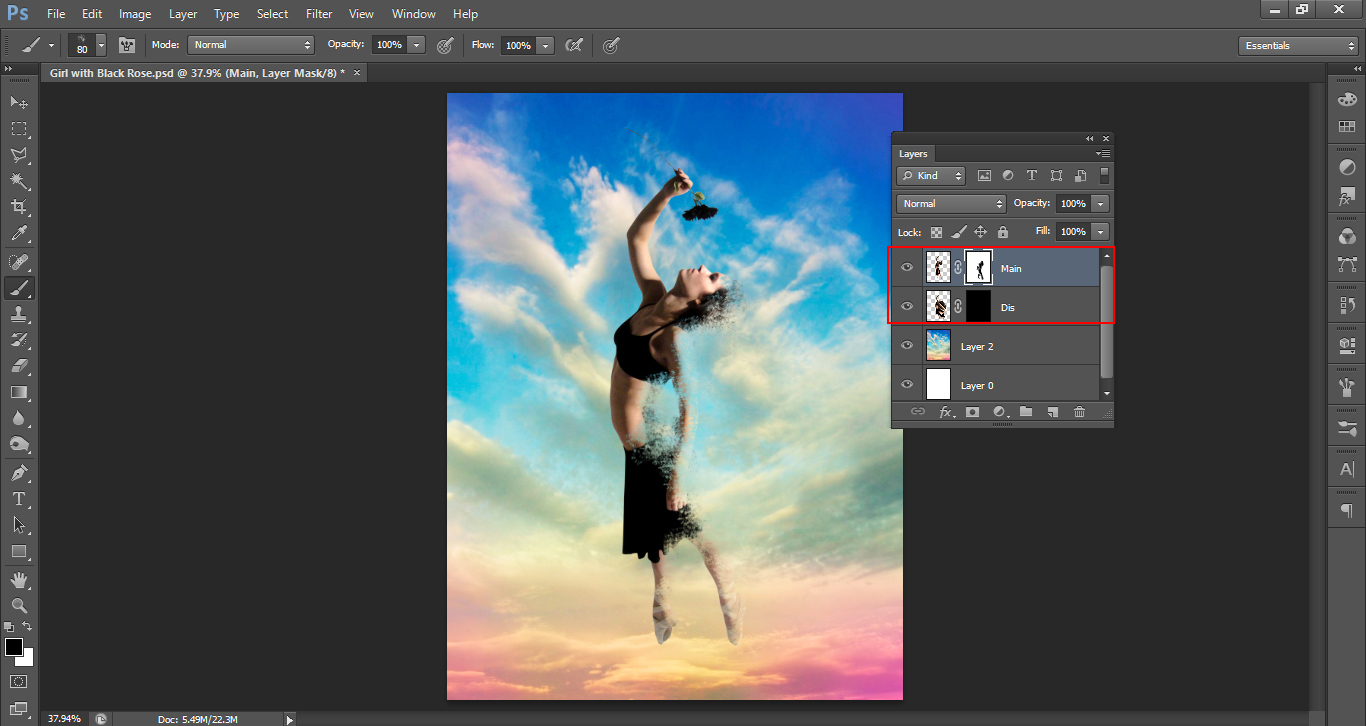
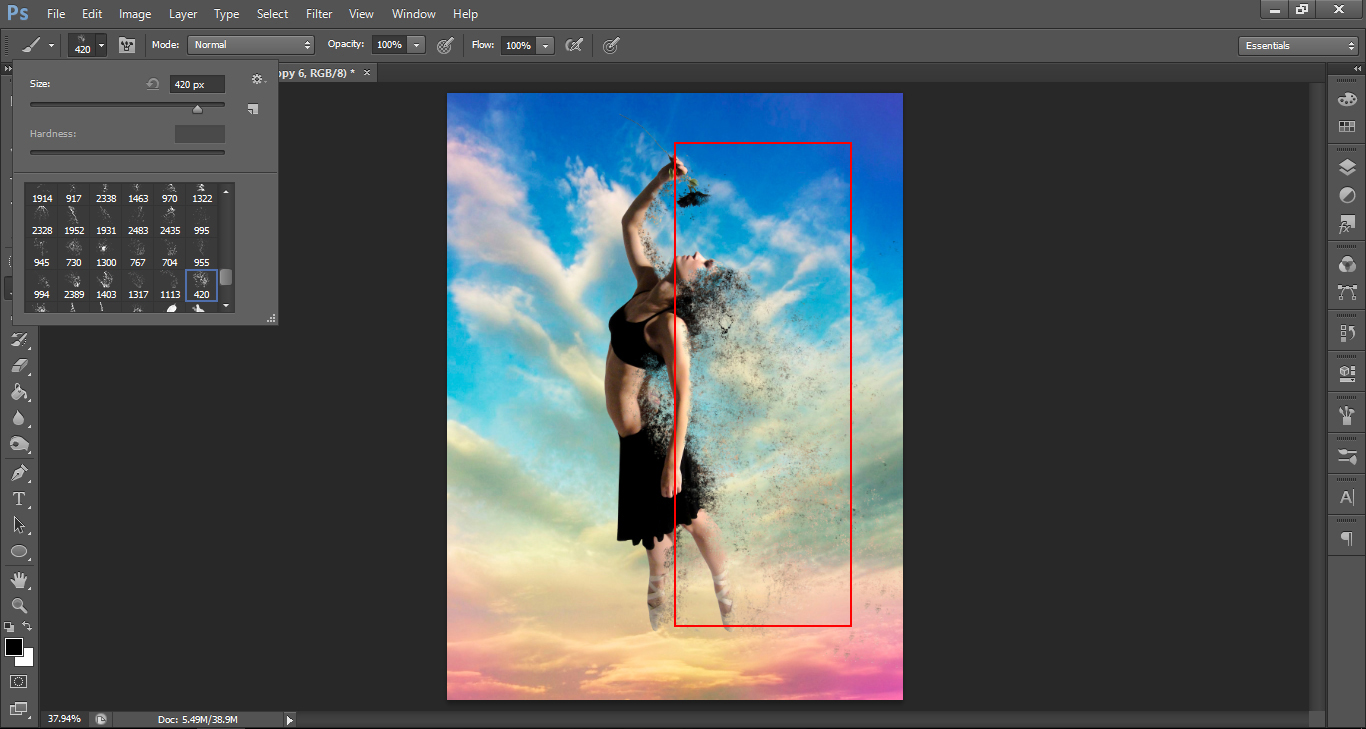
Once you’ve done that, choose a brush that is broken apart. (one that will look like particles)

Then on the White Layer mask, paint on it with a Black Brush! You will then start to erase out areas on the model.
You do the same in the Black Mask Layer, only in reverse, which will make everything start to now appear.
If you make a mistake you can take it back by using the opposite colour, so White for Black and Black for White.
This will take a little bit of back and forth work, so take your time and experiment. This is non destructive editing, so you can always go back to what you had.
Then to finish up my final piece, I opened it with Lightroom and applied a Sleeklens Preset


Please verify your software version before proceeding.
 I’ve verified my software version


 Facebook
 Google +
Comments (0)
There are no comments yet.