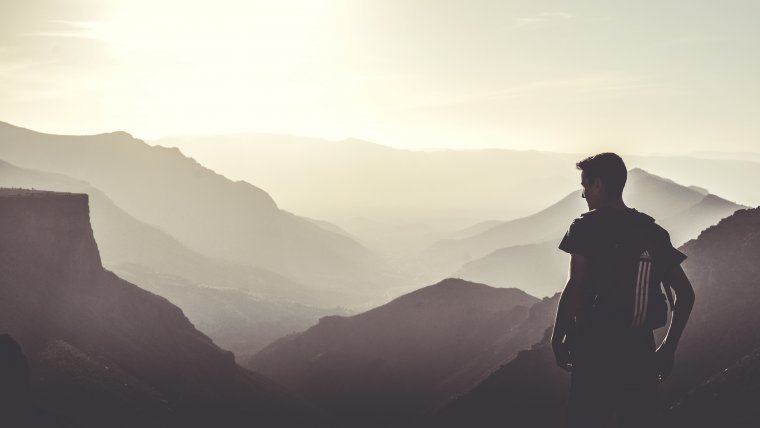
Mountain Photography is one of an interesting type of photography liked by many photographers especially by travel photographers like me. I used to take pictures of mountains whenever I go for a photo trip/trek. These type of photography comes out in a different way than others. The whole touch of nature which always lies on it enhances the photograph.
Photographing mountains or mountain ranges are more or less a daunting task regarding composition and exposure. But if you manage to get a great shot from the hills by overcoming all the stumbling blocks, the satisfaction at last you get is immense. So if you want to learn and capture an astonishing photograph of mountains or mountain ranges, make a perfect plan and pack your gear, trek to the nearby mountain ranges, study the light, find the right spot and compose the frame. Here you go!
There are few things you should consider before going to capture a mountain photography which will help you out take fascinating photographs. In the below paragraphs I have listed the considerable facts and tips which will tempt you to capture mountain shots.
Table of Contents
Choosing location is the very first thing
and important because this one point alone will decide whether the picture is worth or not. Lot many things you have to consider here, the composition, how the lighting would be at the time of capture. Similarly, timing is also important to shoot this type of photography like sunrise or sunset.
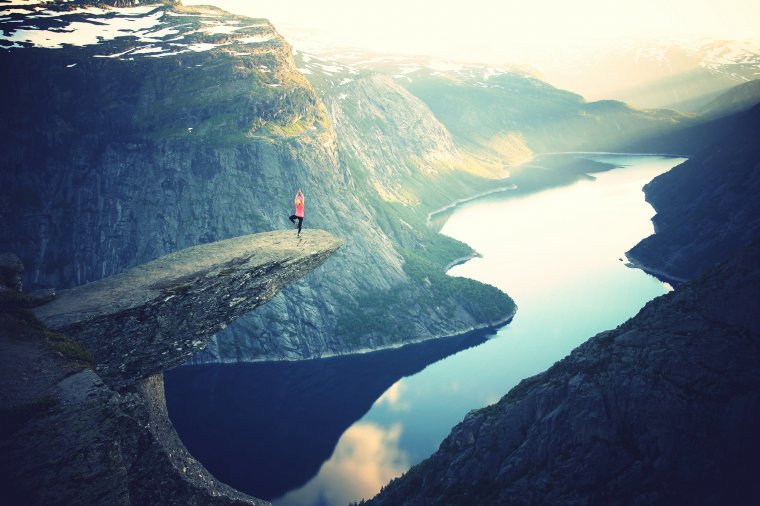
Check for the wild animal’s presence in the mountains well before you start. If there are any presences of wild animals, you may have to take appropriate safety measures. Never try to take photographs of animals on mountains in eye level, it is a real danger.
Take whatever you need whether it is needed or it may be required at the moment. Gear like Tripod, timer, lenses, filters, remote trigger, lens protectors and waterproof cover for camera bags, etc.
Trekking alone or hiking to the nearby ranges is not at all advisable at any point in time. Take your assistant just to give the company and to share carrying the gear. If you could convince your best buddy to come along with you, would be great as you would be discussing a lot in general. Also, it will be a company and helpful to each other.
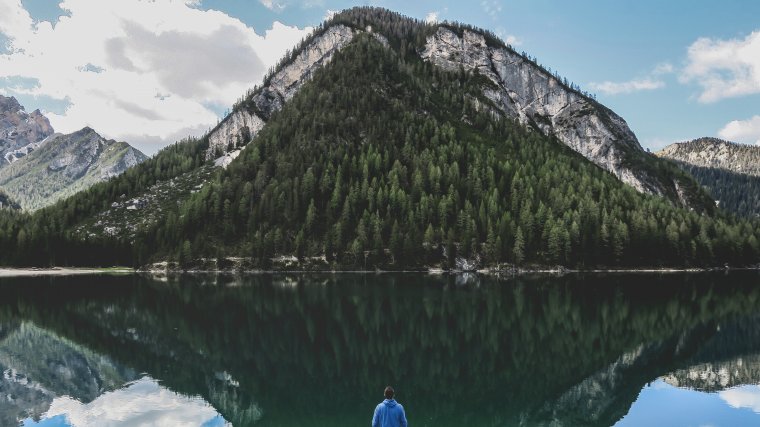
Suddenly if it is raining, you need to protect your gear. Not only the gear needs the protection you and your friend/assistant needs a shelter. Carry a proper tent, basic food preparation kit and importantly a medical/first aid kit, etc.
Collect the sunrise and sunset information beforehand and plan the time of the capture. Also, note about the return plan from the ranges because in some places evening time will be the time for animals. So you wouldn’t have to trap in somewhere in between like amidst the forest or likewise where there is no way you can get any help. Even though it took late to return try to find a reachable and open space to stay for the night. It will be much safer. Your safety is important.
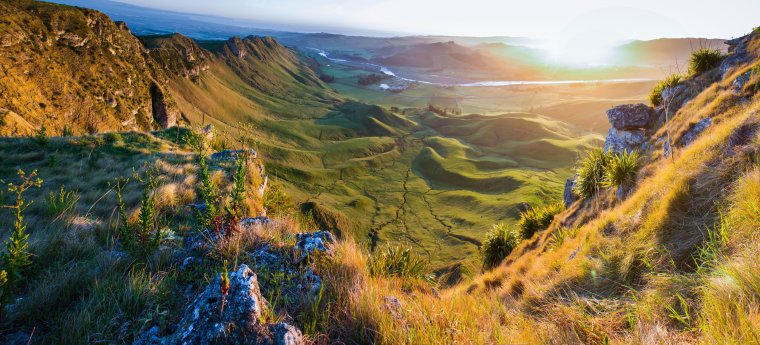
Even though you choose a right time, the lighting may mess up a bit during the shoot. You can make minor corrections using Lightroom or Photoshop for to bring the best out of the capture. You can also refer how to edit a landscape or portrait, color correction, presets and aspect ratio, etc..
Few examples of mountain photography:
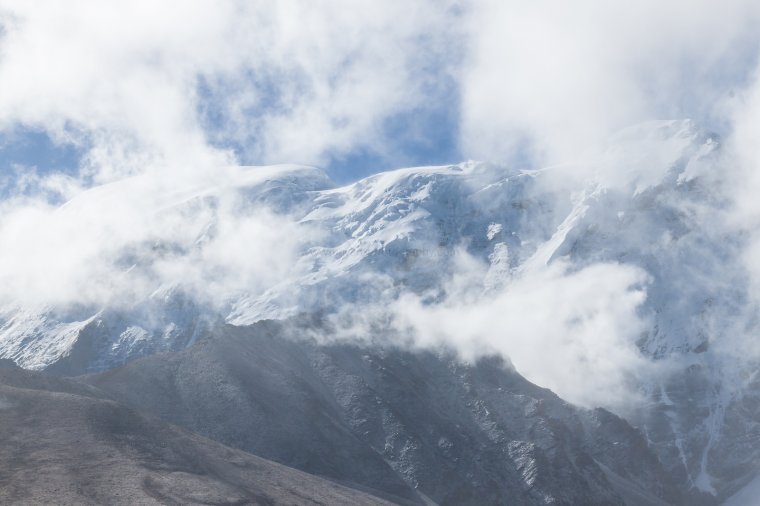
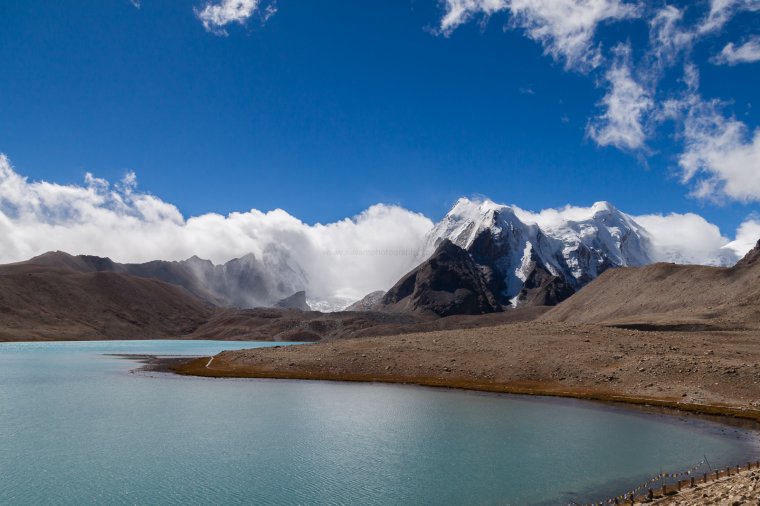
See the below photograph which is called as a cold desert, but it lies in the hills.
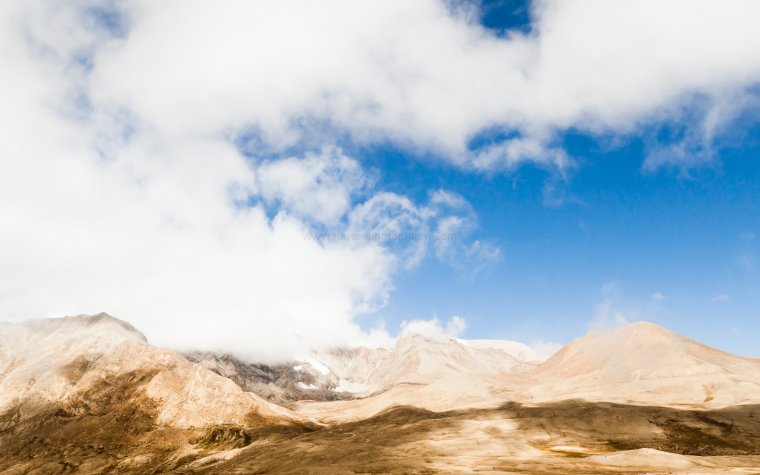
This mountain is the tallest one, so I made a shot of portrait. From this you could know mountain photographs can be captured in different ways, it’s up to the location you choose.
Also, you can check out few examples of mountain photographs which I captured in various places such as Ooty, Sikkim, Bhutan, and Agumbe.
Comments (0)
There are no comments yet.