Surreal Split Under Water Scene Manipulation Using Photoshopwww.sleeklens.com
Hi,
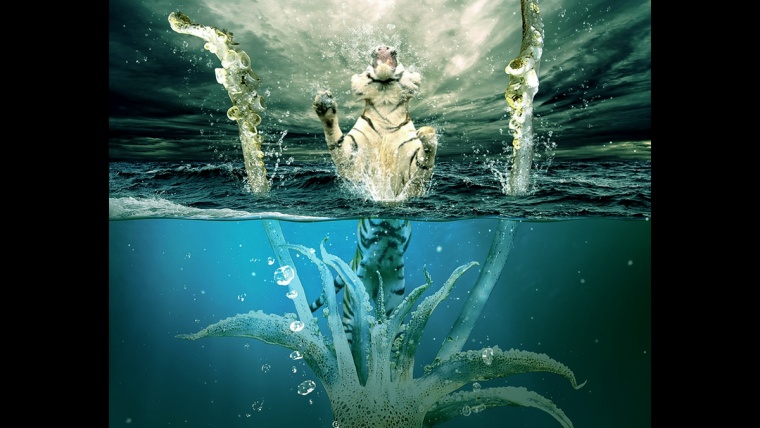
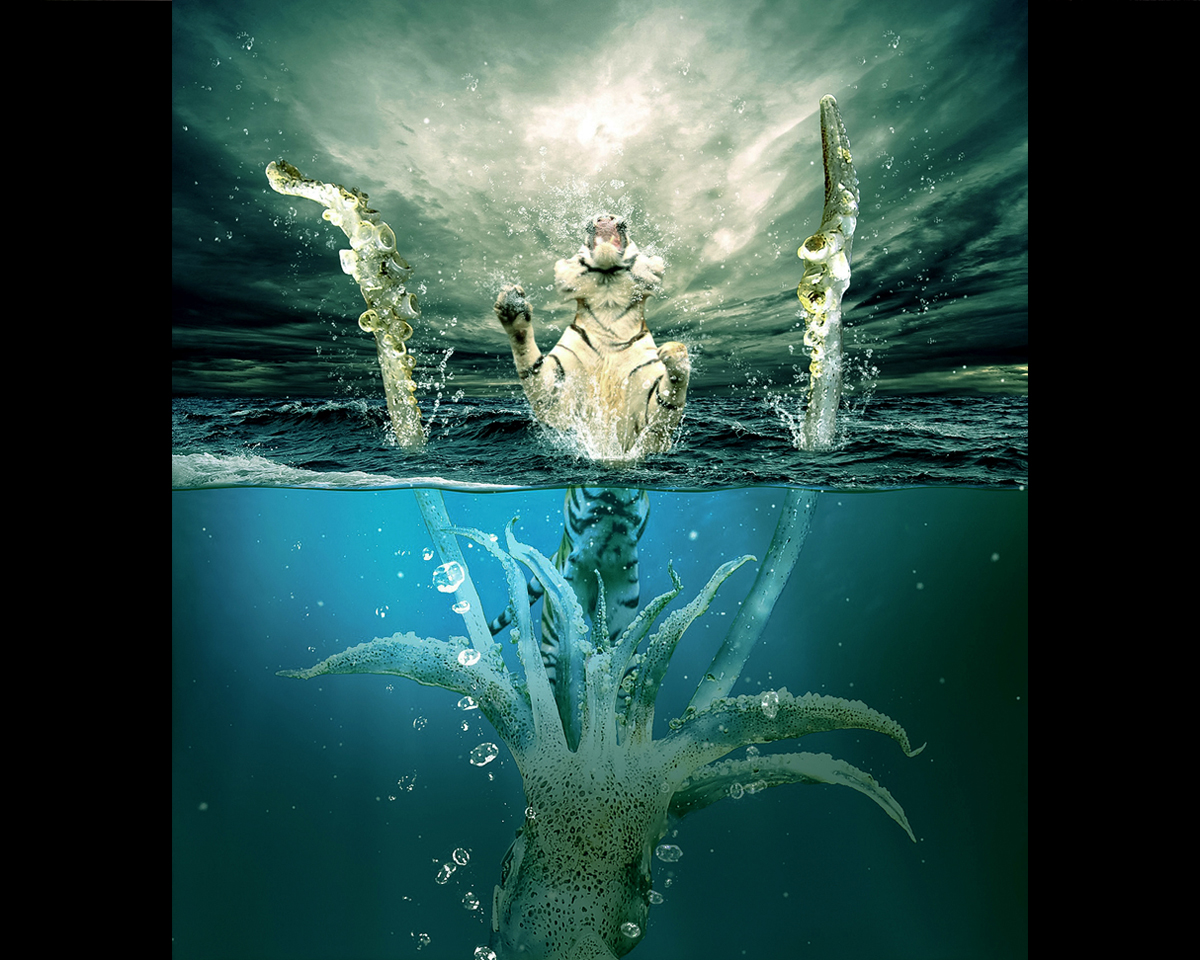
Today I’m going to be starting a whole new exciting series using Photoshop, comprising of how to use different photographic elements to create surreal scenes known as Photo Manipulations.
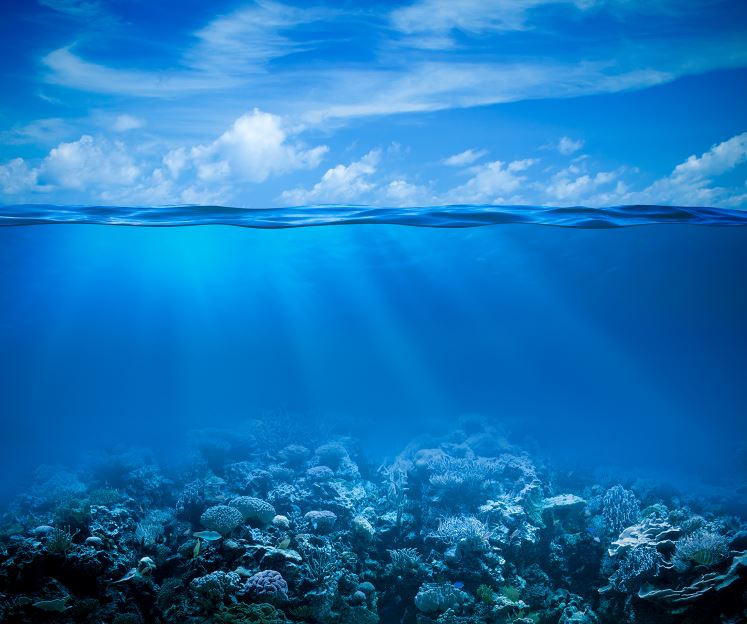
The four images that we’ll be combining today are as follows.
We’ll be combing these to make a pretty interesting and atmospheric surreal piece of Photographic Art!
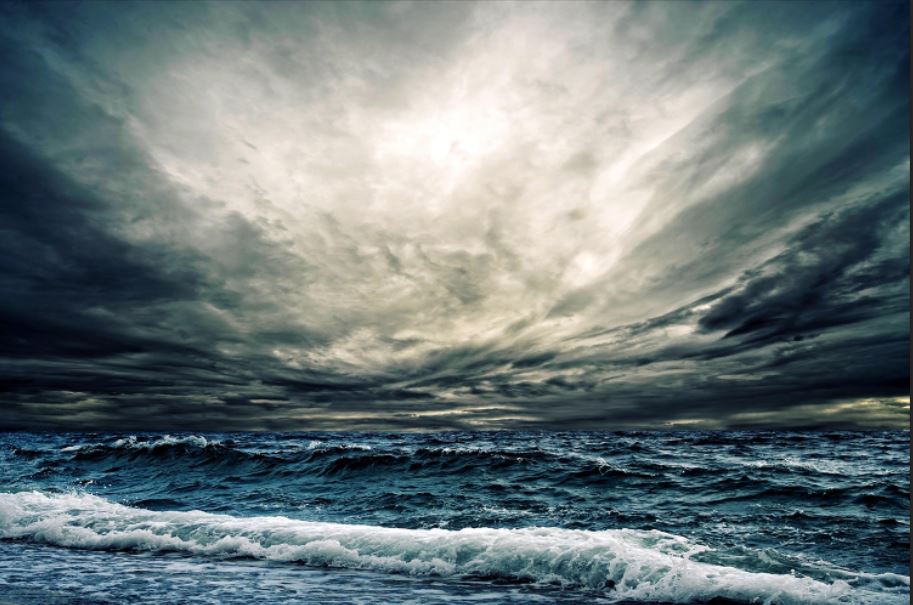
To get these images I just typed into Google various search words such as “Split Water View”, “Under Water”, “Stormy Sky”, etc.
You can also check out places like deviantart which has loads of free stock that you can use, it’s an excellent source.
I looked through a good amount, so it’s a good idea to have something in your head prior, as to the direction you’d like to take the piece.
Ok, let’s start.
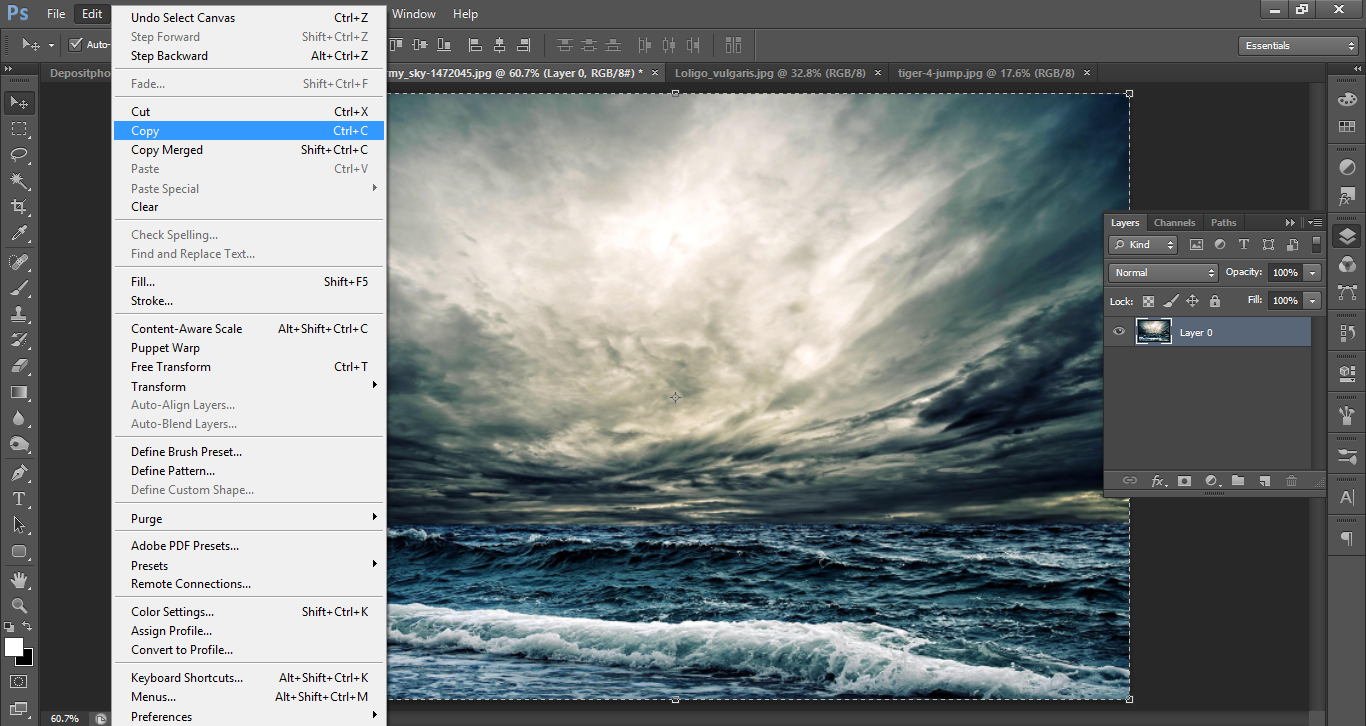
Using (Ctrl A) Select on as I’ve done on the image below and edit copy (Ctrl C)
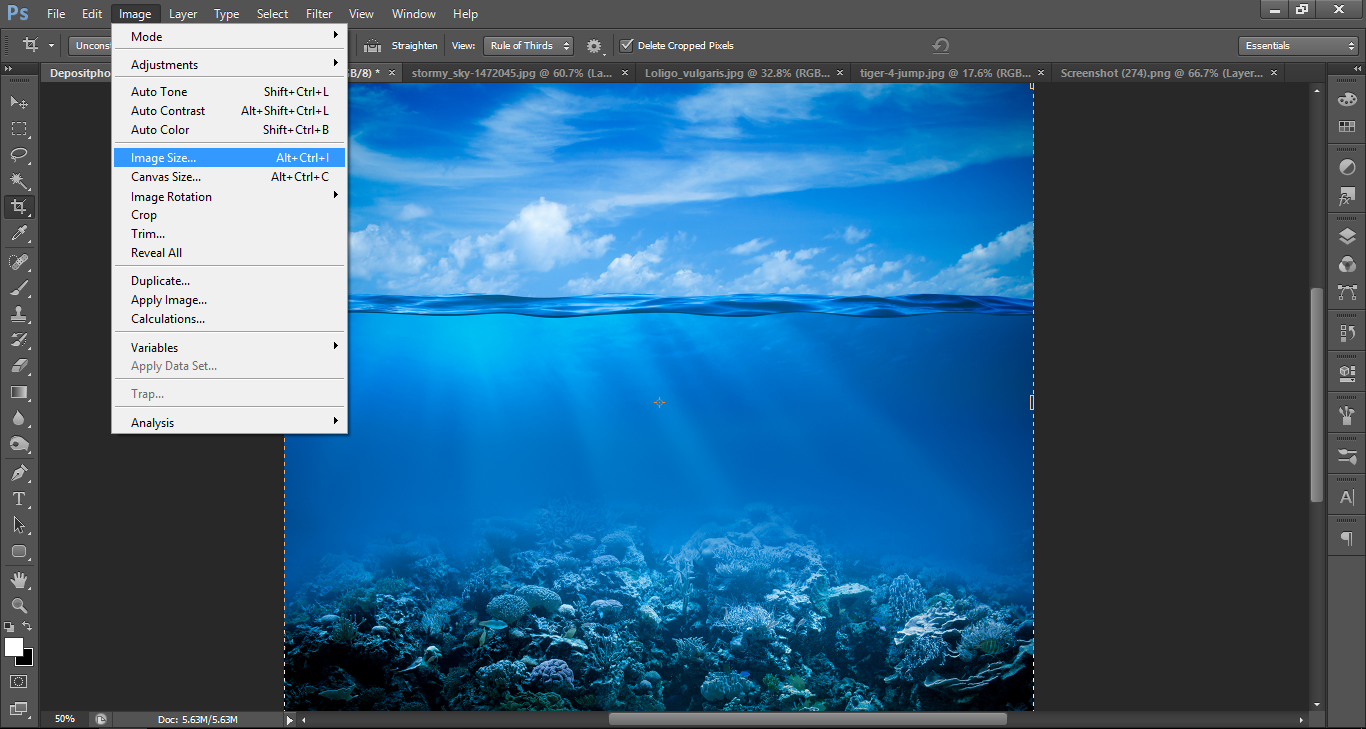
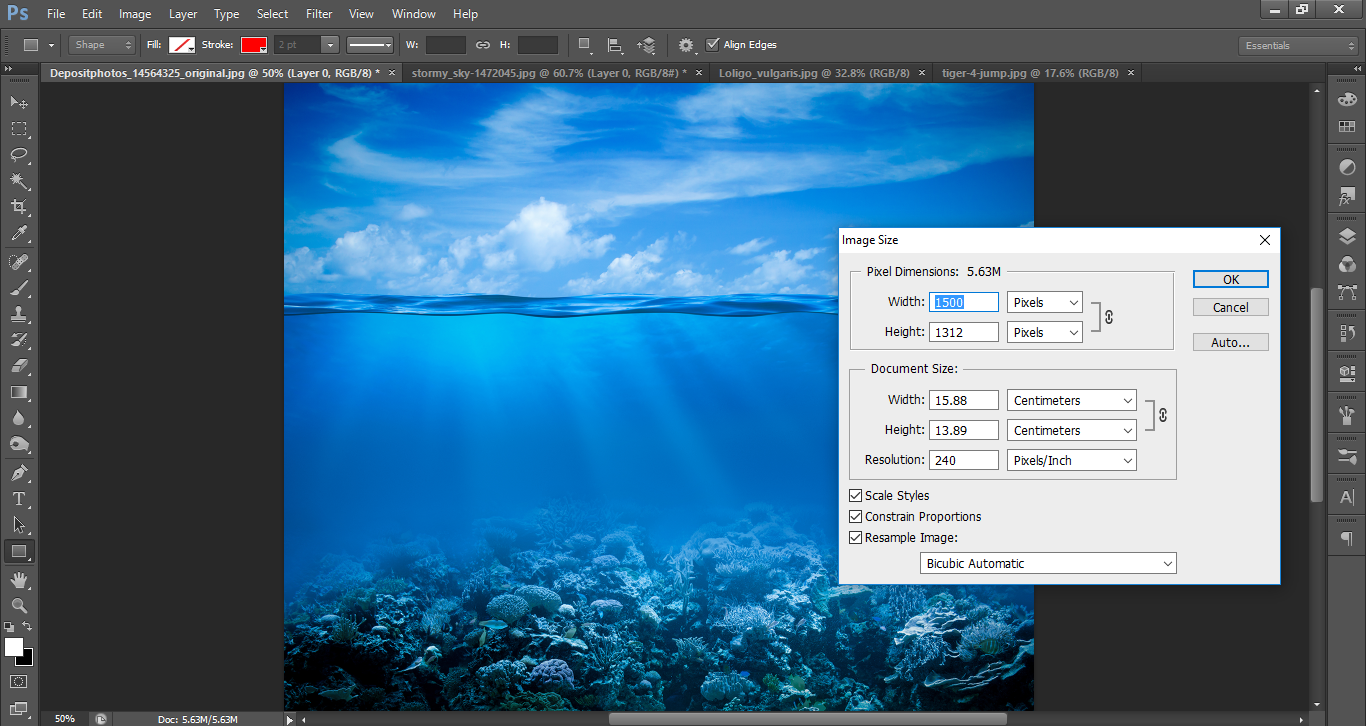
Next, go to the main image, I have resized it to 1500 across.
You can do this by going to Edit – Image Size.
Note, I also did this with the first image of the Light Sky.
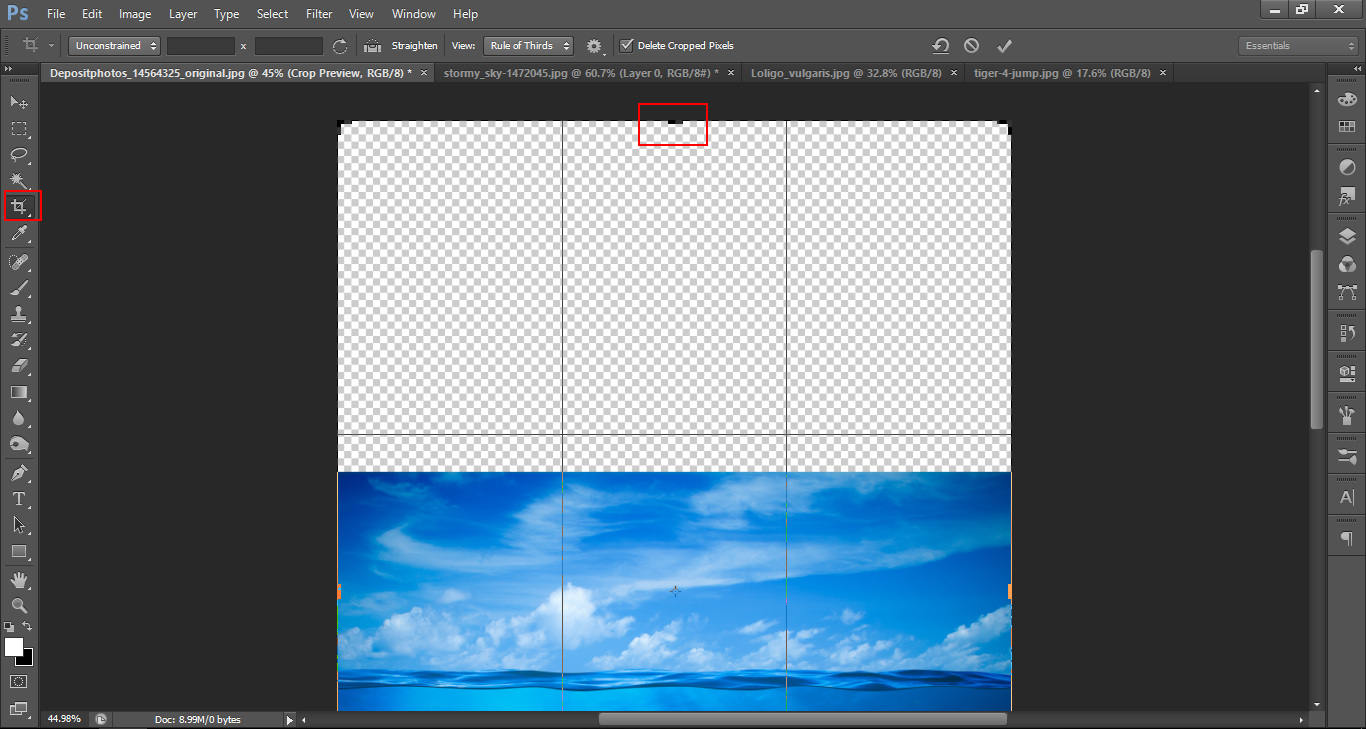
So, now we have the first image ready to be pasted in, but first I want to create a little space, so I’ll click on my Crop Tool and add a bit extra to the top of the image. Once I’m happy with the size of the image, I’ll crop again.
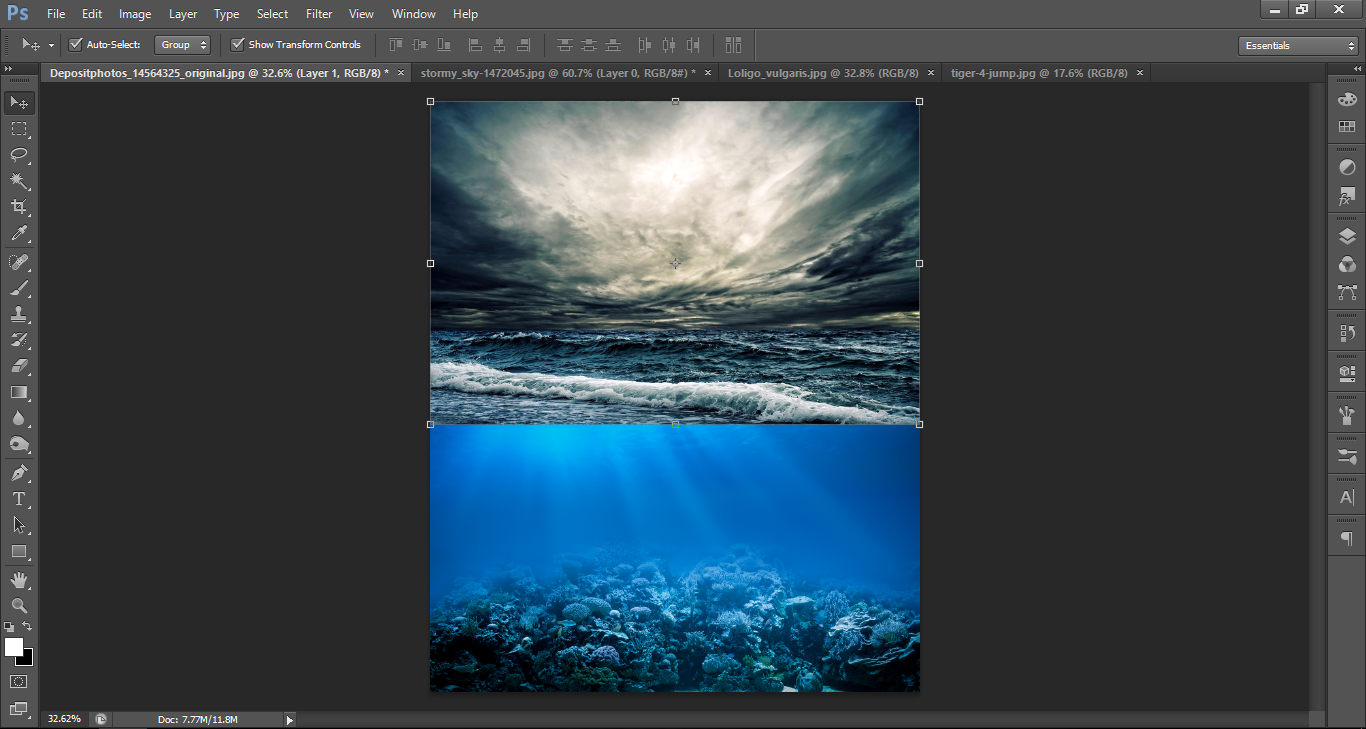
(Ctrl V) will paste in our image with the Sky. You may need to adjust the image slightly by dragging out the edges.
So now, position the sky image roughly where the seas both meet, you can re-adjust as you go along to find most aesthetically pleasing position.
Hit Return when you’re happy and Crop the image to the final size.
Press (Ctrl 0 *zero) for full view.
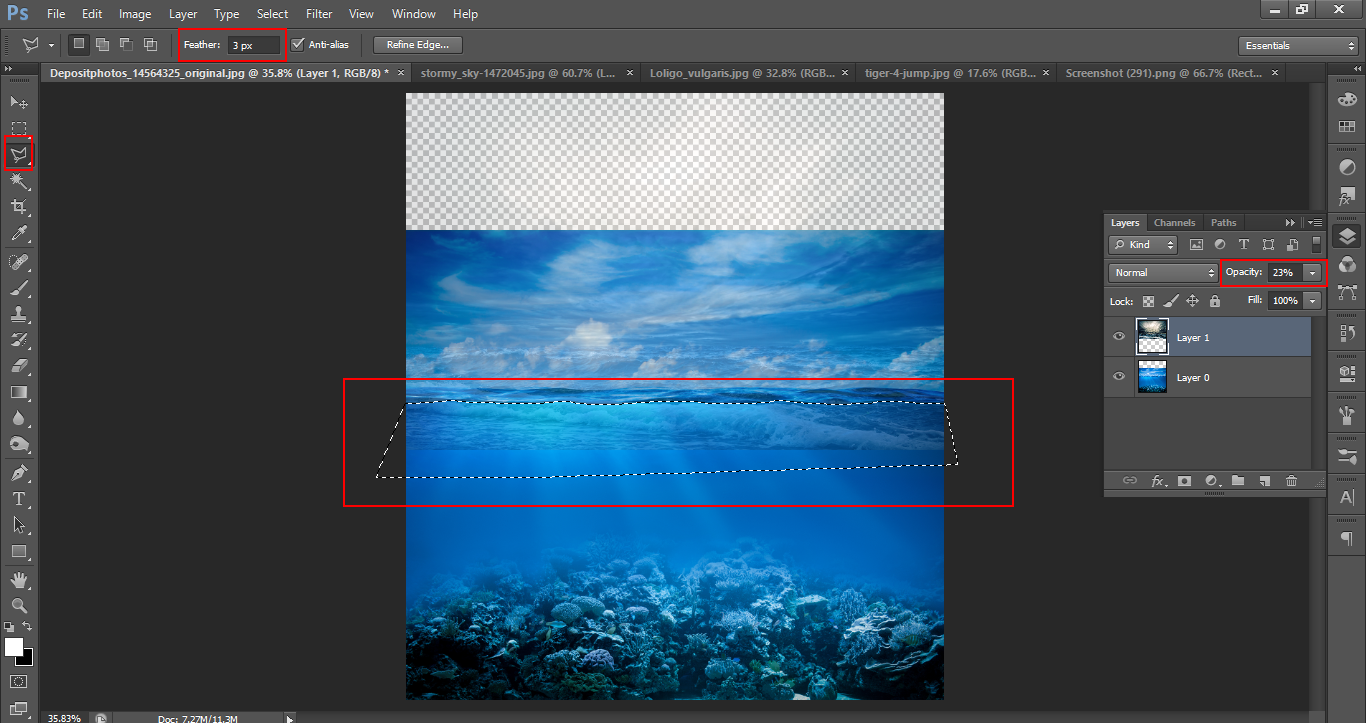
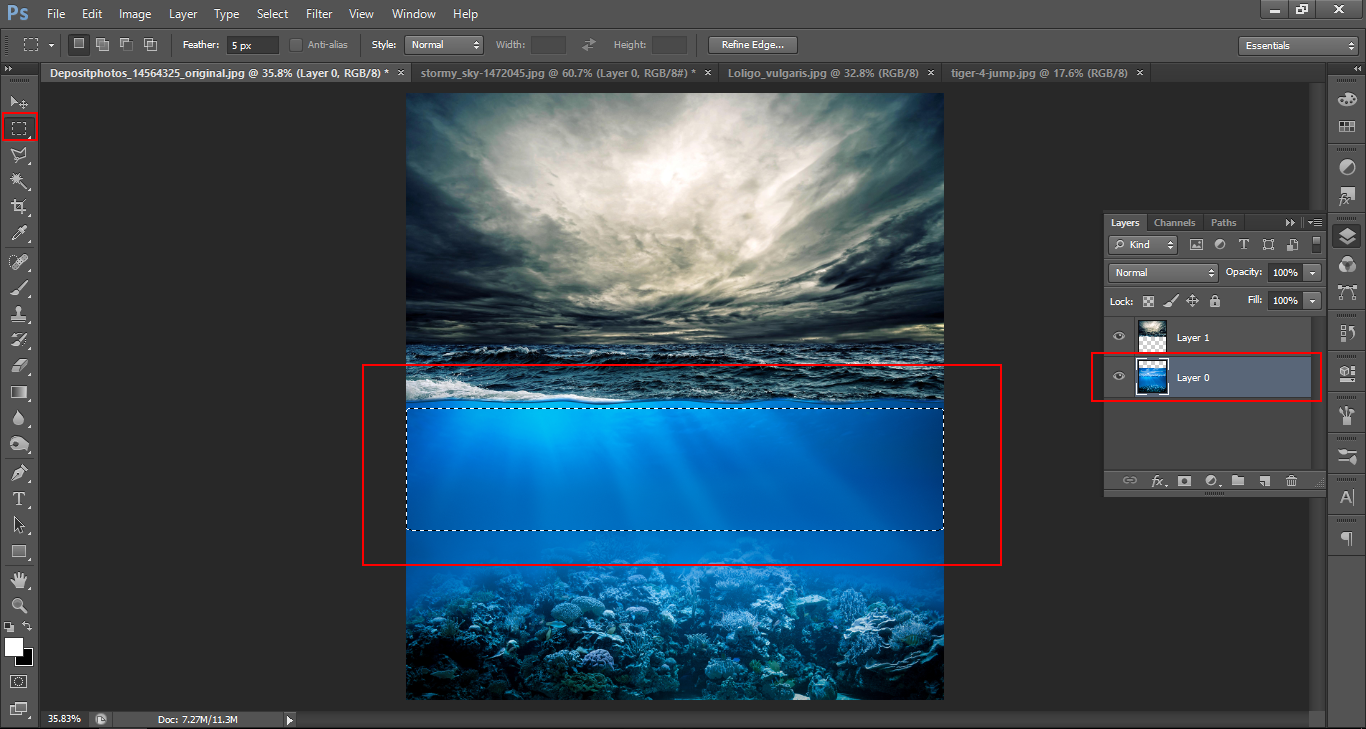
Now we want to match the water, now there are a few ways to do this, but the easiest is by using the Polygonal Select Tool with a little Feather added.
First, I Drop the Opacity of the top image so I can see the water line below, then I will follow the water line with the Select Tool.
Note, before you start add about 3 pixels of Feather, you will see that indicated below.
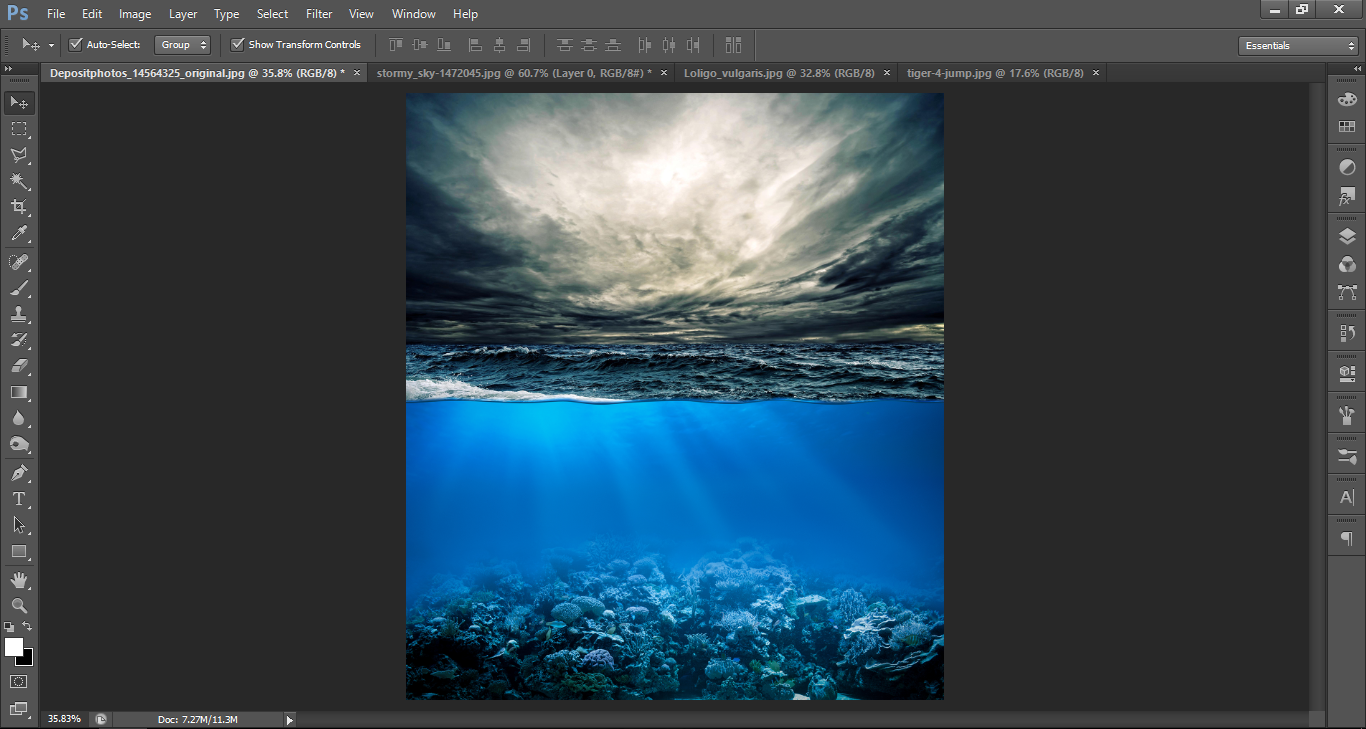
Next, delete the part selected on the Top Layer, then bring it back to 100% Opacity to see what you have and you will be left with a pretty accurate water line.
So I click on my bottom layer, then click on Select.
Select the blue area, copy, then paste and stretch it until it completely covers the coral.
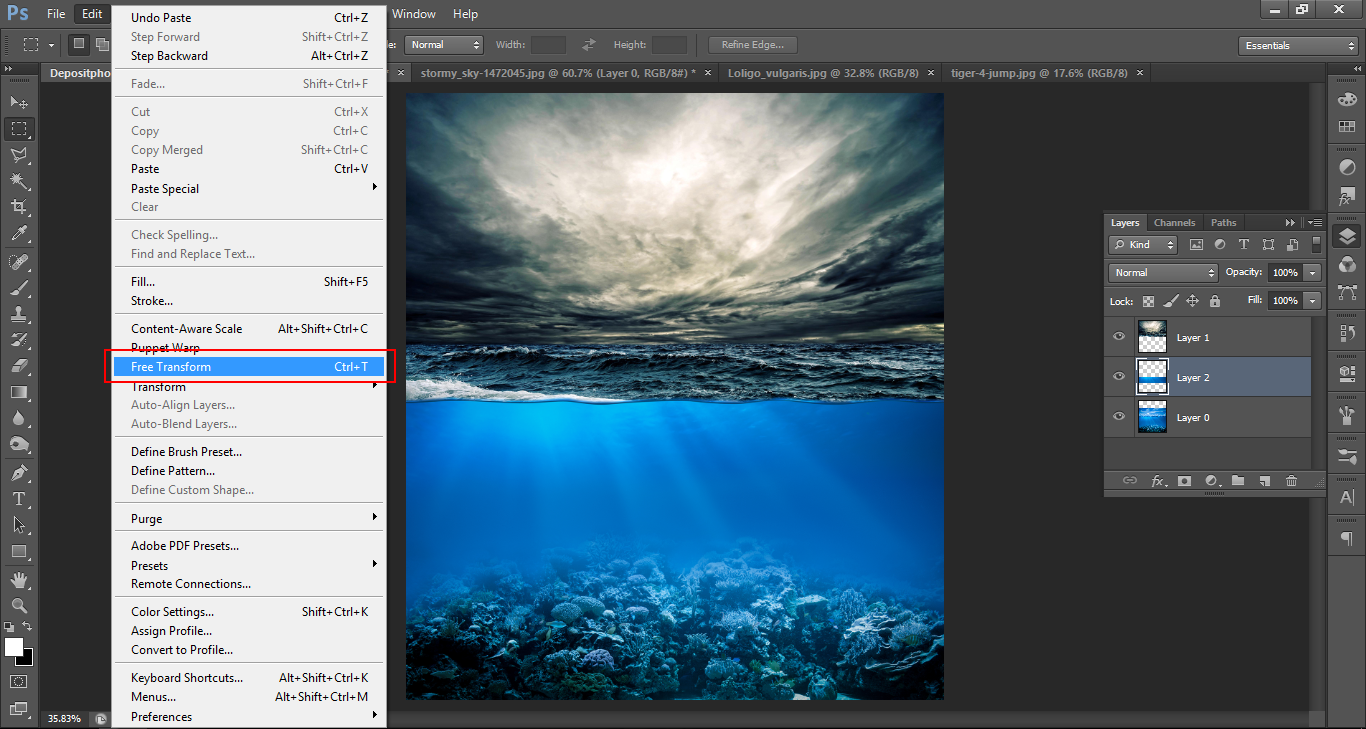
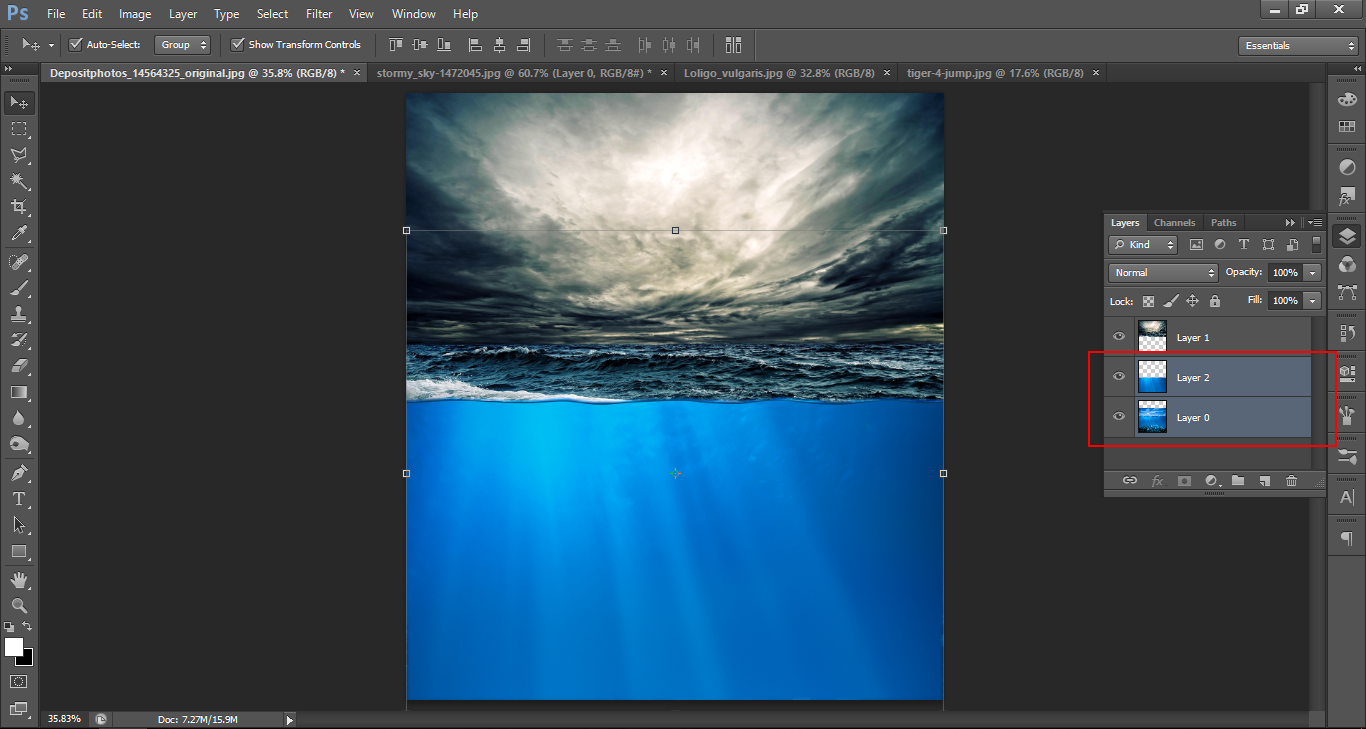
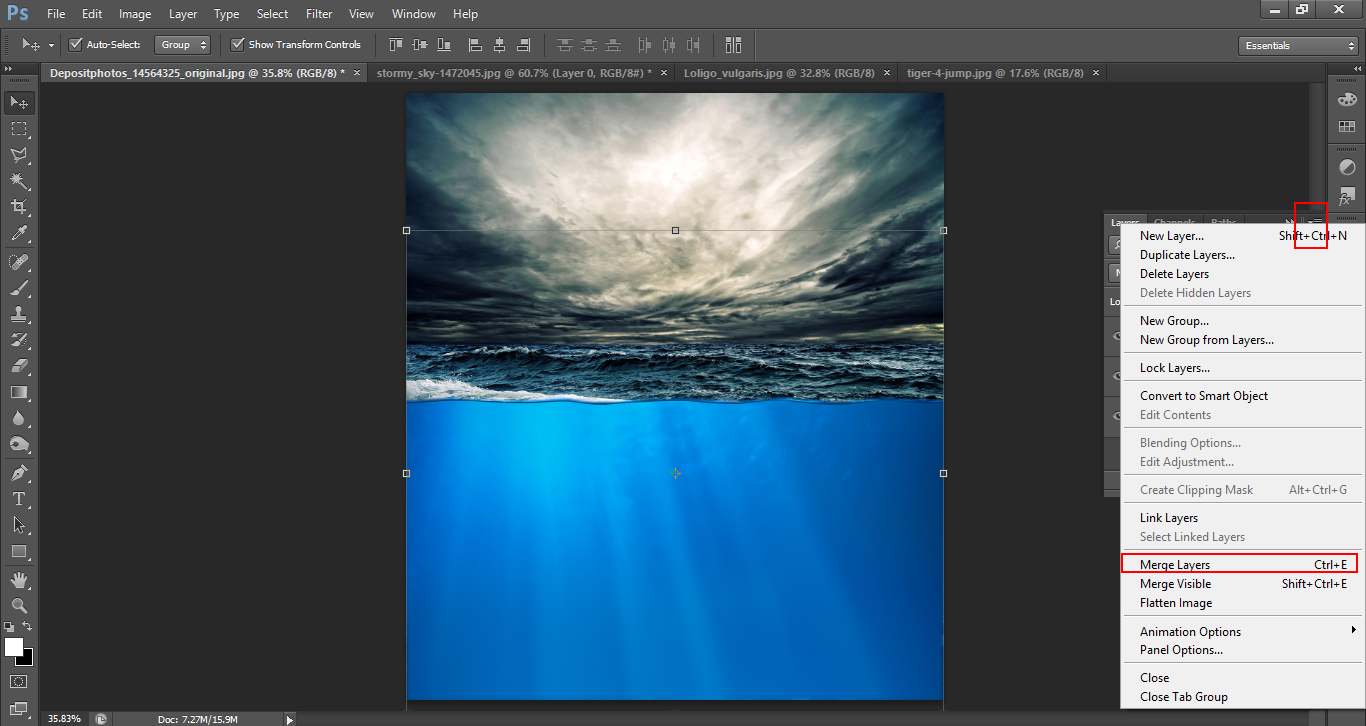
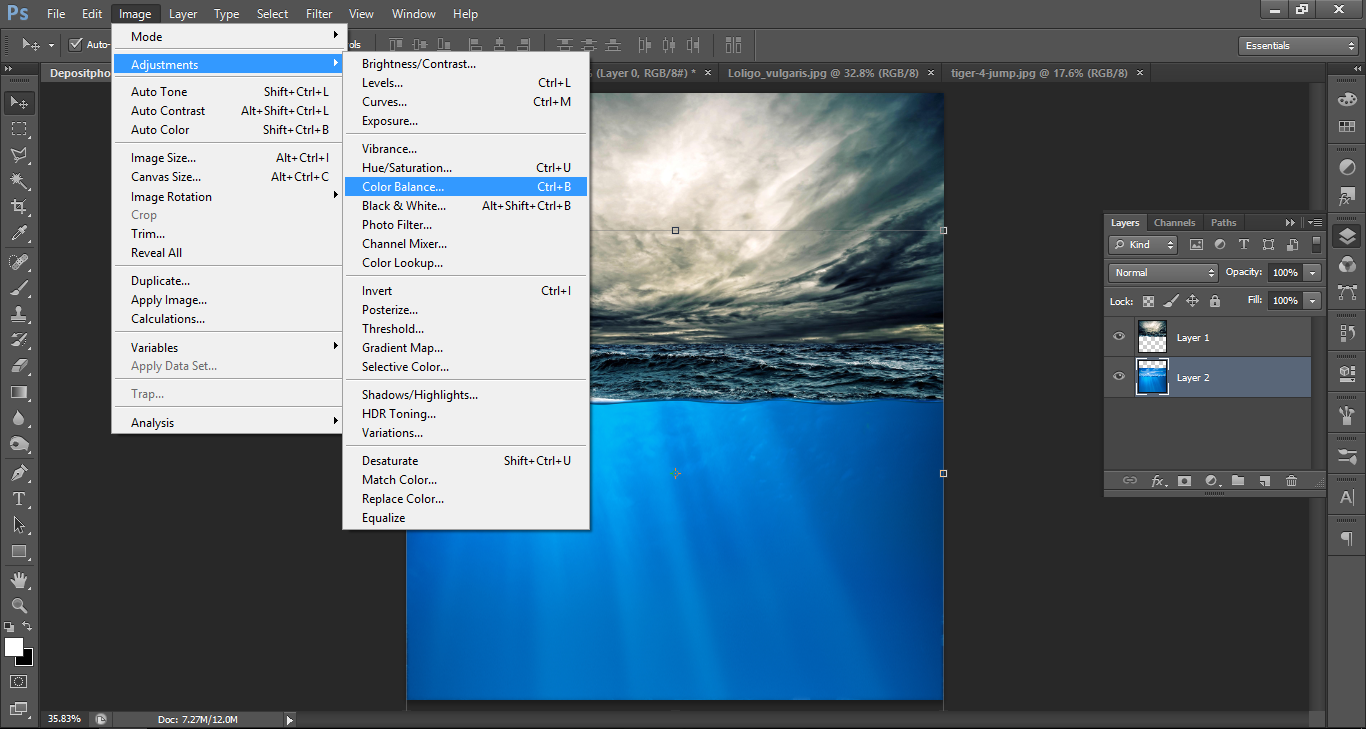
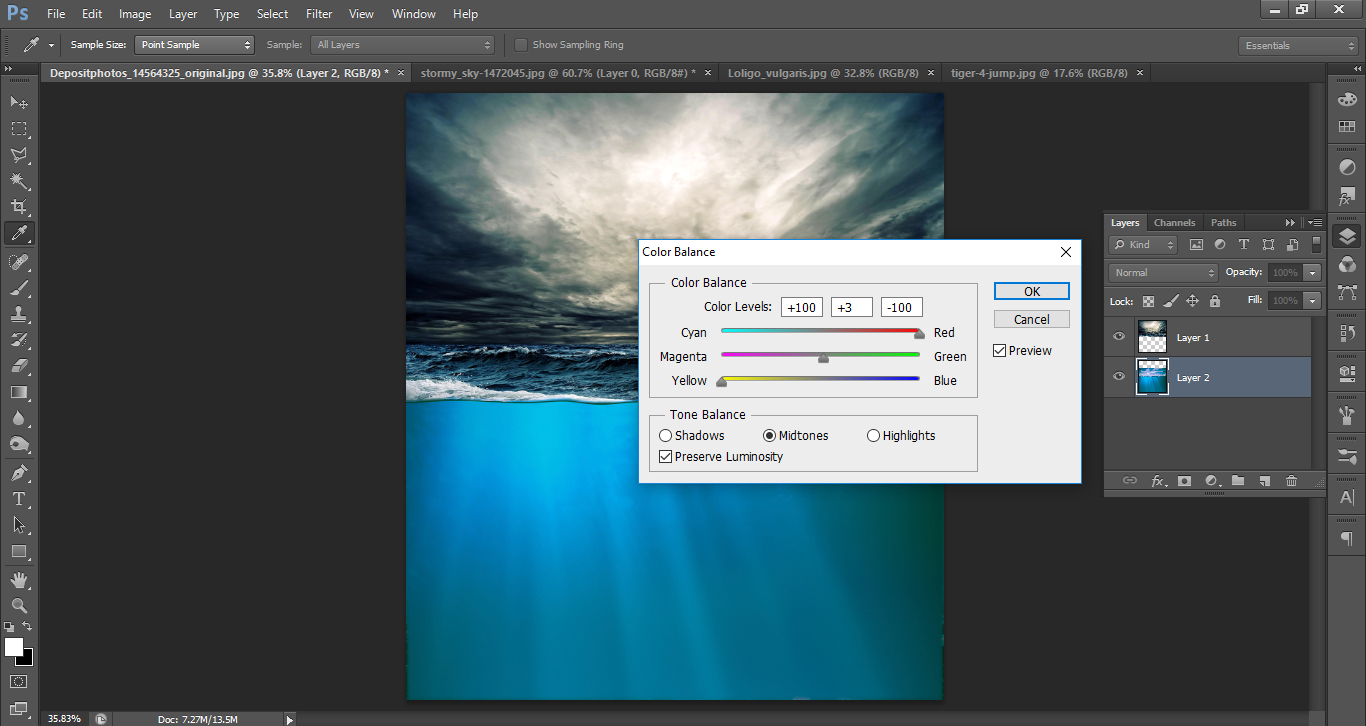
Now, click on both of the water layers using Shift Click and merge both layers. Once you have done this, go to Image – Adjustments – Colour Balance and play around with the color of the water until you get a more murky color that suits the sea above.
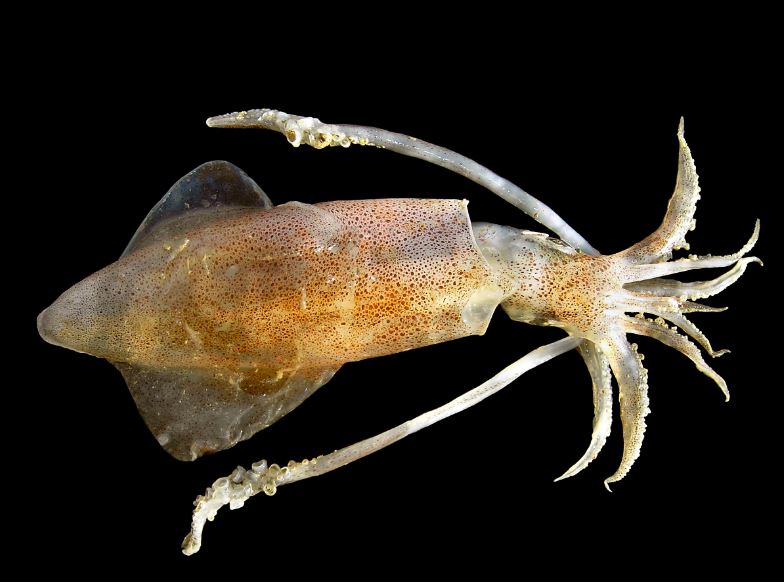
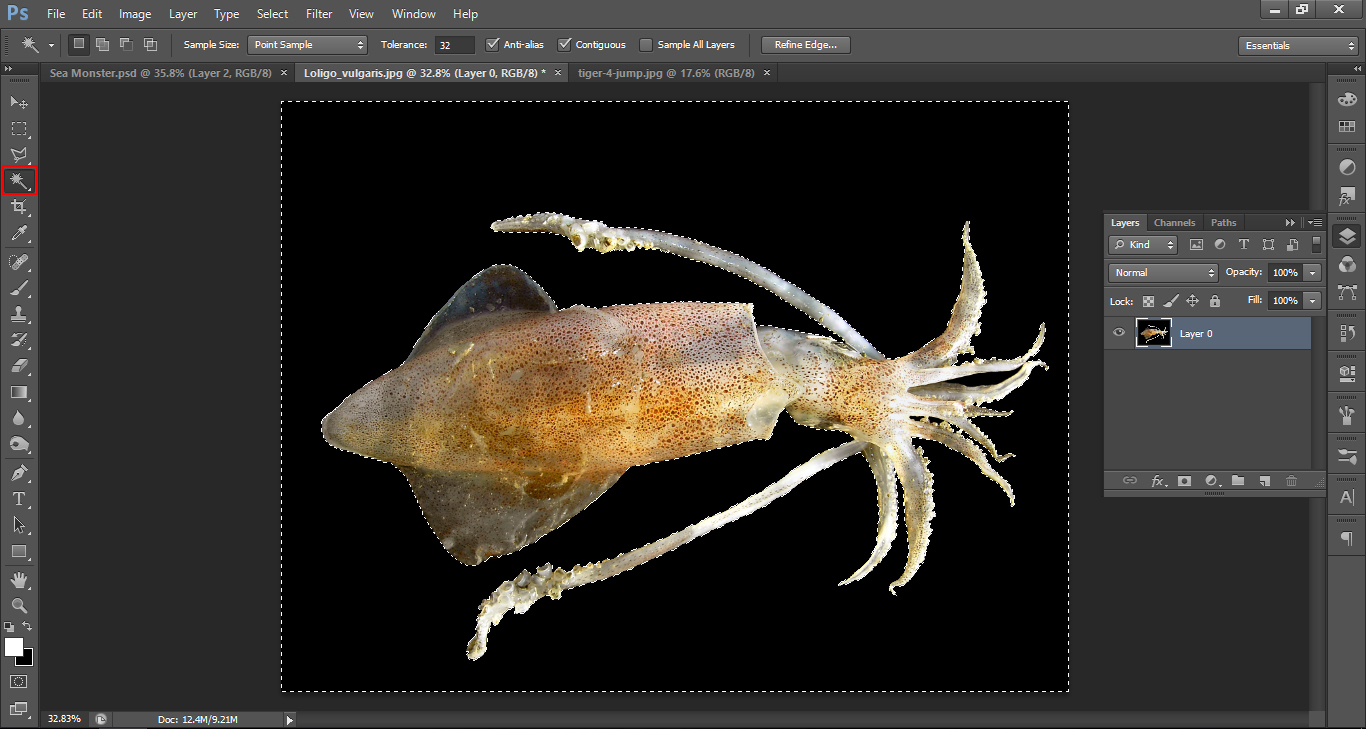
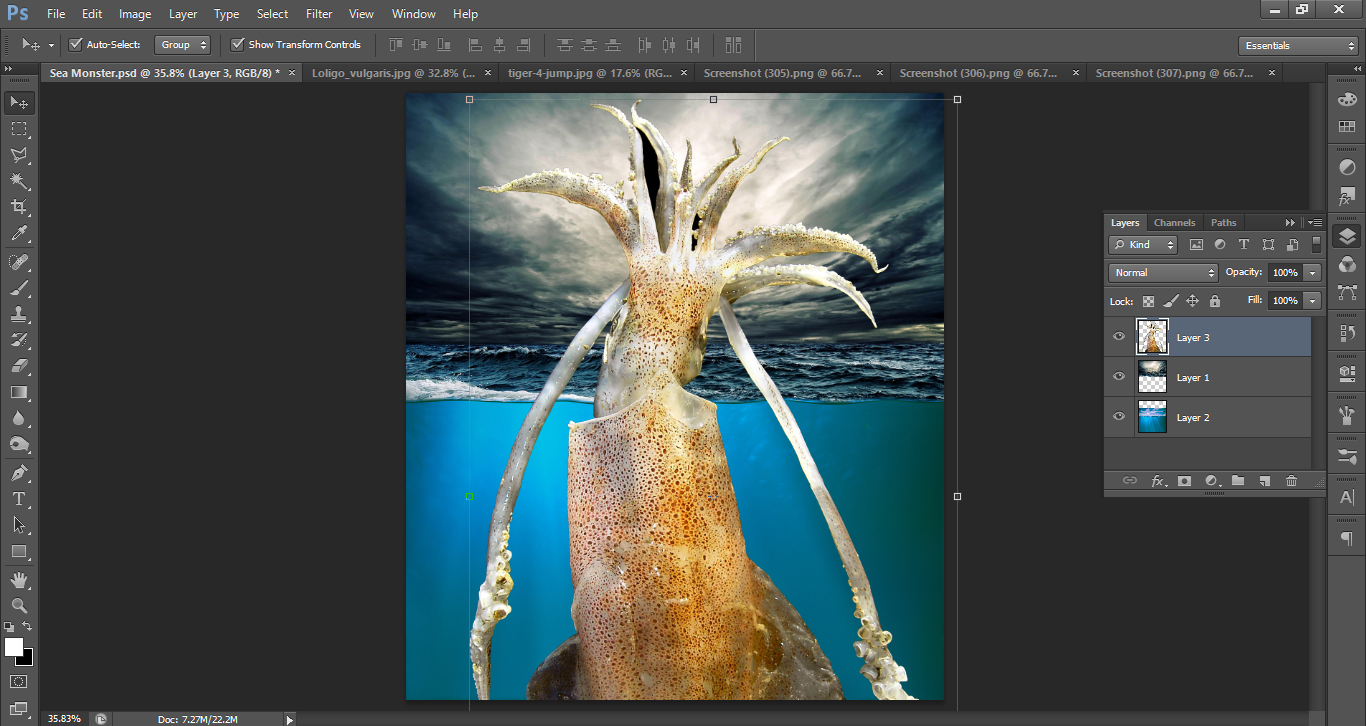
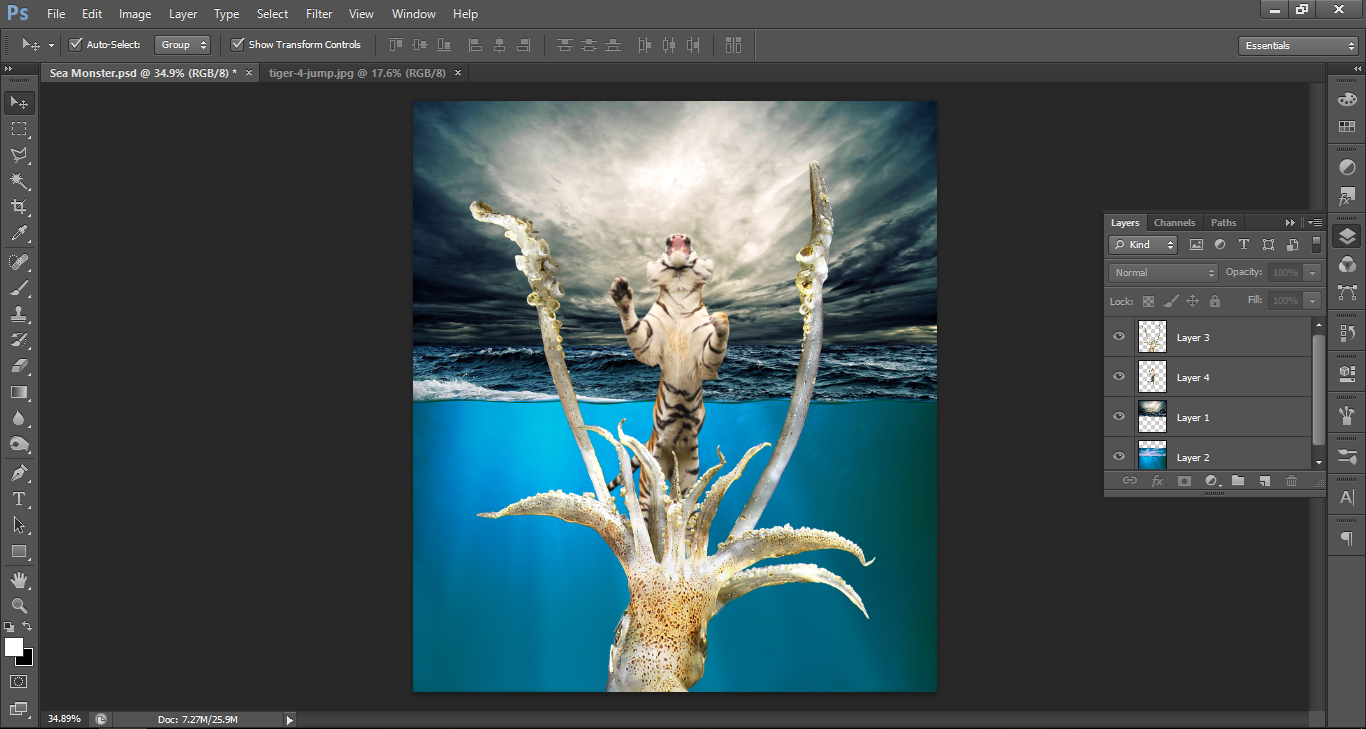
Now, we’re going to add our Sea Monster.
So, with images such as this where it is on a plain black background, you can use the Magic Wand Tool, which is really a hand.
Depending on the image you should get a pretty clean selection with one click, if you don’t, you may have to use the Polygonal Tool to either completely select or just edit the bits out that you don’t need.
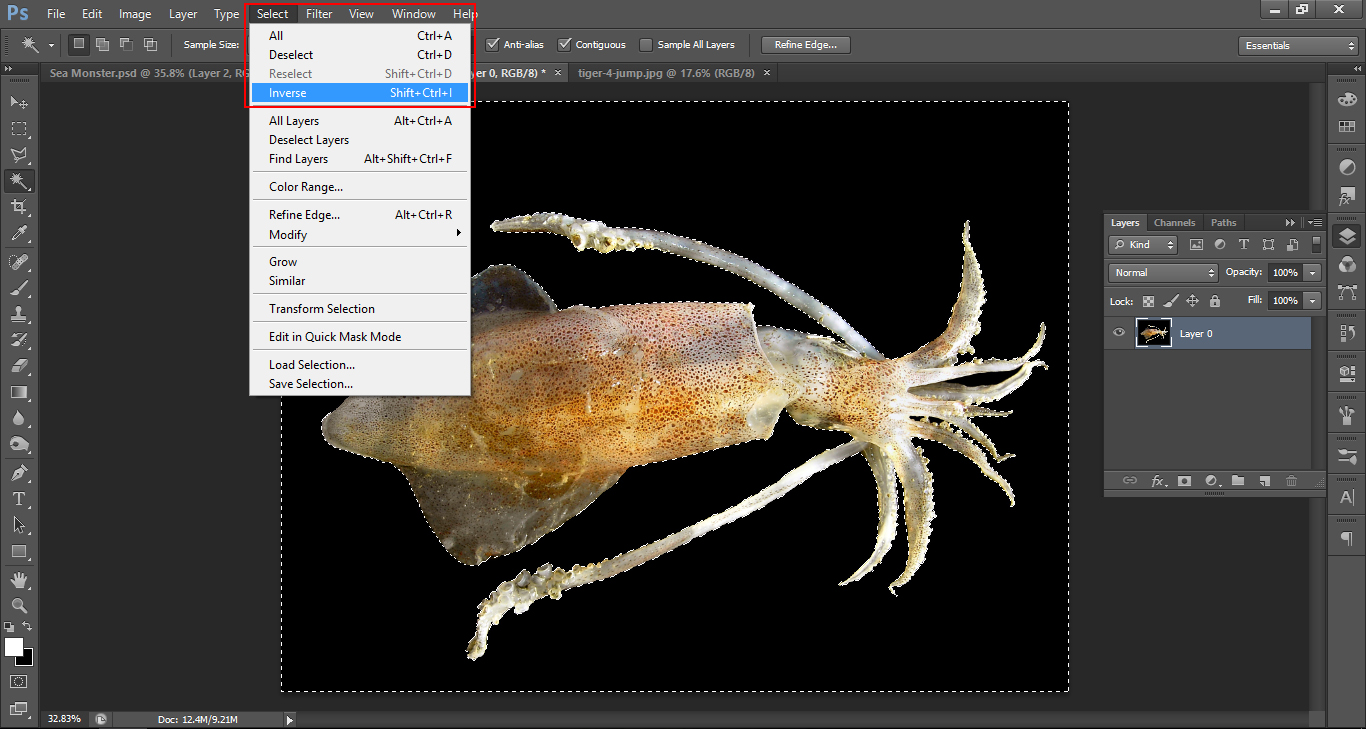
So once you select the Monster, you will have to Inverse (Select – Inverse)
Then, copy and paste it into the main file.
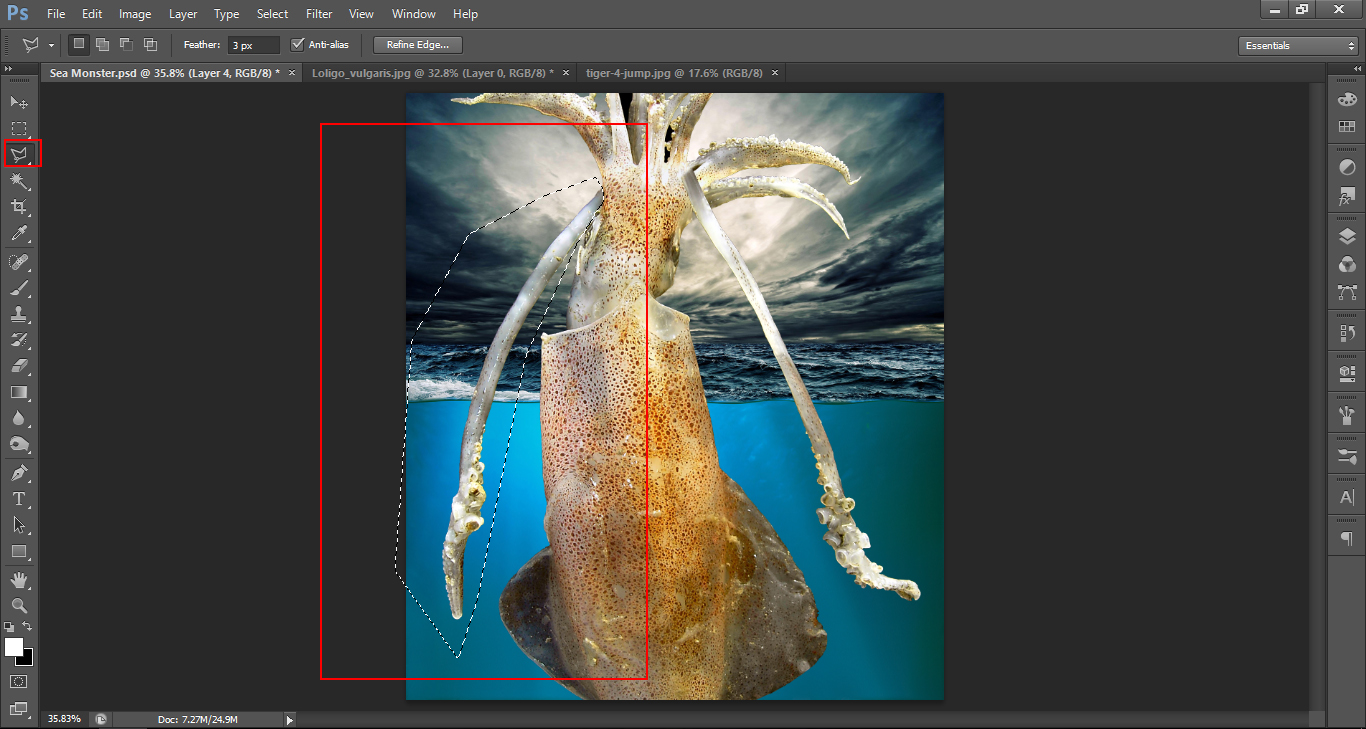
Now those arms aren’t doing anything for me, so I’m going to Select them with the Polygonal Tool – Cut – Paste. Then, I’m going to rotate them using Free Transform and adjust the Monster to exactly how I want it to be in the picture.
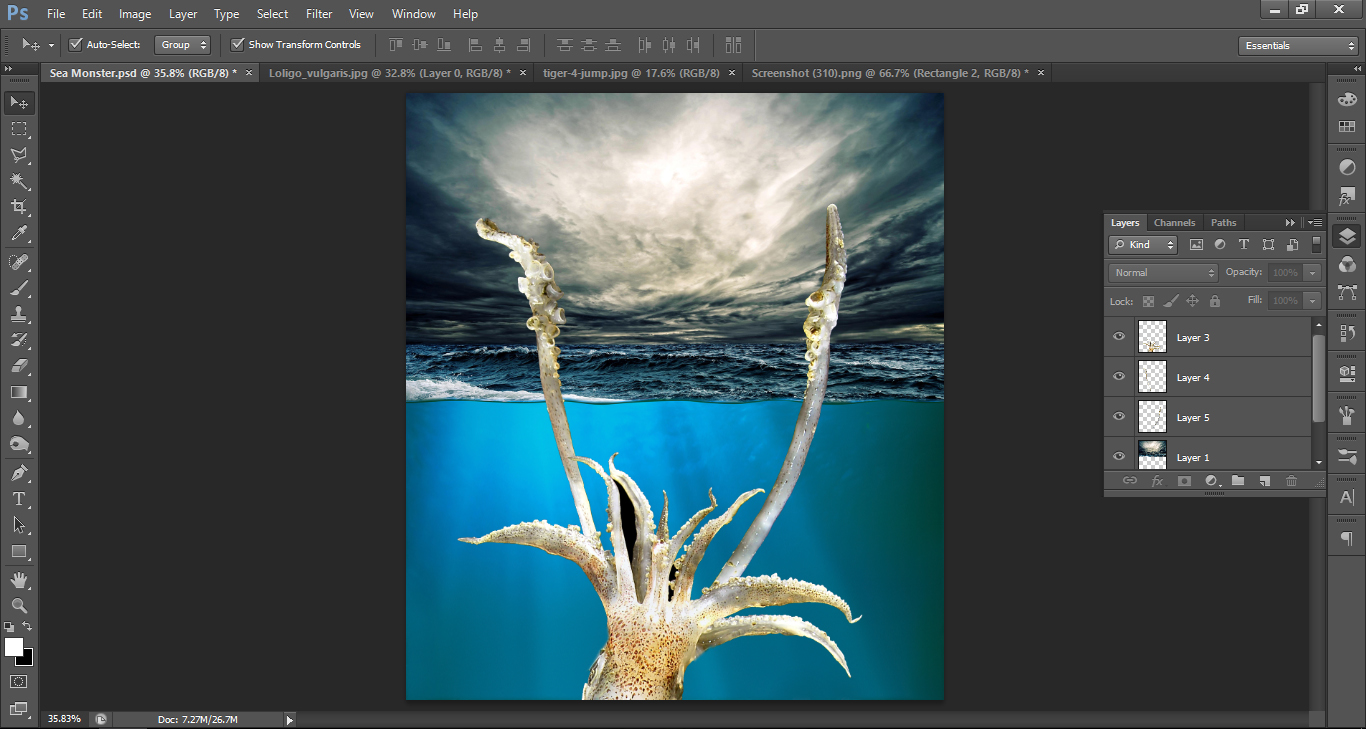
You must now select the layers with arms on them and move them by clicking and dragging them below the Monster.
Now as we did with the Water, Merge the Monster’s Layers.
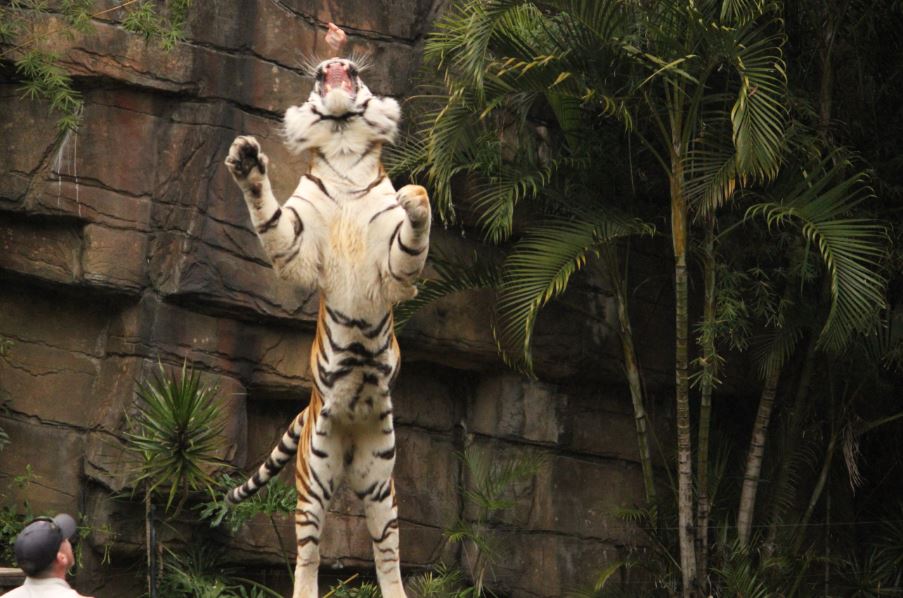
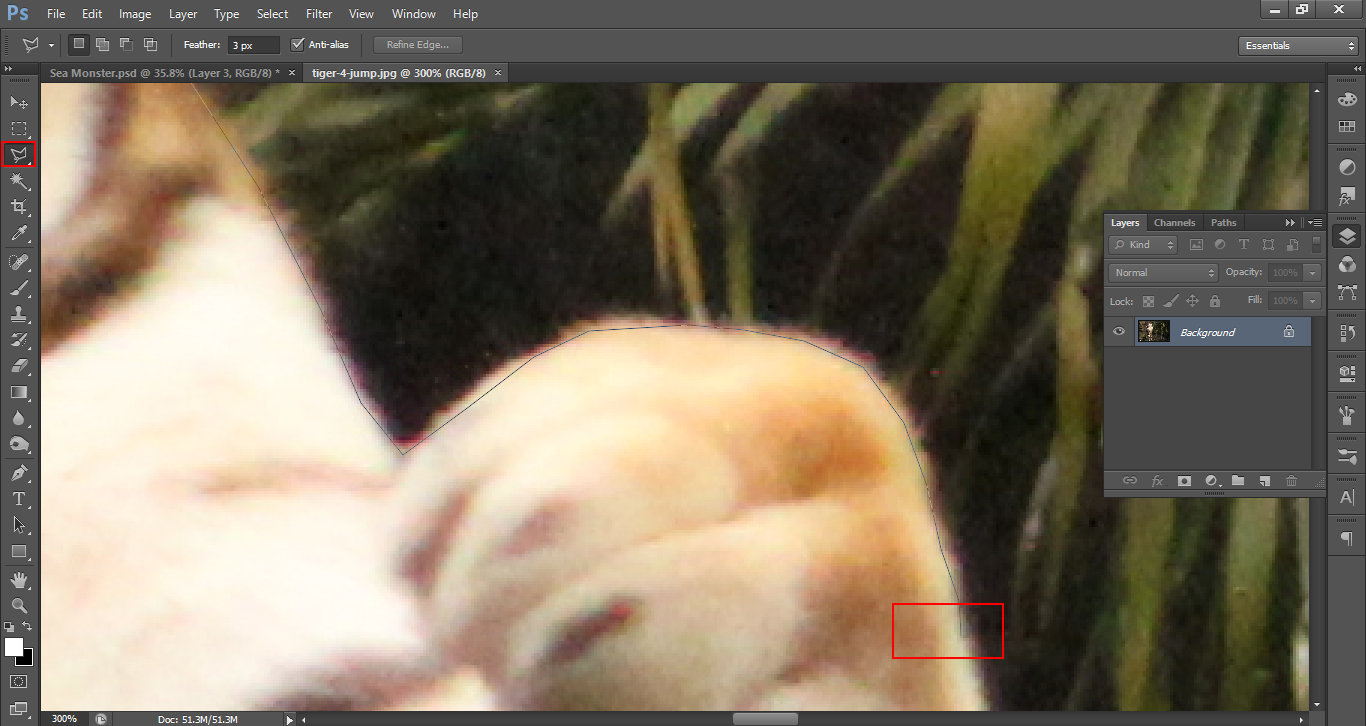
Next is the Tiger.
With the Tiger I’m going to have to use the Polygonal Tool, I’m going to zoom in and take my time cutting it out.
Once you get a good cut, copy and paste the final element in our image.
You don’t have to be extremely accurate with whiskers and things like that, as long as you get the general shape, you will be good!
Once you have the Monster and the Tiger in position and you are happy with it, Merge the tow Layers together.
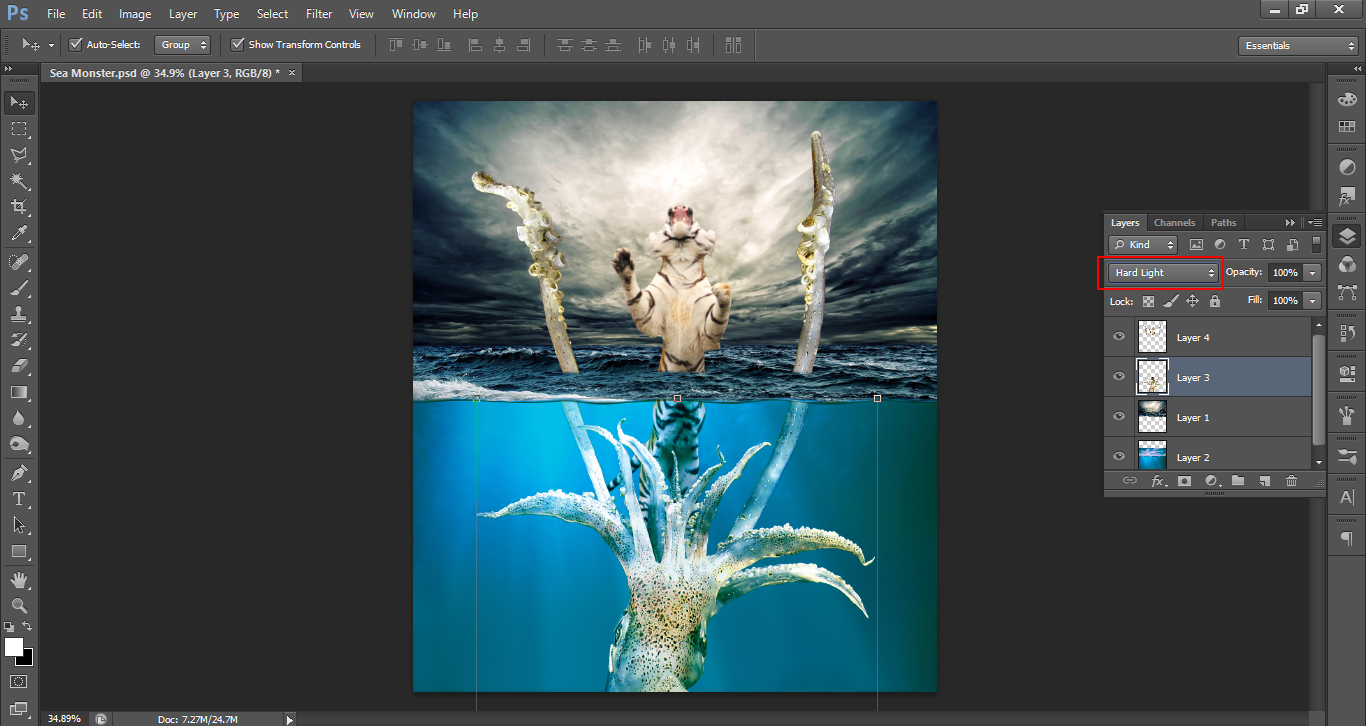
Then using the Polygonal Tool, select along the water line like we did at the start and cut and paste the top half of the Monster and Tiger back, so it will be on a separate layer.
Then, change the bottom Layer to Hard Light.
Reposition the Top Layer and erase the bottom of the image, so it looks like the Tiger and Monsters arms are further away. Then, maybe drop the opacity on the bottom half just a little.
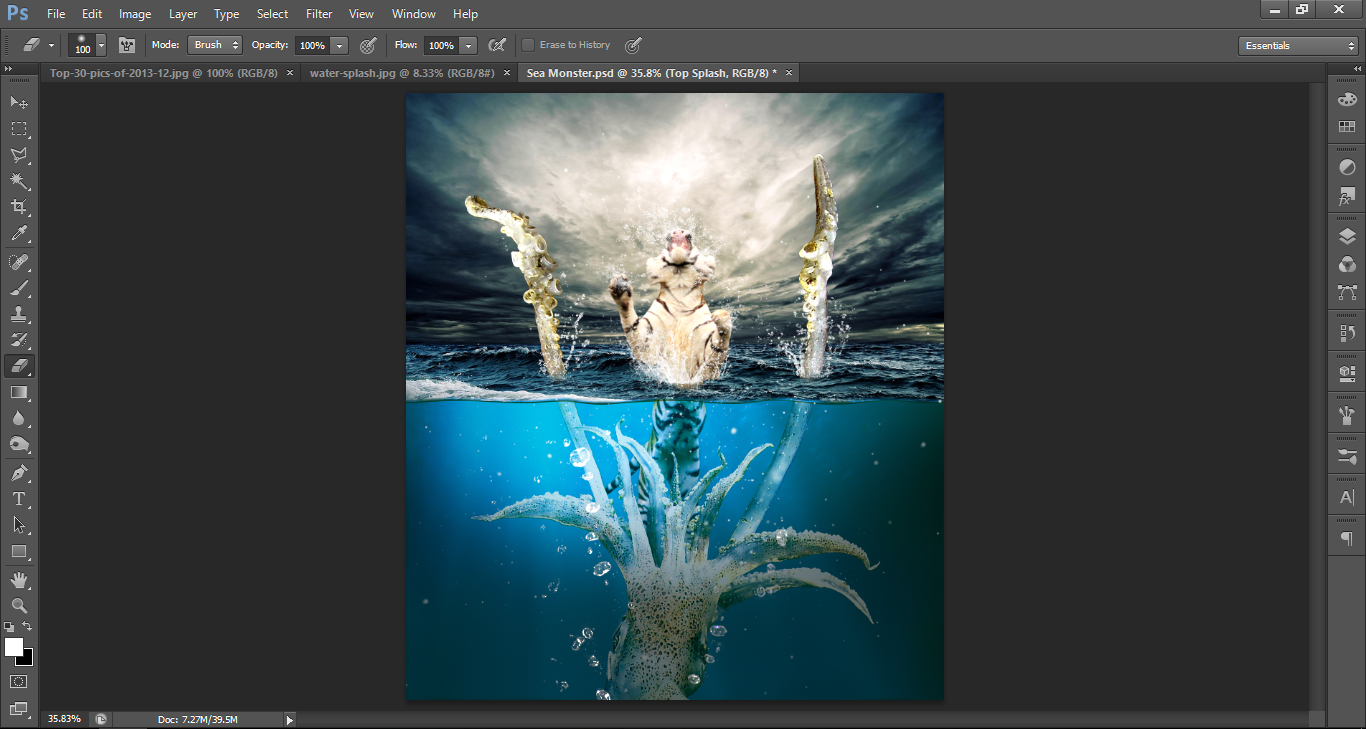
Next I added some splash effects, I Googled Photoshop splash brushes and found a whole range of them.
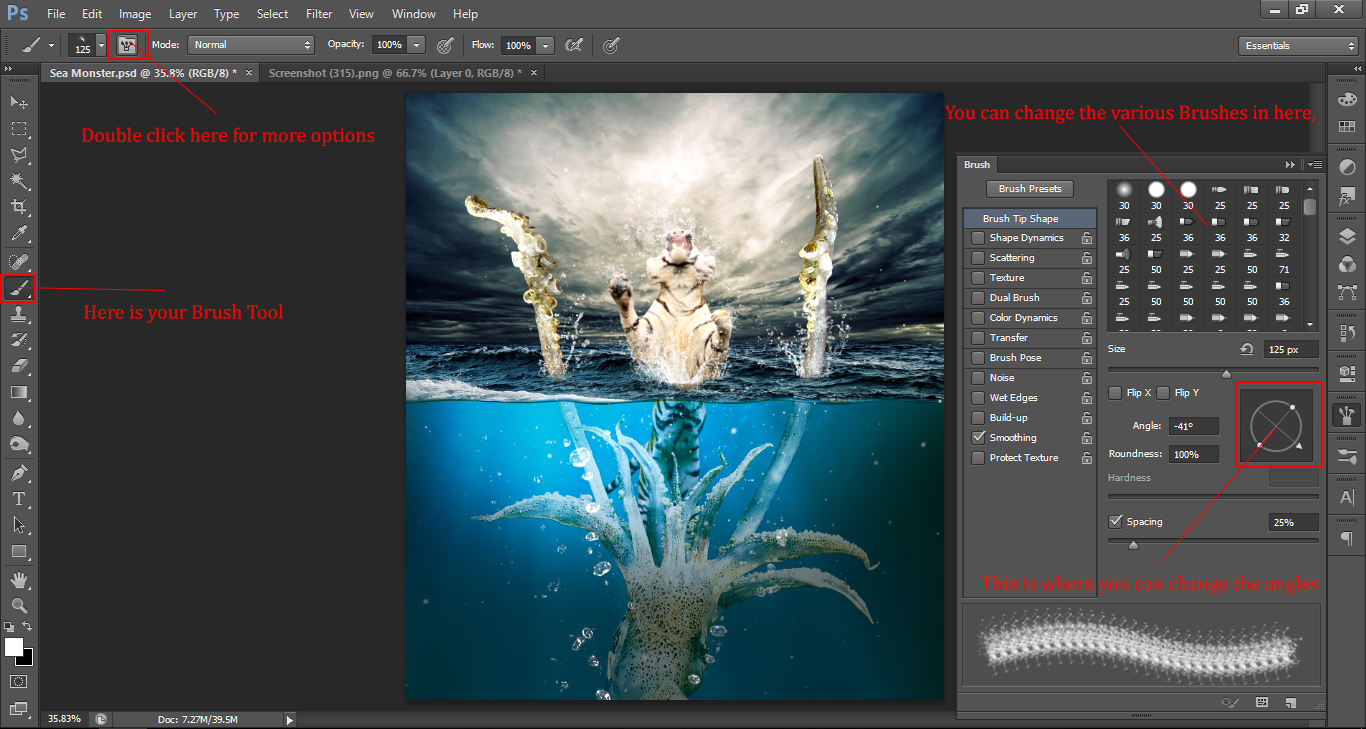
Those I had to play with a little, there is not much I can tell you about this apart from, just try out the brushes and see what happens. I basically just went through them all, changing the angles of the brushes.
The picture below is a very small Brush tutorial info graphic, for more detailed instruction, there are 100’s of videos on YouTube.
Once you are happy with the splashes, save your image as a jpeg.
Now lets add a Sleeklens Lightroom Preset to the mix and see what we can come up with!
Graduated from college in 2002 with a degree in Art & Design, I started exploring my way in Graphic Design and Professional Post Production. Full-time freelancer since 2011.


 Facebook
 Google +
Comments (0)
There are no comments yet.