
Hi all, today I’ve finally gotten around to a Tutorial on Brushes in Photoshop.
To start with if you press (B) on your keyboard this will activate the Brush Tool, this is known as a short cut, a circle will now appear on your canvas.
This is indicating the size of your Brush.

If you want to change this, though I don’t know why you would but just for education purposes if you go to,
Edit – Preferences – Cursors
You will see a panel that will appear giving you all the options to do so.
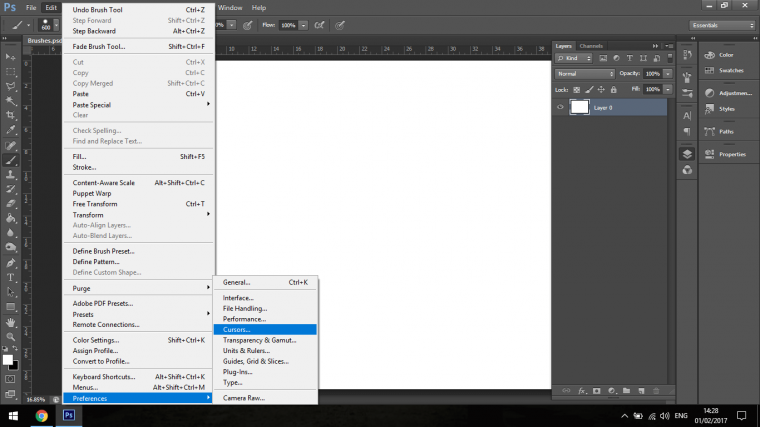

There in the Painting Cursors you will see the different options you can choose from, the on thing that I do what to talk about because the other are pretty self-explanatory is the ‘Show Only Crosshair While Painting’
What this does is when you paint the outside of the Brush indicator will disappear and turn into a Crosshair instead of a circle, now I prefer the latter, I like to see the edge of where my Brush will be going.
But I just wanted to show you that in case it is something that would benefit you, in my case not but you may be different.
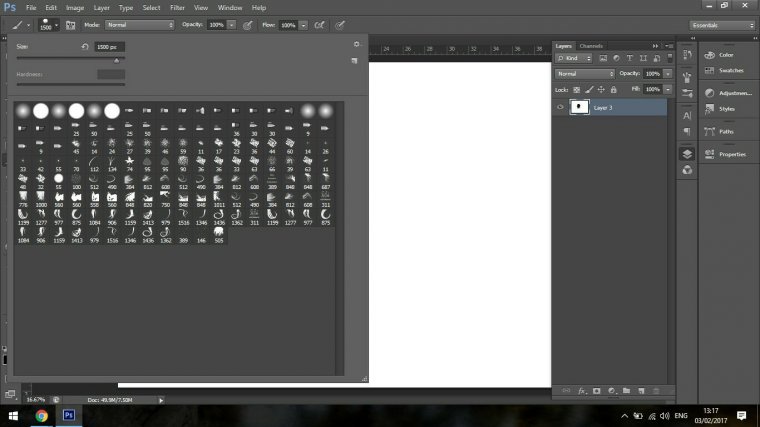
To go through your Brush Presets you use the keys on your Keyboard ‘Comma’ and ‘Full Stop’
You will then be able to cycle through all the different types of Brushes available to you in your Current Photoshop, so when you start to add new Brushes you will see the start to appear when you do this cycling through.
Next, to change the size of the Brush mid Workflow I use the [ and ] Keys on the Keyboard. You will find these beside the Return Key. In fact the Return Key points right at them so they will be easily found.
A handy way to change the opacity of your Brush is to use the Number Keys on your Keyboard, you will notice that if you press the Key twice you will see the opacity change to different degrees of increments, so keep that one in mind because I use this feature including the Size changing probably the most.
If you also hit two keys quickly for example 11 or 23 (any combination) the opacity will become that number that you keyed in, and if you press zero, then the Brush will return to 100%.
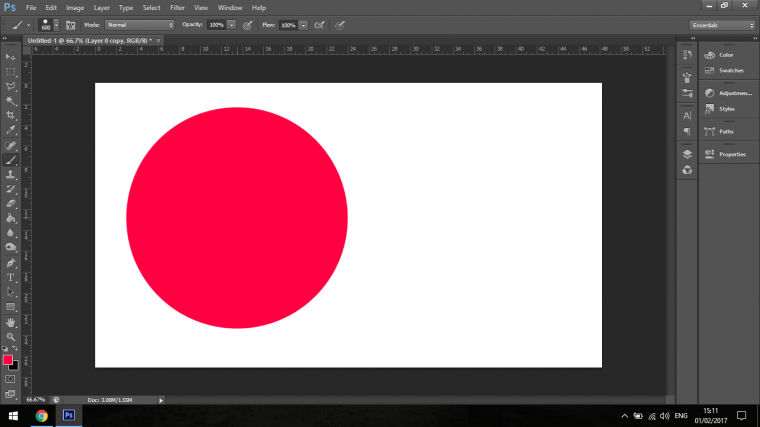
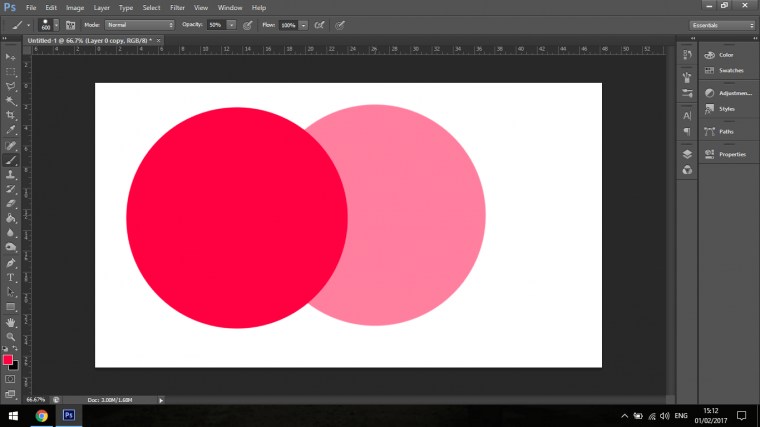
So if you do not know what the Opacity is, it is the transparency of the paint so to speak, so if I paint with 100% it will be at it’s strongest color.
But then if I paint with 50%, the color will be half it’s strength, letting you see through it and so on.
The next thing we will be looking at to finish off this first part of our Tutorial is the Brush options.
To get into the options all you have to do is key in F5 on your keyboard, a panel will then appear on the left-hand size of your screen where you will see all the options that are available to you.
So what we’ll look at is the Brush Tip Shape.
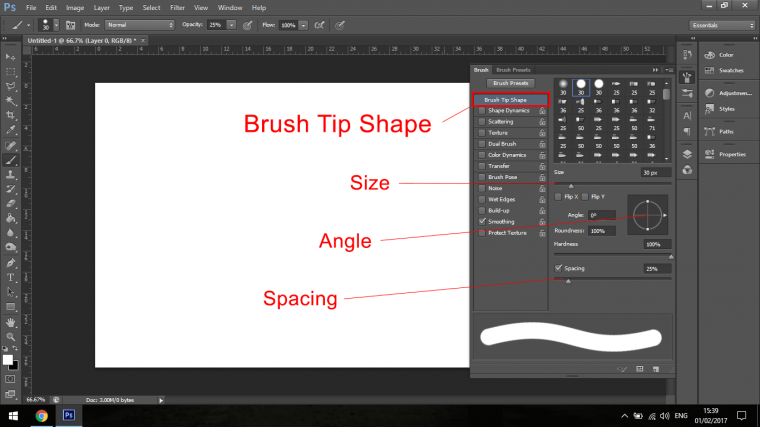
So let’s take each highlighted part
Brush Tip Shape, this is where you have to click on to open up the options that we are going to talk about, for now, ignore what’s below that.
First is the Size, we already talked about this, that you can increase or decrease the size using the [ and ] Keys on your keyboard so we’re all good there.
The next is the Angle, when you click on this a rotate it about it will change the direction that the Brush will paint in.
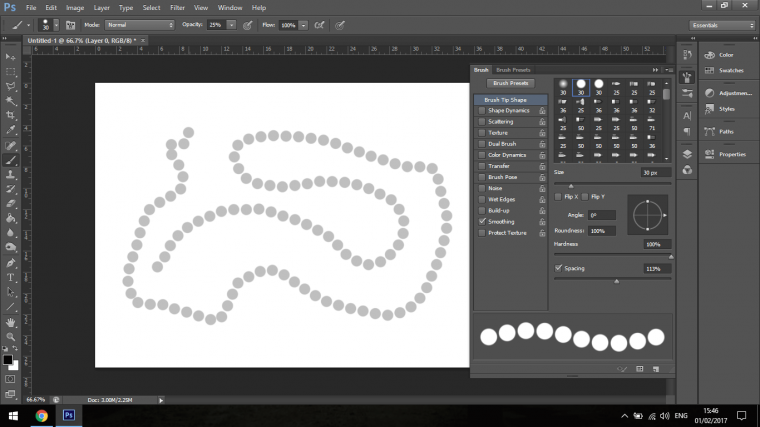
The last is the Spacing, so this is more to do with the flow of your Brush when you create a large spacing you will see individual Brush markings as shown below.
There is another way to change the Brush and that’s using the X and Y check boxes.
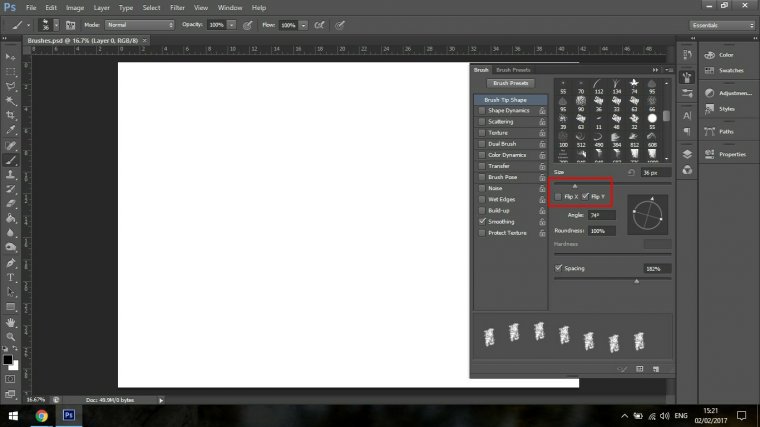
When you check those the Brush will then flip to a prefect 90% Horizontal and Vertical.
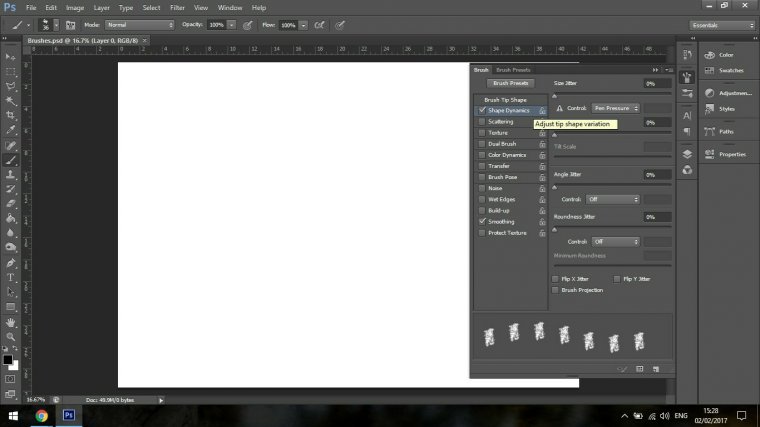
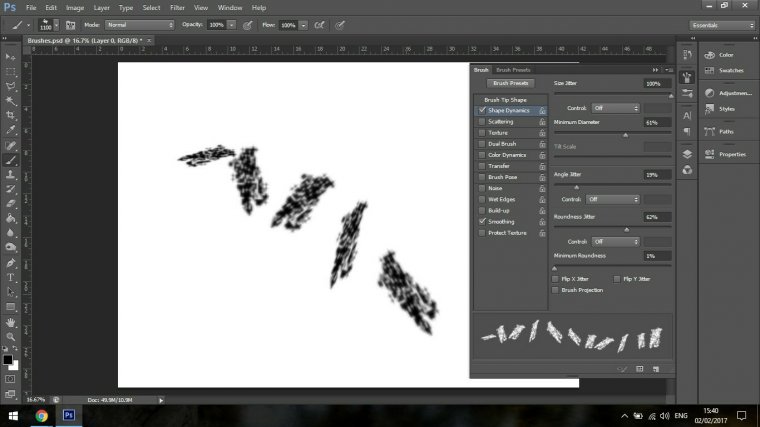
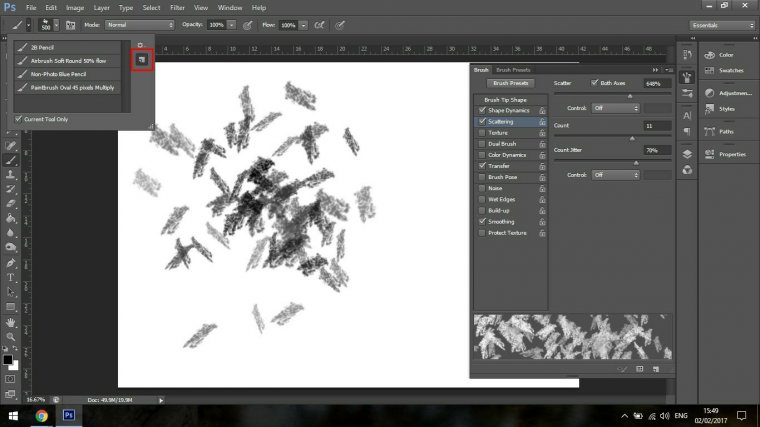
Now move down to Shape Dynamics (Please use the image above as a guide)
What this is used for is to randomize how your Brush is applied, so do this along with me in this Tutorial, if you take a look at Size Jitter you will notice that it changes up the Size of the individual strokes.
It will randomize them.
You will be able to notice this in the Panel by decreasing your spacing (We went over this in the first Tutorial so if you need to then revert back to that as reference)
Now you can use Minimum Diameter to change the size of the Brush Strokes that have been randomized, you can change them back to the complete normal size or you can increase the size of the smaller random Brush strokes.
Angle Jitter will then rotate the Brush Strokes and Roundness Jitter will then flip then more towards you rotating them that way.
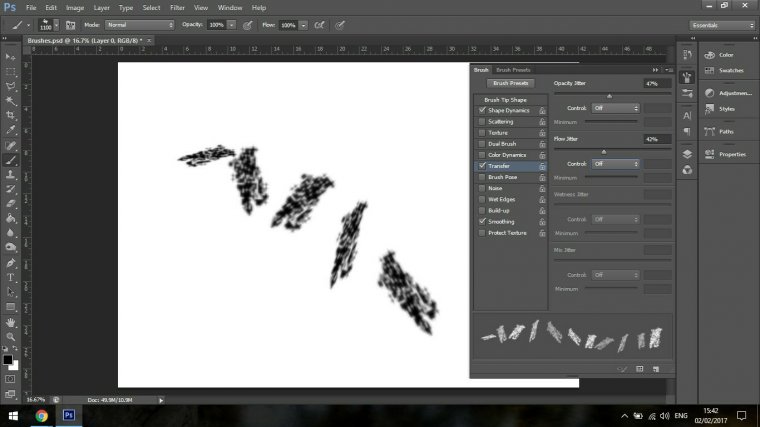
Next up is the Transfer options, they are more or less the same as Shape Dynamics but in Transfer, you will be able to control Opacity and the Flow.
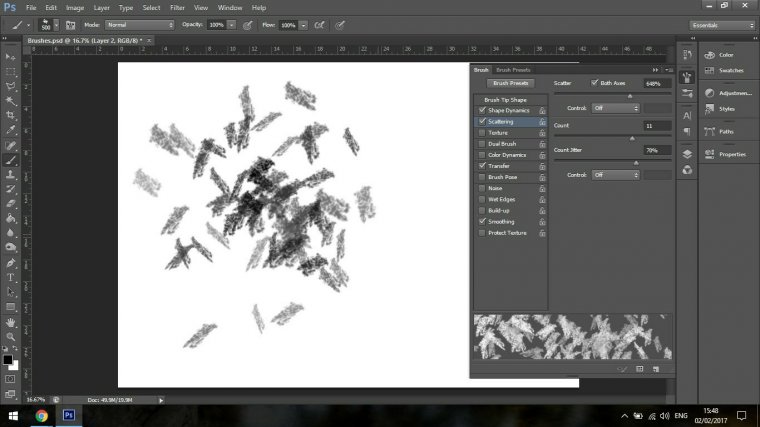
Our next option we will look at now is Scattering, as the name suggests I’m sure you can guess what this option does.
The 3 options that we have available to us in this is Scatter which changes the location to uniform to all over the place.
The count which increases the individual amount the Brush lays down on your canvas.
And finally, the Jitter count which increases the amount of randomness of where the Brushstroke lands.
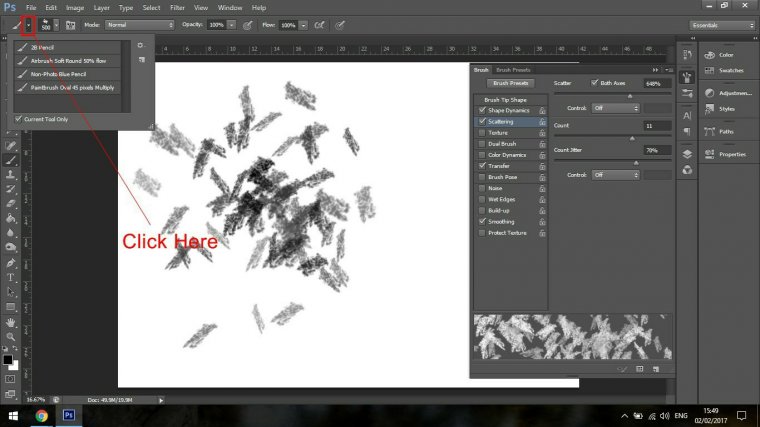
Ok so say now you have a cool setting that you would like to keep, you go about this by clicking on the little arrow I have indicated below beside the Brush Icon.
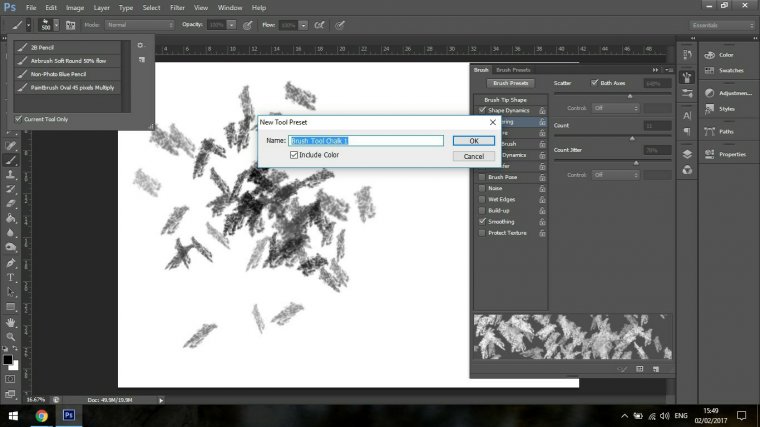
Now that you have this saved if you want to find it you will find it in the Tool Presets. (Tool Presets if the little drop down box we already looked at beside the Brush Image Icon on the top left-hand side)
Or alternatively you can go to Windows – Tool Presets (at the bottom)
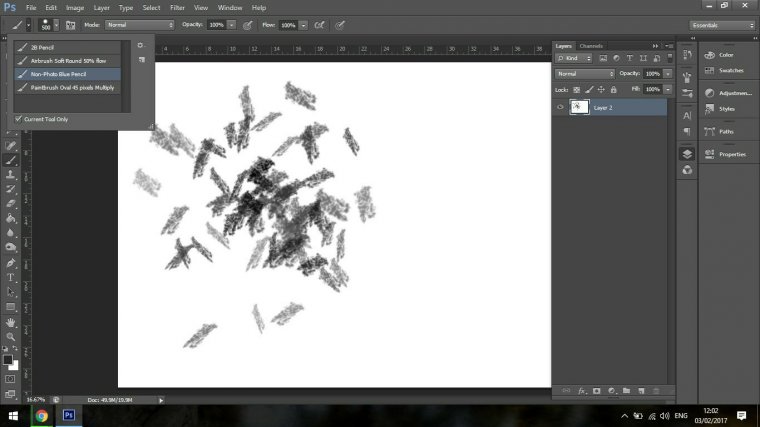
Next up I going to be showing you how to create a Brush Preset.
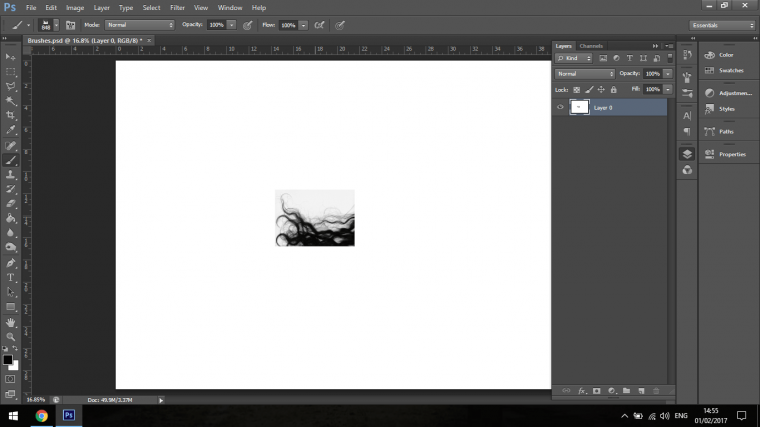
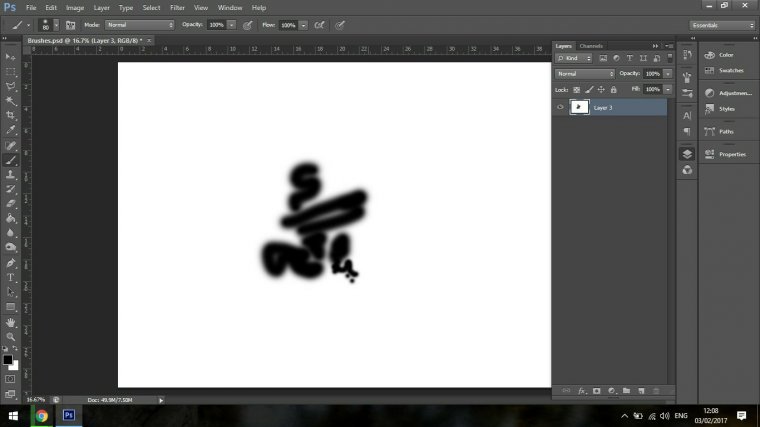
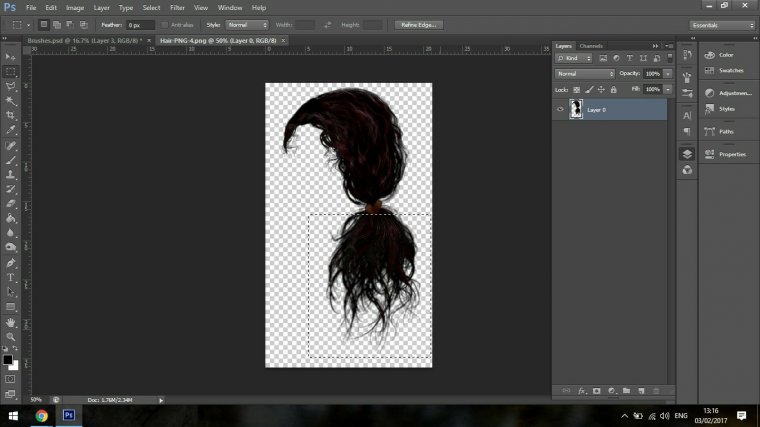
To do this all you have to do is draw what it is that you are looking to create, so for example if you look at the image below.
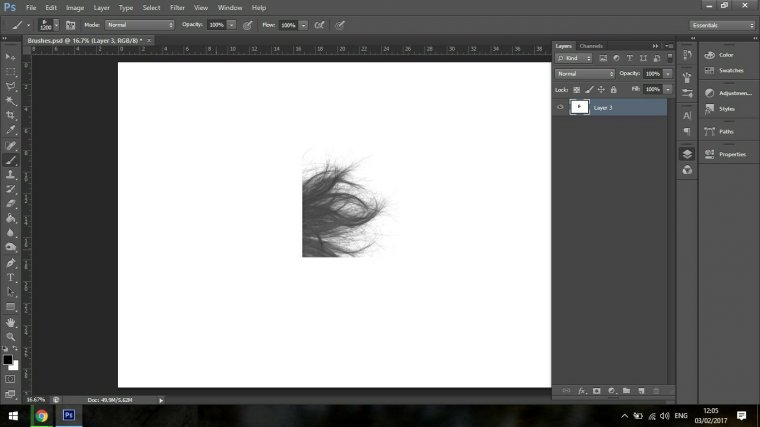
This is an image that someone has created to use for hair but we’ll talk about that in just a little bit.
Or alternatively, you could just draw some sort of pattern.
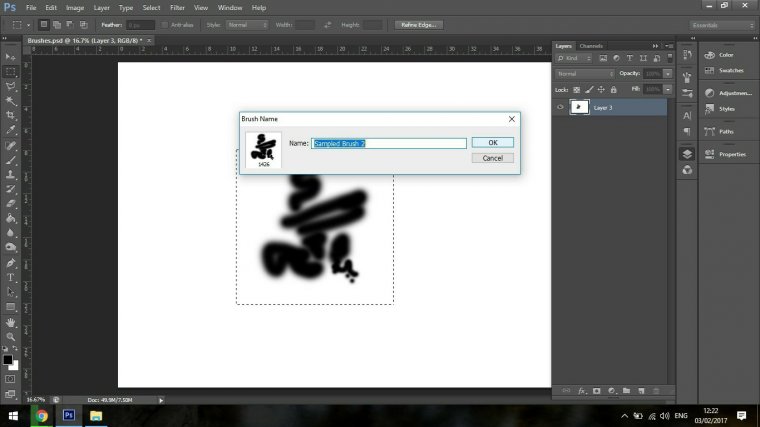
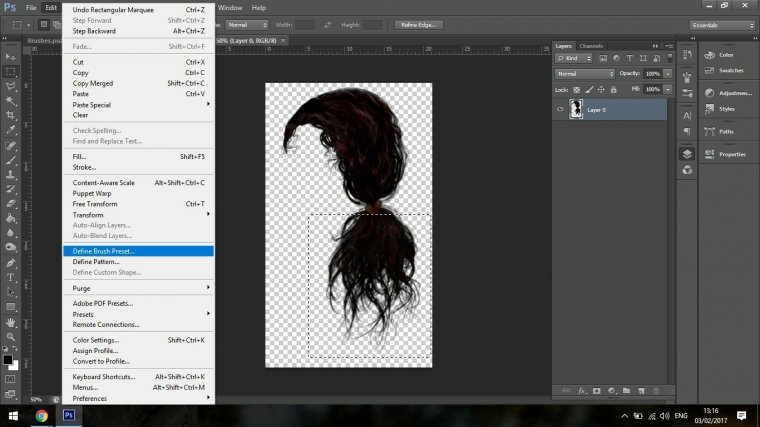
Then you make a selection around the image.
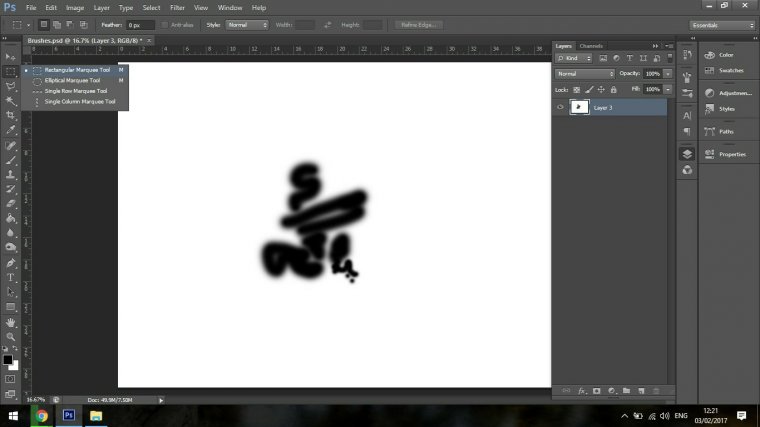
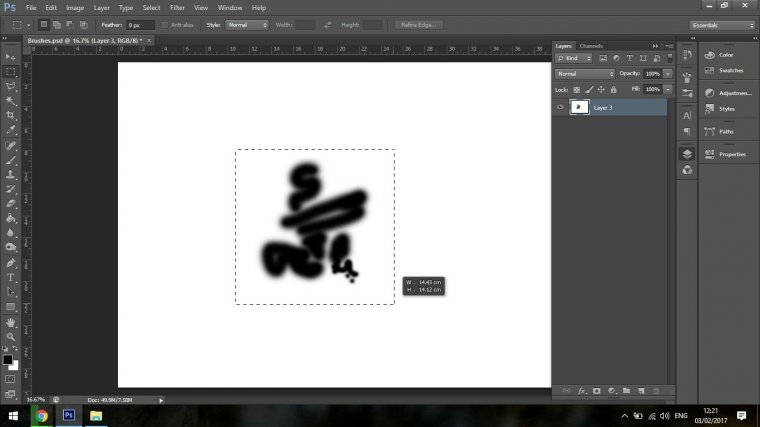
Once you have done this then go to Edit – Define Brush Preset
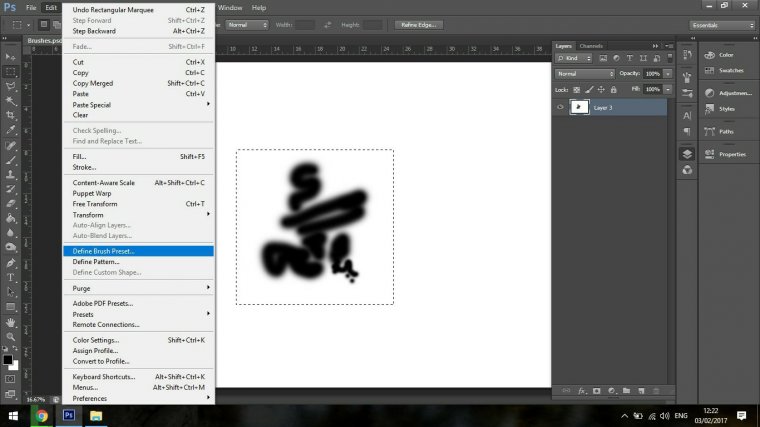
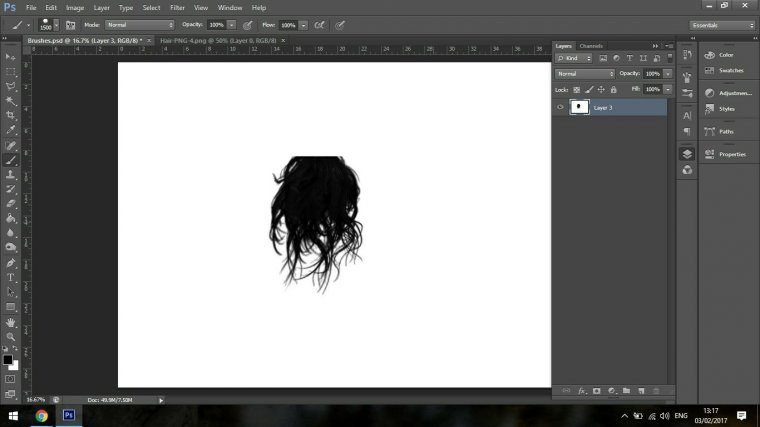
Then you can click on OK when you name the Brush whatever you want, you will find the Brush at the very bottom of your Brush lists.
The last thing I am going to leave you with is how to turn images into Brush Tool.
So I find this really helpful when it comes to cutting images of people out from their background.
It’s all fine and well when you are able to get a perfect shot of someone against a perfectly white background so it’s easy to remove them with the hair cut out but the real problem comes when what happens when you have a complicated background and it’s virtually impossible to do that.
So what I do is I crop around the head as best I can and then use my Brush Preset in combination with the Clone Tool to recreate the hair.
Now I’m not saying this is advanced but what I am saying is it does take a little bit of practice but out of all the different opens with selecting etc out there I’ve always found this to be the best and quickest but that could be just my own preference.
So taking what we learned you get an image with curly hair for example against a white background.
Make a selection and then save it as a Brush Preset just like we did above with our standard Brush Preset.


Please verify your software version before proceeding.
 I’ve verified my software version


 Facebook
 Google +
Comments (0)
There are no comments yet.