OK so first I want to say that this is not just used in Photography, so for research and composition development as an exercise if you are currently very into this subject and really trying to learn it you can practice when you watch movies or series etc, even looking at paintings you will notice.
So what is it you’re supposed to notice, well we’ll get into the details of that in a second, but while doing this little exercise just try to spot where people and objects are positioned on screen or whatever after you have read this tutorial and you have a better idea of what exactly all this Thirds and Golden Ratio stuff is all about.
I can promise you one thing, once you know this stuff and apply it to your own images your work will improve right away, you will notice it even for your self.
So let’s get on with it and get learning.
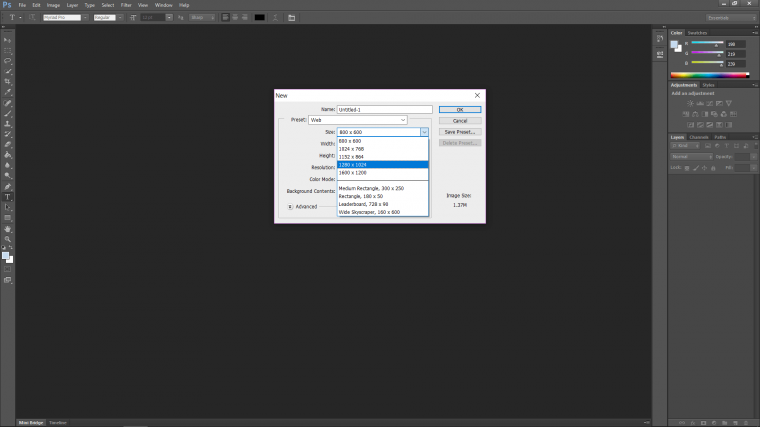
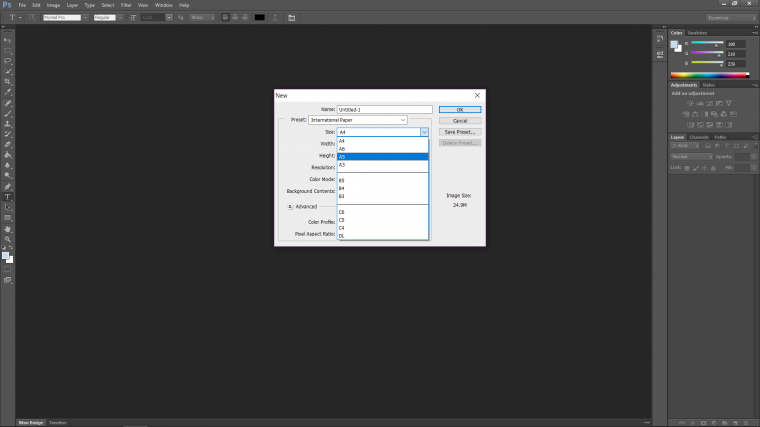
First I want to get on to sizes of images, so all images generally can have a different size, but there is a pretty much-set ratio standard, you will find this in Photoshop when you go to create a new file, you will see in the options panel there is presets for web which is a ratio of 800 x 600 pixels and a set international ratio for paper, [A4 for example which would be your general magazine size give or take]
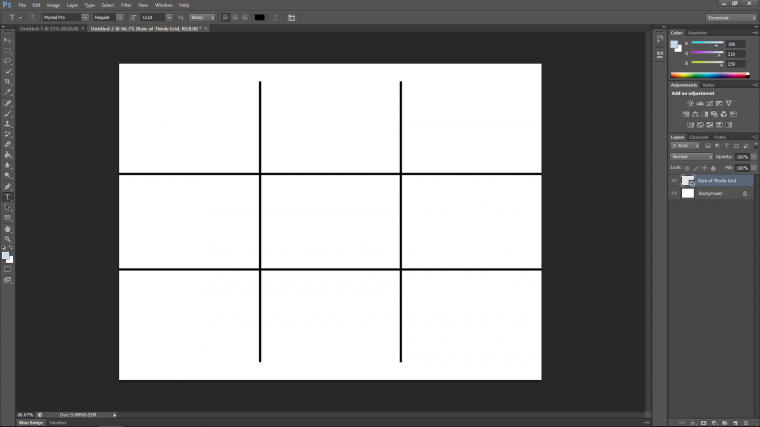
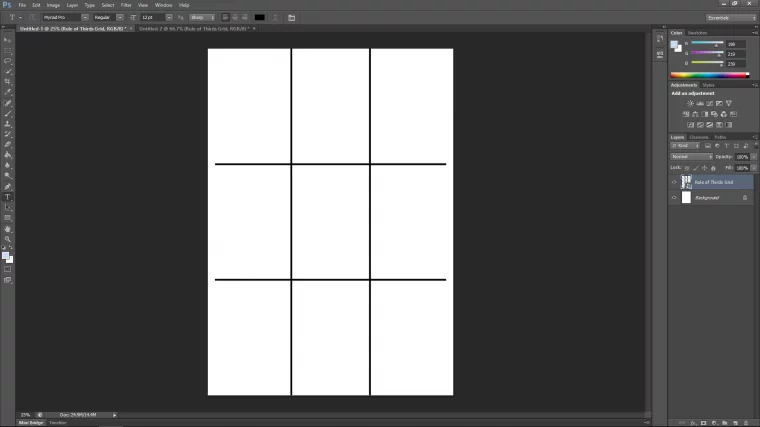
So if you check in your search engine by typing the keywords “Rule of thirds PNG” you can download the grid, same as the one I have below.
As you can see on both my images it doesn’t exactly fit perfectly…yet.
So if I get any really awkward sized images or I just want the grid to fit whatever I’m using all I have to do is key in on my keyboard [Ctrl-T]
Then I can just drag the ends out to fit my image.
Ok so let’s begin as see how we can use this grid!
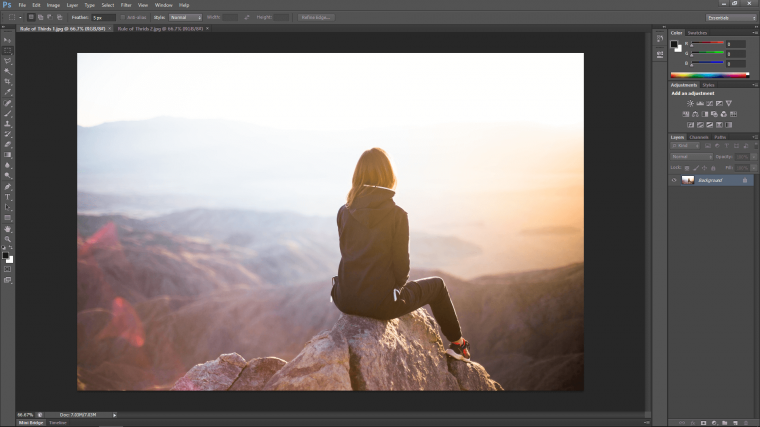
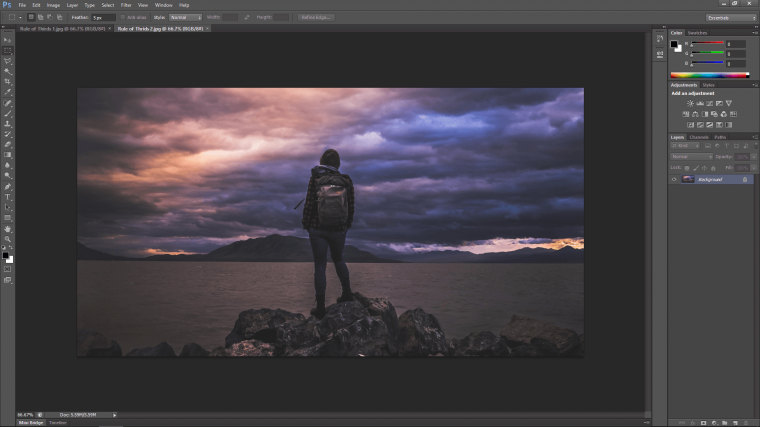
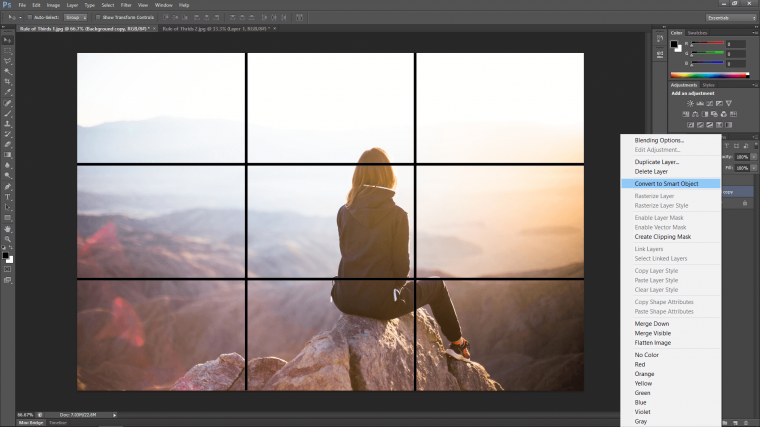
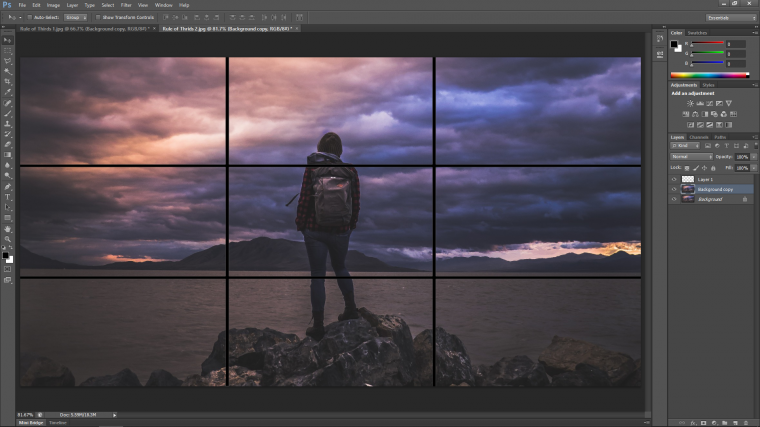
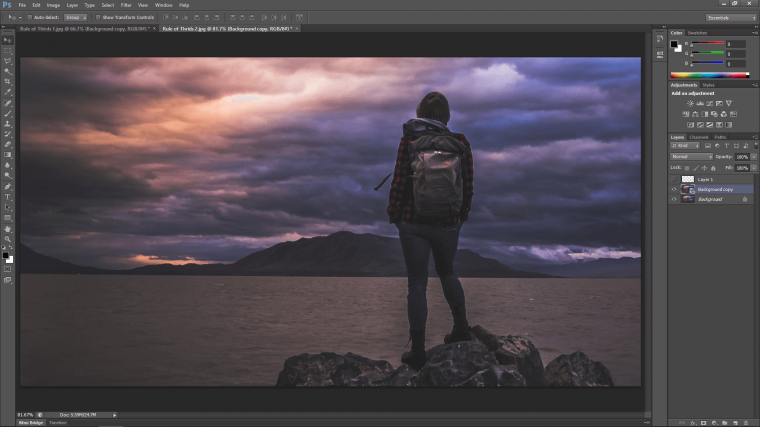
So find yourself a few images with people doing whatever, try to find ones where they look off or the person is just simply smacking bang in the middle, like these below.
what you are about to learn is called The Rule of Thirds
So with the Golden ratio [Tutorial Link] you will see that to get a pleasing composition you try to get the focus of your image to align with the end spiral, this can be tricky sometimes if the Golden Ratio grid doesn’t perfectly fit the image and you have to start to play the guessing game, especially if you’re starting out, so that’s when I would suggest using the Rule of Thirds.
The Rule of Thirds is slightly different but the principle I guess remains the same and that’s to create a balanced and pleasing feel to the eye.
Let’s look at what I can do.
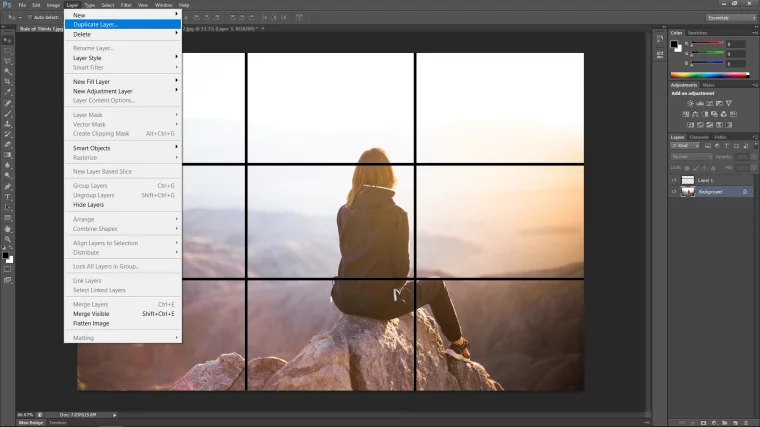
So open your images and sort the grid out just like we talked about by stretching it.
Then Duplicate the Layer as shown below, make sure to click on the bottom layer first.
Then right click with the mouse on the new layer and then click on Convert to Smart Object.
You do this because when we stretch the image out the detail will be preserved, If you just started messing with dimensions etc after a while if not right away your image will start to degrade.
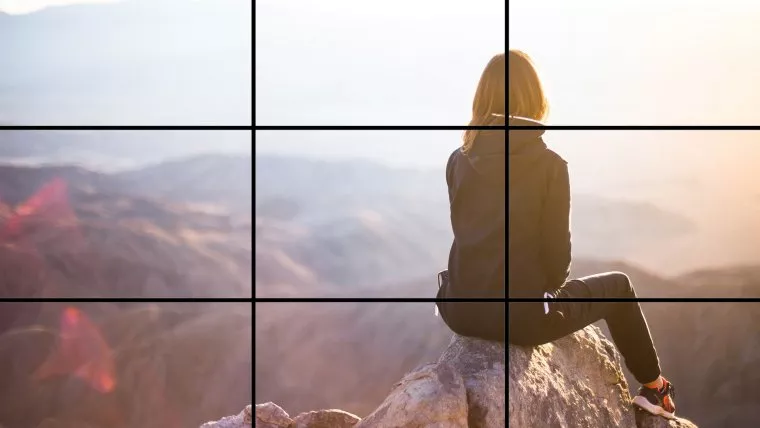
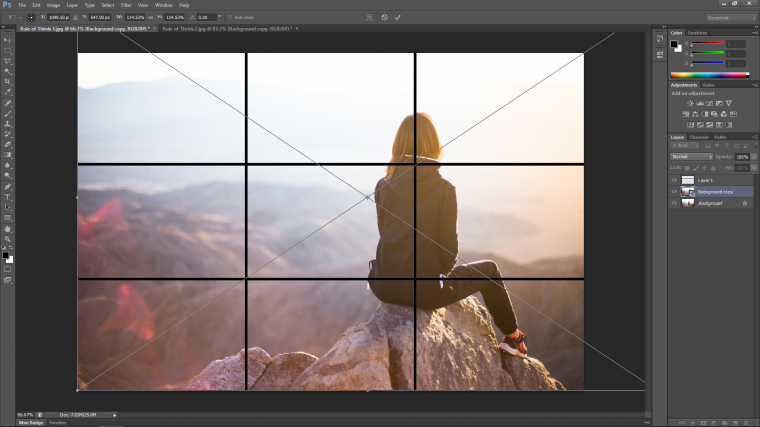
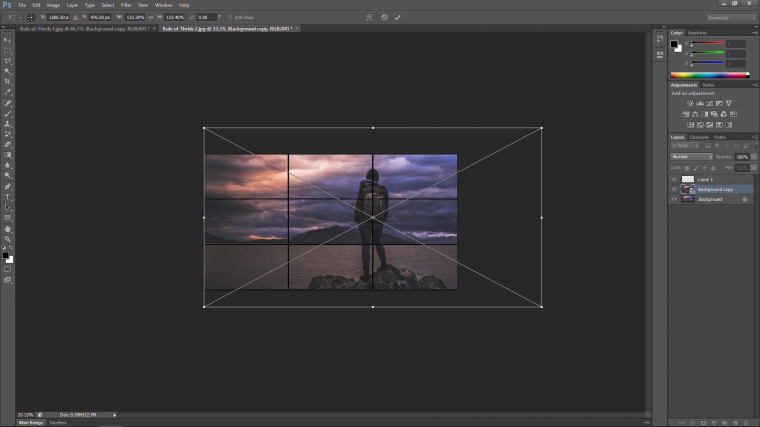
The idea behind this is if you look at the images below after you read this paragraph you will see that both images above on the grid don’t match the lines too great, the first one the subject is just off the line of the grid which gives it a slight awkwardness and the second which isn’t a bad image but the subject is just stuck right in the middle which isn’t that interesting.
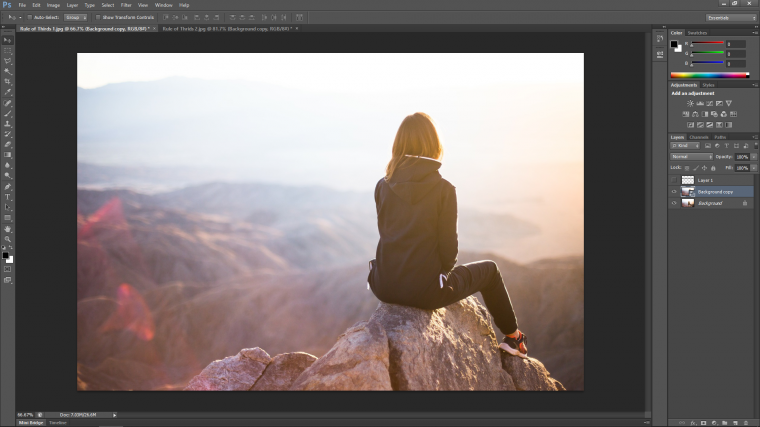
So if we take each image and align them with one of the lines it should give us a more pleasing image, if you have a small enough subject you could align it with any one of the cross sections, for example, the point where the ladies hood is in the immediate image below.
And that is basically that with only one thing I want to say, these are only guidelines, And! if you feel your image would look better in some other way then, by all means, do it, if you feel it looks good then go for it, but if you know the fundamentals then you will be able to break them in a more intelligent way.
Graduated from college in 2002 with a degree in Art & Design, I started exploring my way in Graphic Design and Professional Post Production. Full-time freelancer since 2011.


 Facebook
 Google +
Comments (0)
There are no comments yet.