Retouching Master Class, Enhancing Eyes in Photoshopwww.sleeklens.com
Hi,
This is the third and final “Retouching master class” installment. In the first part we looked at how to whiten our model’s teeth, then in the second part, we looked at how to Remove Spots and Blemishes from Skin to make it look great while still natural.
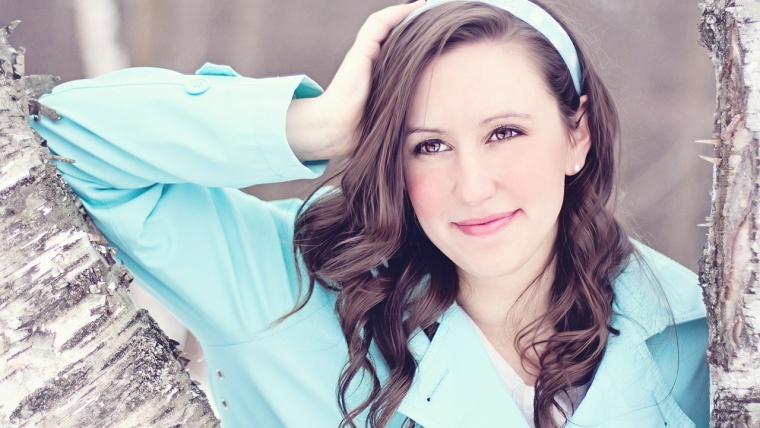
Looking at my picture so far, skin looks great and natural teeth are good but I could enhance those eyes a little bit more.
So, now we’re going to be taking all the necessary steps to really bring those eyes to life by lightening, sharpening and overall just enhancing them like a boss.
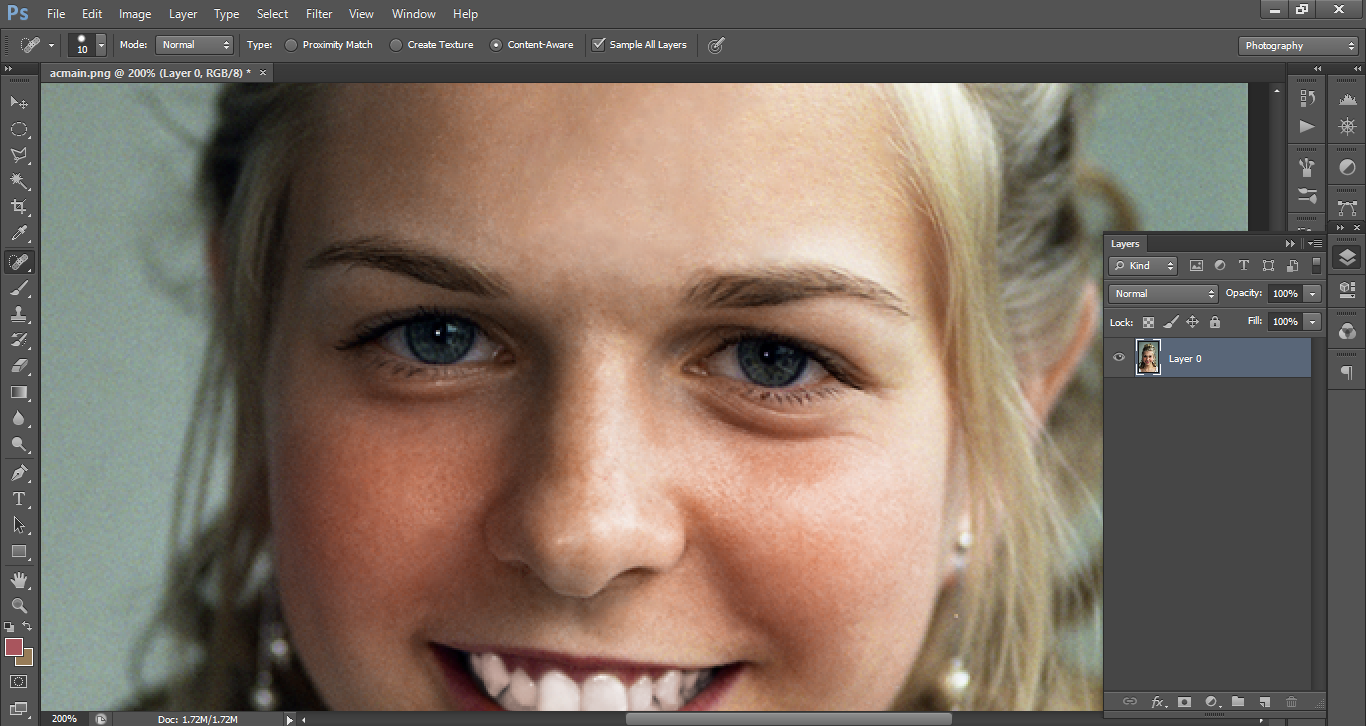
Te first step is to create a new layer.
Open up your Brush Tool by pressing B and hover over the eye, we’re going to sample the colour with in it. You do that by holding down on Alt, then clicking the area you wish to sample.
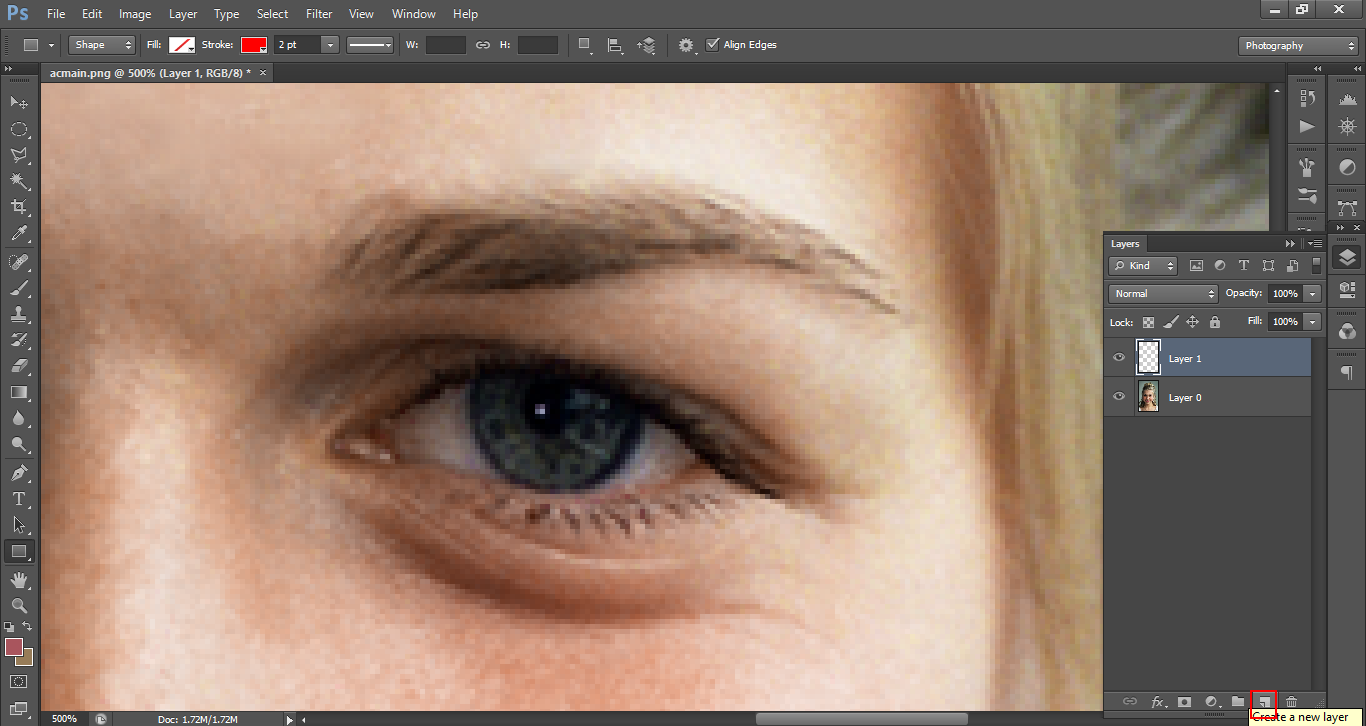
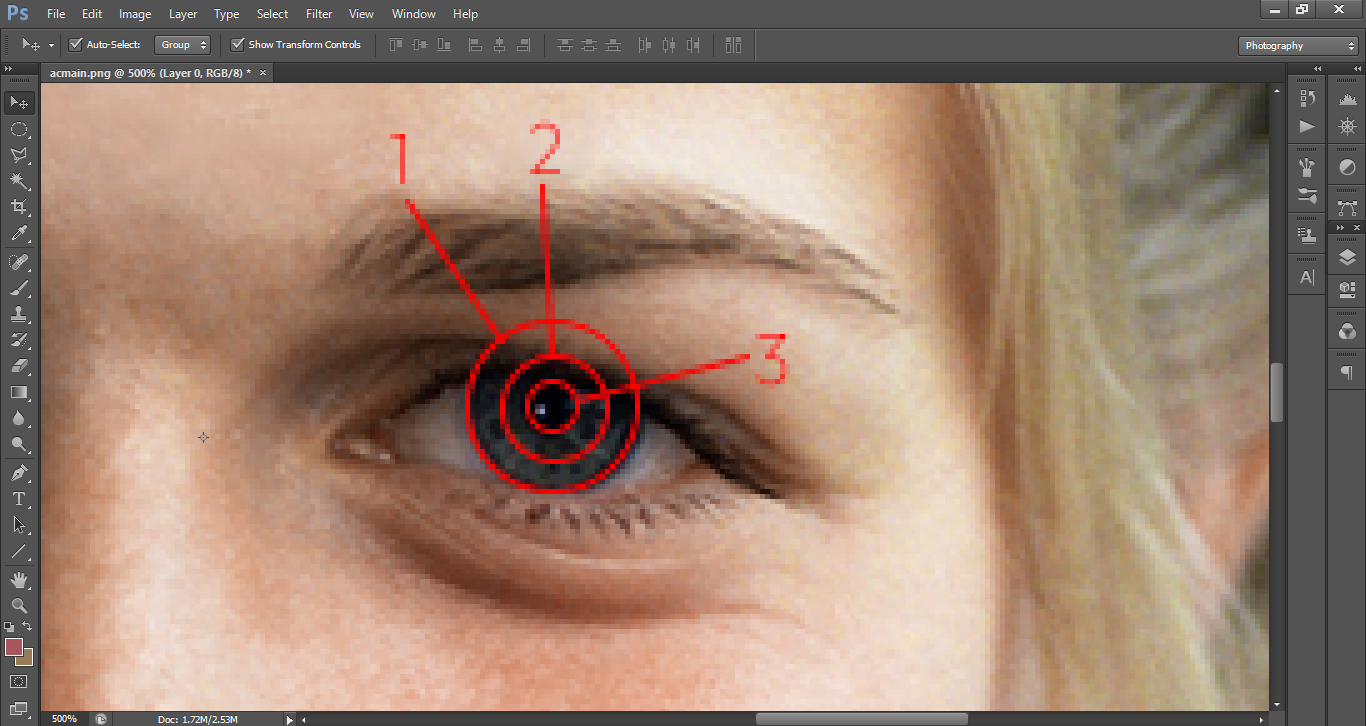
Generally there are three areas of the eye, the outside ring, inside ring and the area that surrounds the pupil.
Slightly exaggerate the colour by moving the indicator further toward a brighter tone.
We’ll be sampling from the inner ring first.
You are not sampling the black of the pupil, but rather the darker ring just around it (inner part of the iris).
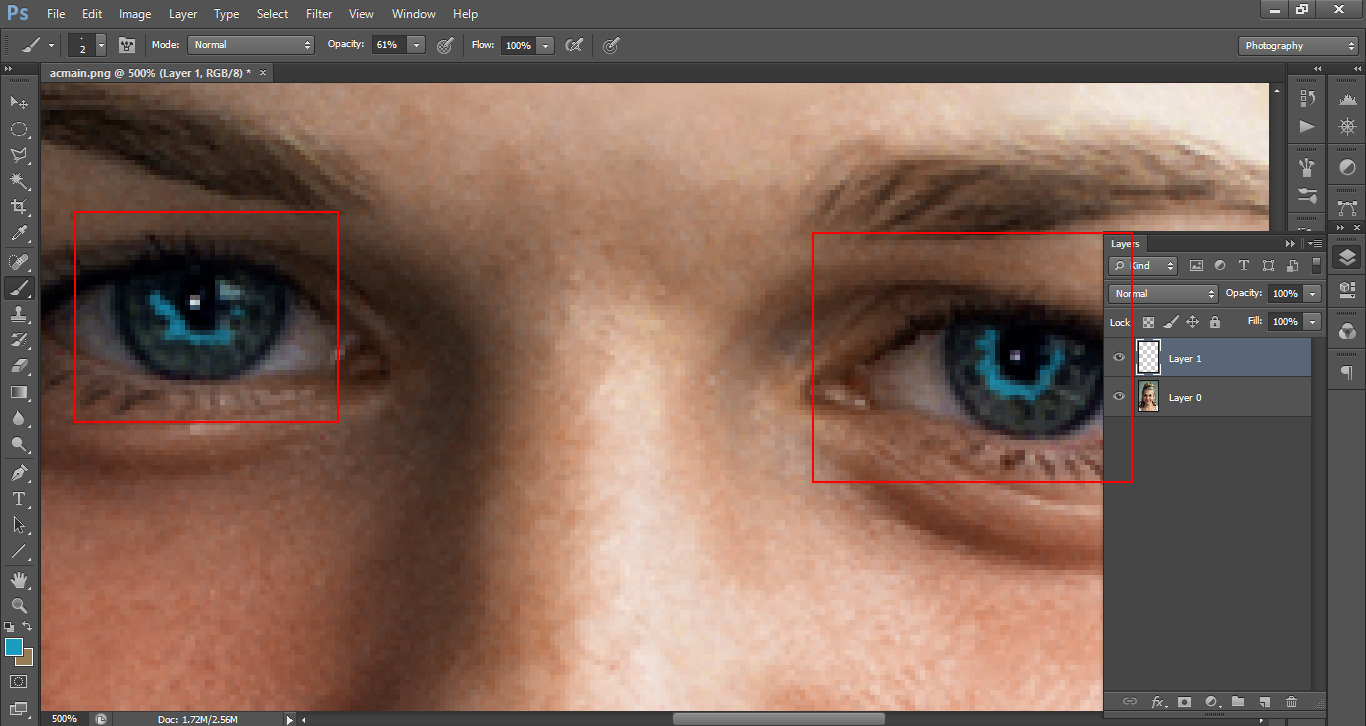
Then when you have done this, using a soft brush, paint like I have done in the image below.
Now we’re going to do the same again by creating a new layer, only this time we’ll be sampling, similar to before, but from the middle of the iris this time. With a thinner brush, paint in around that area.
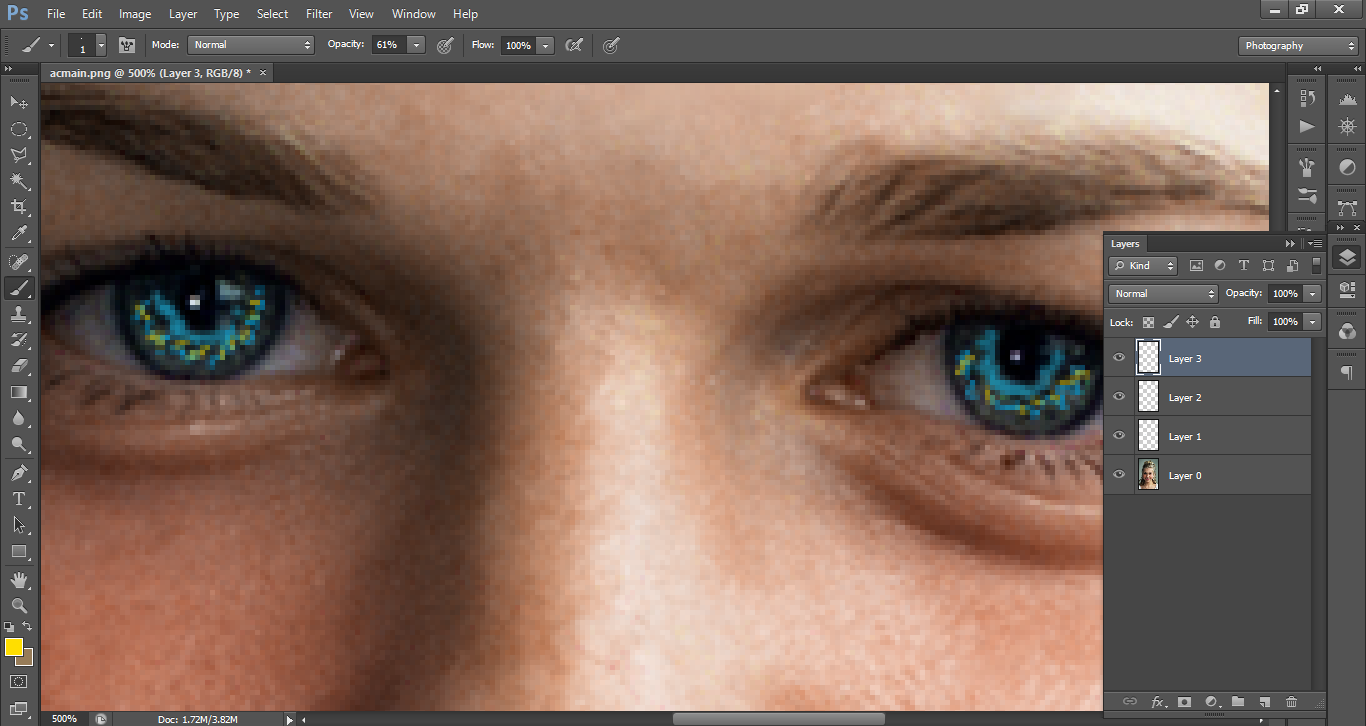
Then I’ll be adding another new layer, just going with a random colour. Since our model’s eyes are blue, a sort of dark yellow orange should work well. we’ll be very sparingly with this third layer, and once that has been done you should have something that resembles my image below, with your three layers each containing an individual colour in them above your image of the girl.
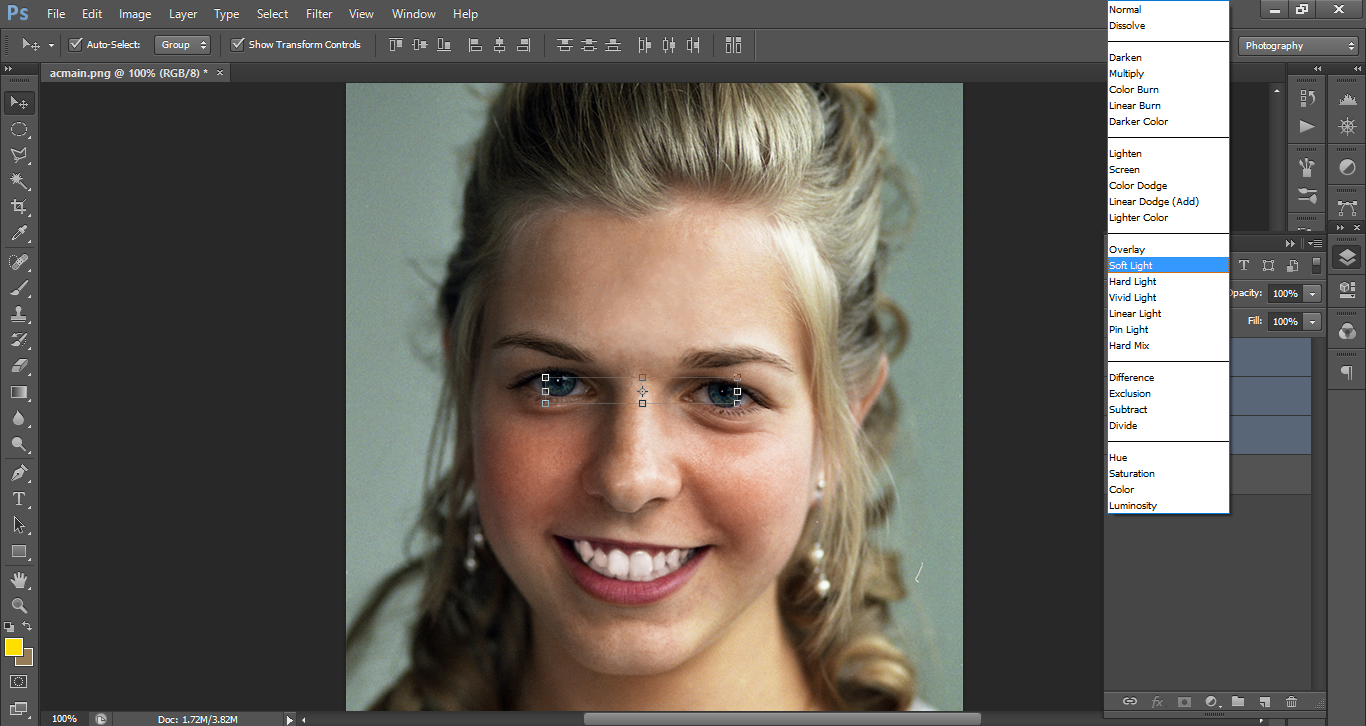
Now click on the top layer, then hold Alt and click the bottom layer (not including you main image). All three layers should be highlighted now.
Where you see ‘Normal’ in a drop down box above your layers, click on Soft Light and the colours will blend into the eyes.
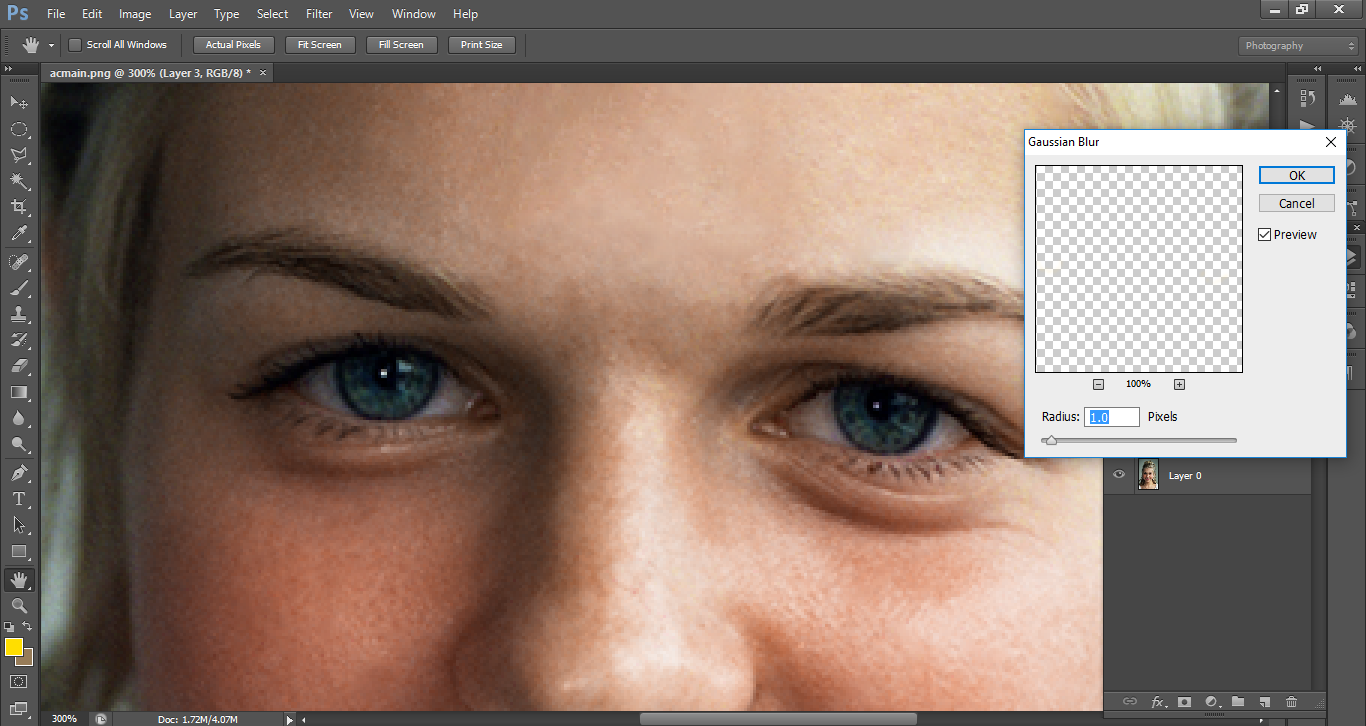
Then, the next step is to add a blur. You can do this by clicking on Filter – Blur – Gaussian Blur in each individual layer.
Give your Blur a value of around one.
Now highlight everything again and hit Ctrl + G, to group the three colours together.
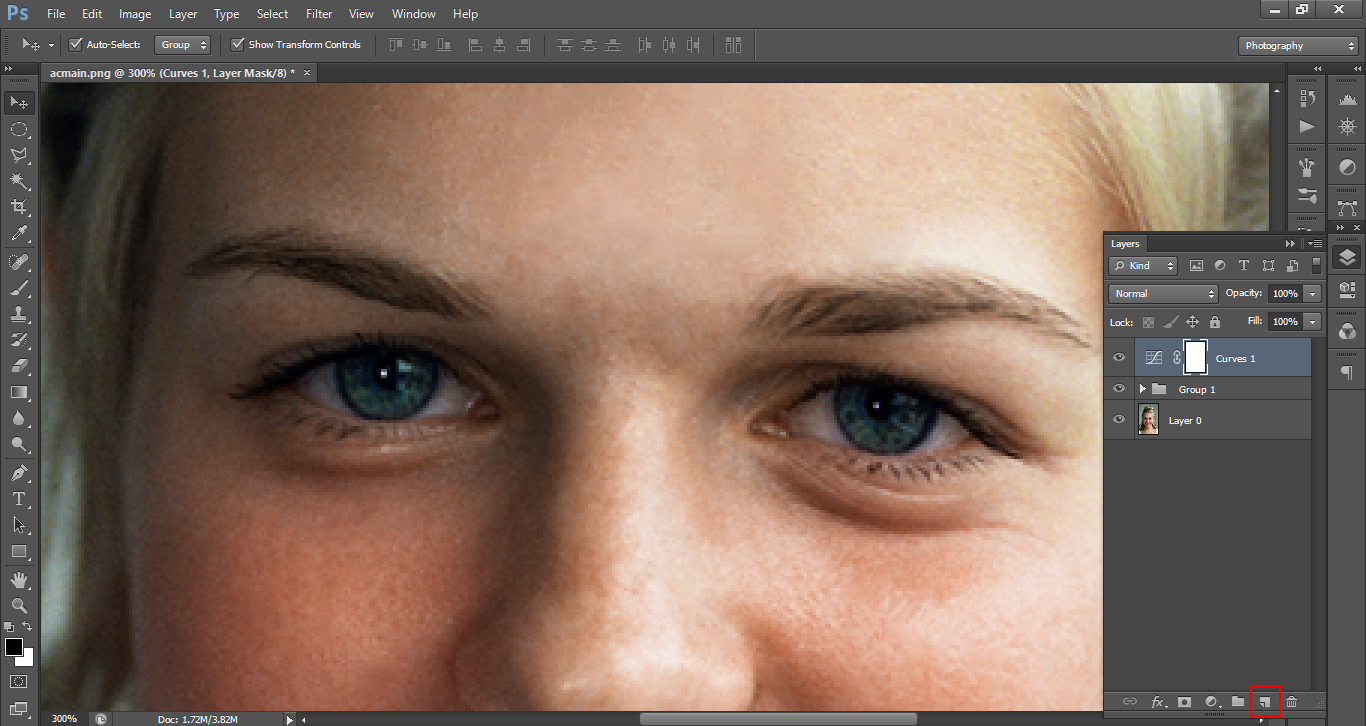
Our next step is to create a new curves adjustment layer.
In the center of the histogram, click and pull it to the top left hand corner a little.
Once you have gotten to this point, click on the layer adjustment mask, which is highlighted below. At this point it will be black, but before this step it will be white.
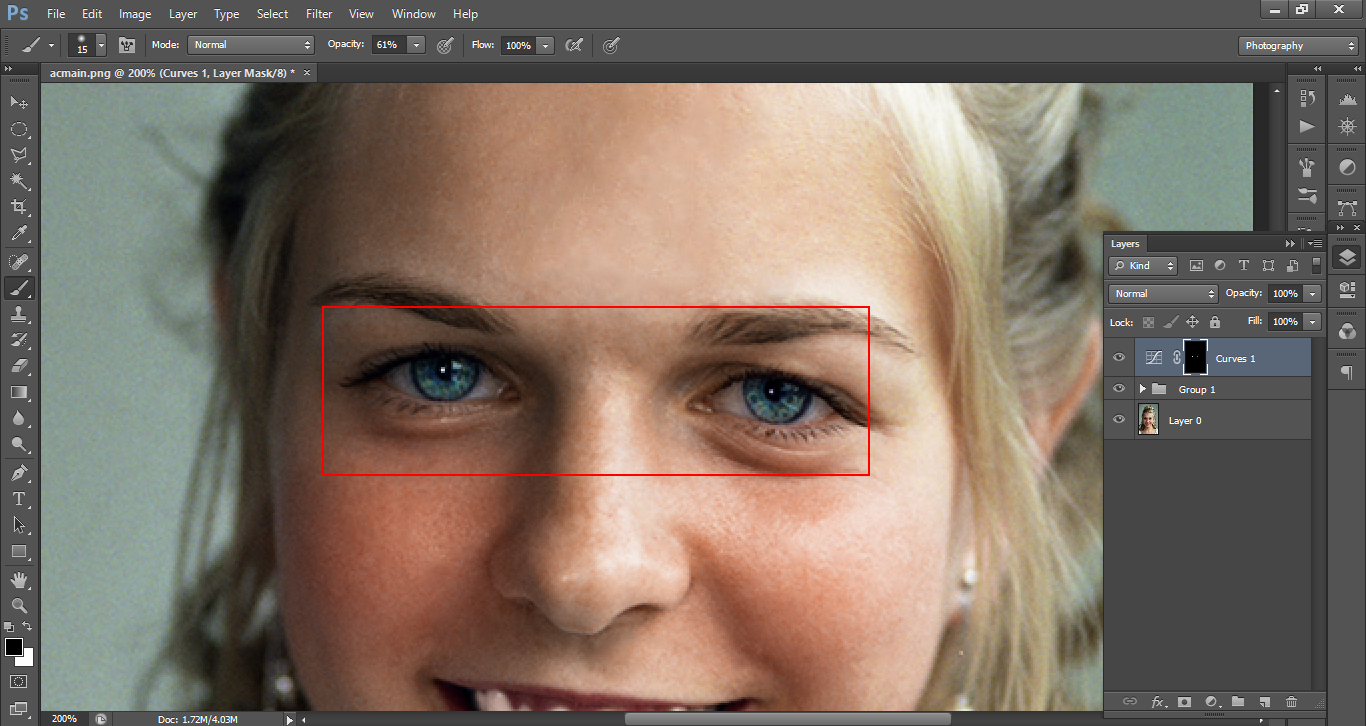
Click Ctrl + I to invert the mask.
Now press B or click on your Brush Tool, which ever you prefer. Choose a soft brush with the opacity around 60 or 70, then using white, paint in on the area of the eye that we are working on, making sure to do it on the layer mask itself.
Your eyes right now should be enhanced greatly.
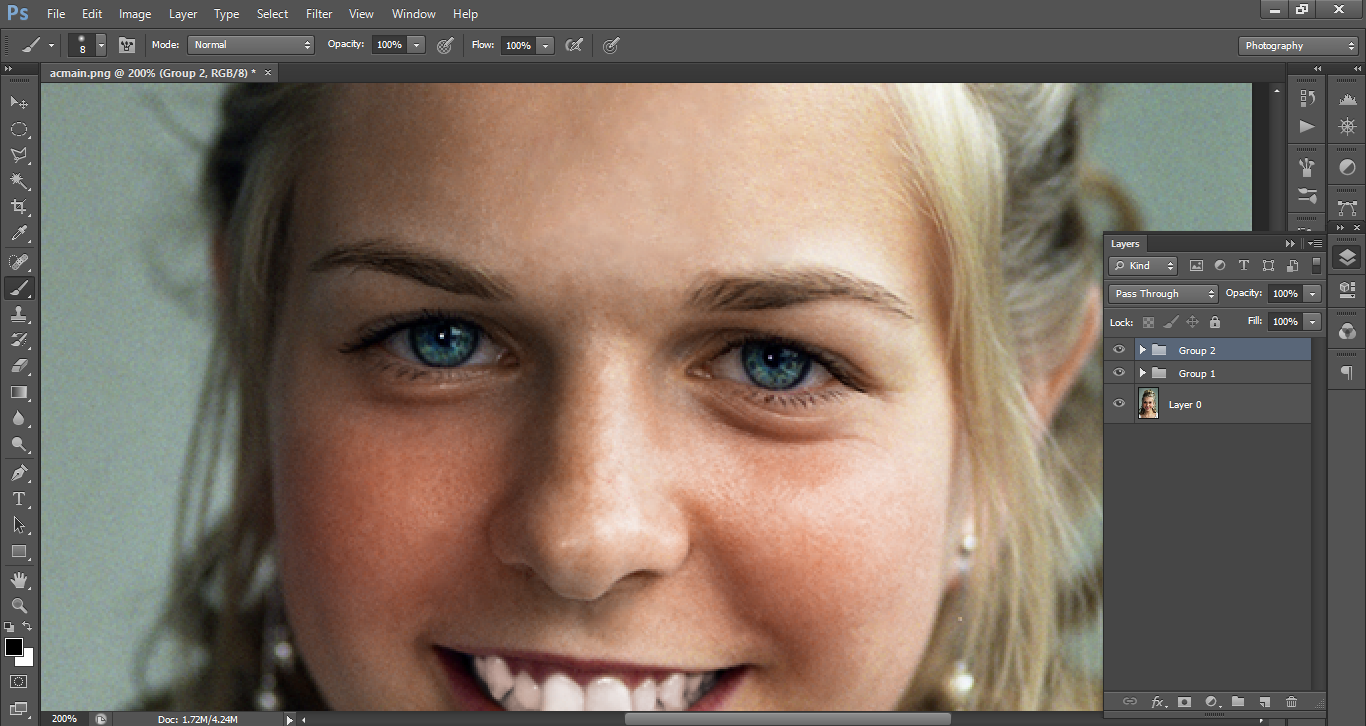
Next, I’m going to copy my curves adjustment layer by clicking on it and dragging it to the button where I create a new layer. Then I’ll open up my adjustment, and clicking on the indicator we dragged to lighten our image, we are going to pull it down until it is an almost mirror image.
The reason that we do this is to darken the eye. Then using our mask, paint out the eye area just as we did previously, only using Black this time and taking into consideration where the shadows would be on the eye as well as the dark rings surrounding the edge of the iris .
Highlight the adjustment layers and hit Ctrl + G to group them together.
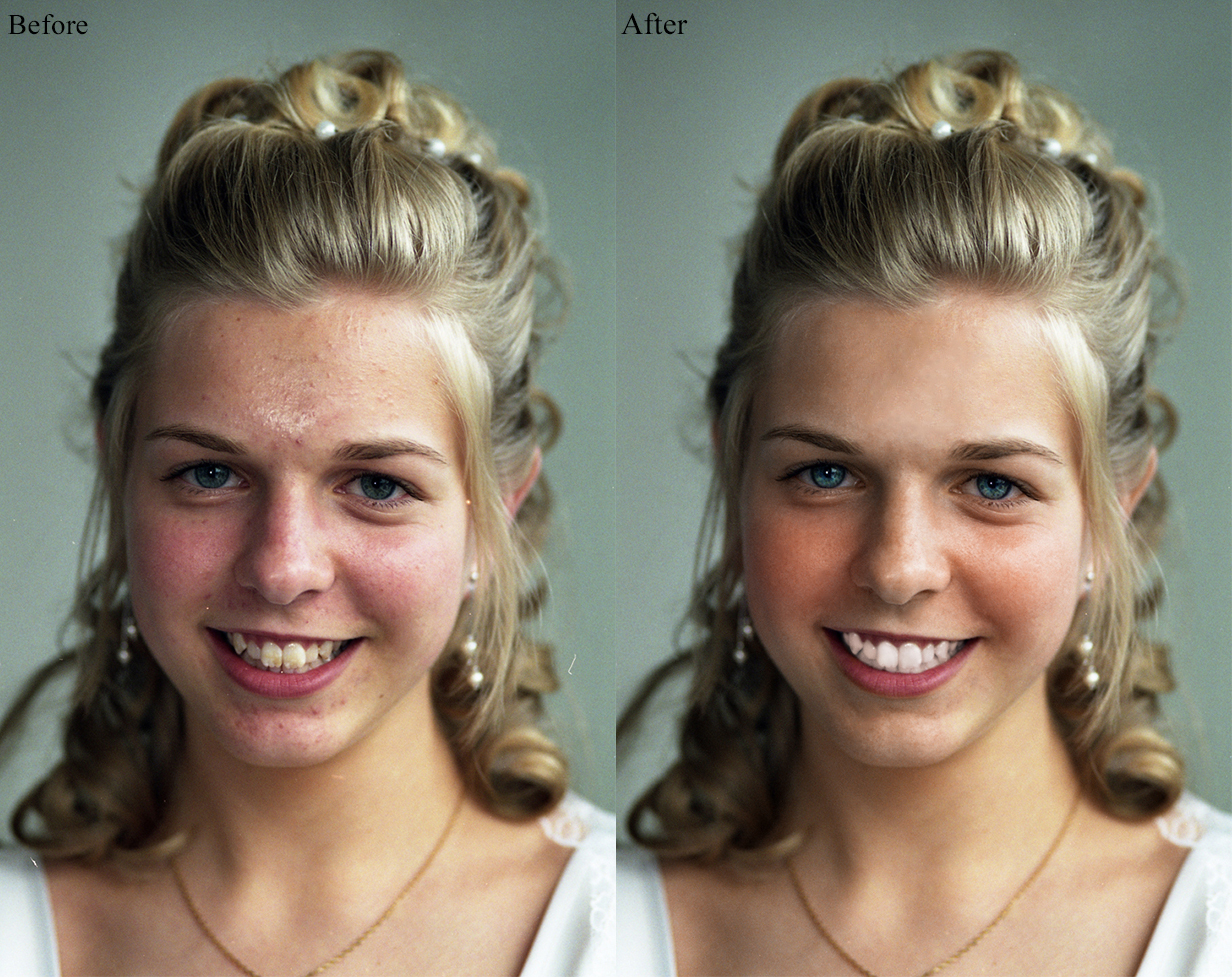
Now our eyes are looking amazing. If you compare to the image where you started, the difference is astounding, but it still looks totally natural and believable, which is what we set out to accomplish in the first place.
Graduated from college in 2002 with a degree in Art & Design, I started exploring my way in Graphic Design and Professional Post Production. Full-time freelancer since 2011.


 Facebook
 Google +
Comments (0)
There are no comments yet.