Removing Stretch Marks with Photoshopwww.sleeklens.com
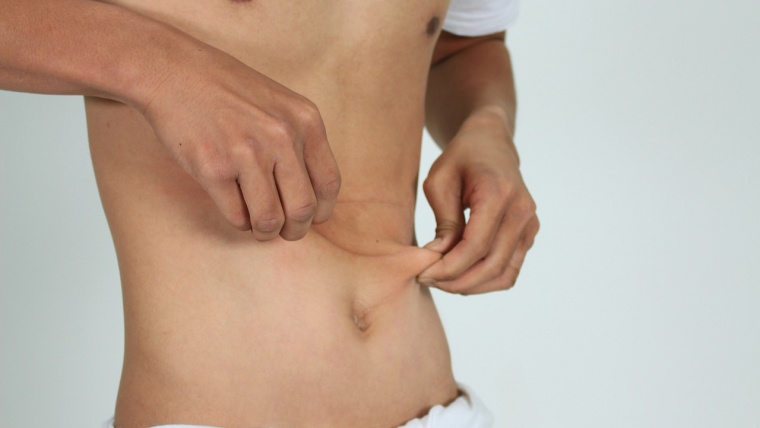
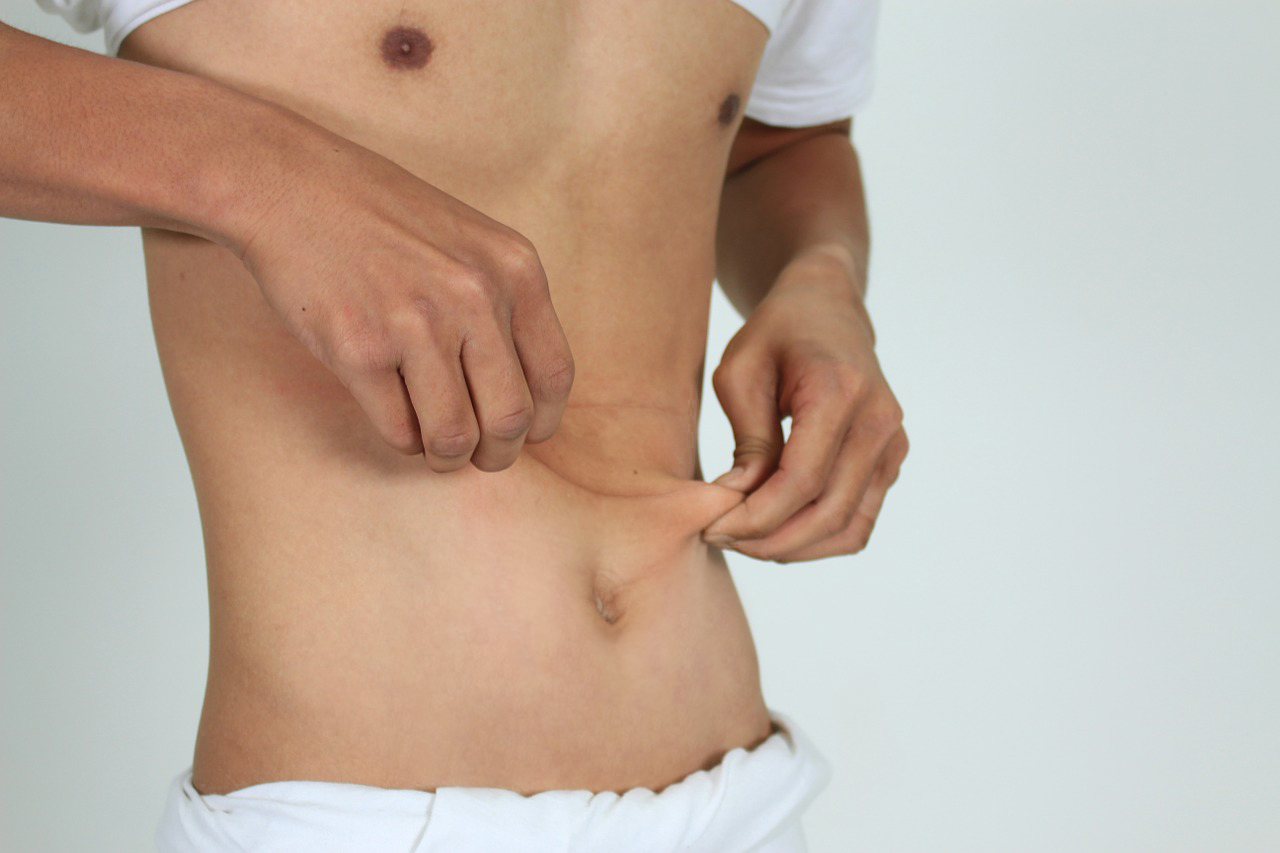
Hi all, today I’m going to show you how to remove stretch marks using Photoshop, this will come in useful if somebody you know in a photo has possibly lost a lot of weight recently, maybe they have achieved amazing goals in training dieting or post giving birth but the after effects unfortunately is a few stretch marks here and there.
Well today we’ll be taking a good look at how to remove them if they ask you to do so or if they are your own and you are not comfortable with them yourself.
So first we’ll be looking at how to target the colours and neutralize them so they are the same as the surrounding areas and then we’ll be using the Healing Brush tool to get rid of the marks completely leaving the area smooth yet realistic.
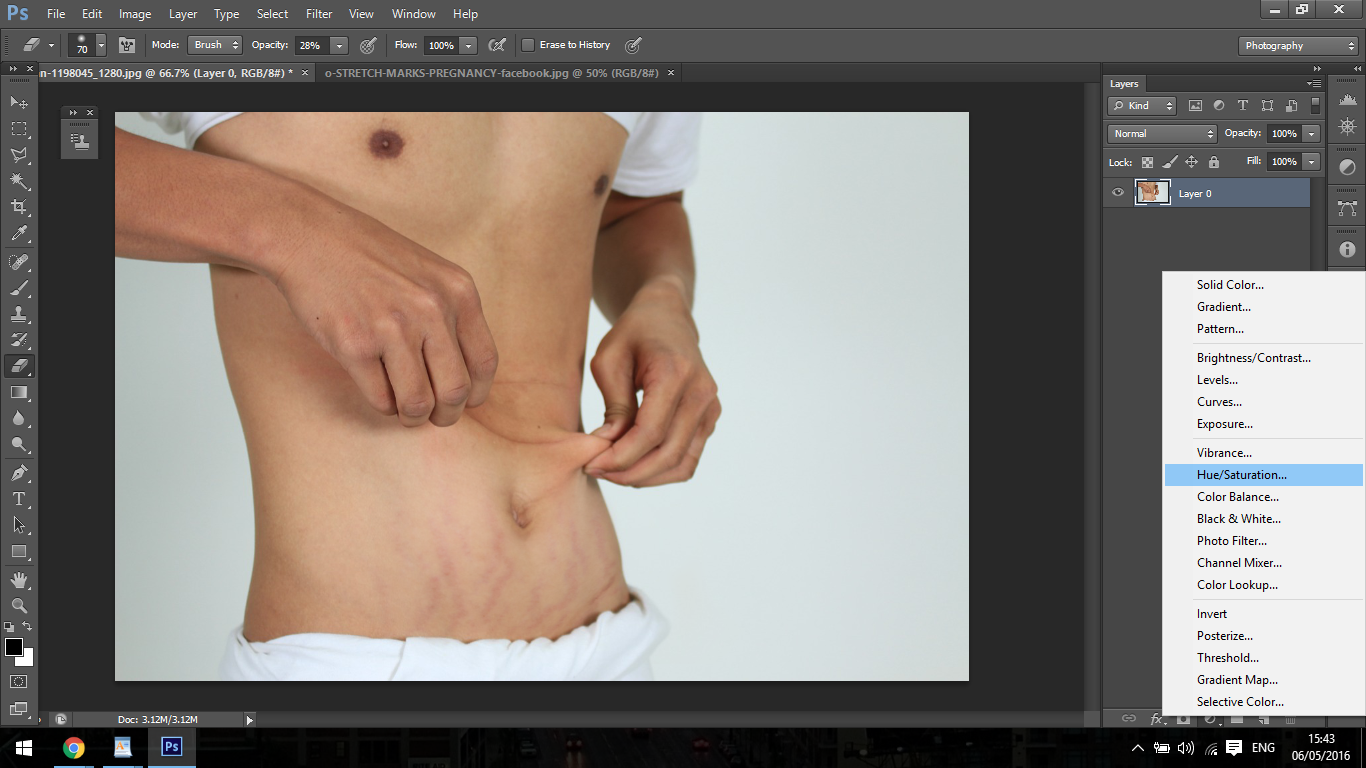
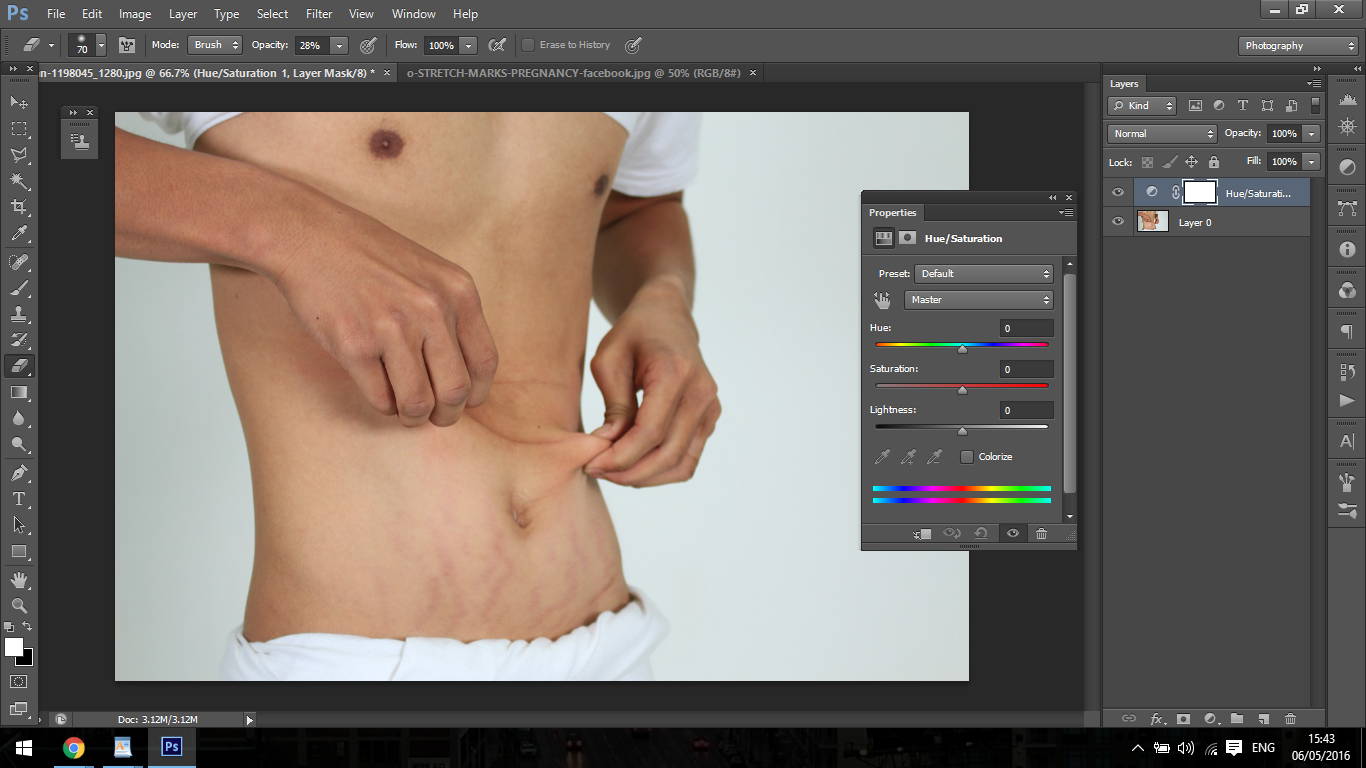
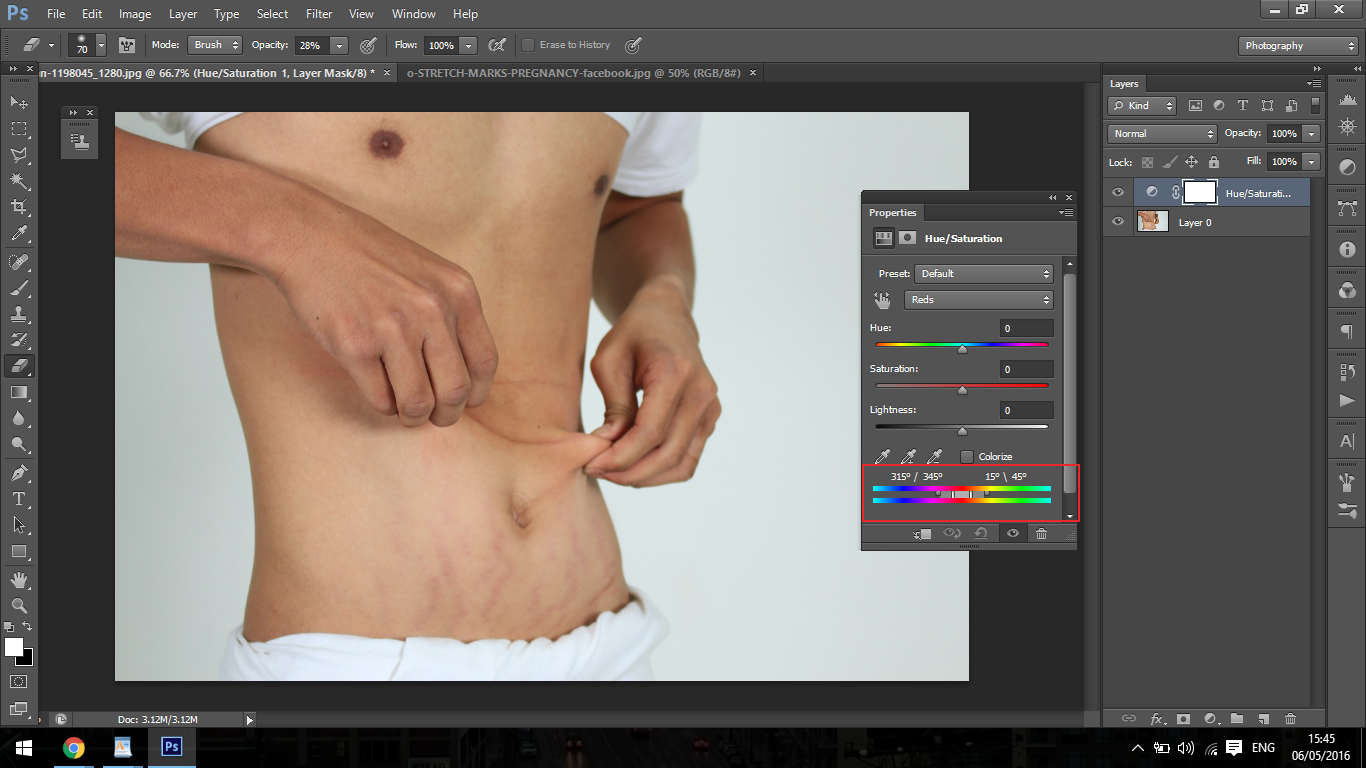
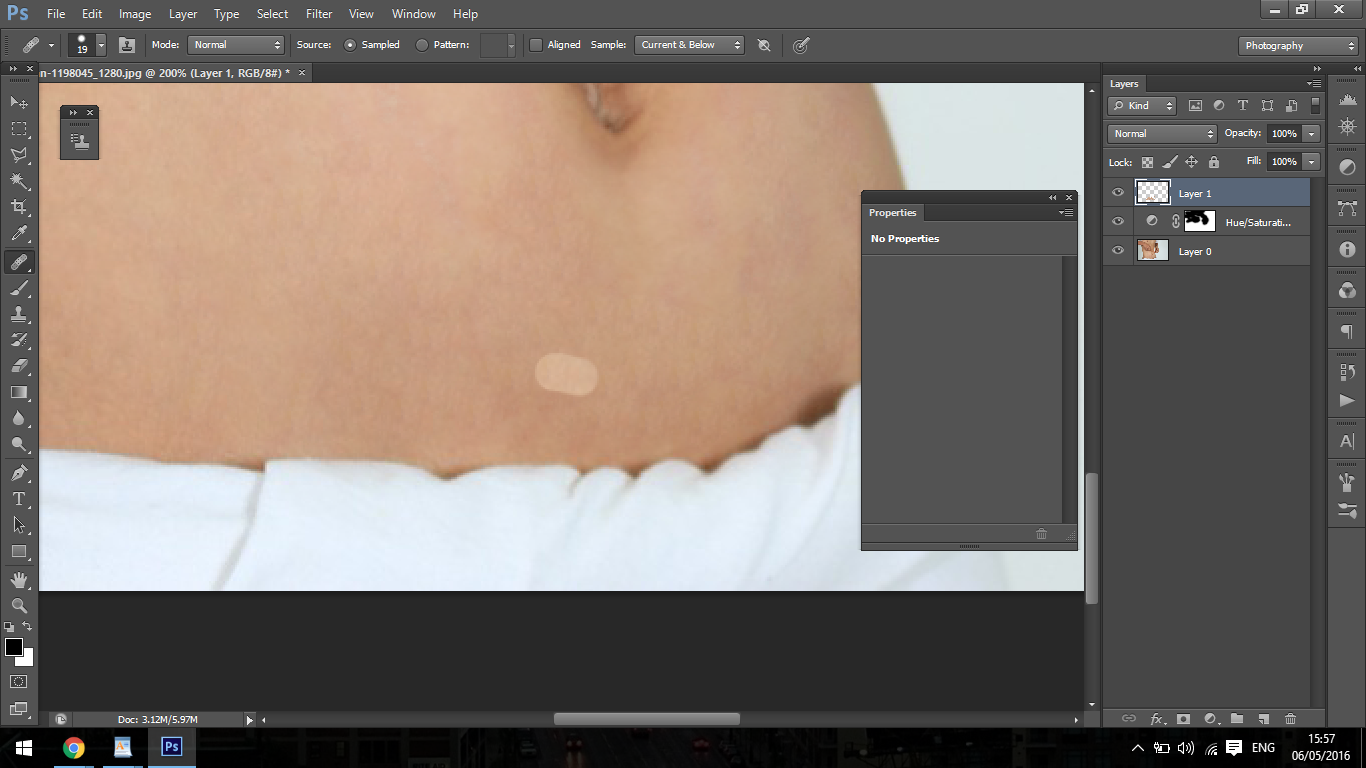
The first thing to achieve this task is to create a Hue Saturation Adjustment layer, click where I have indicated below and then choose Hue Saturation and that will appear above your first layer.
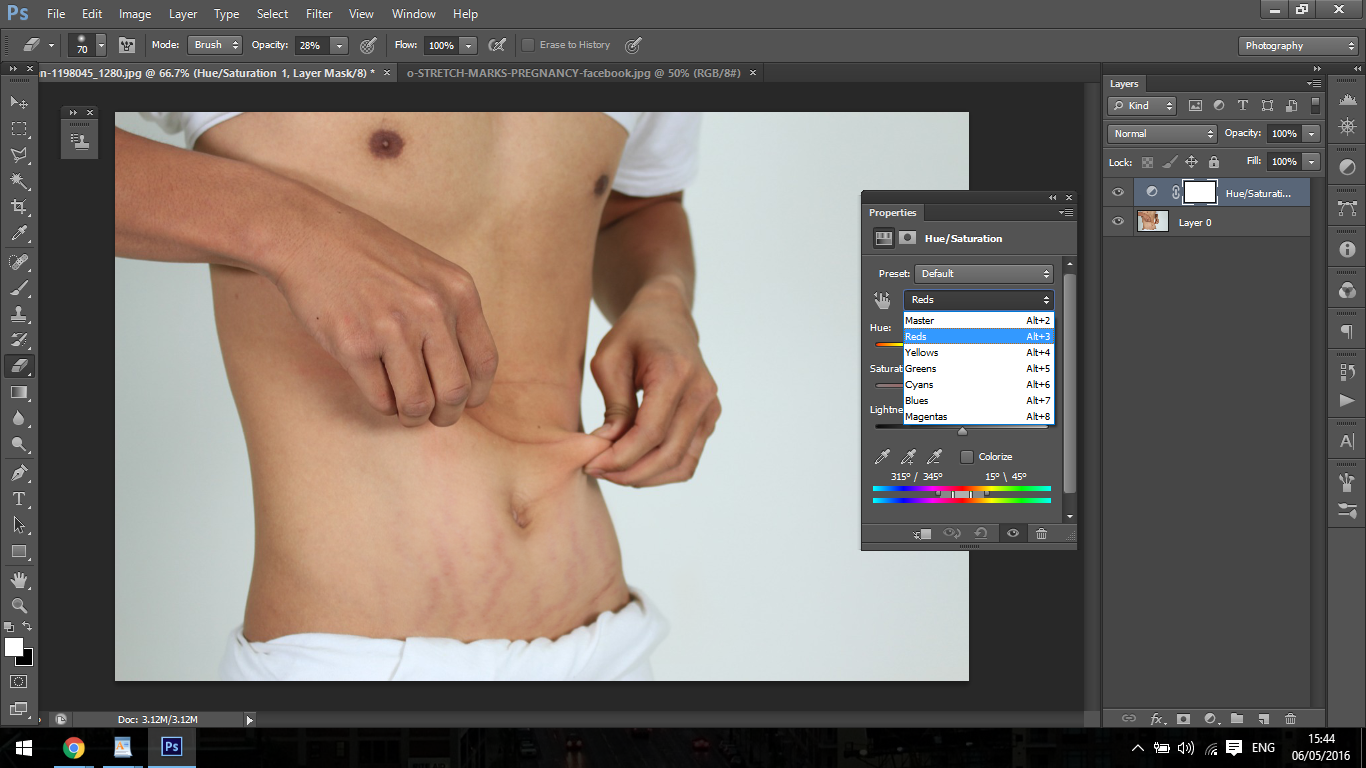
Your Hue Saturation should be set to Master, this means if you move the slider labelled Hue it will adjust all the colours on your image.
But what we want to do is just adjust our reds, so if you click where you see master you will be able to choose Reds.
Now if you just move the Hue or Saturation Slider it will effect the all the reds and colours similar to the reds which is also what we don’t want but!
If you look right at the bottom of that panel you will see two bars with the colour range on them.
The Slider between those two bars must be narrowed, you will see that it is made up of three parts, click in the middle of that and drag towards the center.
Then do the same on the other side, once you do this then click on the edge and bring those in toward the center similar to what we just did, and then do the same on the other side.
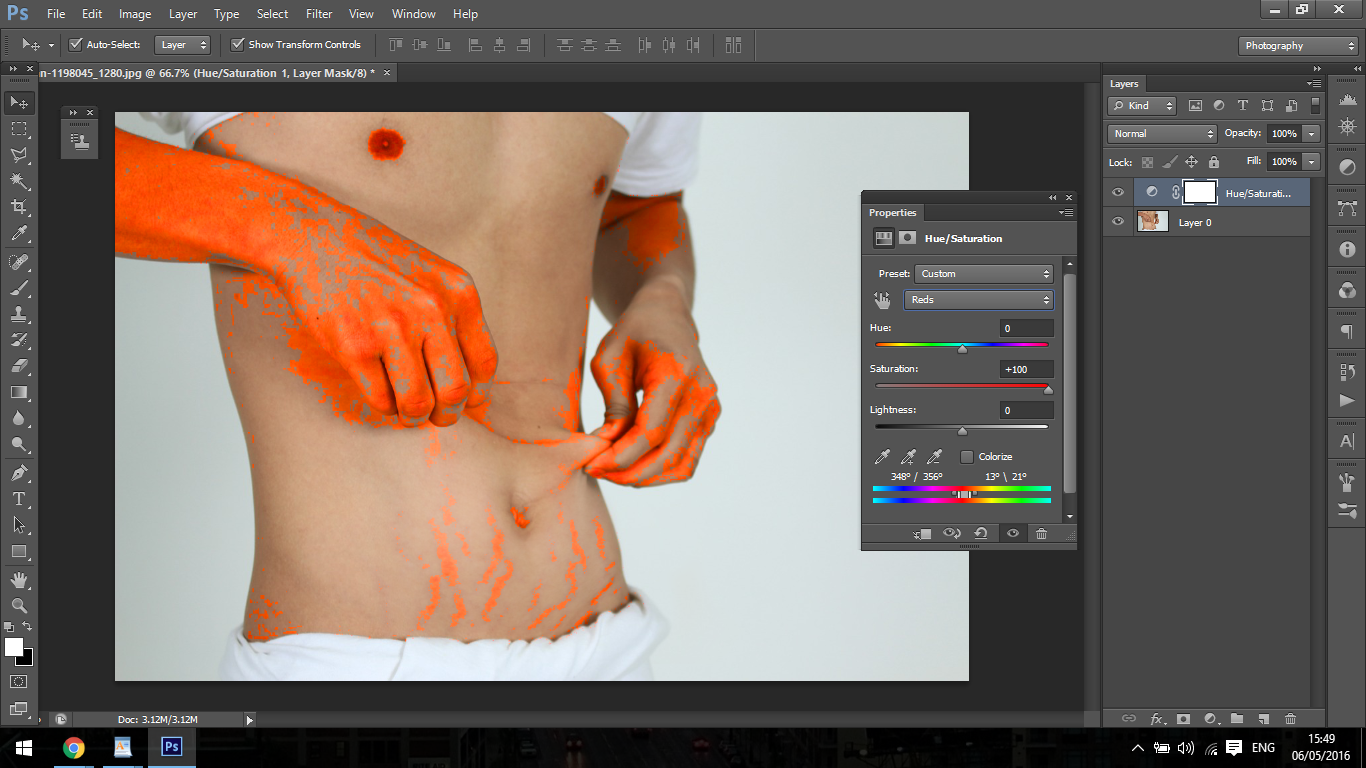
First move your saturation slider up full to the right so it will be very visual, now if you click in the center and drag the whole slider toward the right it will start to highlight the stretch marks a good bit, do this to you feel you have got 99% of them or as close to that as you can.
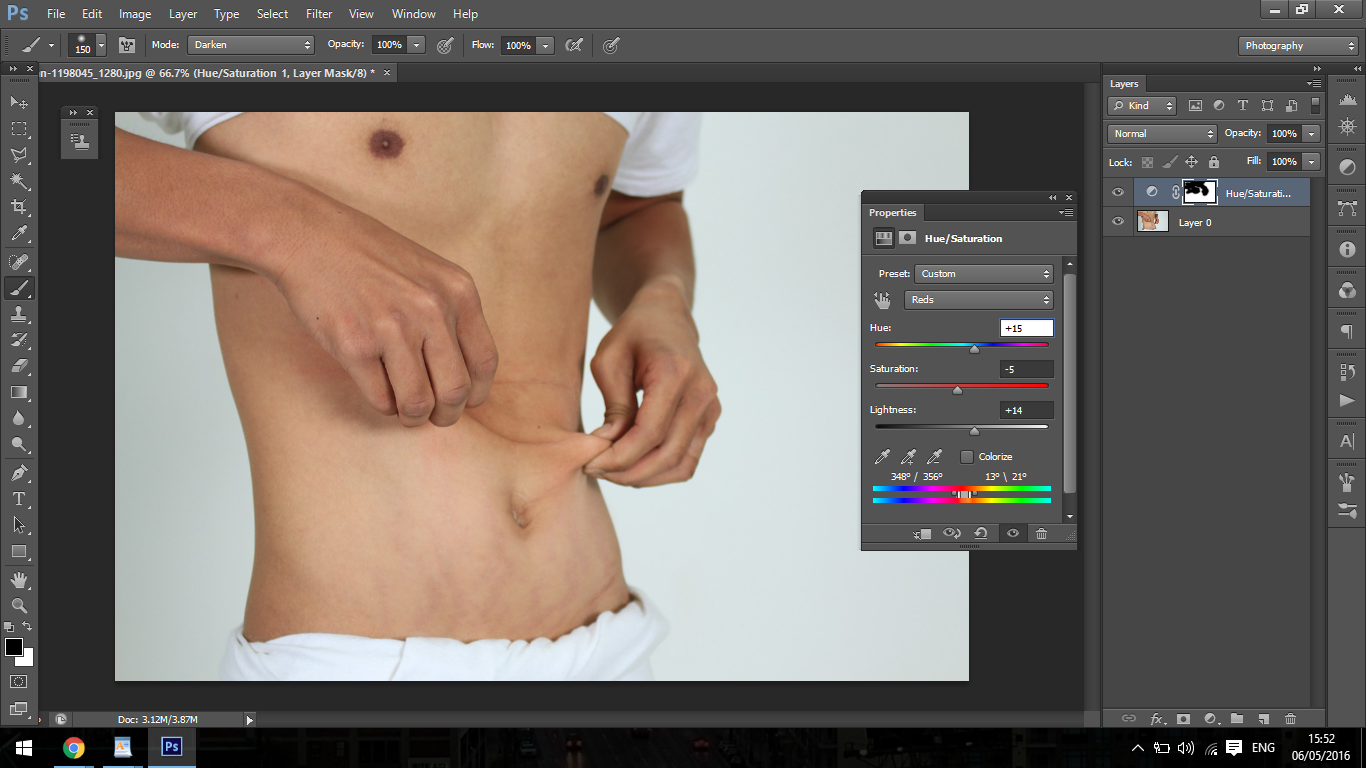
We’re good so far, adjust your Saturation down to zero again, and take your Hue slider and move it to the right, you will see it starts to adjust the colours of the stretch marks to the same colour as the skin.
You can also adjust the lightness of it two with that slider, sliding it to the right and it should match up really well, in some cases perfect.
If it starts to look a little washed out your can slide the saturation slider to the right and add a little bit more colour back into the area, it’s really just playing with it for a little bit to find that perfect balance.
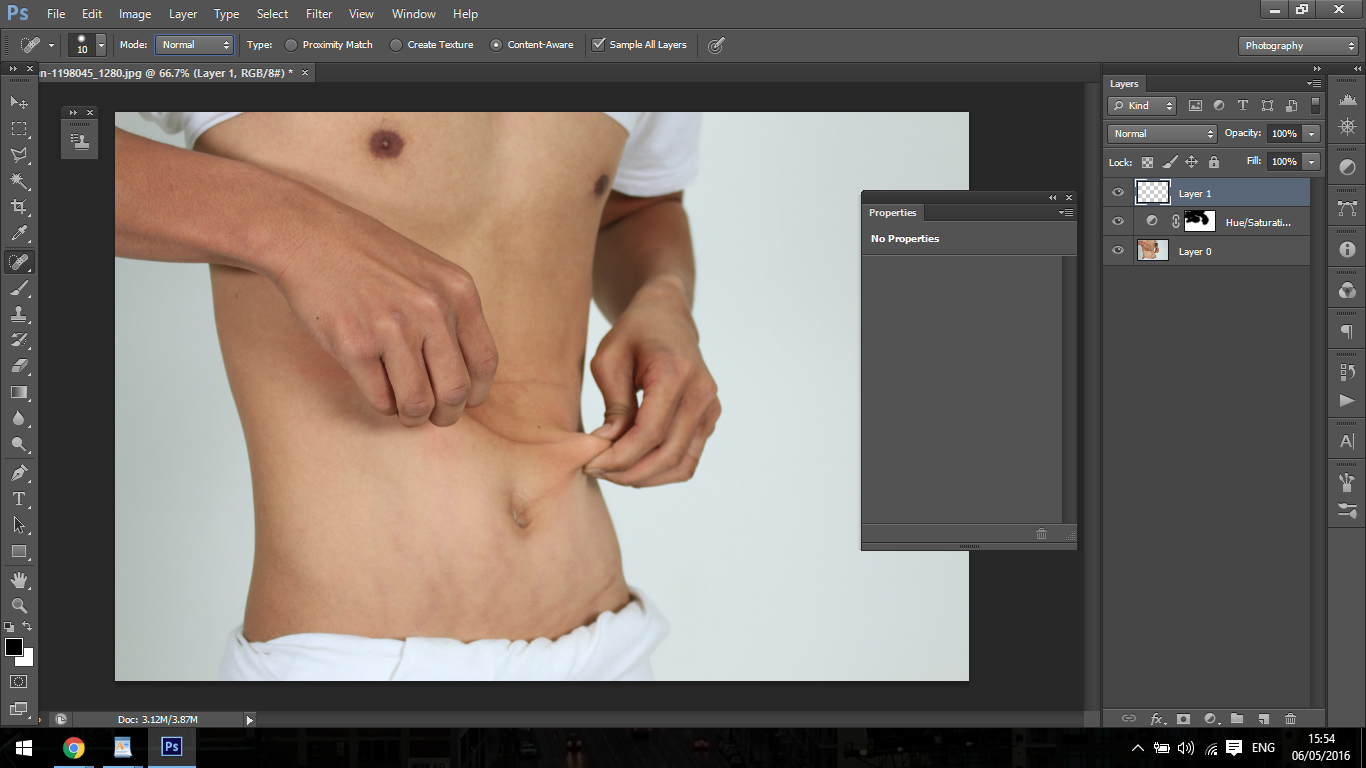
Next up we’ll be using our Healing Brush tool to take care of the textured areas.
So make a new layer, the shortcut for this is Shift Ctrl + N on the keyboard.
So click on the Healing Brush Tool (Shortcut S) and make sure you Content aware set.
You use this by holding Alt and clicking on an area of the skin that’s good, then you start to paint over the stretch mark areas that still has Photoshop Textures.
Depending on how extreme the marks are you could also use the Spot Healing Brush too
These will copy the good areas over the one we want to change, you use this Tool just the same as how you would the Standard Brush Tool apart from the Alt option.
That means that you can change the size as you go along using the bracket keys [ and ]
So by now you should have a nicely retouched image that is completely free of stretch marks, with these two techniques combined you should be able to completely remove the stretch marks to the point were they are completely undetectable.
Find out the best way to add Images on Screen Mockups using Photoshop.
Graduated from college in 2002 with a degree in Art & Design, I started exploring my way in Graphic Design and Professional Post Production. Full-time freelancer since 2011.


 Facebook
 Google +
Comments (0)
There are no comments yet.