Photoshop For Beginners Roundup – Part IIIwww.sleeklens.com
Welcome back, let’s recap a little of where we left off from Part 2.
So far we have gone over the Move Tool and what all goes with that, then we moved on to Photoshop’s Selection Tools.
If you haven’t seen those yet, it may be a good idea to check them out first, before continuing on with this PhotoshopTutorial.
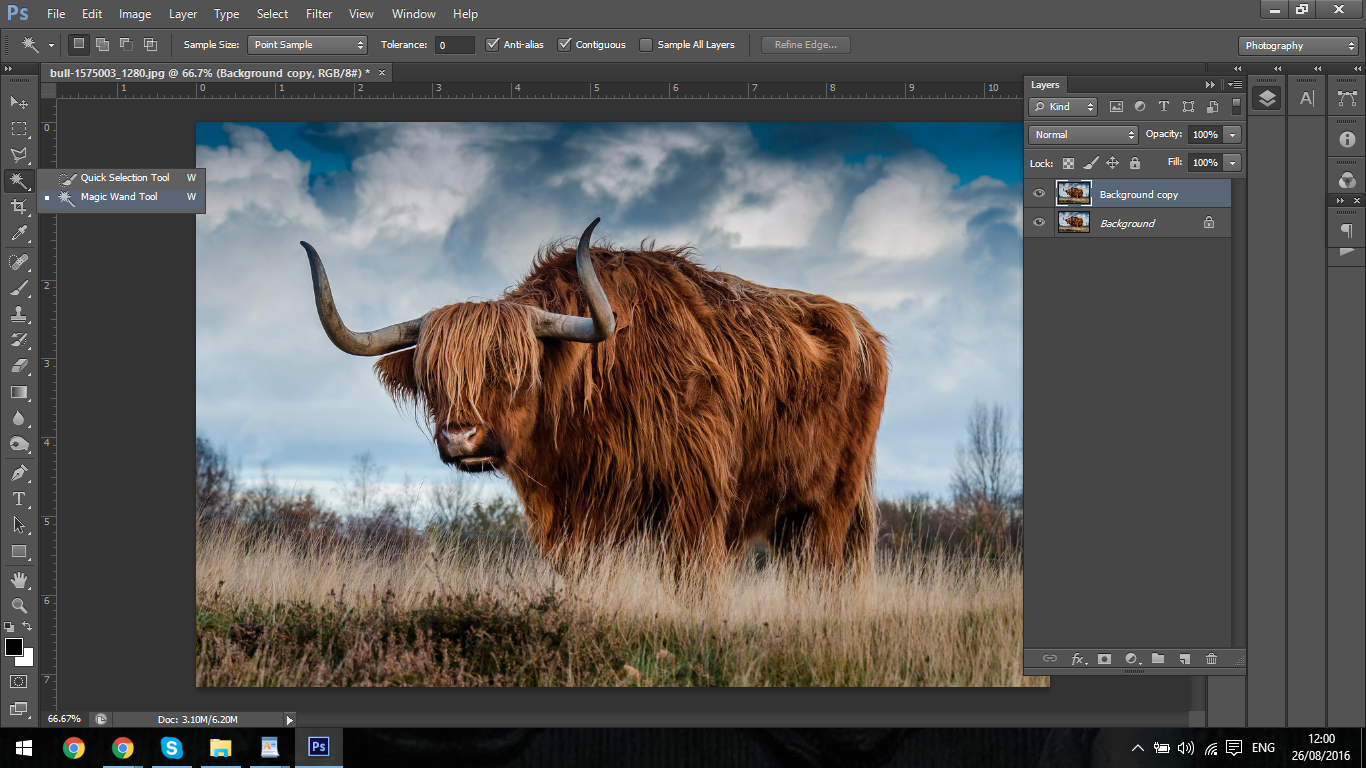
Now we’ll be taking a look at the next Tool, which is the Magic Wand Tool
What you do with this is click on a high contrast area or an area that has sharp edges and is more or less the exact same colour, otherwise the results that you get won’t be the best.
Personally, I rarely ever use this Tool, but it is worth a mention.
What I would do with our image here is, if I needed areas of the sky selected I could use my Magic Wand Tool by clicking on the white of the Sky. Then, it will select as much of that area as the computer sees fit.
Sometimes there won’t be much of a difference at all, so I’d leave it to solid block colours.
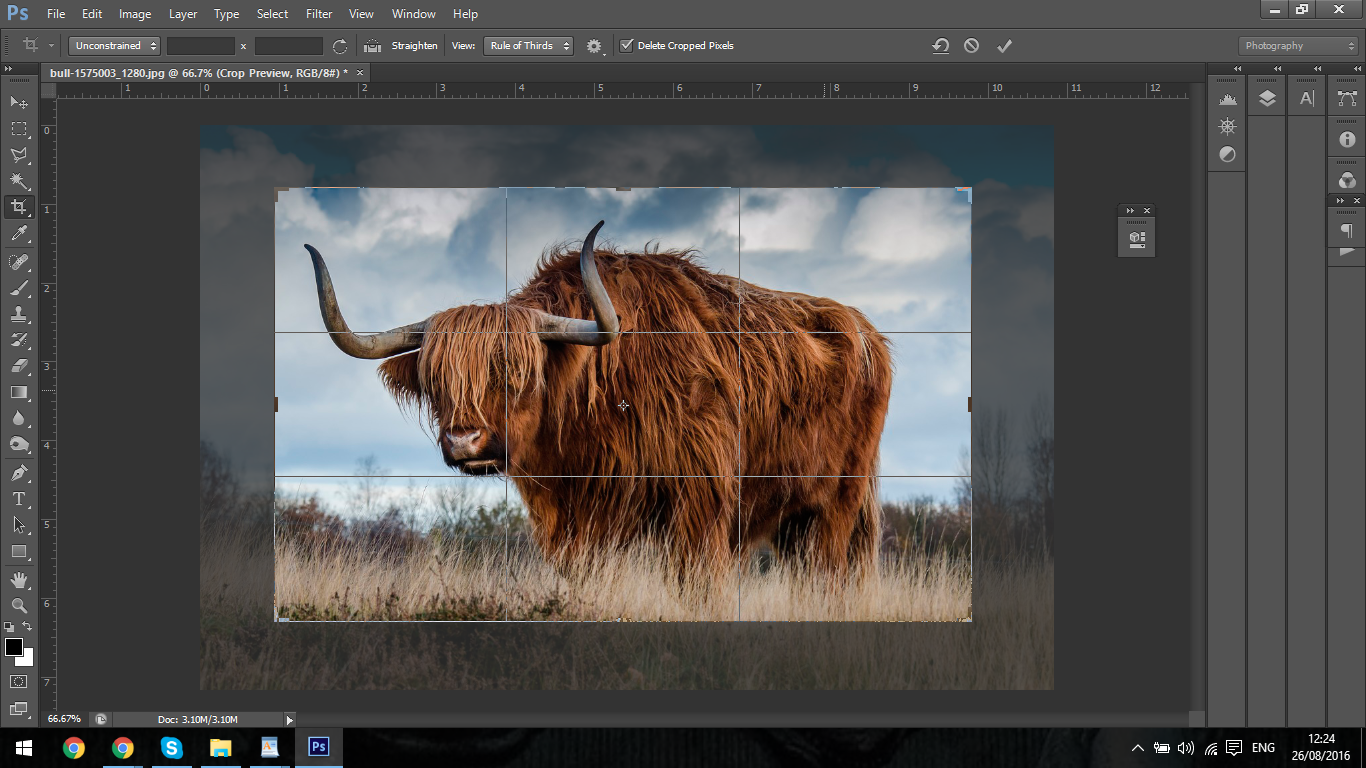
Next We’ll be taking a look at the Crop Tool.
The Crop Tool enables you to resize your image, it’s like a Grid Box within your image that you can move around. This is great for when you want to focus your attention on a specific area of your image, especially when sometimes in open air photography where there are a lot of moving elements all around you when you snap the shot, when you take a look at the shot it’s down in a bottom corner and there’s a ton of free space.
You’ll obviously want to get rid of all of that extra space.
When you use the Crop Tool, it will open up a grid that will help you center your image.
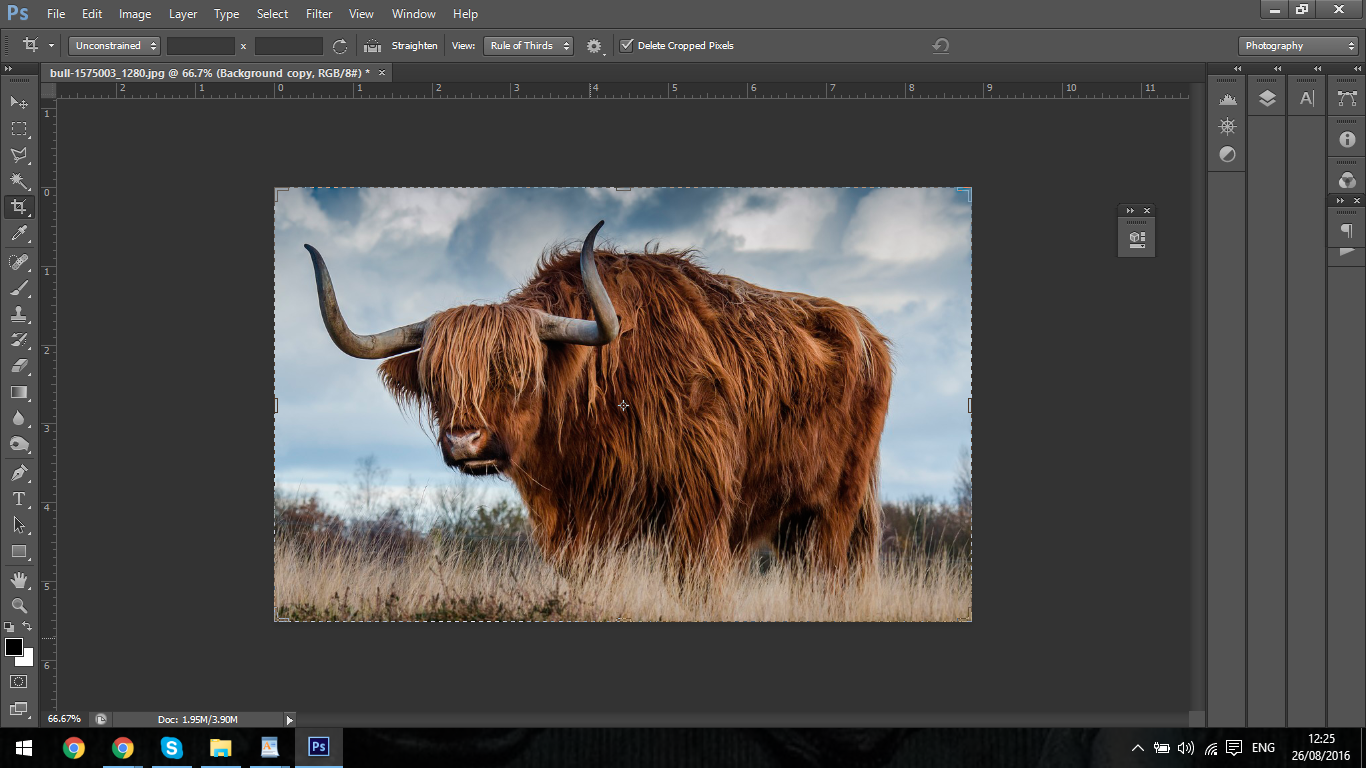
Everything on the outside of the image will then be cut out out, and will disappear like so…
While doing this you can move the edges of the grid to fit whatever output you would like, or you can also just click on the image and move it around to make further little adjustments and refinements.
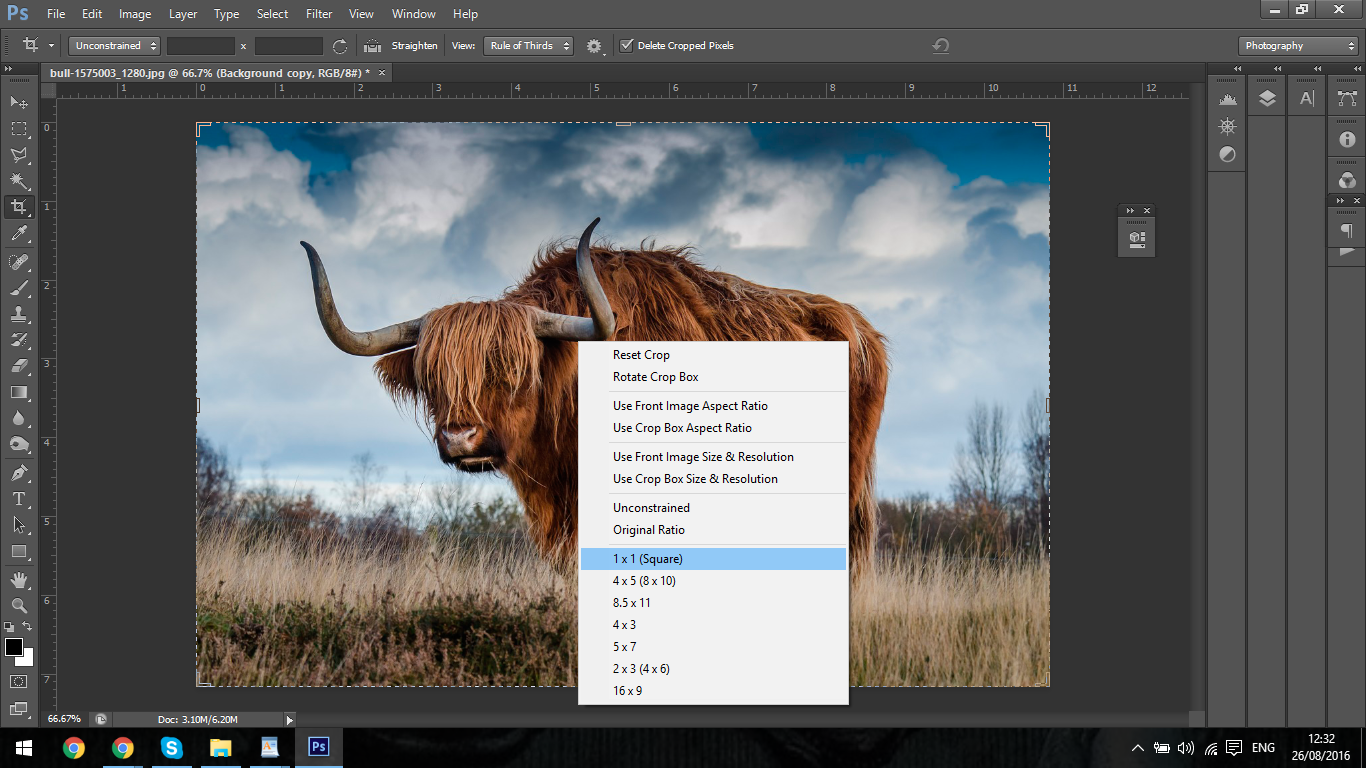
During the Crop edit, if you right click you will see a few options open up like reset as well as certain presets, but for now let’s just stick to the basics to get used to it all.
One last thing I nearly forgot to mention, to deselect Crop, press (V) on your keyboard which is also the keyboard shortcut for the Move Tool.
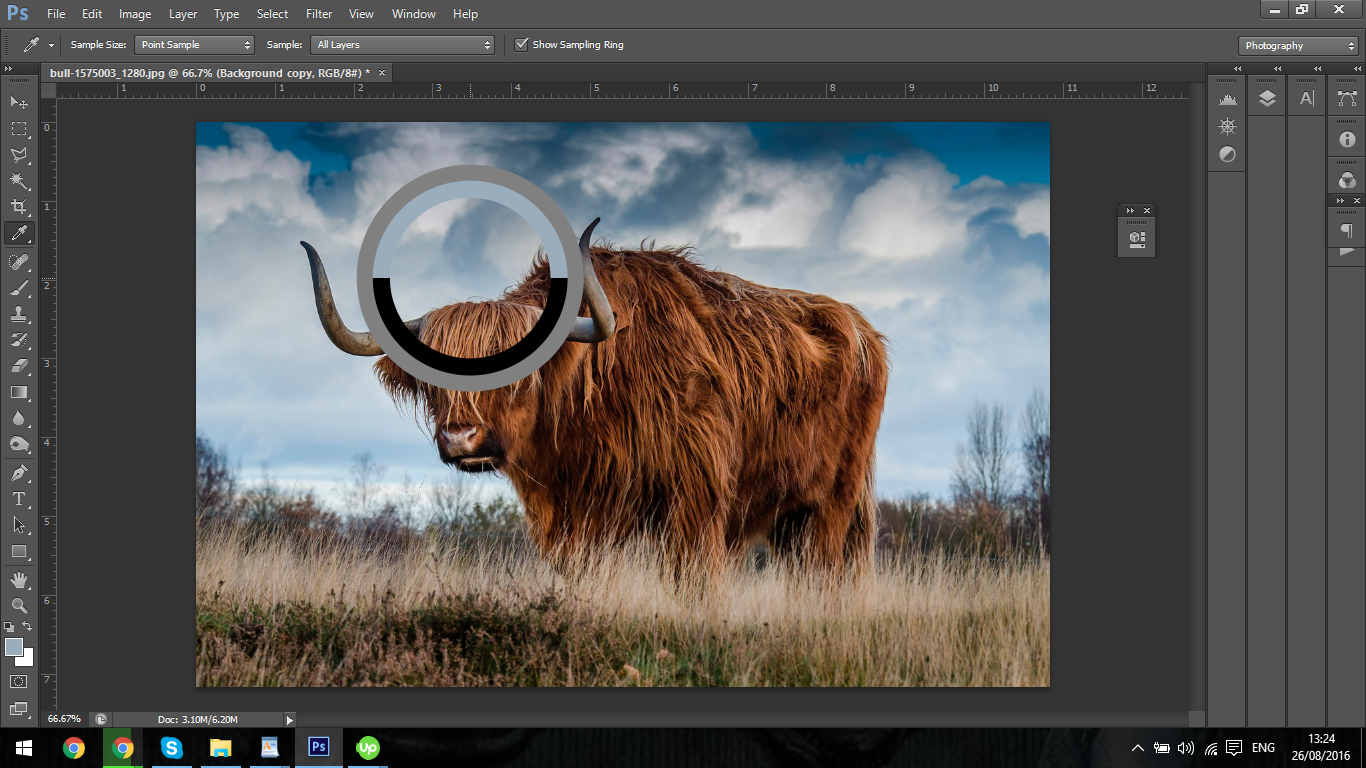
Next up is the Eye Dropper tool.
The eye dropper is great for finding and selecting specific colours.
To use the Eye Dropper Tool, all you have to do is to select it first and the just click on the area where you wish to retrieve a specific colour from.
You can hold the button down on your mouse and move the image around, you will see the selected colour show up in the dialog ring. This is a new feature to Photoshop CS6.
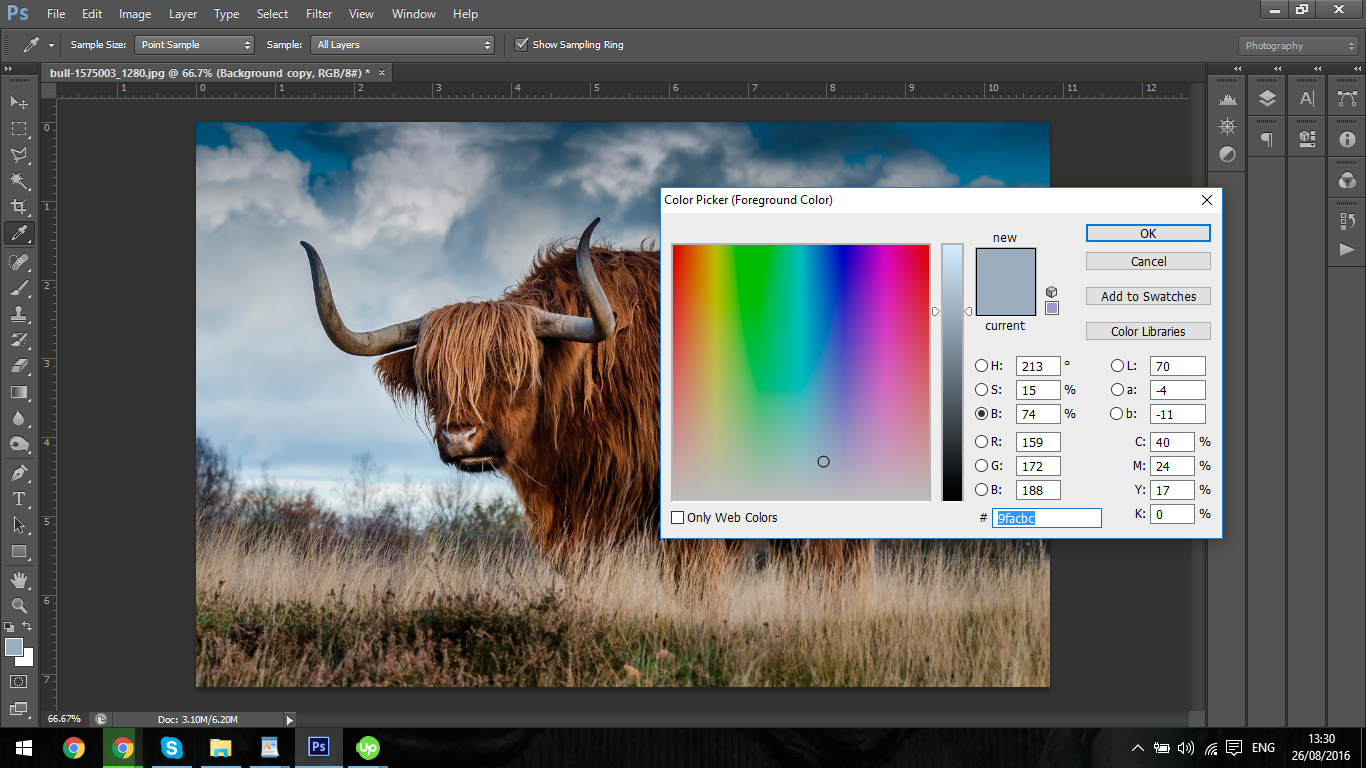
Then you can click on the two colour squares at the bottom left hand side in Photoshop, it will be just above the Windows Icon, and possibly the same with Apple.
Either way, when you double click on that, you’re colours will then appear in a selection box.
There you will find the code for the colour at the bottom should you ever need it again, and you can add the colour to your swatches.
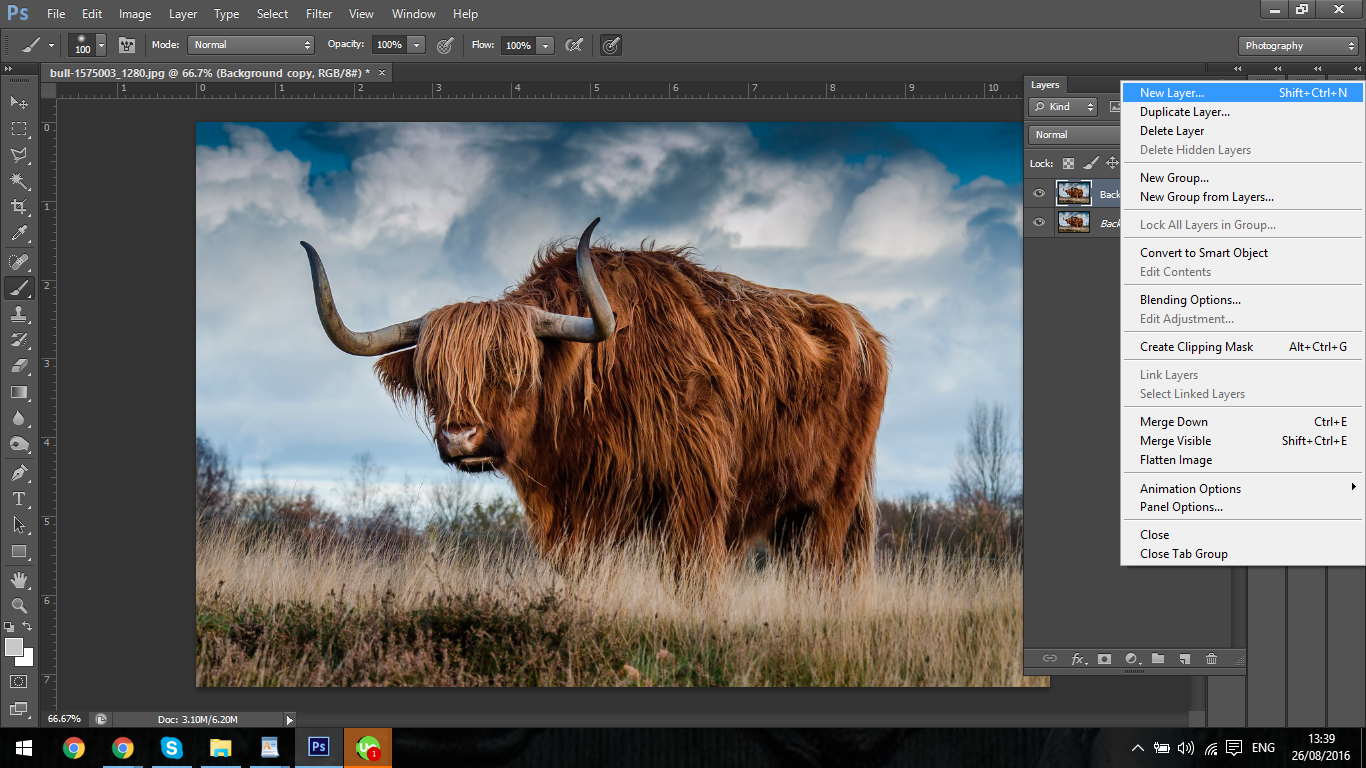
So a little bonus for you here. I’m going to show you how to paint on your image, then manipulate it so it looks like it’s an original part of the image.
We do this by adding Noise.
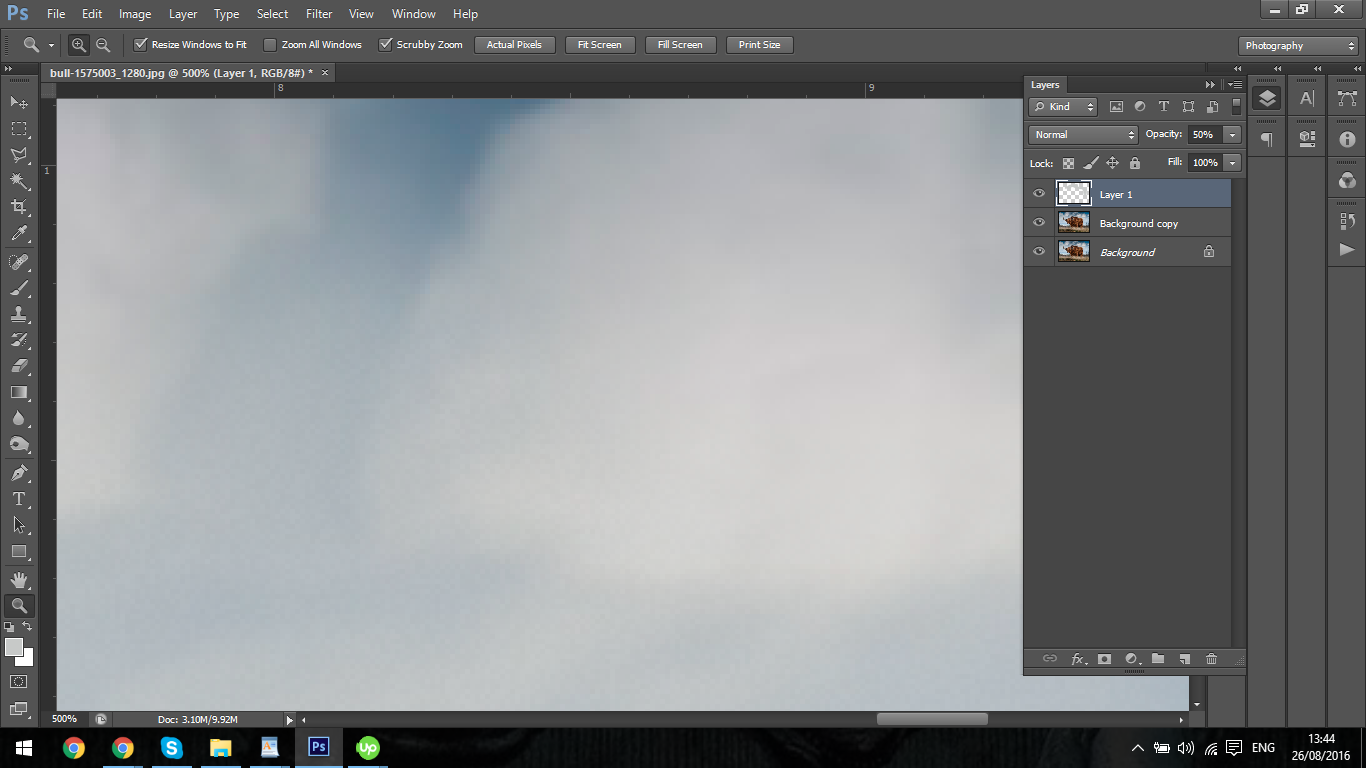
Say we wanted to add a some more white clouds to our image.
With the Eye Dropper Tool, click on the cloud to load your desired colour.
Then we choose our Brush Tool as shown below.
Once you select that, you will want to then choose a soft edged brush indicated below. This type of brush will have soft edges so it will blend in a lot better.
Once this is all ready to go, select a new layer to paint on.
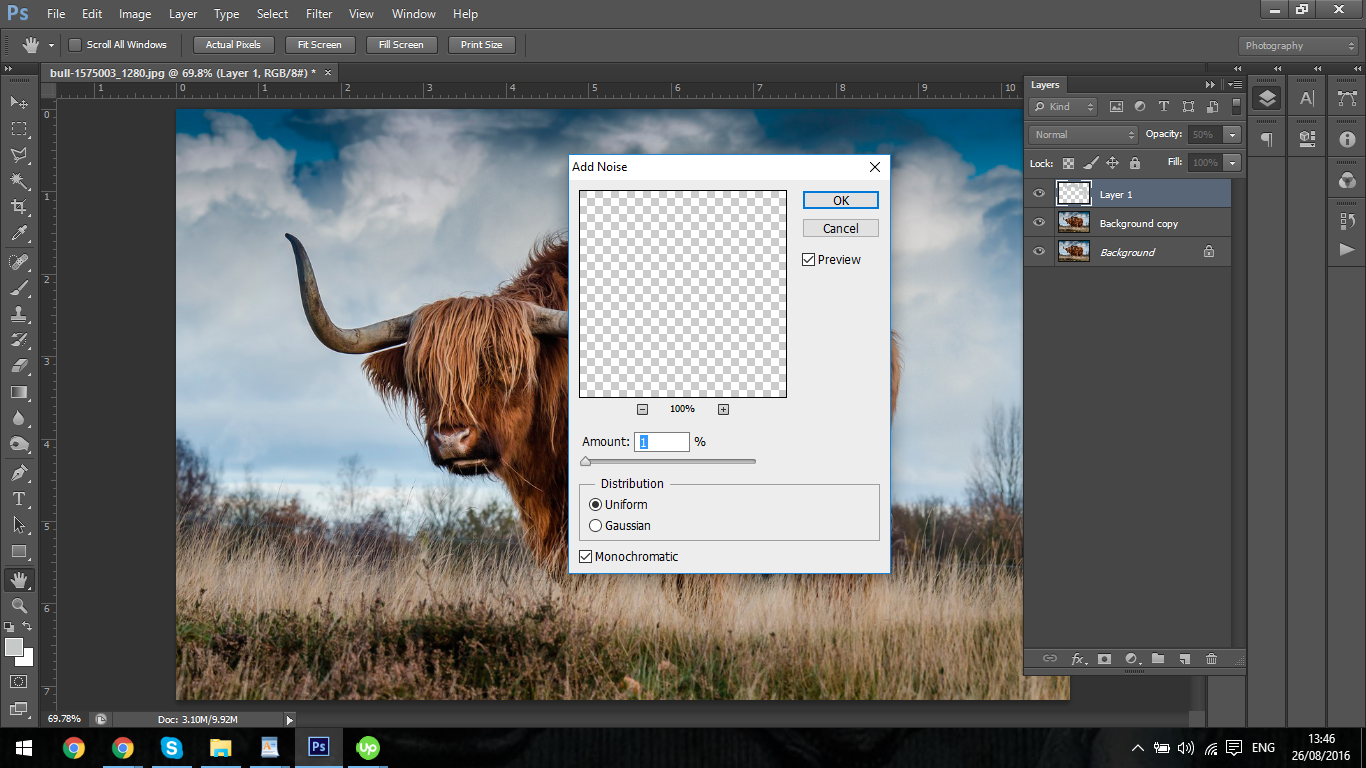
Then, you paint on to your layer over the desired area. When doing this, remember from earlier I said you can use the Bracket Keys on your keyboard to resize the brush as you go along [ & ].
Now that I’ve added my paint, the trick now is to add Noise.
Once you add Noise there will be a dialog box appear, make sure you set the noise to just 1.
Then, you can reduce the Opacity in the Layer to the Left to help blend the edit in a little bit better.
Graduated from college in 2002 with a degree in Art & Design, I started exploring my way in Graphic Design and Professional Post Production. Full-time freelancer since 2011.


 Facebook
 Google +
Comments (0)
There are no comments yet.