
Hey Guys welcome back.
In this Tutorial of Photoshop for Beginners, we’re going to be focusing in on Photoshop’s selection Tool’s. (Sleeklens Photoshop Actions)
You will find this directly below our move Tool.
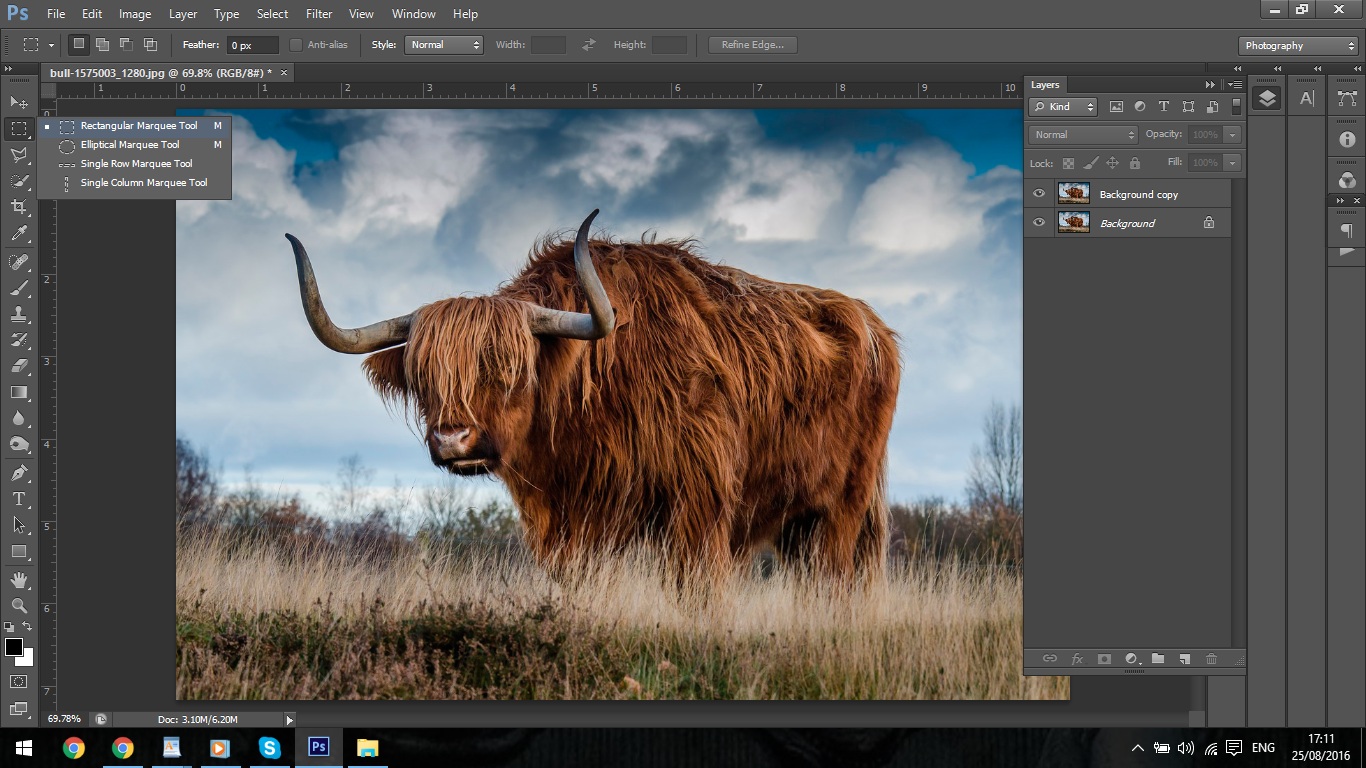
I call these Selection Tool but you also hear them being called Marquee Tools or even in some cases marching Ants.
What you do is you click and drag your selection out over an area you want to be effected.
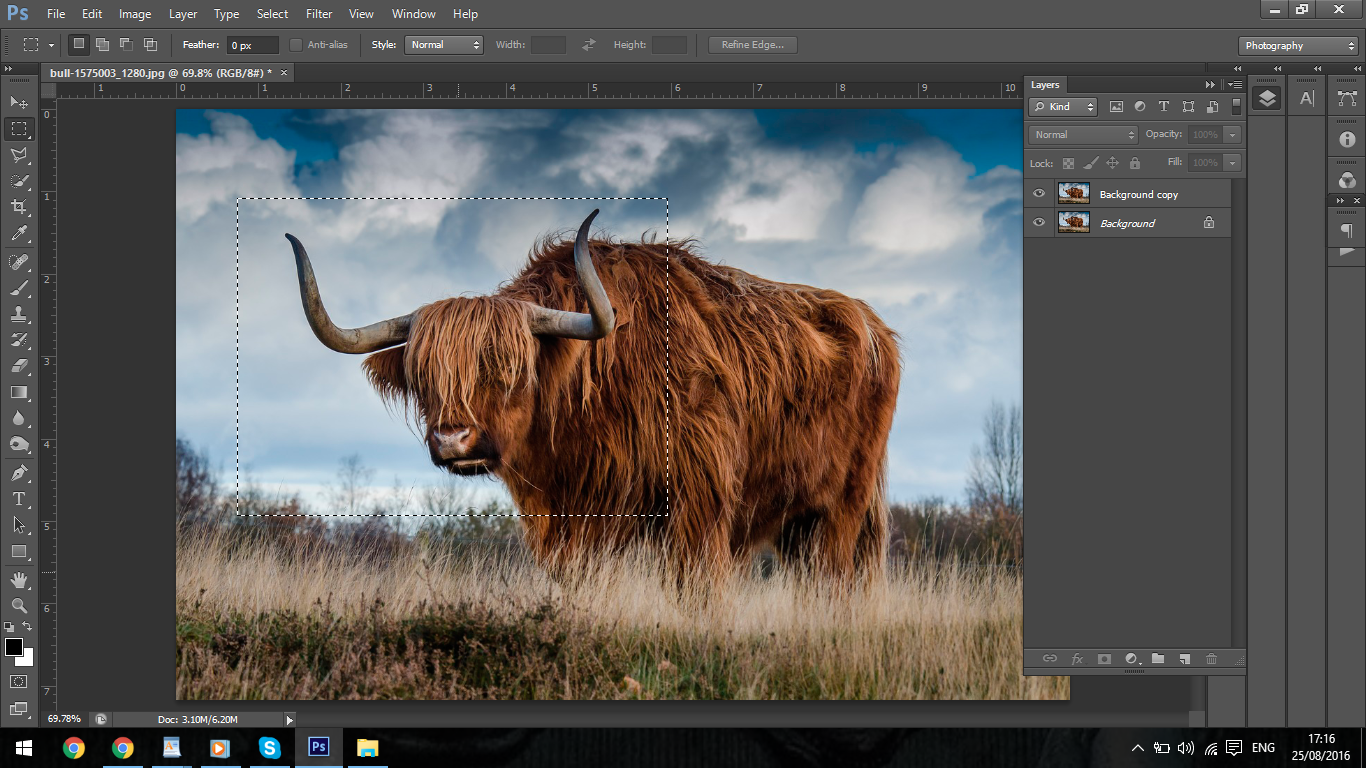
Now with in that selection what ever you do will be effected and anything on the outside will not be touched.
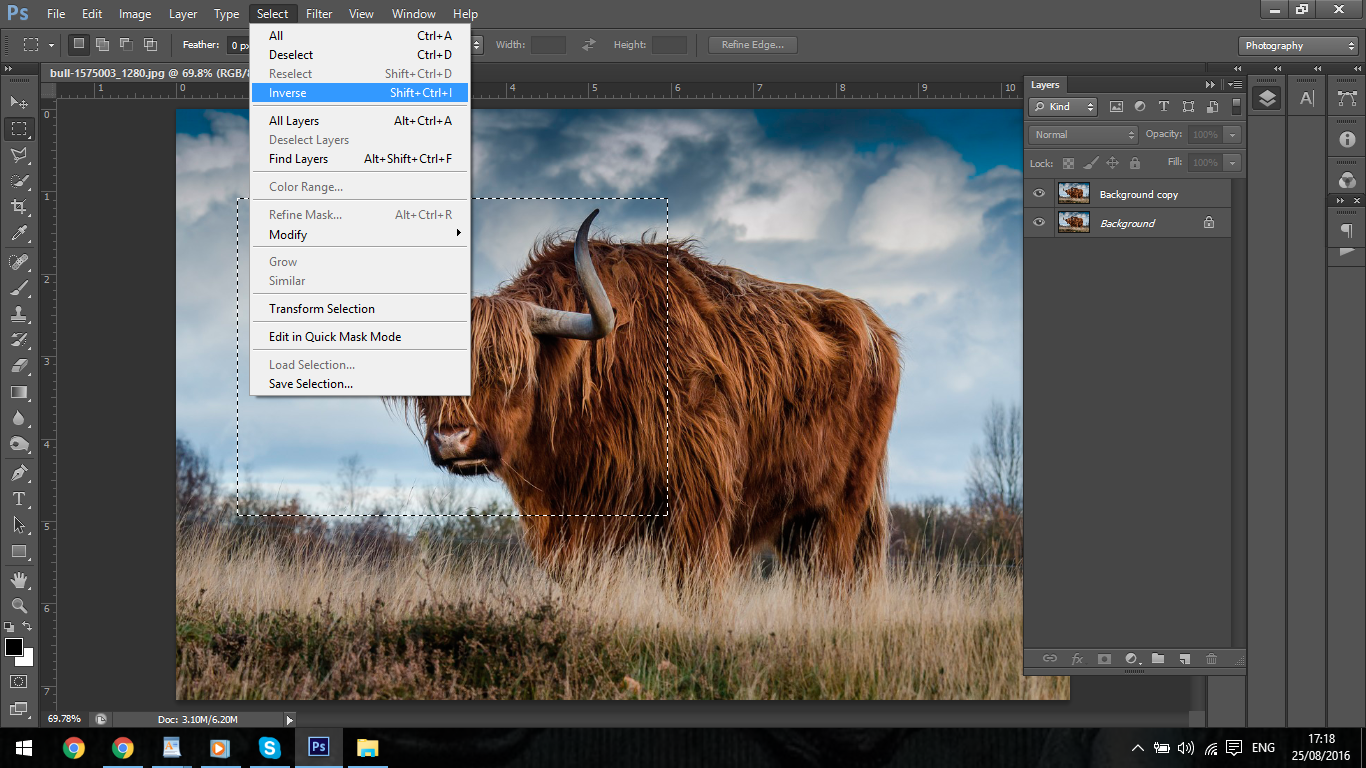
You can click on Select and then Inverse, when you do this the opposite will happen.

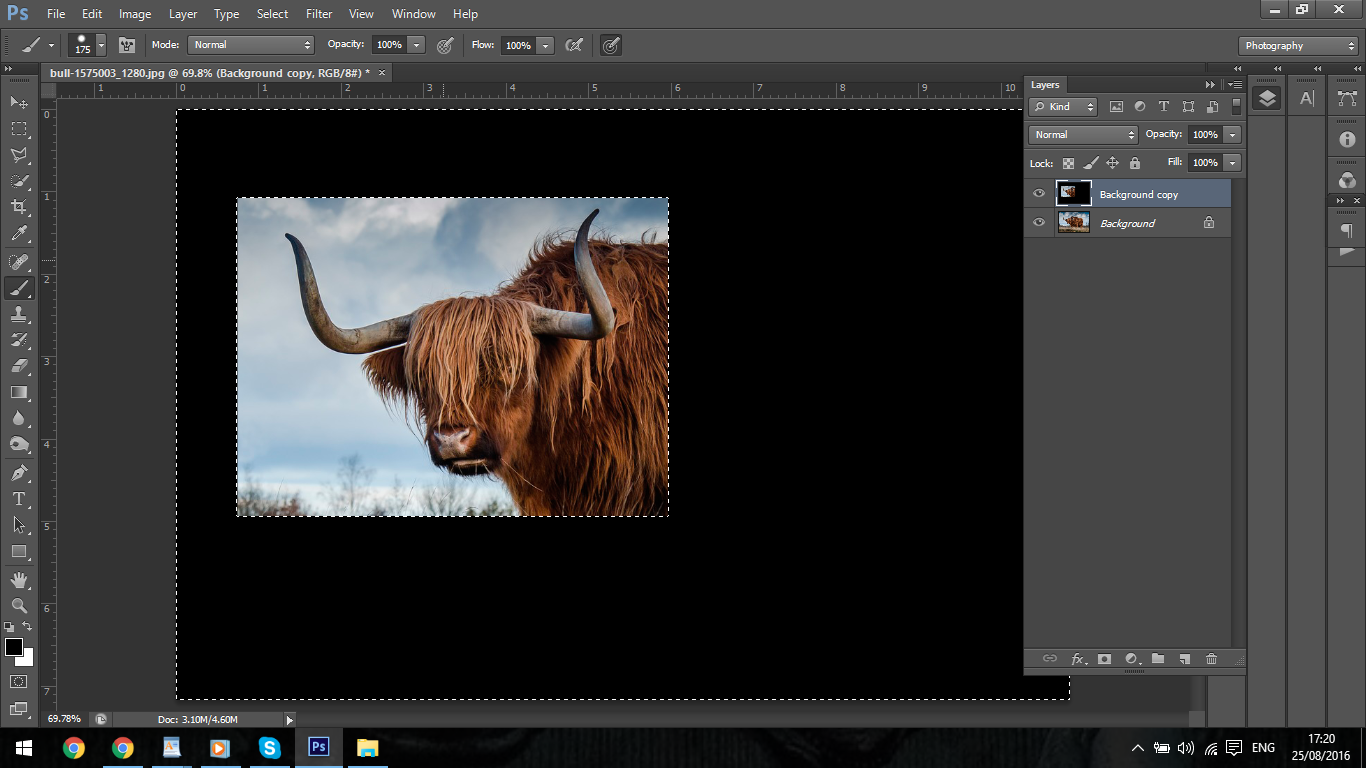
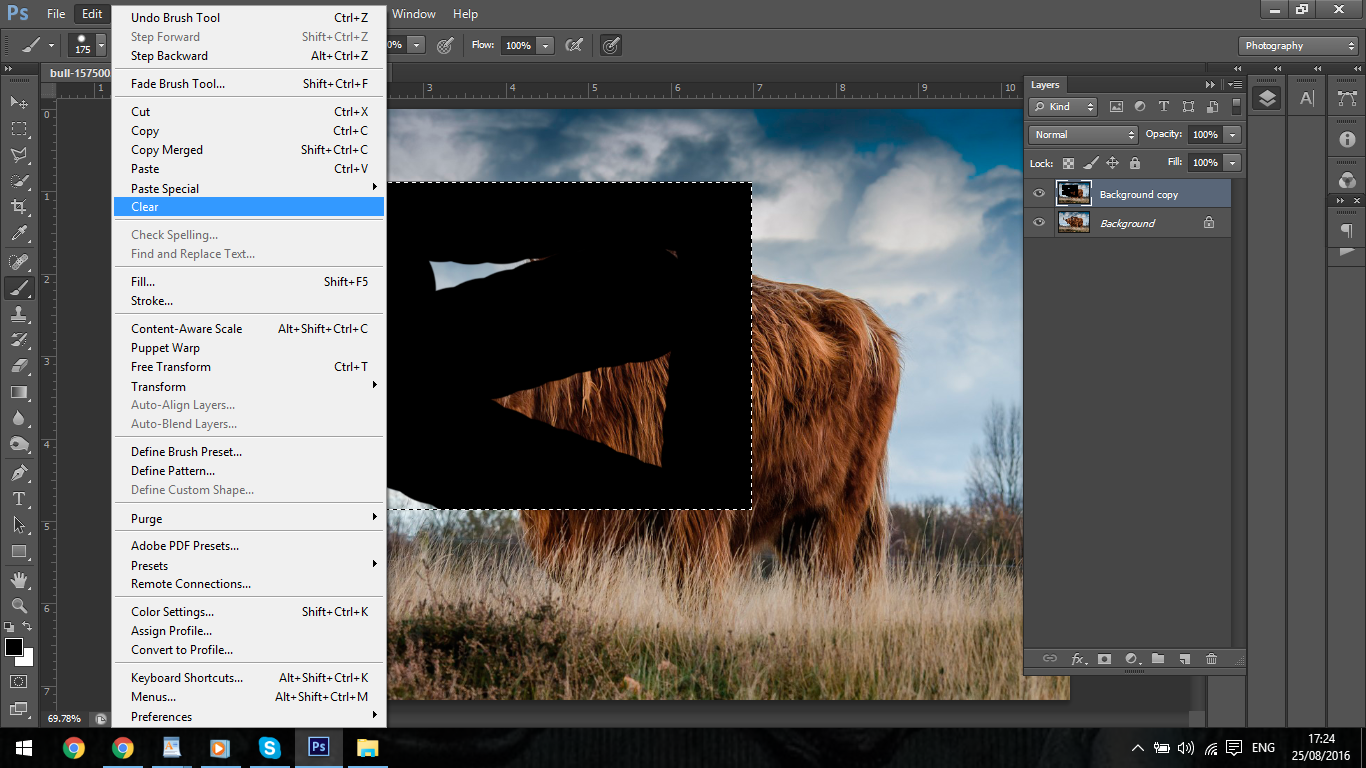
If you want to delete everything within the selection you click on Edit – Clear
Working with layer masks in adobe photoshop is so fun!
You have a few options with this Tool, like Elliptical but that’s it in a nutshell, one more thing I will mention is that you can go to Edit and Copy anything withing the Marquee, then you can Paste it and it will be a separate layer.
Ok so cool lets move forward, the next will be looking at is the Lasso, Polygonal and Magnetic Tool.
These are also Selection Tools and they do the exact same job as the Marquee Tools the different being they are for cutting out very specific shapes.
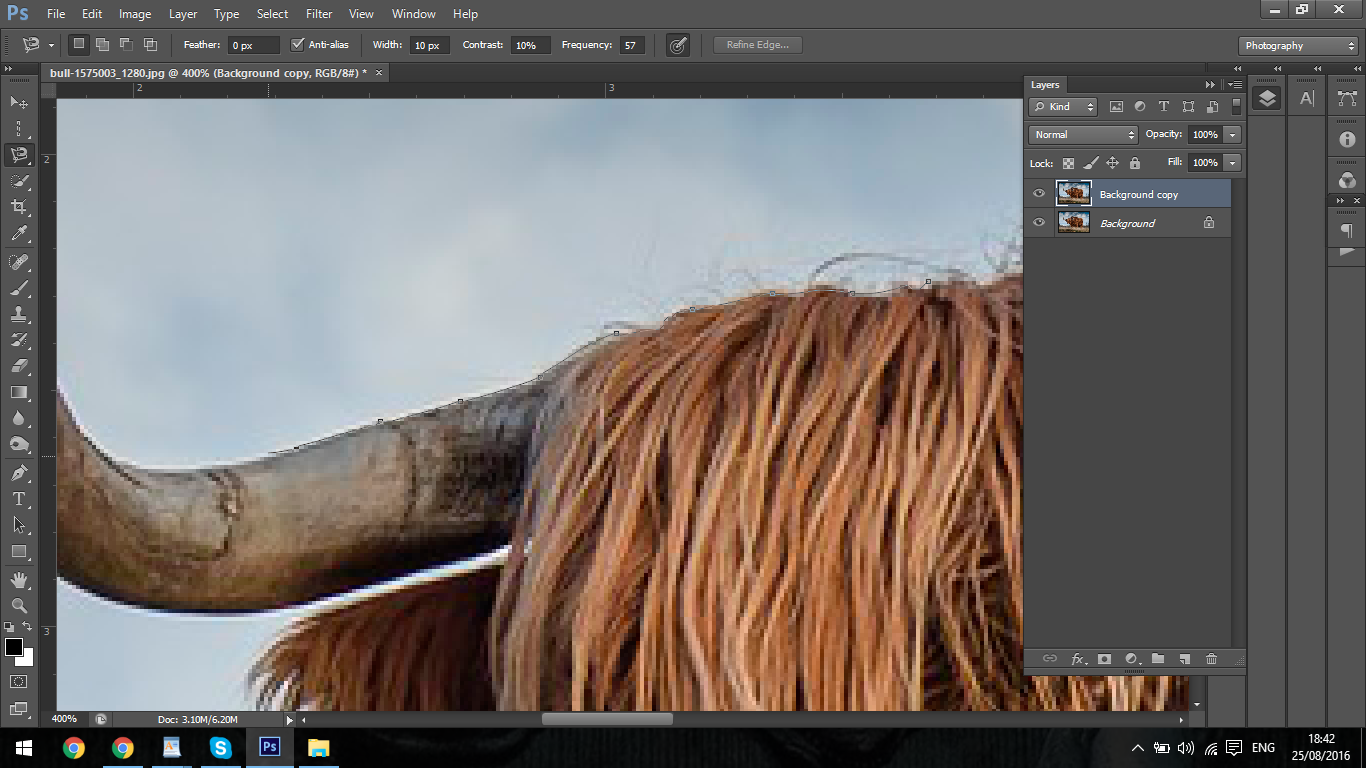
The Lasso Tool is free flowing, so what you do with it is you click on the image and draw around it like you would use a pen only you are using the mouse, it’s good for fast selections but I wouldn’t use it for anything thing that needs particular attention, for that I use the Polygonal Tool.
What the Polygonal Tool enables you to do is to draw the selection around your image little bit by little bit, using straight lines.
What I do is I zoom right in on my image and do it and then follow the lines.

Then you can copy/cut and paste as we talked about previous.
Take note, Copy copies but Cut will actually remove that part from your image entirely.
So you would continue selecting around the entire image you want to cut out until the end point joined the starting point.
The Magnetic Tool does something similar to the Polygonal Tool only the computer will make the choices for you, I personally don’t use it as I find it only really works about 50% of the time, it will only really work if the image has a very clean edge, if it’s a completed image forget about it!
With this you just click at your starting point and drag across the area you want to cut out.
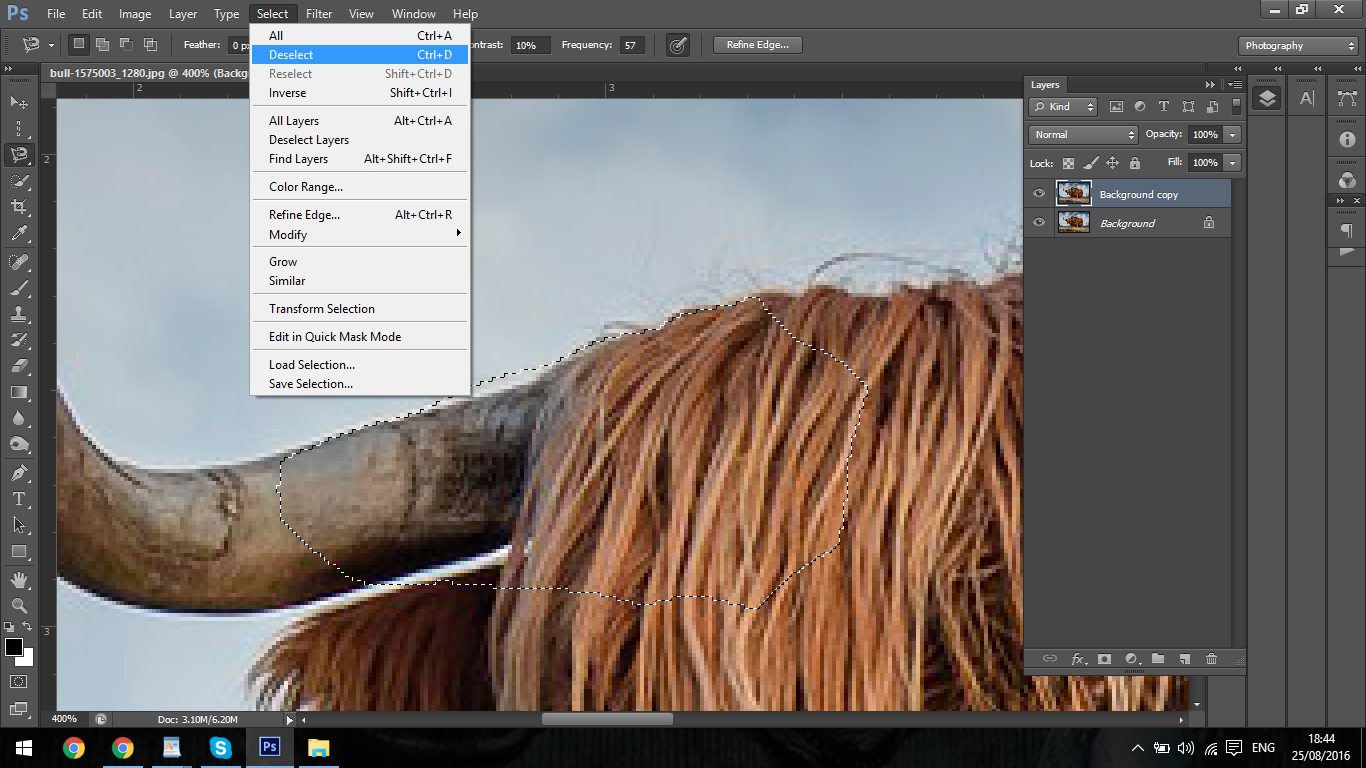
If you want to get rid of all your selections you can simply go to Select – Deselect.
For cutting images out, my go to default selection Tool is the Polygonal Tool, even over the super sharp Pen Tool (which we will be discussing in the future) I find that I get the most control with it and as I’m used to it I can work very fast with it, very good Tool! so I’d put a good bit of energy into it.
The next Tool Below that is the Quick Selection Tool.

You can use this much like the Paint Brush Tool, using the bracket keys [ & ] you can enlarge or resize to smaller as you go along, the basics of this Tool is you want to use it for larger areas that are clearly defined.
Click and drag is the name of the game.

Then the selection will automatically fill the desired area, now bare in mind that it wont always give you a clean edge unfortunately but you can use it sometimes to get pretty close of remove about 80% of the selection work, then you can go back in and refine with the Polygonal Tool.
Using the Tools in Combinations is usually the best answer to a complex question.
Right at the Top underneath File, Edit and Image etc you will see three brushes together, the first is just your standard brush, then you will see the other two, with the + and the –
As I’m sure you have already guessed once you make your initial selection you can use the + to add to the selection and the – to reduce.
Very handy!!
In part three we’ll be continuing on with our super exciting series and keep expanding our knowledge.


Please verify your software version before proceeding.
 I’ve verified my software version


 Facebook
 Google +
Comments (0)
There are no comments yet.